



For this small watercolor I wanted to showcase and demonstrate my love of our beautiful Australian native birds in a setting where a male superb fairy-wren has heralded the arrival of spring. Moulting from his drab brown winter plumage into his resplendent breeding plumage of sky blue and black, an added sprig of new growth adds a touch of green for the theme of spring.
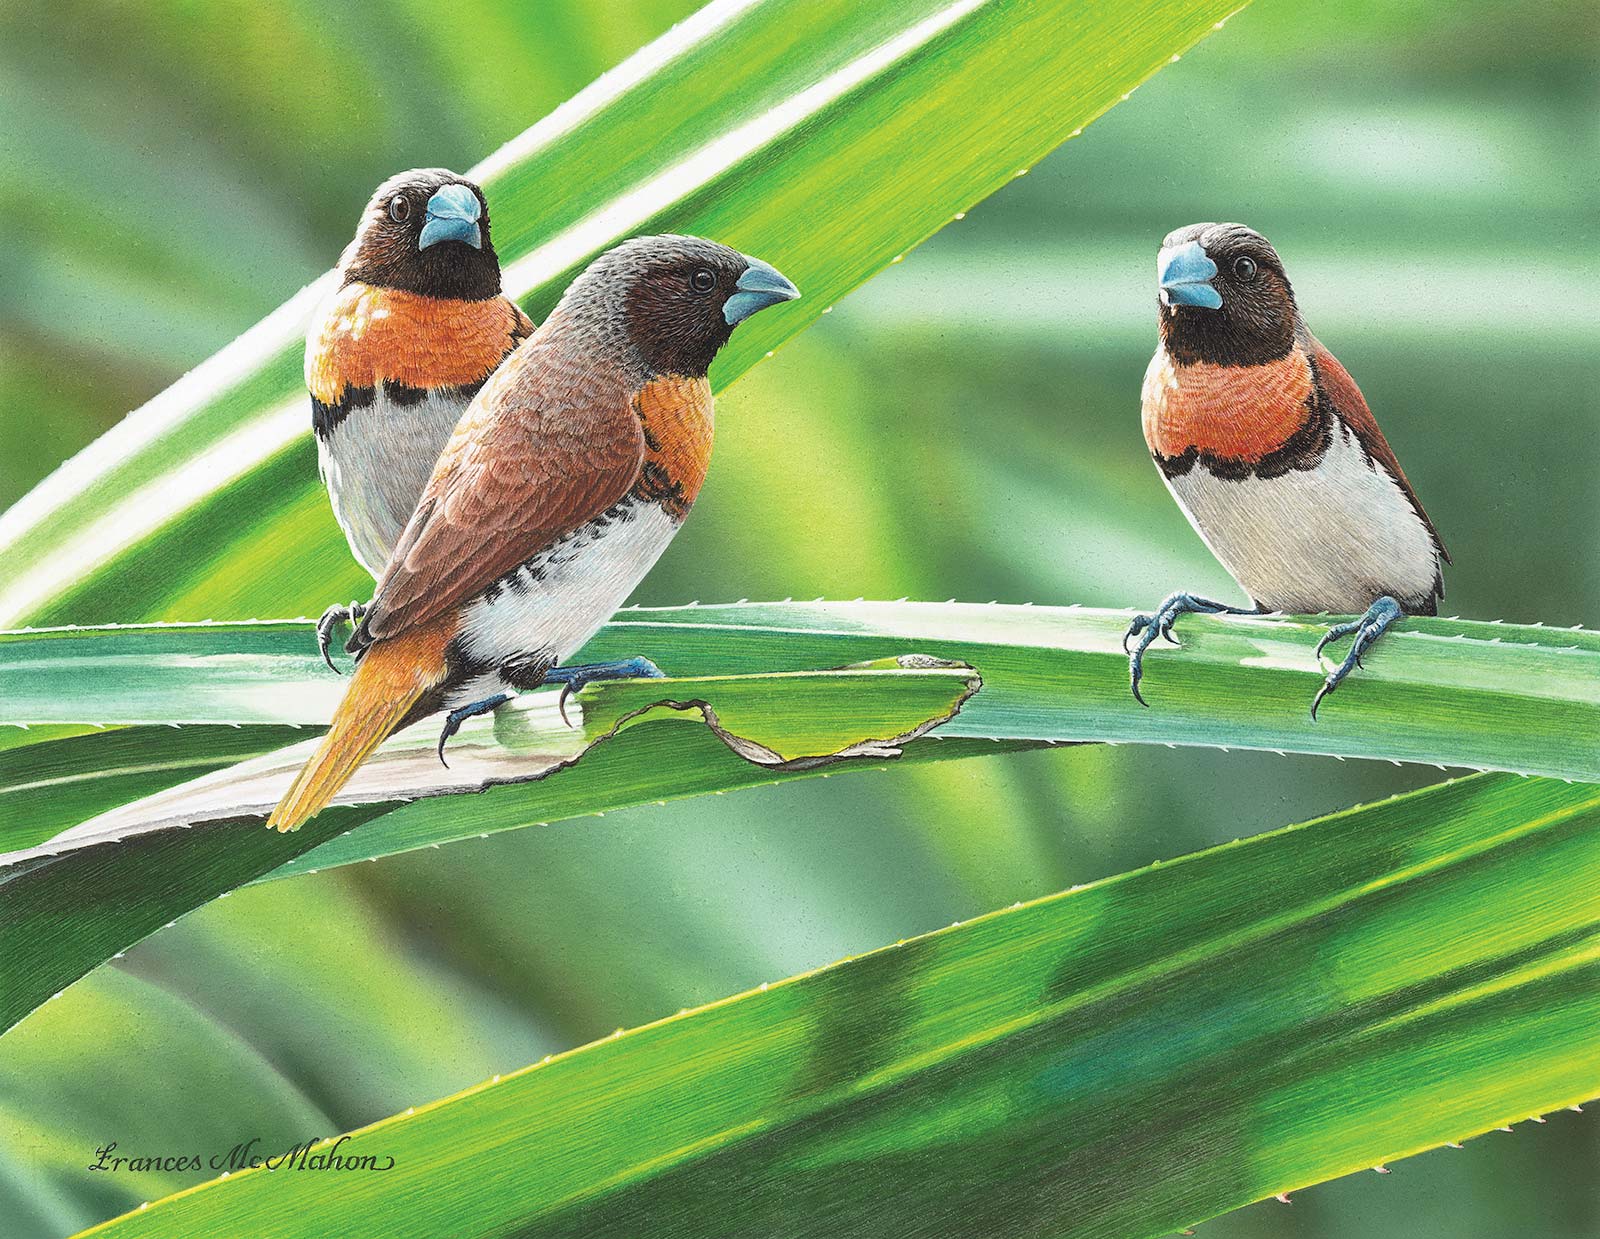
Pandanus Party (Chestnut-breasted Mannikins), watercolor, 8¼ x 10½" (21 x 27 cm)
As a watercolor artist who regularly takes over 100 hours to finish a painting, I’m enjoying creating a series of smaller works. Although these take less time than larger works, there is an inherent challenge to nevertheless produce work that still contains all the standard principles of larger works, such as composition, tonal values and anatomical correctness. Superb fairy-wrens are tiny birds, which suits a small format beautifully.
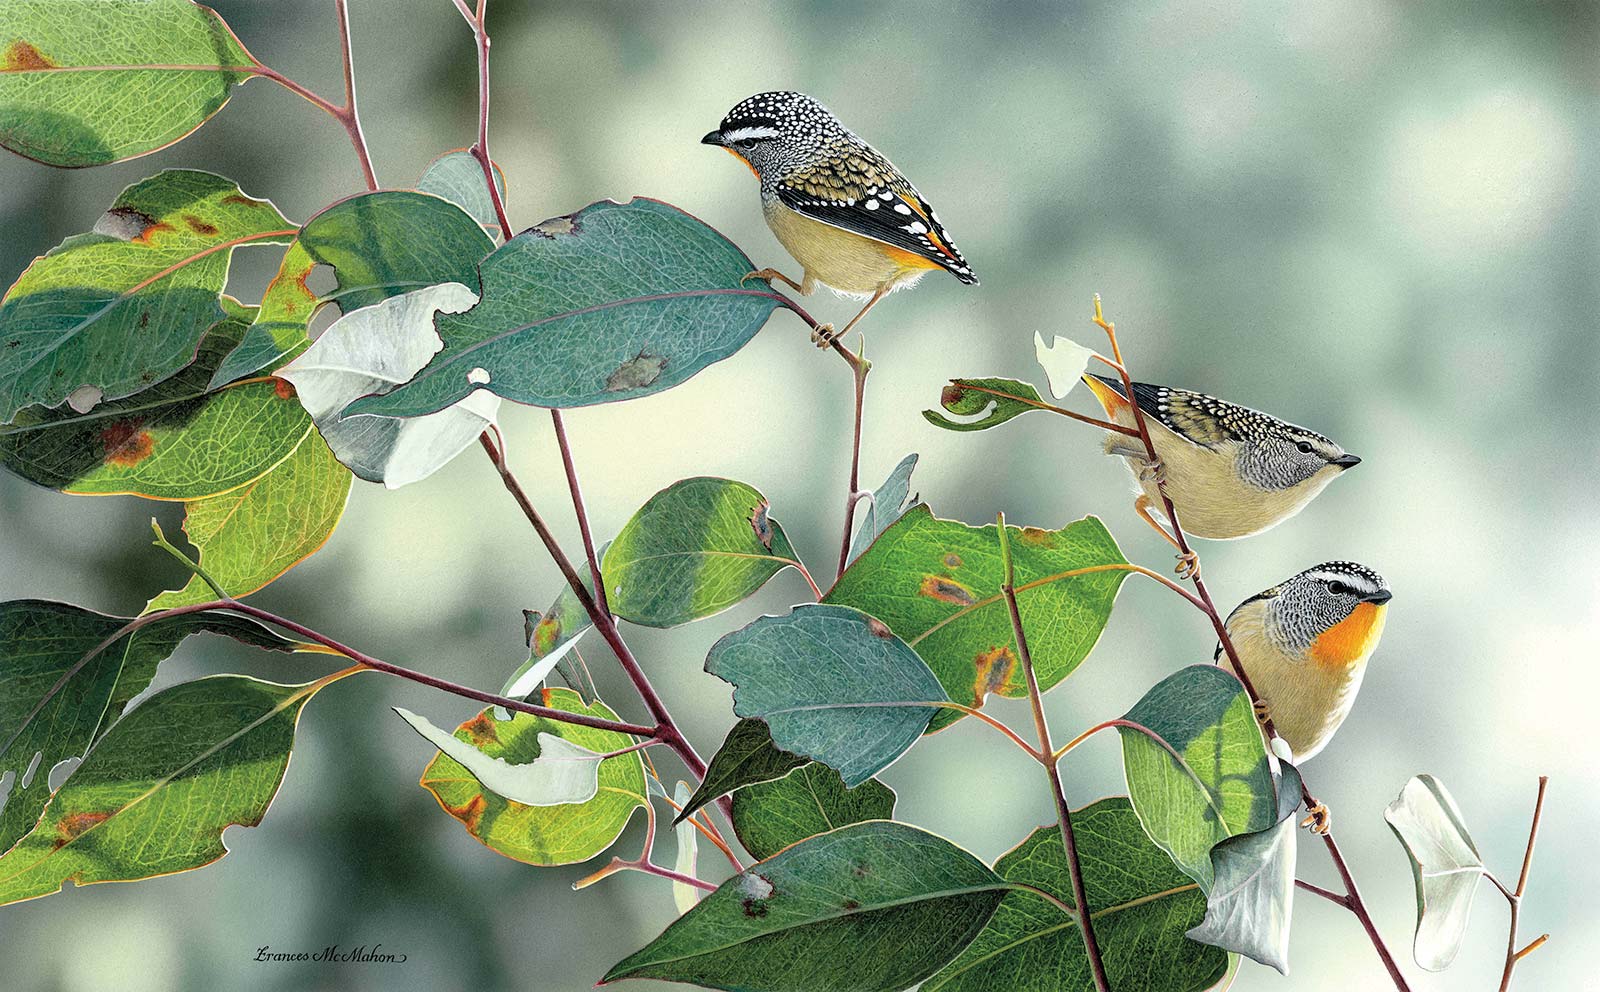
Spangled (Spotted Pardalotes), watercolor, 14 x 22¾" (36 x 58 cm)
Birds are subjects that rarely sit still for long, so it’s imperative to gather my own good reference material. I’ve always enjoyed taking my own photographs and have recently purchased a 50MP professional camera. What a difference! Even birds photographed far away and that appear small in the photograph can be deep cropped while still retaining enough detail for use. While walking through a local nature reserve, I took as many photos of the wrens as I could, as well as general habitat photos and surroundings.
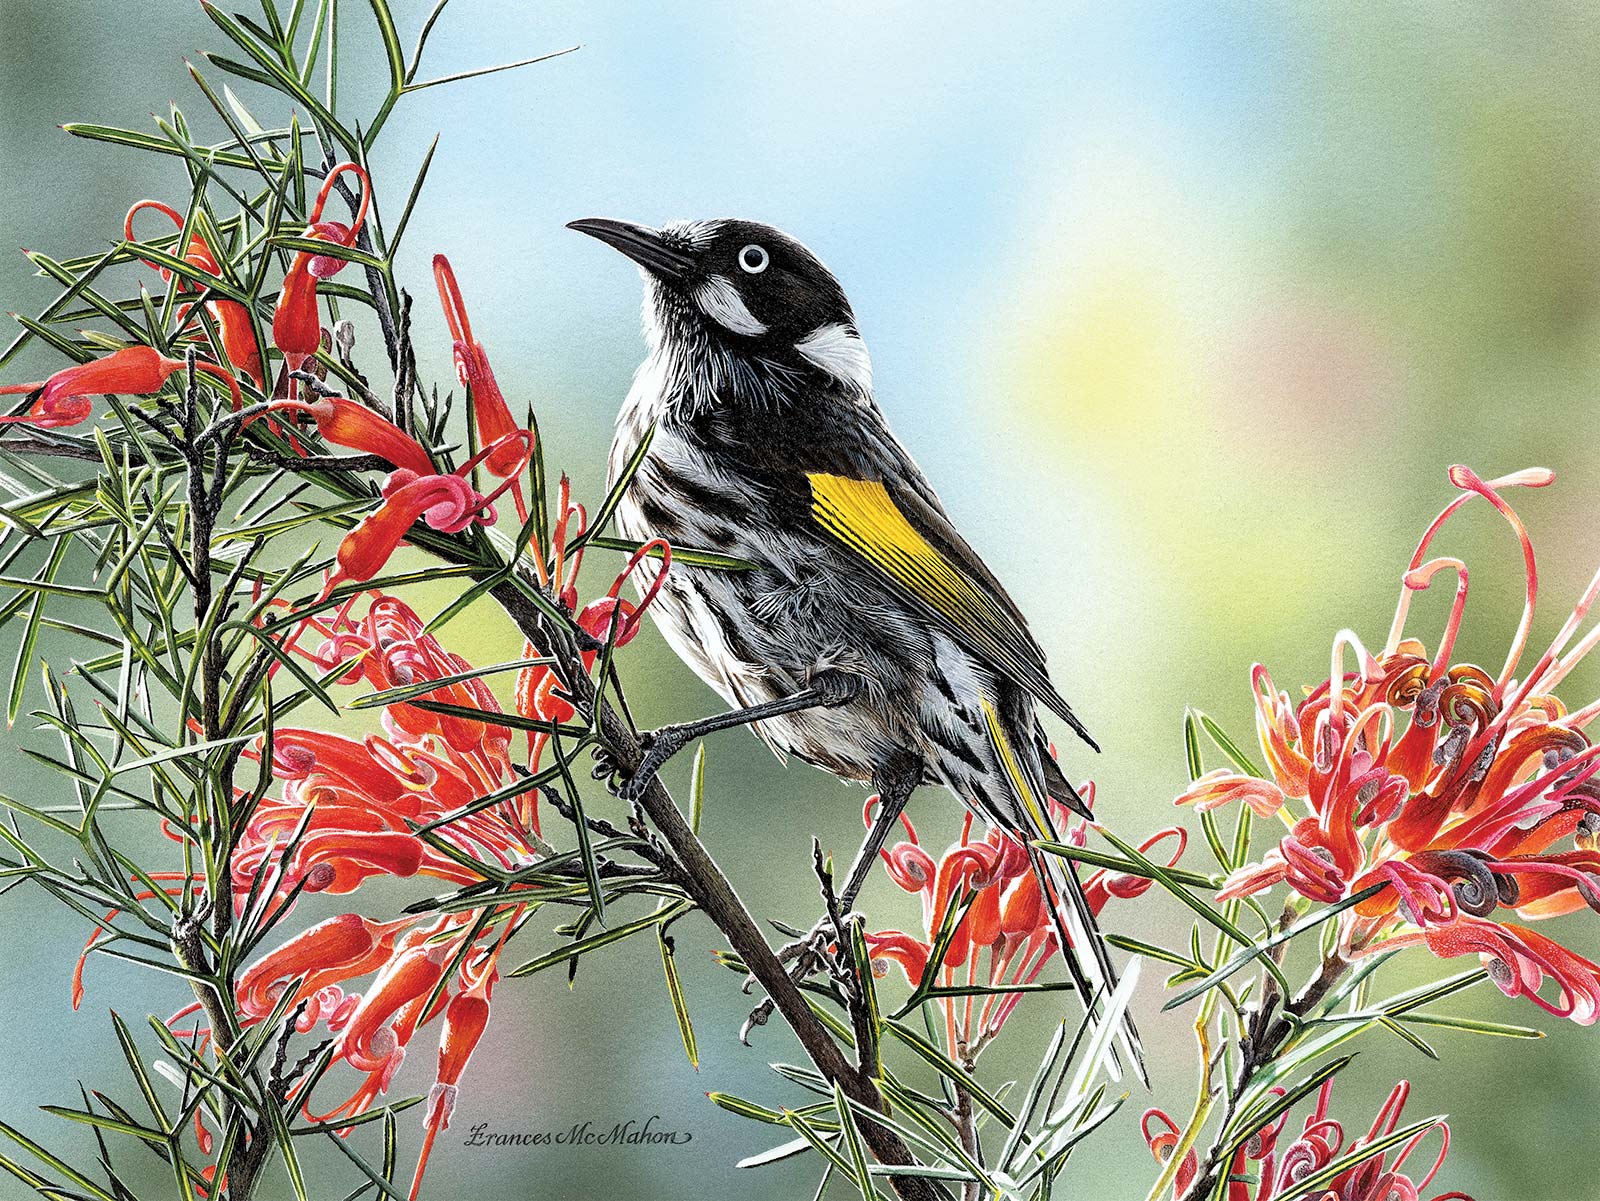
The Banquet (New Holland Honeyeater), watercolor, 9¾ x 13" (25 x 33 cm)
It’s rare to take a photo that is perfect to copy verbatim. I feel that combining a few photos gives me the freedom to alter elements and composition, making the work truly individual. For this painting, I used four individual photos containing the best elements that will be selected for the final composition.
From here on, I load the photos into a photo editing program and play around with ideas and compositions. I loved the way this wren was suspended head downwards, just about to pounce off the branch. From here on, it’s a straightforward process of drawing, transferring to the board, mask cutting, airbrushing and finally painting. Further details of these processes will be explained in the following demonstration.
My Art in the Making Spring Has Sprung (Superb Fairy-wren)
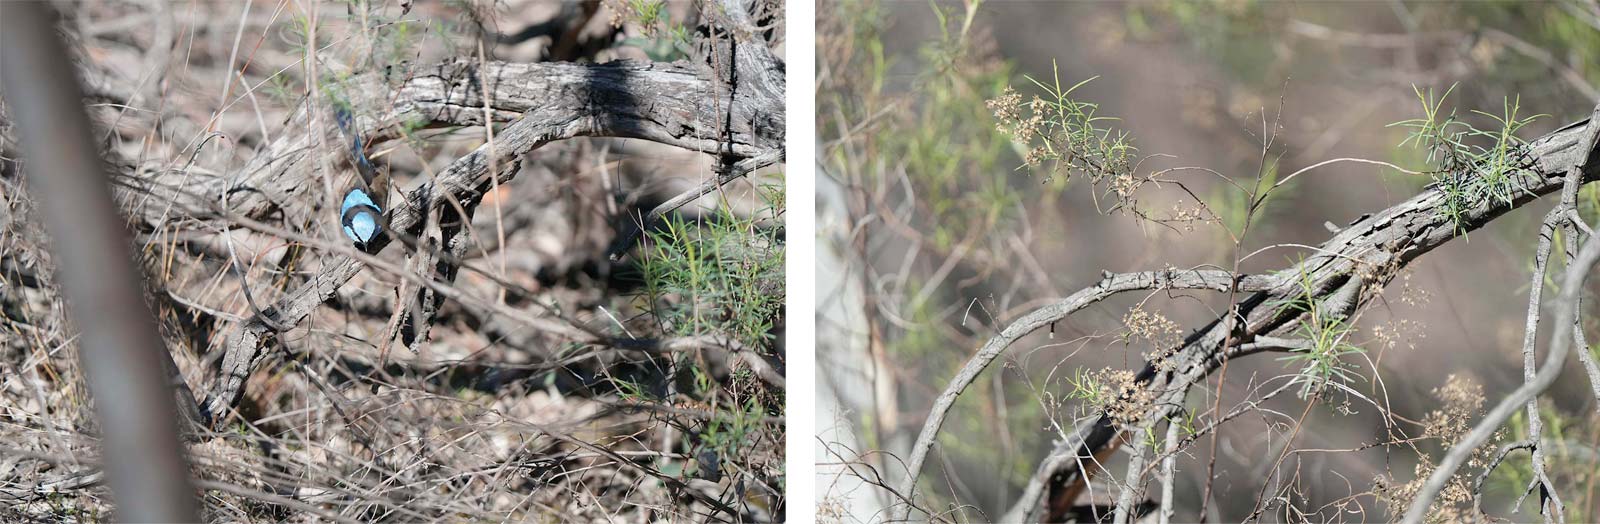
Reference Photos
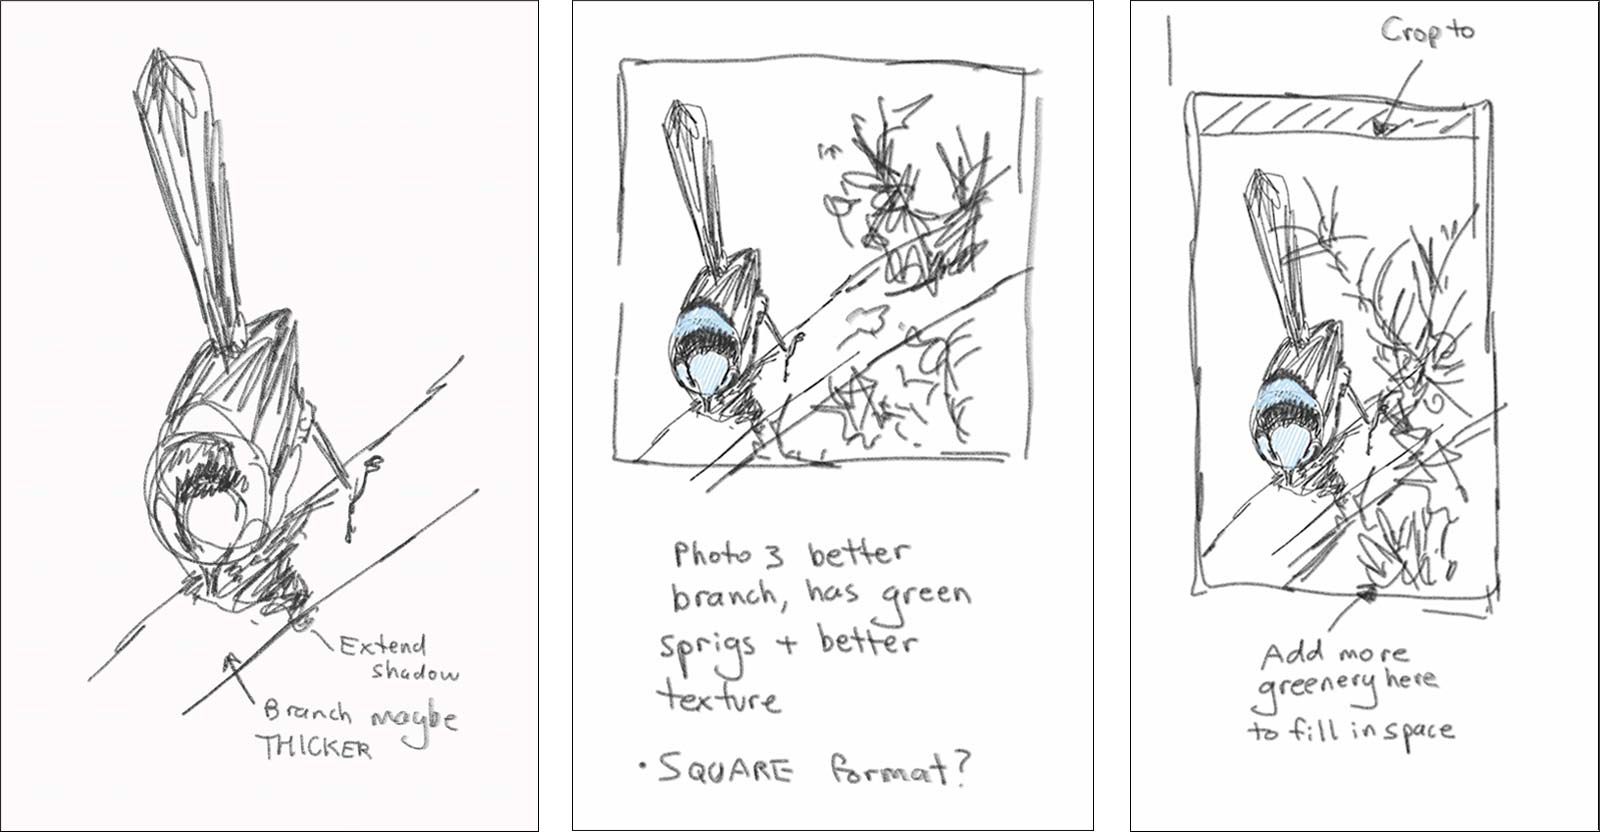
Stage 1 Rough Sketches
My mobile phone with the S Pen is the perfect small canvas for quick ideas. Looking at the photos on my laptop, I can quickly sketch ideas onto the phone screen with the S Pen. In this instance, I had a strong idea of what the composition was going to be when selecting the best photos to work from, so only a few sketches were needed.
WHAT THE ARTIST USED
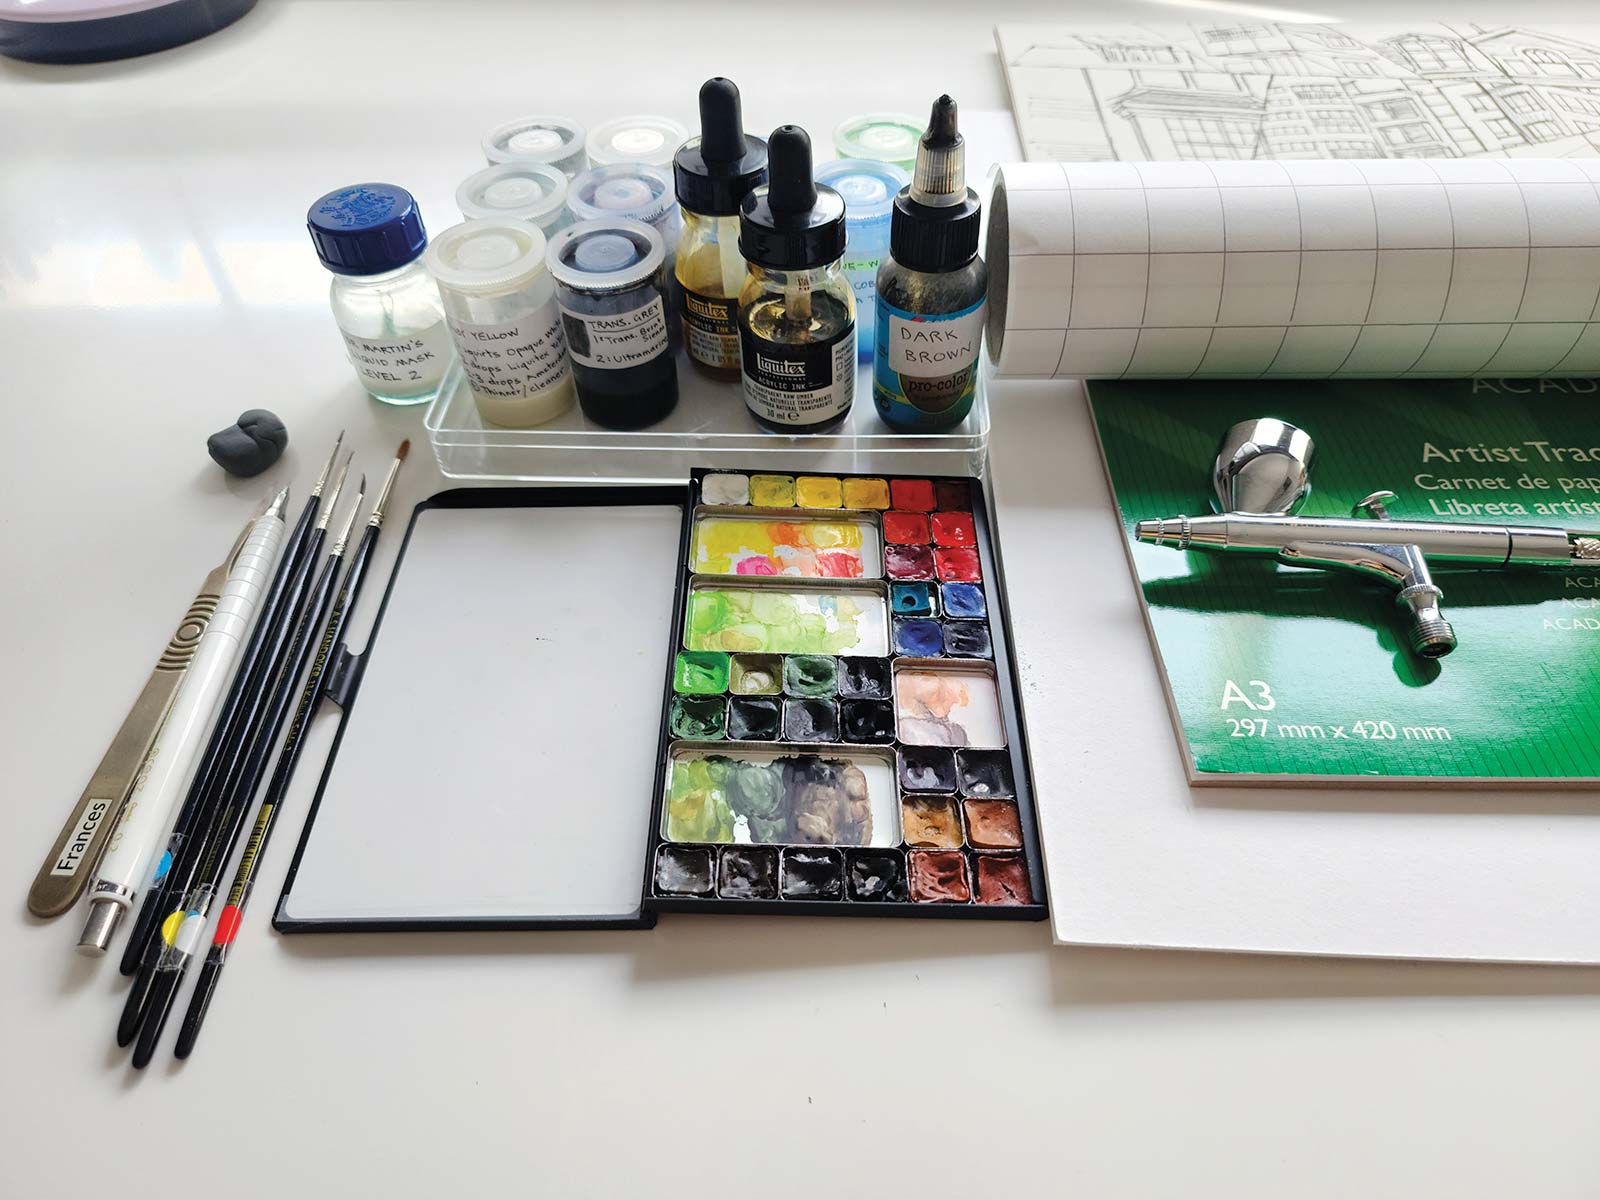
Winsor & Newton Artist’s Quality Watercolor and Gouache
Titanium white (gouache), Cadmium lemon, Manganese blue hue, Winsor blue (green shade), Winsor blue (red shade), Ultramarine blue, Indanthrene blue, May green (custom mix), Sap green, Chromium oxide green, Perylene green, Mauve mist (custom mix), Raw umber, Van Dyke brown, Sepia, Jet black (gouache)
Airbrushing
Opaque white, Yellow medium azo, Warm gray, Raw umber, Burnt umber, Sepia
Additional Materials
Sony A1 camera with 200-600mm zoom, Samsung mobile with S Pen, A.S. Handover sable brushes, sizes 2, 1, 0, 00 and 000, Mechanical pencil, .2 and .3mm, Tracing paper, Frisket film, Scalpel size 11, Kneadable eraser, Masking fluid, 8-ply rising museum board, Airbrush
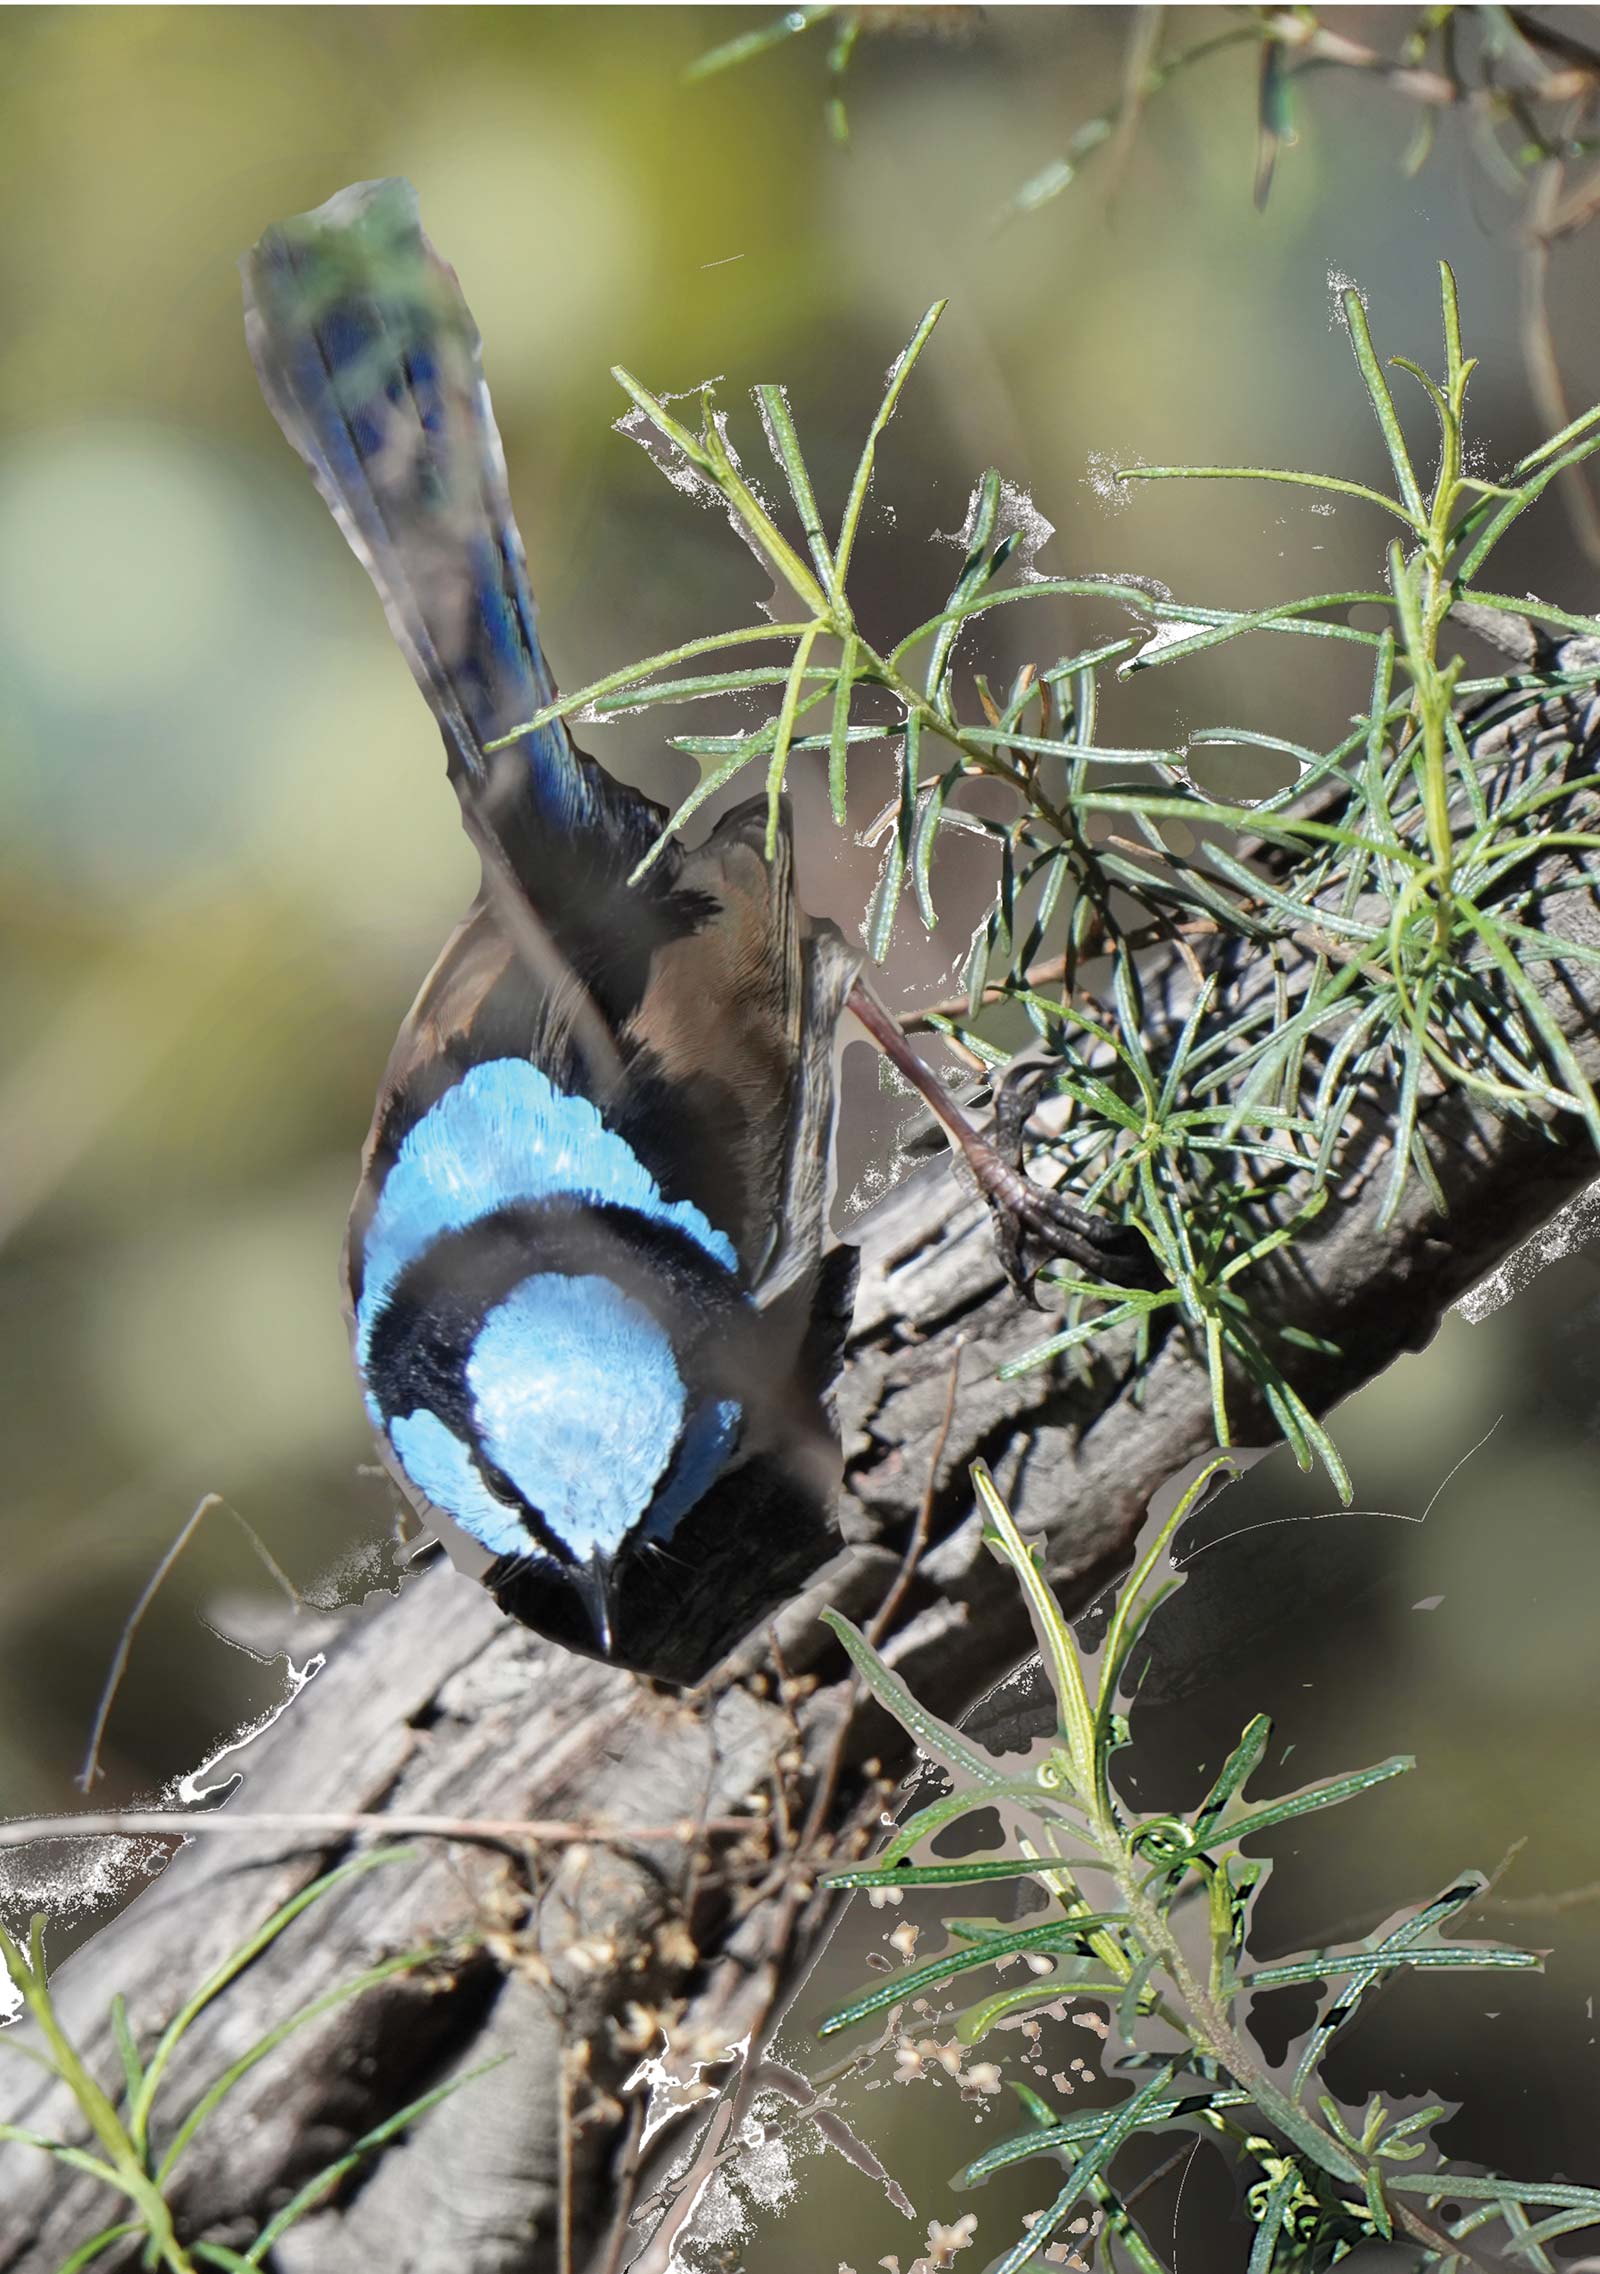
Stage 2 Photo Mock-up
I certainly won’t win any awards for photo editing, but that’s perfectly fine. All I’m interested in at this stage is the composition of the elements. I’ve used the “rule of thirds” to place the wren’s head two thirds from the top edge and one third from the left edge. The wren was sitting on a branch I thought was a little thin in width, so I etched him out and placed him on a larger branch with the greenery. The foreground sprig of green is superimposed from another reference photo. The beauty of using a photo editing program is that size changes, angles, transparency and position are very easy to change. I always remember to save and name each new compositional idea as a separate file as on many occasions it’s a “toss up” between compositional ideas.
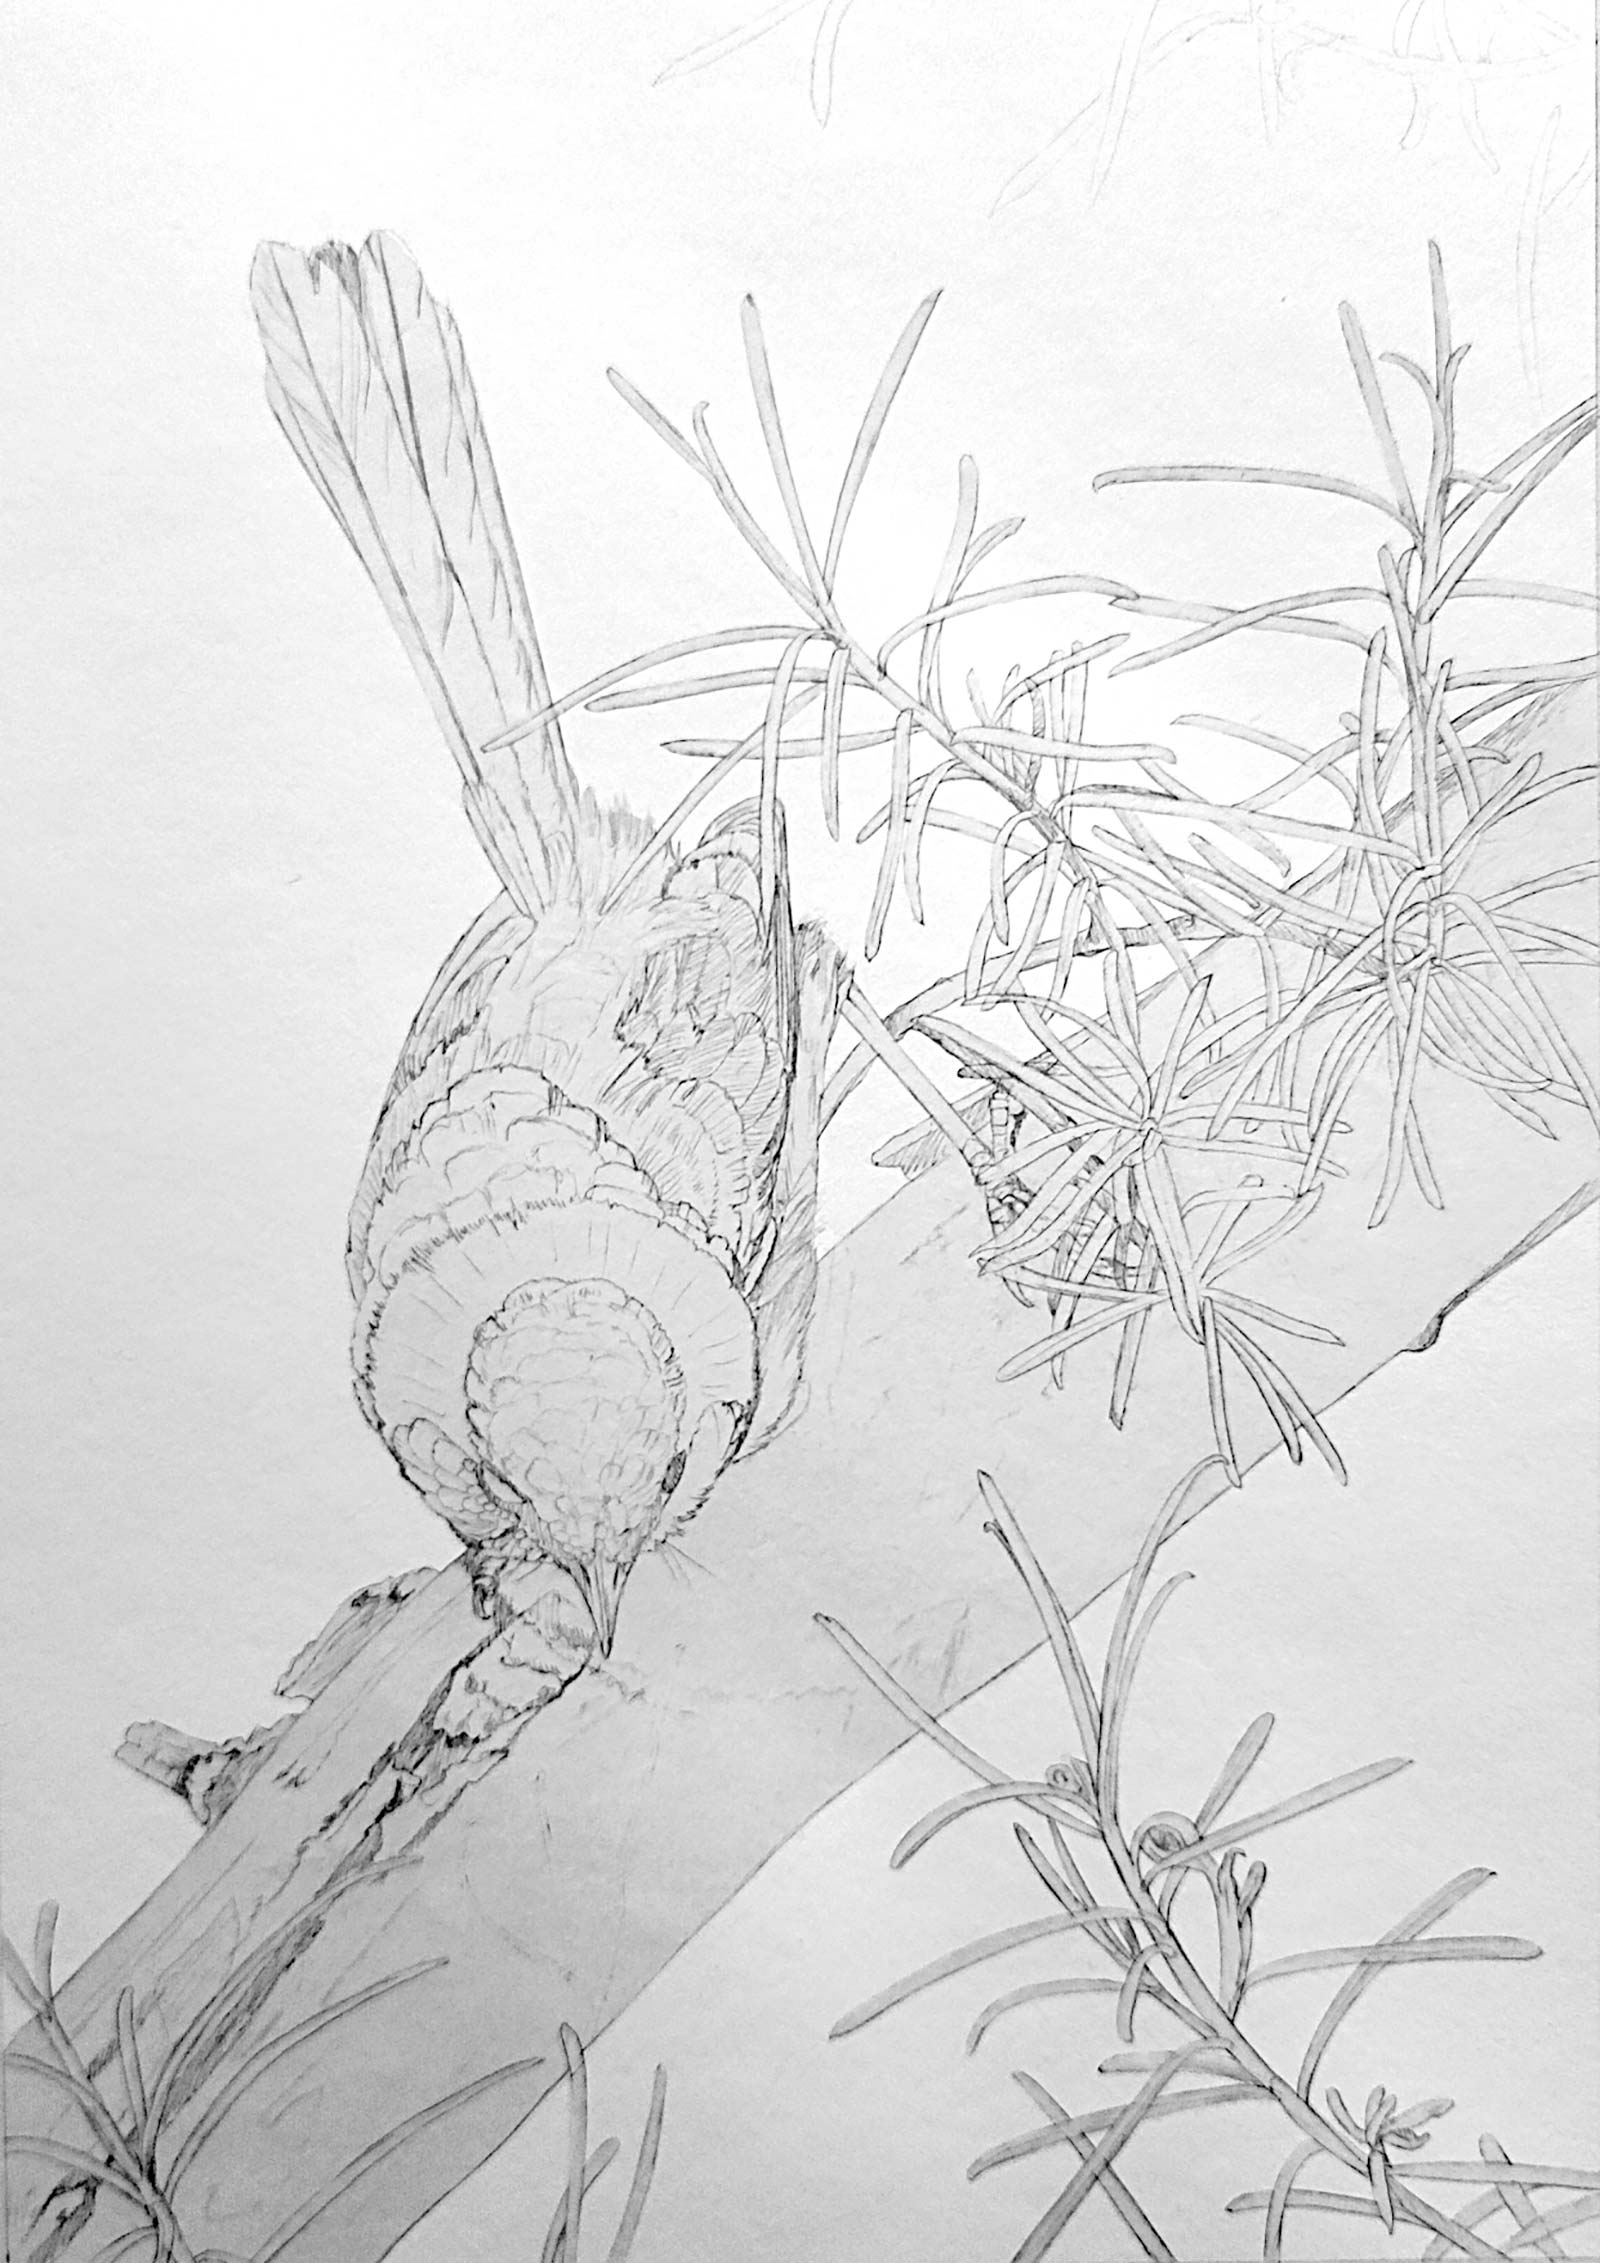
Stage 3 Masking
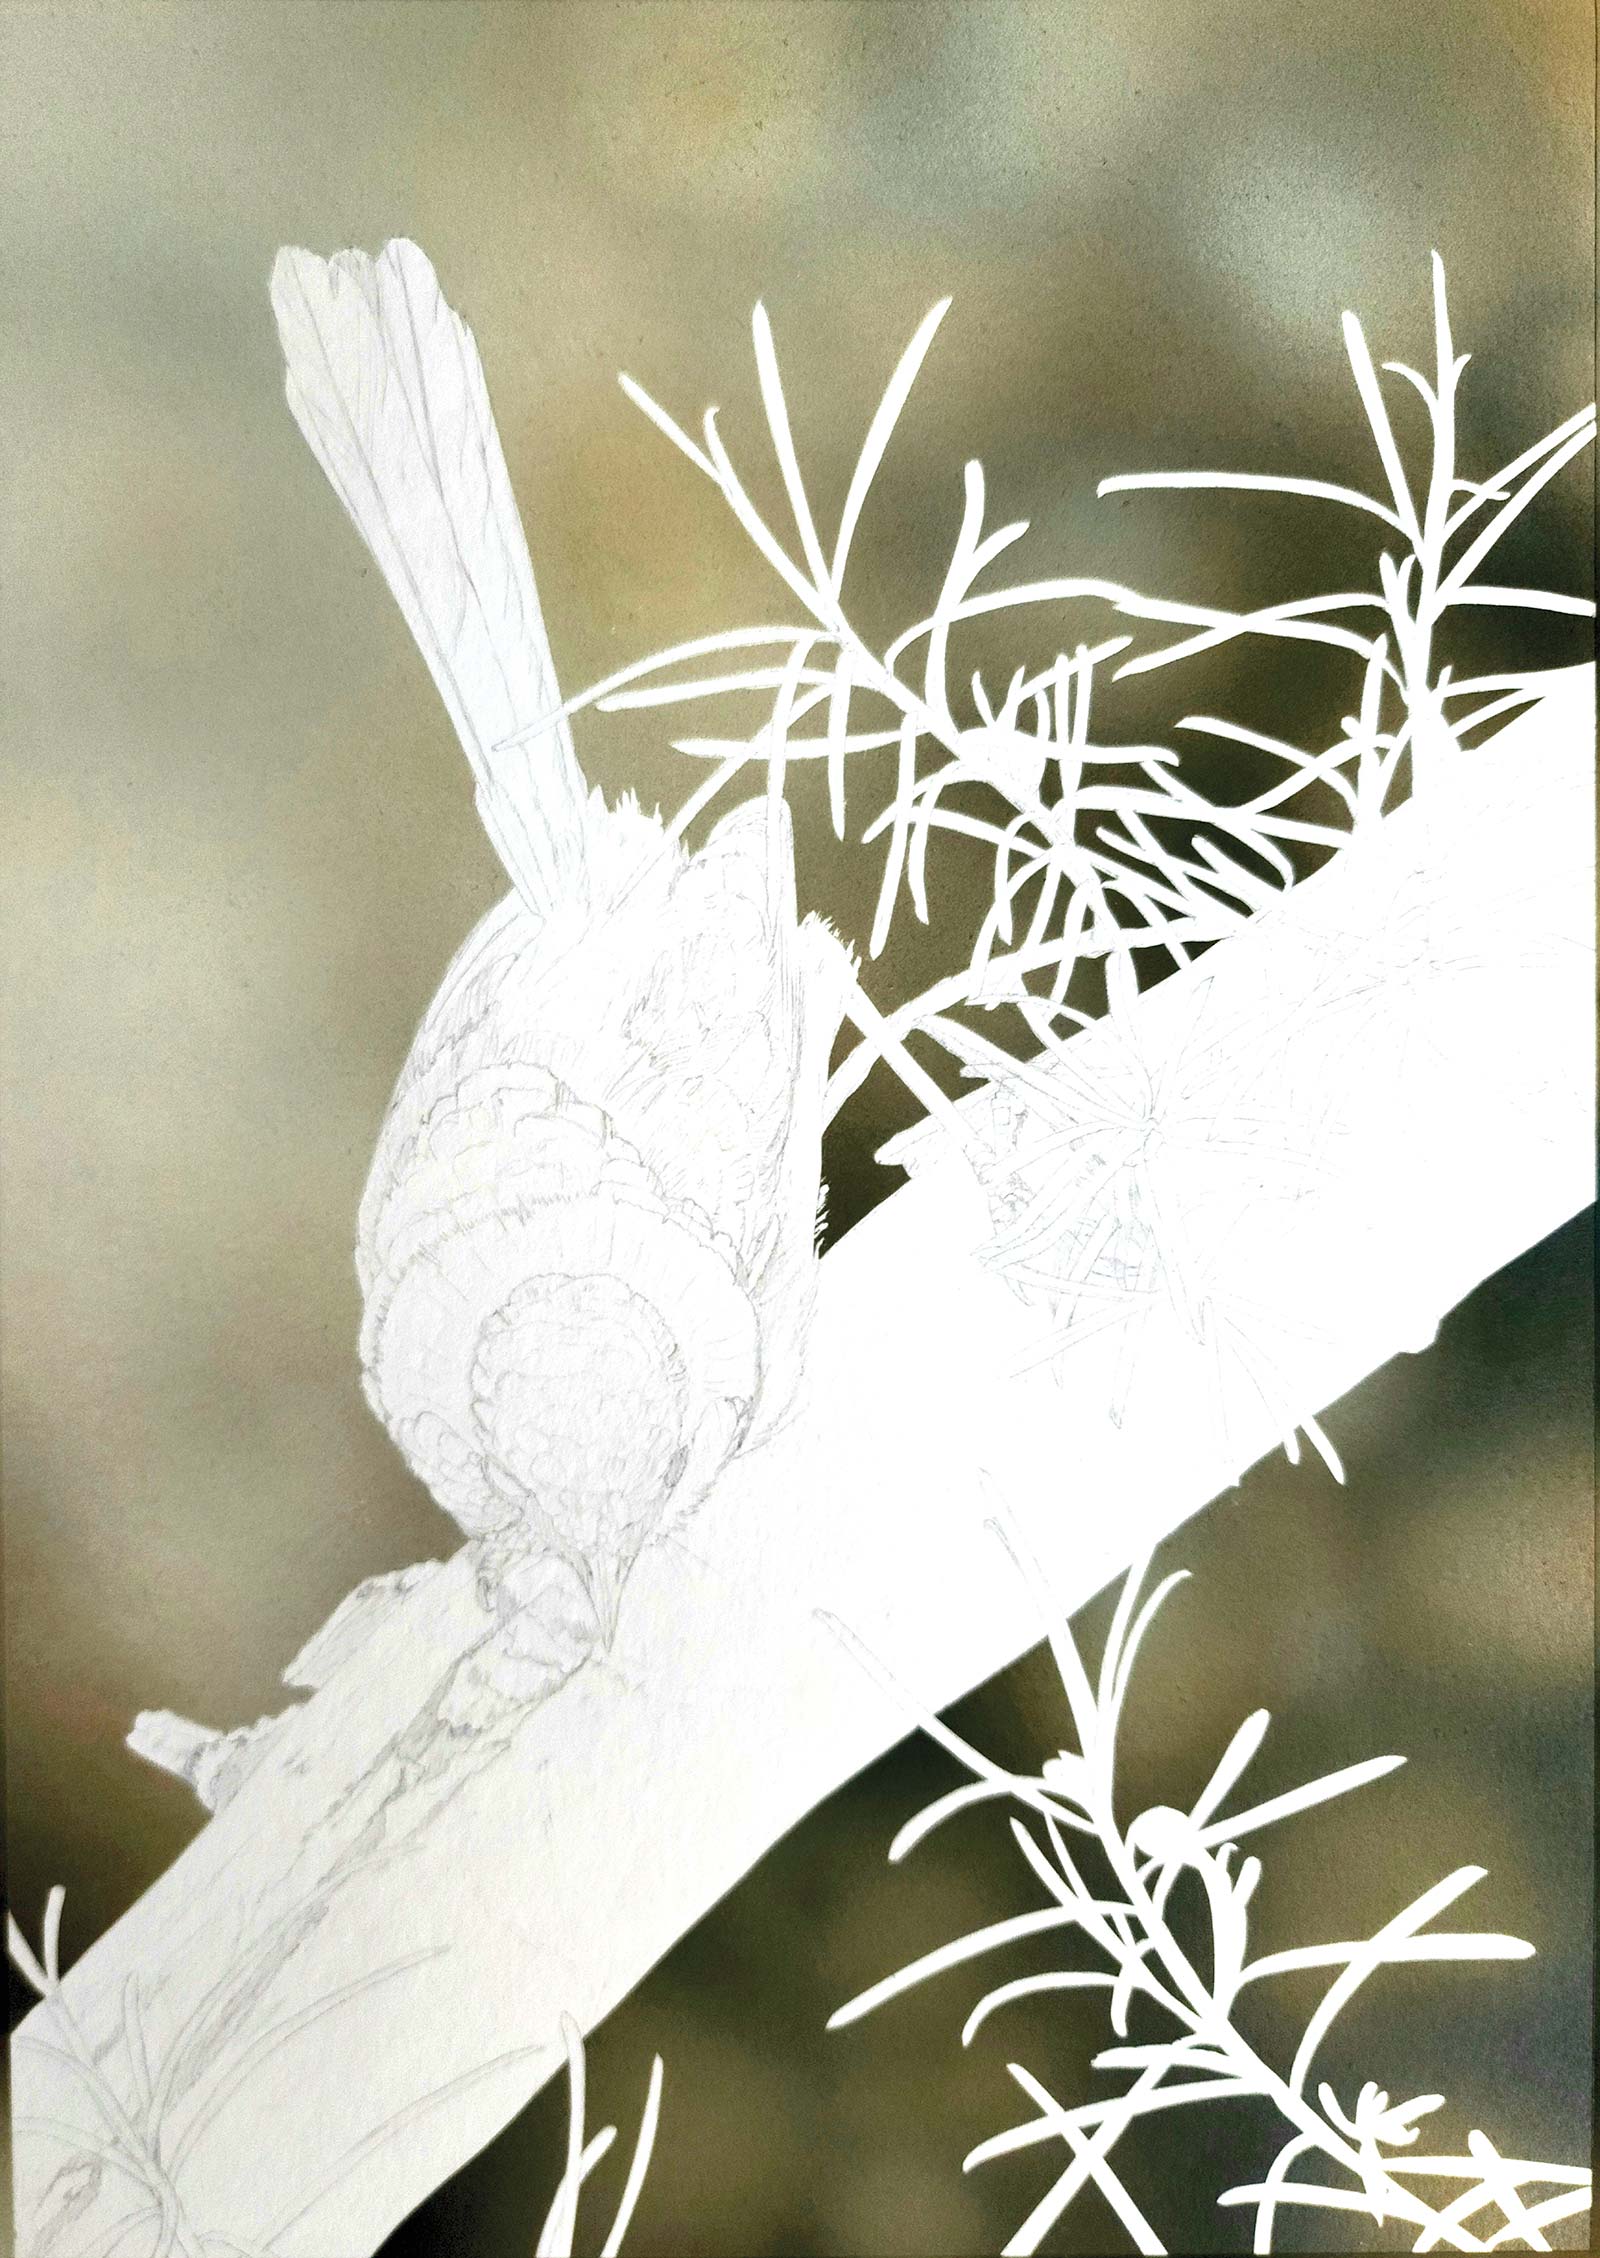
The wren has been transferred to the museum board. Museum board has a very delicate surface and will delaminate easily if pencil lines are rubbed out too often. The transfer process leaves a rather inaccurate mark, so, using a kneaded eraser, I carefully lift the traced lines and redraw using a .02mm mechanical pencil. Although I’m really drawing the image twice, I can correct small errors I missed in the initial drawing stage. Watercolor is non-correcting and very unforgiving, so it’s imperative to get this stage correct. Once the pencil outline is completed, a sheet of frisket masking film is carefully laid over the entire surface. Using a sharp size 11 scalpel, the mask is cut out, leaving the negative spaces ready for airbrushing.
Stage 4 Airbrushing Finished
Wanting to keep the background in warmer colors, I’ve airbrushed various mixes of liquid acrylic in white, yellow medium azo, pale gray, transparent raw umber, transparent burnt umber and sepia. These colors are applied from lightest to darkest value, blending on the board. I considered airbrushing in shades of green but decided to use warmer browns to enhance the blue plumage of the wren. Once airbrushing is completed, the masking film is carefully removed using the tip of a scalpel. There are two choices when airbrushing: I use either liquid acrylic or liquid watercolor. Both mediums have their advantages and disadvantages. Liquid acrylic clogs the airbrush more readily, but you are left with a more durable, waterproof surface, ideal for brushwork over the top. Liquid watercolor sprays beautifully but is prone to water and splash marks. I chose to use liquid acrylic because there wasn’t a large surface to cover.
Working with Museum Board
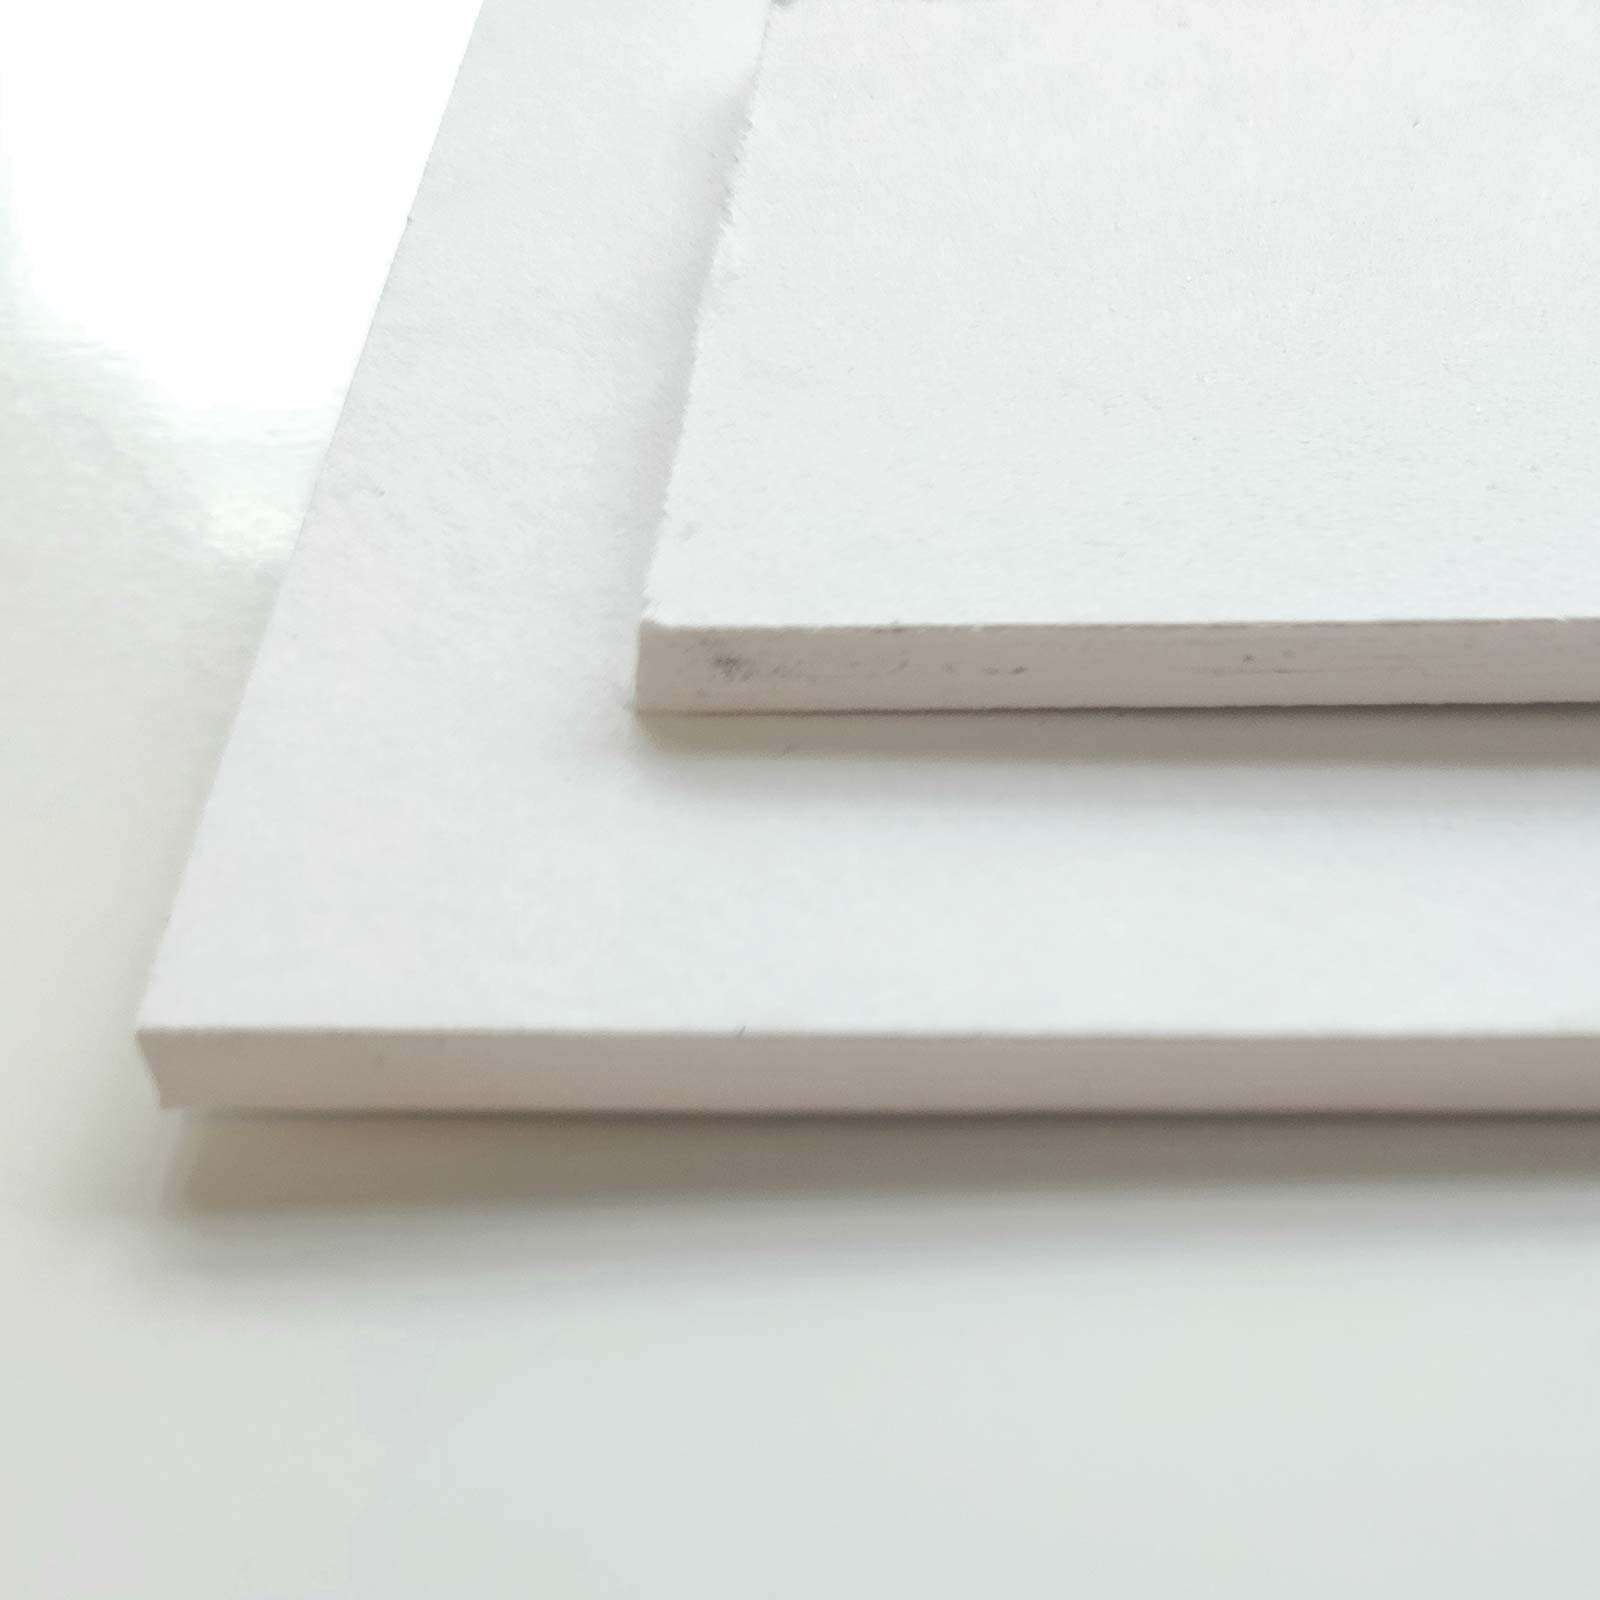
Using both airbrush and watercolor presents challenges in finding the ideal surface to paint on. I need a surface that not only accepts both watercolor and airbrush but is rigid enough to withstand mask cutting and the application of masking fluid. After many years of trial and error, I have settled on an 8-ply (approximately 2000gsm) museum board. This is an archival-quality board, buffered against acid migration and deterioration and contains no optical brighteners. It’s really designed to be used as a framer’s matting board, but there is no other surface to my knowledge that is so superbly archival.
However, there are a few issues that I needed to resolve. Museum board isn’t sized, so I cannot paint in the traditional technique of laying large washes and playing around with dropped-in color. Paint soaks in very quickly. I’ve avoided this issue by using an airbrush for laying large and even areas with no “tide marks.” Airbrushes are also perfect for creating beautiful “bokeh” backgrounds. Masking film and liquid masks can tear up the surface if removed too quickly. I avoid pressing the film and cut using the lightest of touches. Masking fluid should be applied very thinly, in small areas only.
Stage 5 Continuing to Paint
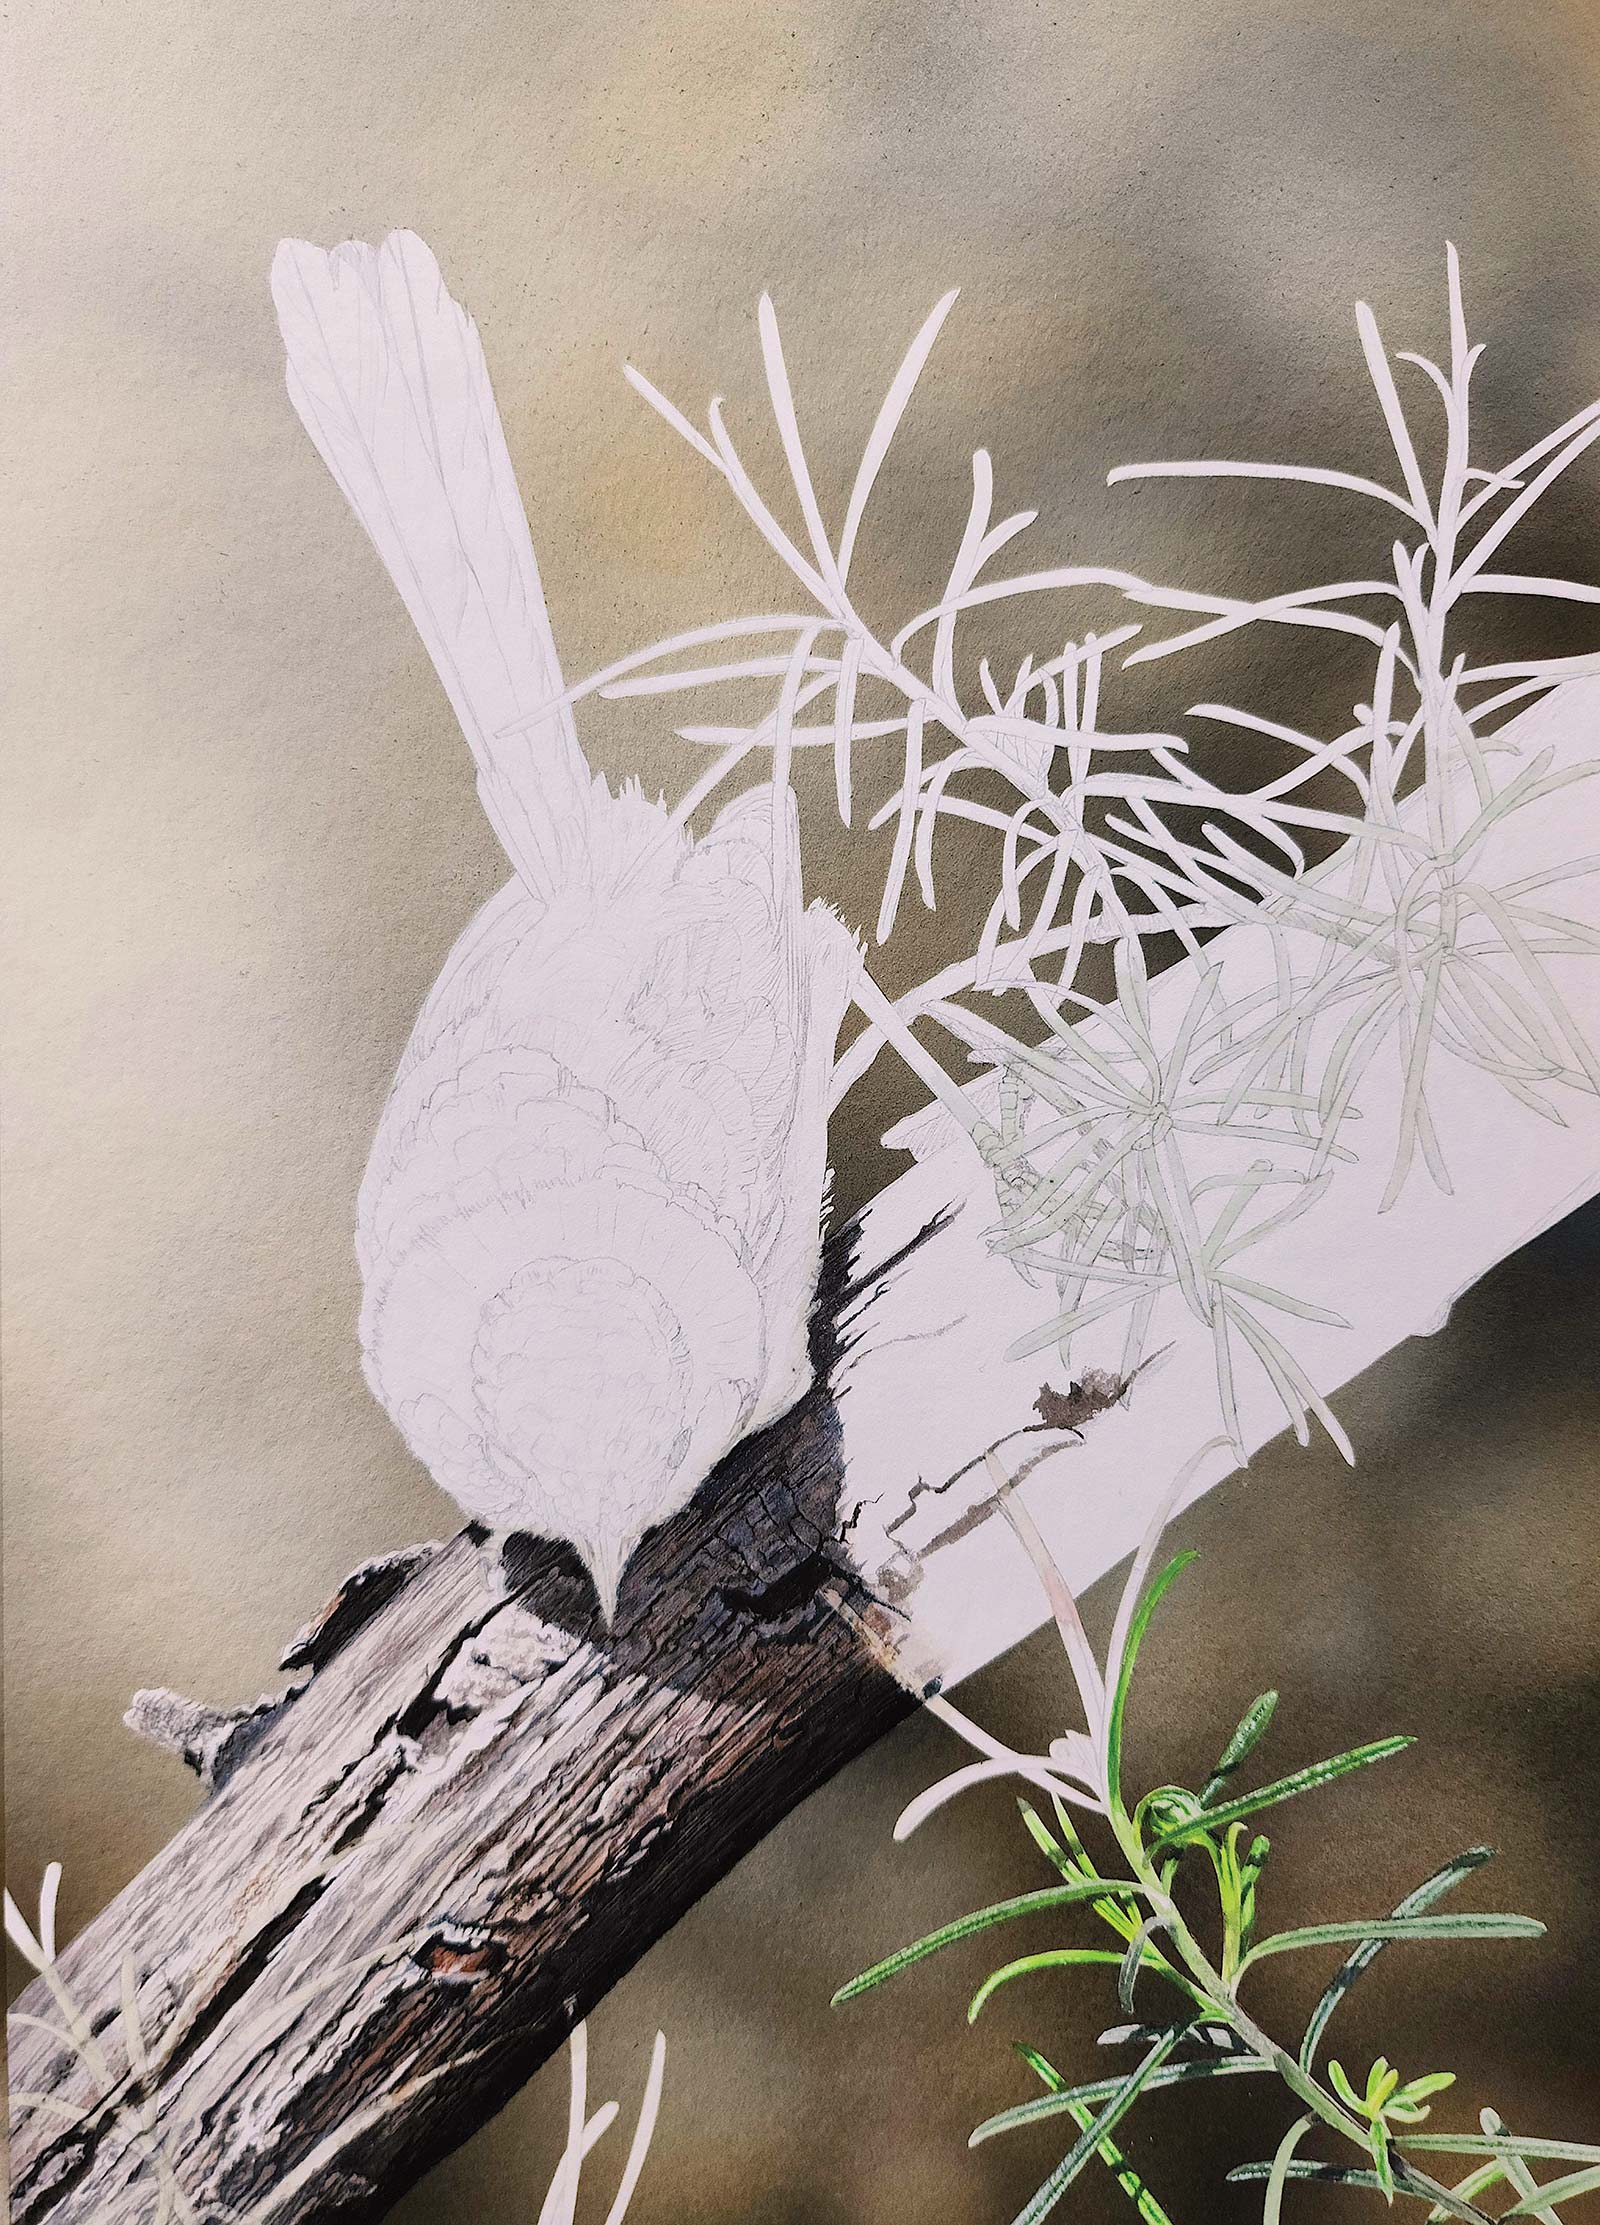
He’s starting to come to life already! Being right-handed, I usually work from left to right. Sections of the plant that overlap the branch and the lower portion of the bird have been masked with liquid mask. This must be applied in as thin a layer as possible, as removal of thick layers will tear the surface. Now the watercolor can be applied. Using my favorite muted gray mix of cerulean and cadmium red, the dead branch is worked using both 00 and 000 size brushes. I’ll employ a range of grays and browns to build up depth and form, with sepia, Van Dyke brown and jet black gouache the predominant shadow colors. The plants are created with primarily sap green, cadmium lemon, chromium oxide green and perylene green for the darkest shadows.
Stage 6 Further Development
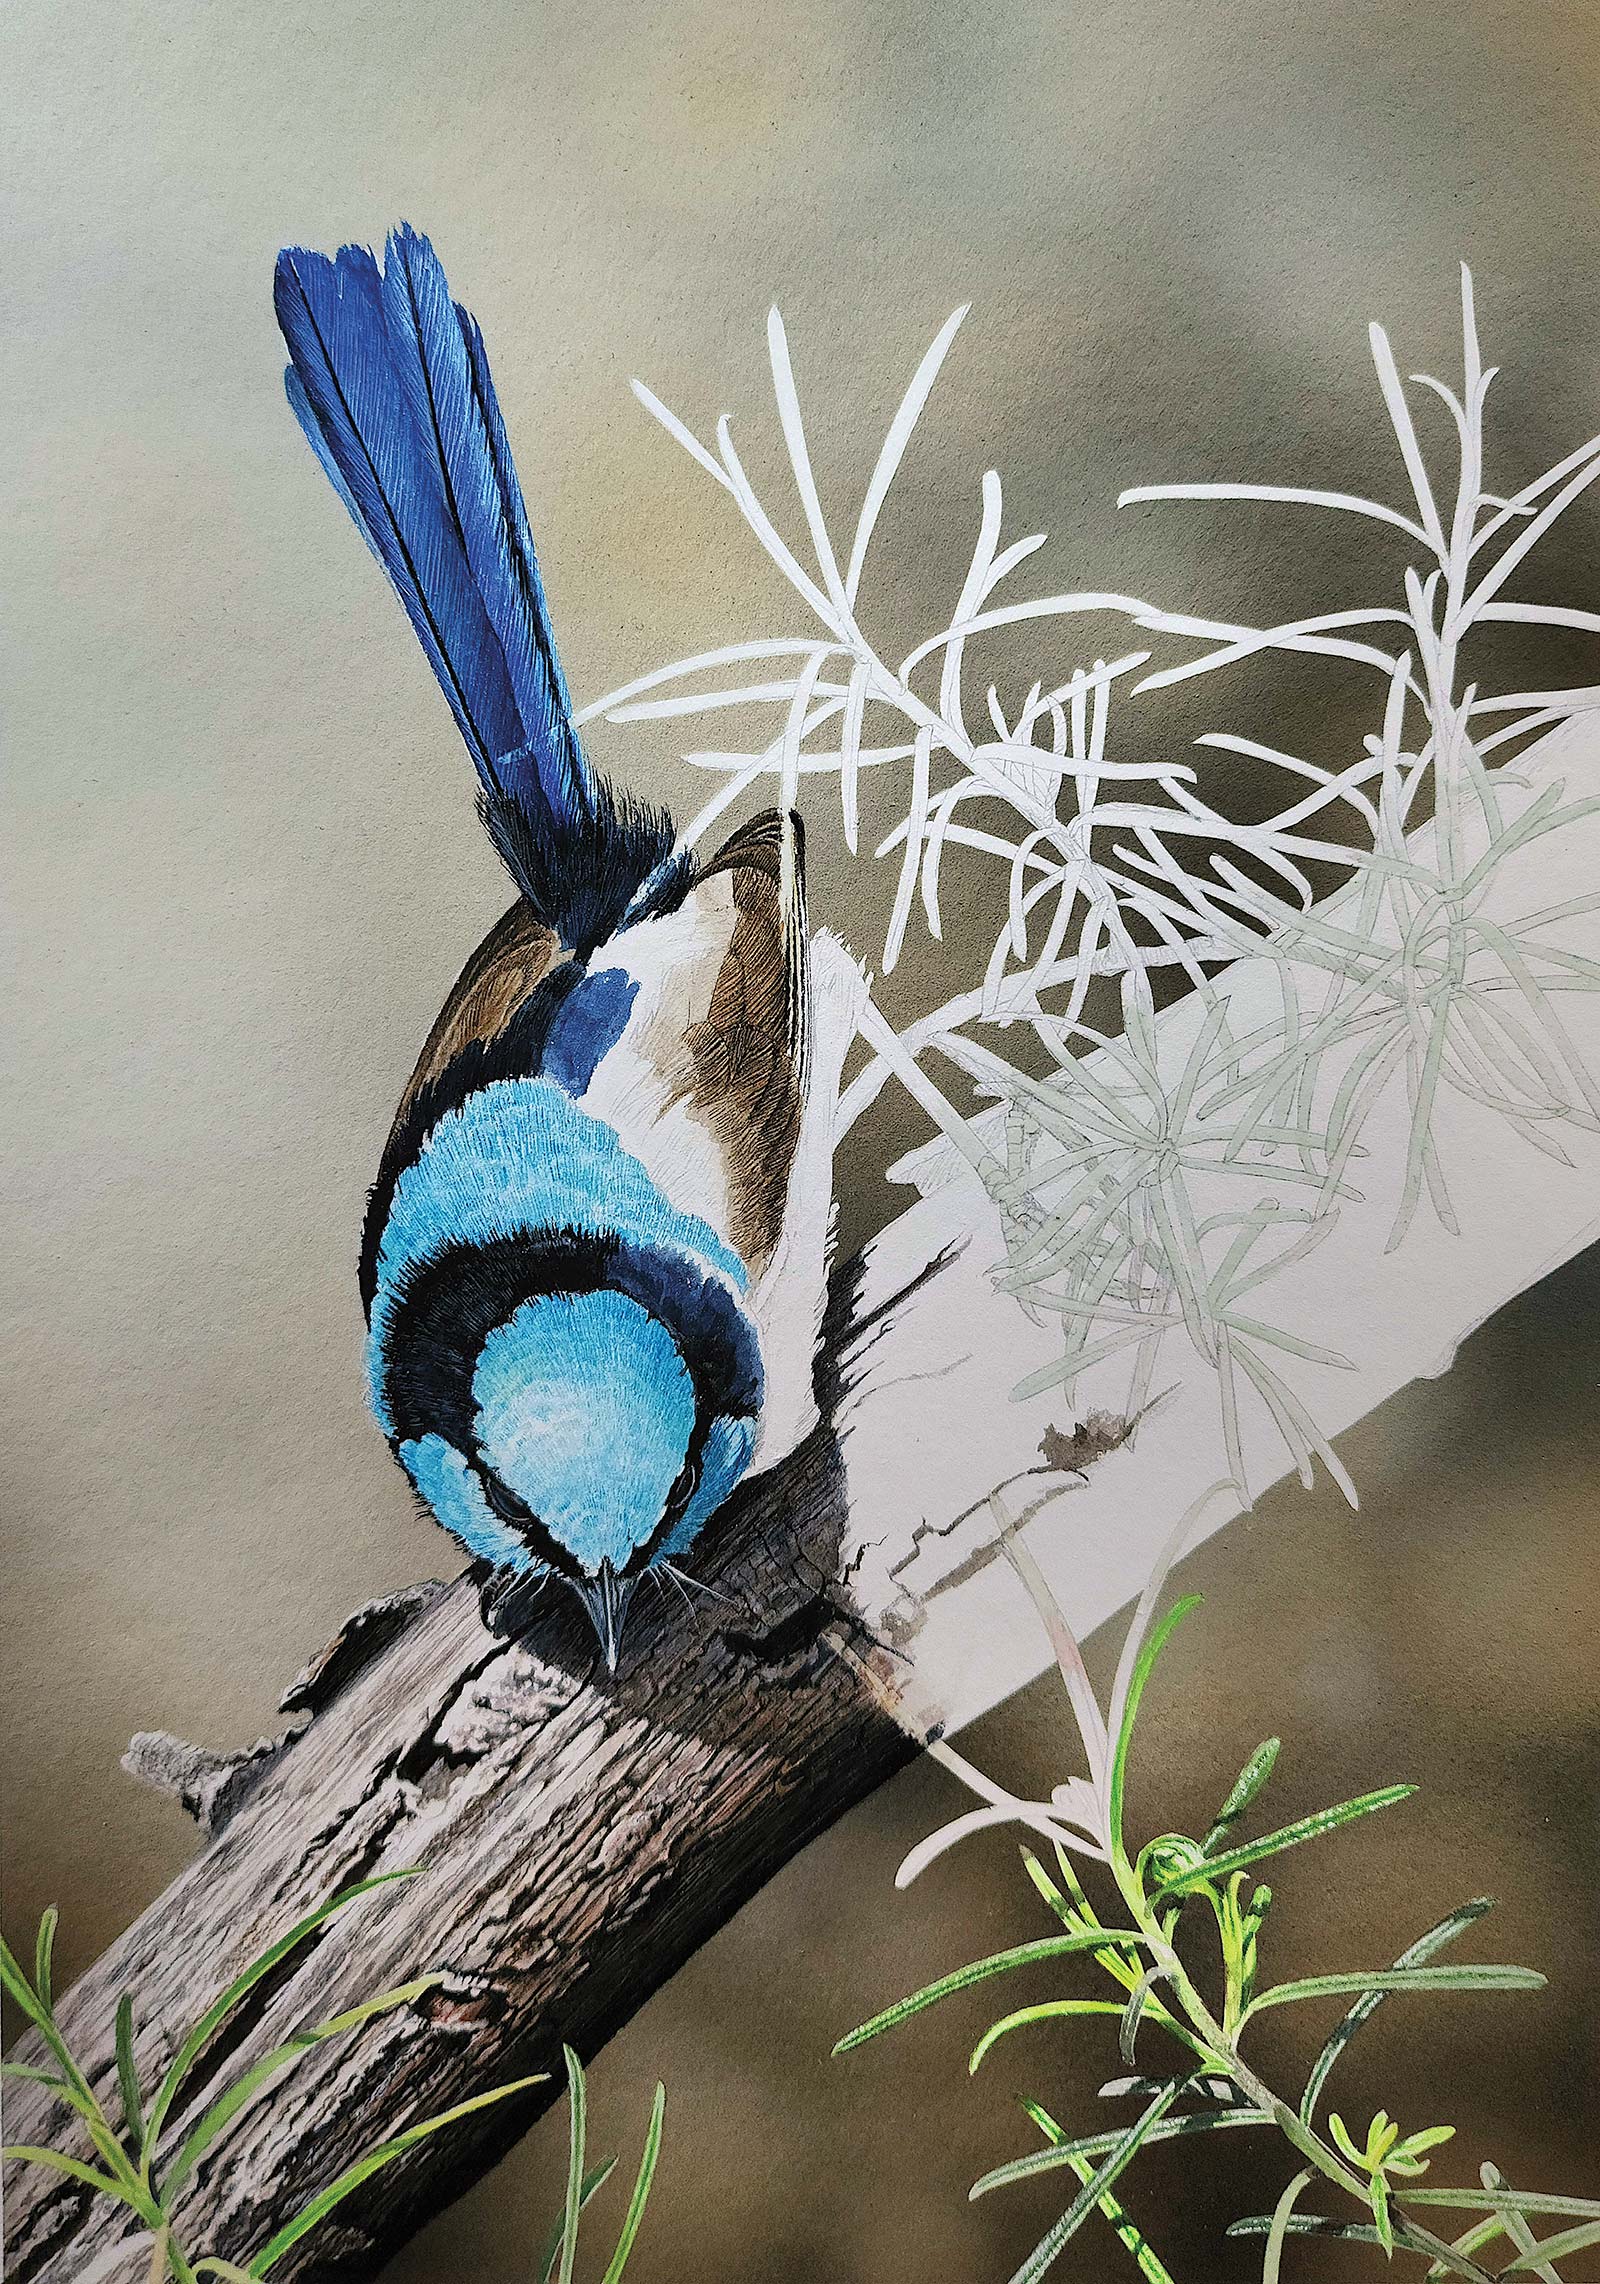
For the wren’s blue cap, cheek patches and mantle, I’ve used mainly manganese blue hue. This is a lovely transparent blue. Feather details and moulding are done with Winsor blue (green shade). I’m not afraid to use black! It adds “oomph” to my work. However, my application of black is tempered with other colors. For the black back of the wren, I’ve painted over the initial black with highlights consisting of a mix of white gouache and ultramarine blue to suggest the light hitting the feathers. The tail is a primarily ultramarine, indanthrene and Payne’s gray finished with small white gouache highlights.
Custom Color Swatches
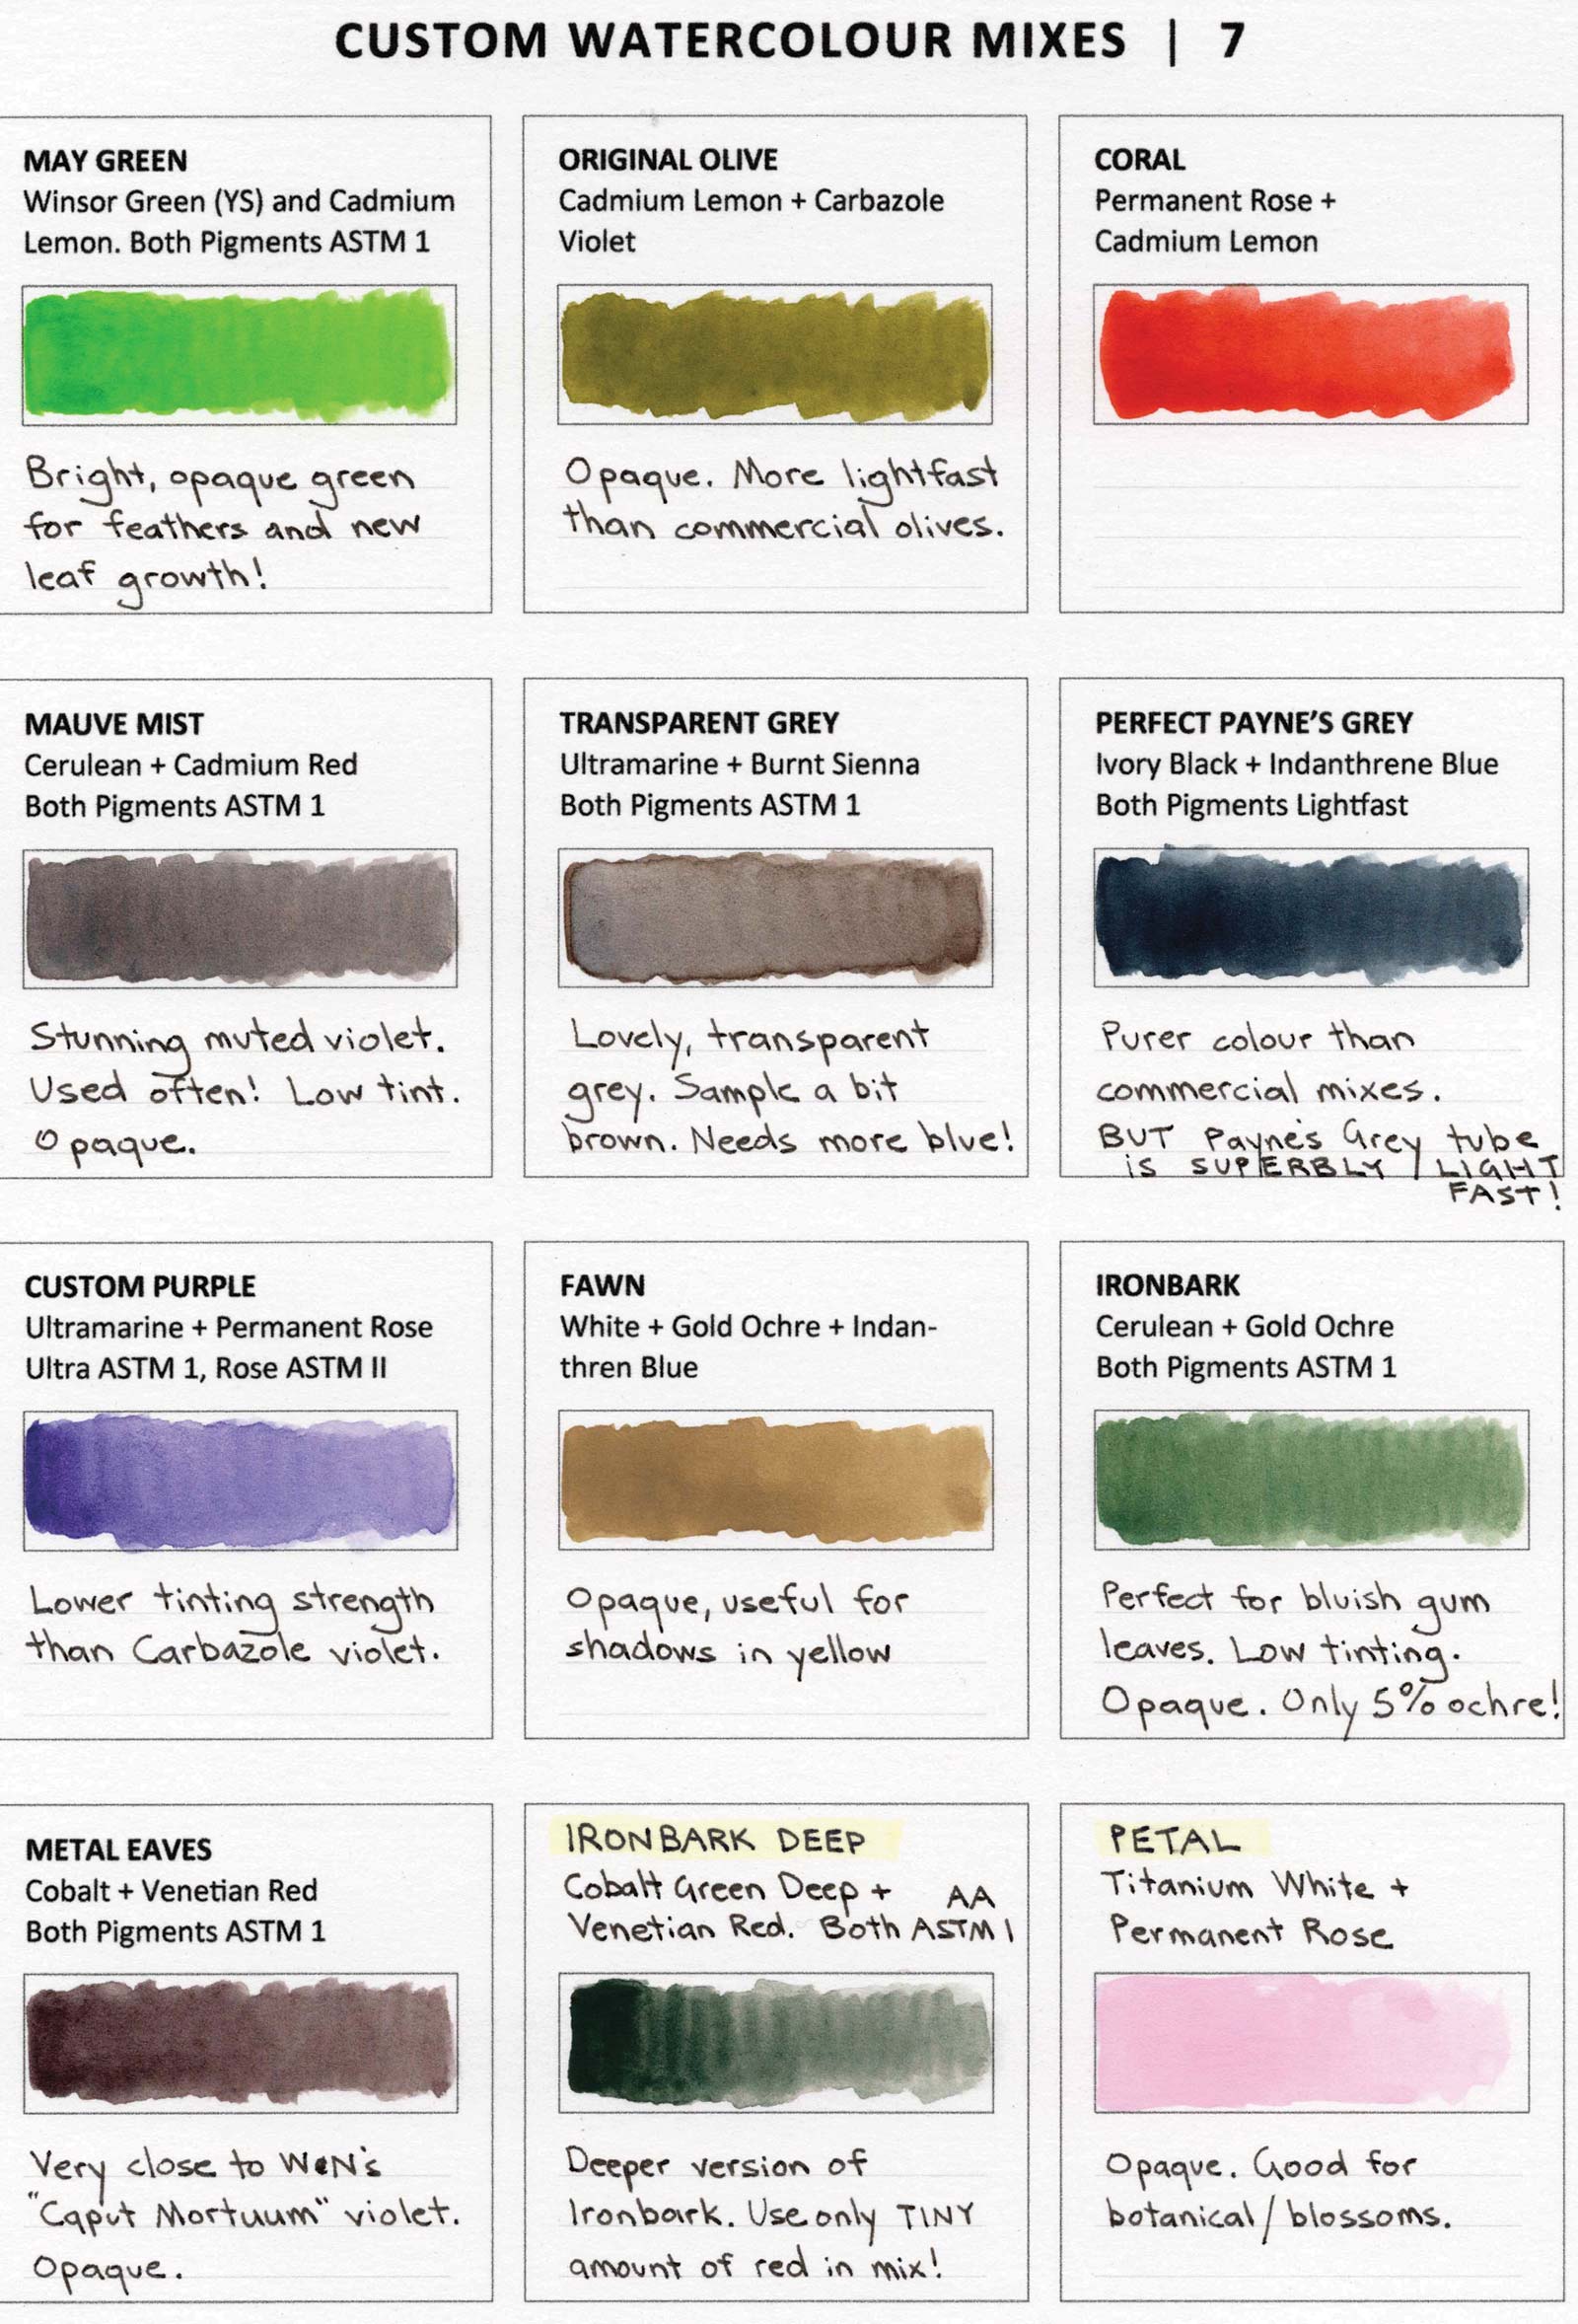
For special colors I use regularly, I find mixing my favorite custom mixes saves time. Squeezing from the paint tube into the tiny pans and mixing with a toothpick is not only great fun, but better for your mixing skills. Why purchase hundreds of colors when you can mix thousands of your own custom colors? It helps to label the underside of your pans with the color name, as watercolors can look similarly dark in their pans.
Mixing Swatch Samples
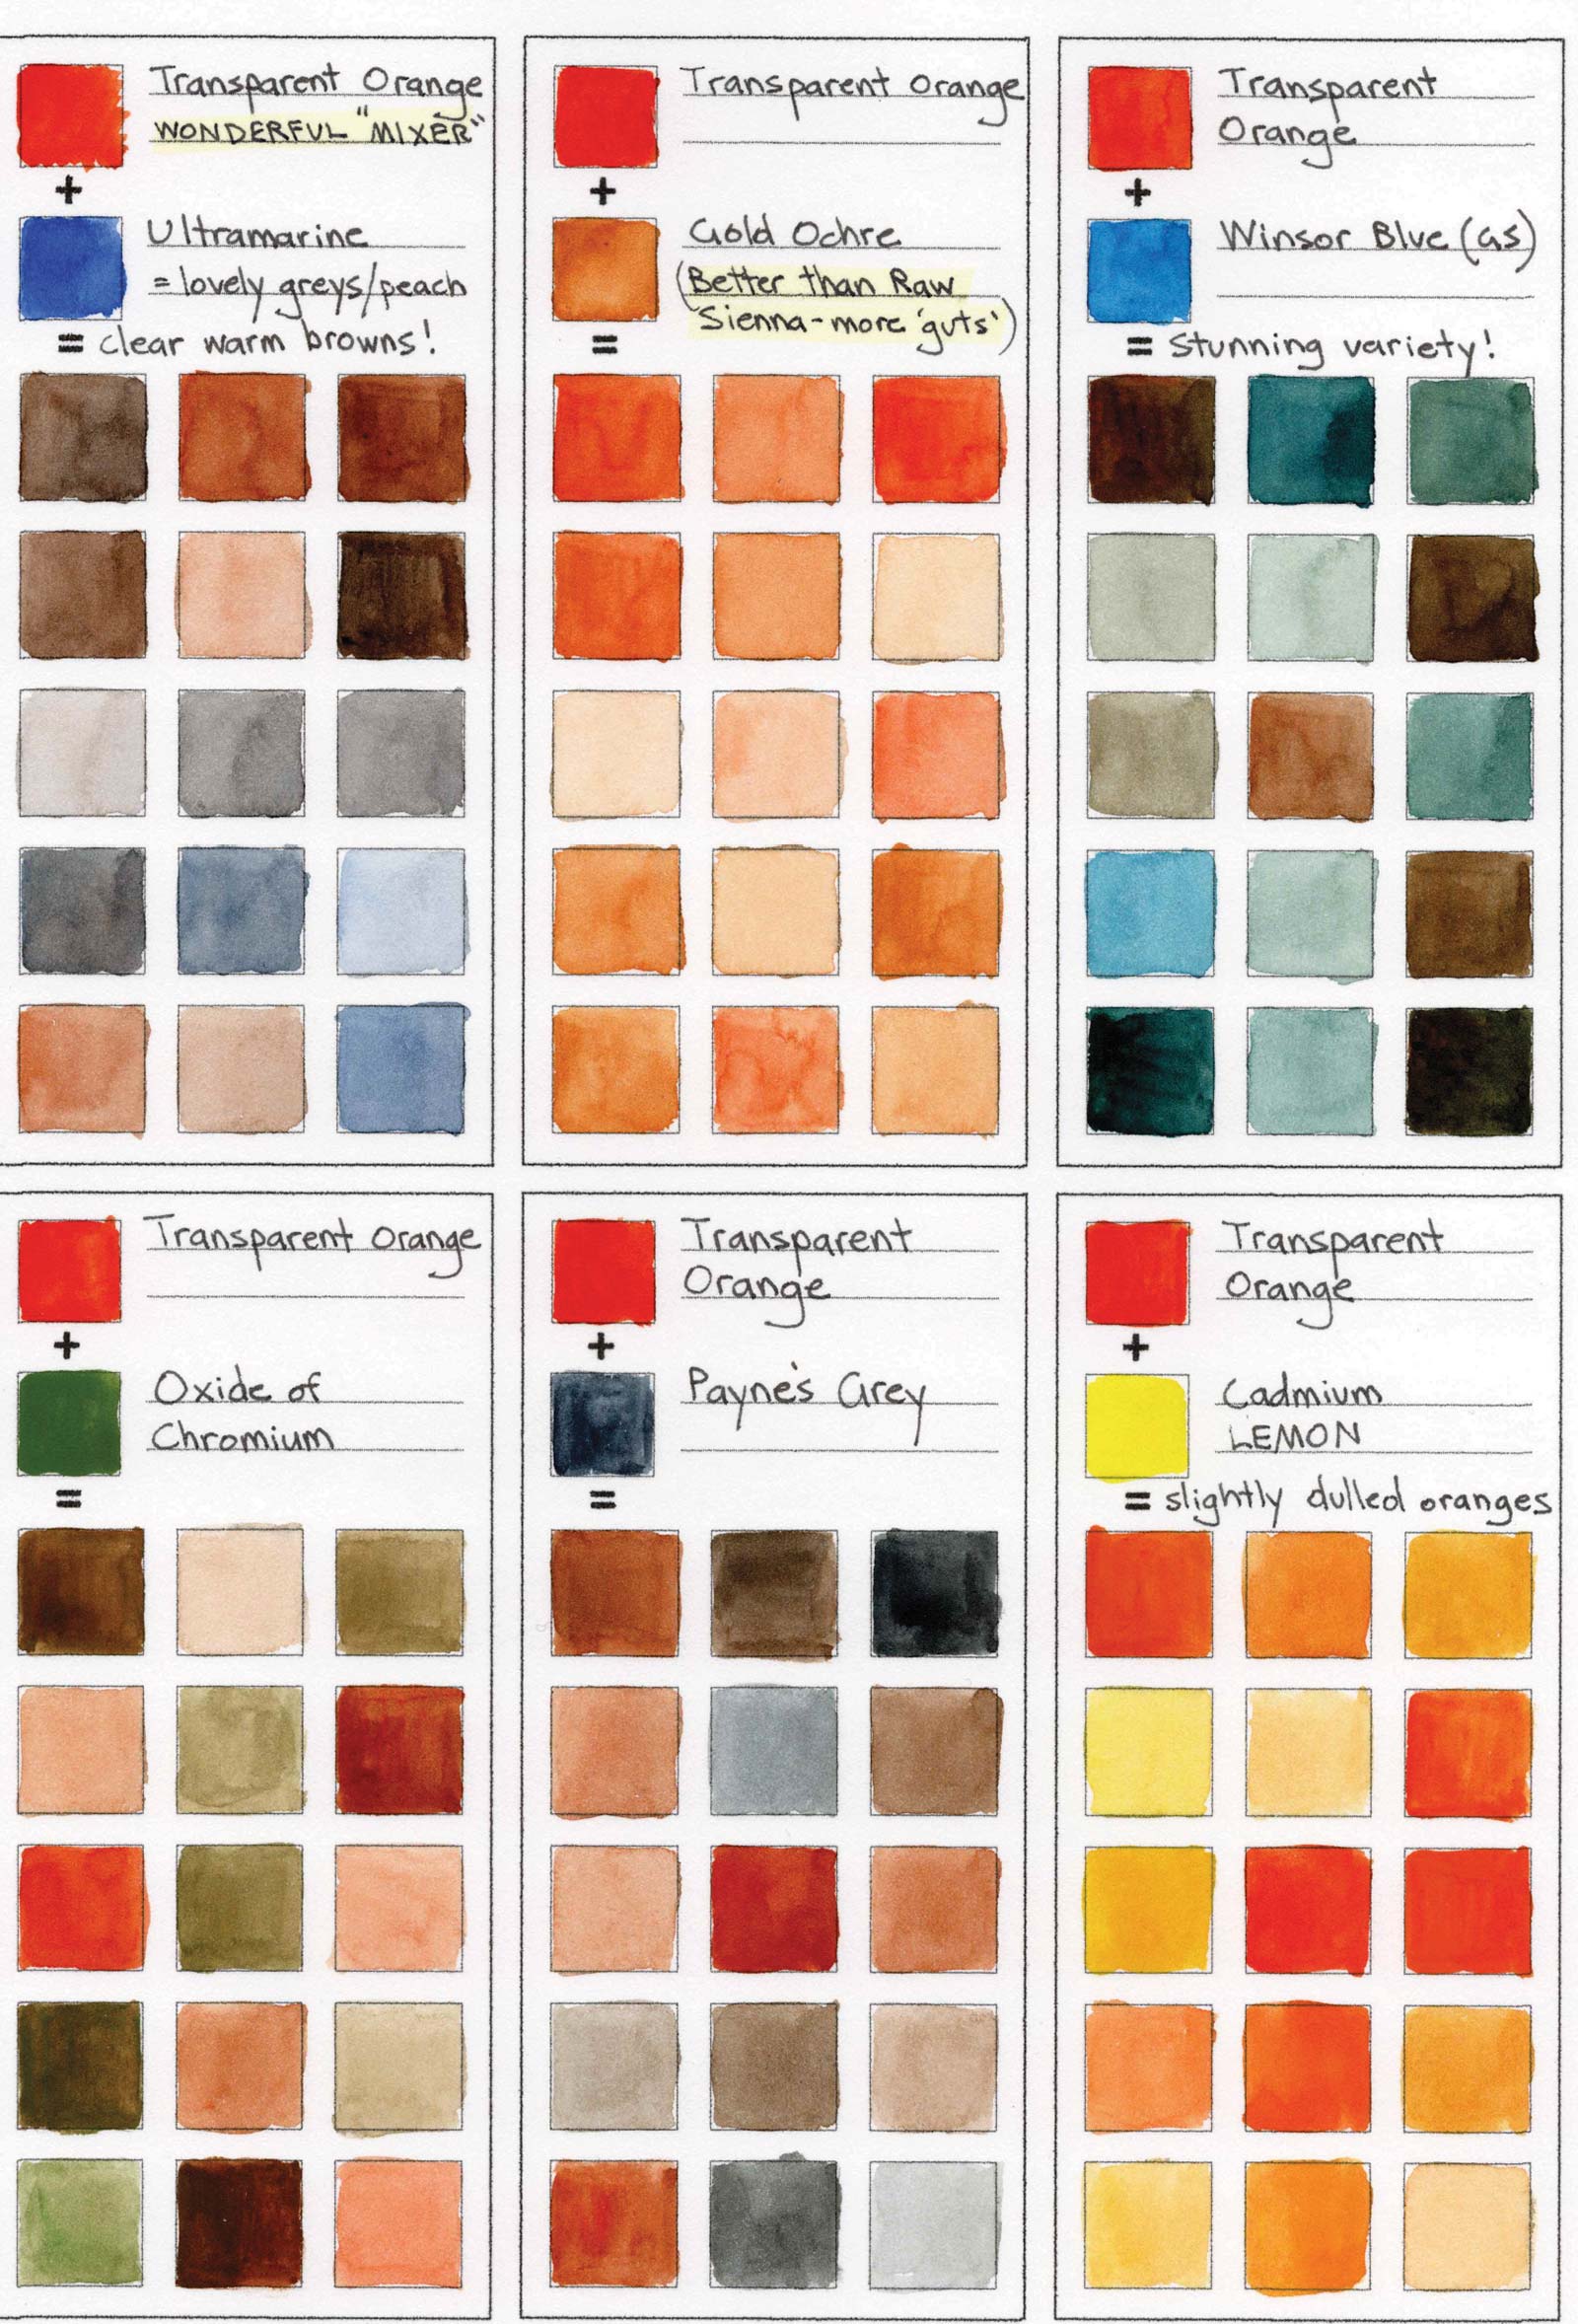
I’ve had wonderful fun creating my own mixing pages. After painting for so many years, it’s amazing how often I learn something new and surprising about color mixing. Creating a book of your own mixes will save time in the long run, as you can easily refer to the mixes when deciding on “how to” mix a particular color.
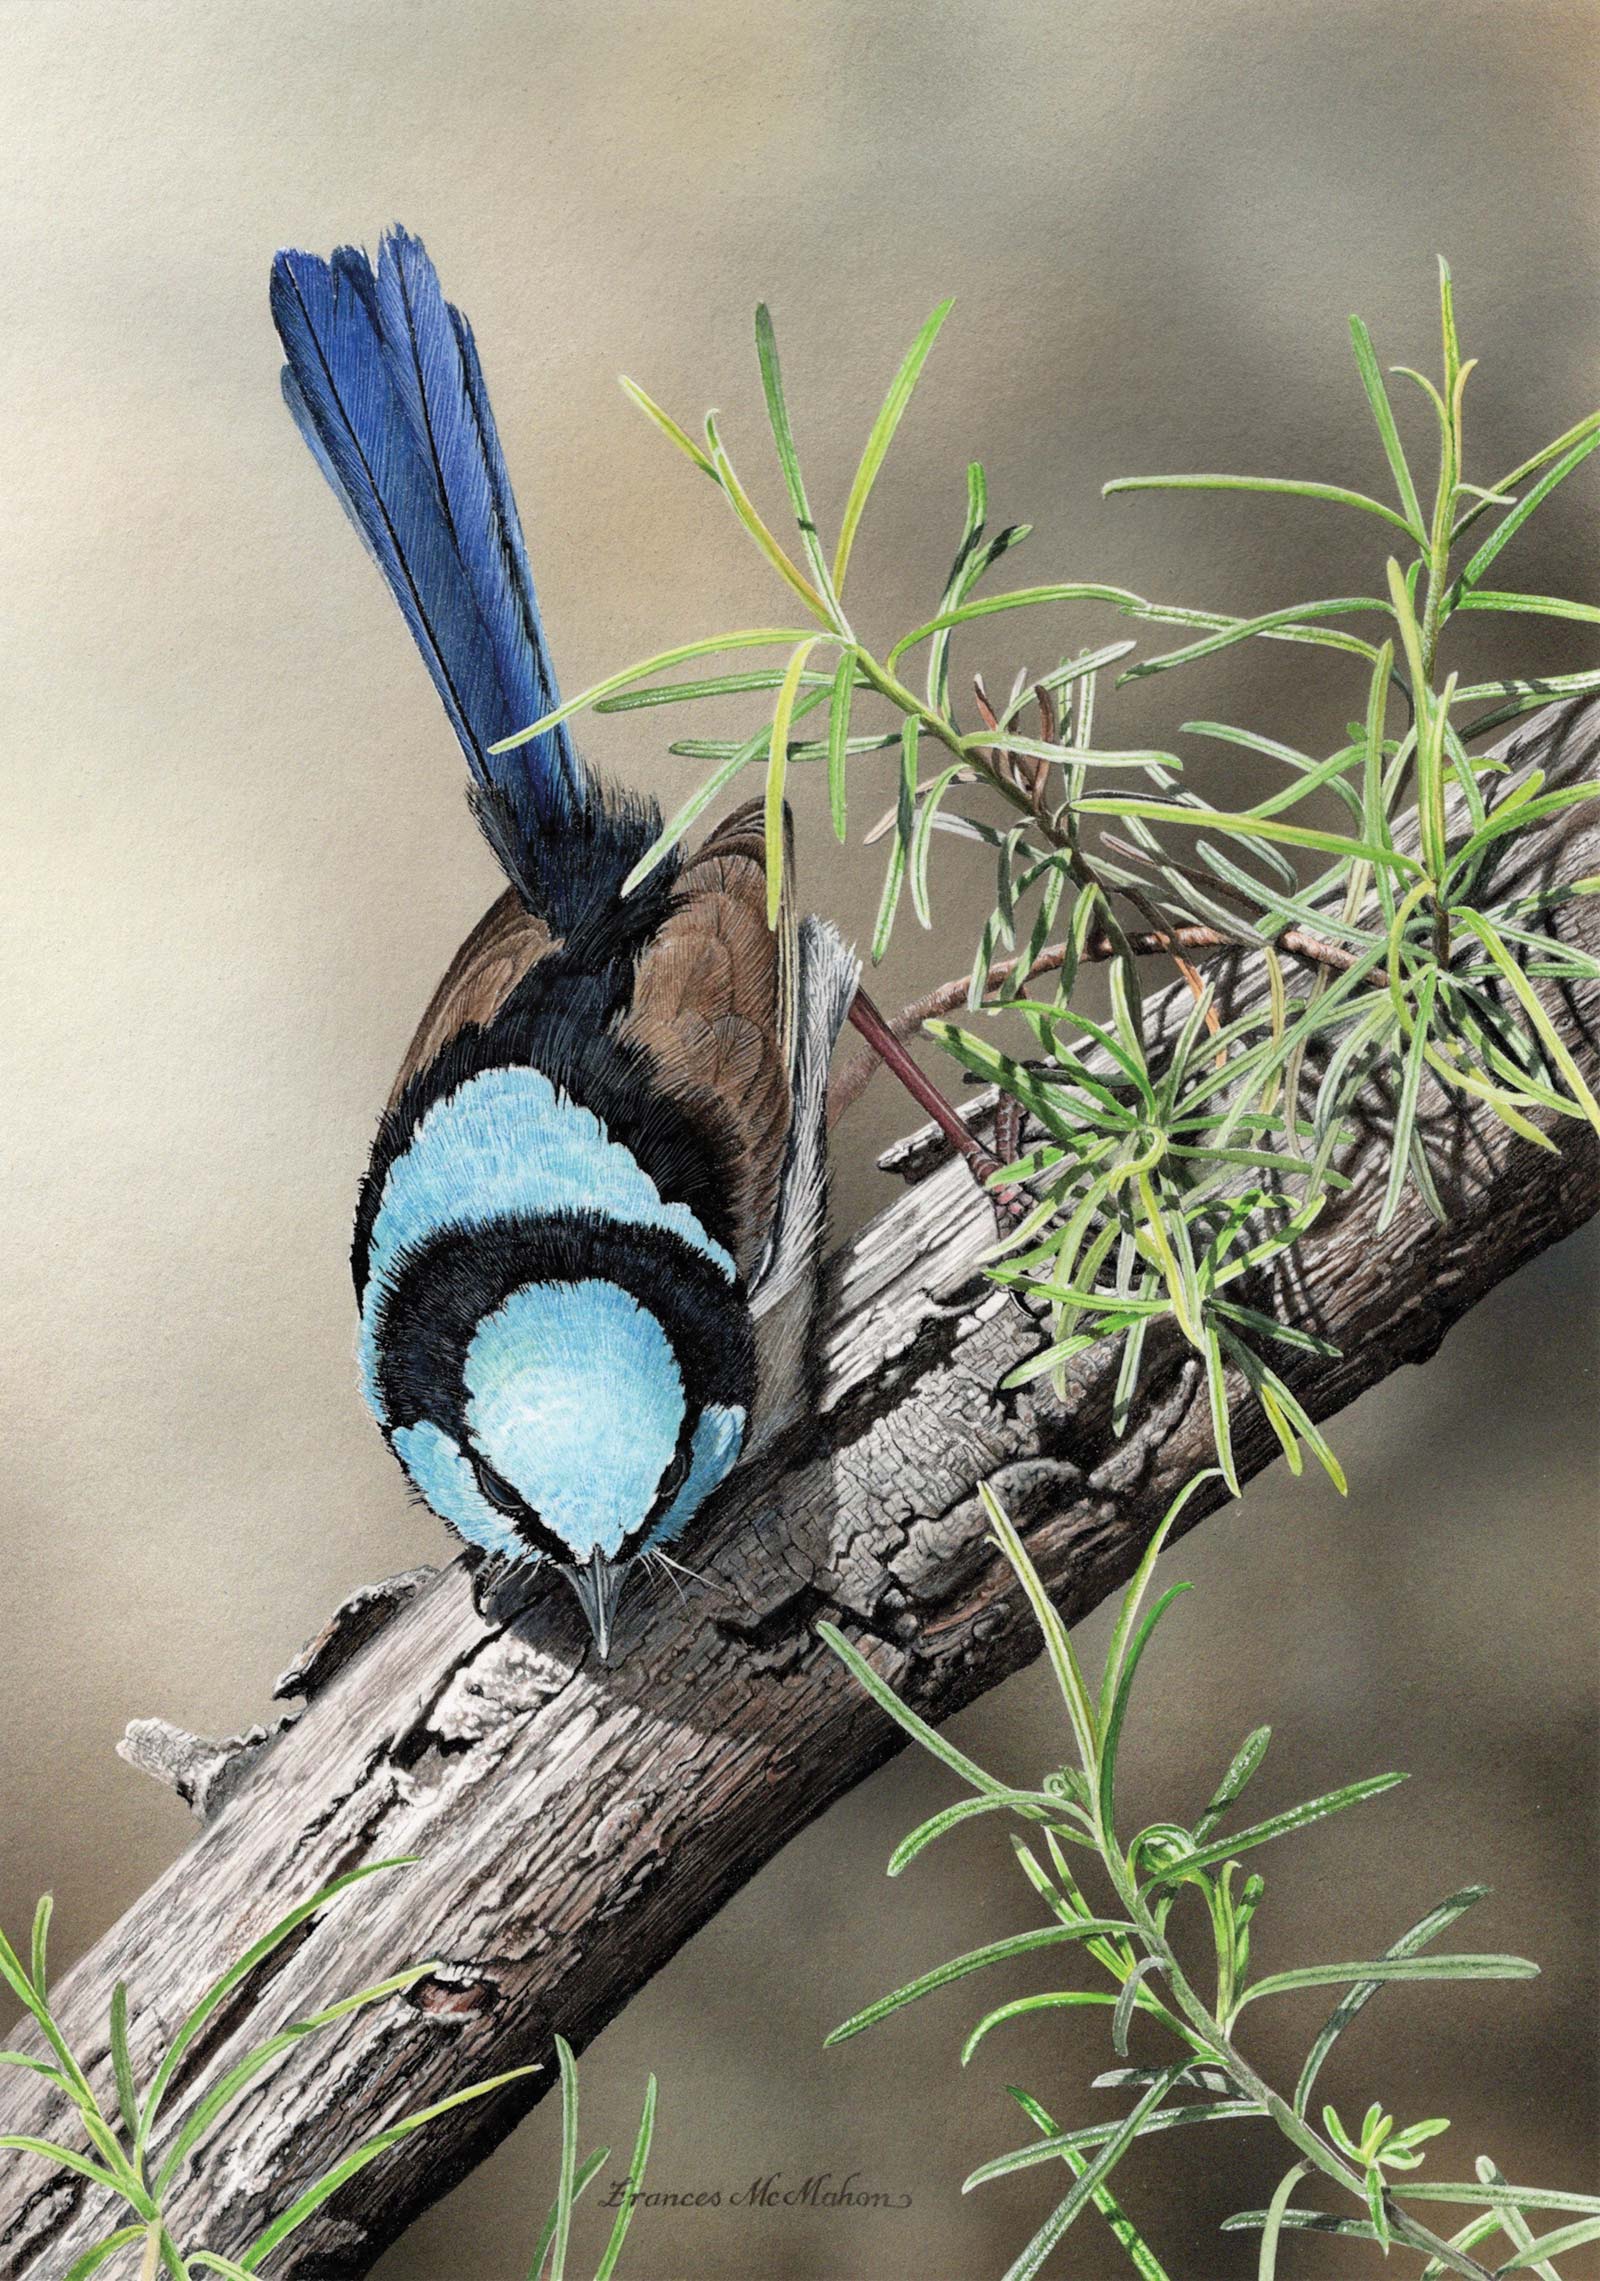
Stage 7 Finished Artwork
Spring Has Sprung (Superb Fairy-wren), watercolor, gouache and liquid acrylic on museum board, 10½ x 7½” (27 x 19 cm)
About the artist
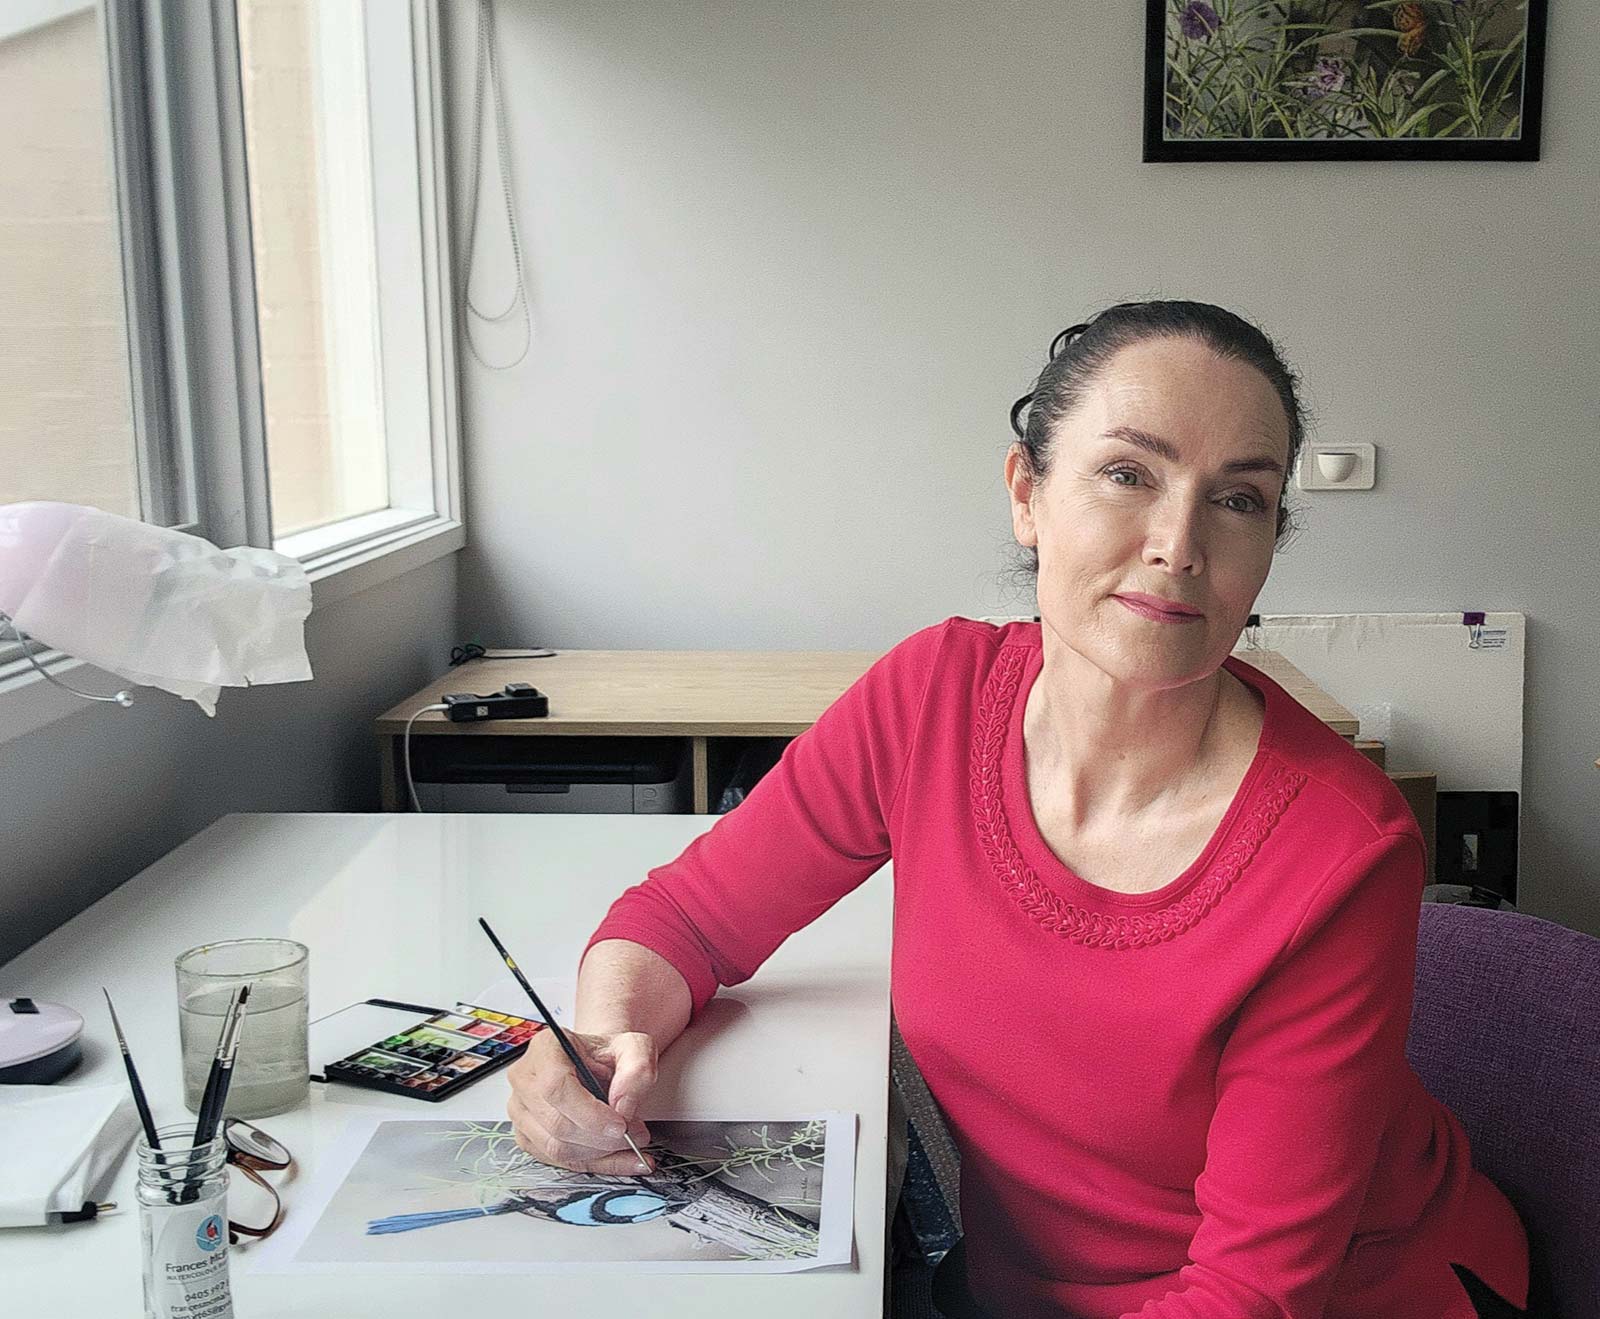 Frances McMahon
Born in 1965, Australian artist Frances McMahon has been painting birds since age 5. Indeed, it was at this tender age that she knew her destiny was to be a bird artist. Her astonishingly detailed paintings are masterfully and painstakingly created using the tiniest of brushes and finest quality watercolors on museum board. A single painting may take several months to complete, with some details so fine they may only be seen with a magnifying glass. She is entirely self-taught.
McMahon has won many awards for her work, including Best in Show (2022, 2025) and Award of Excellence (2023, 2024) at the prestigious Holmes Prize for Excellence in Realistic Australian Bird Art. She has her work licensed for production onto jigsaw puzzles and has been a featured artist in many magazines. In March 2025 she was granted membership and the title of Art Renewal Center Associate Living Master. This is an internationally recognized title, with only 14 other Australians represented. Her commissioned works are held in private collections in Australia, New York, Minnesota and Ontario, Canada.
Represented by
Morpeth Gallery, NSW, Australia, morpethgallery.com
Contact at
birdart65@gmail.com
francesmcmahon.com