



In this step-by-step demonstration, I will break down my process for building a portrait from careful observation to expressive finish. By combining disciplined structure with intuitive mark-making, I strive to create work that feels both resolved and alive. This approach emphasizes patience, clarity and a dynamic balance between control and freedom.
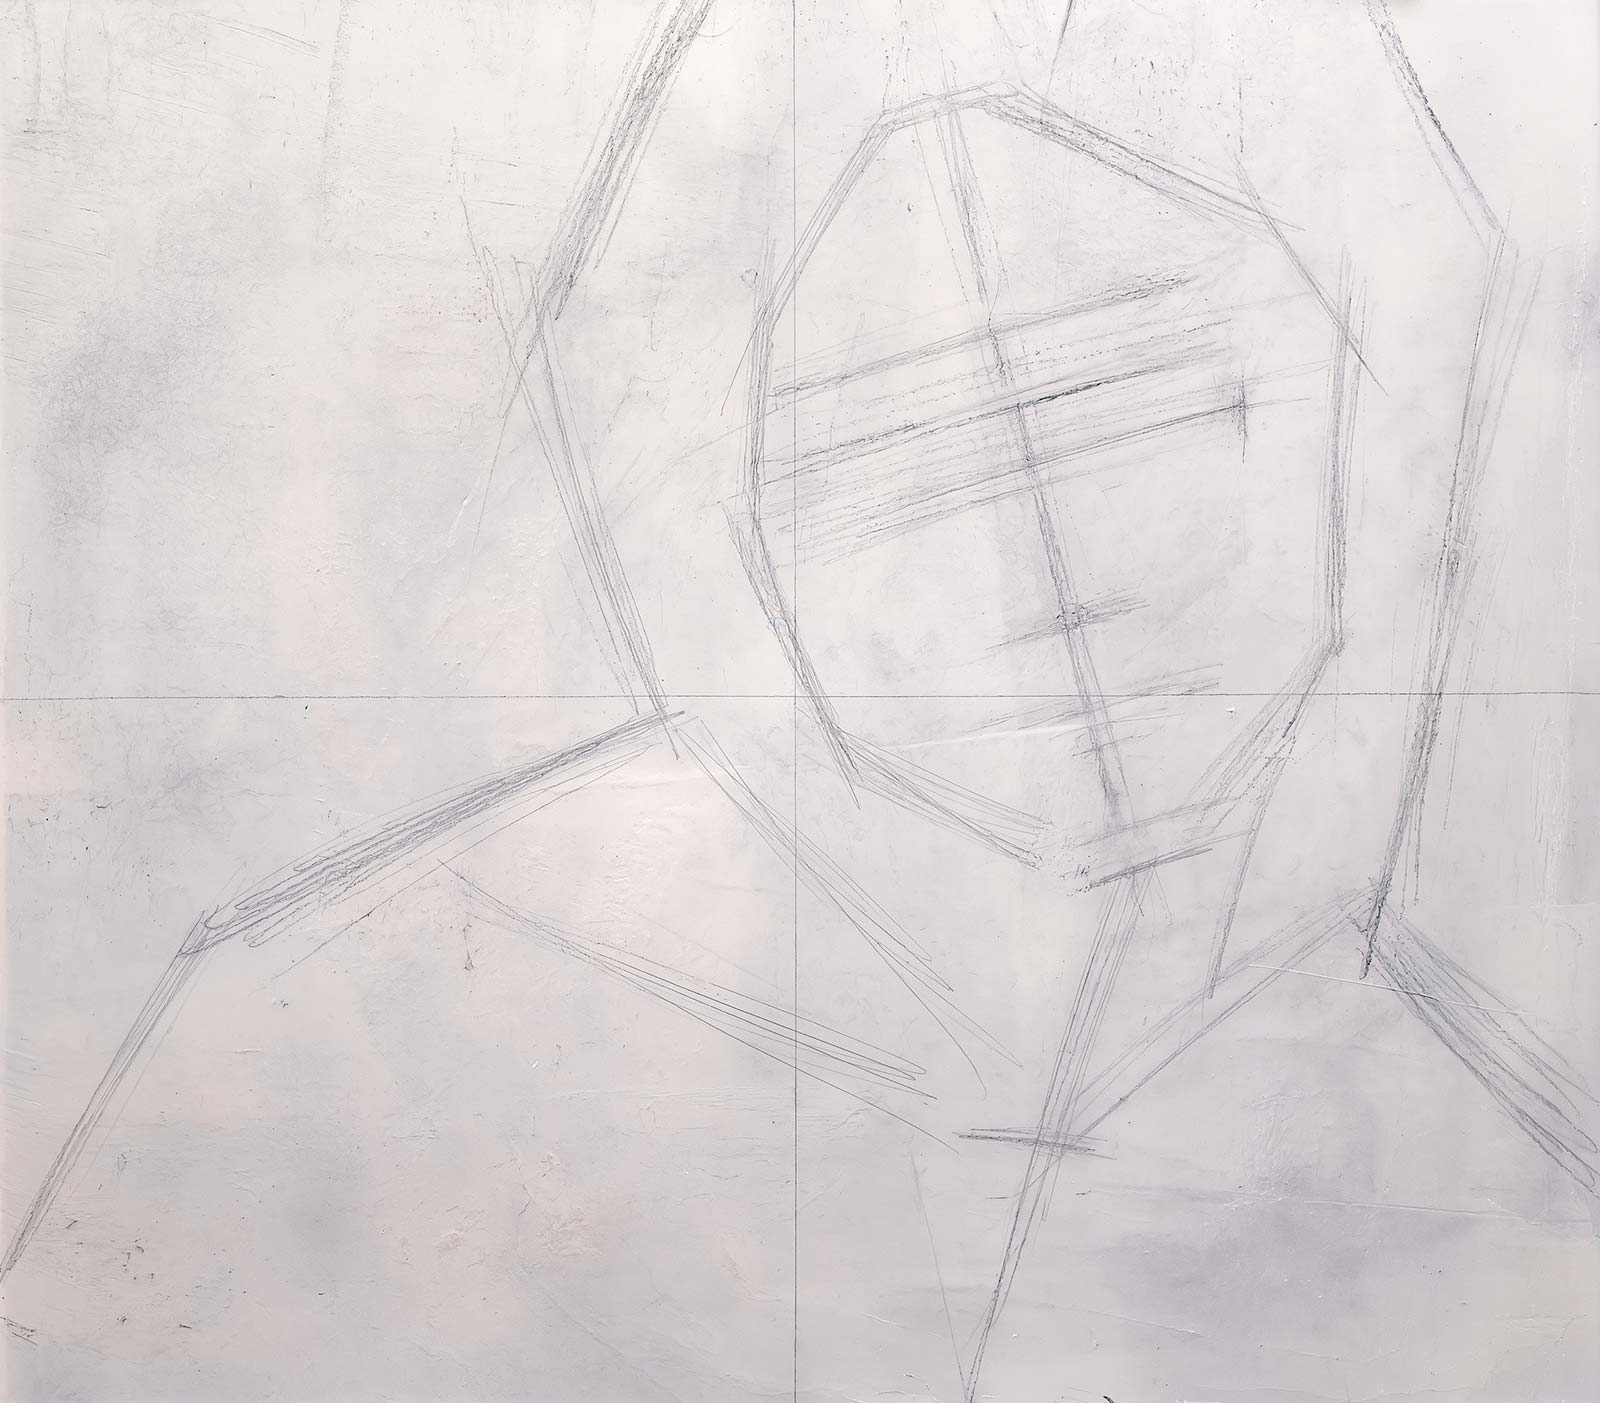
Stage 1 Establishing the Armature
This phase begins the portrait’s armature using a light 2H pencil, focusing on accurate proportions without committing too heavily. By keeping the drawing faint and exploratory, I remain responsive, adjusting relationships as needed. Avoiding early darkness prevents clutter and allows clearer decision-making as the portrait begins to take shape.
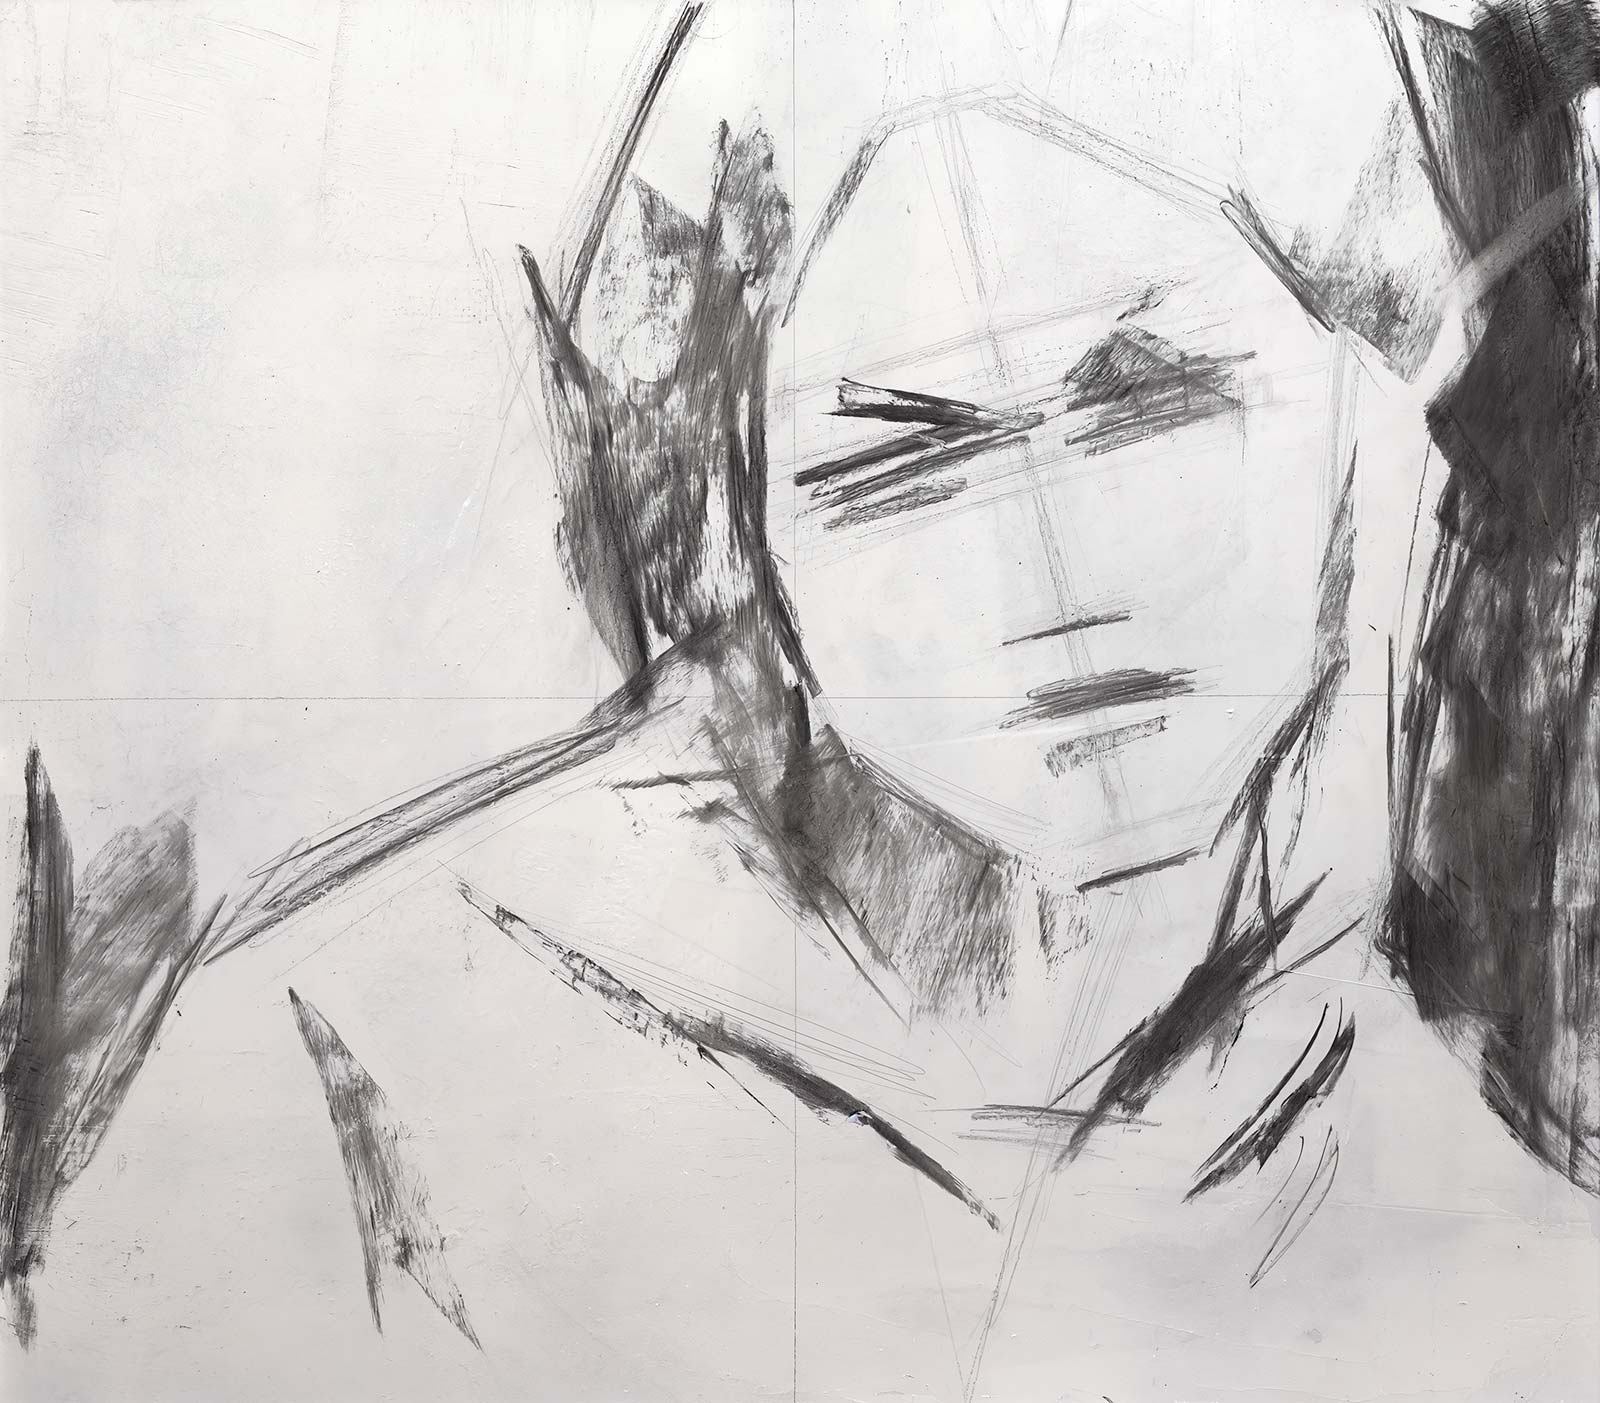
Stage 2 Committing to Form
Once the armature is in place, I build darker areas with willow charcoal. This stage shifts from low to high commitment, requiring more confident marks. By contrasting light construction with bolder applications,
I establish stronger visual anchors that clarify key features and reinforce the structure.
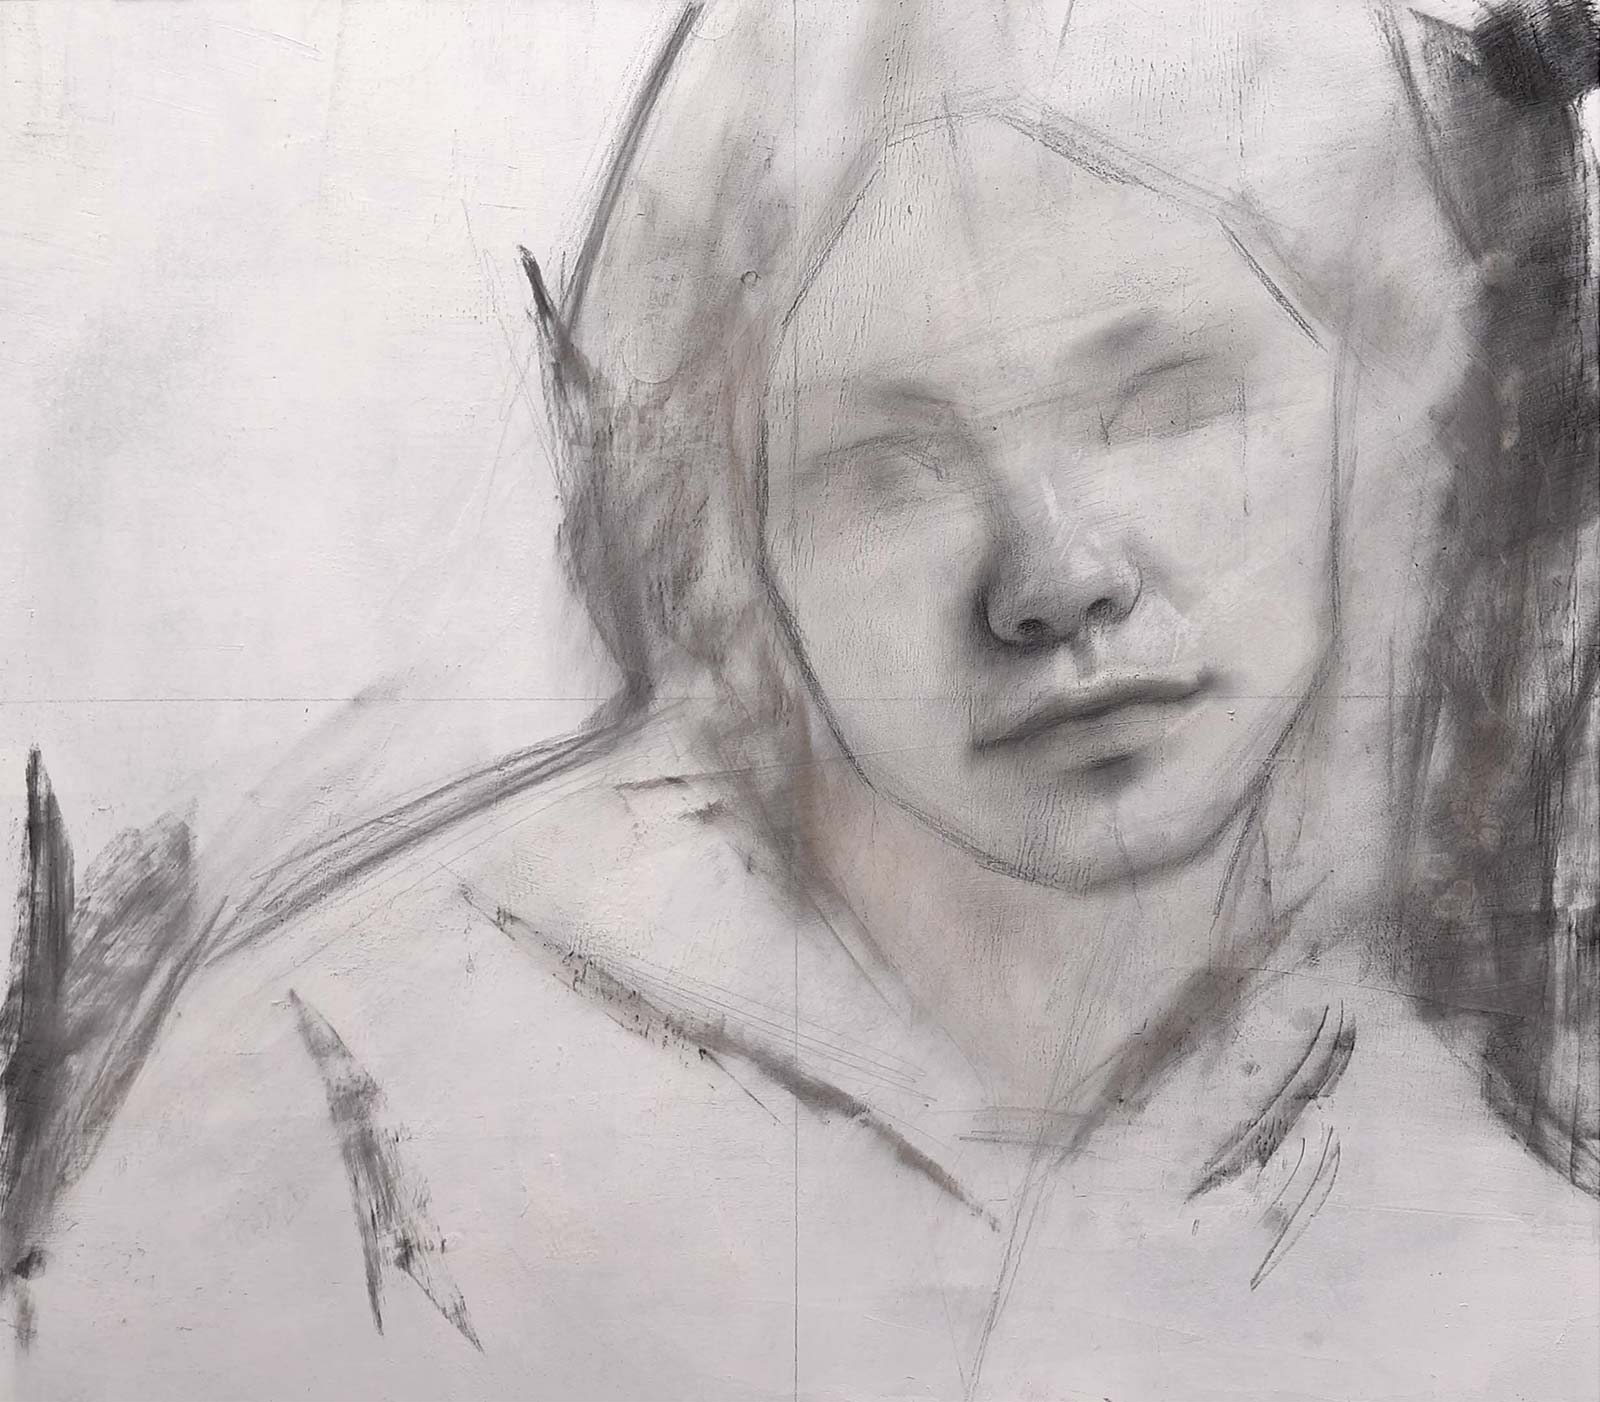
Stage 3 Unifying the Drawing
I soften or “ghost” the charcoal, diffusing it to unify the form and reduce harsh contrast. Then I refine features, especially the nose, using a mechanical pencil and mono eraser for greater precision while maintaining subtlety.
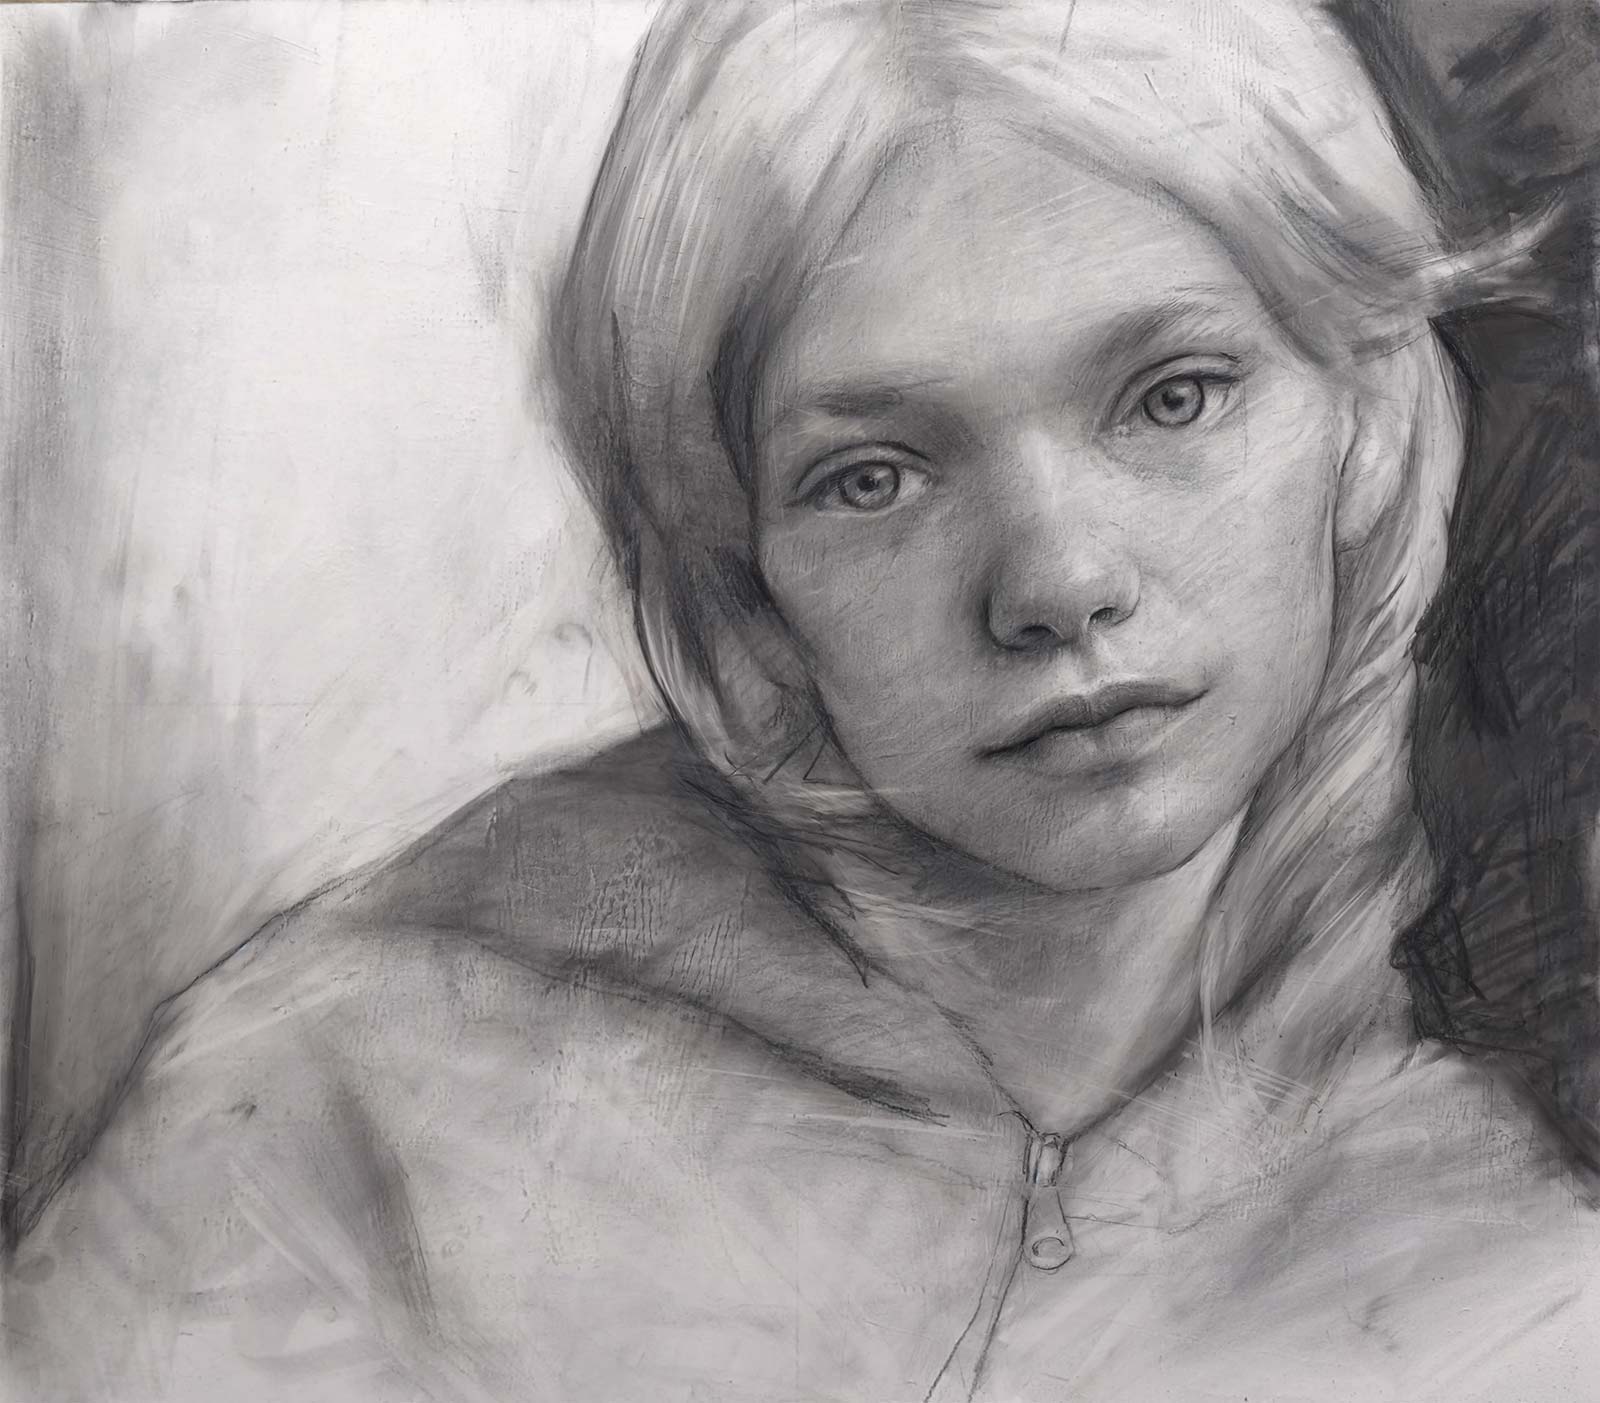
Stage 4 Building Confidence Through Observation
Using the nose as a keystone, I render the rest of the face, studying form and proportion before introducing paint. This stage builds confidence in the structure and ensures the painting begins with clarity rather than guesswork.
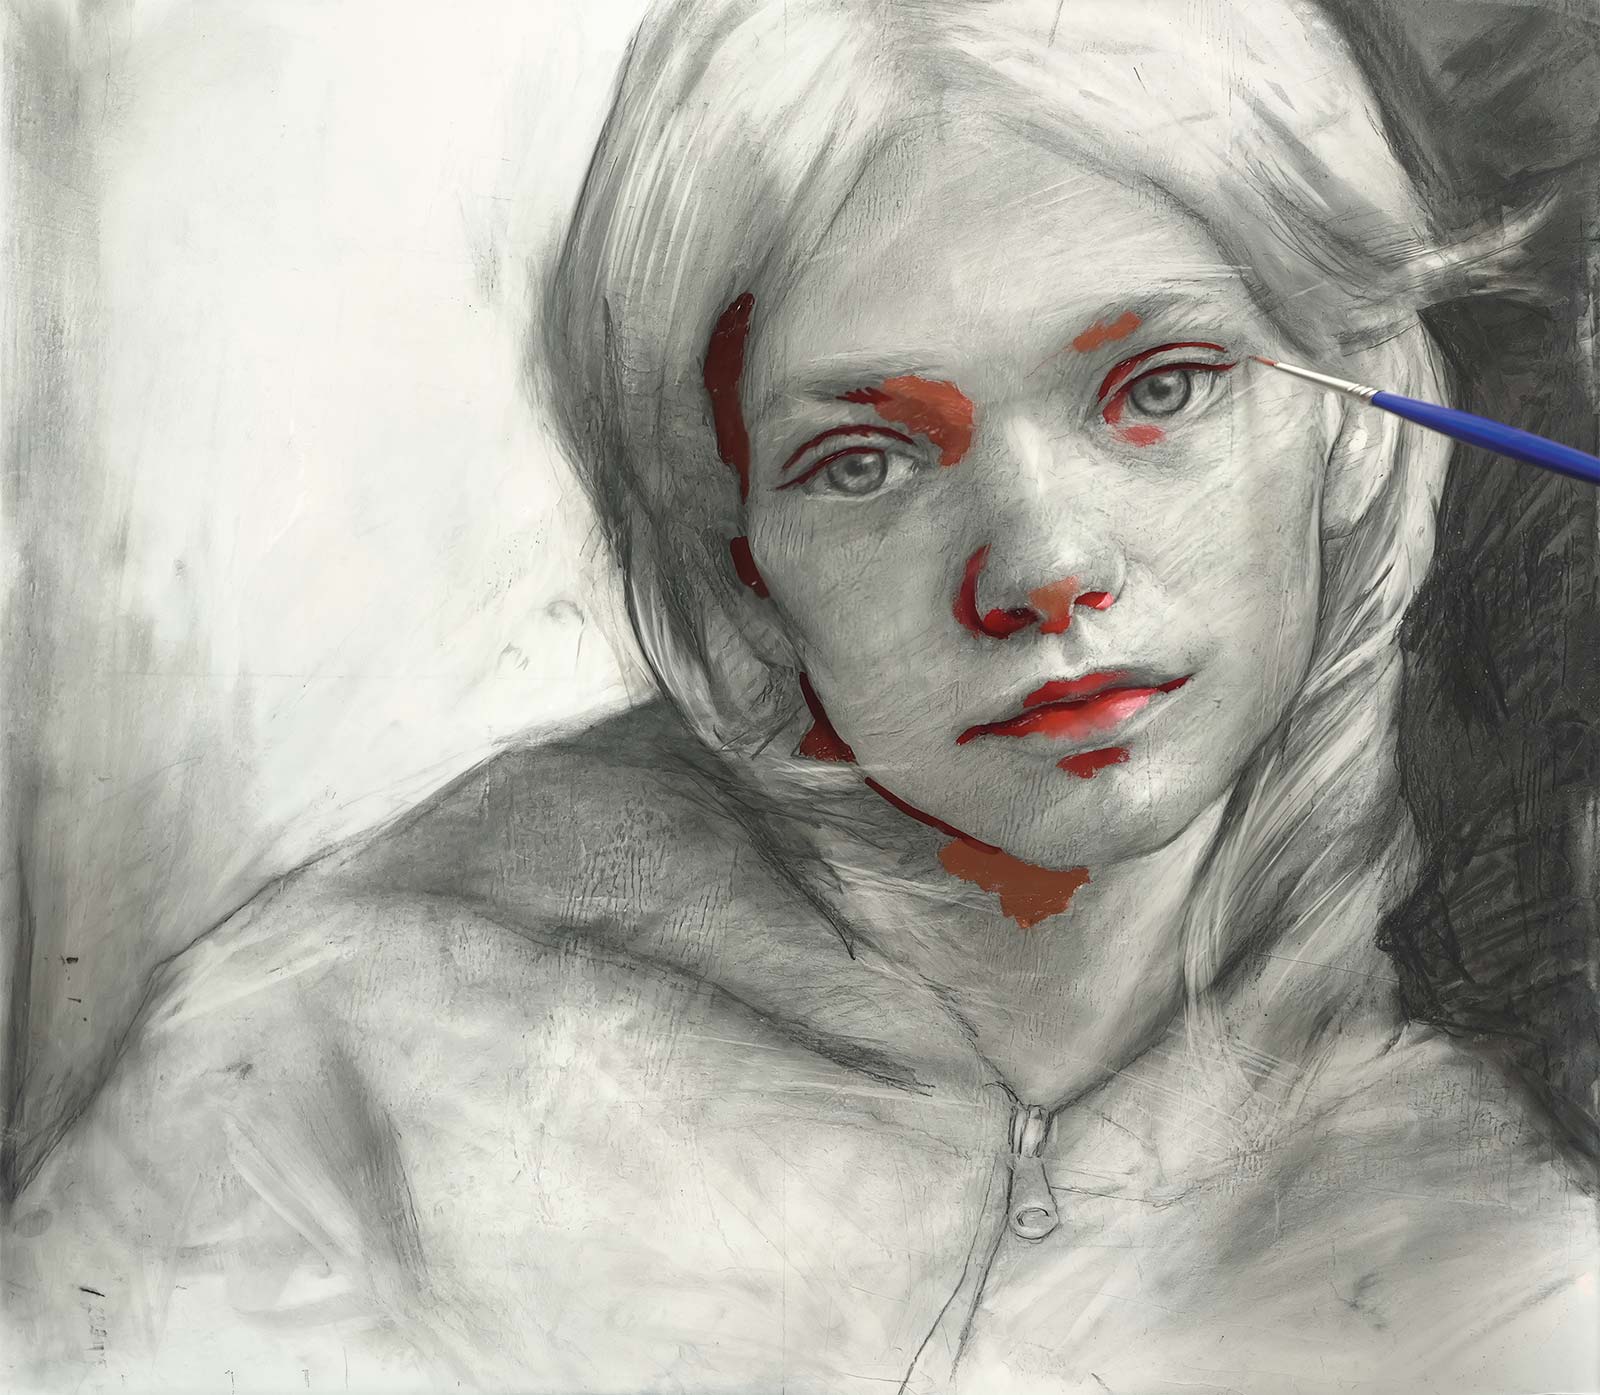
Stage 5 Establishing Depth with Paint After completing the drawing,
I seal it with spray fixative and begin painting, focusing on occlusion shadows, which are the deepest areas where forms meet. I often use rich reds so that the darks feel warm and alive rather than dull.
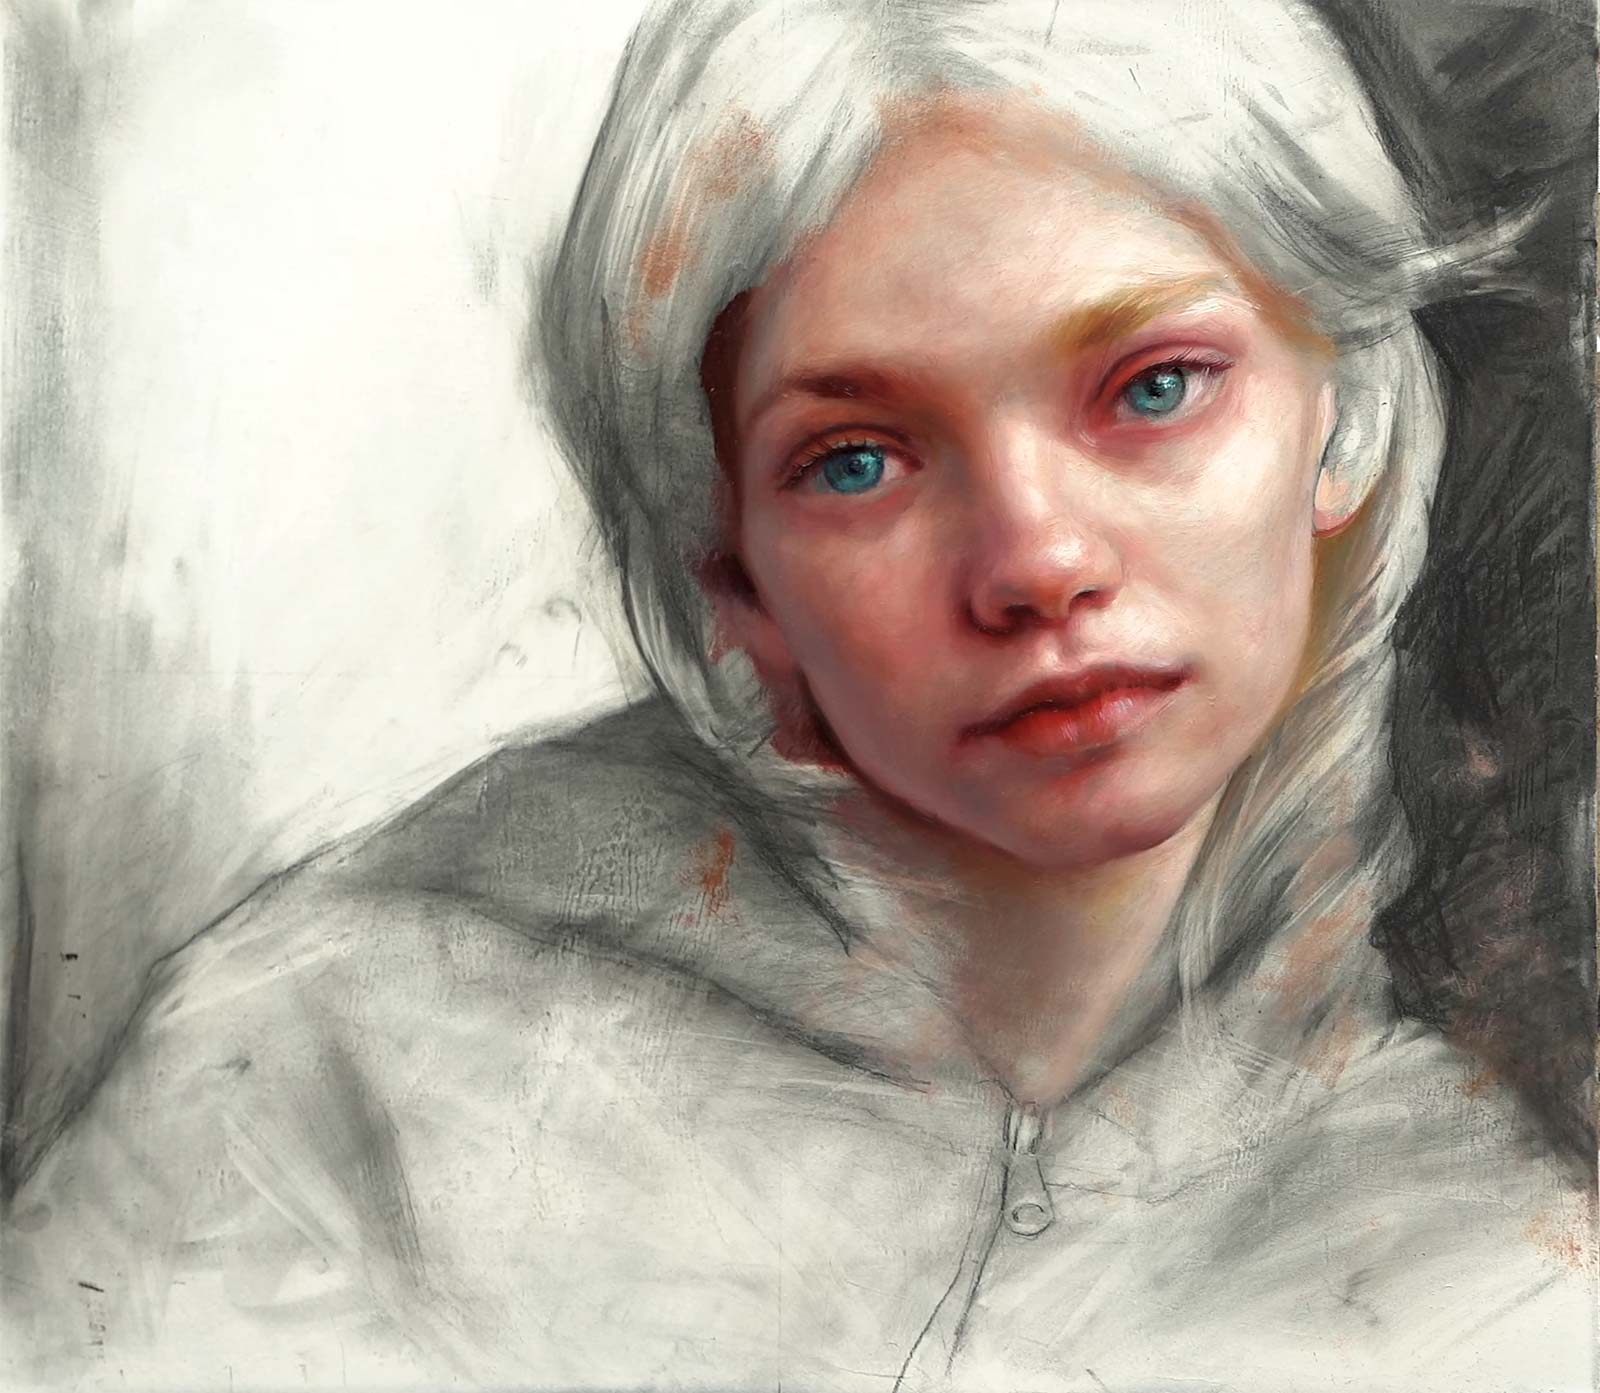
Stage 6 Developing the Surface
As I continue, I render the face carefully, often bringing sections close to completion while maintaining a wet edge to preserve unity. Working in sections allows for a higher level of finish without spreading attention too thin.
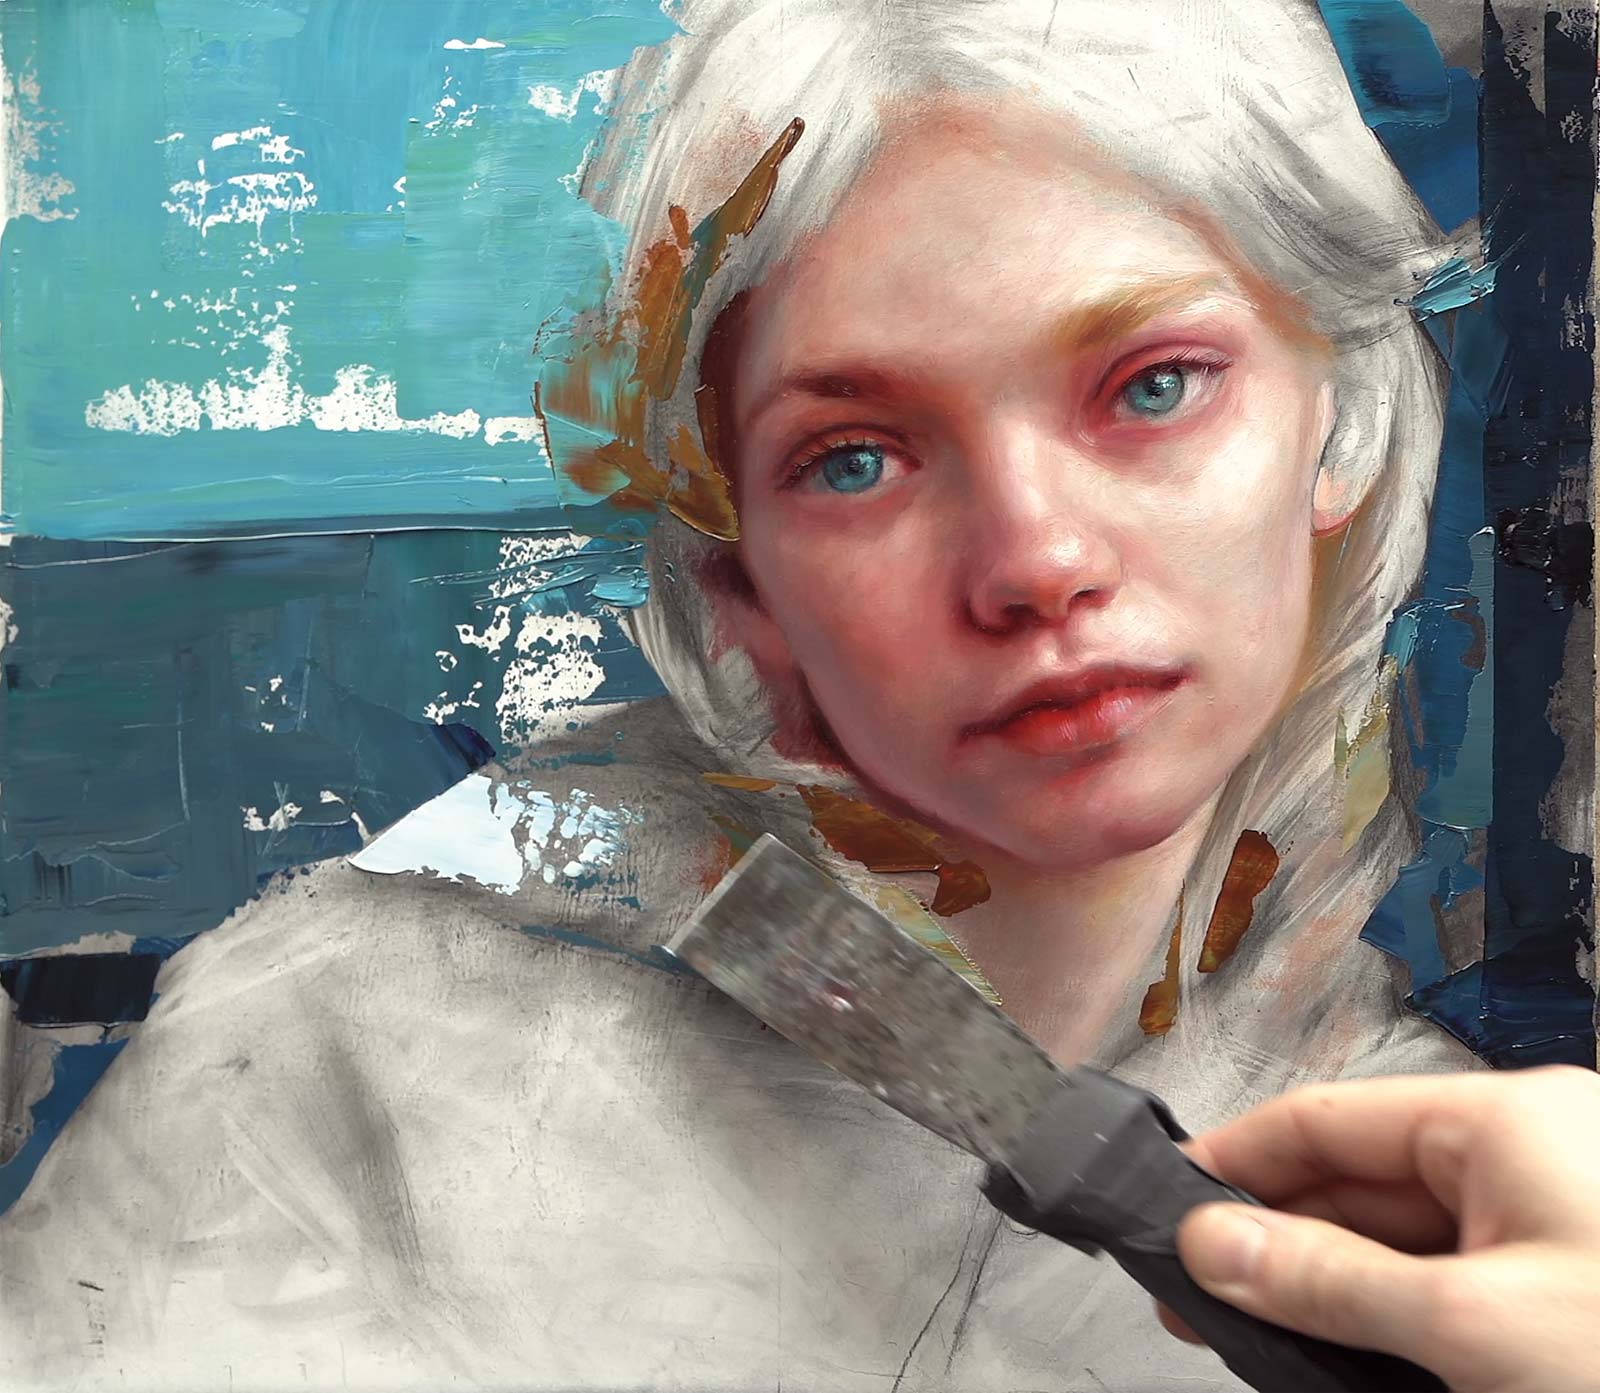
Stage 7 Introducing Energy
I then introduce a more intuitive approach. Using tools like putty knives, I build paint in surrounding areas, engaging more freely with the material. This contrasts with earlier precision and adds energy and movement.
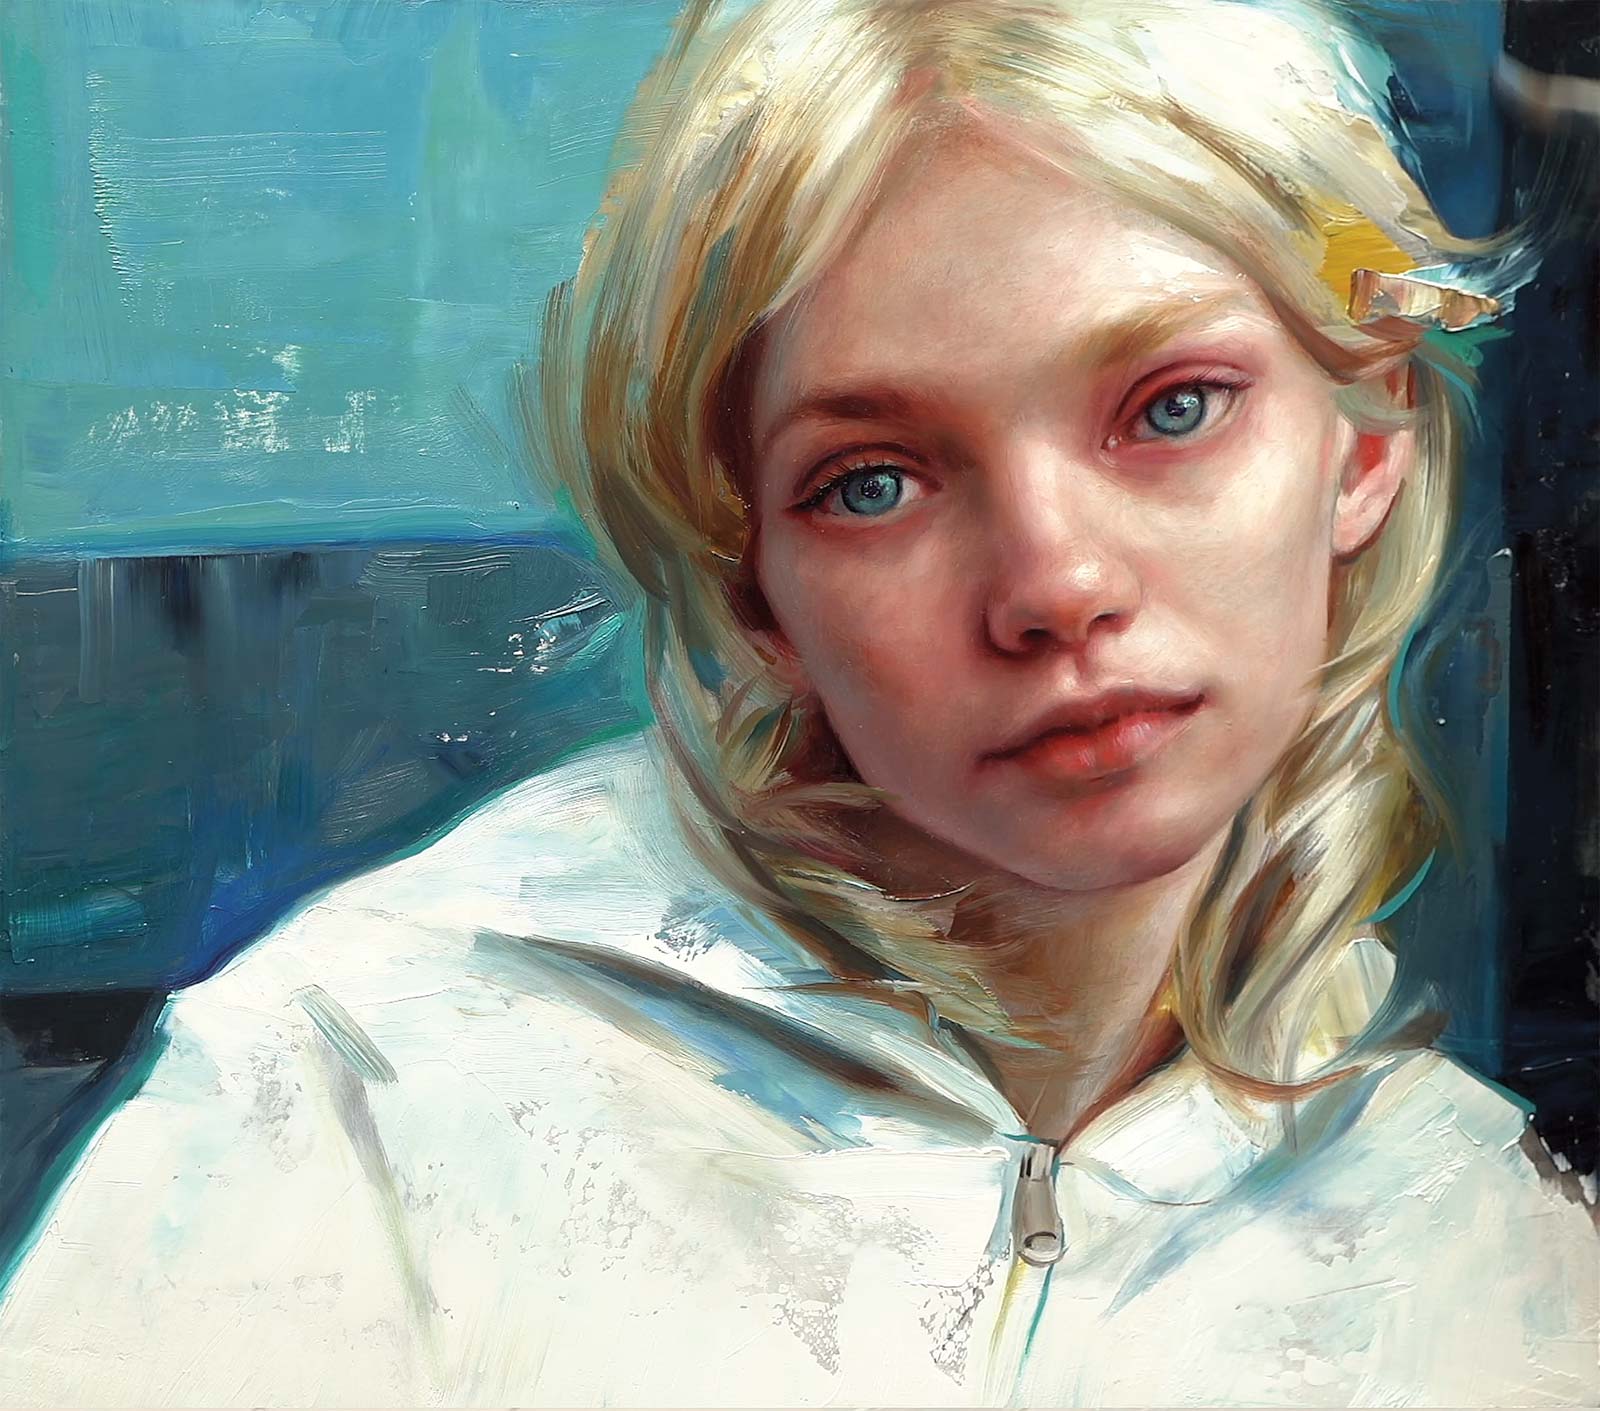
Stage 8 Resolving the Whole
In the final stage, I refine the painting by balancing soft and active areas. Some passages are blended, others remain expressive. I aim for a portrait that feels both resolved and alive, with a dynamic interplay between control and freedom. —
The full video tutorial can be found on the artist’s Patreon (steveforsterpaintings) as well as his Instagram @steveforsterpaintings. Steve Forster is an award-winning contemporary portrait painter and educator known for his richly detailed realist works and commitment to exploring human stories through light, form, and color. Trained at the Florence Academy of Art and the New York Academy of Art, he serves as co-director of the Long Island Academy of Fine Art and teaches while exhibiting his paintings nationally and internationally.