



Every painting holds a unique story. 1899 Special began with a decision: three years ago I moved from my home country of sunny Portugal to the rainy Netherlands, a place celebrated for its painters and its love of art.
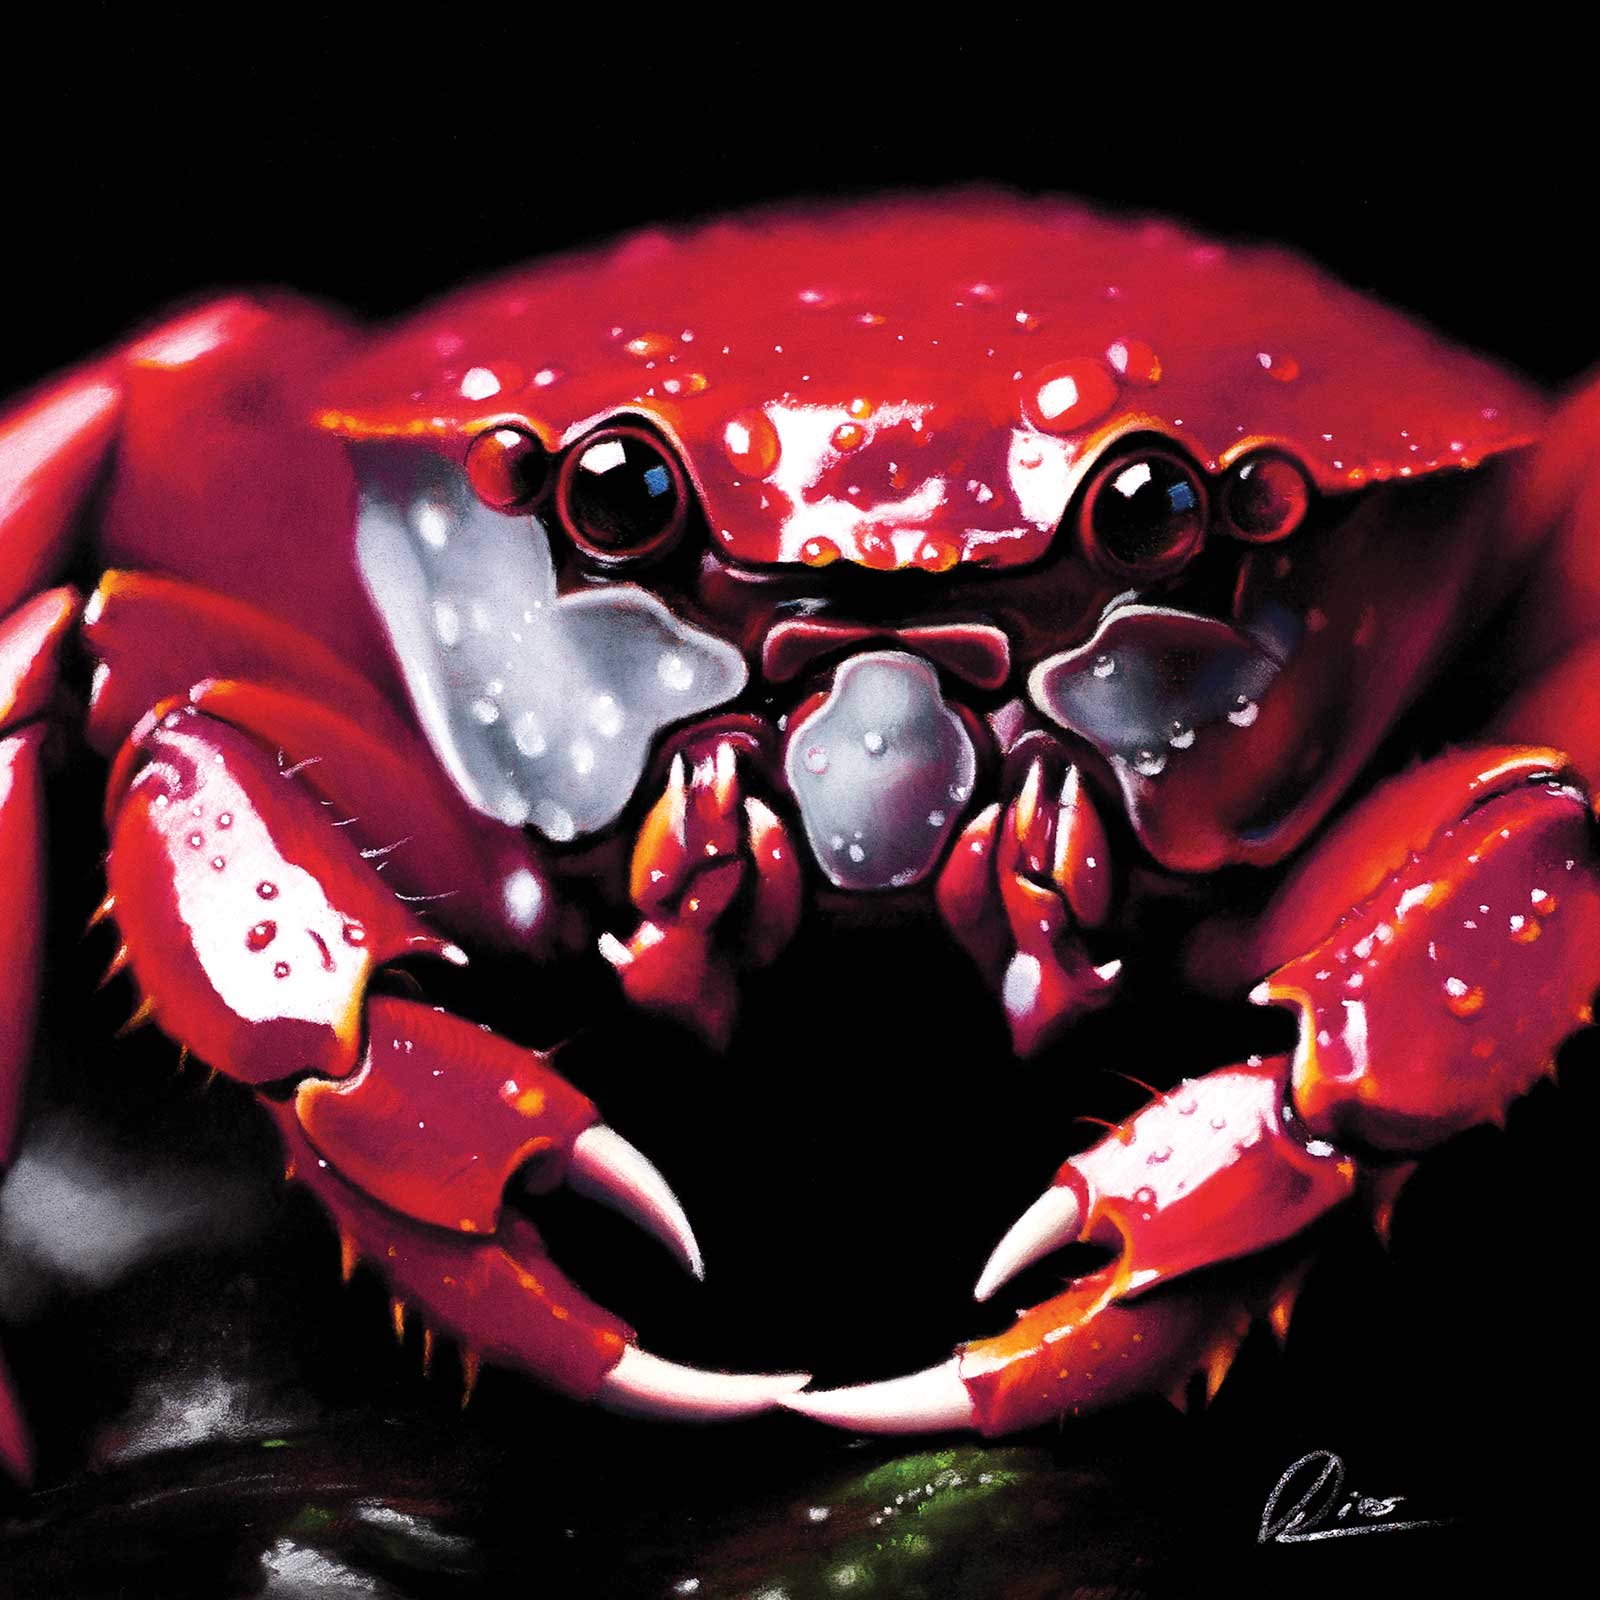
Red Crab, pastel, 7¾ x 7¾" (20 x 20 cm)
I arrived during a housing crisis; after searching across five towns, one door finally opened in Apeldoorn, just steps from the Royal Talens main office and factory. Whether coincidence or not, I introduced myself, and a creative collaboration took root. When Royal Talens marked its 125th anniversary, as a gift of gratitude I answered with this work: a realist tribute, in my own style on the border of realism and hyperrealism, to one of their canonical materials—a Rembrandt paint tube.
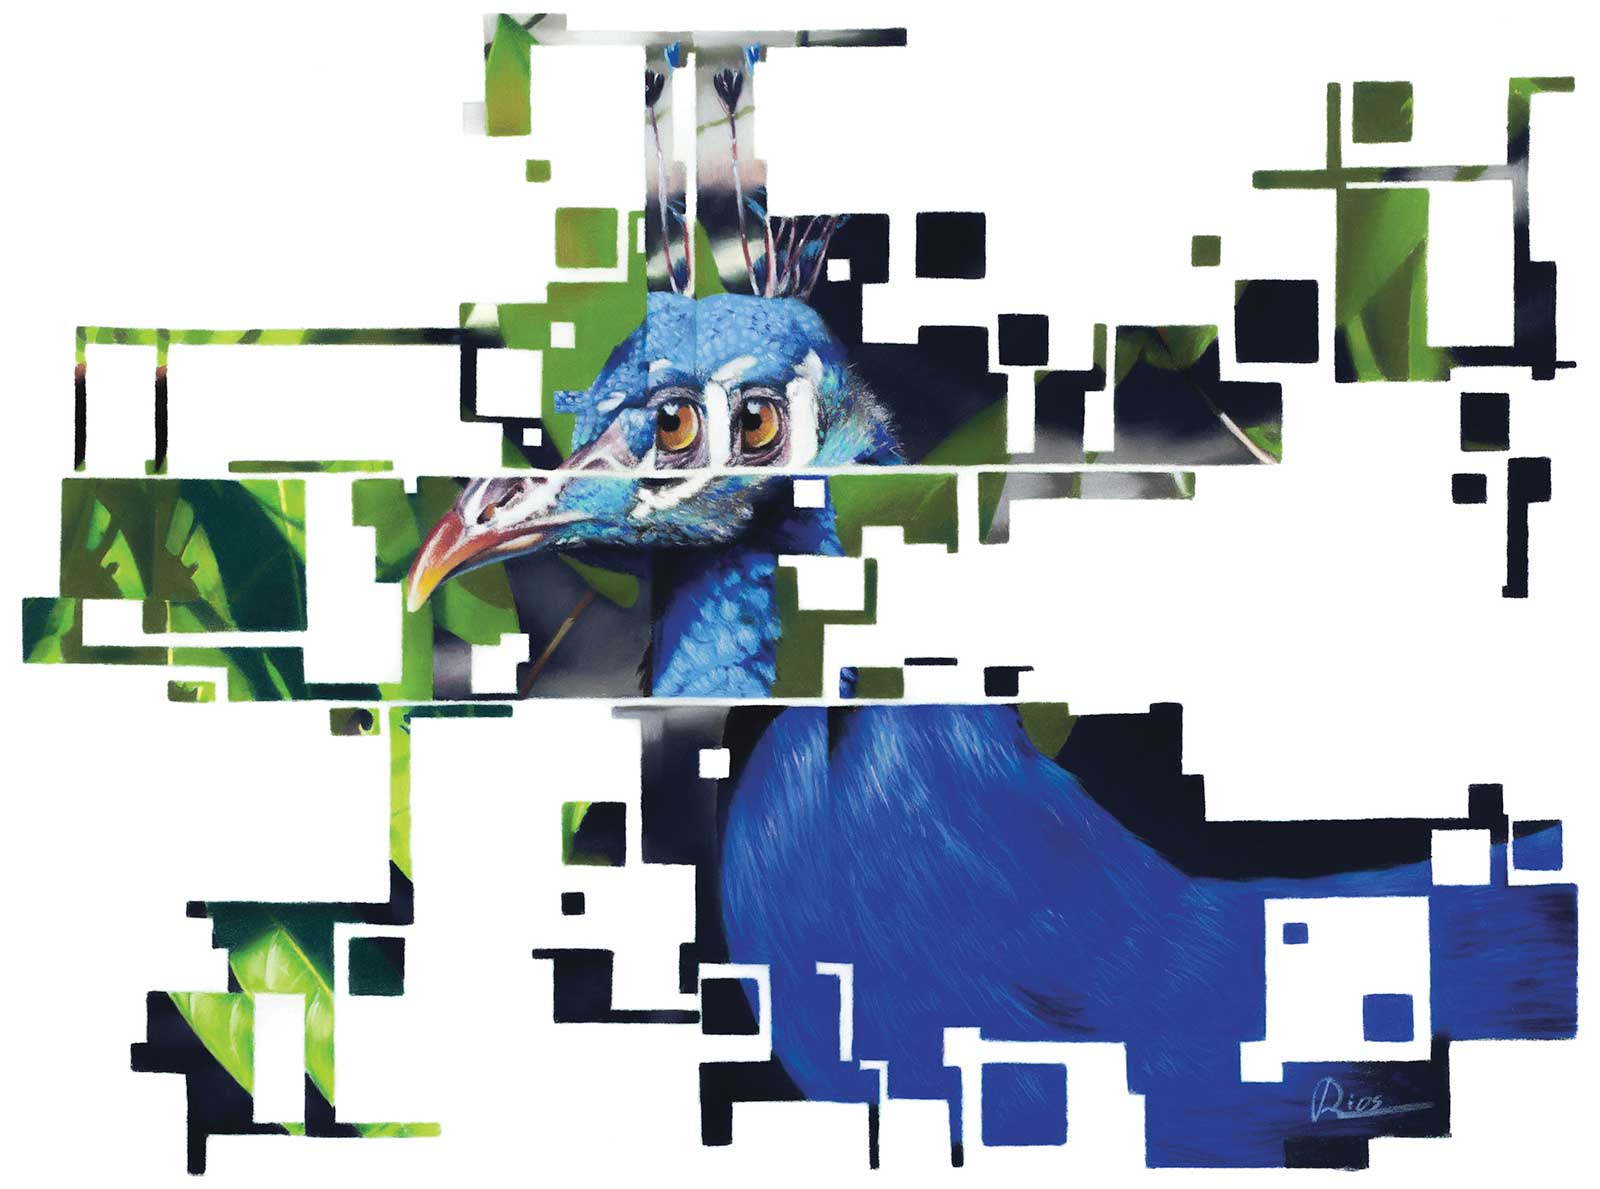
The Peacock, pastel, 15¾ x 12" (40 x 30 cm)
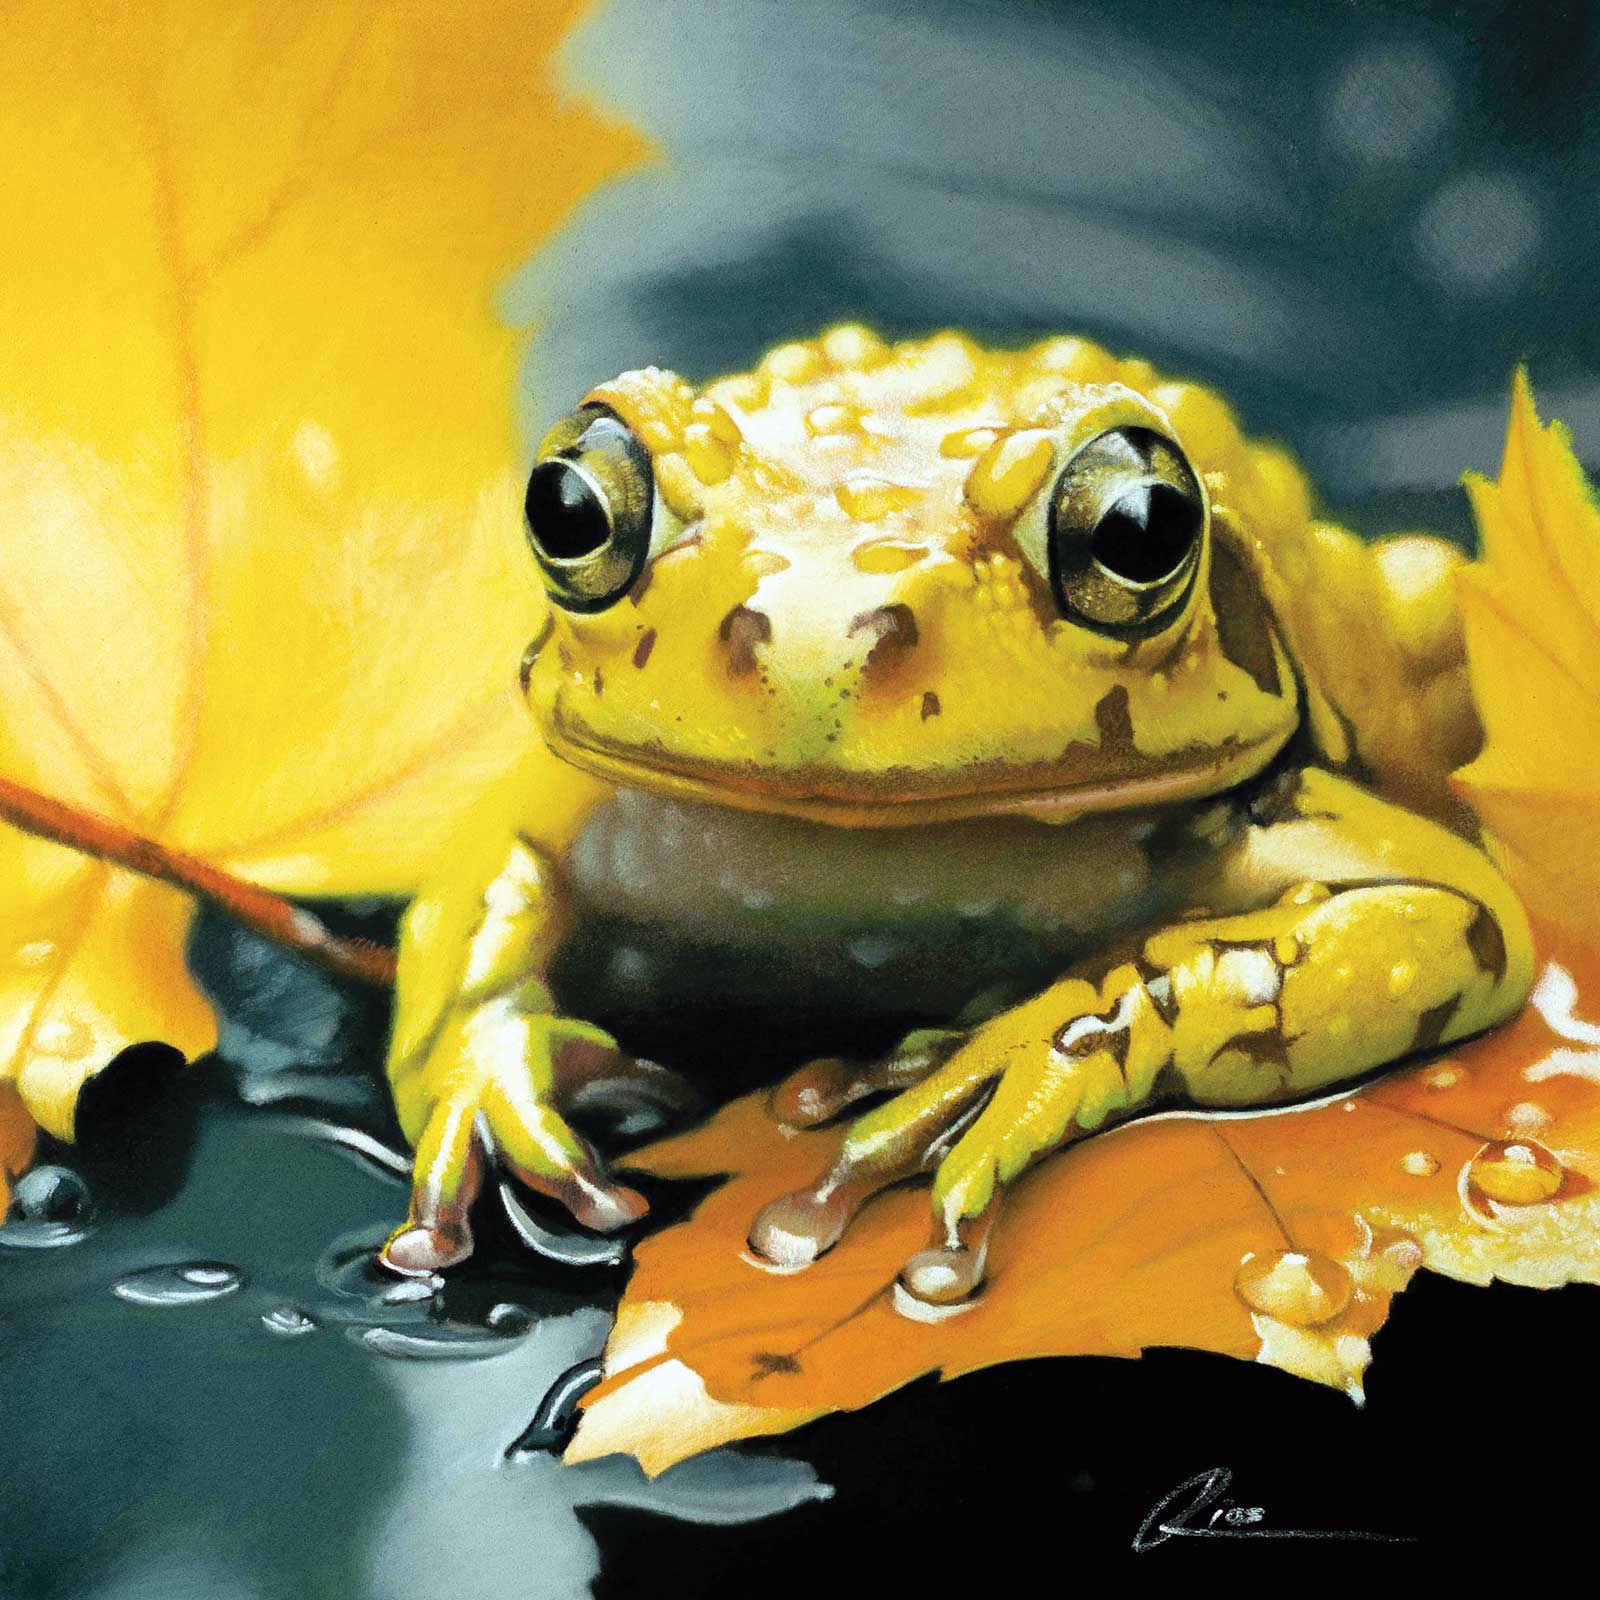
Yellow Frogscape, pastel, 9 x 9" (23 x 23 cm)
Even though pastels are my usual medium, this time I reached for something different—a simple metal paint tube as my subject. I was drawn to its shine, the way it bends light, and the soft curves that fit my style. I shaped it with my hands, folding and pressing until it felt right, like the object had found its own posture. Next came the light. I set up a small stage, moving lamps and shifting angles, taking photos until the reflections fell int=o place. When one frame finally held the perfect balance of crease, highlight and shadow, I knew I had it. That’s the moment I stopped searching and started painting.
My Art in the Making 1899 Special
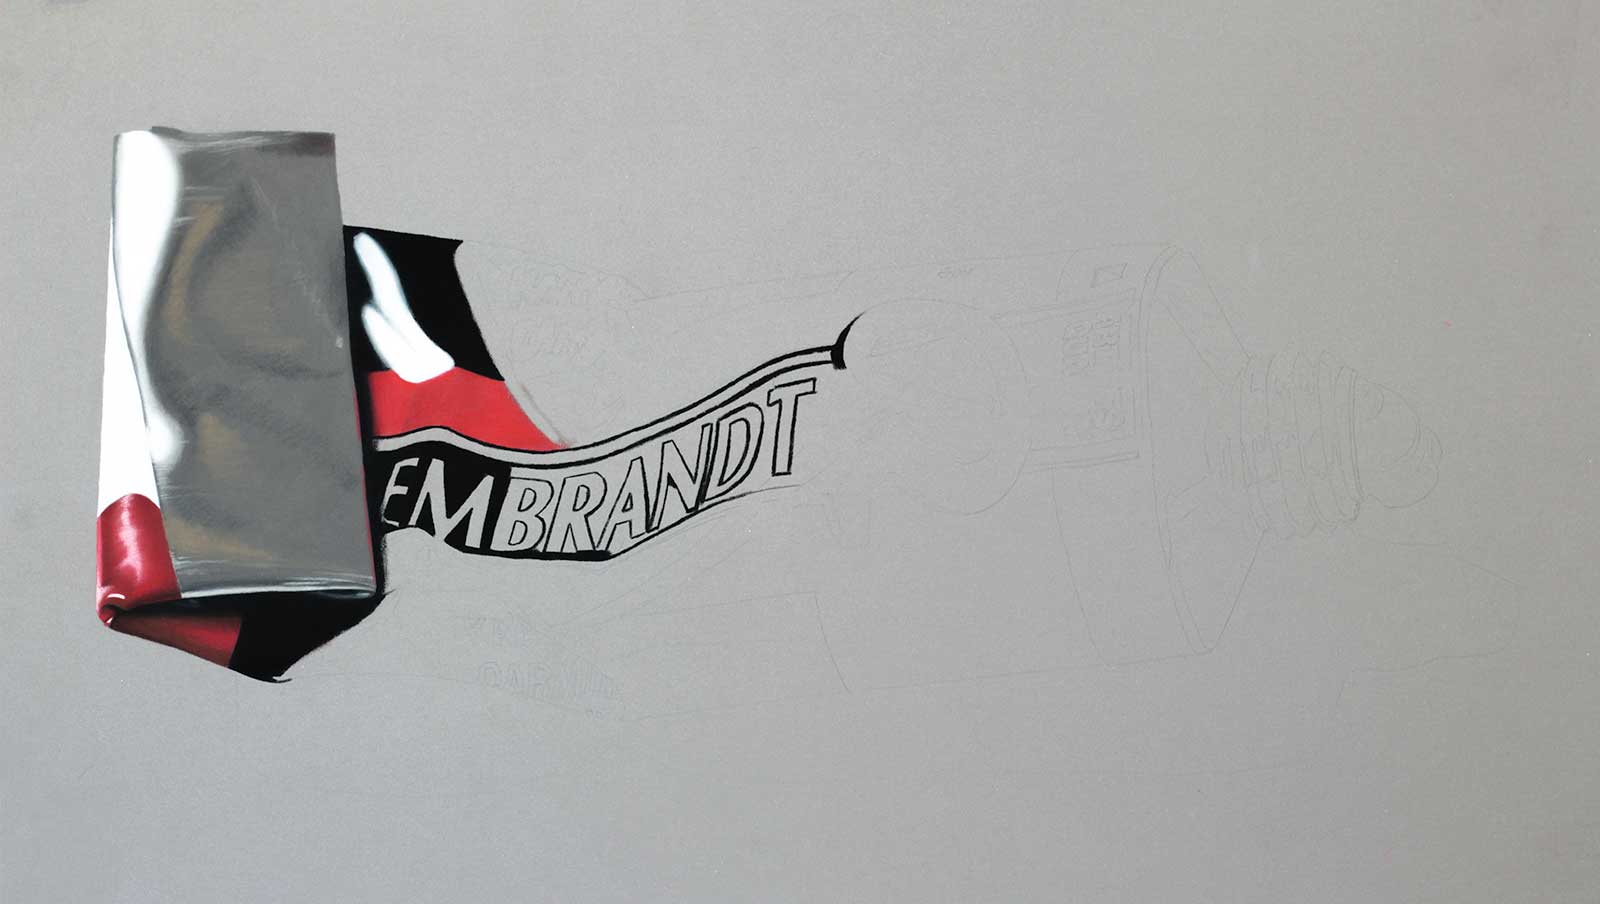
Stage 1 Transferring the Drawing
To bring my sketch onto the Pastelmat board, I use a projector. This lets me scale the drawing precisely and place it exactly where I want it on the surface. With the image projected, I trace the main outlines lightly using a graphite pencil. The marks stay subtle, just enough to guide me, so they won’t interfere once I begin layering pastel.
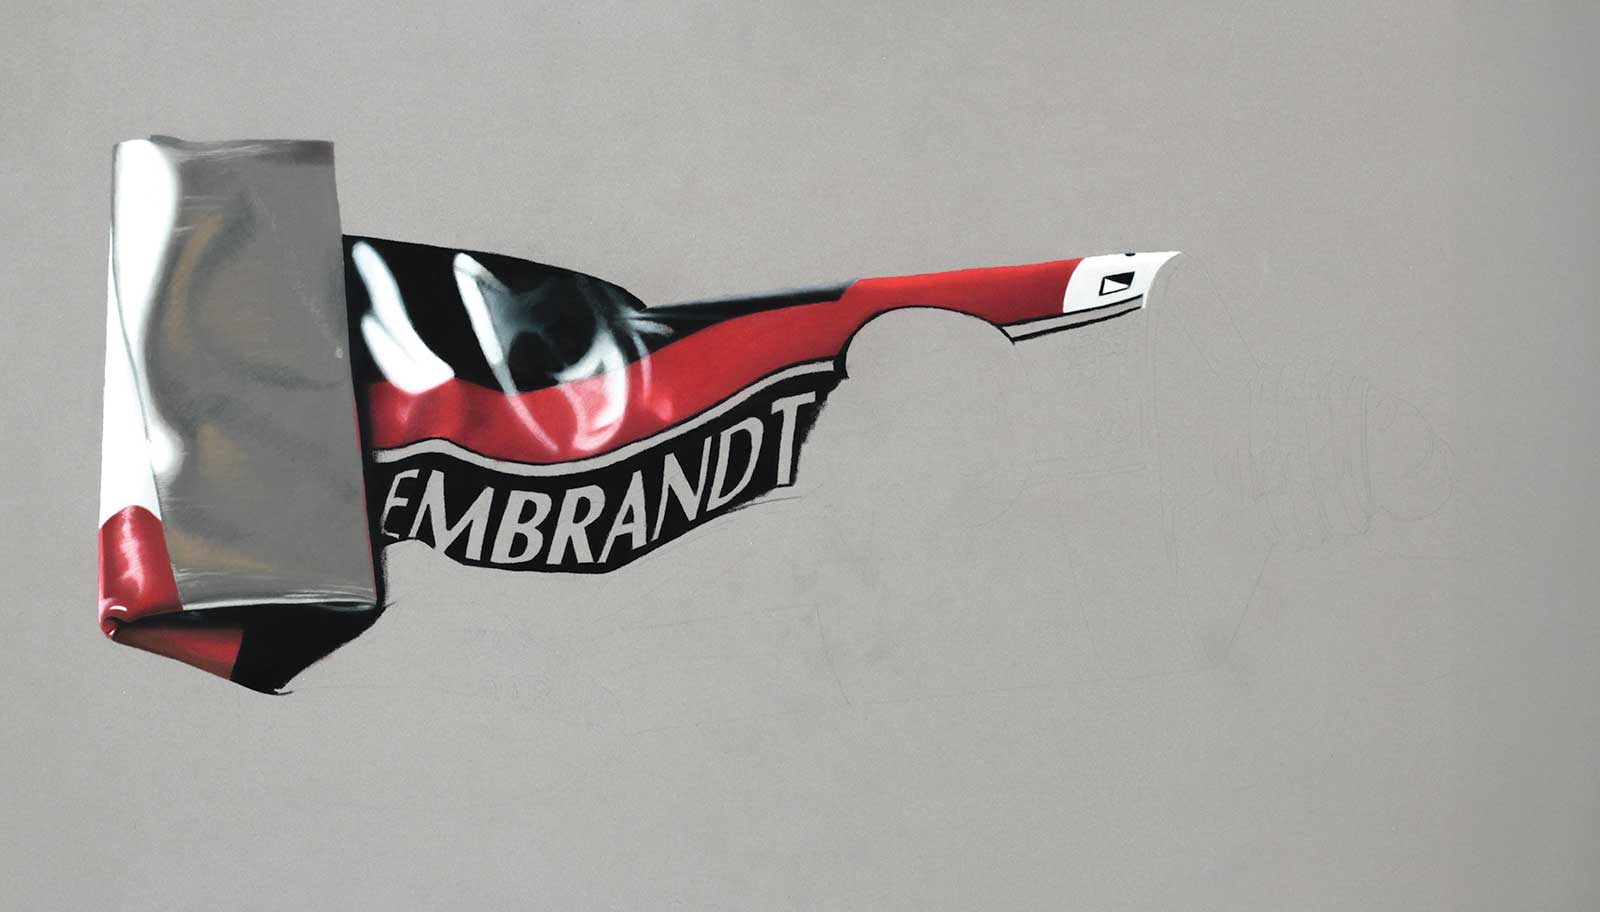
Stage 2 Working Shape by Shape
With this kind of subject one of the best process methods lies in breaking down the image into individual shapes and working piece by piece. This method is very much like solving a puzzle, focusing and developing one piece at a time until the entire picture comes together. Here’s why this approach works so well and how you can use it effectively. Think of your drawing as a complex puzzle. Each small shape you draw is a crucial piece that, when carefully crafted, brings together the final masterpiece. By working one shape at a time, you eliminate the overwhelming feeling of tackling the entire drawing at once. Instead, you concentrate your energy on perfecting each part, leading to a more accurate and polished result.
WHAT THE ARTIST USED
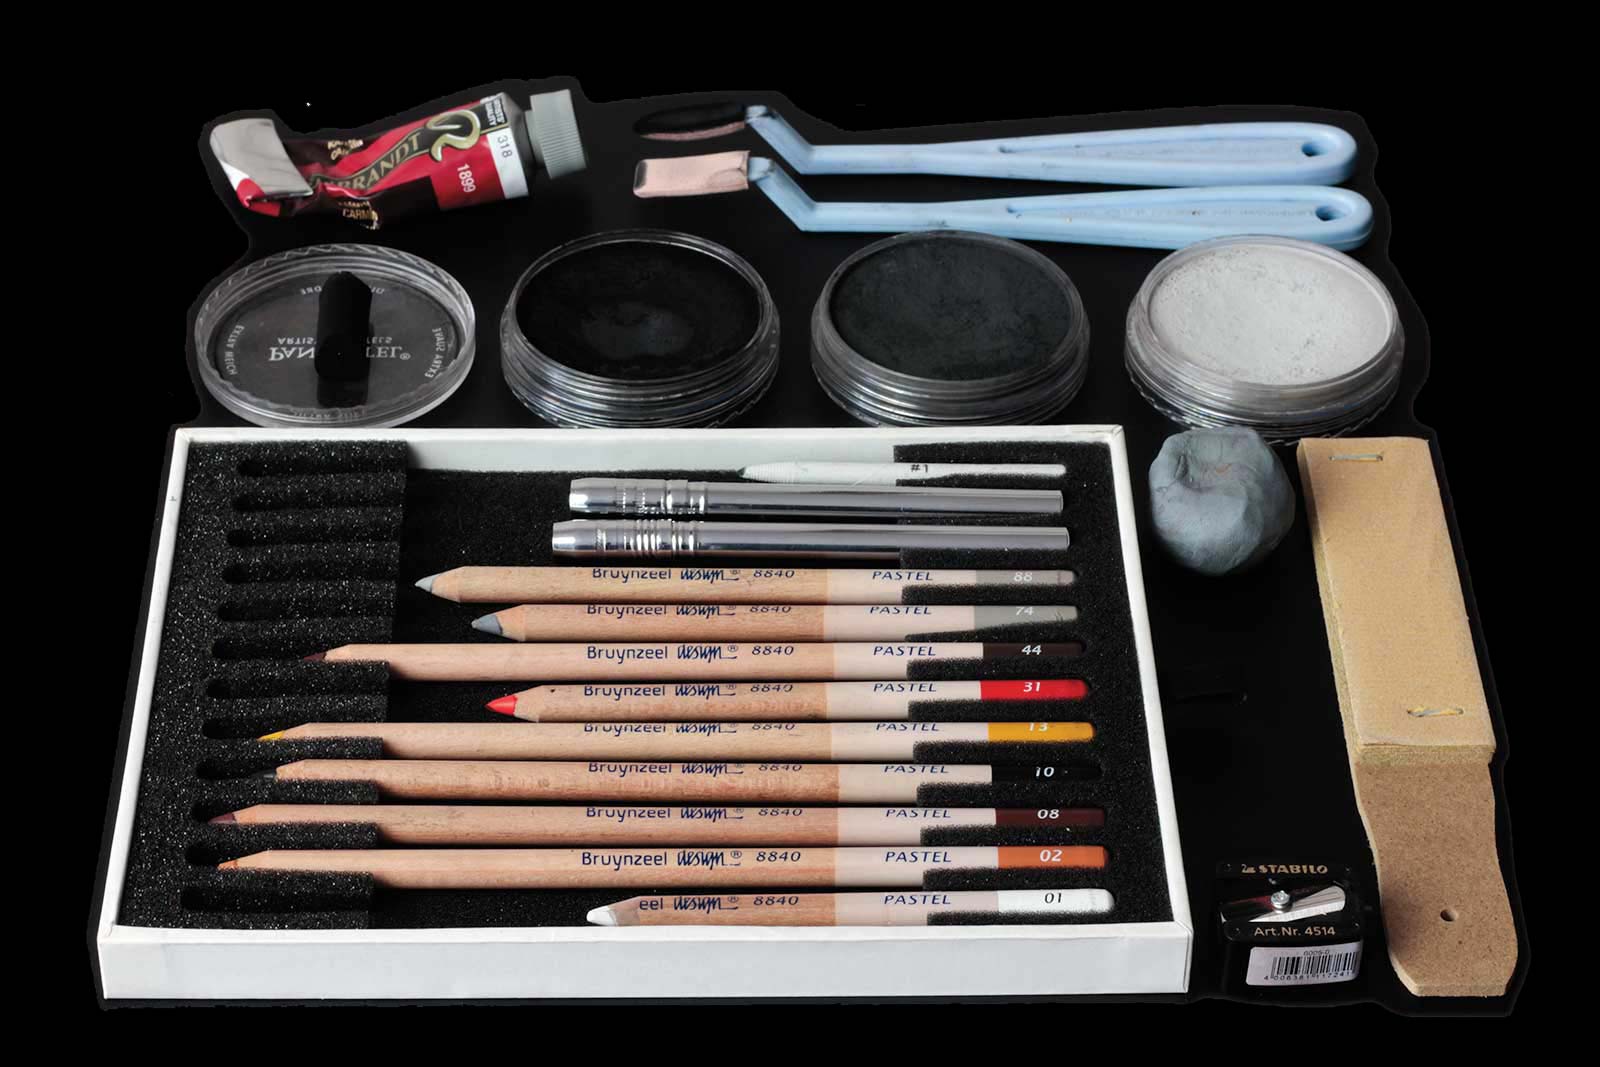
Bruynzeel Design Pastel Pencils
01 White, 02 Light brown, 08 Brown, 10 Black, 13 Light ochre, 31 Vermilion, 44 Dark brown, 74 Gray, 88 Light gray
PanPastels
800.5 Black, 820.7 Neutral gray tint, 820.1 Neutral gray extra dark
Additional Materials
Gray pastelmat paper, Stabilo sharpener, Faber-Castell kneaded eraser, Paper stumps, Sandpaper, Sofft Tools, #2, #3, Sennelier soft pastel, black
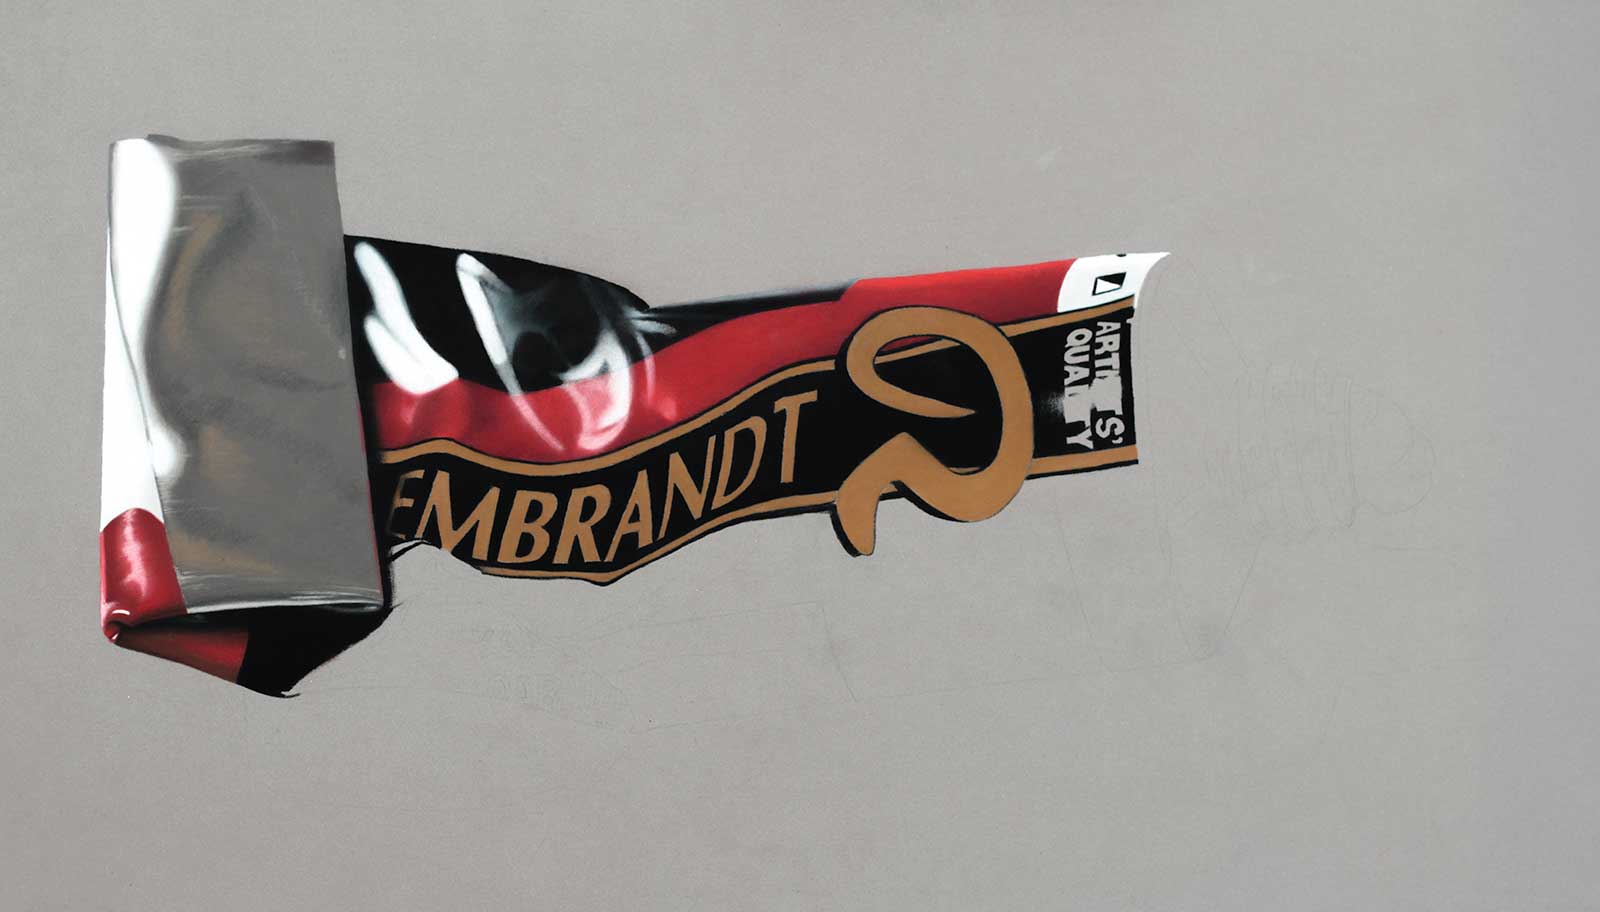
Stage 3 Color Transitions & Blending
For effective blending, you need to have enough pigment on the paper’s tooth. The “tooth” of the paper refers to its texture—the small, grainy surface that catches the pastel. Make sure you apply enough pastel so that it grips onto the tooth, filling the paper’s texture without overloading it.
A good indicator that you have enough pigment is when you can no longer see the paper color underneath. If you still see some gaps try to use the paper stump or apply more pigment. Start with the darker color and start fading it when moving into the lighter areas. Then apply a lighter color and keep moving from the dark to the light.
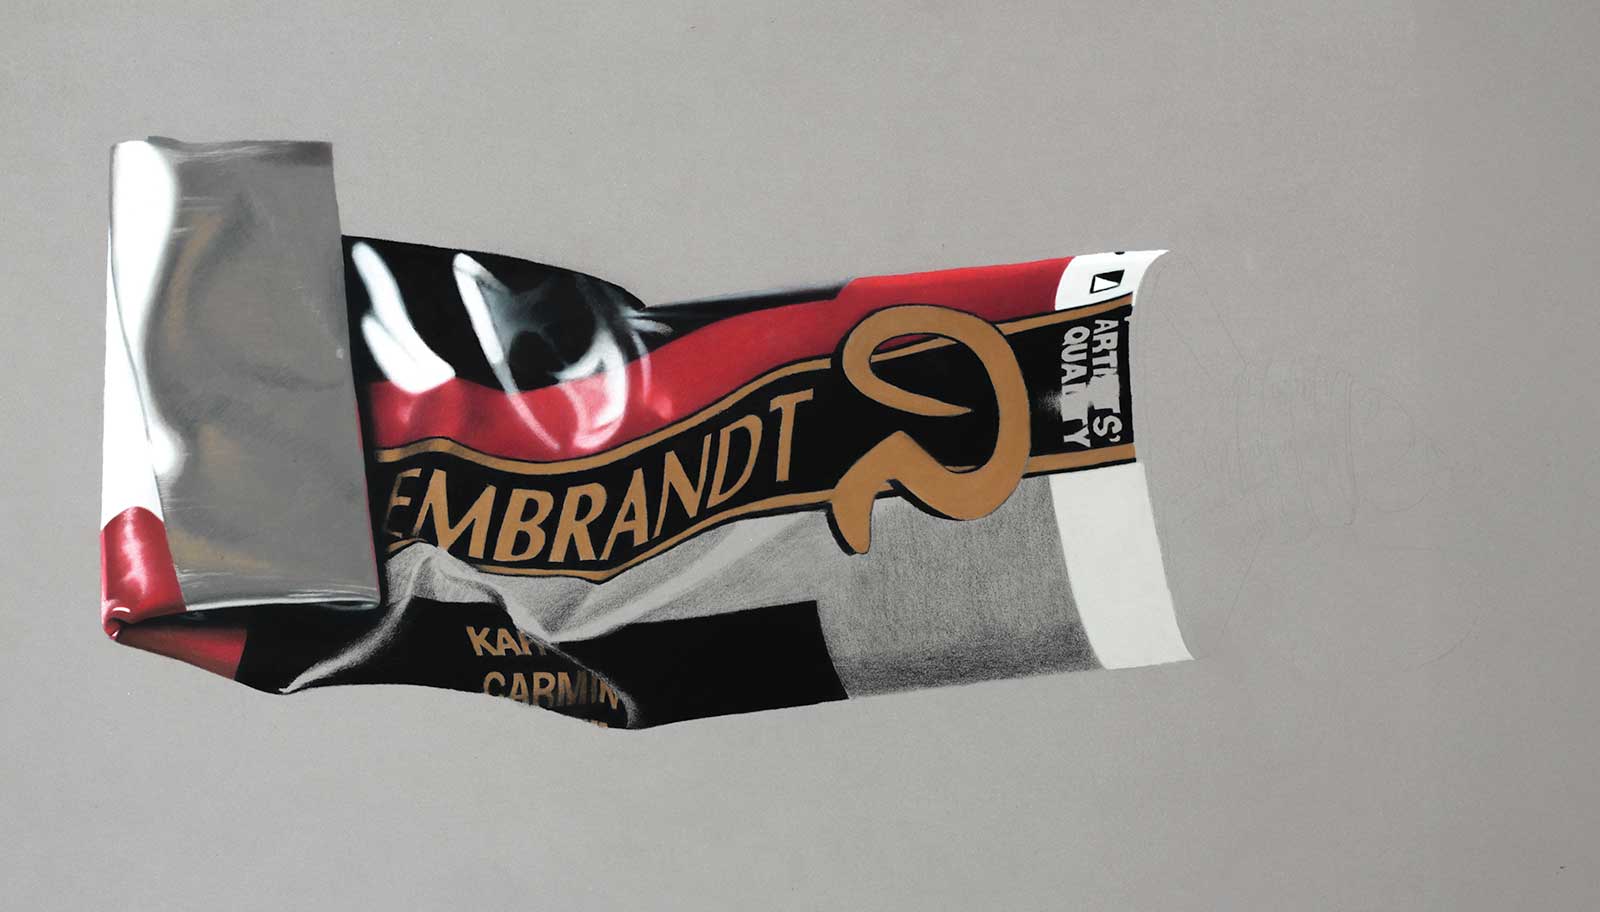
Stage 4 Refining Edges
Edges are what make objects feel solid, convincing and part of a coherent space. A hard edge can make a subject pop and come to life, while a well-placed soft edge can give it a natural, lifelike transition. By mastering the balance between soft and hard edges, you bring realism to your artwork, creating a visual journey that mimics how our eyes perceive the real world. Your ability to control edges will determine how believable your final piece looks, making it an essential skill for any artist aiming for any realistic style.
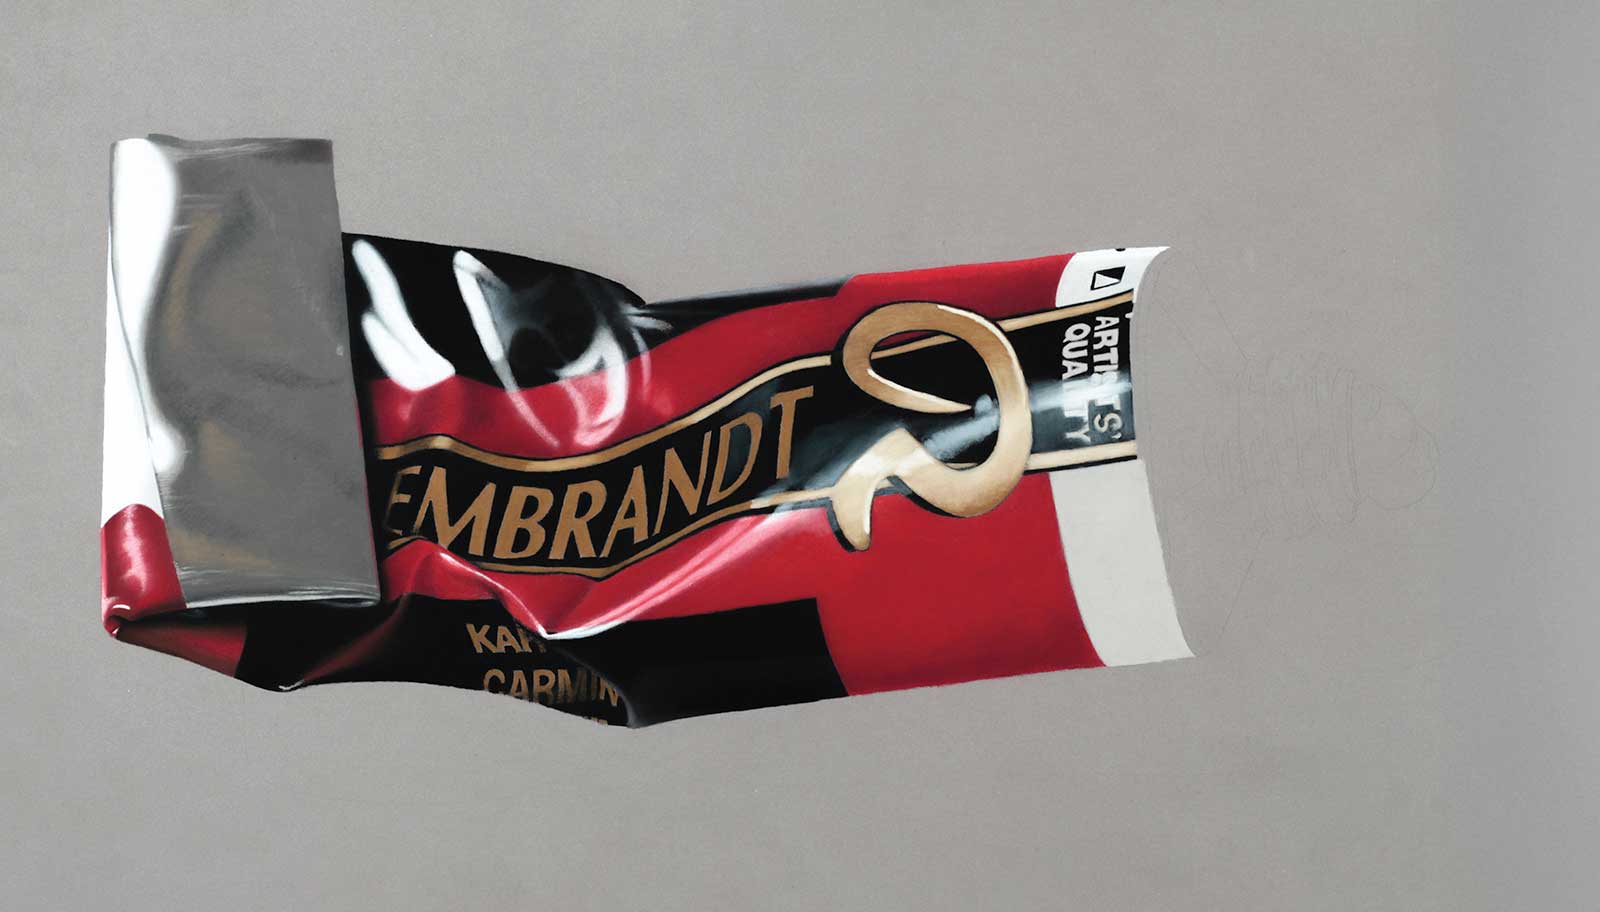
Stage 5 Glazing with Pastel Pencils
“Glazing” with pastel pencils is an advanced technique that allows artists to make subtle adjustments in color and value, adding depth, richness and nuance to a drawing. This technique is similar to oil glazing, where a thin, translucent layer of paint is applied to slightly alter the value or color of the layers beneath. In pastel, the goal is to create a thin, transparent layer of pigment to do the exact same job and slightly change the color and value of a determined area. You can also use this technique to move pigments around, slightly refine a gradient and even make some nuanced changes in shapes.
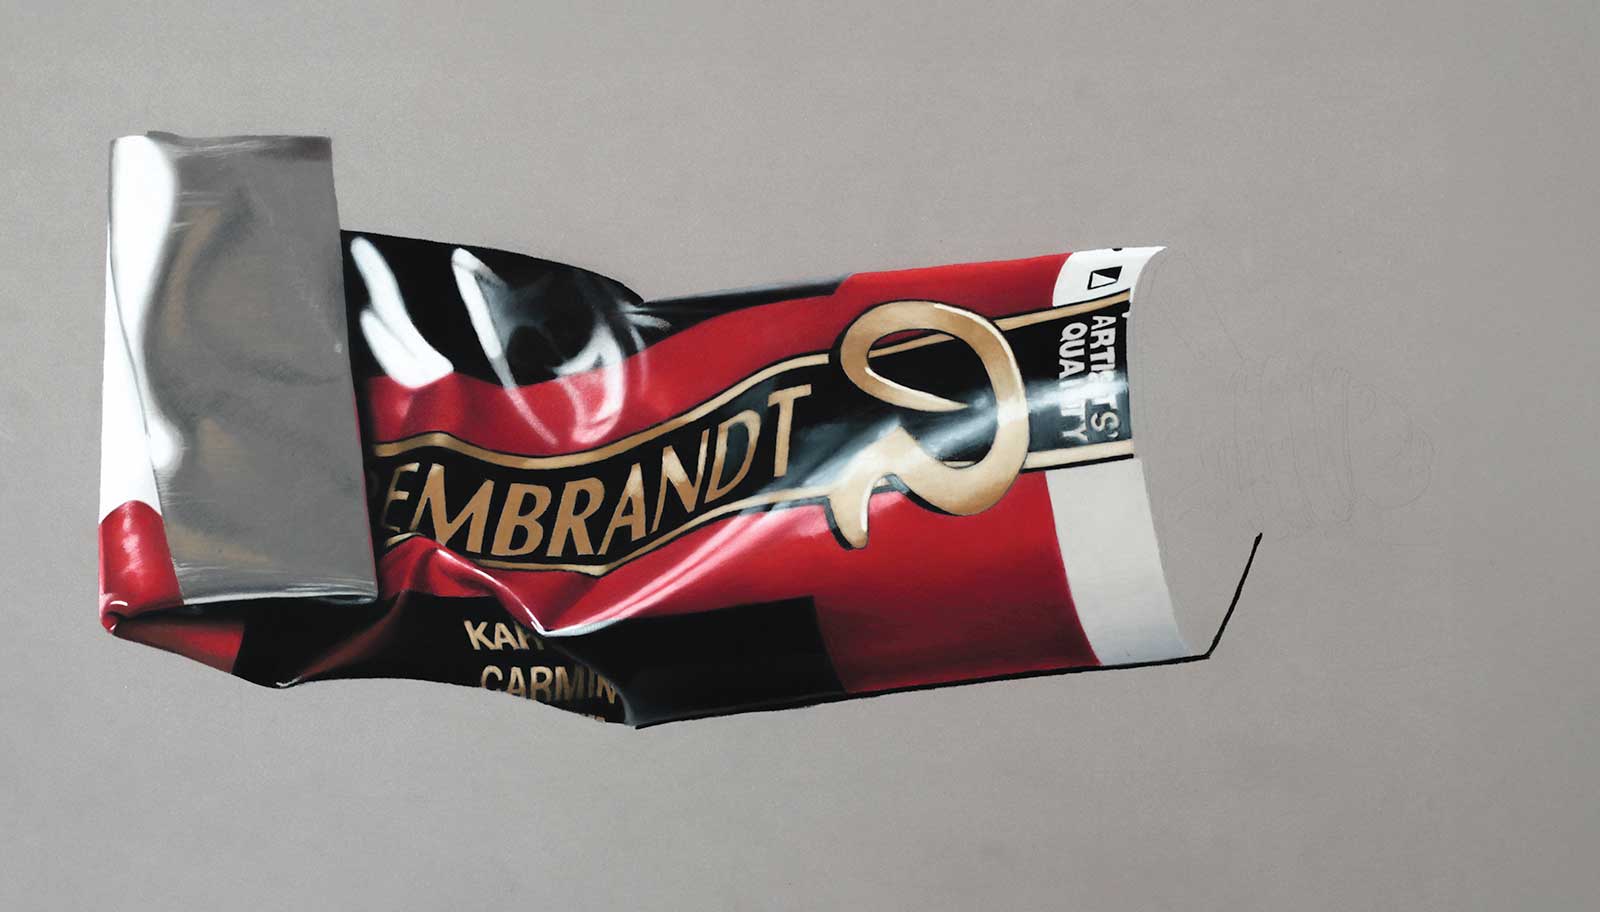
Stage 6 Adding Details
Once the basic shapes, values and color transitions are in place, adding details is the final step that brings a hyperrealistic drawing to life. Details might seem daunting at first, but they are simply a series of small lines, dots and wiggles that enhance what’s already established. With a solid foundation of shape and color, the detail work becomes a straightforward and even enjoyable process.
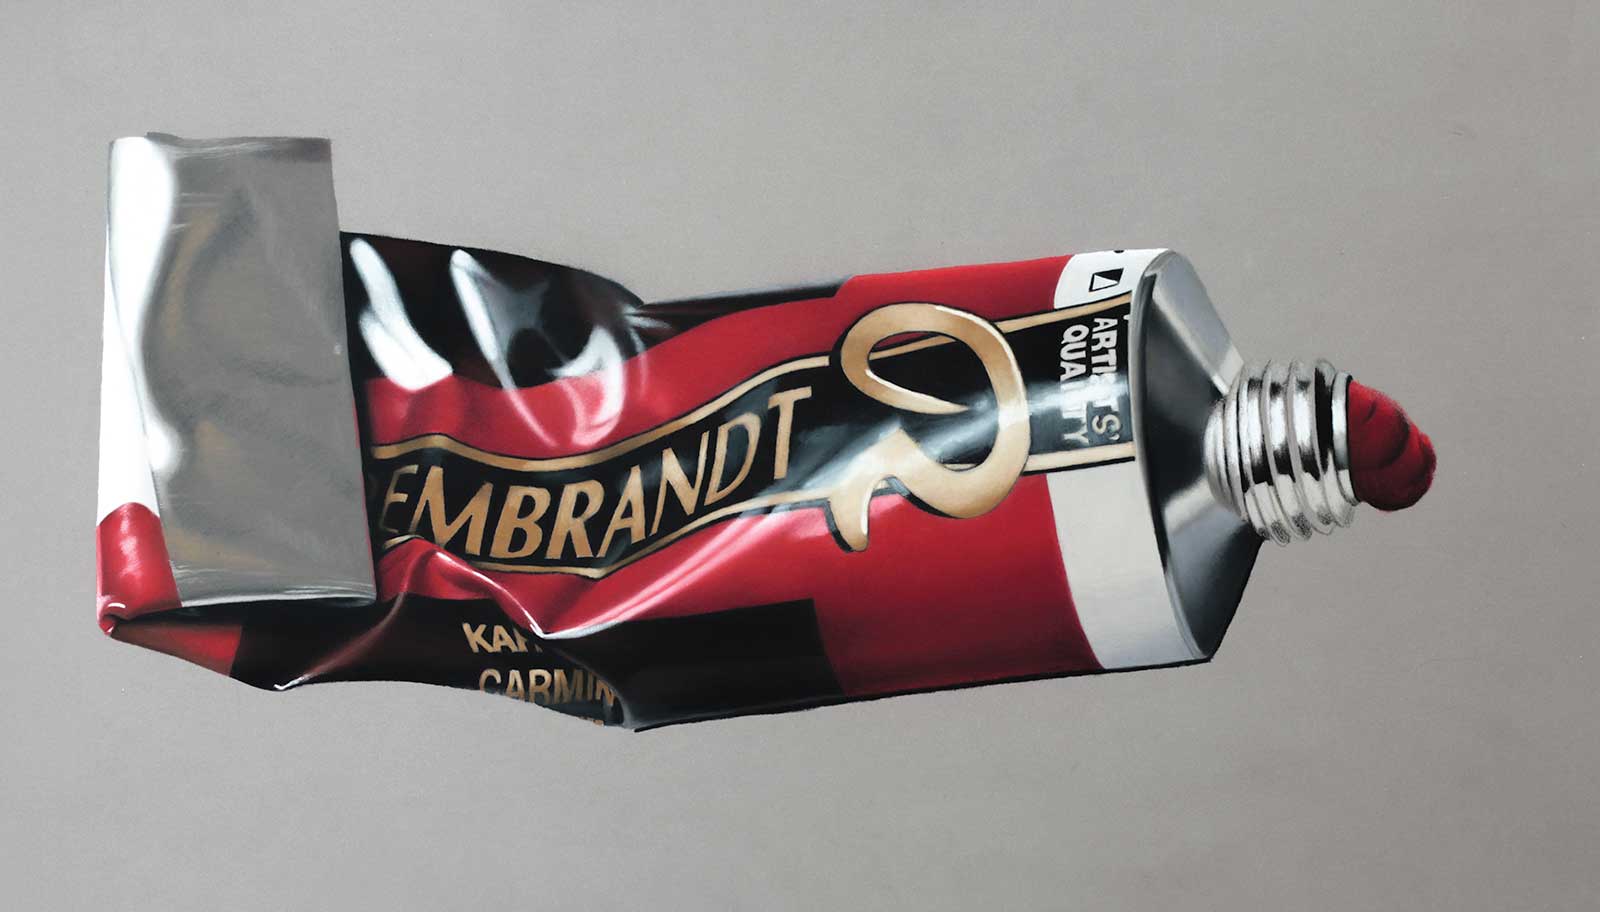
Stage 7 Drawing the Details
Hold Pencil Close to the Tip for Precision
Unlike glazing, which requires a light touch and loose grip, detailing demands control and precision. Hold your pencil closer to the tip for better accuracy. This allows you to make more deliberate marks, especially when drawing thin lines or placing tiny dots.
Use Sharp, Well-Pointed Pencils
Keep your pastel pencils sharp when working on details. A fine point will allow you to create crisp lines, delicate textures and small dots without smudging or losing definition. Regularly sharpen your pencil or use sandpaper on the tip as you work to maintain clarity in your detail work.
Pressure Variation
Vary the pressure of your marks to make the details flow in a more natural way. Rotate the pencil and change the angle to achieve natural marks.
Rotate the Pencil
Rotating the pencil will allow you to keep using a sharp point without the need to sharpen the pencil constantly. When you loose the fine point on one side, just rotate the pencil and you have a sharp point again.
Avoid Overblending
When blending details, be careful not to overblend and lose clarity. At this stage use blending tools sparingly, as they will remove pigment from the surface. Use blending tools only when needed to soften harsh edges or slightly merge colors. A small, pointed blending stump or a delicate touch with your finger can help integrate details without blurring them.
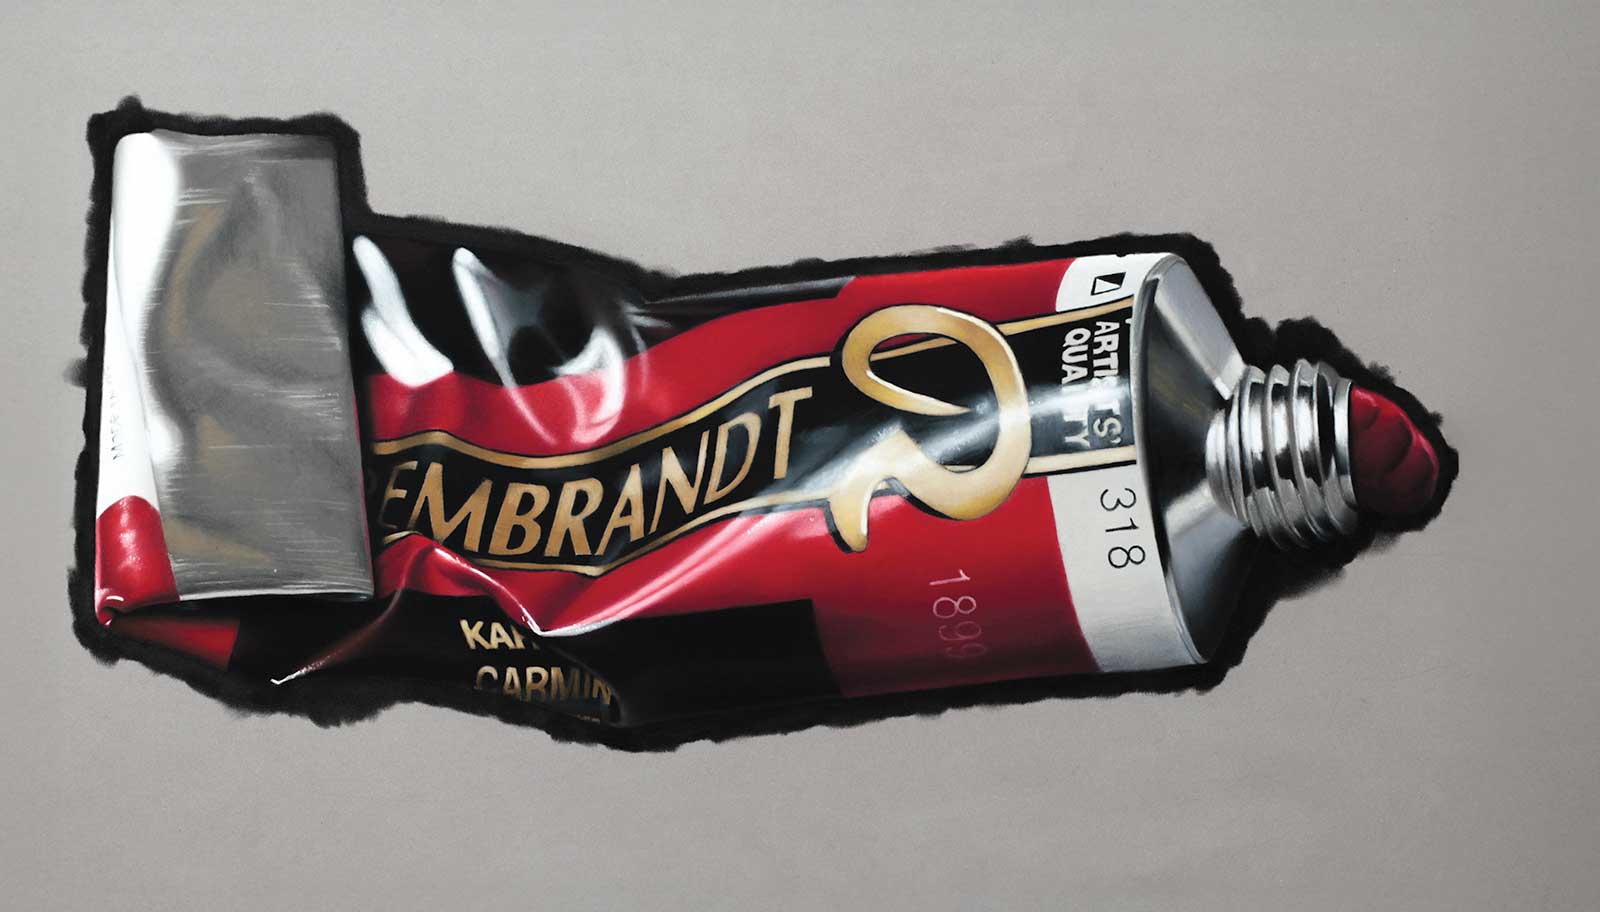
Stage 8 Background
Once the drawing is in place, begin by covering the surface with a deep, dark background. This creates the atmosphere of the piece and lets the subject stand out with more strength. With the darkness established, return to the object itself, adjusting small colors and values so they sit naturally within this environment. A touch lighter here, a bit deeper there—tiny shifts that allow the subject and the background to feel connected, as if they belong to the same world of light and shadow.
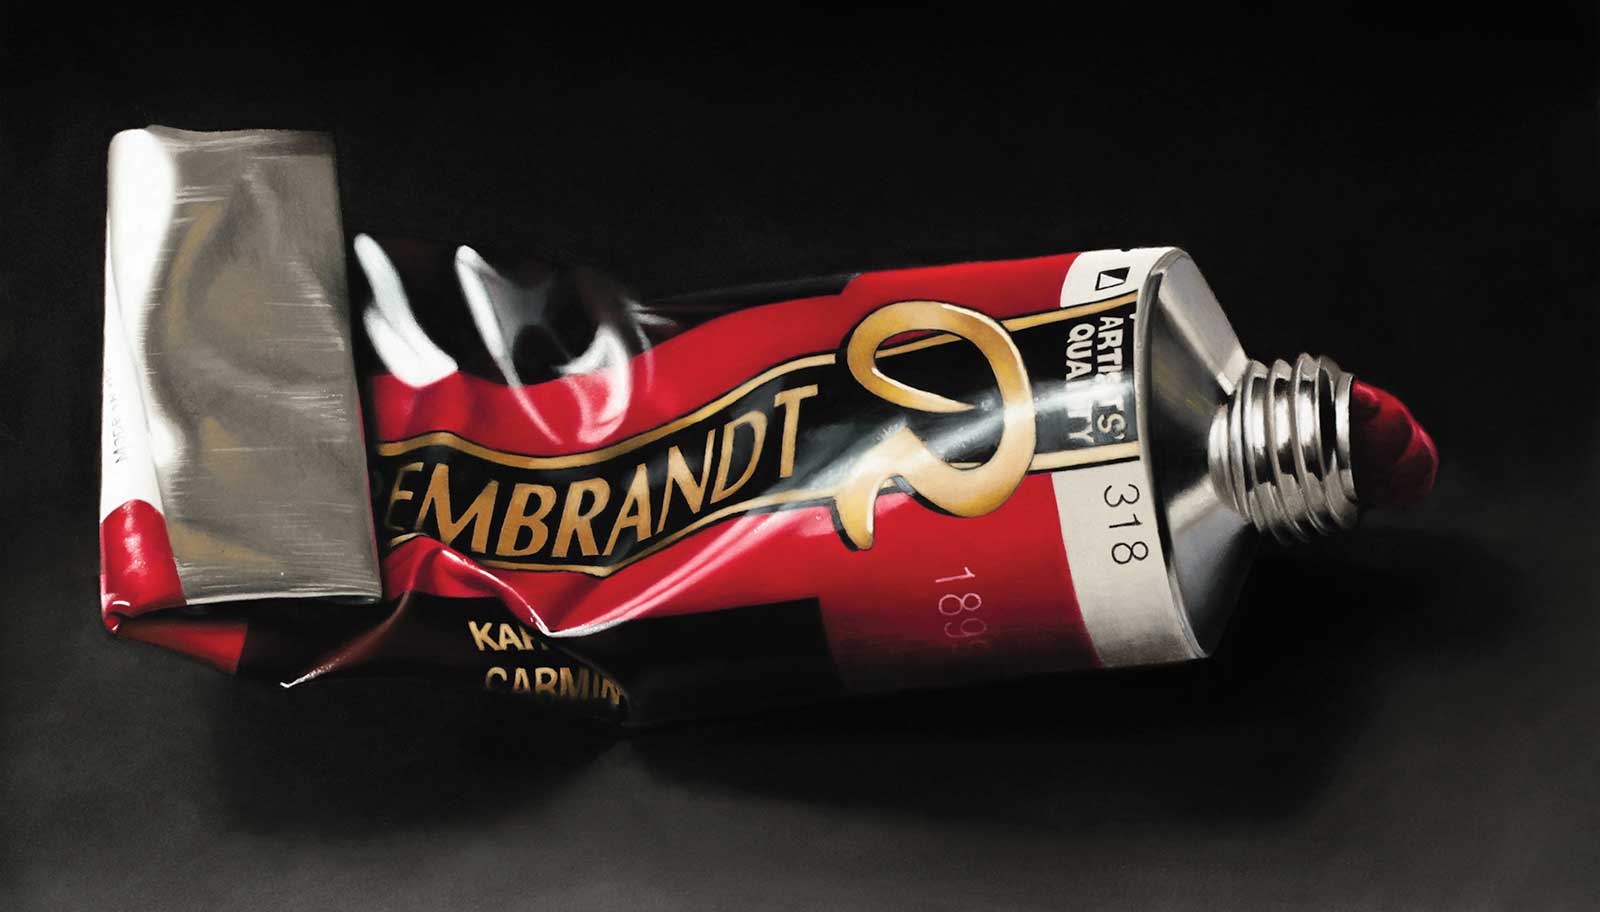
Stage 9 Finished Artwork
1899 Special, pastel pencils on Pastelmat board, 12 x 19½" (30 x 50 cm)
About the Srtist
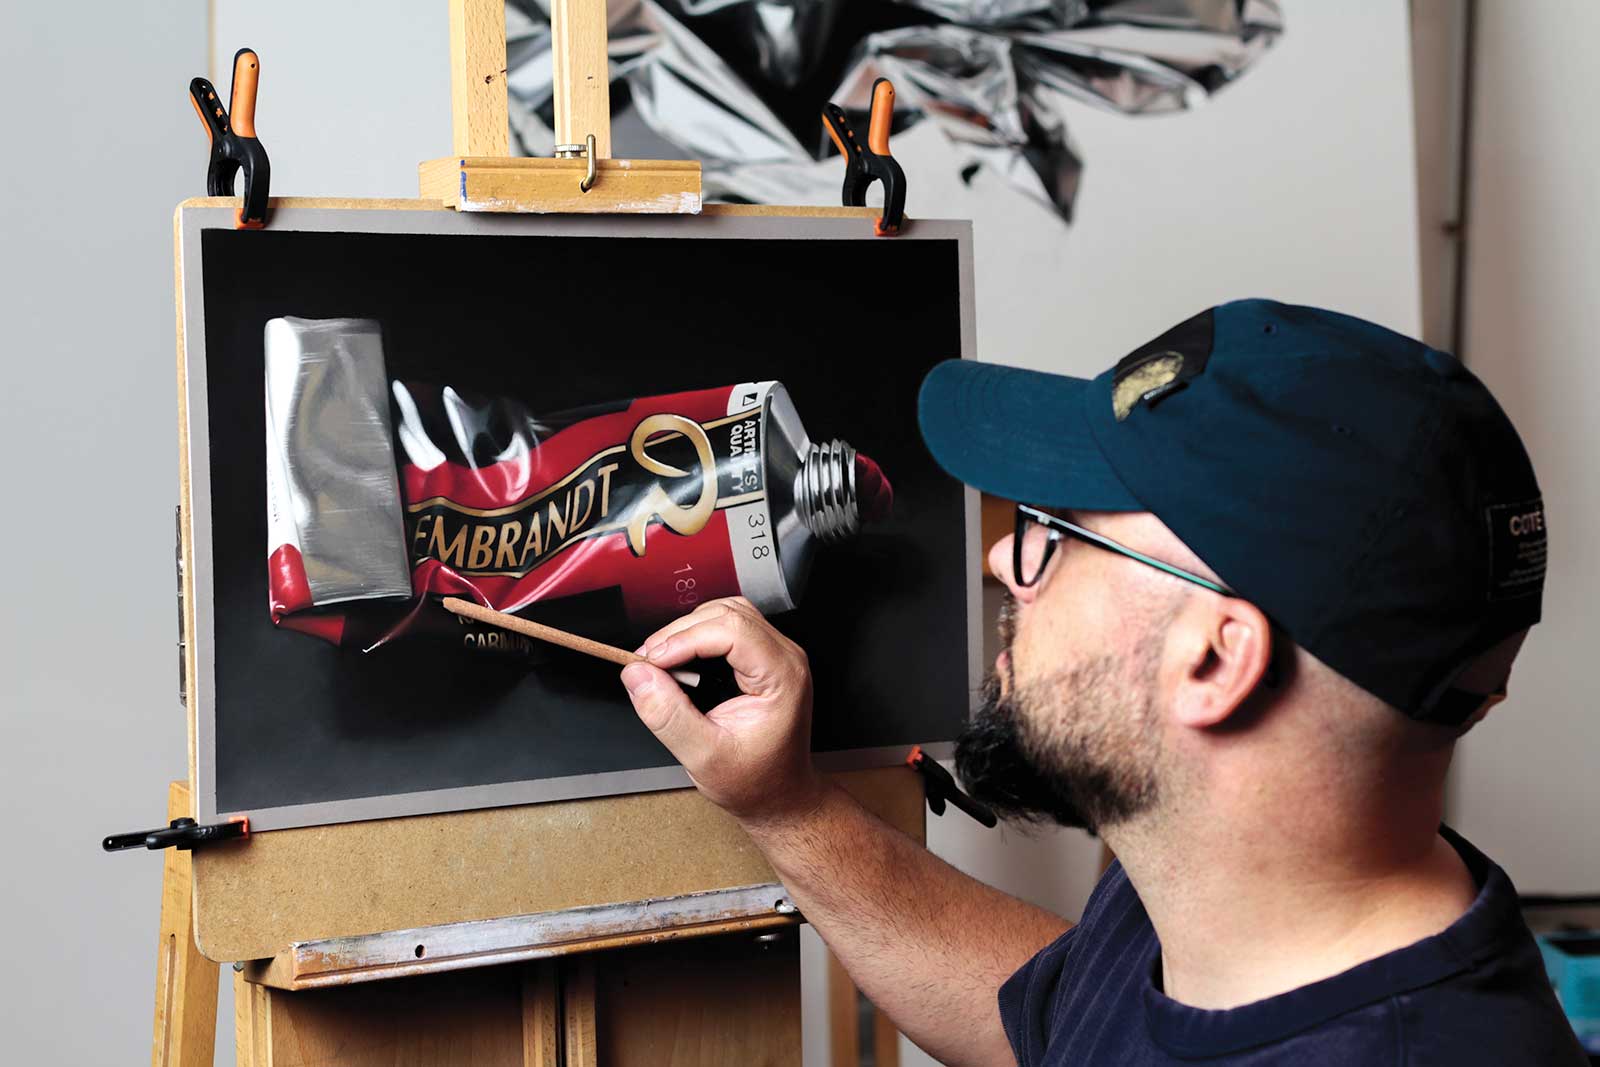 André Rios
André Rios is a Portuguese artist currently based in the Netherlands, where he established his art studio, creating original works and commissions and teaching his pastel techniques to students from all over the world. His artistic journey began with a focus on realistic drawing, laying the foundation for a strong technical approach. Over time, he began to explore new visual languages, leading to the development of his in|square series—an experimental body of work in which geometric distortions introduced a sense of fragmentation and disconnection.
Rios is currently working on a new series of hyperrealistic drawings that adopt a minimalist approach. These upcoming pieces distill objects to their essential presence, offering understated, quiet narratives that reflect on value, perception and meaning.
Rios keeps off social media by choice so his mind stays clear and his creative flow stays pure. Lately, the artist has found his calling in teaching. You can study with him at his studio in the Netherlands or online by visiting andrerios.art/lessons.
Contact at
andre@andrerios.art
andrerios.art