


Painting a self-portrait from life offers an artist a variety of benefits, it can be an inspiration to experiment and is a wonderful way to practice, especially if you don’t have a model available.
I’m a professional portrait artist with a classical art education, and most of the portraits I draw or paint are commissioned works. In my commissions I usually use a very traditional style. My main goal is to realize the ideas and requests of my clients with limited options of creative expression or chances to experiment. That’s why painting a self-portrait is a perfect way for me to try out new things, without having the pressure to satisfy a client or the expectation of a gallery waiting for a piece that fits into a show. This practice provides a variety of creative possibilities and can be a fantastic mode of self reflection as an artist. A self-portrait can be painted with the focus on the outer self, by describing your facial features in a more informative and impersonal way. However, going deeper and showing your inner self or your current mood could offer an exciting opportunity to create a very personal picture of yourself. You are able to visualize your spiritual vision, transmit your feelings or tell your story through concepts of composition, value and color, or by your individual use of brushstrokes and texture.
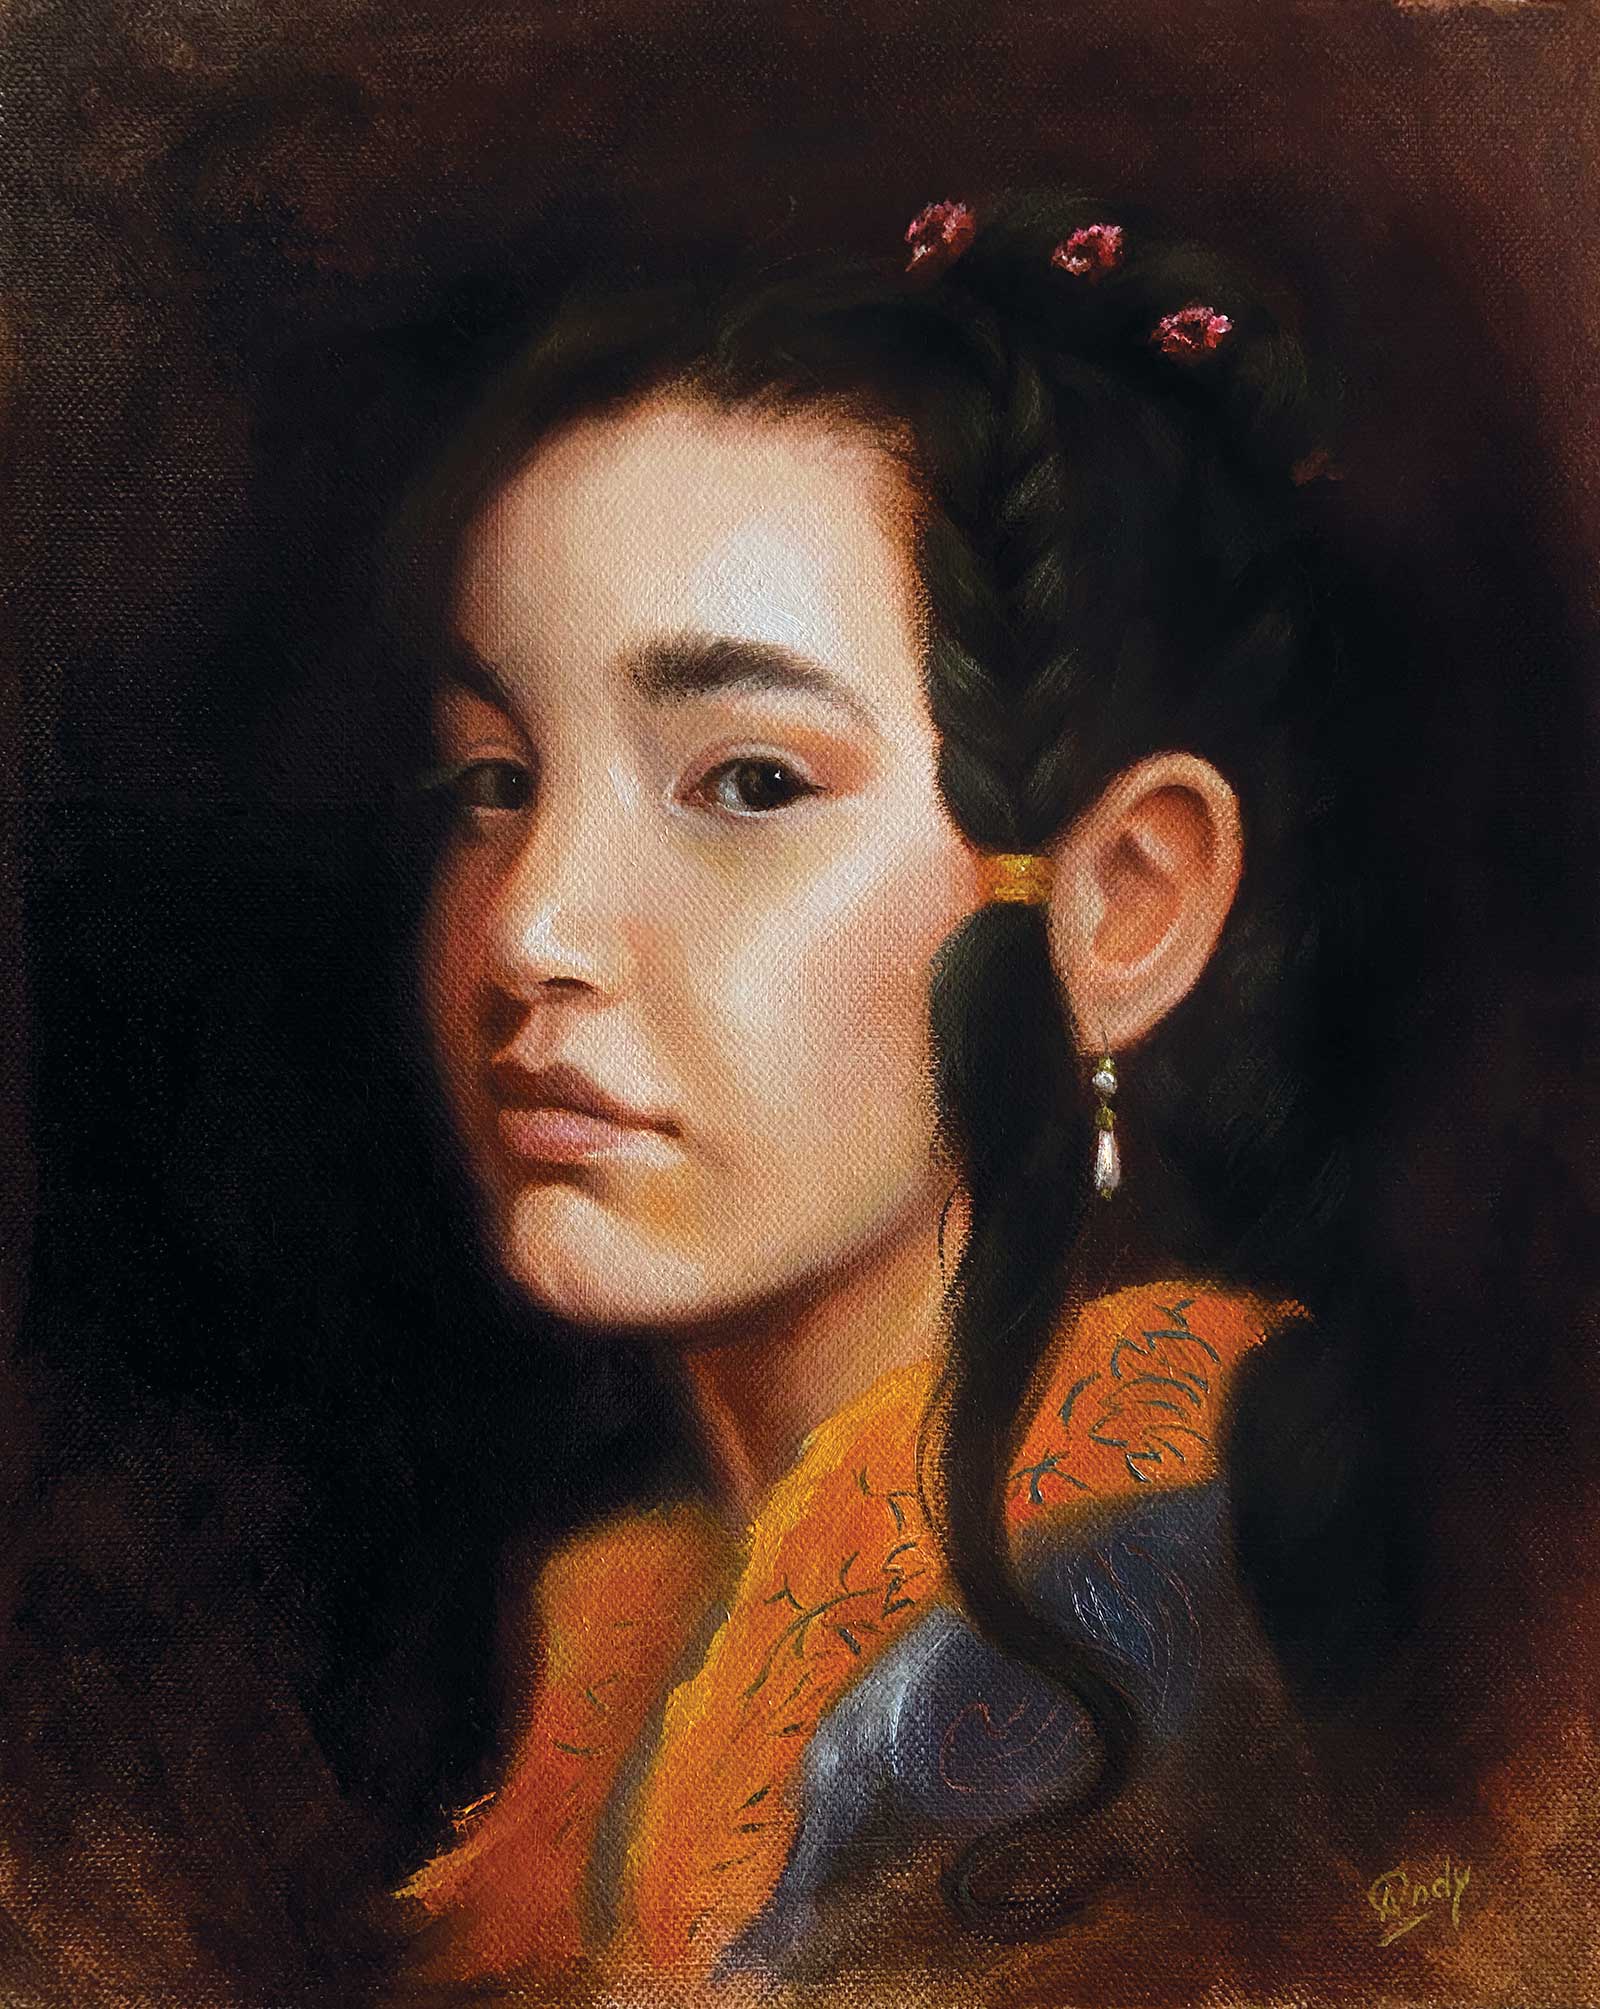
Lou-Anna - Girl with a Pearl Earring, oil on linen, 12 x 9 ½” (30 x 24 cm)
When I look back at the history of art, I can hardly remember any portrait artists who haven’t left a picture of themselves; and the self-portraits of Albrecht Dürer, Rembrandt or Vincent Van Gogh are iconic masterpieces known to everyone. It almost seems like an obligation for a portrait artist to create his own self-portrait. Besides that, I heard that Rembrandt let his students copy his self-portraits to learn from his approach. These examples of the Old Masters can act as a source of inspiration for us nowadays as well. The Old Masters also used these pictures of themselves as a marketing tool to show off their skills and abilities to their customers, and we can make use of this tactic too. When clients or guests visit me in my studio, one of the first things they notice is my self-portrait, and this is always a good way to start a discussion and explain my work.
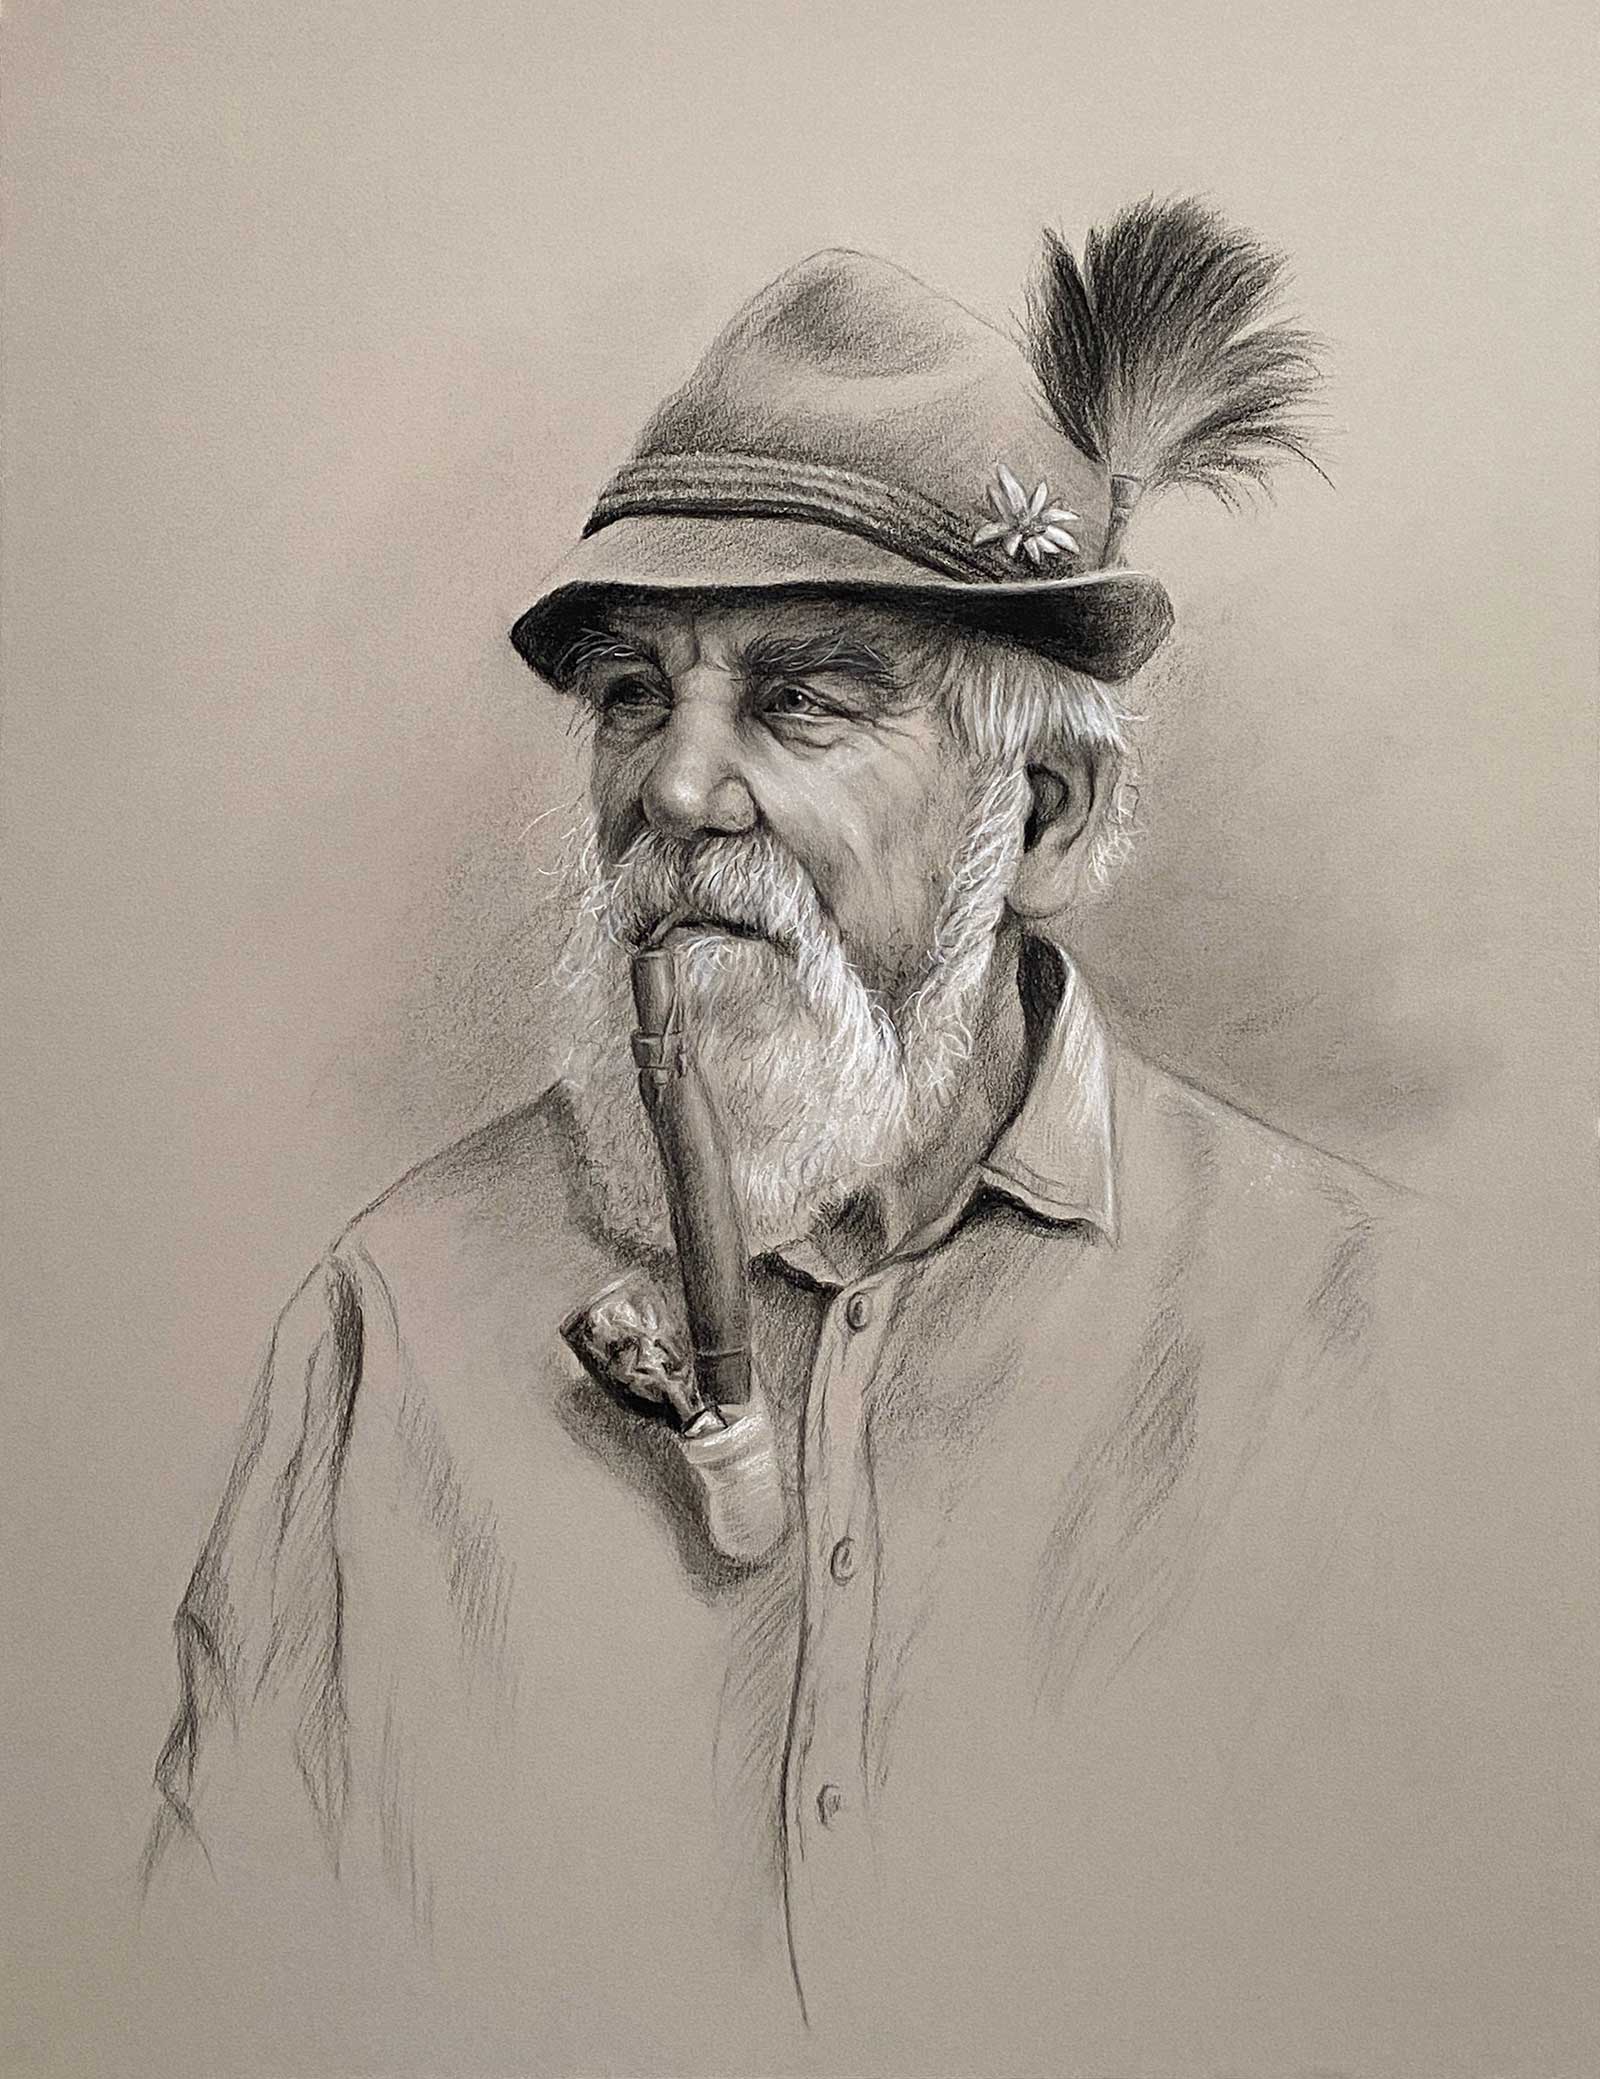
Sepp, charcoal and white pastel on toned paper, 25½ x 19½” (65 x 50 cm)
Another benefit of painting yourself from life by using a mirror is the possibility to improve your own artistic practice. This works for a beginner as well as for a professional artist. I remember when I was in art school, a teacher told us, “The face we know the best is the one we see in the mirror everyday, and out of this reason, a self-portrait is a very good way to start with portraiture or working from life.” As a professional artist it can be a reminder to simplify and not get attracted by too many tiny details, since you will easily notice that it needs just a few big shapes to recognize yourself. It also helps portrait artists to avoid or correct the typical problems when working from photos. I usually have to draw or paint most of my portrait commissions from photos, because my clients rarely find the time to sit for me, and if you stare at a photo for a while you will tend to see too many tiny things, which you would not notice in reality. Other problems that come from using photos are that shadows might be too dark and the colors often look different than what we see with our eyes. And finally, I gained a better understanding of a model’s effort and how difficult it is to hold the pose like we artists expect them to do.
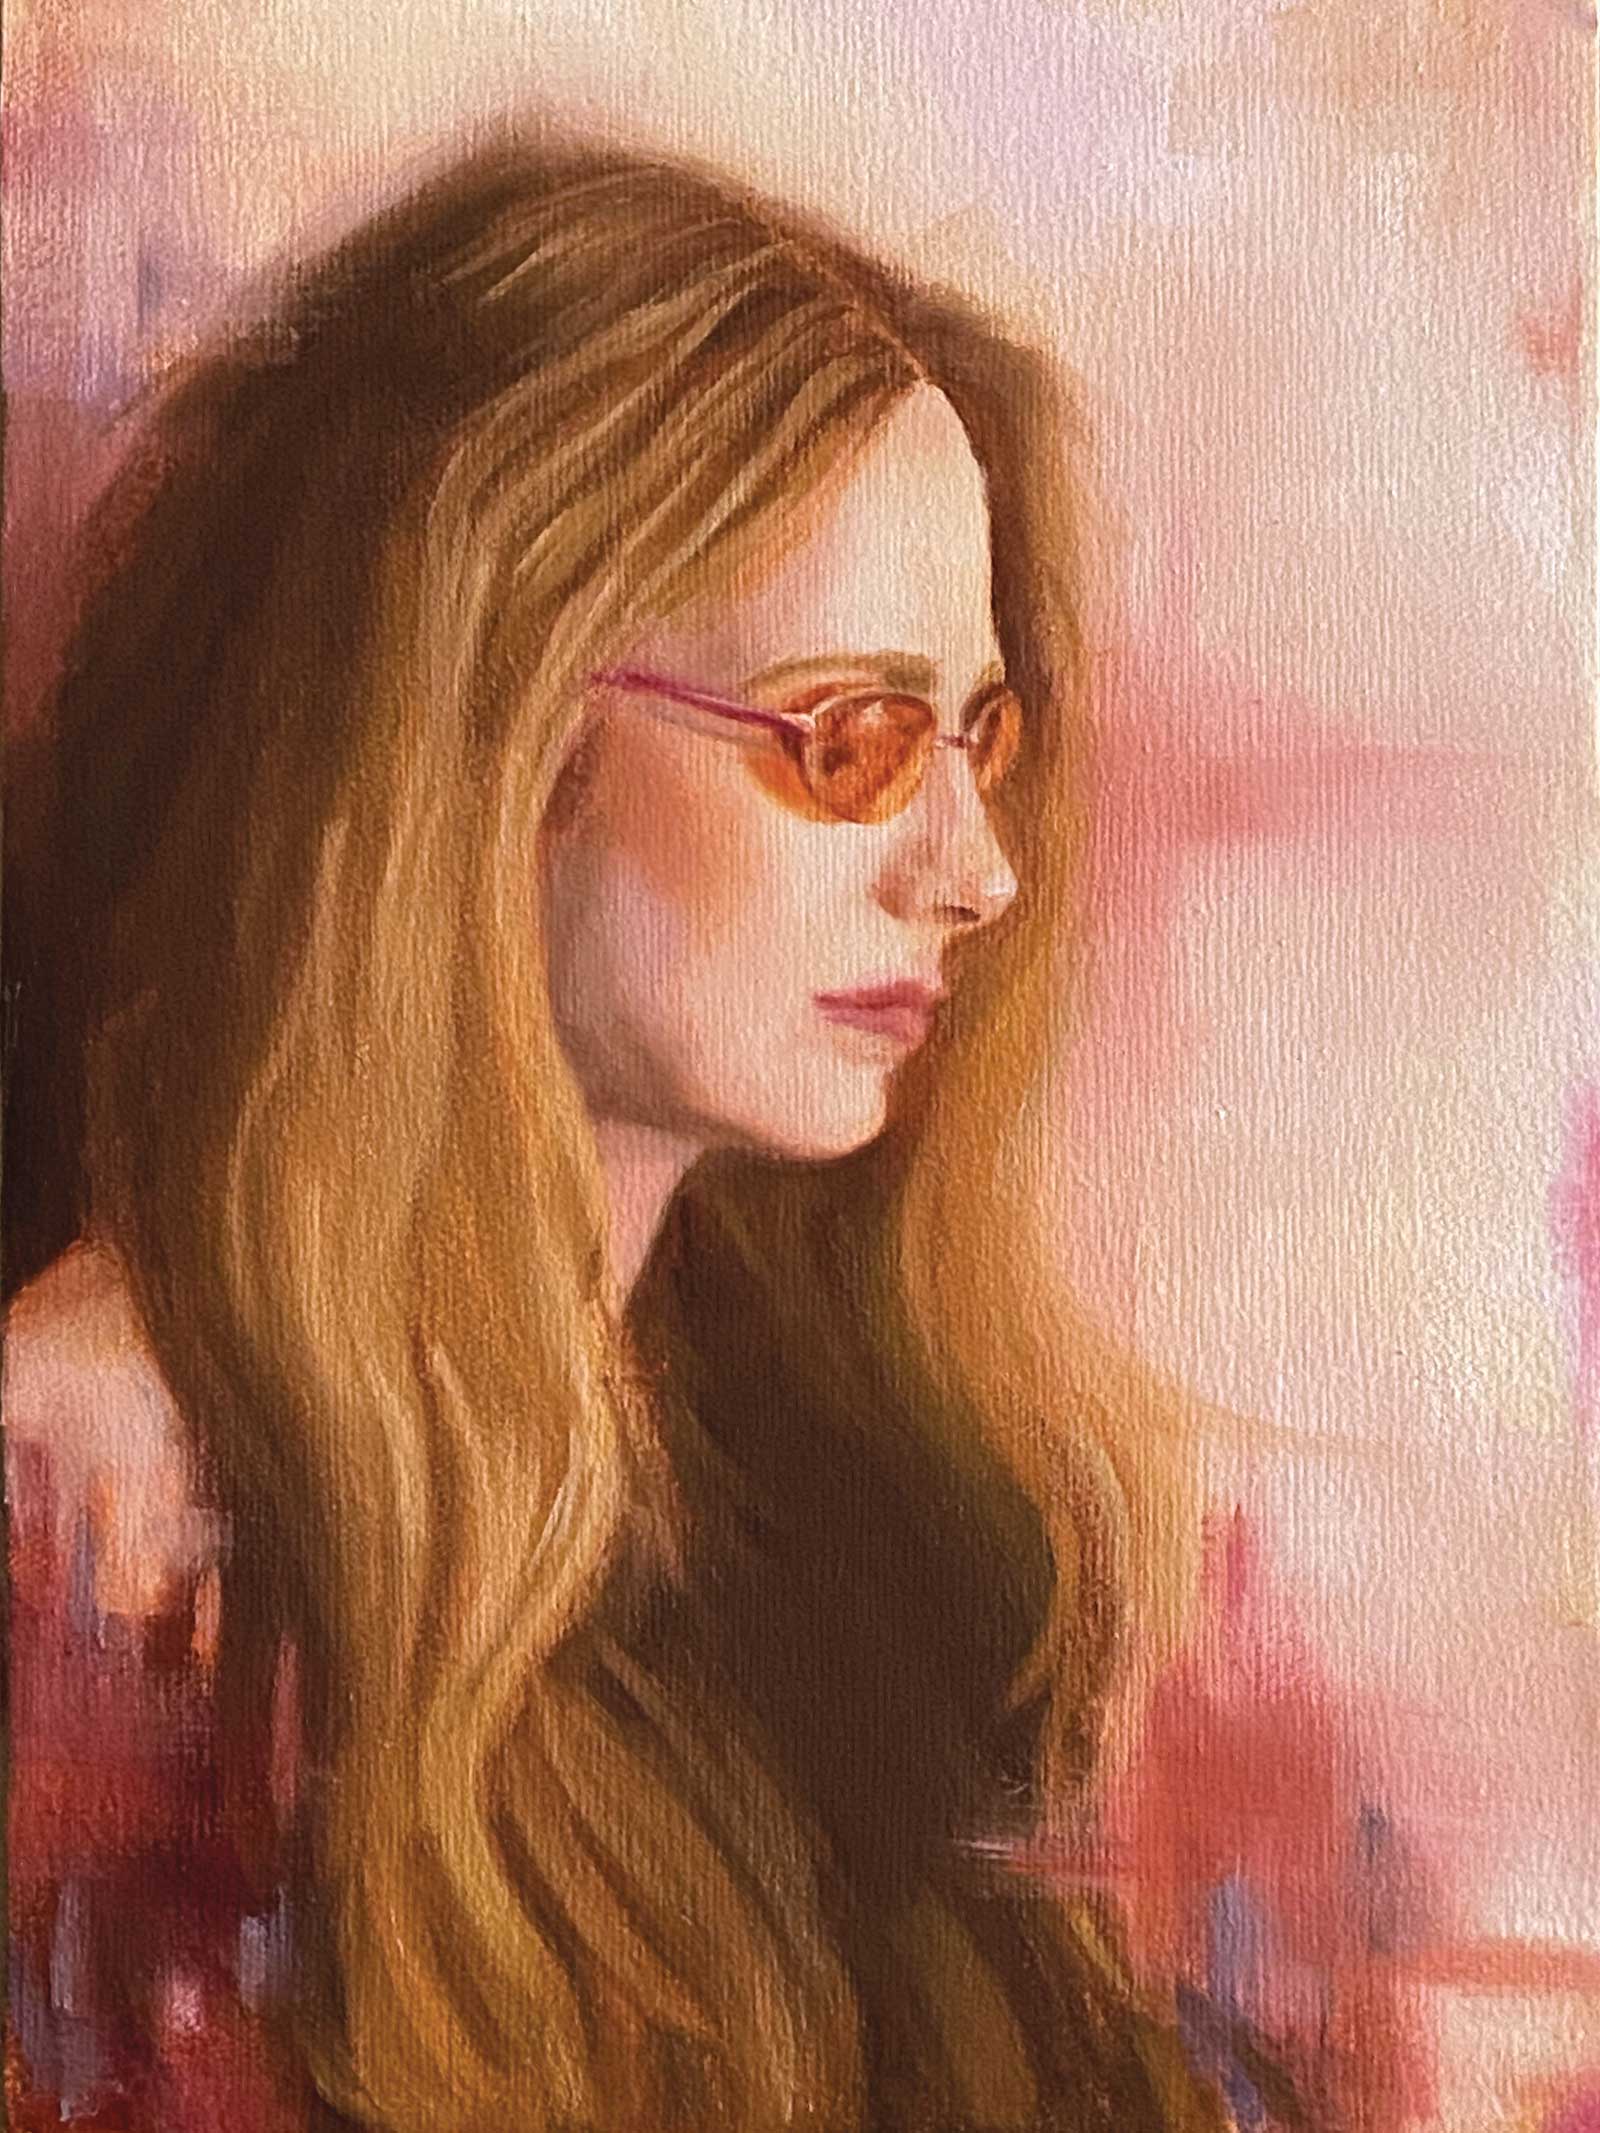
My Art in the Making Sunglasses, Self-Portrait in Side View
Set-up
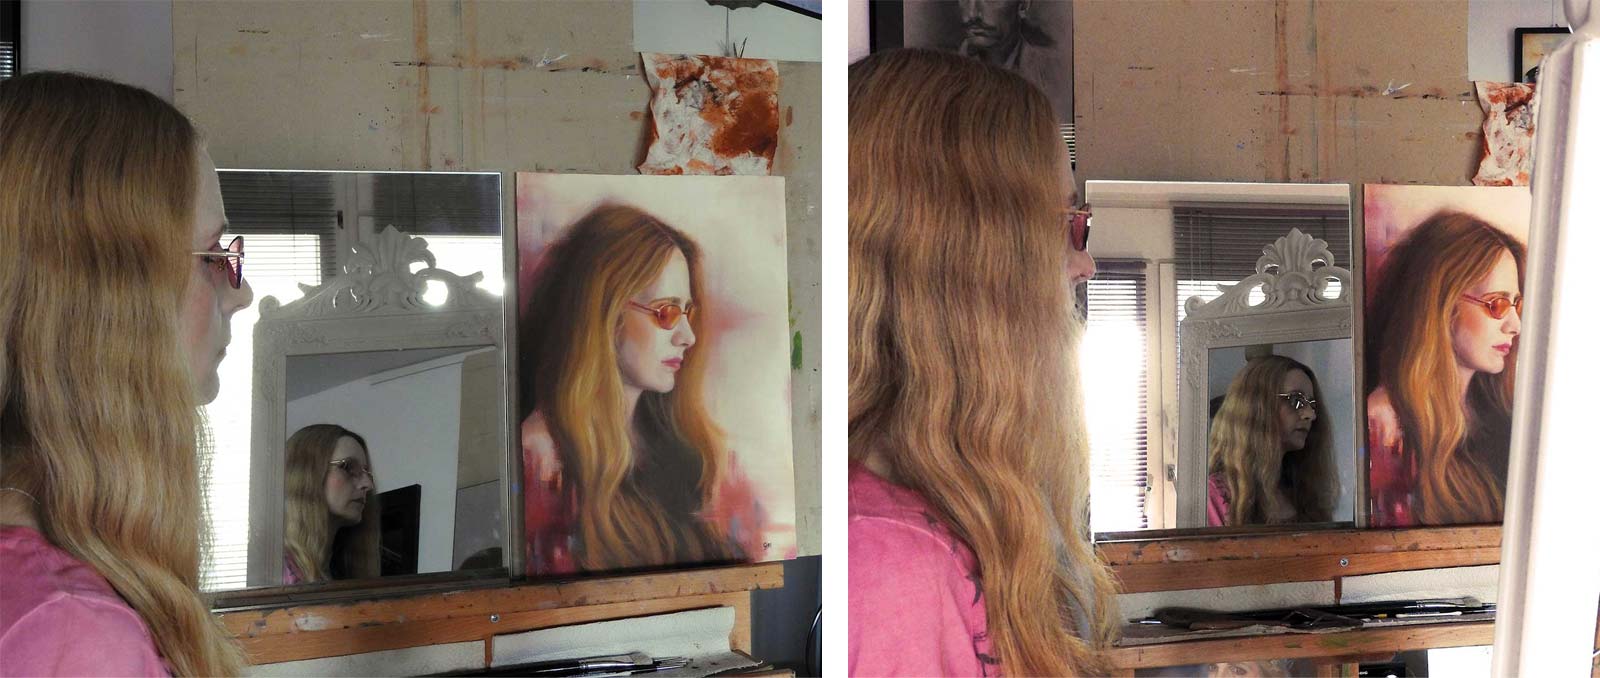
By using two mirrors it is possible to see yourself from a side view while painting. Working with two mirrors also solves the problem with the hands seen on the wrong side, like they’re shown in the mirror image, (if you want to portray yourself as a painter by depicting the brush and palette in your hands).
I started to plan this artwork by playing around with the position of the mirrors, my pose and with the light source to find a composition I like. It’s good to think about your clothing or the use of accessories, like the colored sunglasses in this set-up, to add a narrative to your painting. Drawing thumbnail sketches can be very helpful to discover interesting shapes of light and shadows, positive and negative space. I always invest a lot of time in this preliminary work because I believe this is the most important step in the creative process and builds the foundation of the artwork.
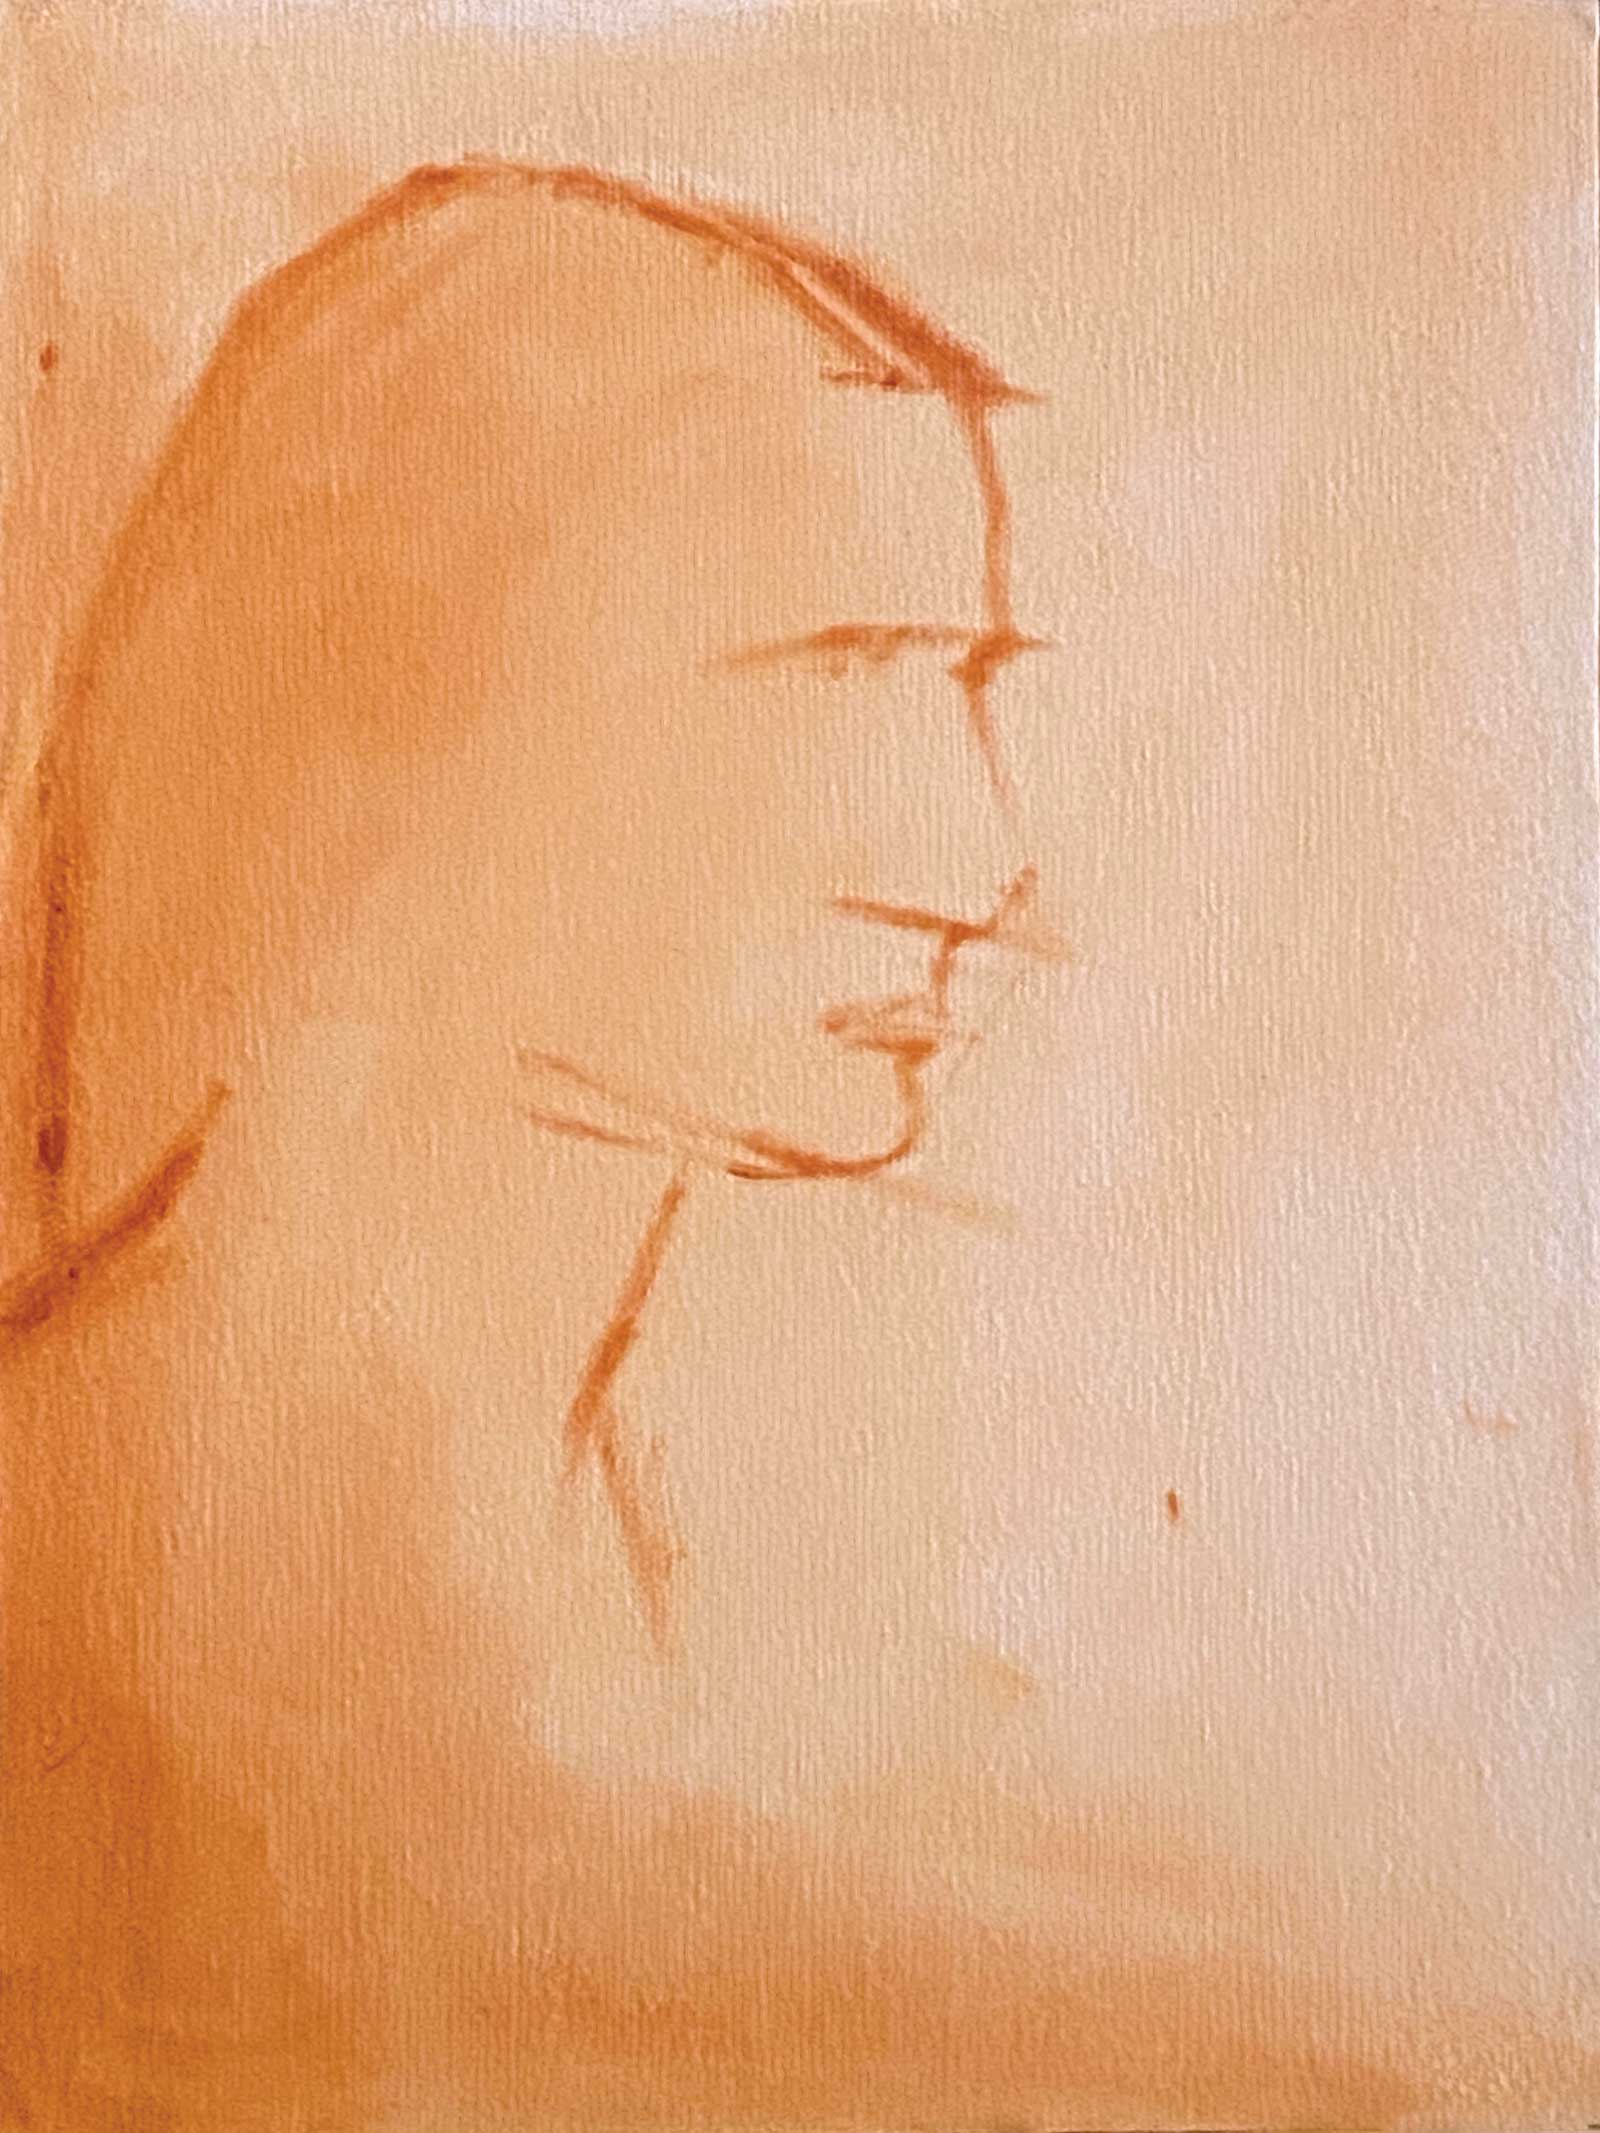
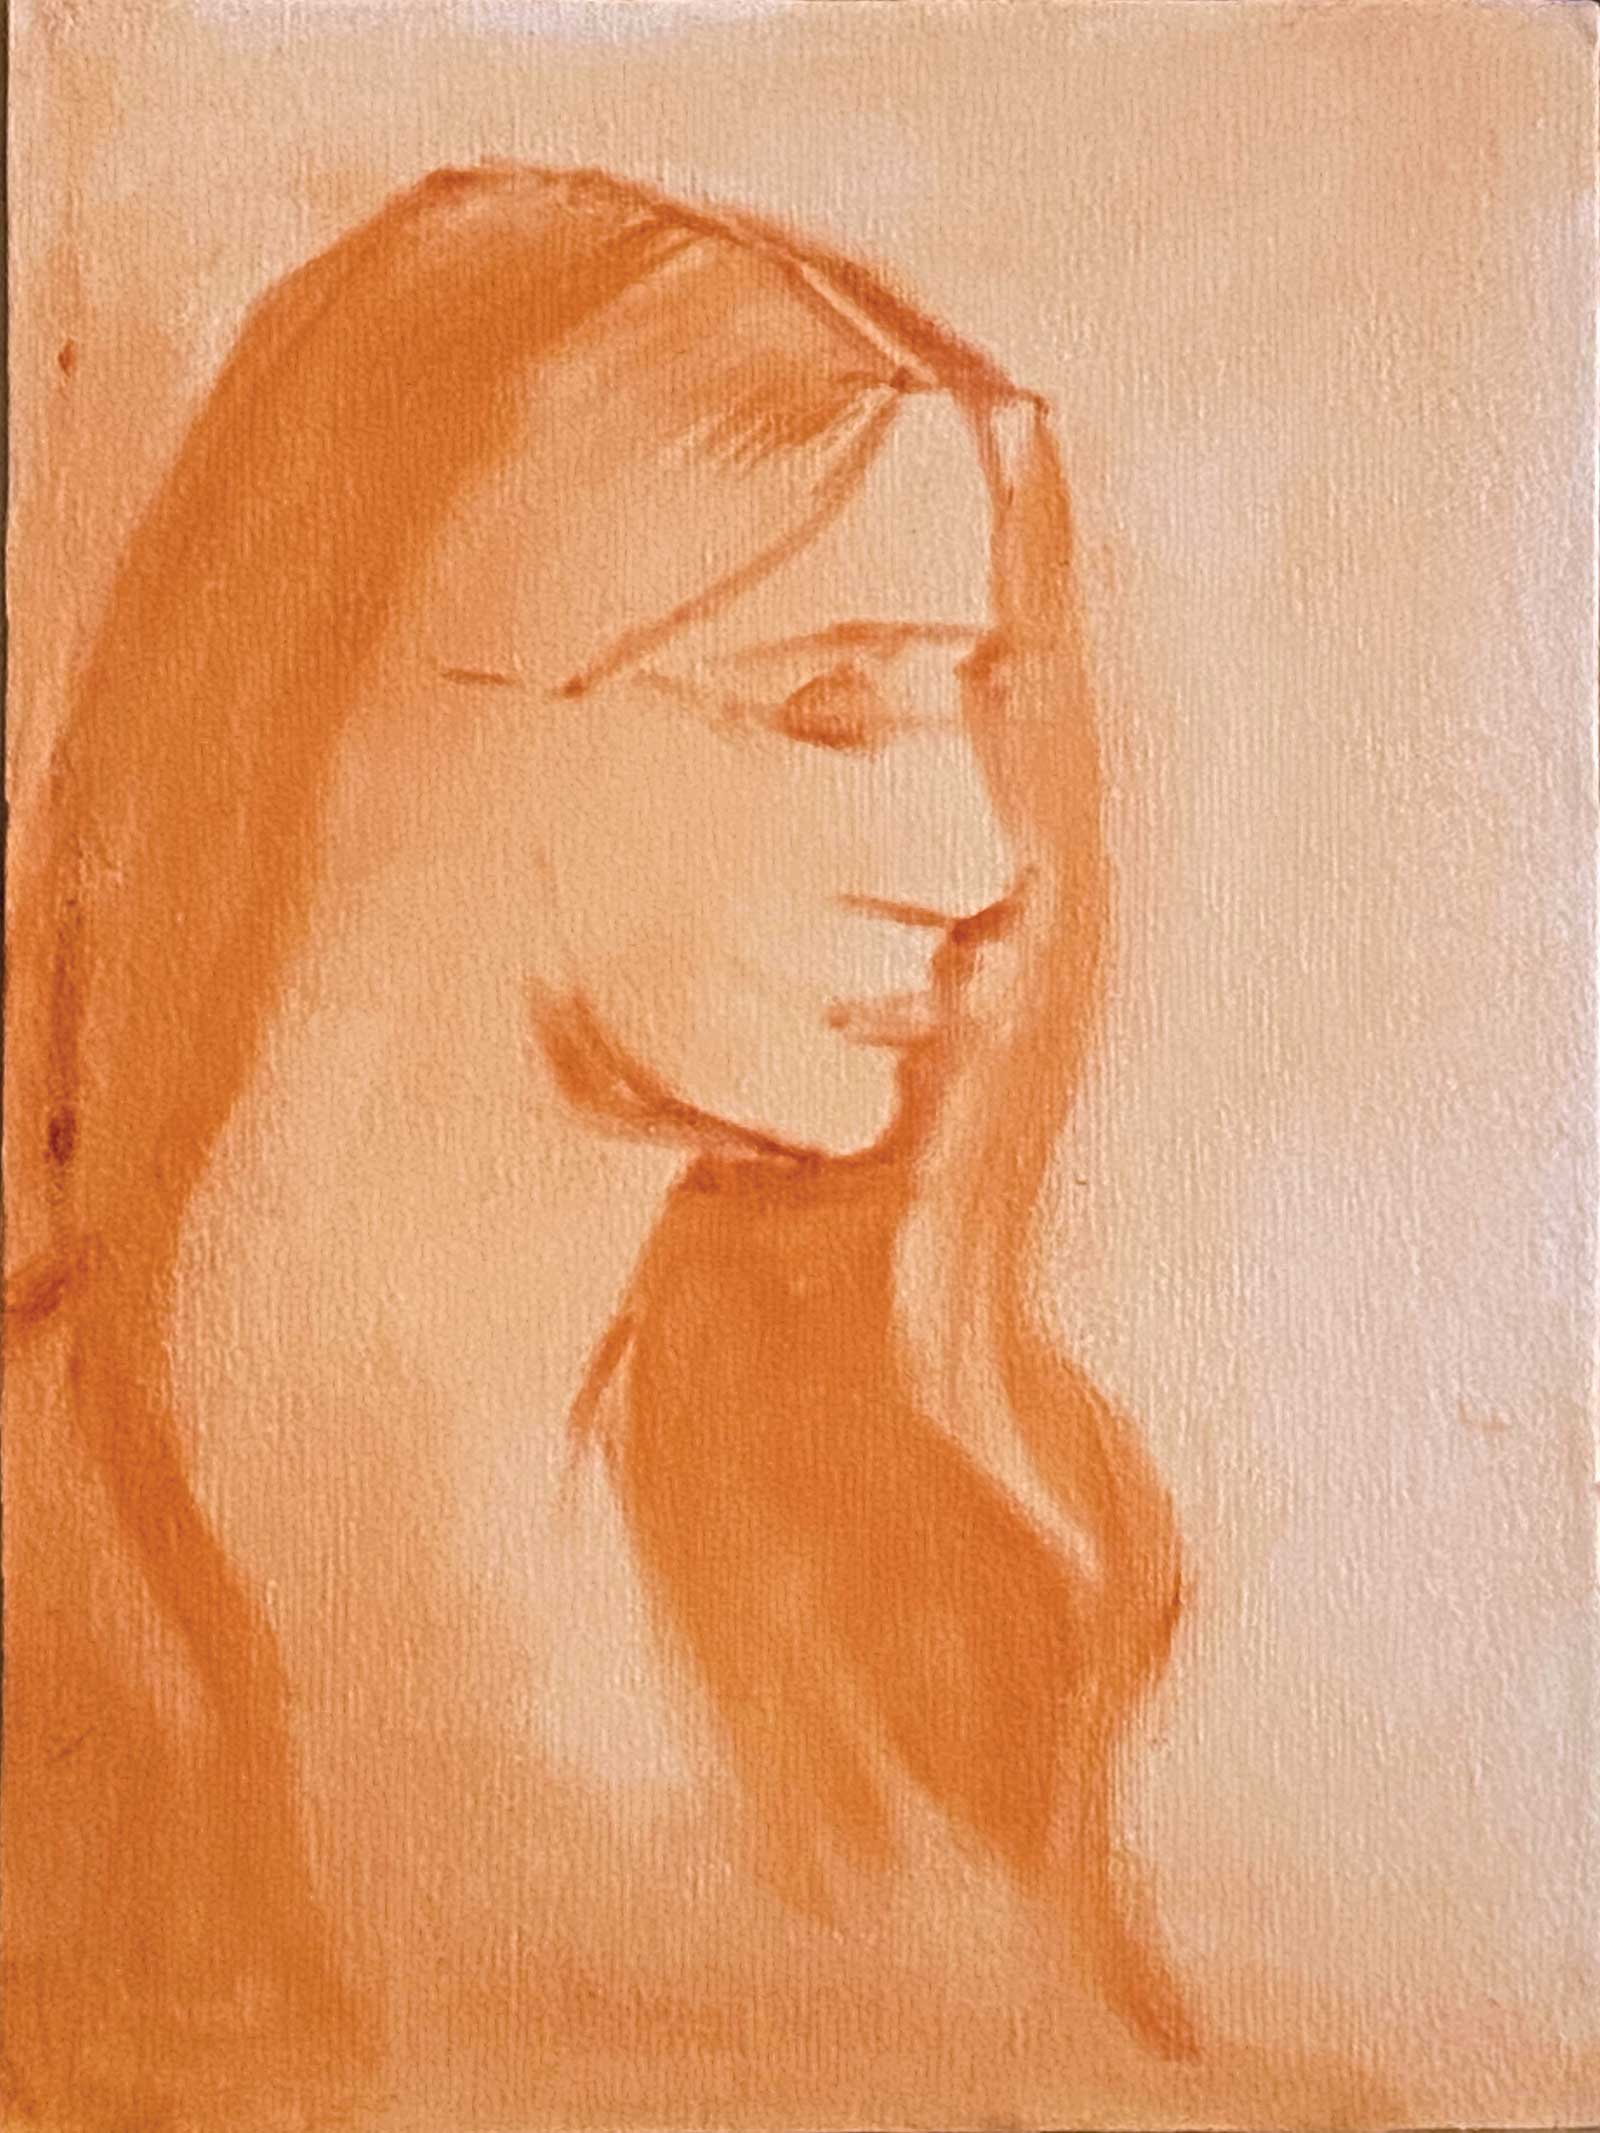
Stage 1 Underpainting: Toning & Linear Drawing
I started my underpainting by toning the canvas with a wash of transparent red oxide (oil paint thinned with solvent) to cover the white surface and create a mid tone; this made it easier to compare the values in the upcoming stages. In the next step I developed the linear drawing with a small flat brush. I used comparative measurement combined with sighting angles. This type of measuring is more dynamic than the sight-size method, and I prefer it when working from life. In this stage I tried to hold my pose as exact as possible to avoid errors in the drawing.
Stage 2 Underpainting: Shadow Shapes
After drawing the significant lines of my head, I started with blocking in the shadow shapes by using a big brush. I prefer a big flat or filbert in this stage. Using big brushes helps me focus on the big shapes and avoids drawing too much attention to small details too soon. I prefer to use a more sculptural approach of forming the big shapes first before working out the details, like sculptors form their work out of a clot of clay.
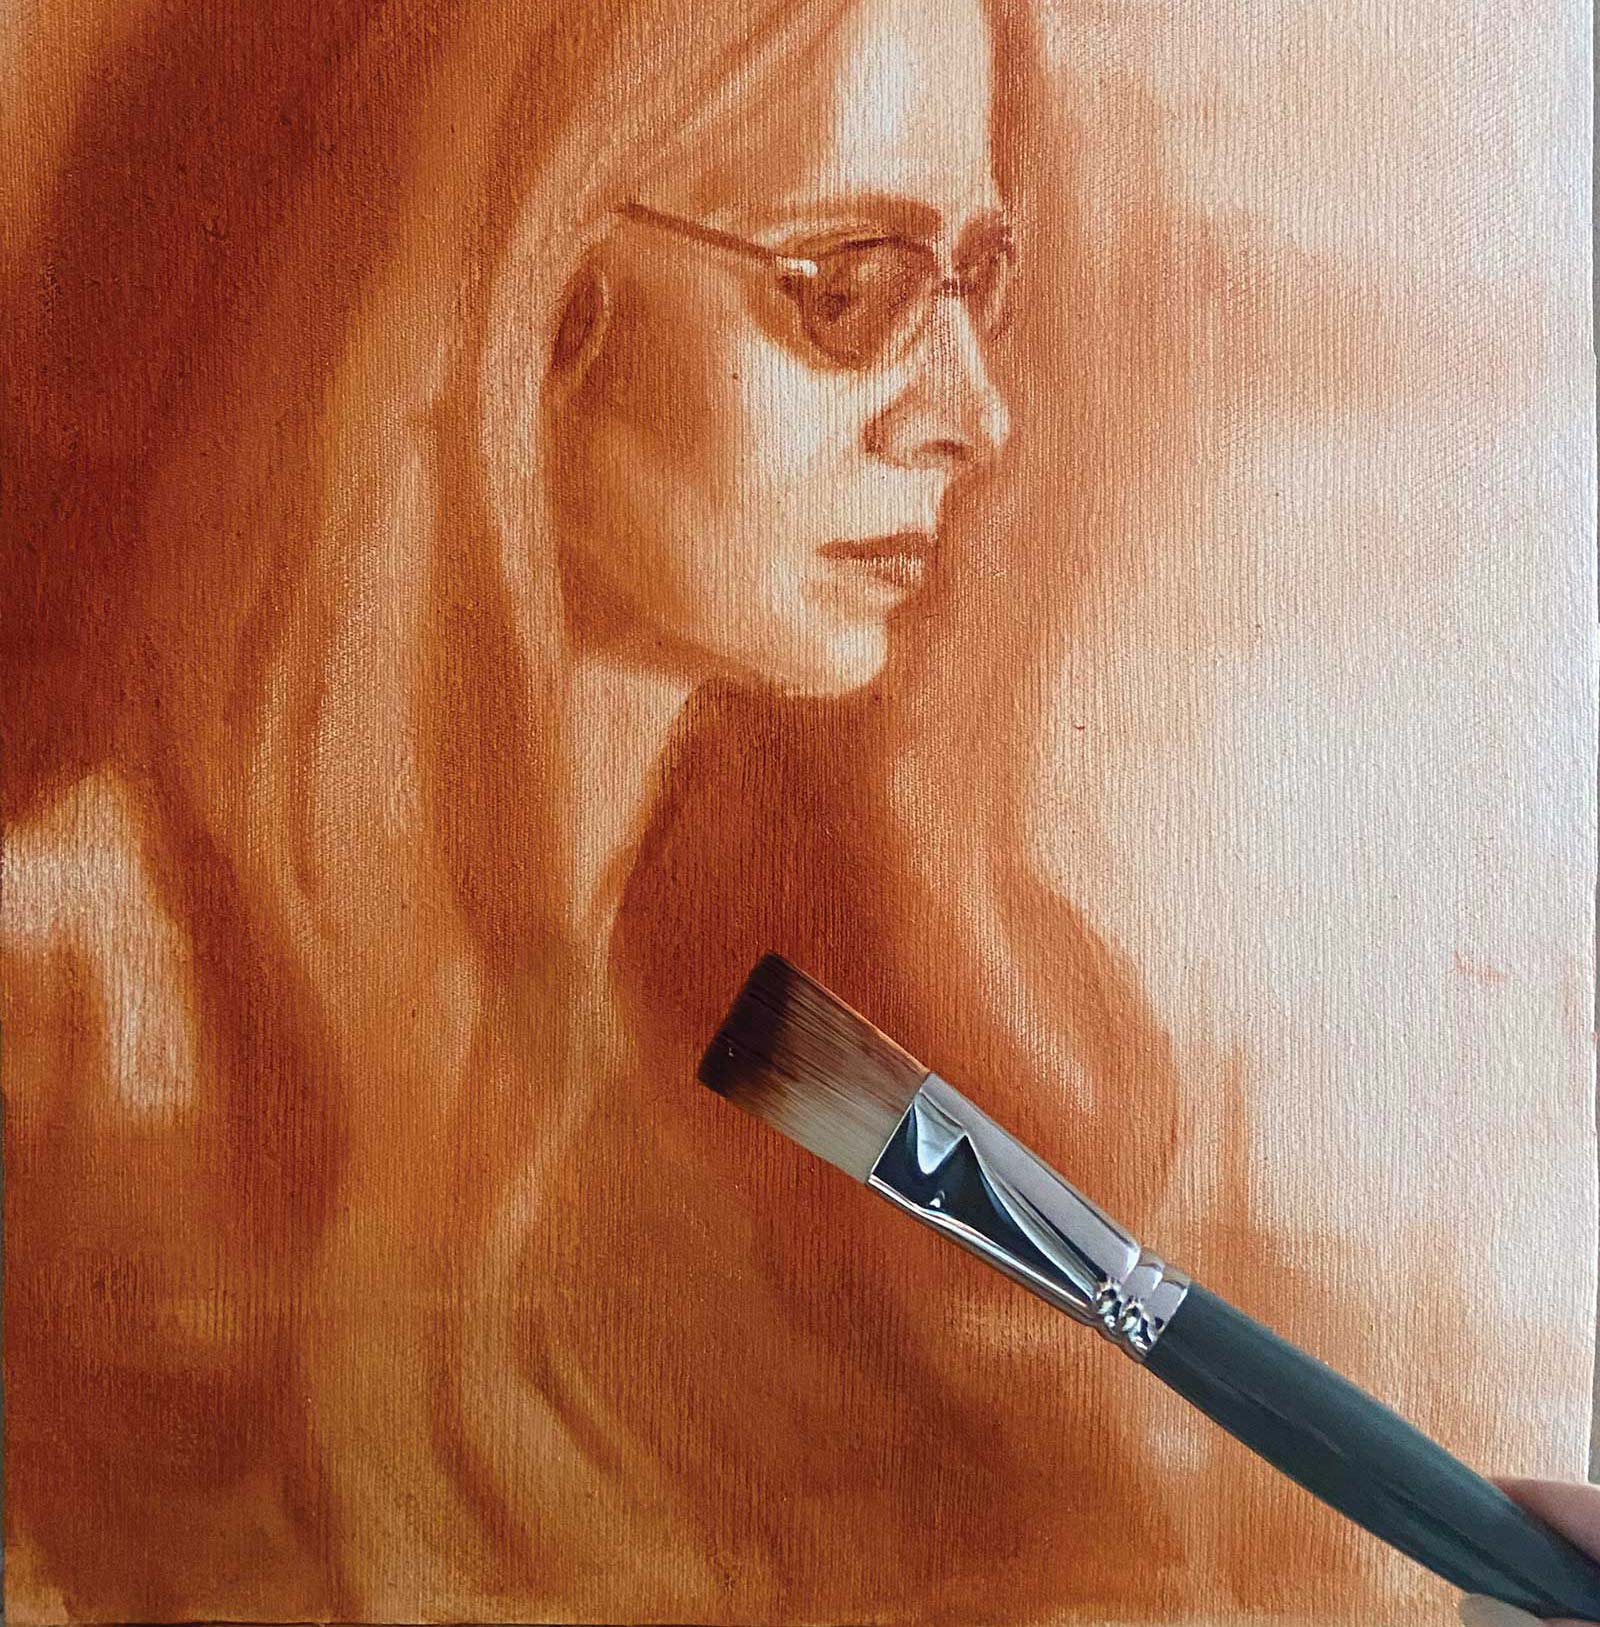
Stage 3 Underpainting: Developing Value Structure
After blocking in the shadow shapes, my next step was to wipe out the lights by using a painting cloth. The canvas I used was primed with an oil ground, which made it easier to remove the paint from the surface than it would have been if using an acrylic-primed canvas. After I arranged the shadows and lights, I continued to refine the value structure to develop the form of my head and establish the relationship between the shapes to finish the underpainting. Even in the underpainting I always care about edges.
Stage 4 Second Layer: Background Color
On top of the underpainting, I added the second layer as a block-in of the color shapes. I began with the background, as this helped me to compare values and colors while painting the portrait. In the background, I experimented with color and texture to try out things that I usually can’t do in my portrait commissions. To create the abstract pattern, I used big flat brushes to apply mixtures of white, yellow ochre and alizarin, and my idea was to push some paint into the portrait to build a connection.
Stage 5 Second Layer: Shadow Shapes
In a portrait, my usual approach is to work from the dark values to the lights. Therefore, I started by painting the shadow shapes of the hair, cloth and skin. Instead of using black, I like to work with a mixture of transparent red oxide and ultramarine blue as my darkest dark. Similar to the underpainting, I began with the big shapes using big brushes first, before continuing with the smaller features. I thought about edge control through the entire process.
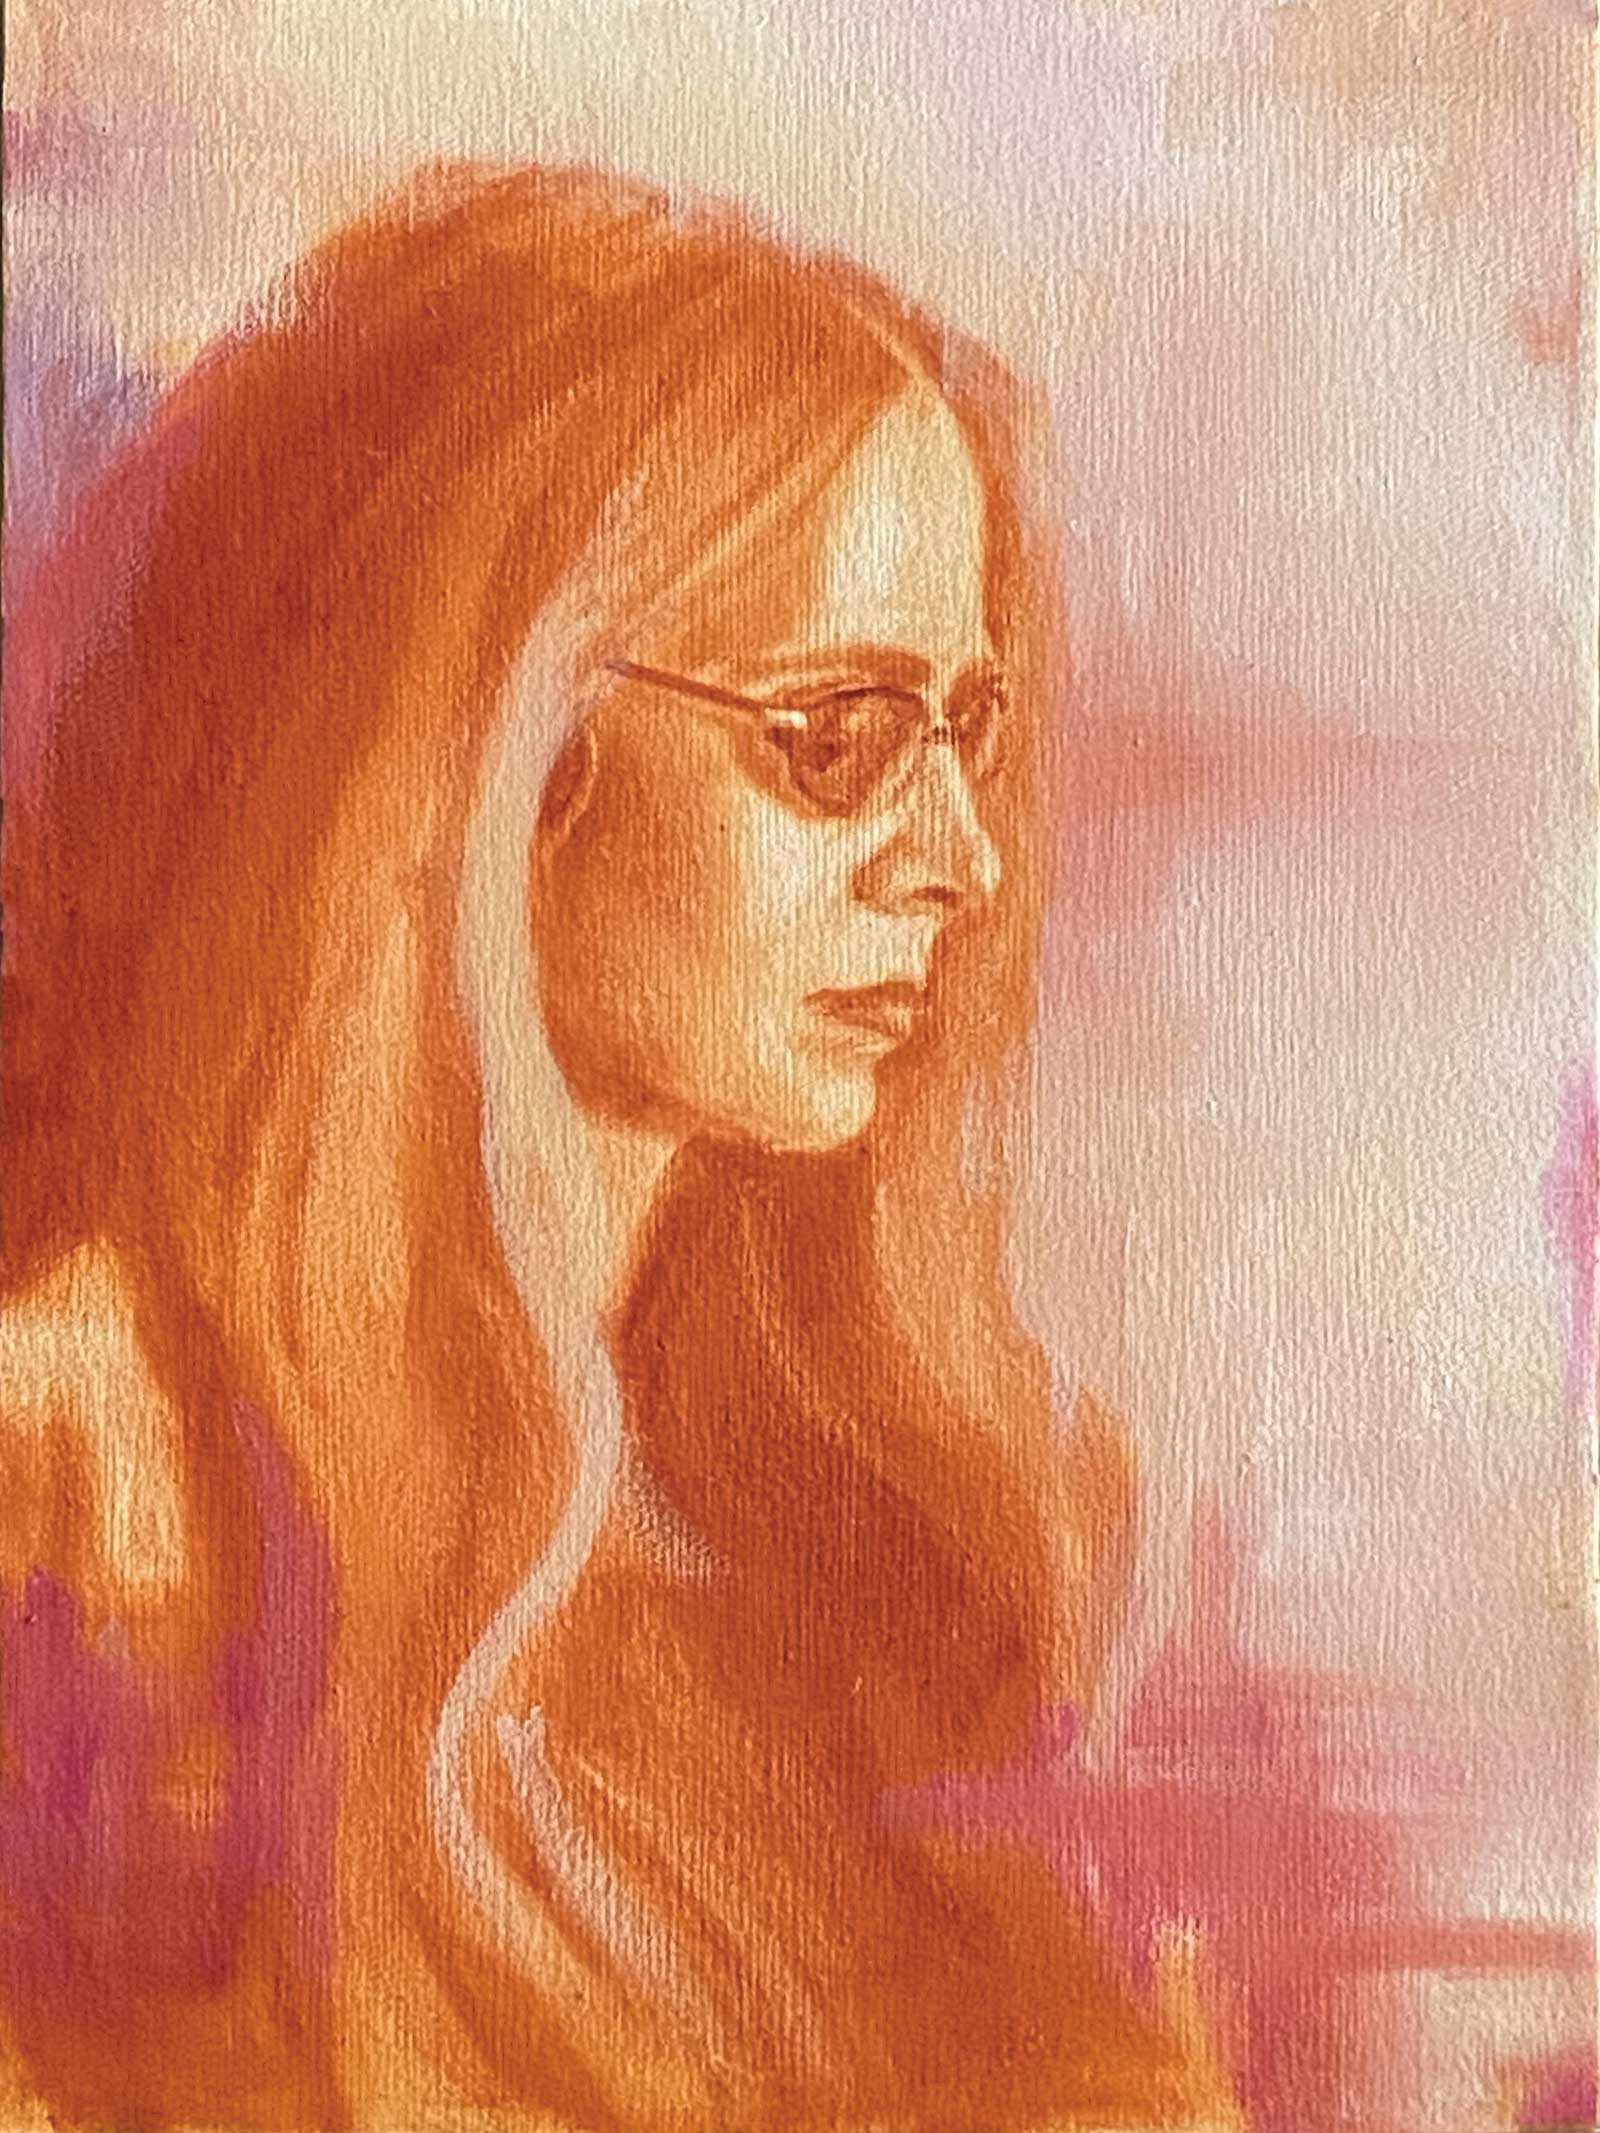
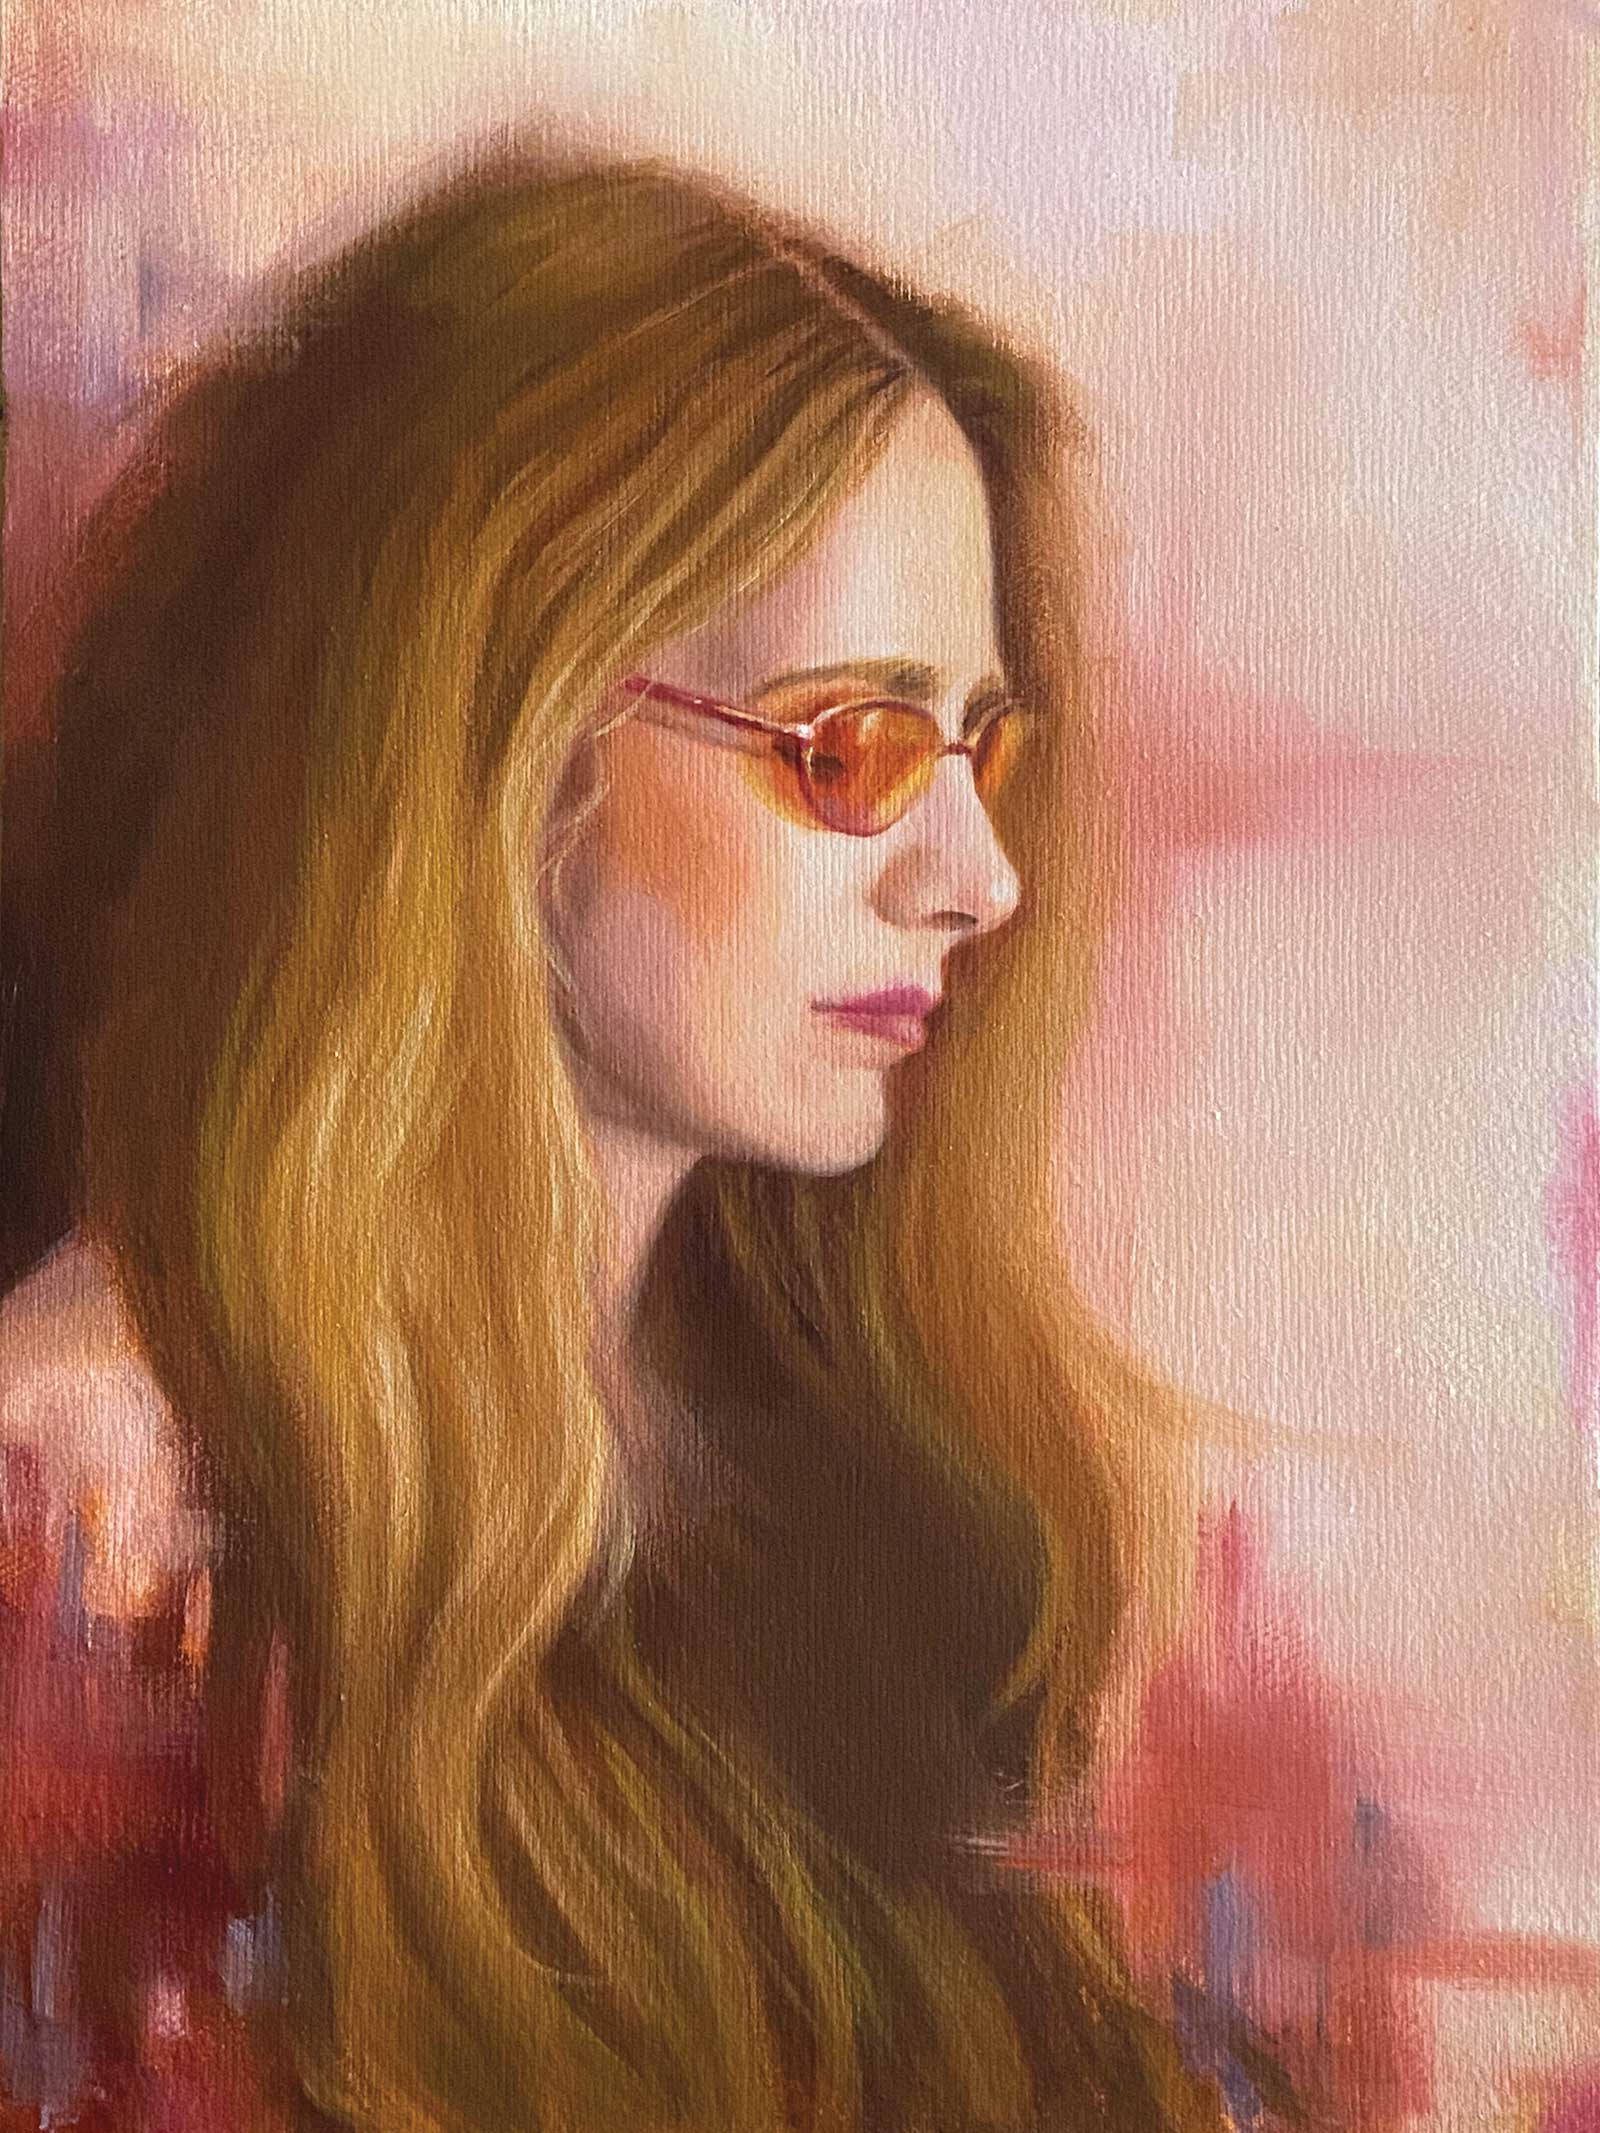
Stage 6 Second Layer: Mid Tones & Lights
By adding the mid tones and lights in color, I finished the second layer of the painting. To avoid distraction through the colored glasses, I painted my face without wearing the sunglasses first and painted them as the final step. In the second layer, I used pure oil paint without adding any solvent or medium.
Design Strategy
Composition: For my portrait, I have chosen to use a side view as an alternation to the typical front and three-quarter view of the face in my commissioned work. My portrait builds the triangular shape of a pyramid that indicates strength in a composition, and I used the shapes of my hair to add some dynamism.
Values: In my value concept, the value shapes of the light in the background and the face contrast with the dark shadow shapes in the hair and cloth. To create a tonal pattern that stands out, I tried to simplify by connecting value shapes.
Color: The use of a limited color palette is a good way to create color harmony. But instead of traditional, desaturated colors, I introduced some bright paint to represent a happy, cheerful mood.
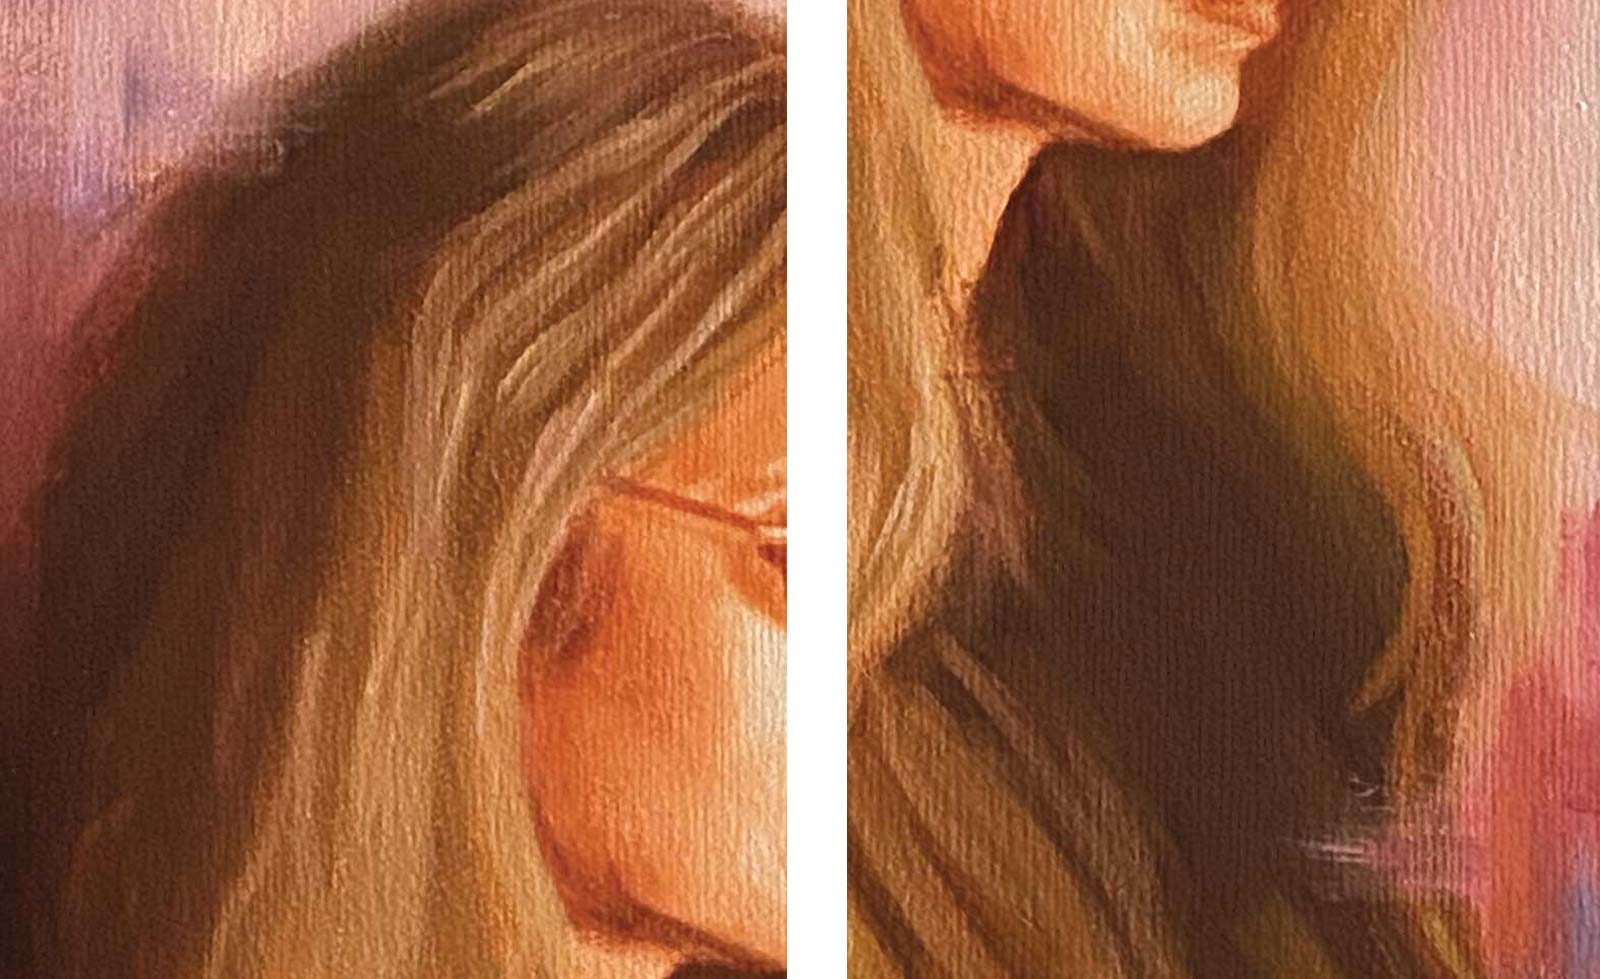
Stage 7 Refinements
In the last stage, I refined values and color temperature with glazes (oil paint thinned with refined linseed oil), reworked a few edges, and added some details as my final step.
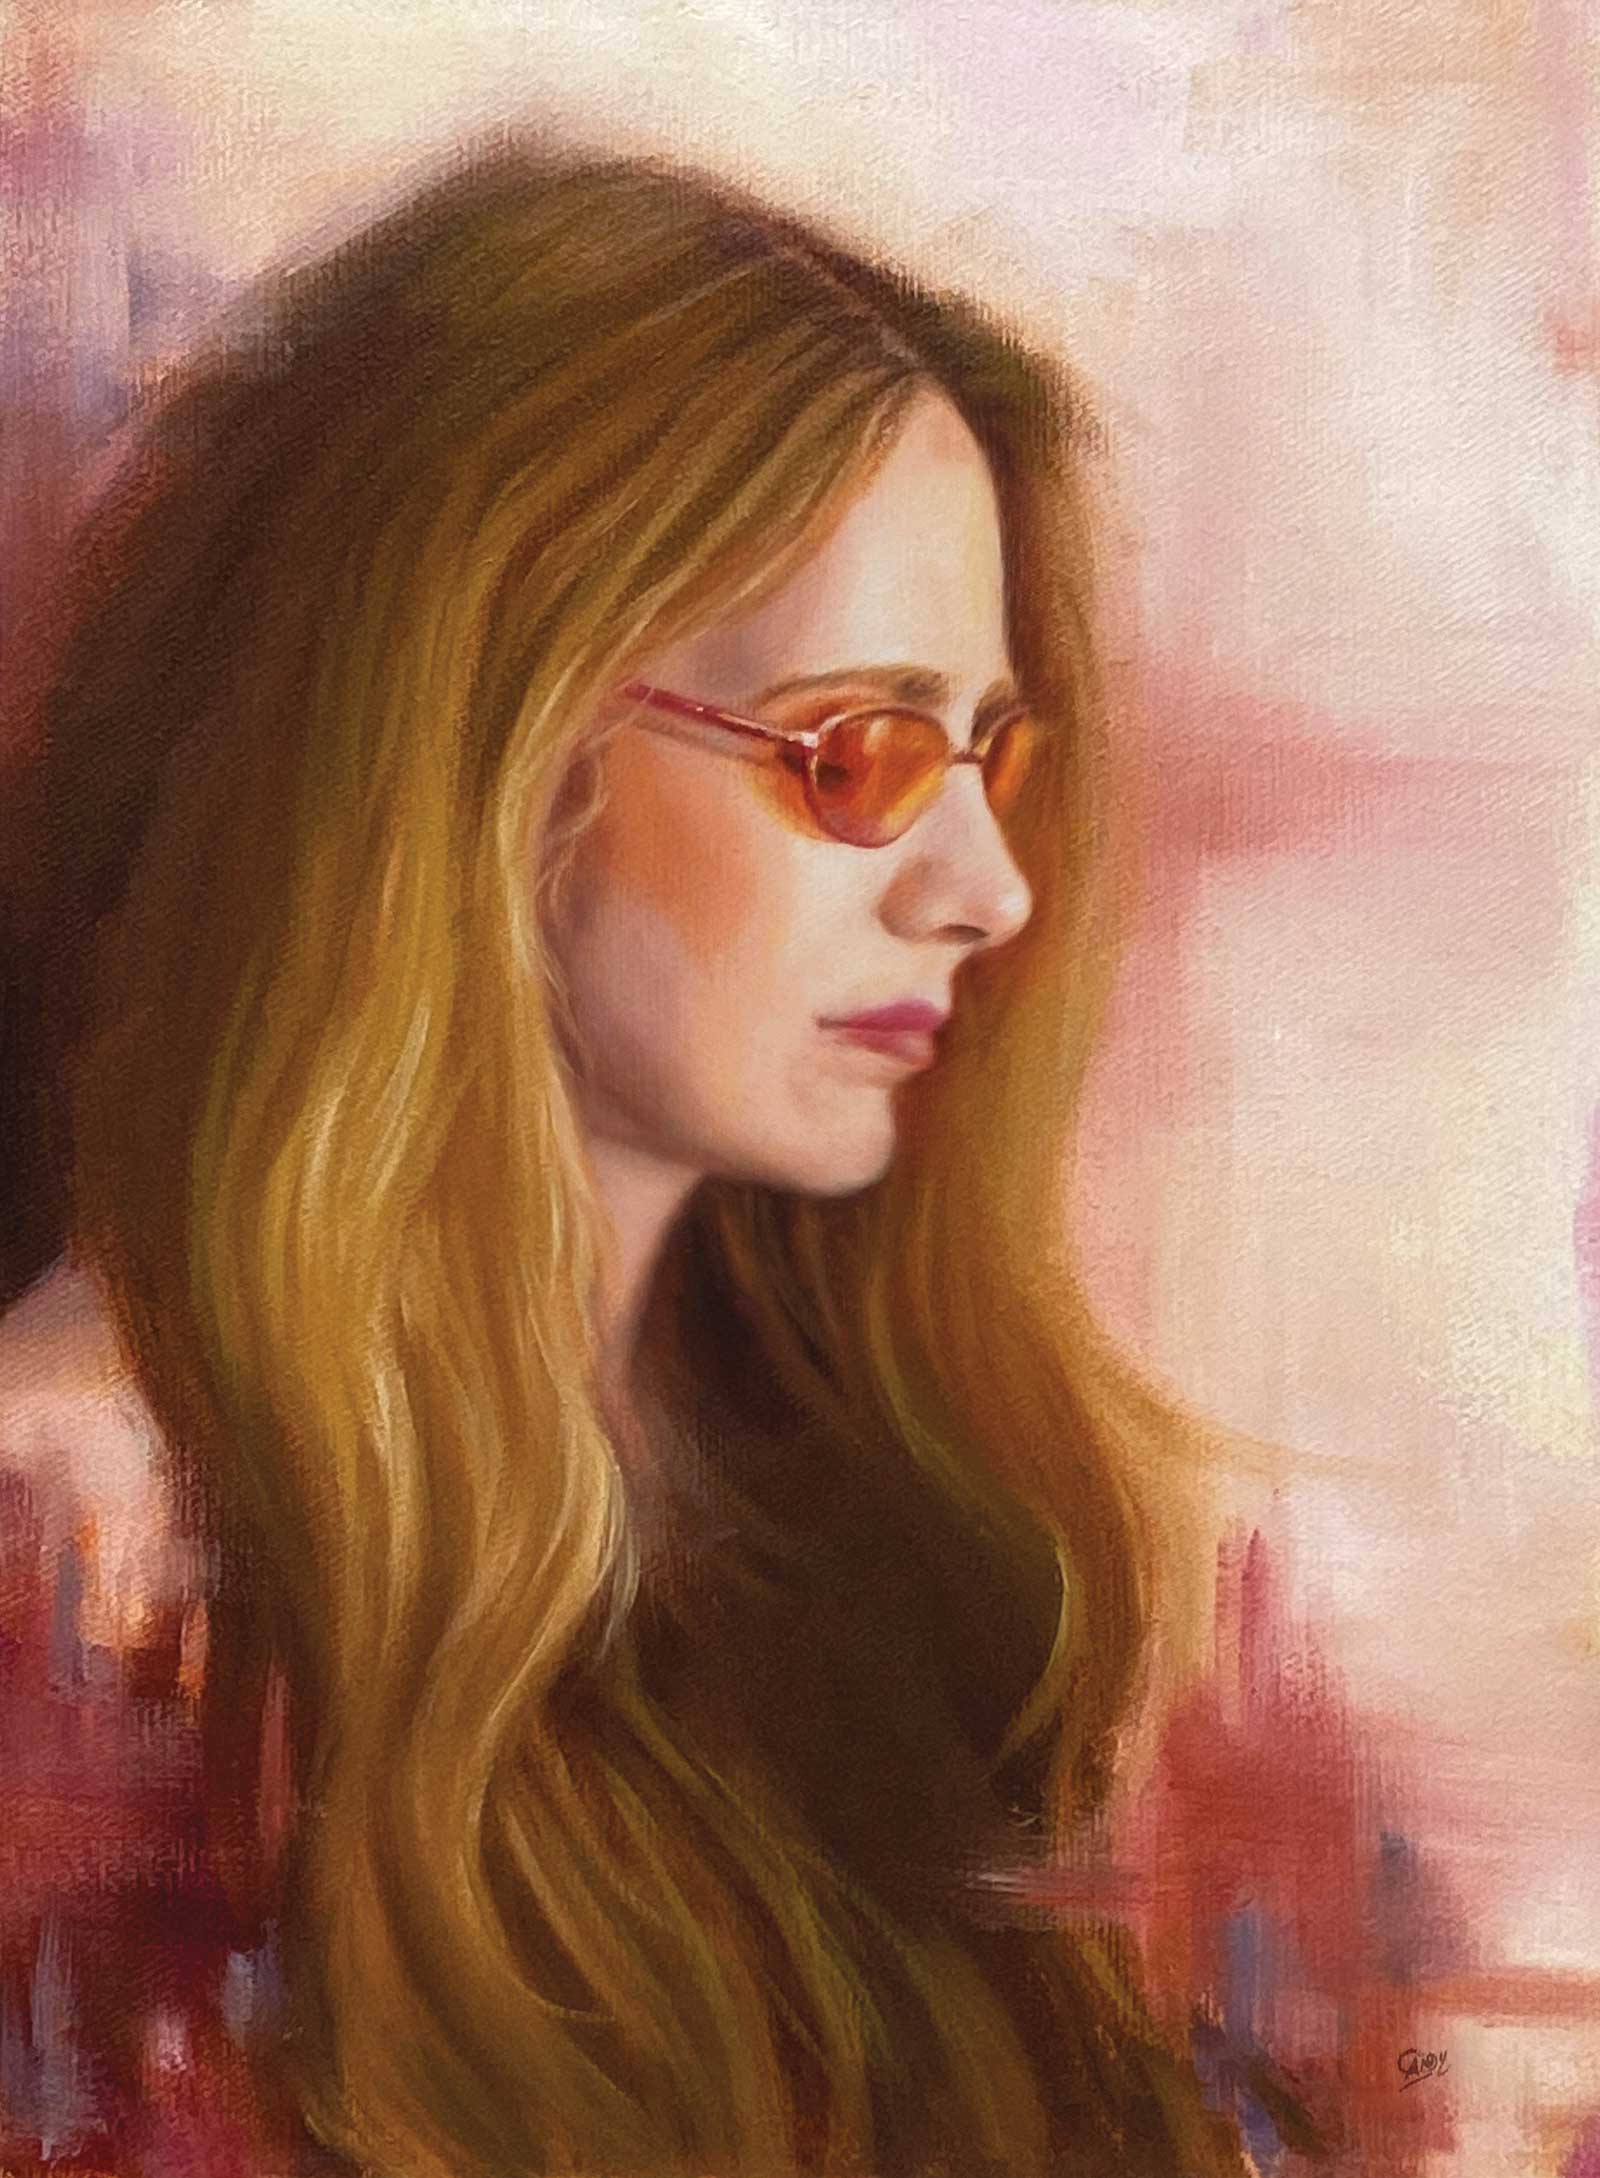
Stage 8 Finished Artwork
Sunglasses, Self-Portrait in Side View, oil on canvas panel, 15¾ x 12” (40 x 30 cm)
About the Artist
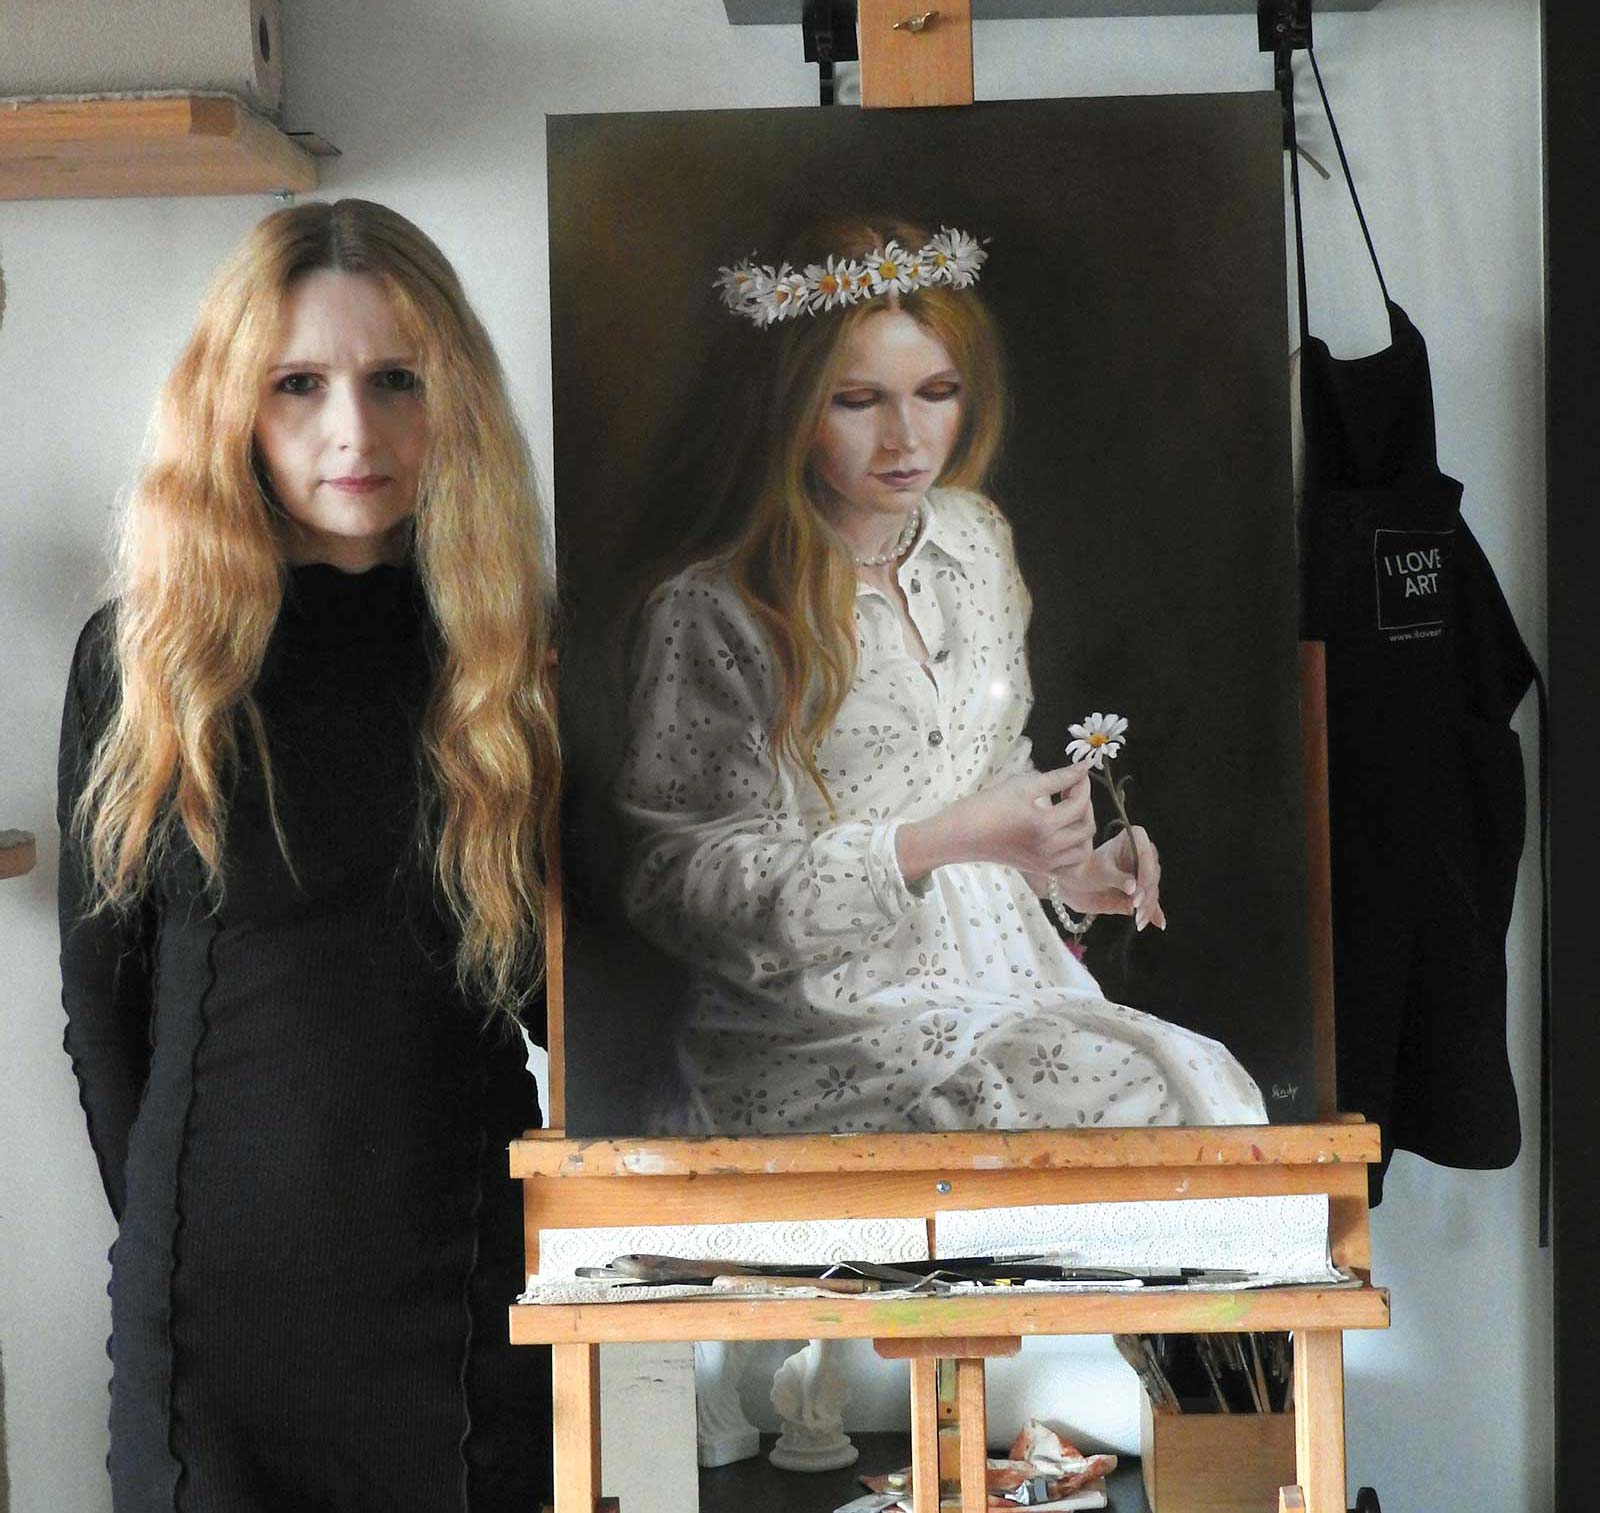 Andrea Steinbauer
Andrea Steinbauer is a German realist artist based in Munich, Germany, where she has worked full-time as a commission portrait painter and figurative artist since 2008. She received a classical art education at Atelier Felicitas Meißer and earned her MFA in fine art at the Academy of Art University in San Francisco, California. Steinbauer’s artwork is dedicated to traditional, academic concepts combined with the influence of contemporary life. Her artwork has been shown in the United States and Europe, including the MEAM Museum in Barcelona, Spain. Her work has also been honored in several prominent international art competitions, including the Art Renewal Center’s ARC Salon.