



The egg is universal, which may be one reason artists have always painted them. I love painting eggs and am happy to show you how I painted these. A painting begins with an idea. I had an idea to make a picture of eggs so I went to my local farmstand, purchased a dozen and brought them back to my studio. I loved the subtle low chroma blue and green hues and thought they would work well in a neutral environment. I wanted to play with light in such a way that would reveal and conceal the eggs to create a varied, yet harmonious grouping.
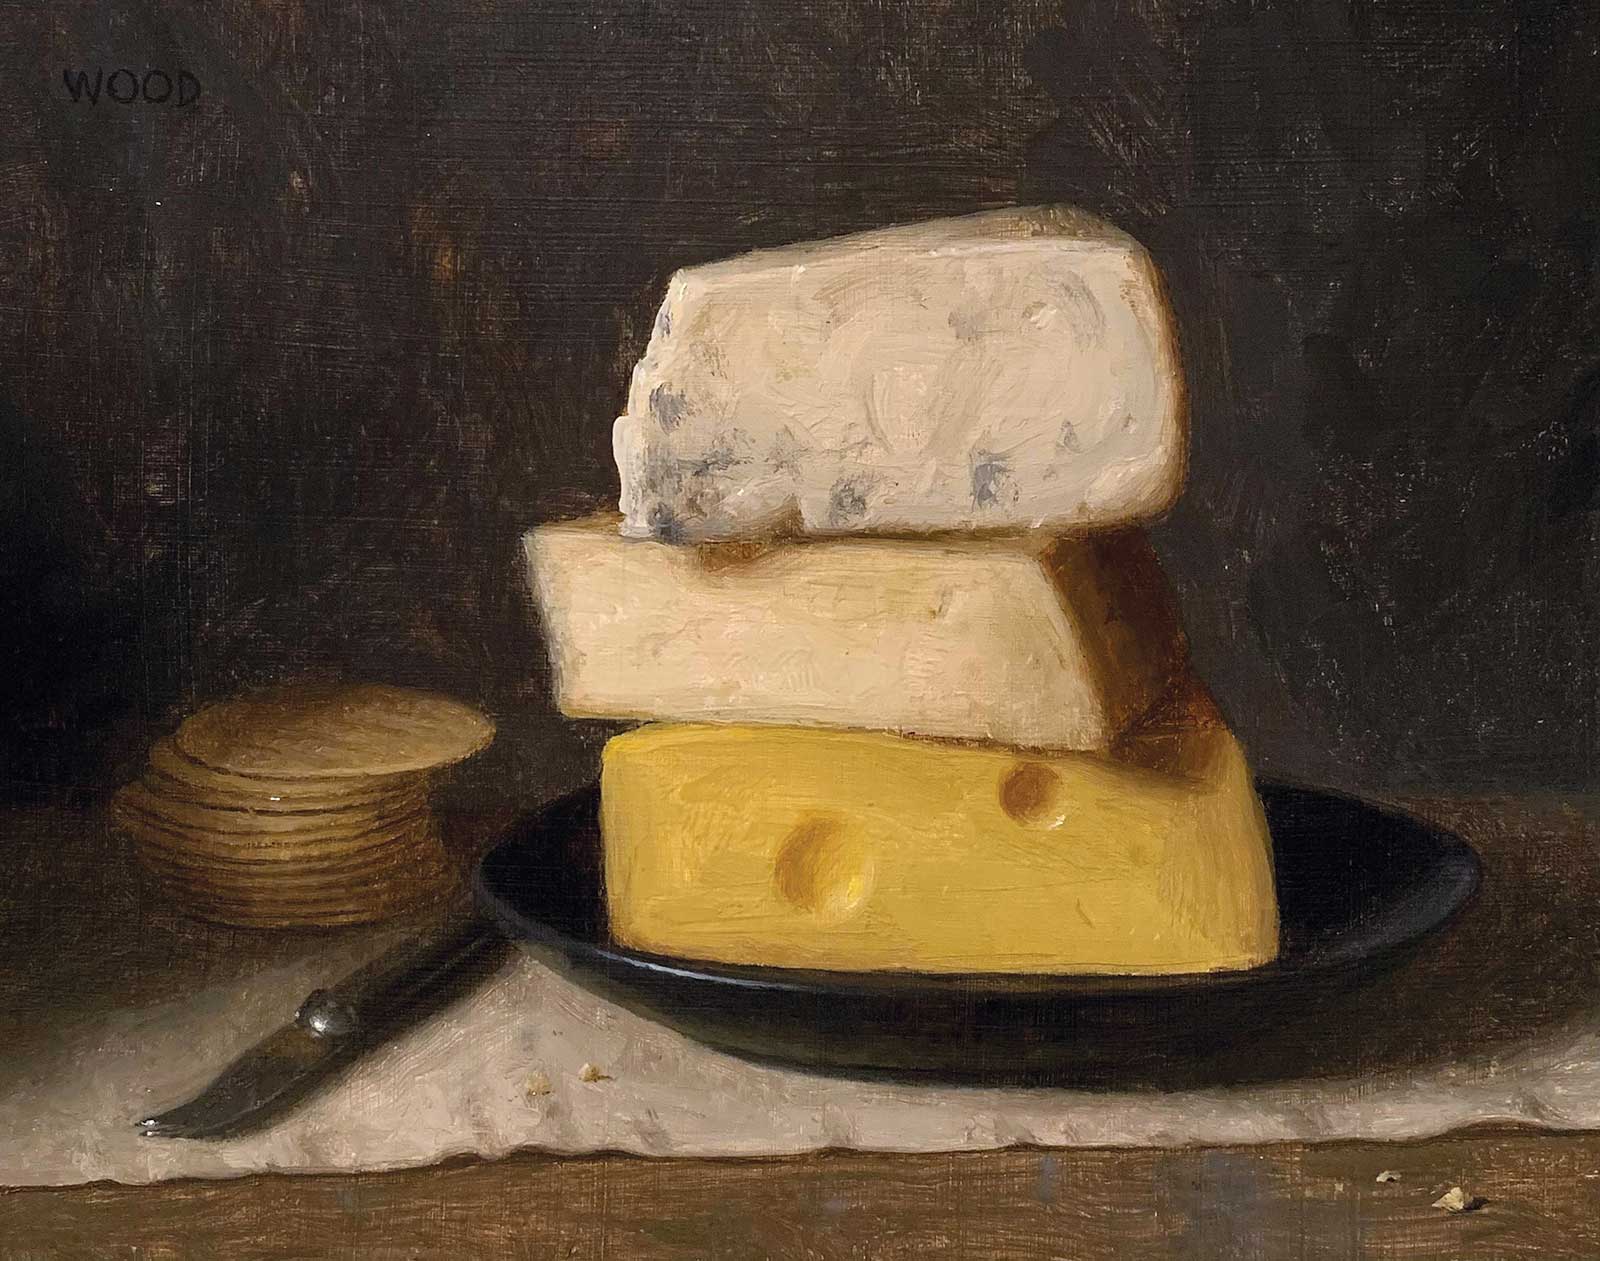
Cheese and Crackers, oil on panel, 8 x 10" (20 x 25 cm)
I created this condition by casting a shadow over the back left portion of the set up, which left some eggs in partial shade and others in full light. Lighting subjects in such a way can create a moodiness and enhanced sense of depth in the picture that I like.
Once I settled upon an arrangement, I made a linear drawing with pencil on paper that indicated all of the essential contours, form boundaries and shadow shapes within the scene. Then I transferred the drawing to my painting surface, a wood panel primed with a lead ground. I toned the panel with raw umber and, once dry, began the underpainting. Underpaintings are typically painted thin and transparent using solvent, but I painted this a little differently. I wanted to create an underpainting that used impasto and thicker paint application to create interesting brushstrokes and textures in the lights of the various objects while also maintaining transparency and the integrity of the ground in the darks. To do this I added stand oil and Liquin to my paint mixtures being used to model the forms receiving direct light. Incorporating stand oil to paint increases the viscosity, making it long and gooey. I also added Liquin to increase flow and speed up dry time. I limited my use of stand oil and Liquin to the lights. In the darks I only used solvent to thin the paint out as needed. So with these two different means of preparing and applying paint, I tried to execute the underpainting in a bold, loose manner with a focus on establishing the general light effect while prioritizing spontaneous expressive brushwork.
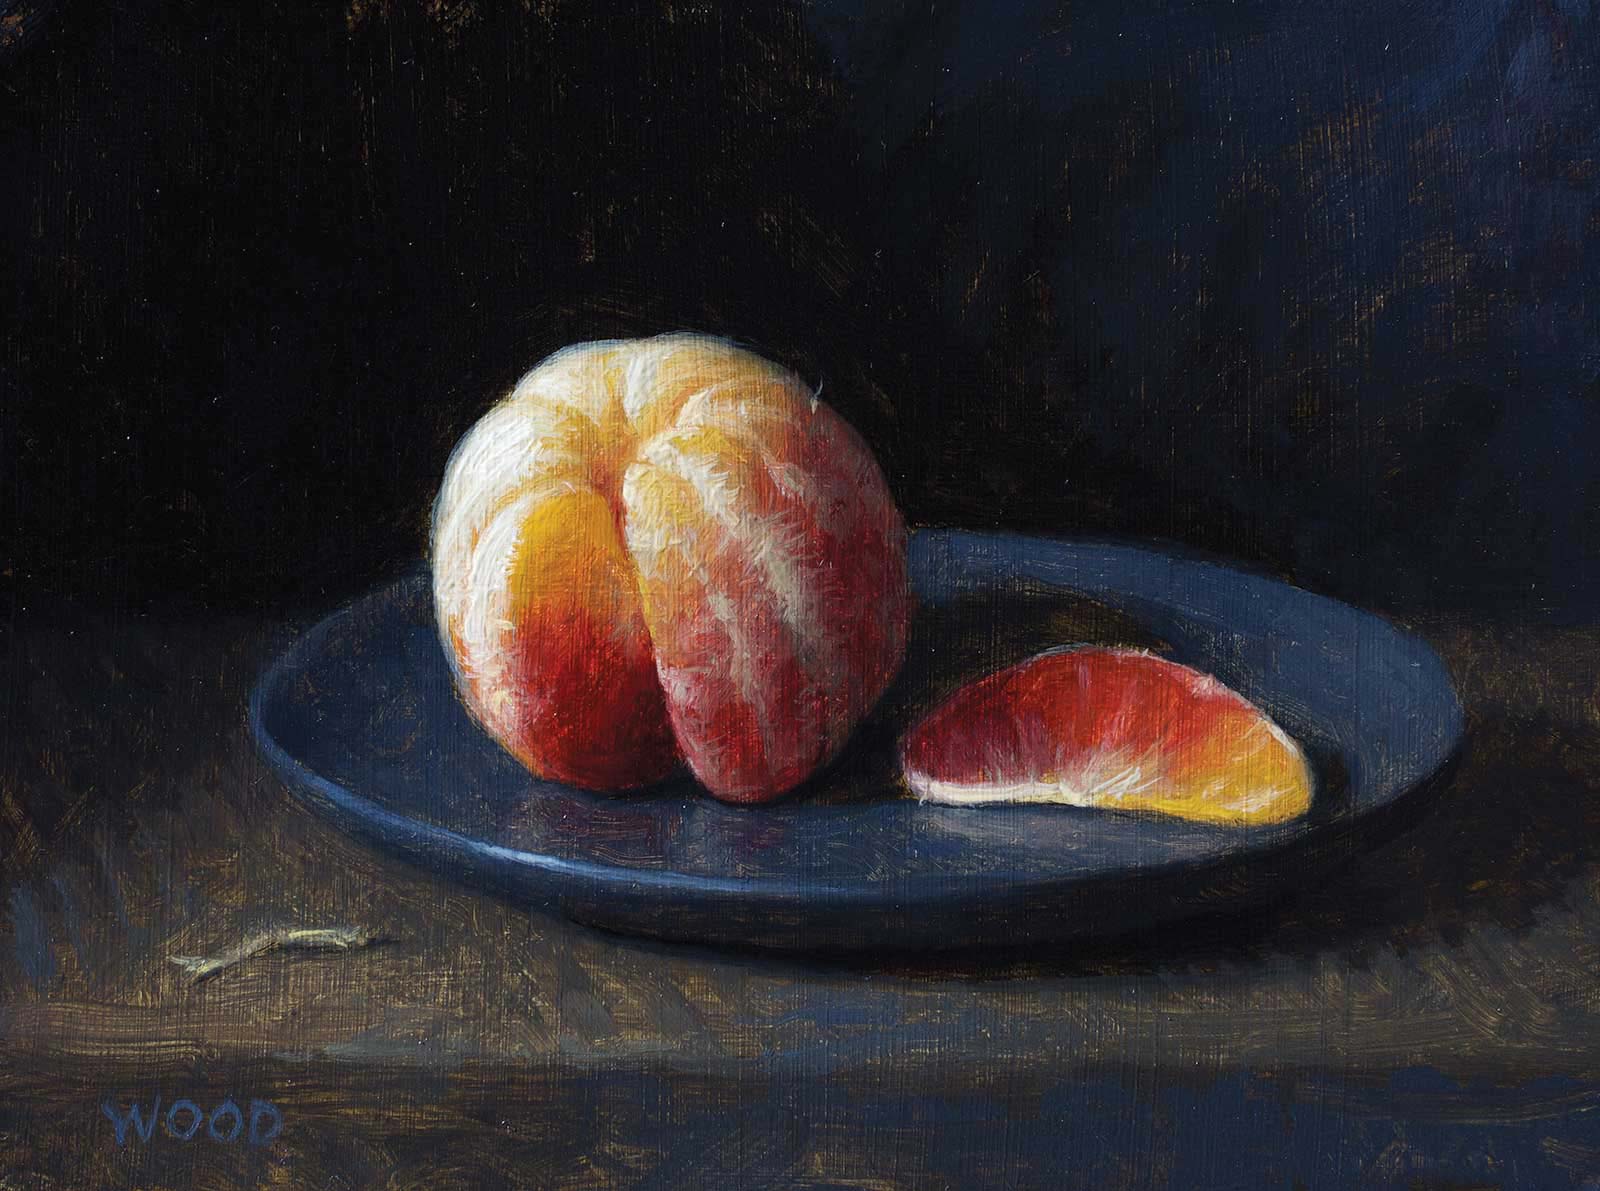
Blood Orange on Blue Plate, oil on panel, 6 x 8" (15 x 20 cm)
There is a certain balance between looseness and tightness that I want in my work. I attempt to achieve this through a two step process: I dedicate the first layer of paint, the underpainting, to establishing the majority of my more thick and expressionistic paint application. I try to create brushstrokes and texture that I find interesting while building the general forms of each part. This is made easier by the fact that I’m only using brown and white paint and am unconcerned with polish and perfect transitions. I try to embrace an energetic and almost chaotic approach in an attempt to discover attractive textures and distinct mark making.
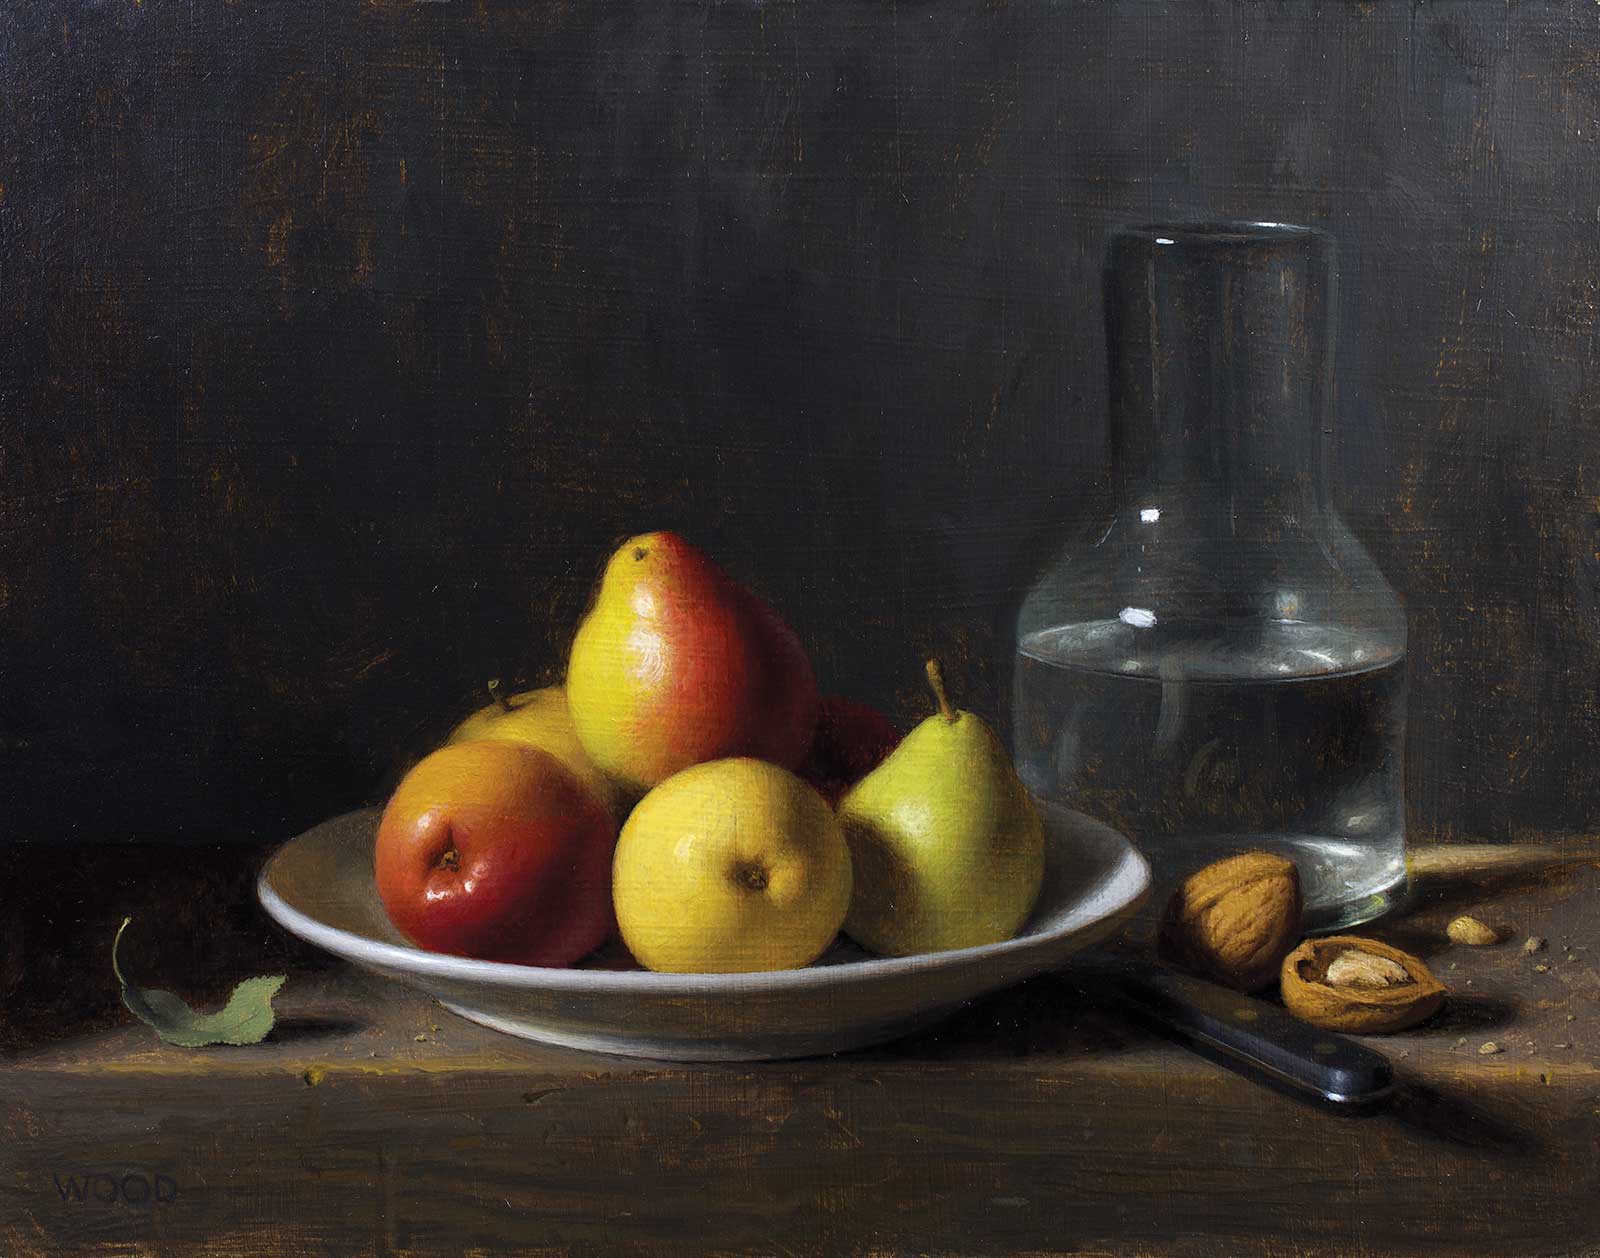
Forelle Pears, oil on panel, 11 x 14" (27 x 35 cm)
Once my “mess” is made and allowed to dry, it’s time to clean it up. I use mostly thin veils of color, as less paint is easier to control, to rein in the form modeling while also assigning the appropriate colors to each object and area in the composition. Because I am, for the most part, painting this color layer in a thin manner, the texture of the underpainting can still be seen so I am able to preserve the active brushwork from the previous layer while also refining the forms with subtle gradients.
My Art in the Making Blue and Green Eggs
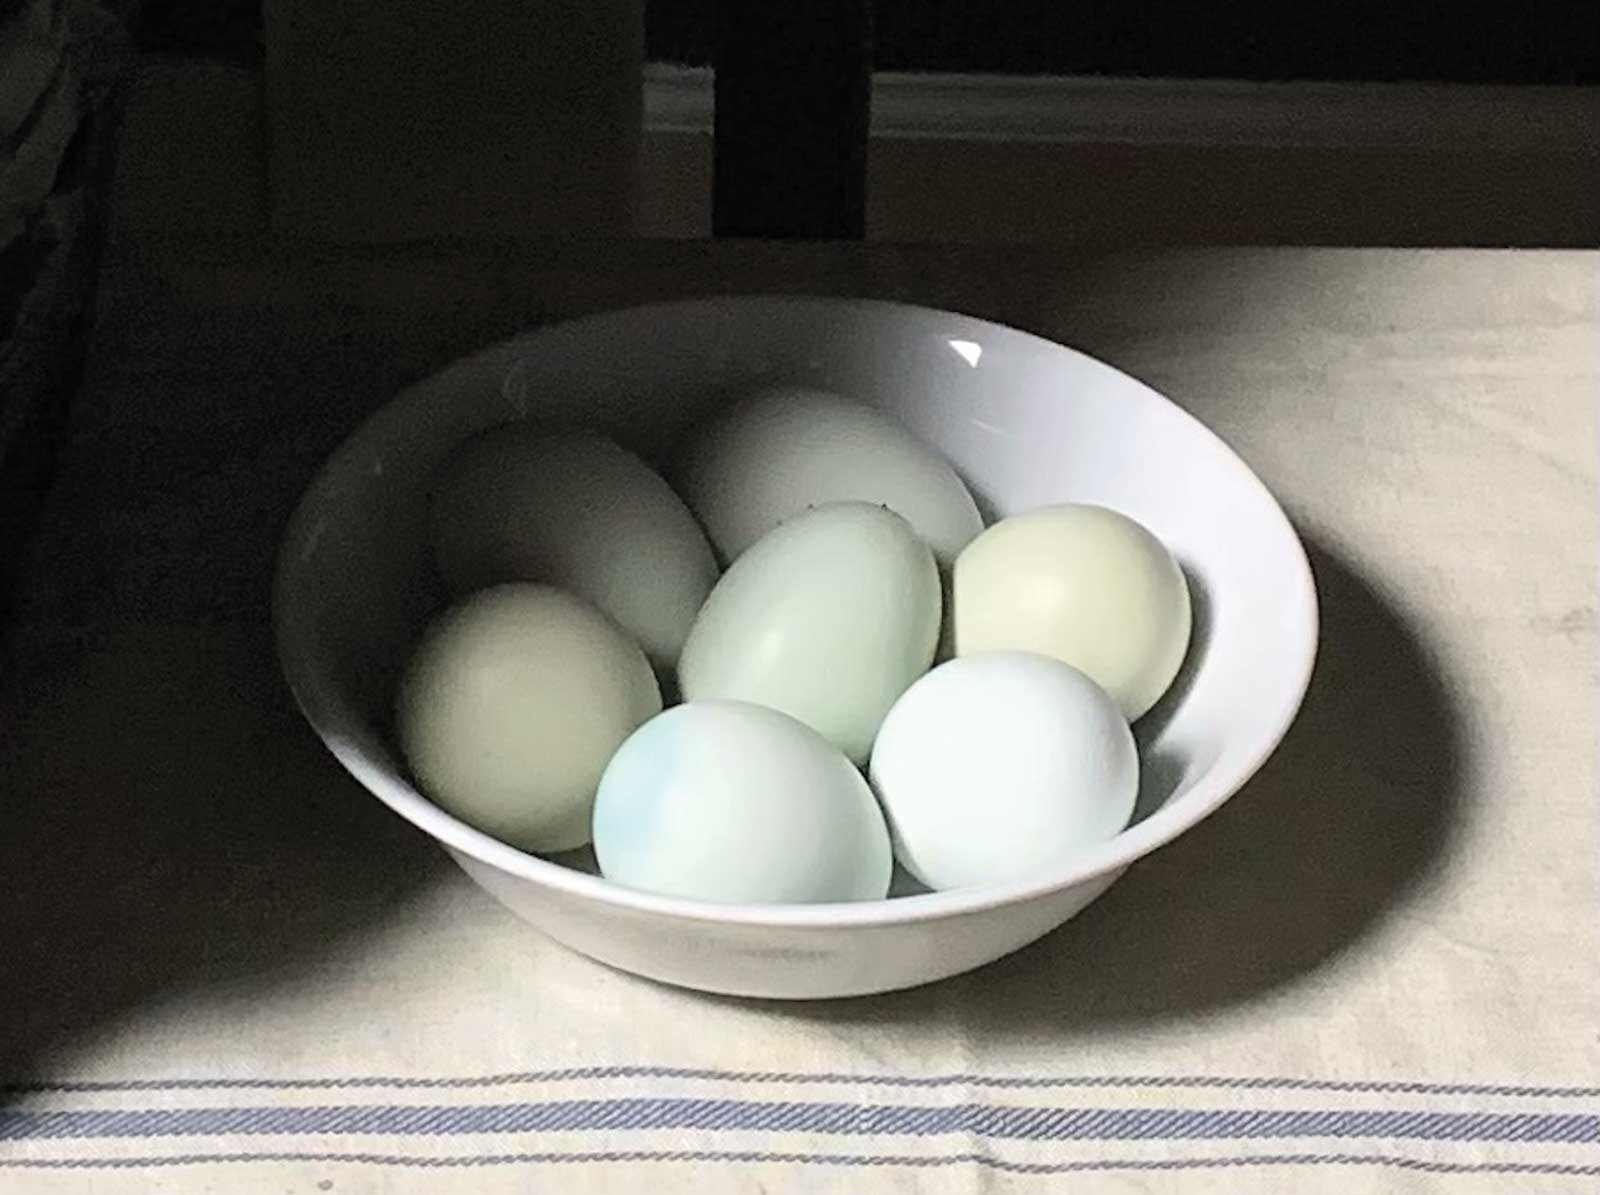
Reference Photo
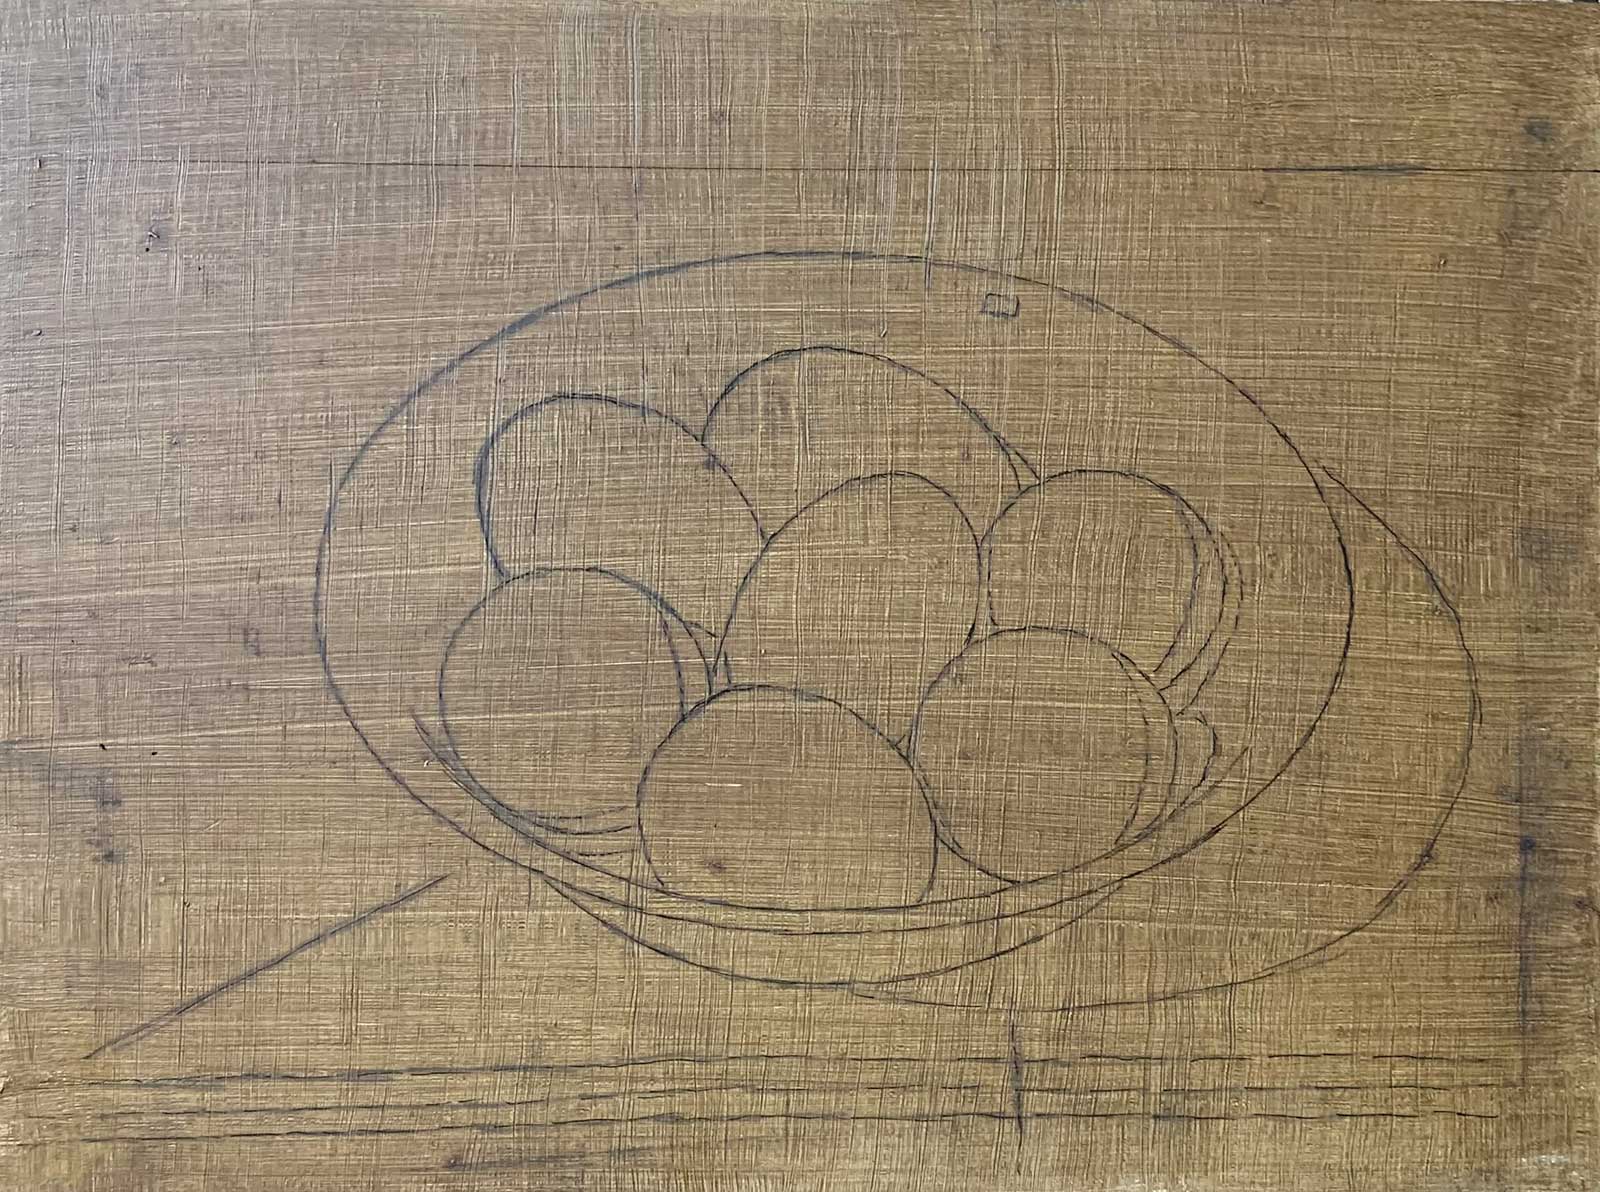 Stage 1
Stage 1 Drawing
I begin with an inked drawing on panel toned with raw umber.
WHAT THE ARTIST USED
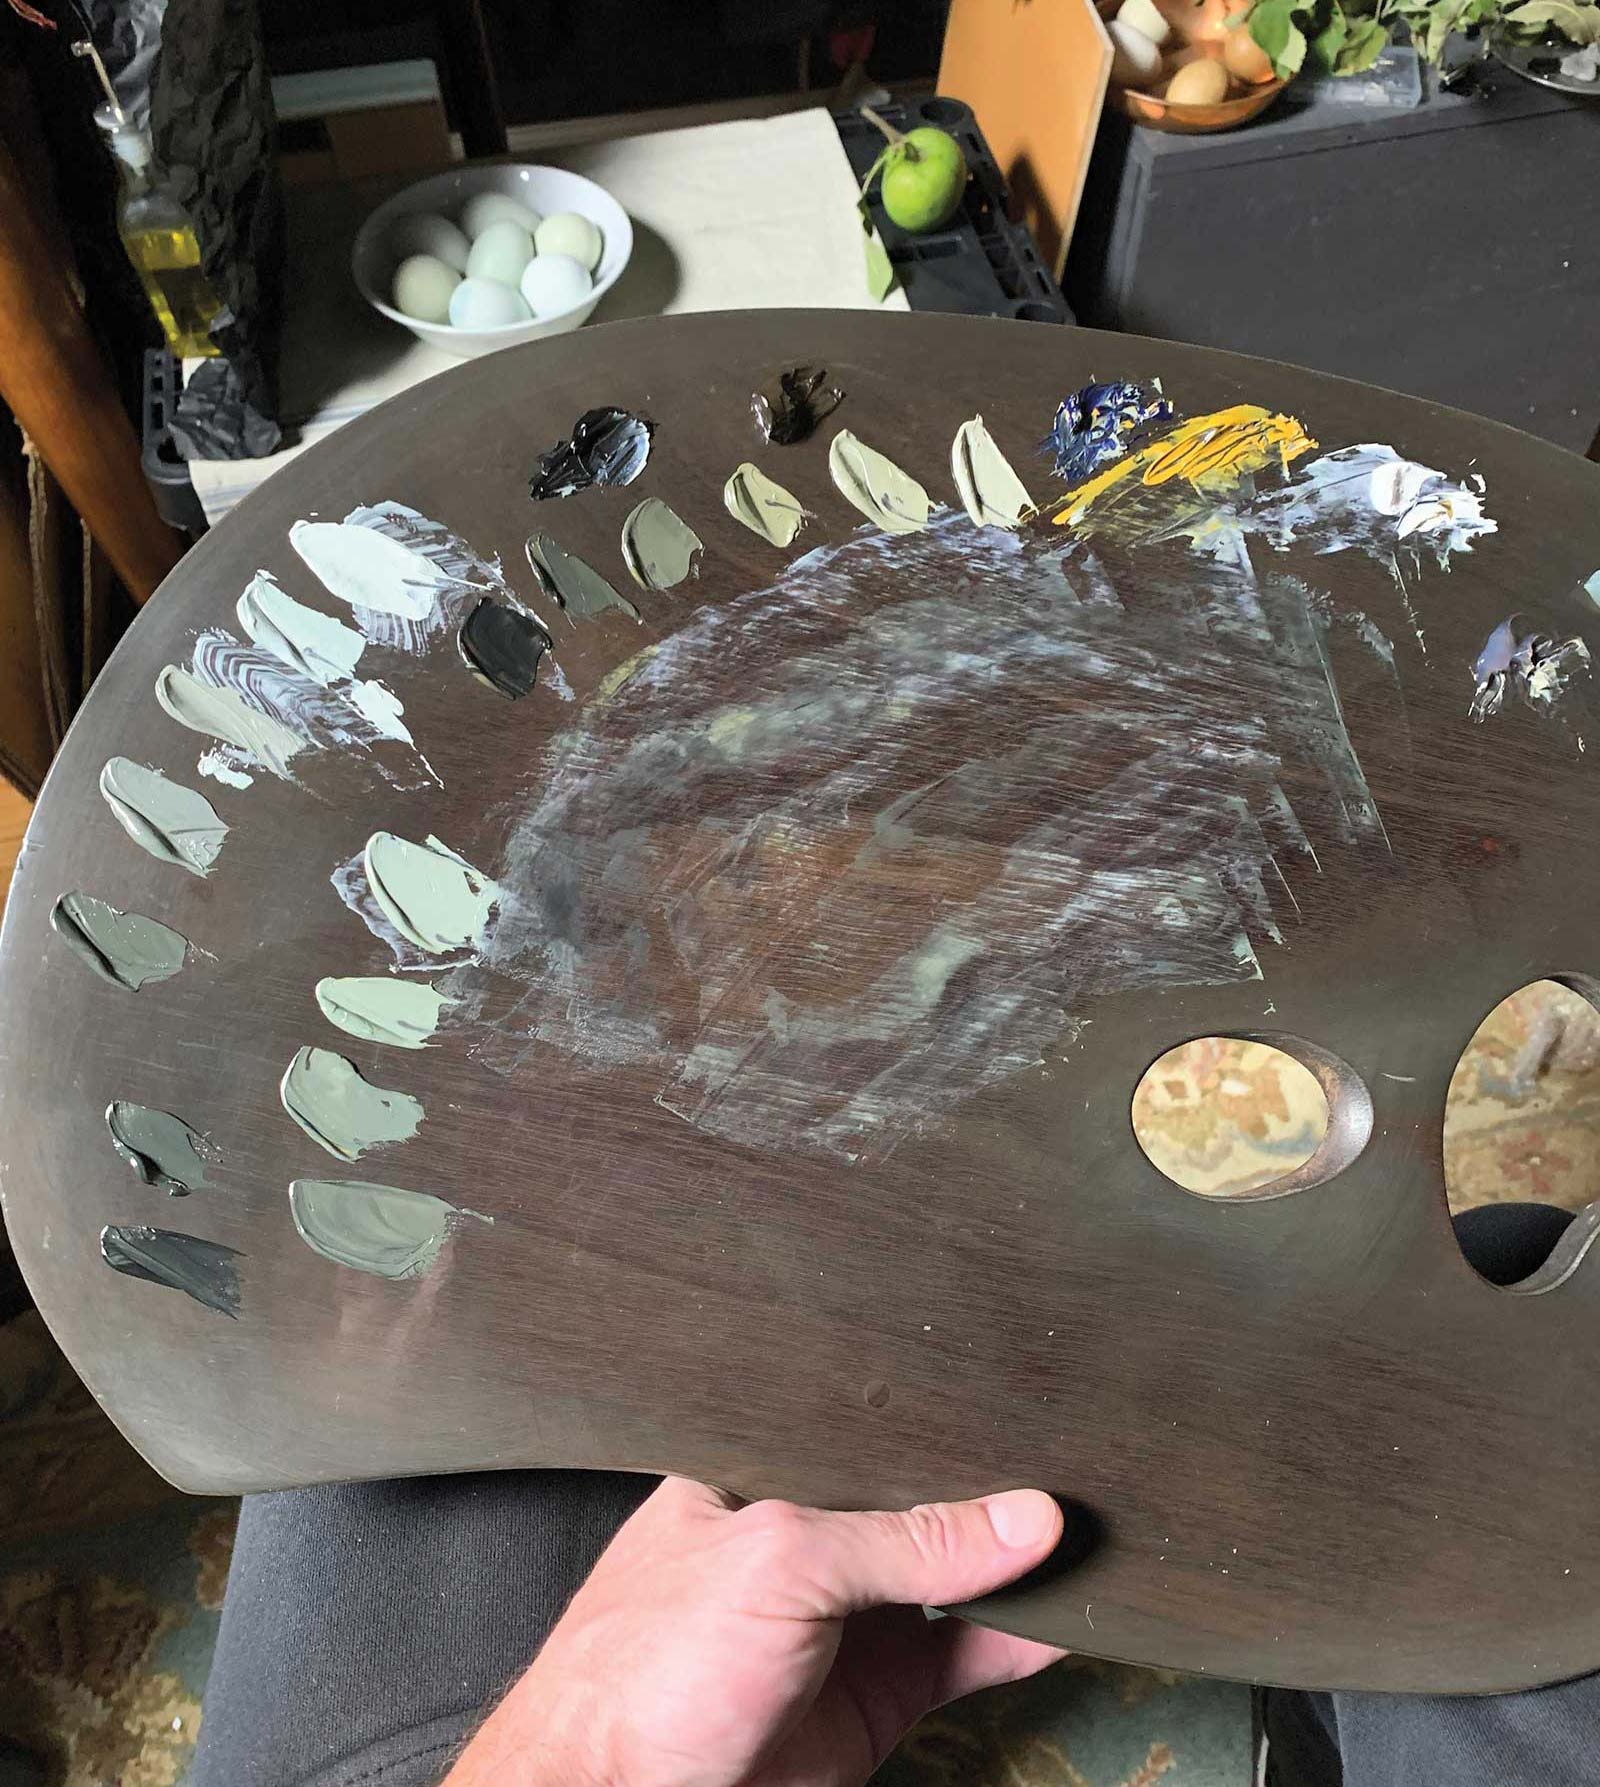
Oils
Lead white, Yellow ochre, Ultramarine blue, Raw umber, Ivory black
Brushes
Rosemary & Co. series 99 pure sable, long handle, sizes 4, 8, 10
Additional Materials
Natural Pigments Oleogel, Stand oil, Liquin, Gamsol, Birch plywood panel with two coats of Williamsburg lead ground, Traditional Palette Co., model 2
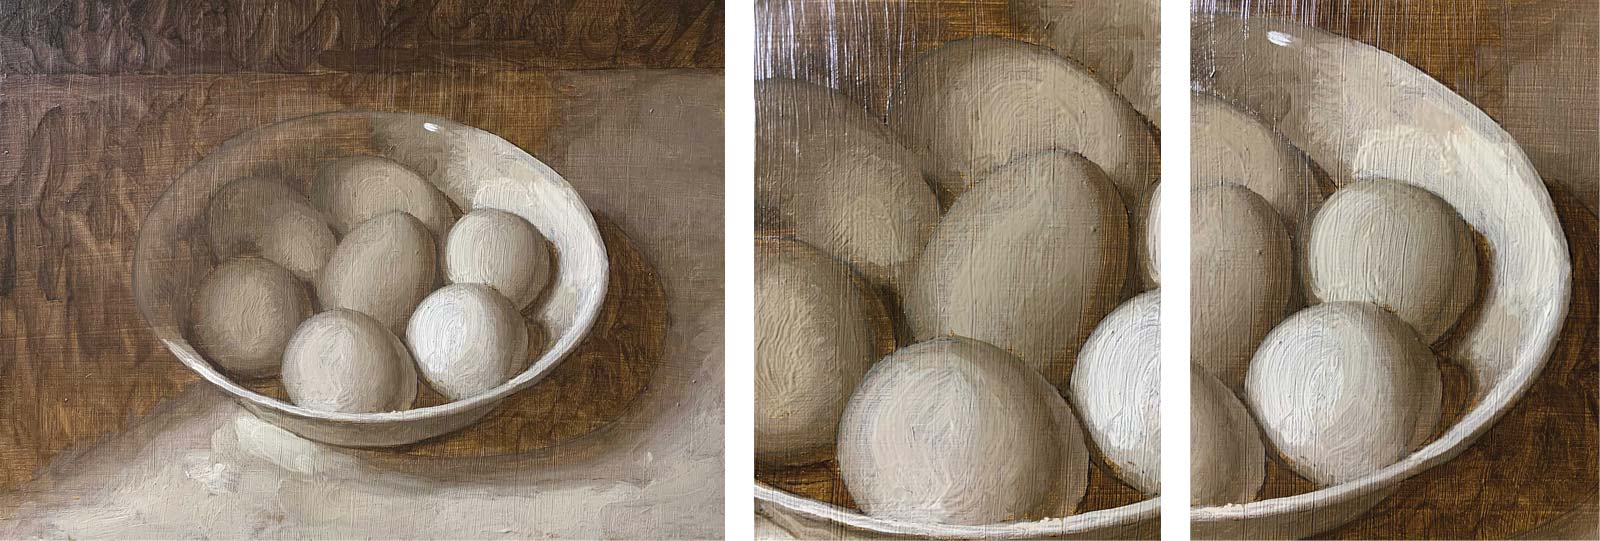 Stage 2
Stage 2 Underpainting
Here we see the completed underpainting done in raw umber and lead white, including a few detail shots showing impasto textures in the lights.
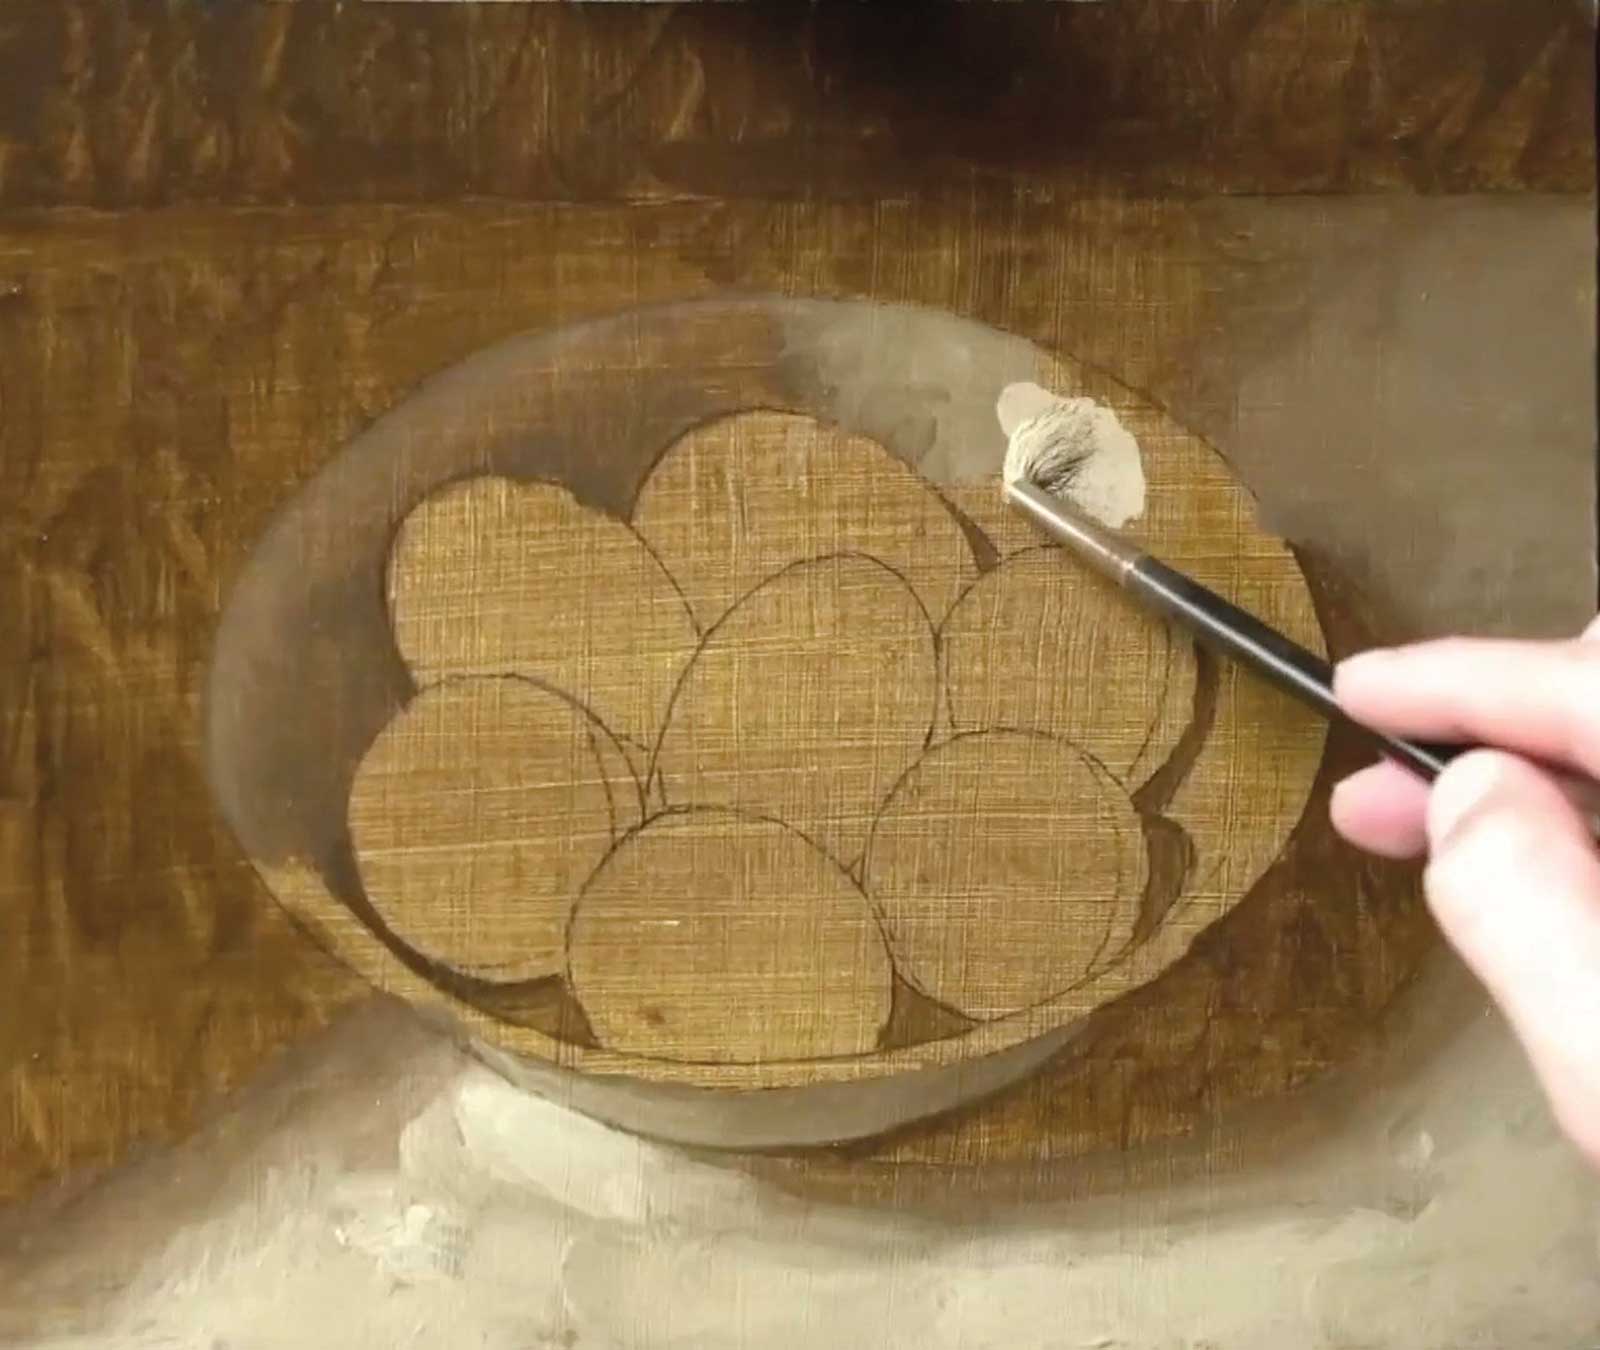 Stage 3
Stage 3 Underpainting in Progress
In this stage, I am working on creating the gradation on the bowl.
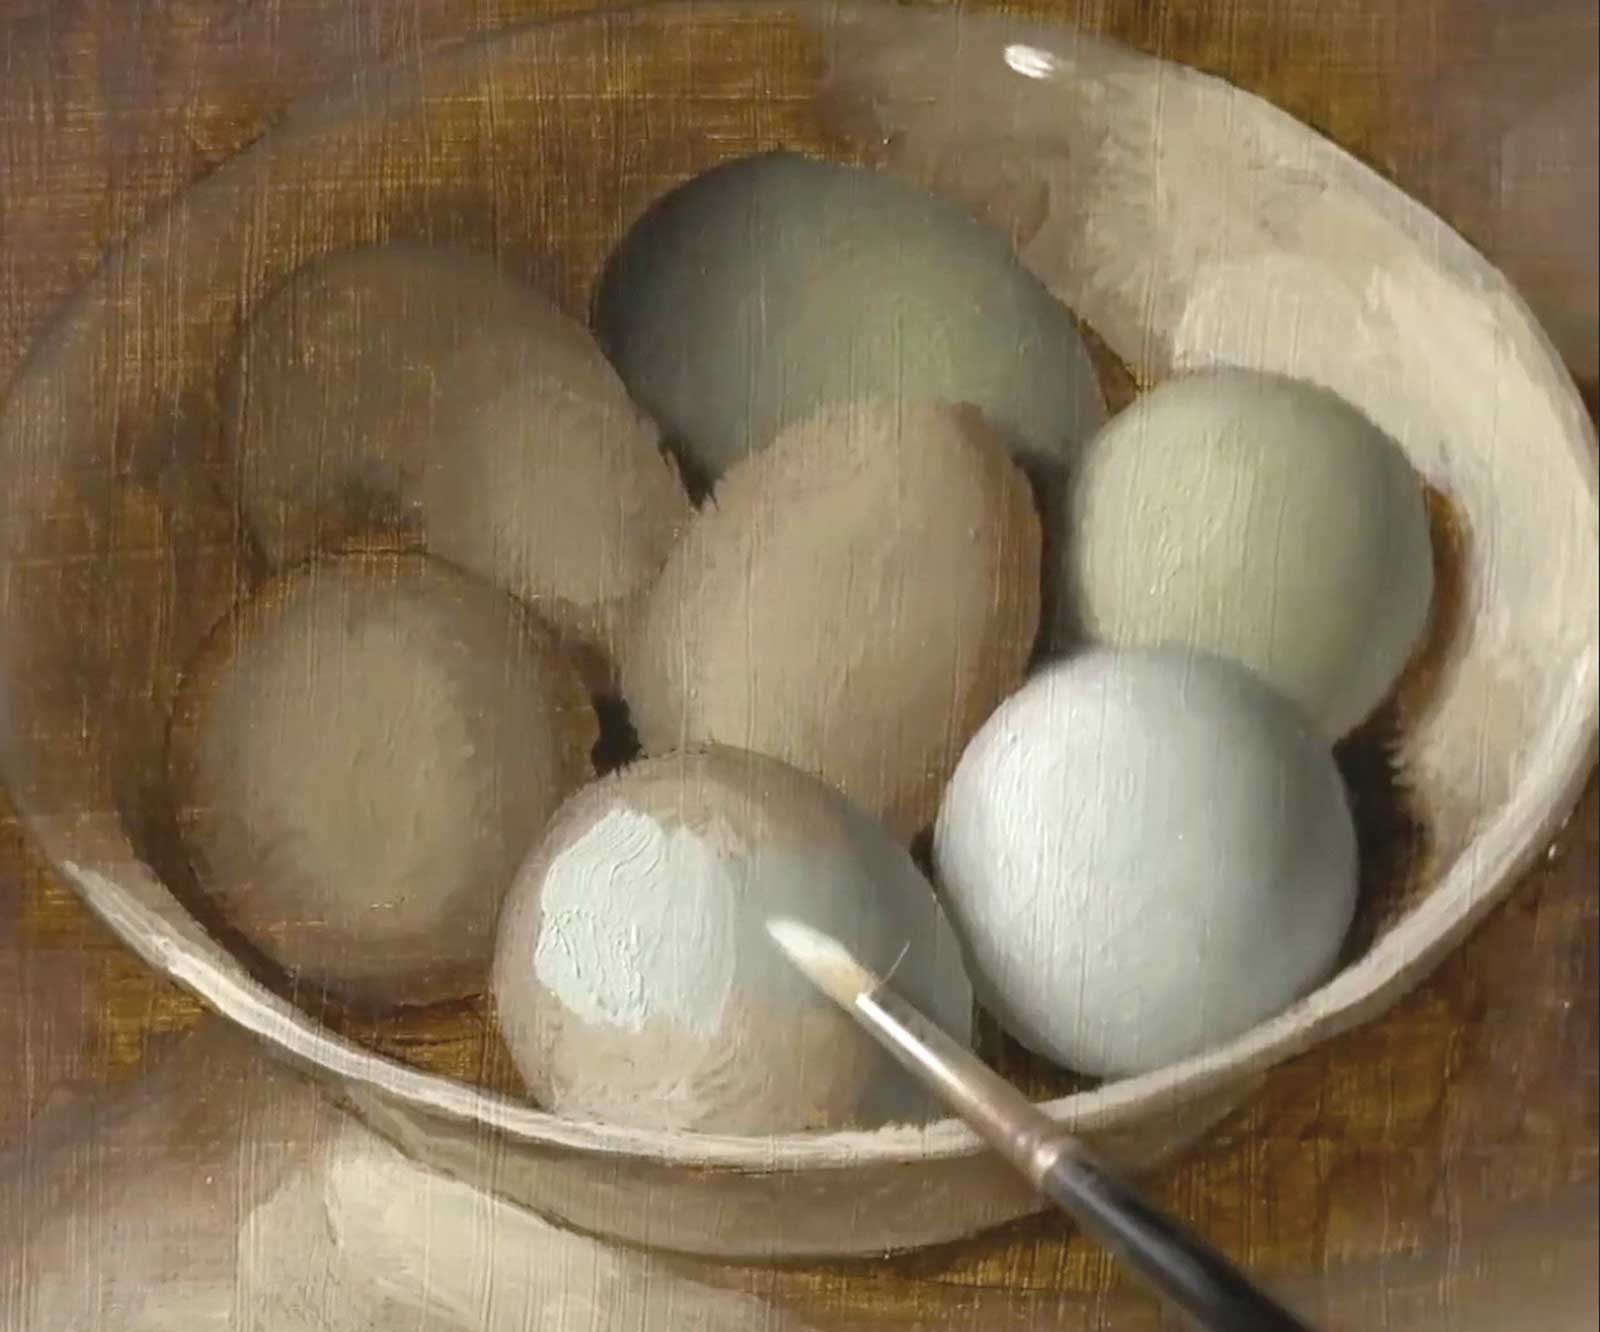 Stage 4
Stage 4 Color Process
Now I am modeling the form of the egg in color, working from dark to light.
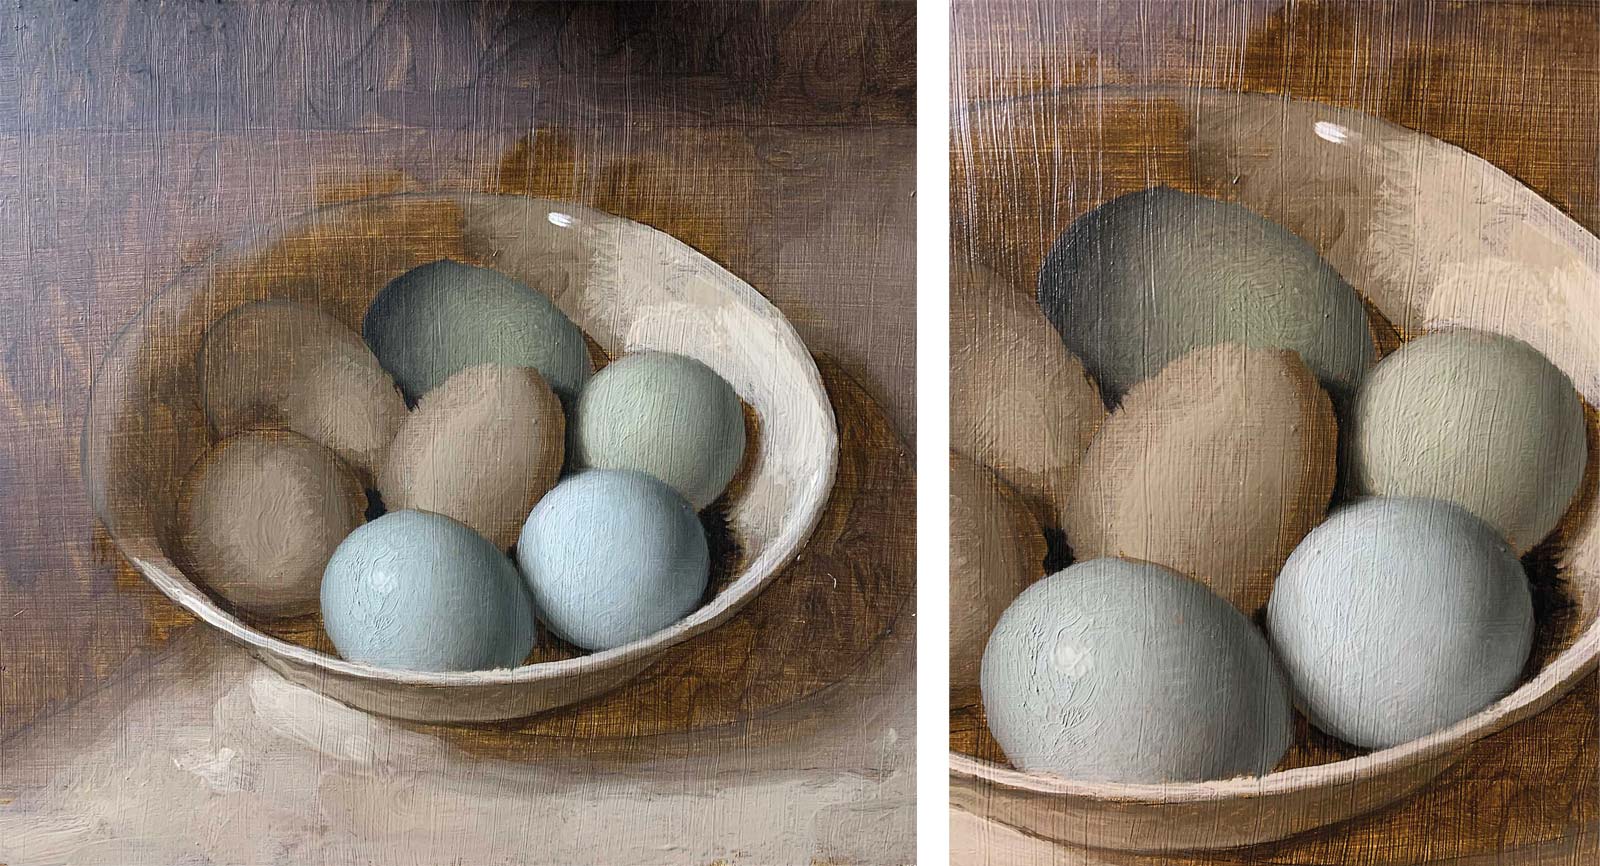 Stage 5
Stage 5 Color Process Continued
Painting one egg at a time, I continue the process. This close-up shows some finished eggs in color next to the eggs still in the underpainting stage.
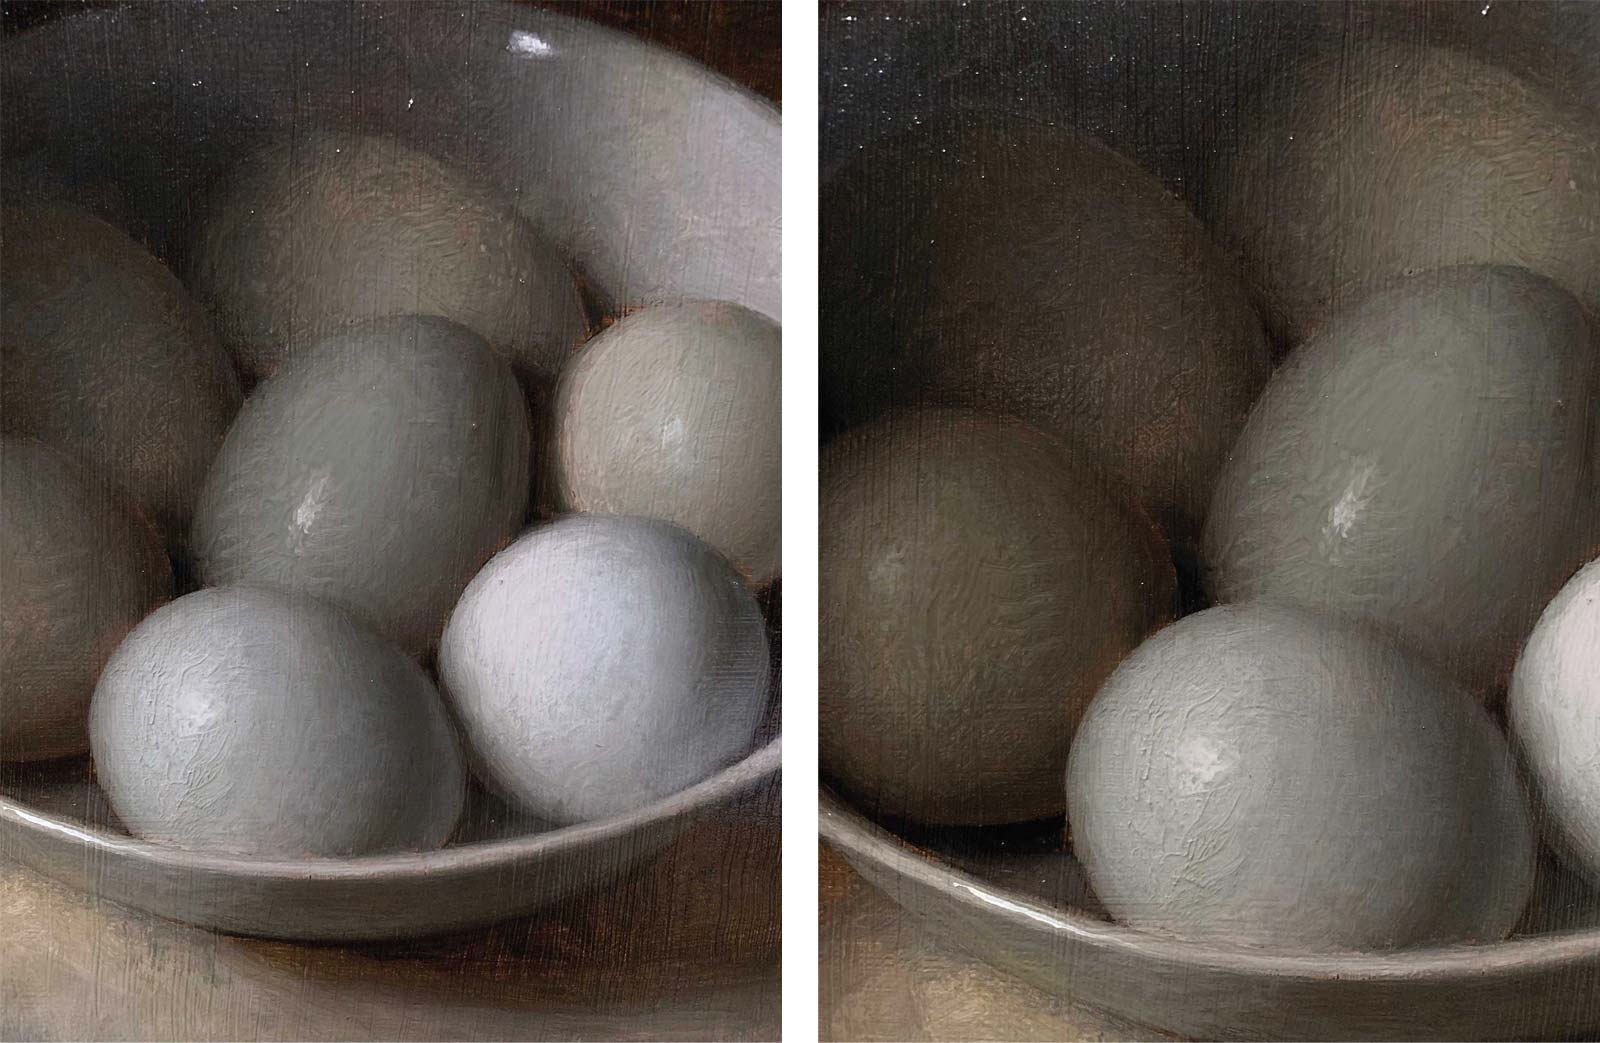
 Stage 6
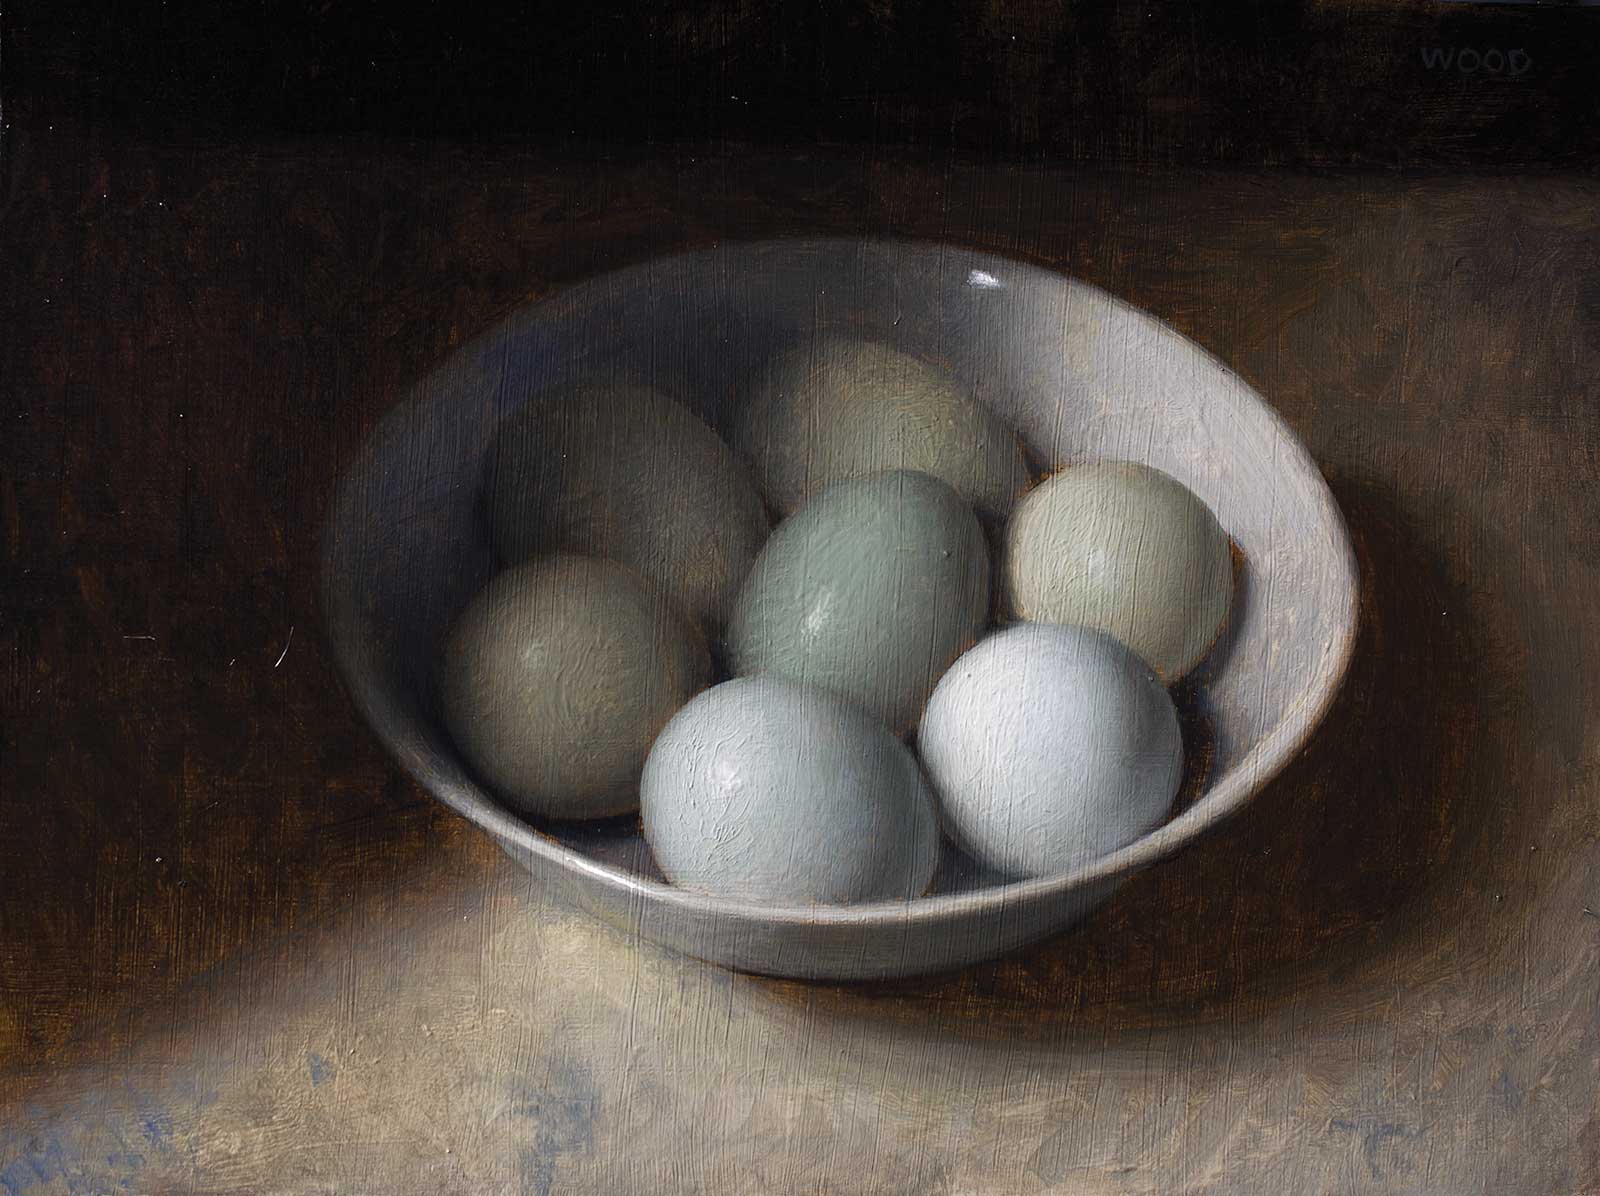
Stage 6 Finished Artwork
About the artist
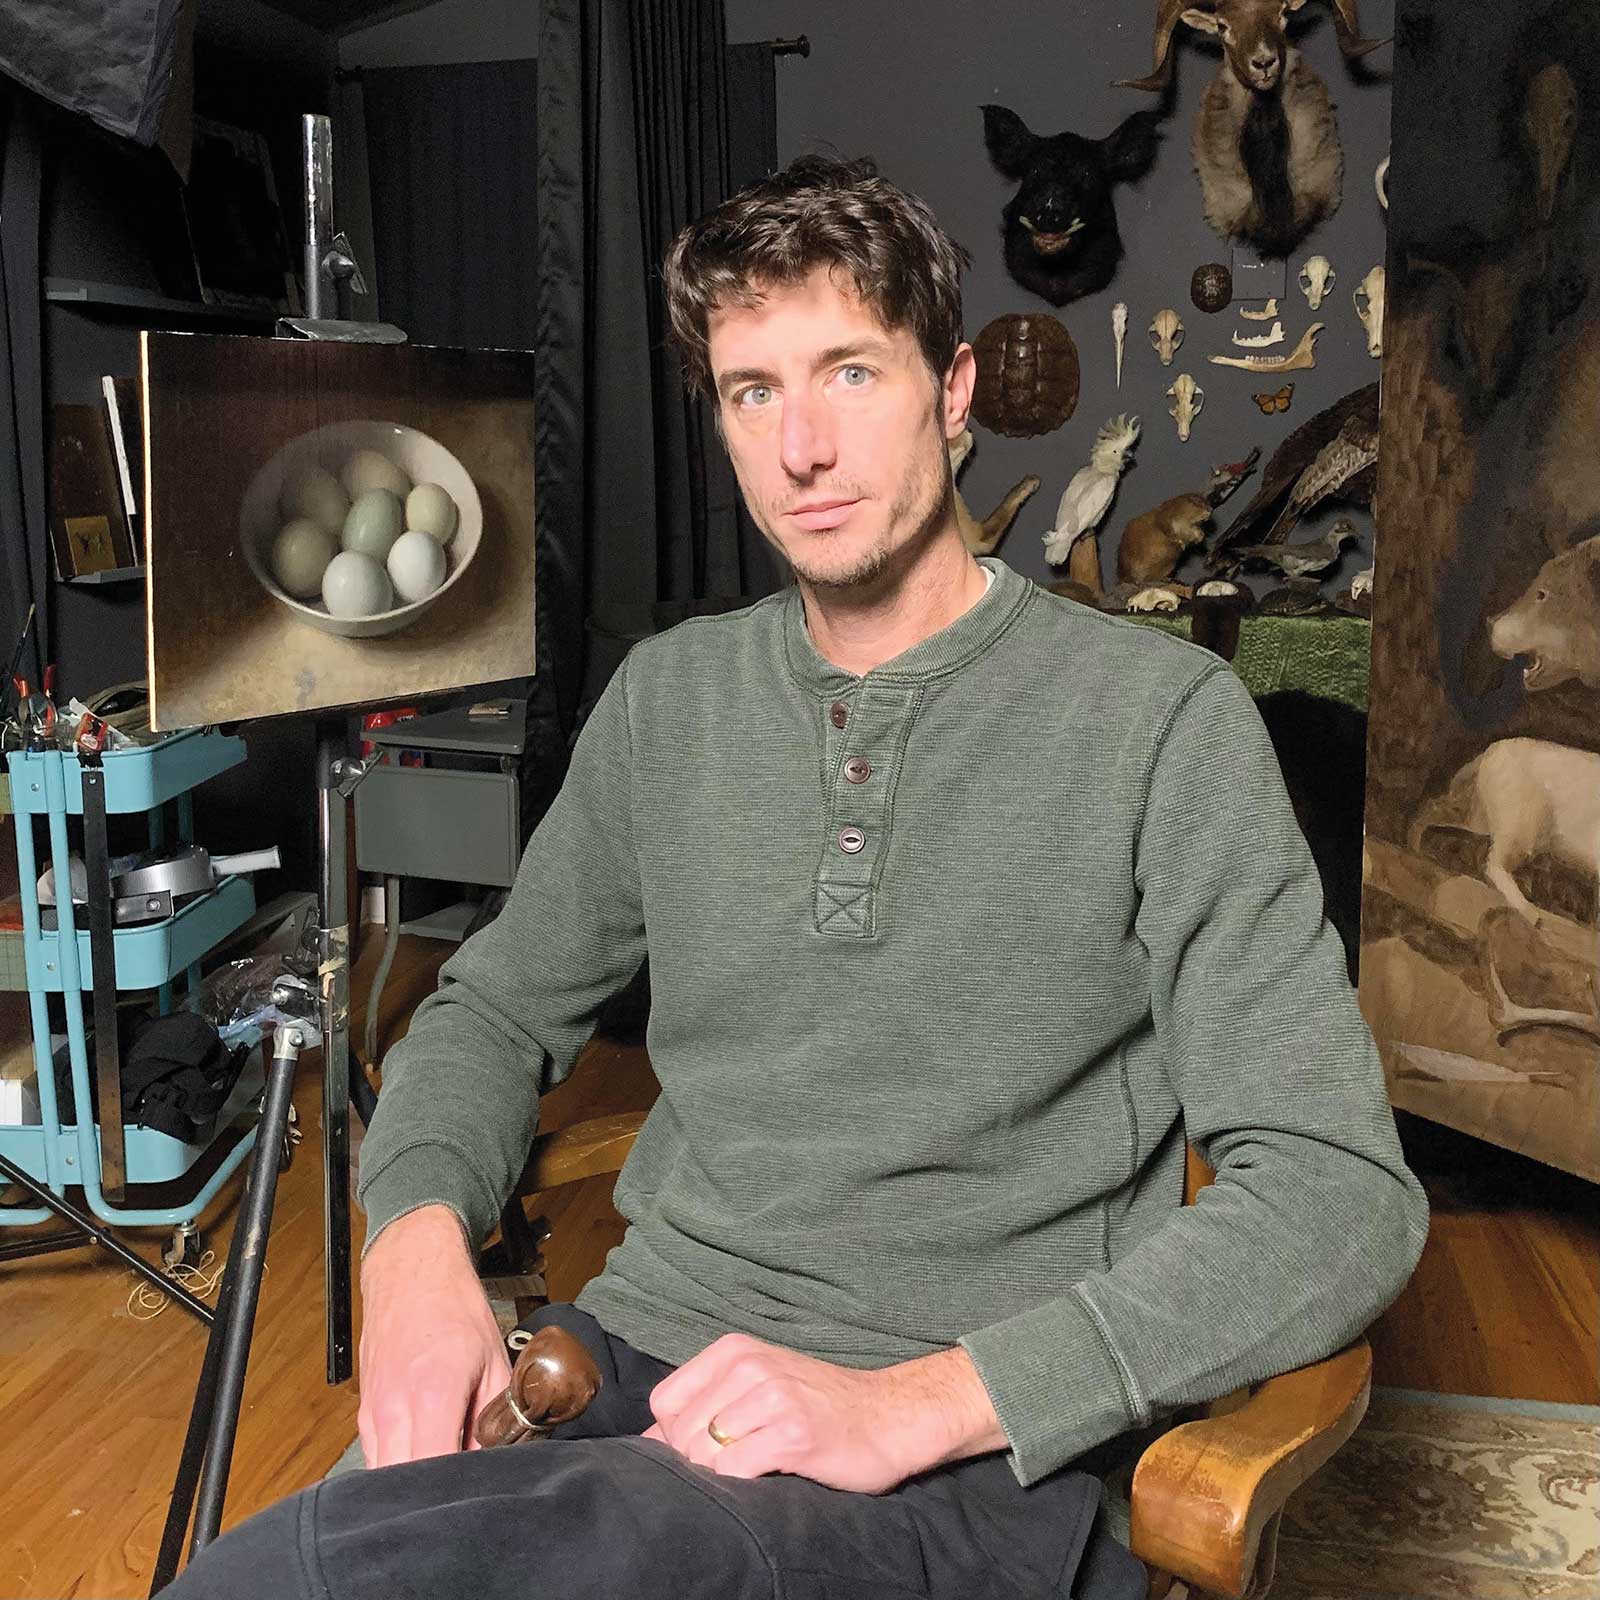 Justin Wood
Justin Wood is a still life painter from Doylestown, Pennsylvania, currently living in New Jersey with his wife and two children. He attended Syracuse University to study illustration before moving to New York City to study drawing and painting under Jacob Collins at Water Street Atelier, which later became Grand Central Atelier. After completing his studies, Wood became a drawing and painting instructor at Grand Central Atelier. He now spends his time painting still lifes, teaching workshops and instructing online. Wood is prolific and well-collected in the United States and Europe.
Represented by
Meyer Gallery, New Mexico, USA, meyergalleries.com
Collins Galleries, Massachusetts, USA, collinsgalleries.com
Galerie Mokum, Amsterdam, Netherlands, galeriemokum.com
Contact at
justinwoodart.com