


In this workshop, we’ll focus on improving on photos for paintings, designing with your heart, understanding back lighting and painting dramatic towering clouds.
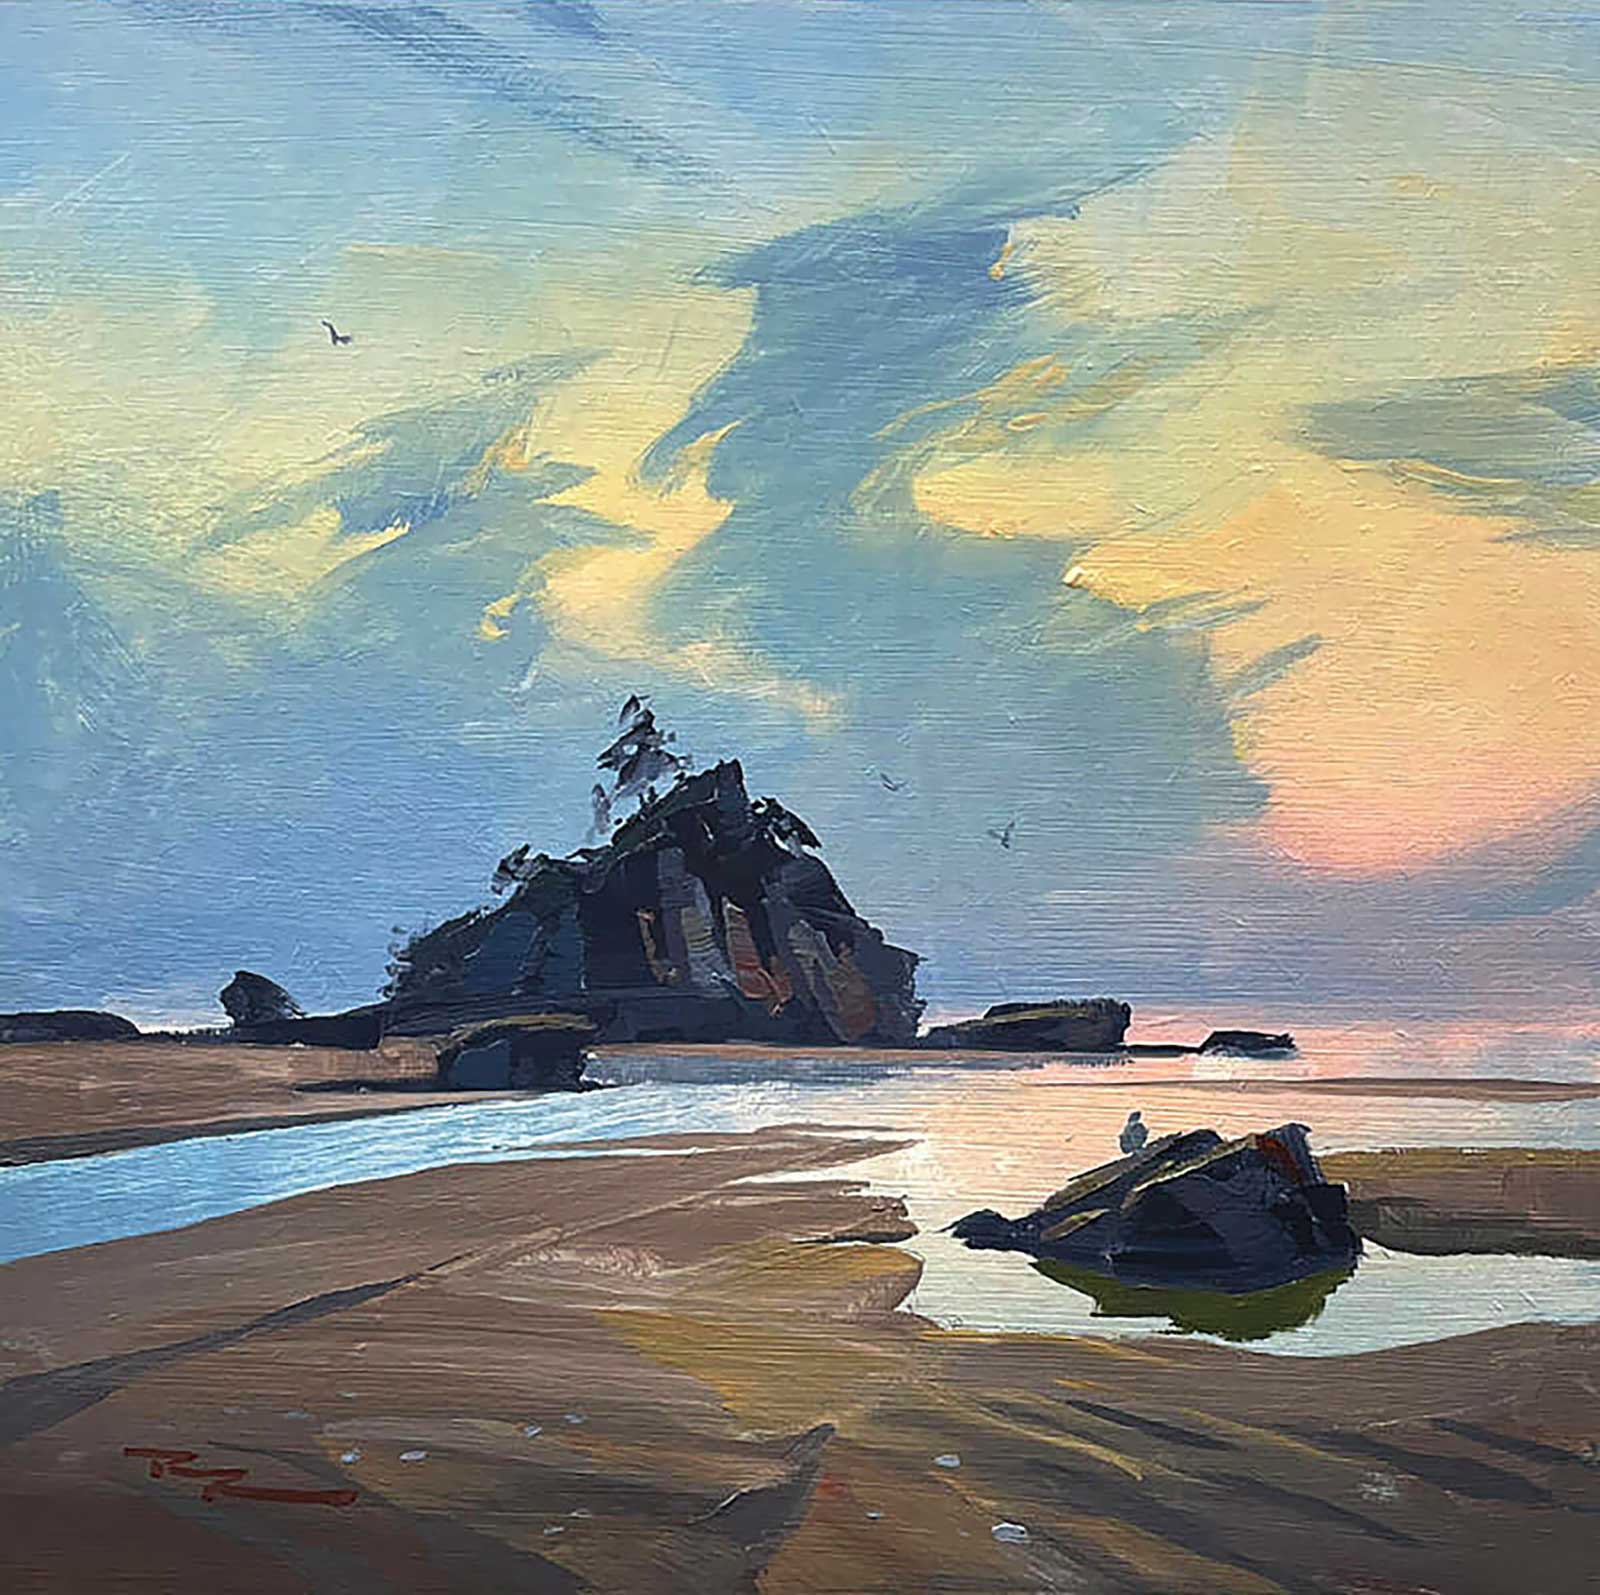
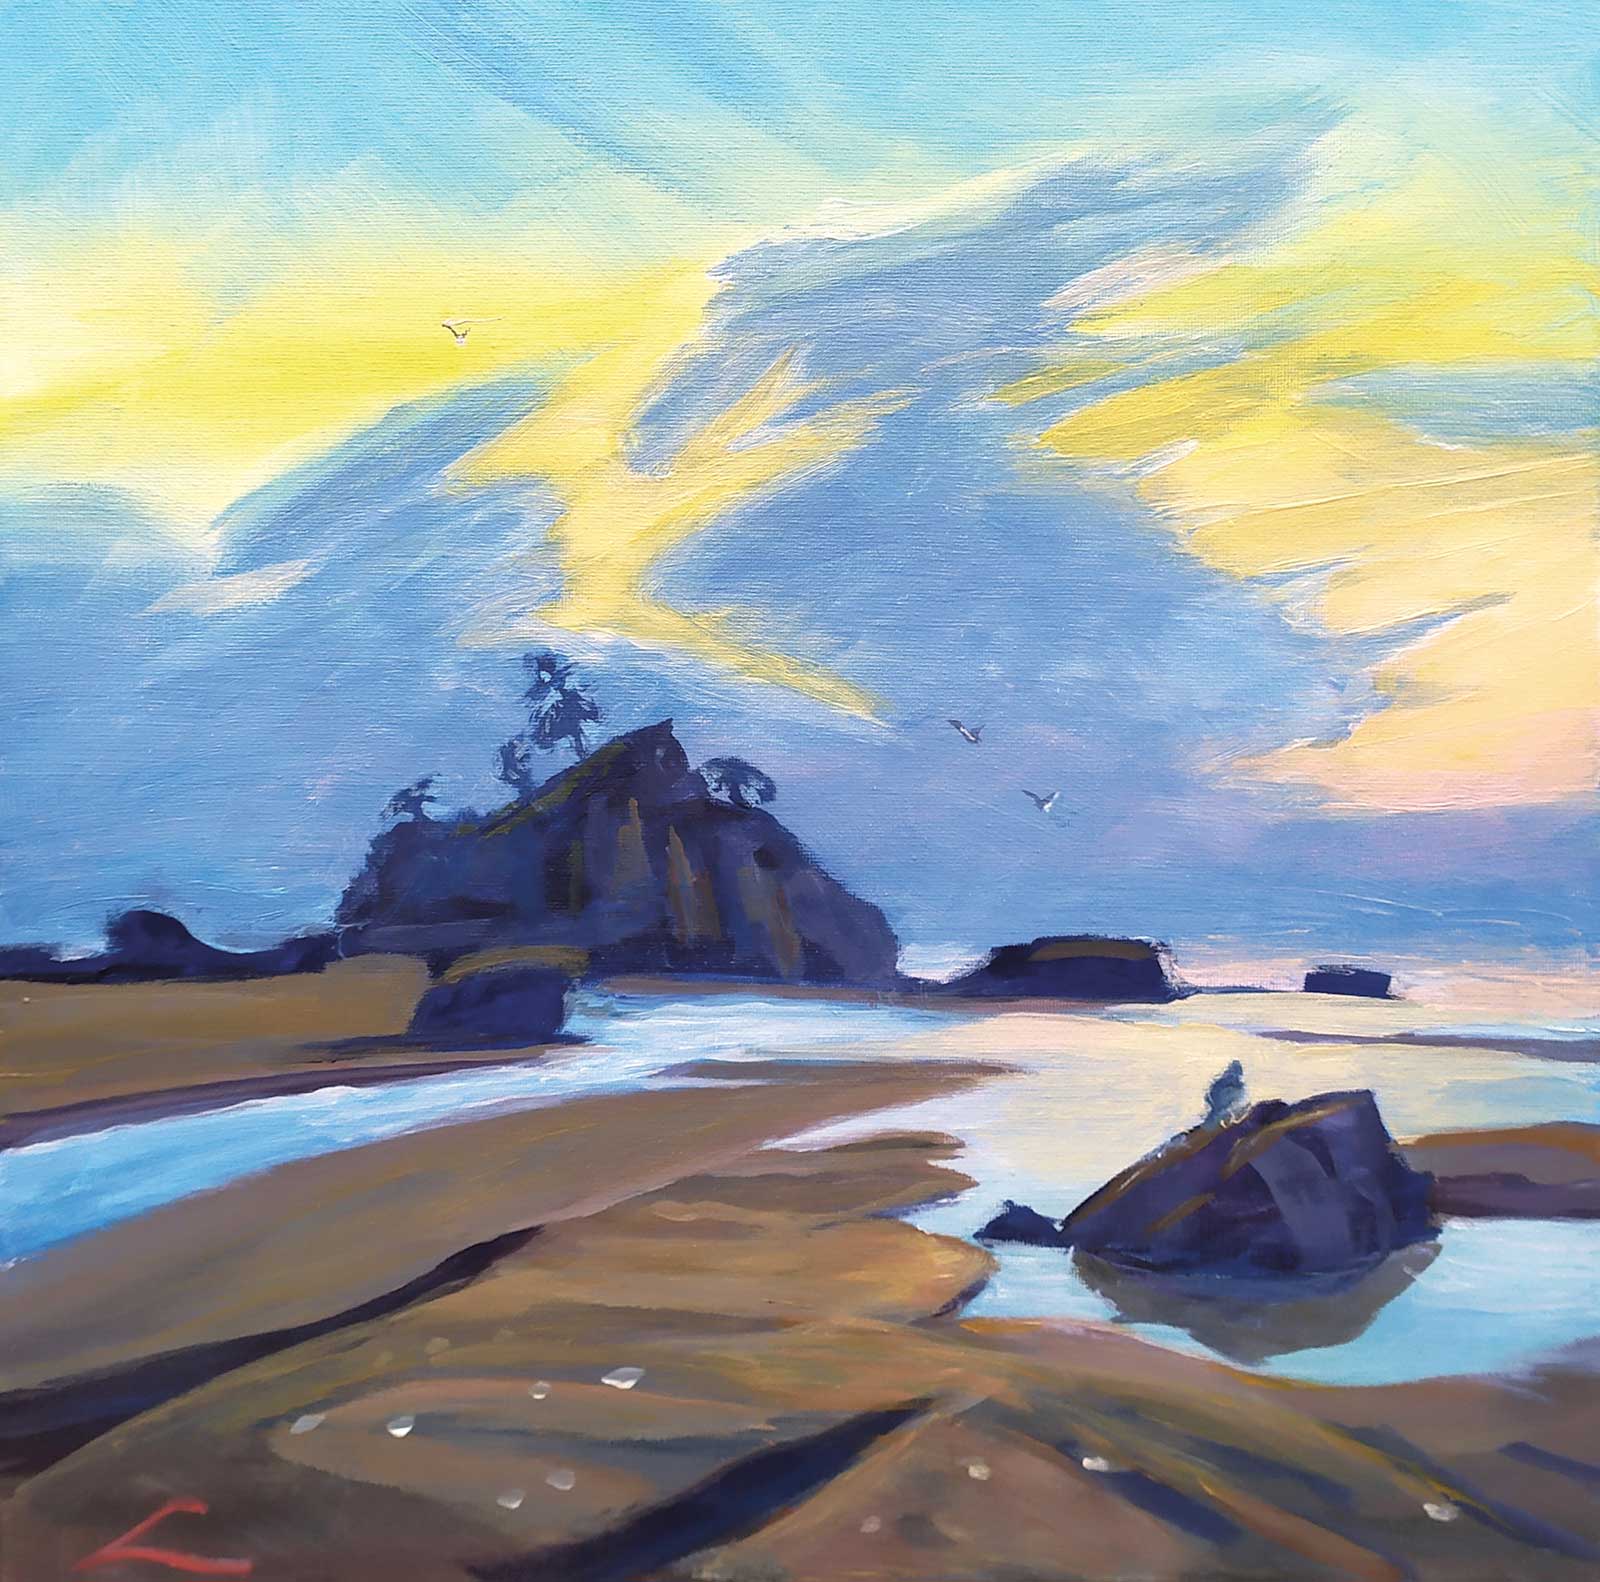
Richard Robinson, Backlit Beach, acrylic on board, 12 x 12" (30 x 30 cm)
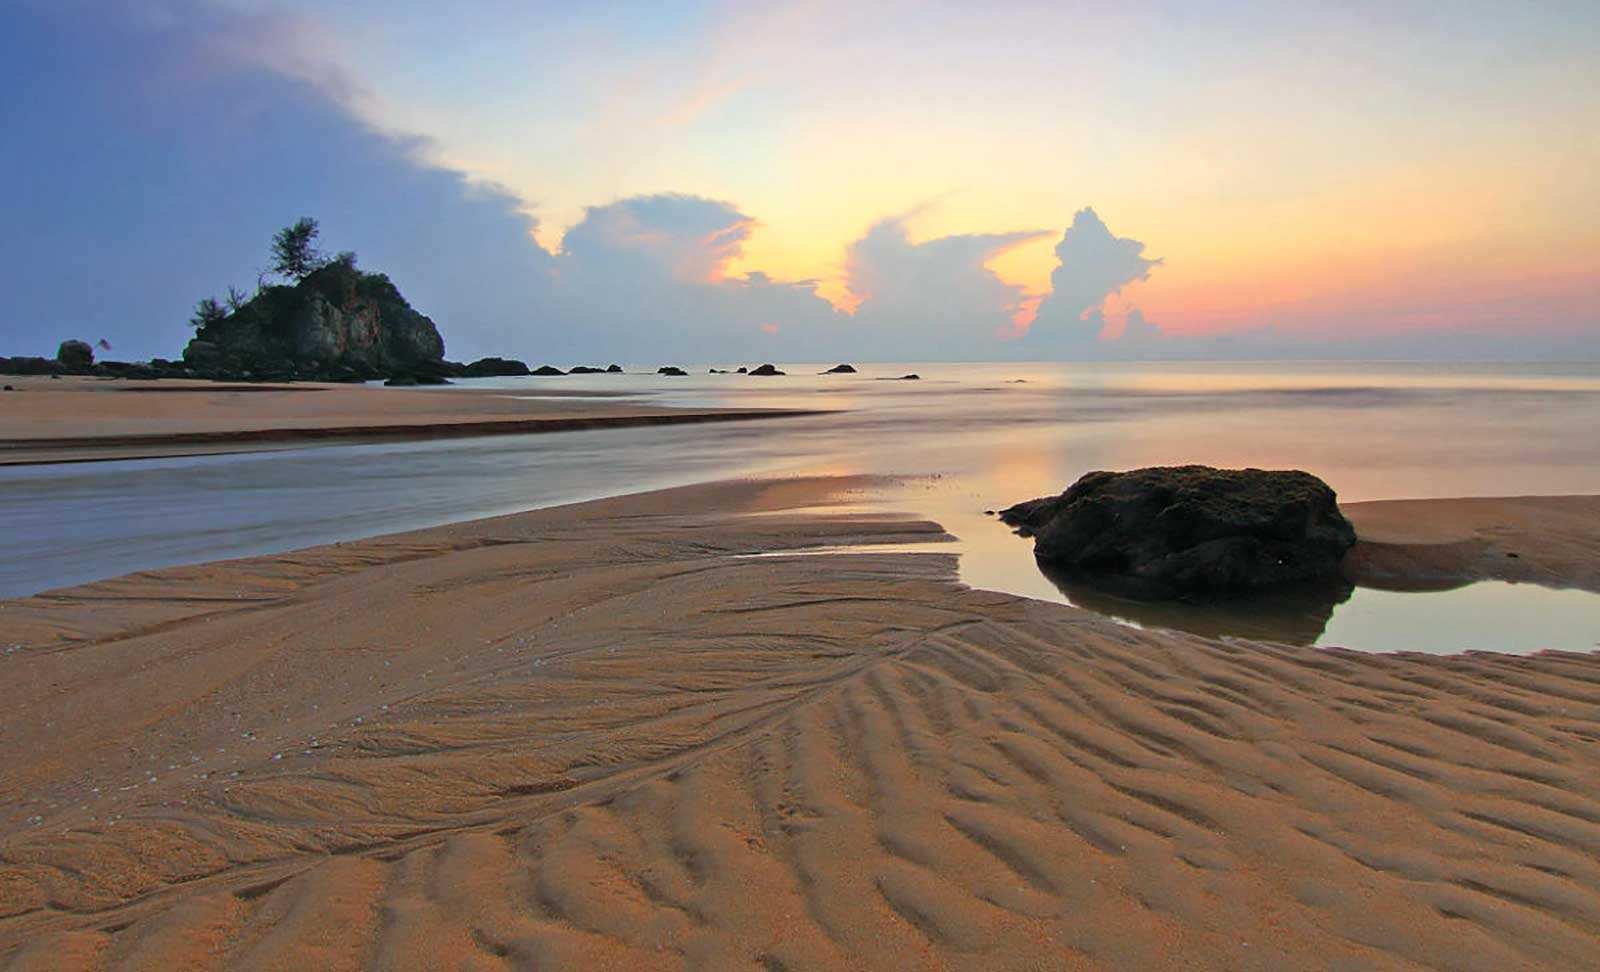
Terengganu, Malaysia
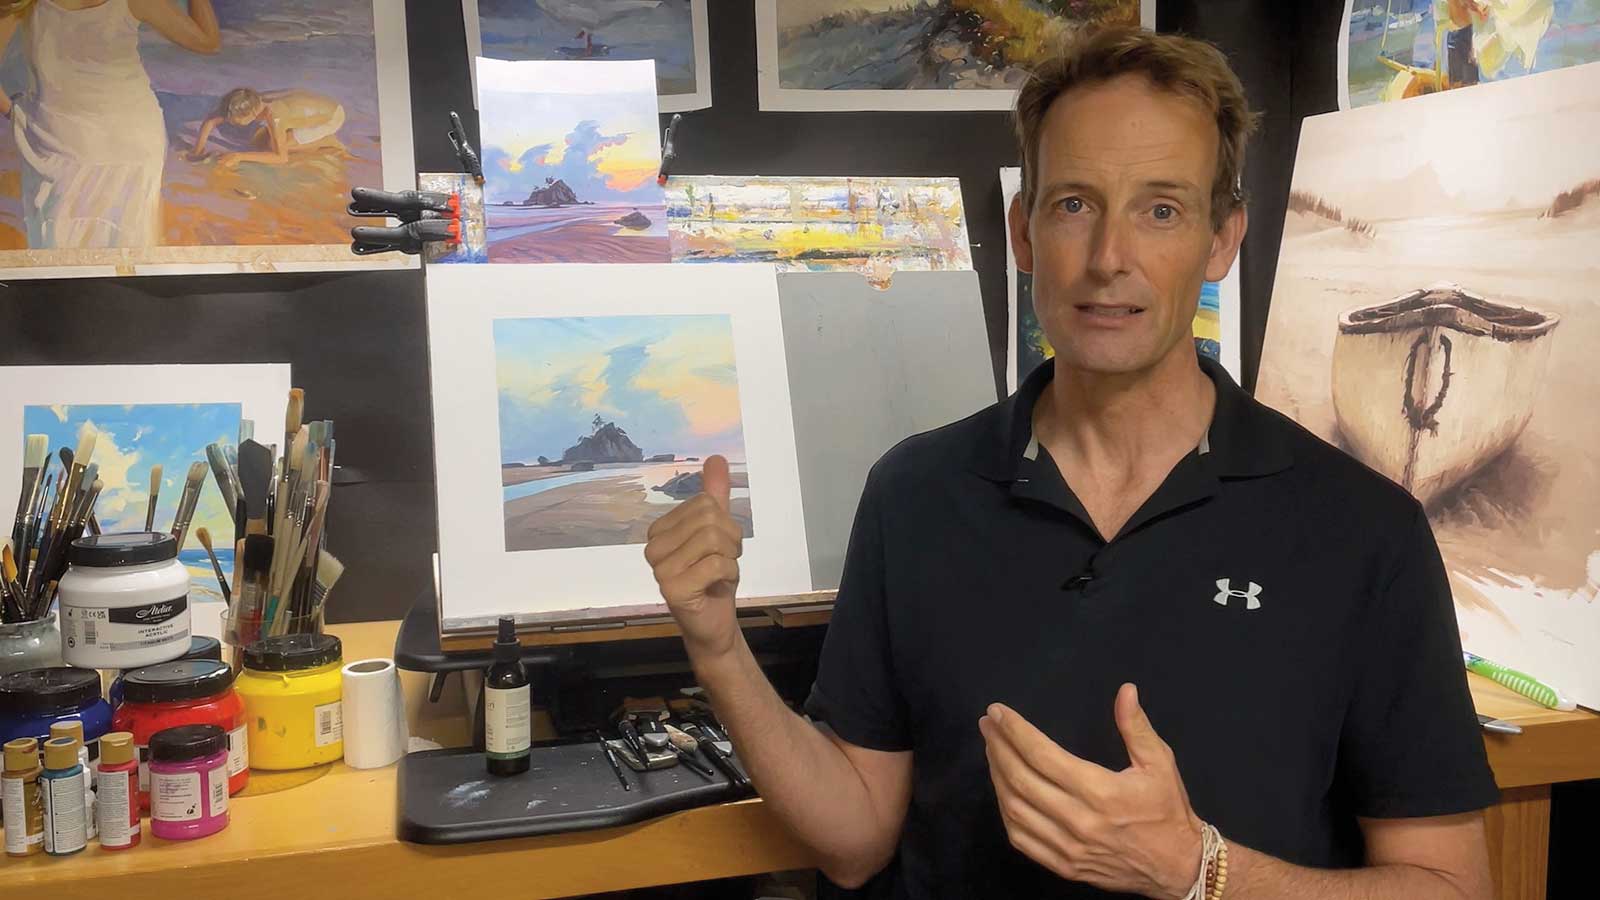
This is a small lesson from a larger course that I’m building, which will be called “Painting Expressive Skies.” I expect that to take me six months or more. I’m already several months into it. I thought it’d be nice for you to see this one for free, just to whet your appetite for painting expressive skies, and also just to get some feedback from you. If you have any constructive criticism, I’d love to hear from you.
This six-step demo is in acrylics but it’s fine for oils too. And I’ll guide you all the way.
Step by Step Backlit Beach
 Stage 1
Stage 1 design
Our job as artists is to bring people’s attention to what we find beautiful. In order to do that you need to first identify what those things are for you, and then enhance or exaggerate them. In this one it was towering clouds and that beautiful sky gradation.
 Stage 2
Stage 2 Back Lighting
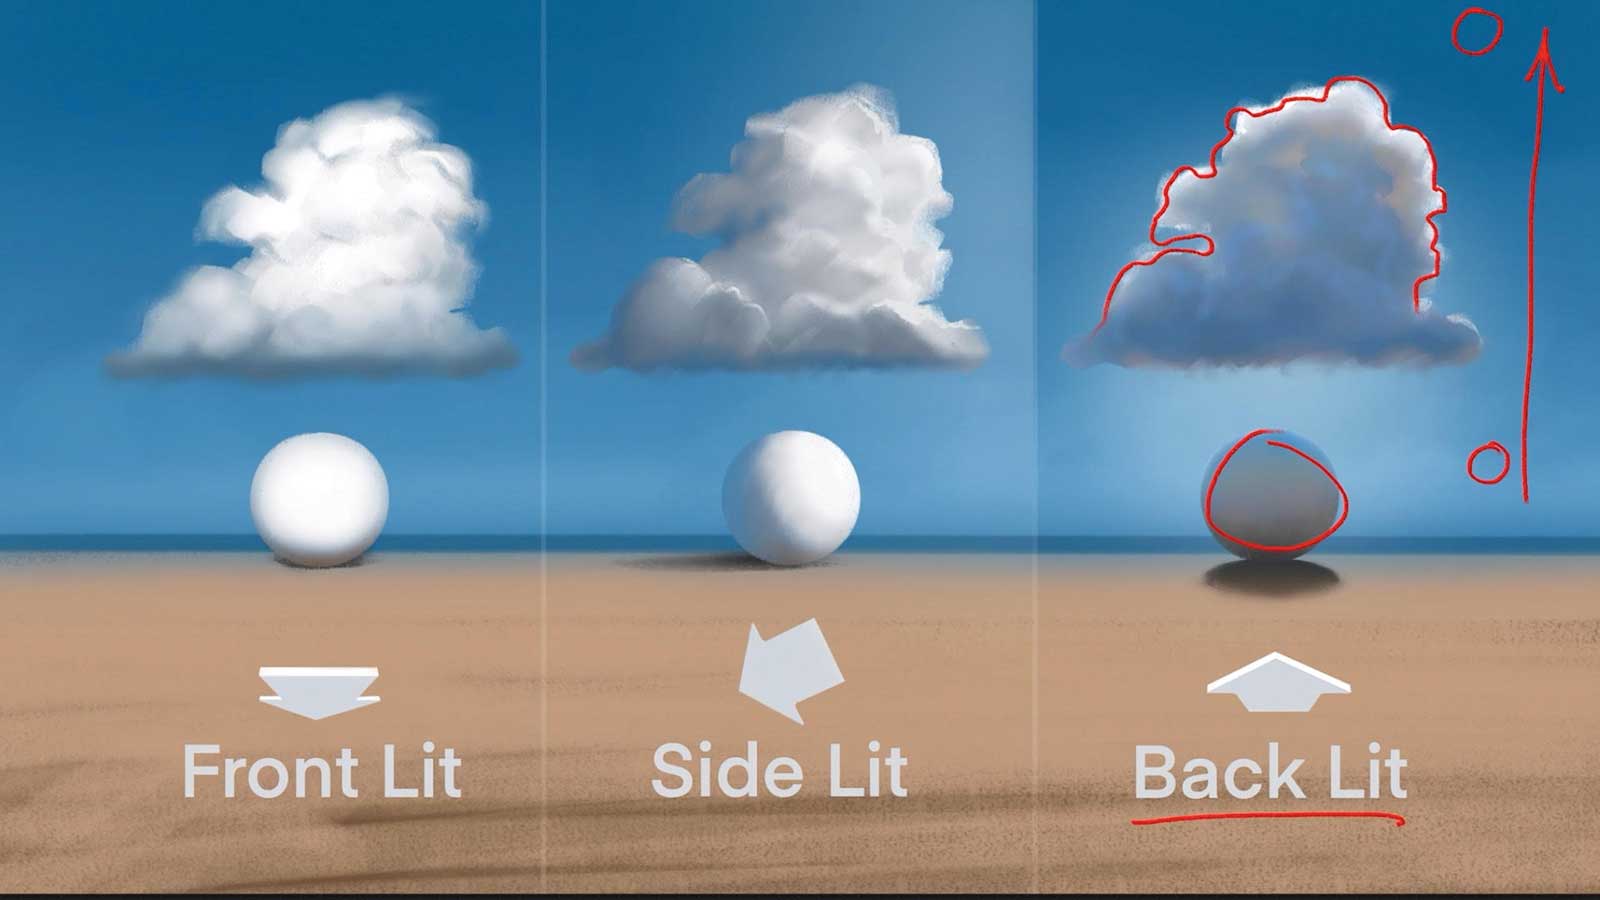
When objects are between you and the sun, that’s back lighting. Objects are mainly in shadow, casting shadows towards you, and some objects such as clouds and flora will have rim lighting around their edges. The sky will tend to show a strong gradation from light warm closer to the sun to cool dark further away from the sun.
 Stage 3
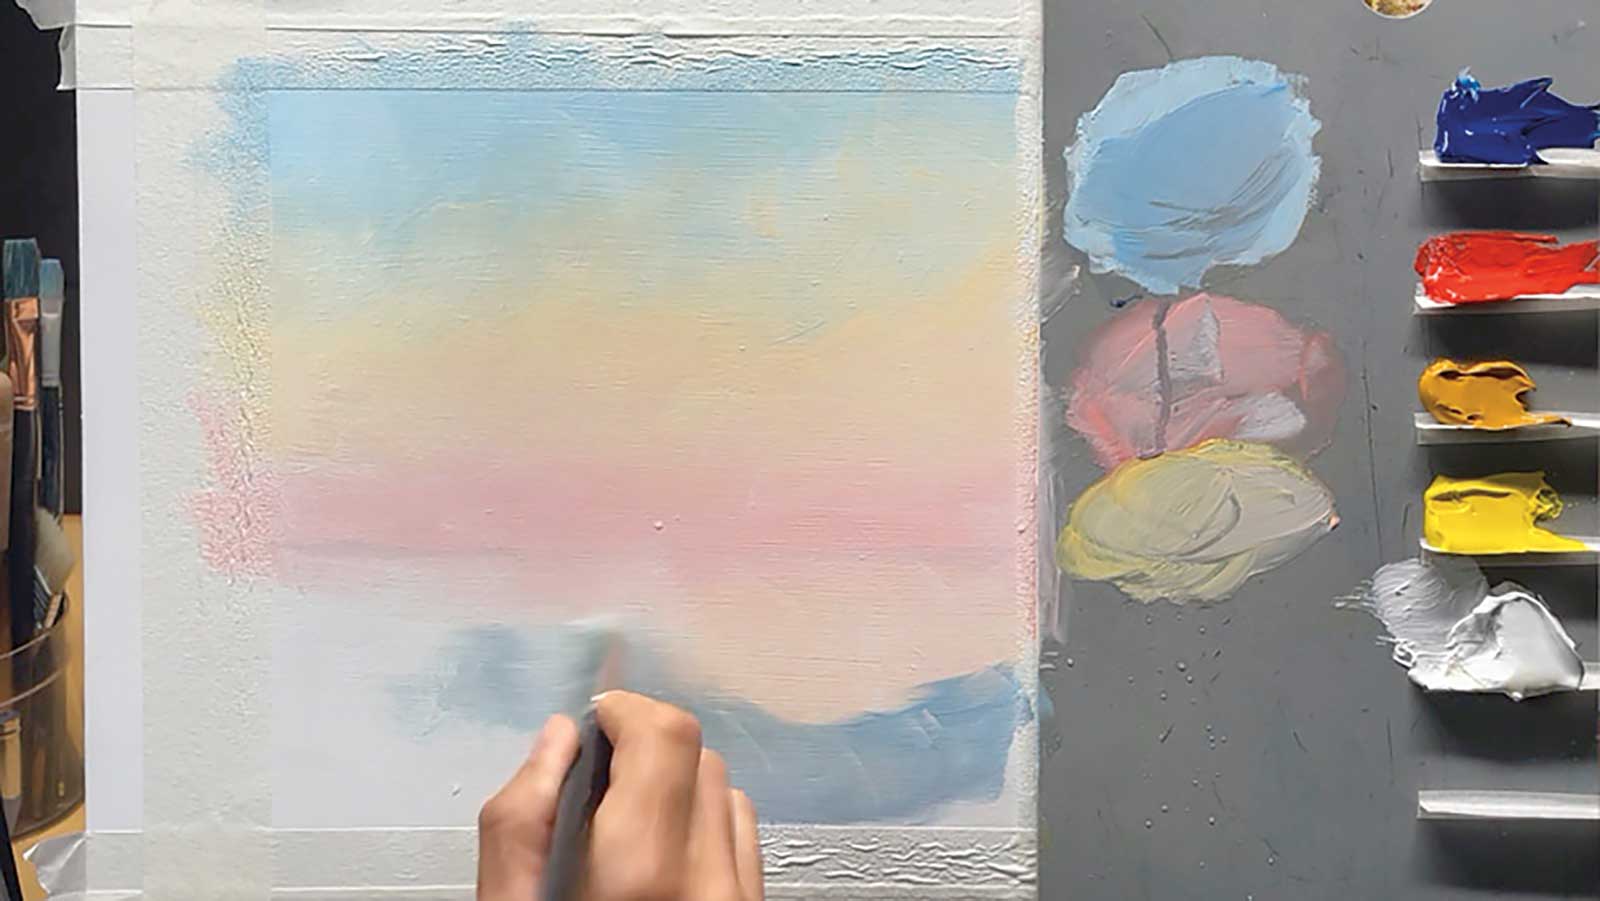
Stage 3 sky
The sky gradation is the first building block, and we’ll be “painting into a couch,” which means painting into a wet layer of white paint. You can add more warmth into the sky gradation to enhance the feel of the sunset light. You can also add more vibrancy to the sky simply by adding more color.
 Stage 4
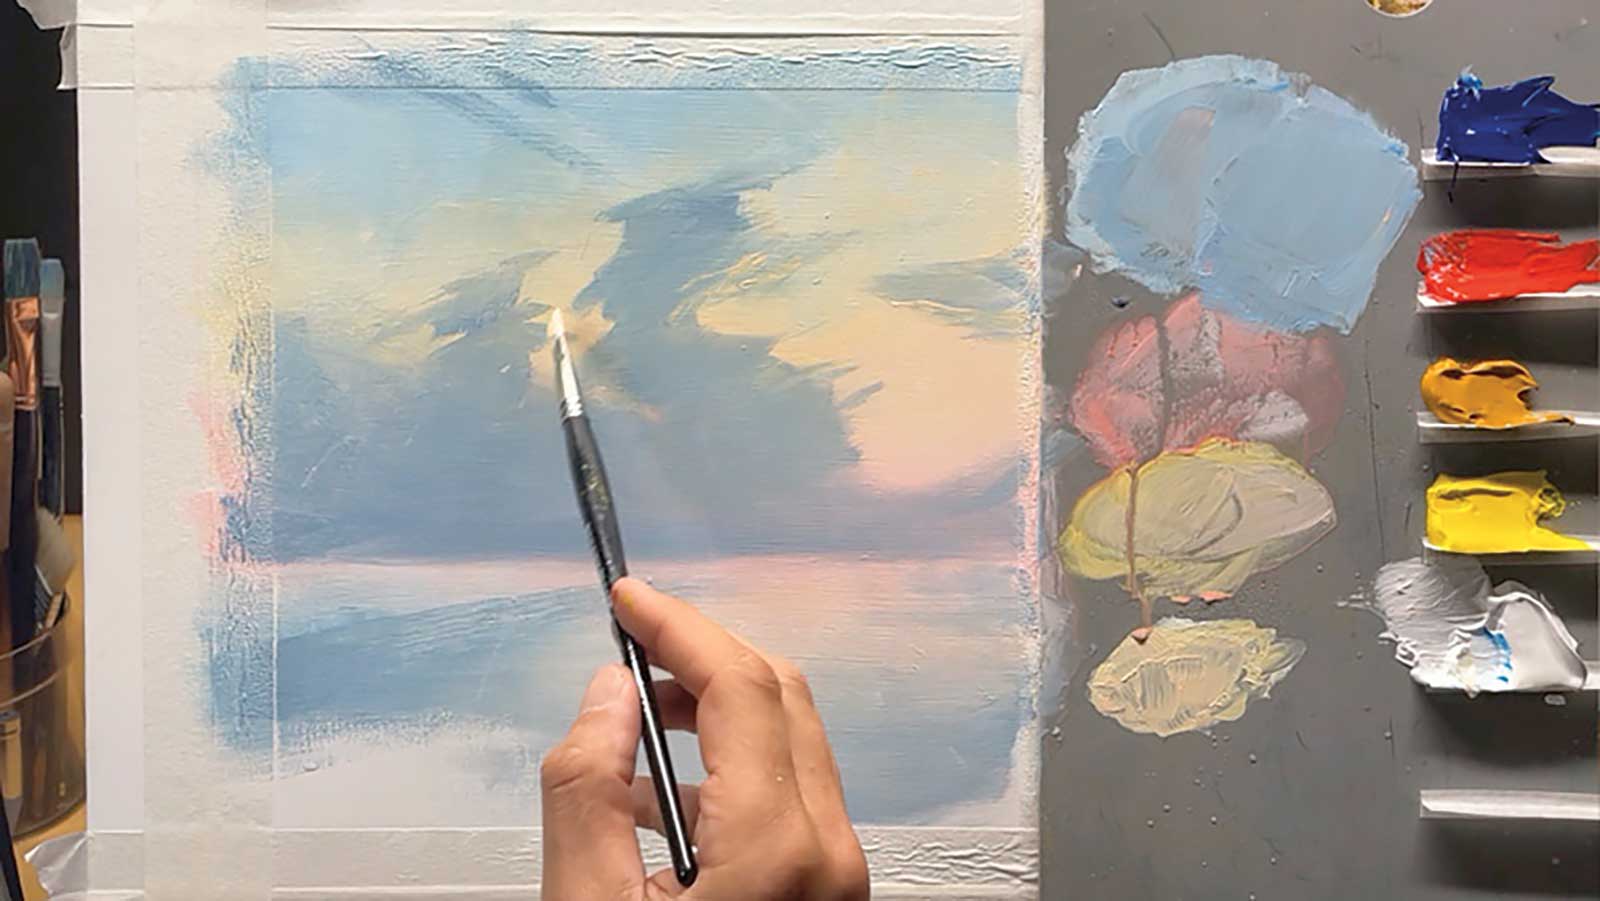
Stage 4 Expressive Clouds
Here’s your chance to practice making more variety in your paintings, which makes them more interesting to paint and more interesting to view. Create variety in shapes (big vs. small, complex vs. simple), color (warm vs. cool, vibrant vs grayed), edges (soft vs. hard), and texture (smooth vs. rough, thin vs. thick). You need all that variety to keep things interesting and expressive.
 Stage 5
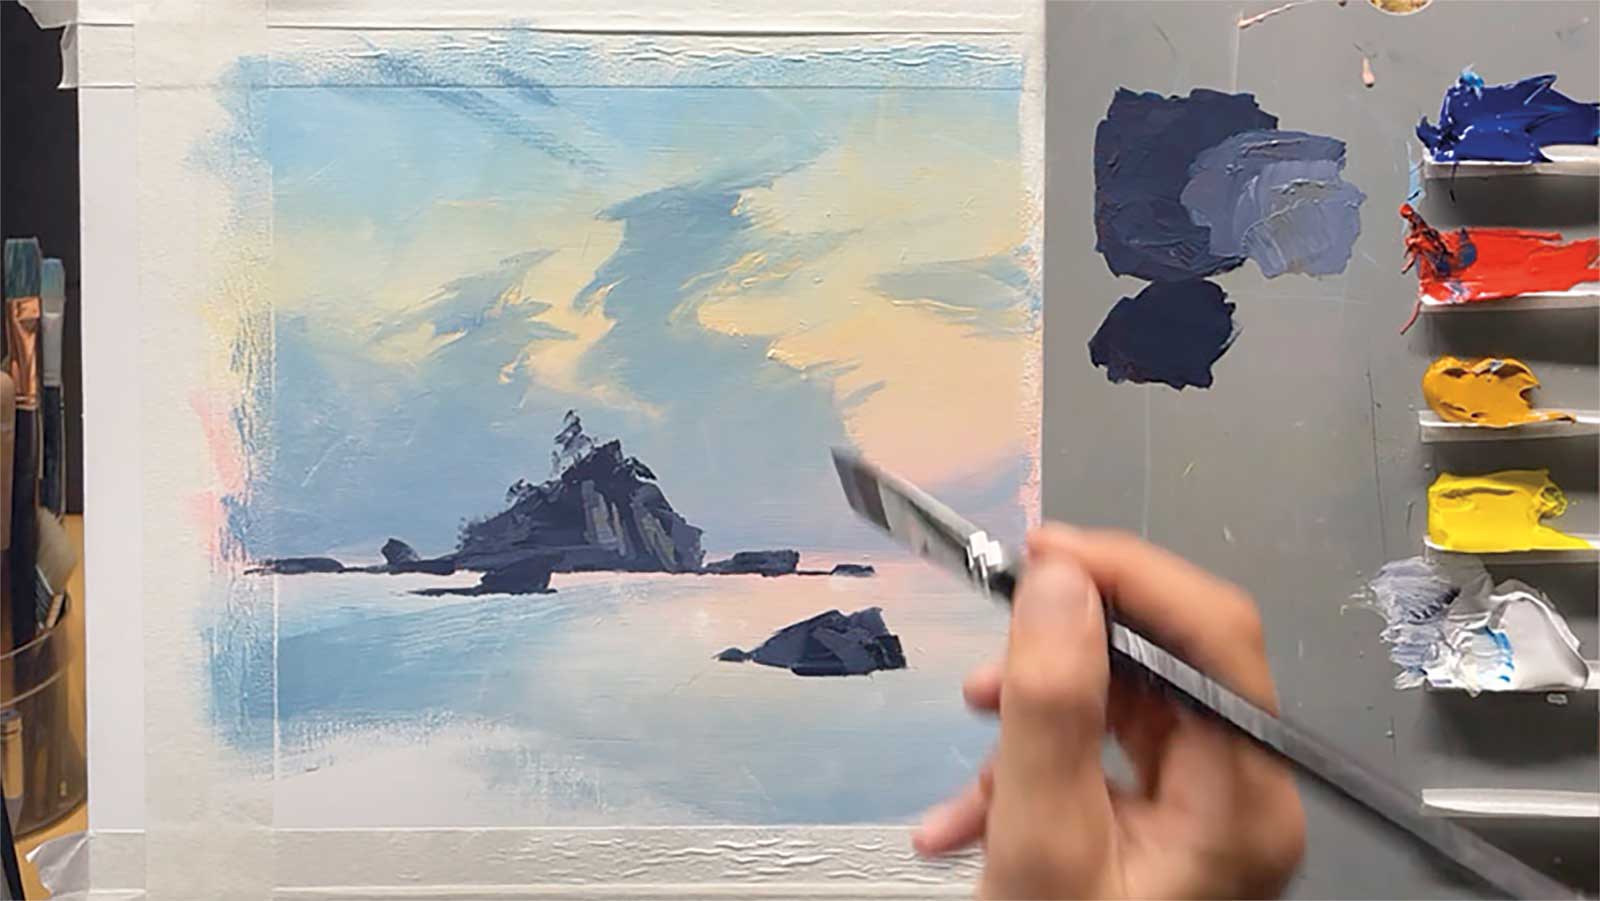
Stage 5 Rocks in Shadow
Using a large synthetic flat brush you can create beautifully crisp, straight edges, which are perfect for rocks. You’ll find that if you add too much light into the shadows it will ruin the illusion, but you can always paint the shadow back in.
 Stage 6
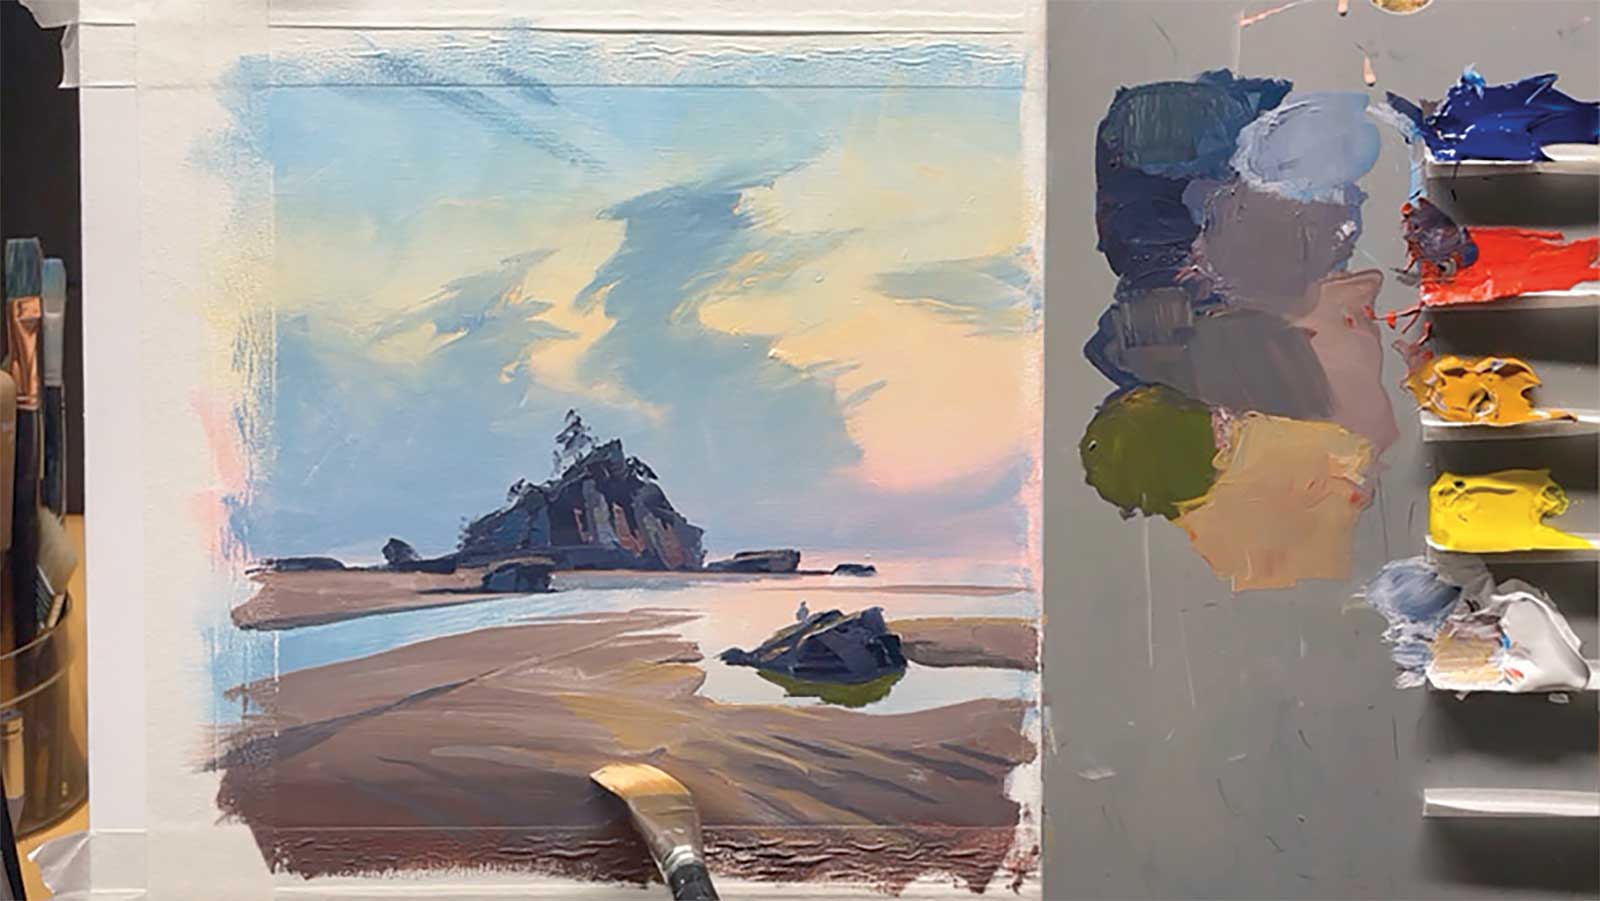
Stage 6 Wet Sand
Using that same big flat brush you’ll add a soft foreground shadow first, which will help draw the eye into the center. Crisp shapes of shadow and light add more form and lead us to the towering clouds.
Student critiques
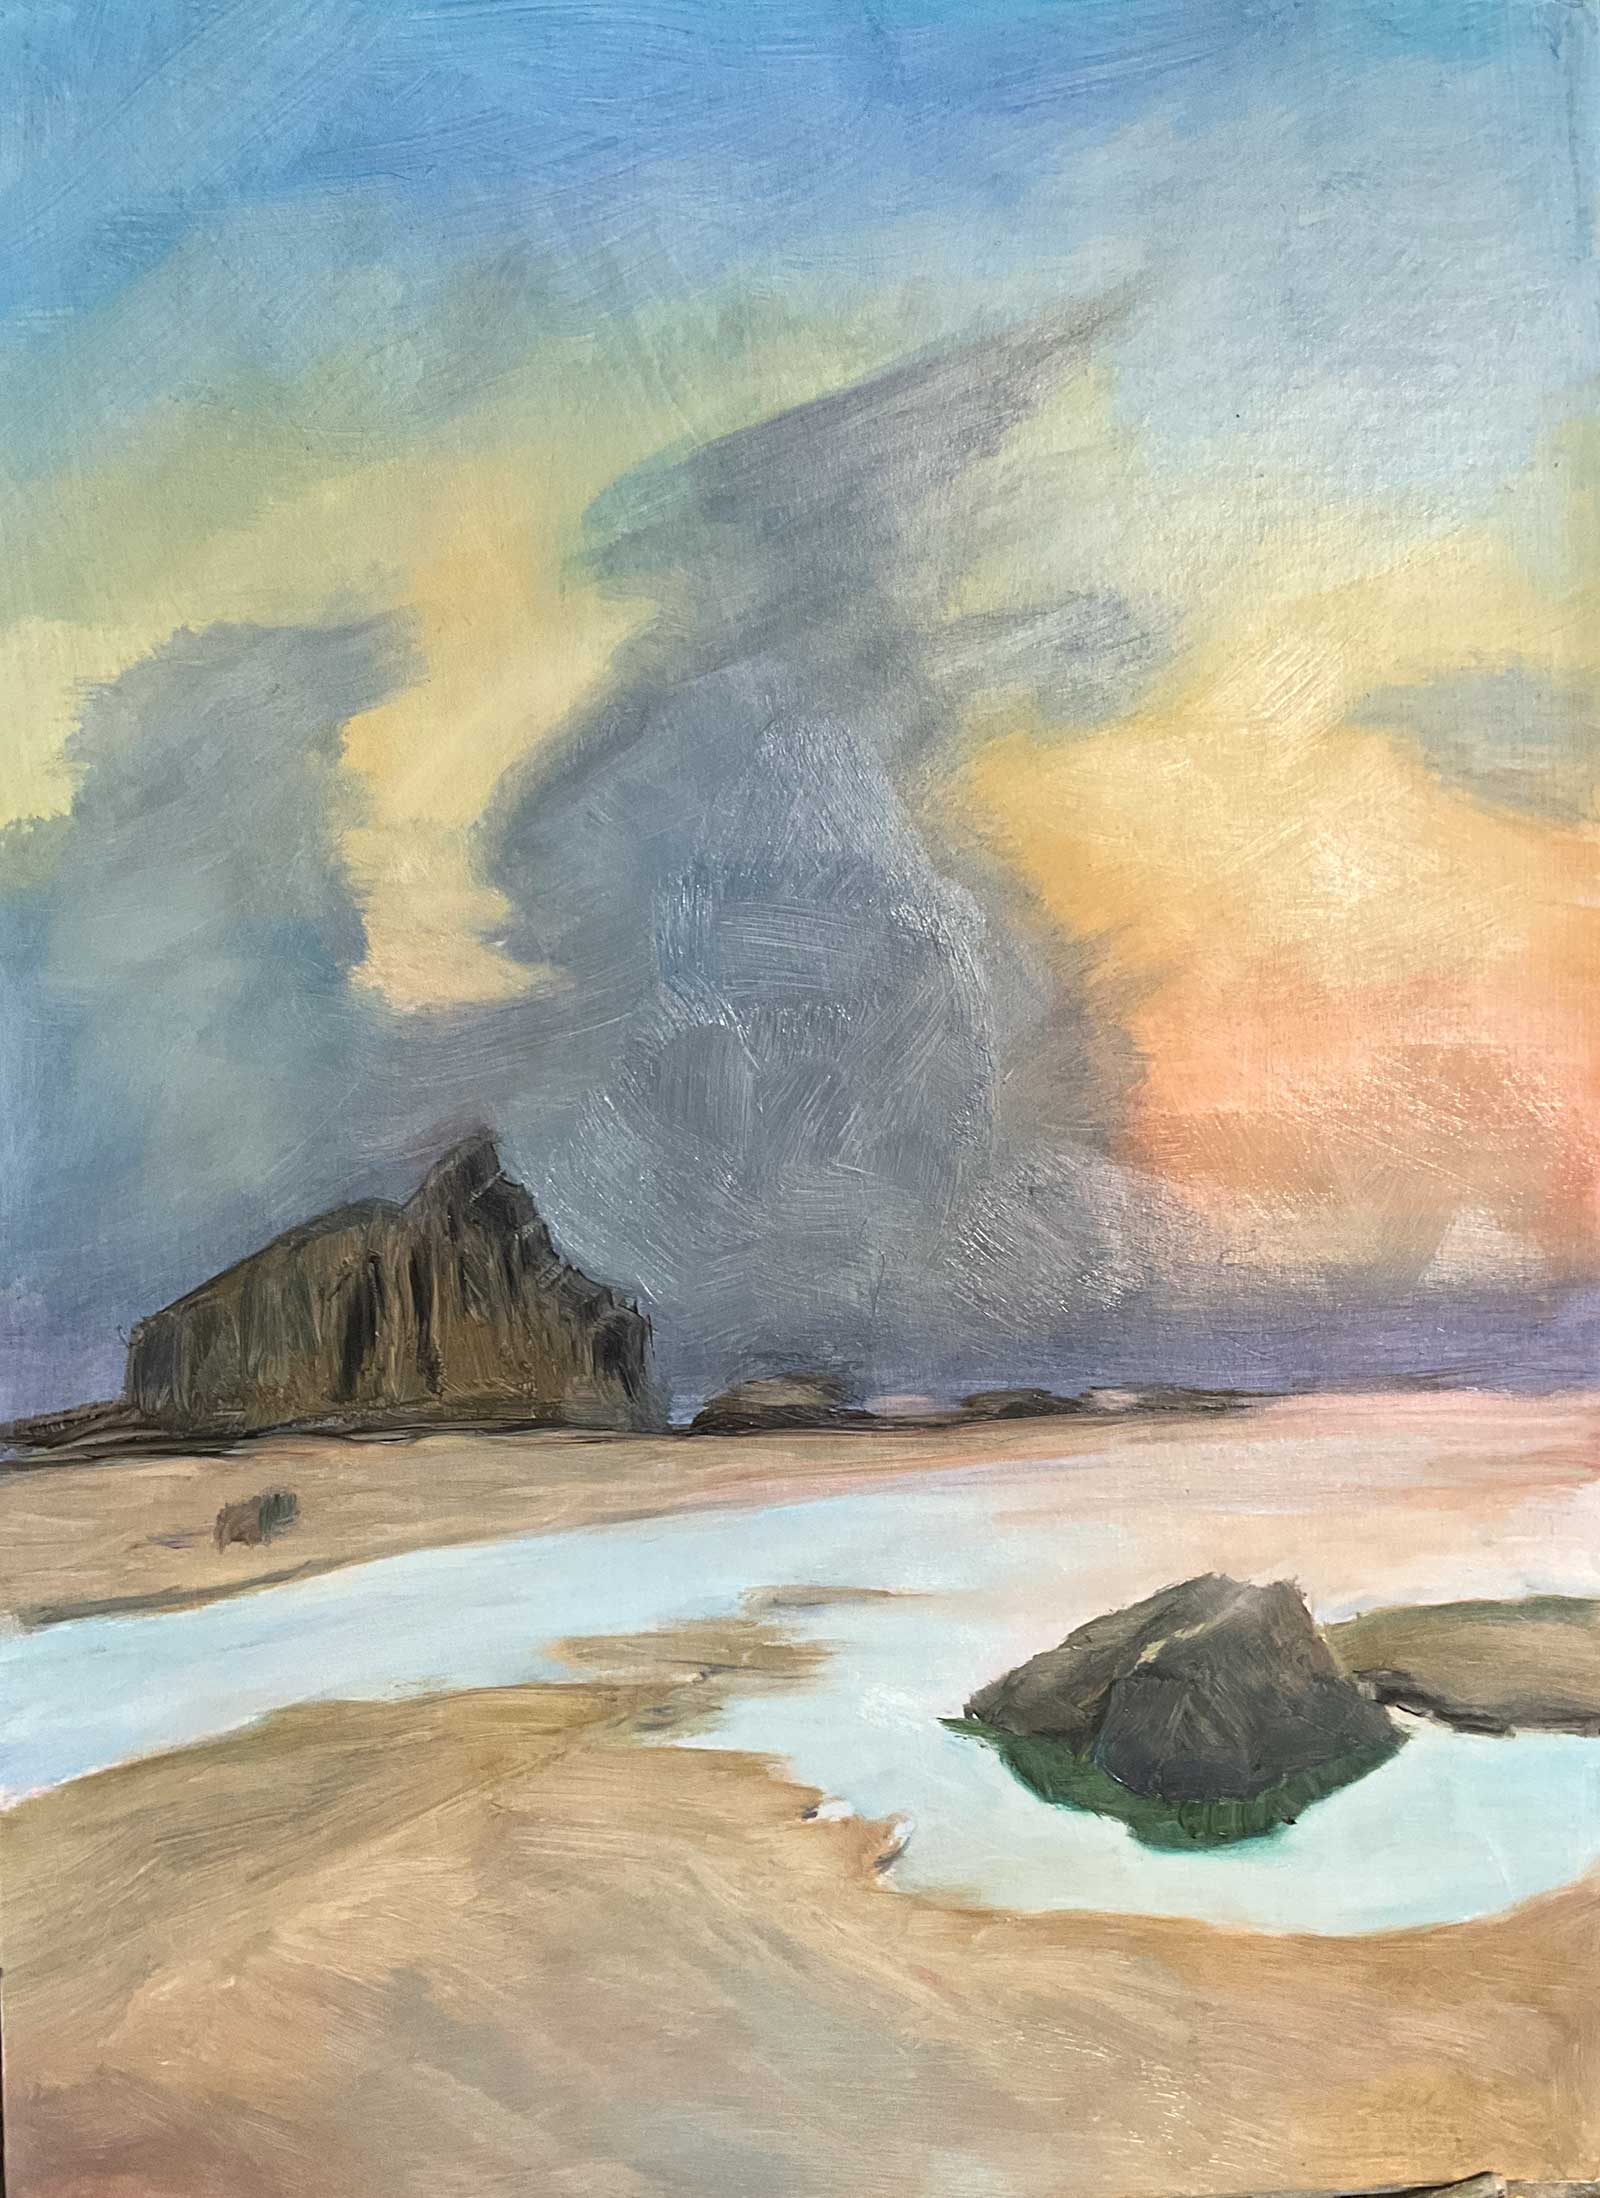
 Coastal landscape, acrylic with oil glazing on canvas, 151/3 x 151/3" (39 x 39 cm)
Elena Sokolova
Nice work, Elena. I like the extra vibrancy you have put in the sky and its reflections. You’ve achieved a good subtle spotlight effect on the foreground sand, and you’ve used bold expressive brushwork. Good job!
 Expressive Skies, acrylic
Eric Hillmer
Really good work on creating more interest in the rocks here, which is something I felt was lacking in my own piece. Just be careful when you’re adding lights into shadow areas. This is supposed to be a backlit situation so none of the rocks in the shadow areas should have lights on them. Adding lights there changes the lighting situation, and the main thing we need to do if we want to paint more realistic landscapes is to maintain a consistent lighting situation across the whole scene. In other words, where is the light coming from, where are the shadows and where are the lights?
 Sky
SkyAlan Swaby
Great work in the clouds and the sky, Alan. Also really nice, crisp organic shapes in the foreground. However, I would like to see you finish off the island with some trees and a little more interest.
About Your Tutor
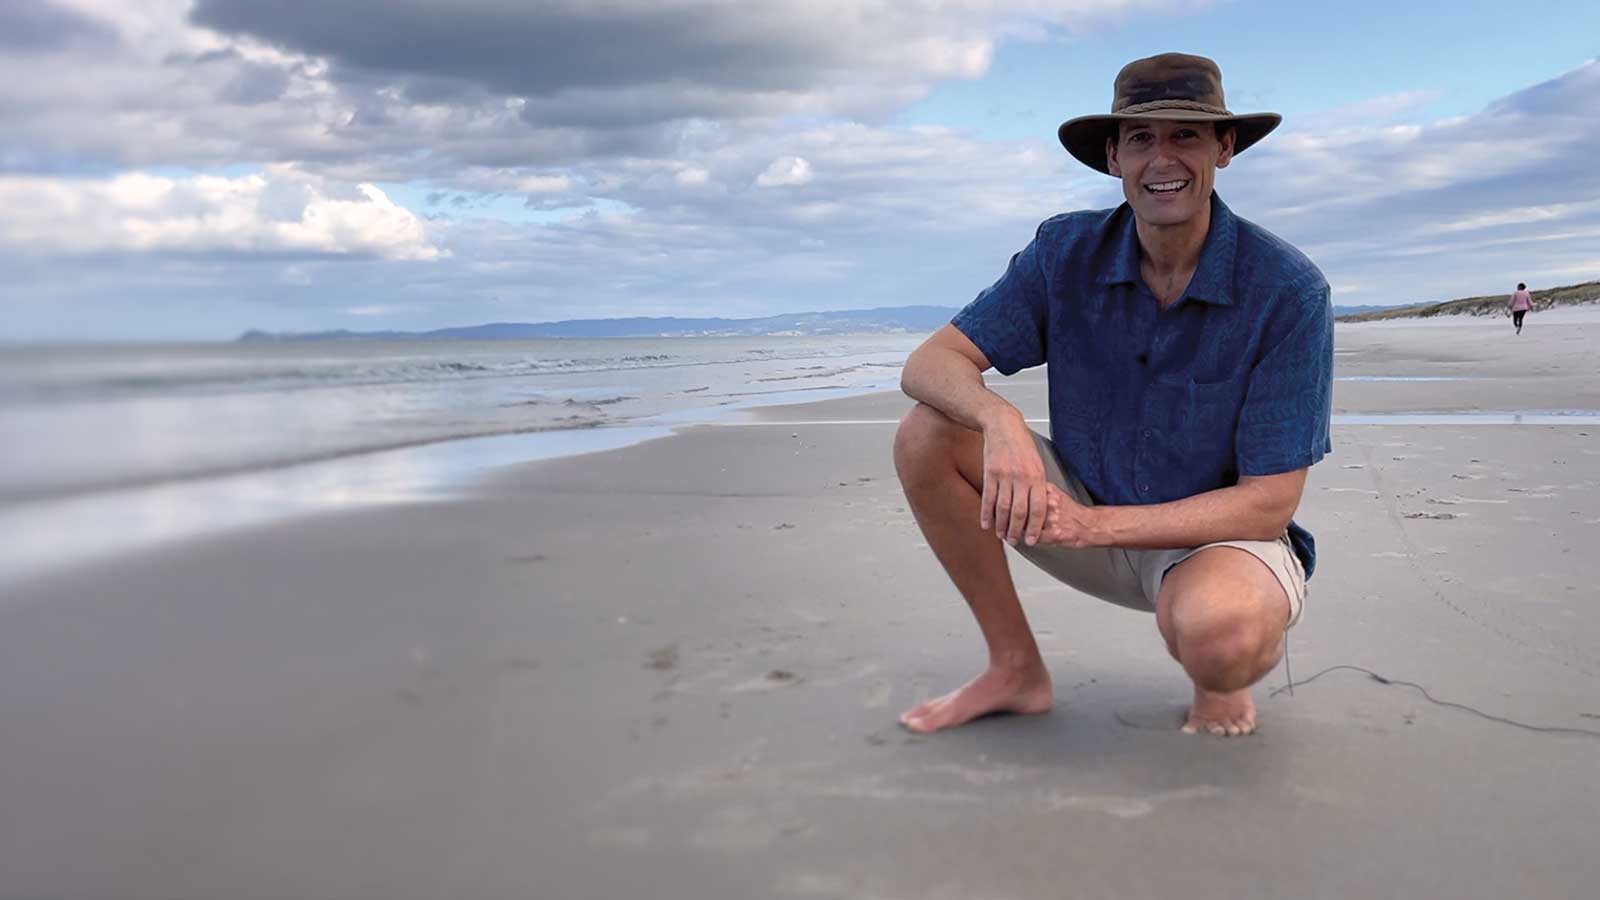 Richard Robinson
Richard Robinson is one of New Zealand’s premier outdoor painters. You can view his extensive online lessons at www.mypaintingclub.com.