


Wildlife and the natural world have always deeply inspired me, which is why they are the main focus of my work and hold a special place in my heart. My passion for capturing intricate details in nature (especially the unnoticed intricacies of fur and feathers) aligns perfectly with my love for wildlife. I spent many years as a colored pencil artist before transitioning to acrylic painting. While pencil was perfect for capturing detail, painting has opened up a new world for me, allowing me to capture the mood and ambience I envision, as well as embrace the vivid and bold colors that acrylic paint is well known for.
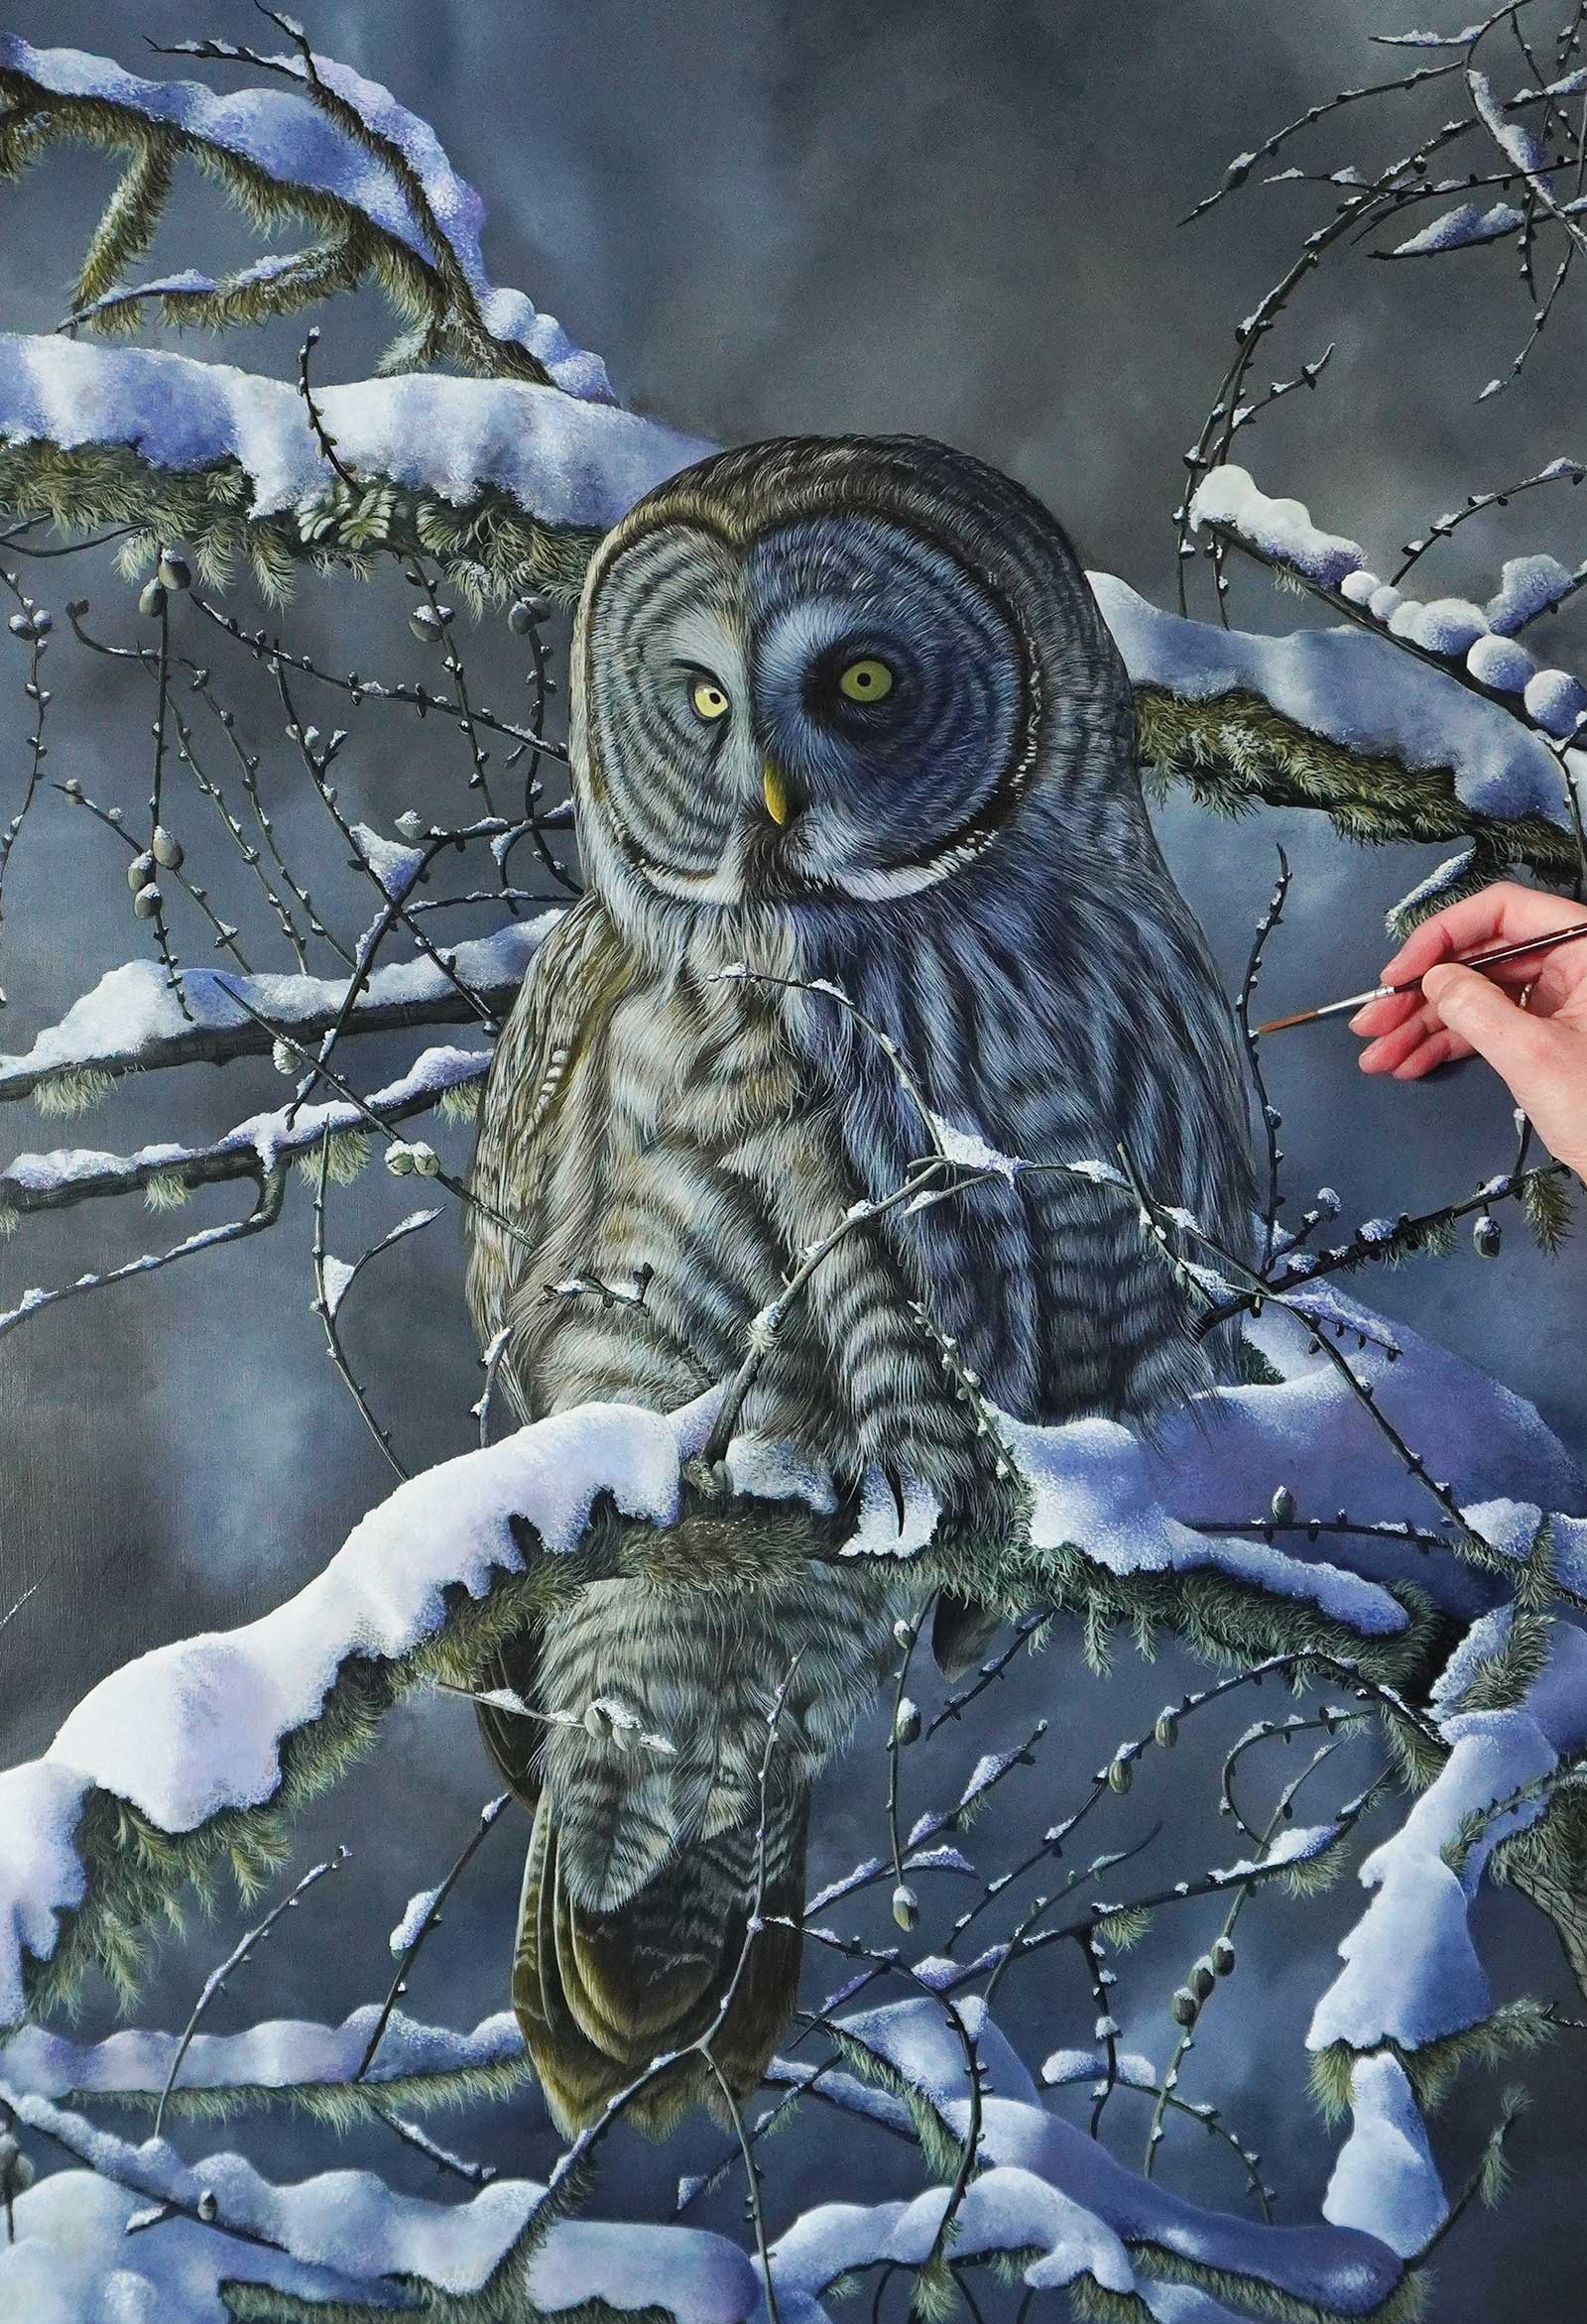
Snow Ghost, acrylic on wood panel, 24 x 32" (60 x 81 cm) I was completely absorbed in creating this painting, particularly when painting the snow on the moss-covered branches. Personally, I feel drawn to snow, wilderness and winter landscapes, so this painting reflects a part of myself. The contrast of warm sunlight and cold shadows on the owl is a beautiful homage to winter for me. Reference photo credit: Terry Sohl.
My goal is always to capture the true spirit of an animal and evoke emotions that foster a deep connection with the subject. The gaze of an animal is so soulful, and while we can never truly know their thoughts, capturing a single moment in time can leave us wondering what occupies their thoughts. As a result, I often focus my subjects with simple backgrounds to draw the viewer’s attention directly to the animal and to make that instant connection.
While my main focus is wildlife, I also have a sub-focus on birds. Birds are creatures we all encounter—no matter where we live in the world, we coexist with them. Whether I’m inspired by a garden bird visitor or a bird of prey soaring in the mountains, they never fail to leave me in awe and instantly spark inspiration for a painting. Inspiration is something I never have to search for—nature provides more than enough.
My style is realistic, though not photorealistic. I aim for my paintings to capture a strong sense of realism while maintaining a gentle painterly quality, avoiding a photographic appearance. I prefer an earthy color palette as it enhances the mood I seek to evoke. Typically, I use small-sized brushes to ensure I can capture as many details as possible. My painting process often involves multiple layers where I alternate between broad glazes and intricate details. I find this process immensely enjoyable, particularly witnessing a painting transition from its initial “ugly stage” to a realistic result, which is very satisfying. I also enjoy sharing this process with my students who subscribe to my online teaching platform. One unconventional aspect of my personal style is applying a layer of details early in the painting process. Establishing the fur direction at this stage provides a solid foundation for the animal’s structure and guides me through subsequent layers.
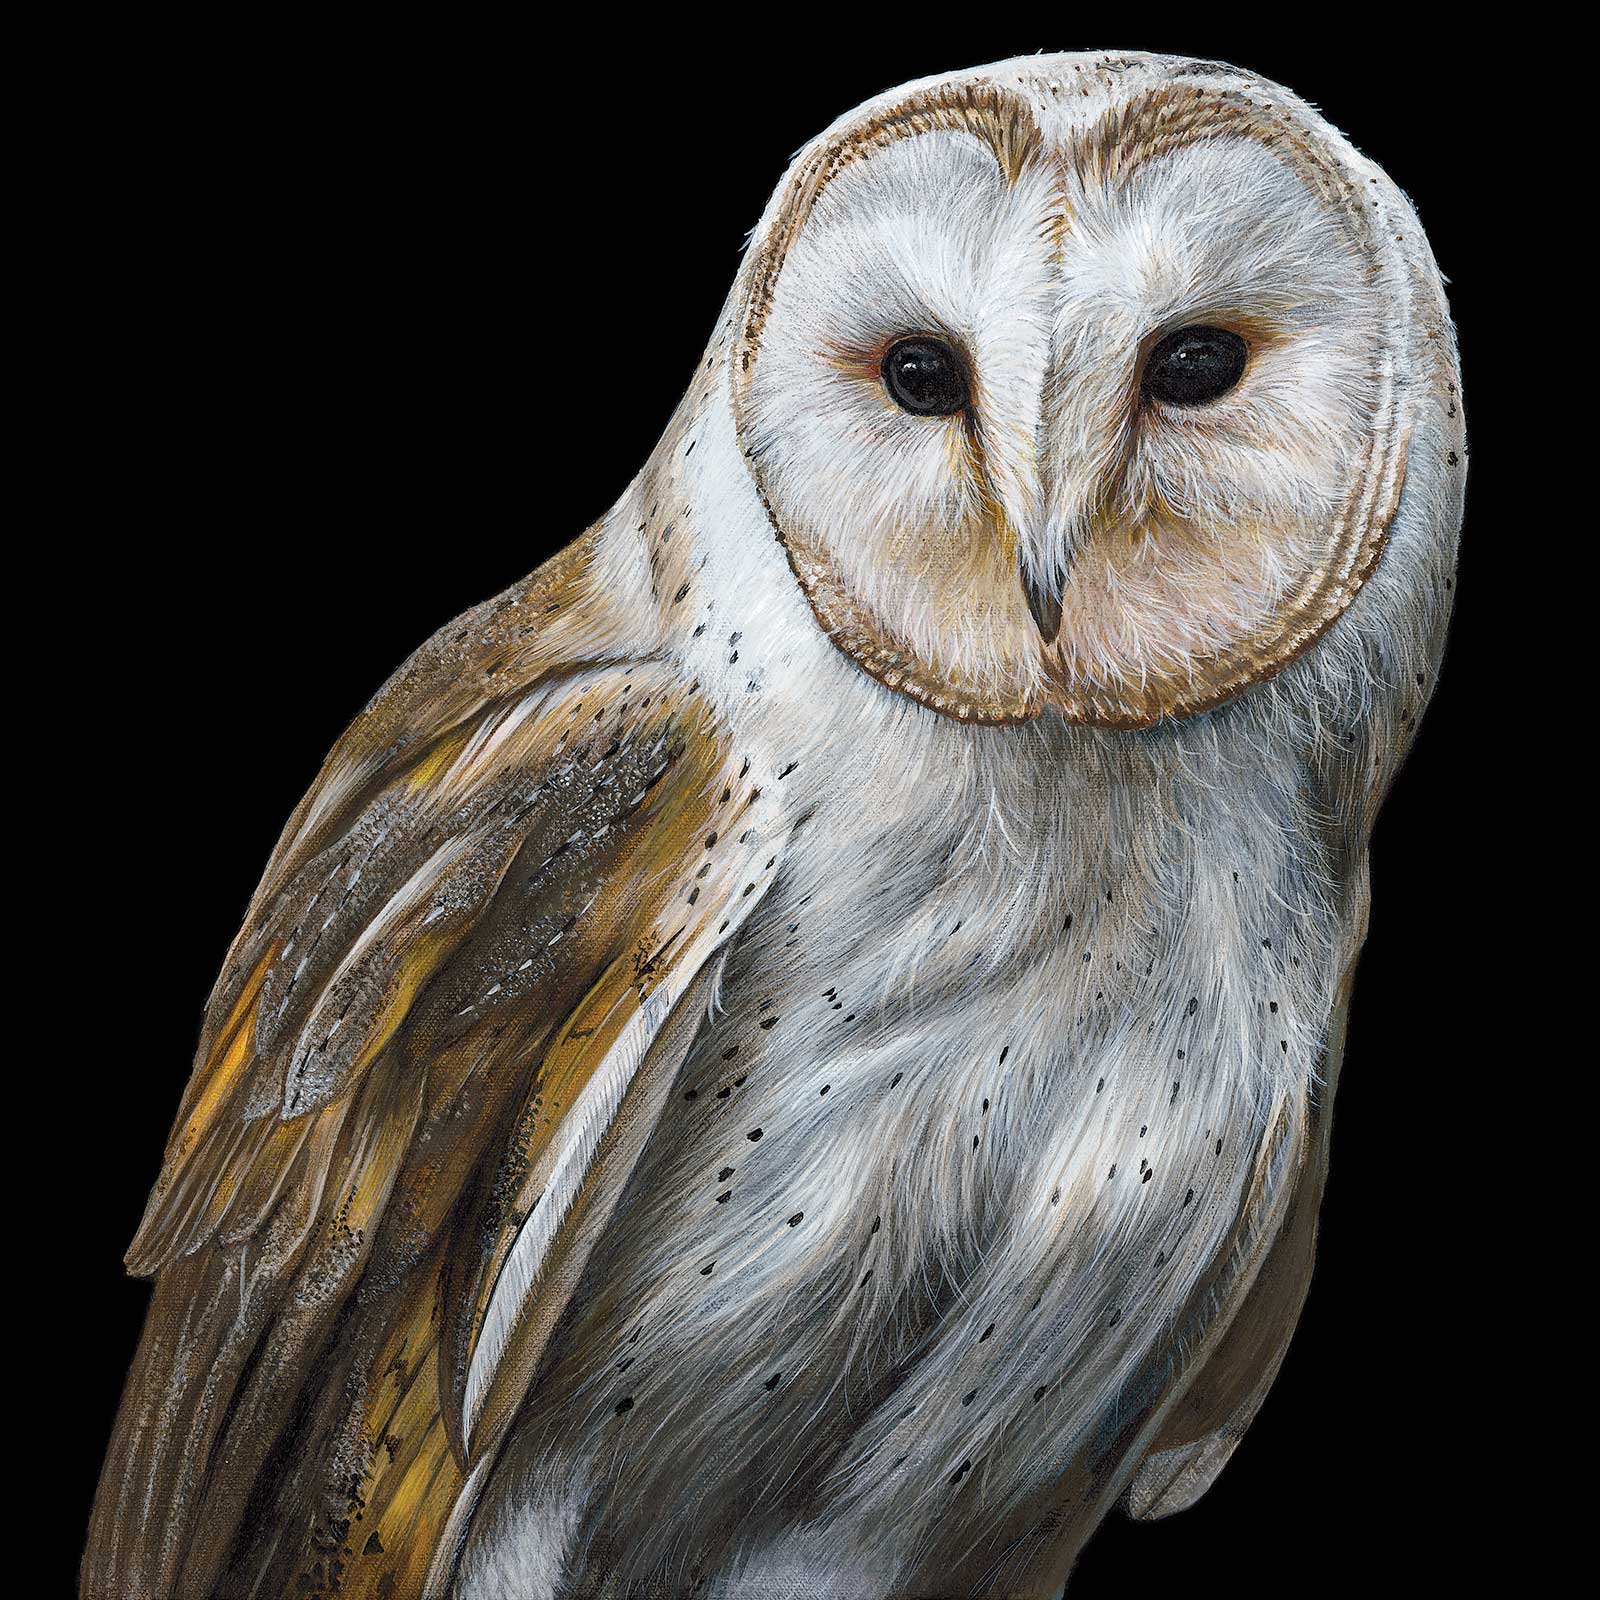
Shadowed Dreams, acrylic on linen, 12 x 12" (30 x 30 cm) I particularly love painting birds of prey, especially owls. I’m drawn to the intricate patterns in owl feathers and the soulful gazes they evoke. In this painting, I aimed to convey a moody, cold midnight atmosphere so I made sure to increase the intensity of the shadows and added moonlit highlights. Reference photo credit: Hollie Gordon.
Another unconventional aspect to my process is my approach to blending. I prefer to use mop brushes to create blended and blurred effects, but I’ve always struggled to find the perfect brand of brush that suits my working style. Then, one day, I intuitively decided to try using cheap makeup brushes in varying sizes, and I haven’t looked back since. They were a game changer for me and provide the perfect way to blend pigments together.
I paint with Golden heavy body acrylics as I love their buttery consistency and how beautifully they blend together. Acrylic paints dry quickly, which works great for me because I’m usually too eager (or impatient) to work on the next layer once one is complete.
In recent months my work has started to evolve into a slightly new dimension. While I still enjoy focusing on the subject matter, I’m beginning to feel drawn towards adding landscape elements to provide context for the animals. I’m very excited to see where this will lead. —
My Art in the Making Untitled
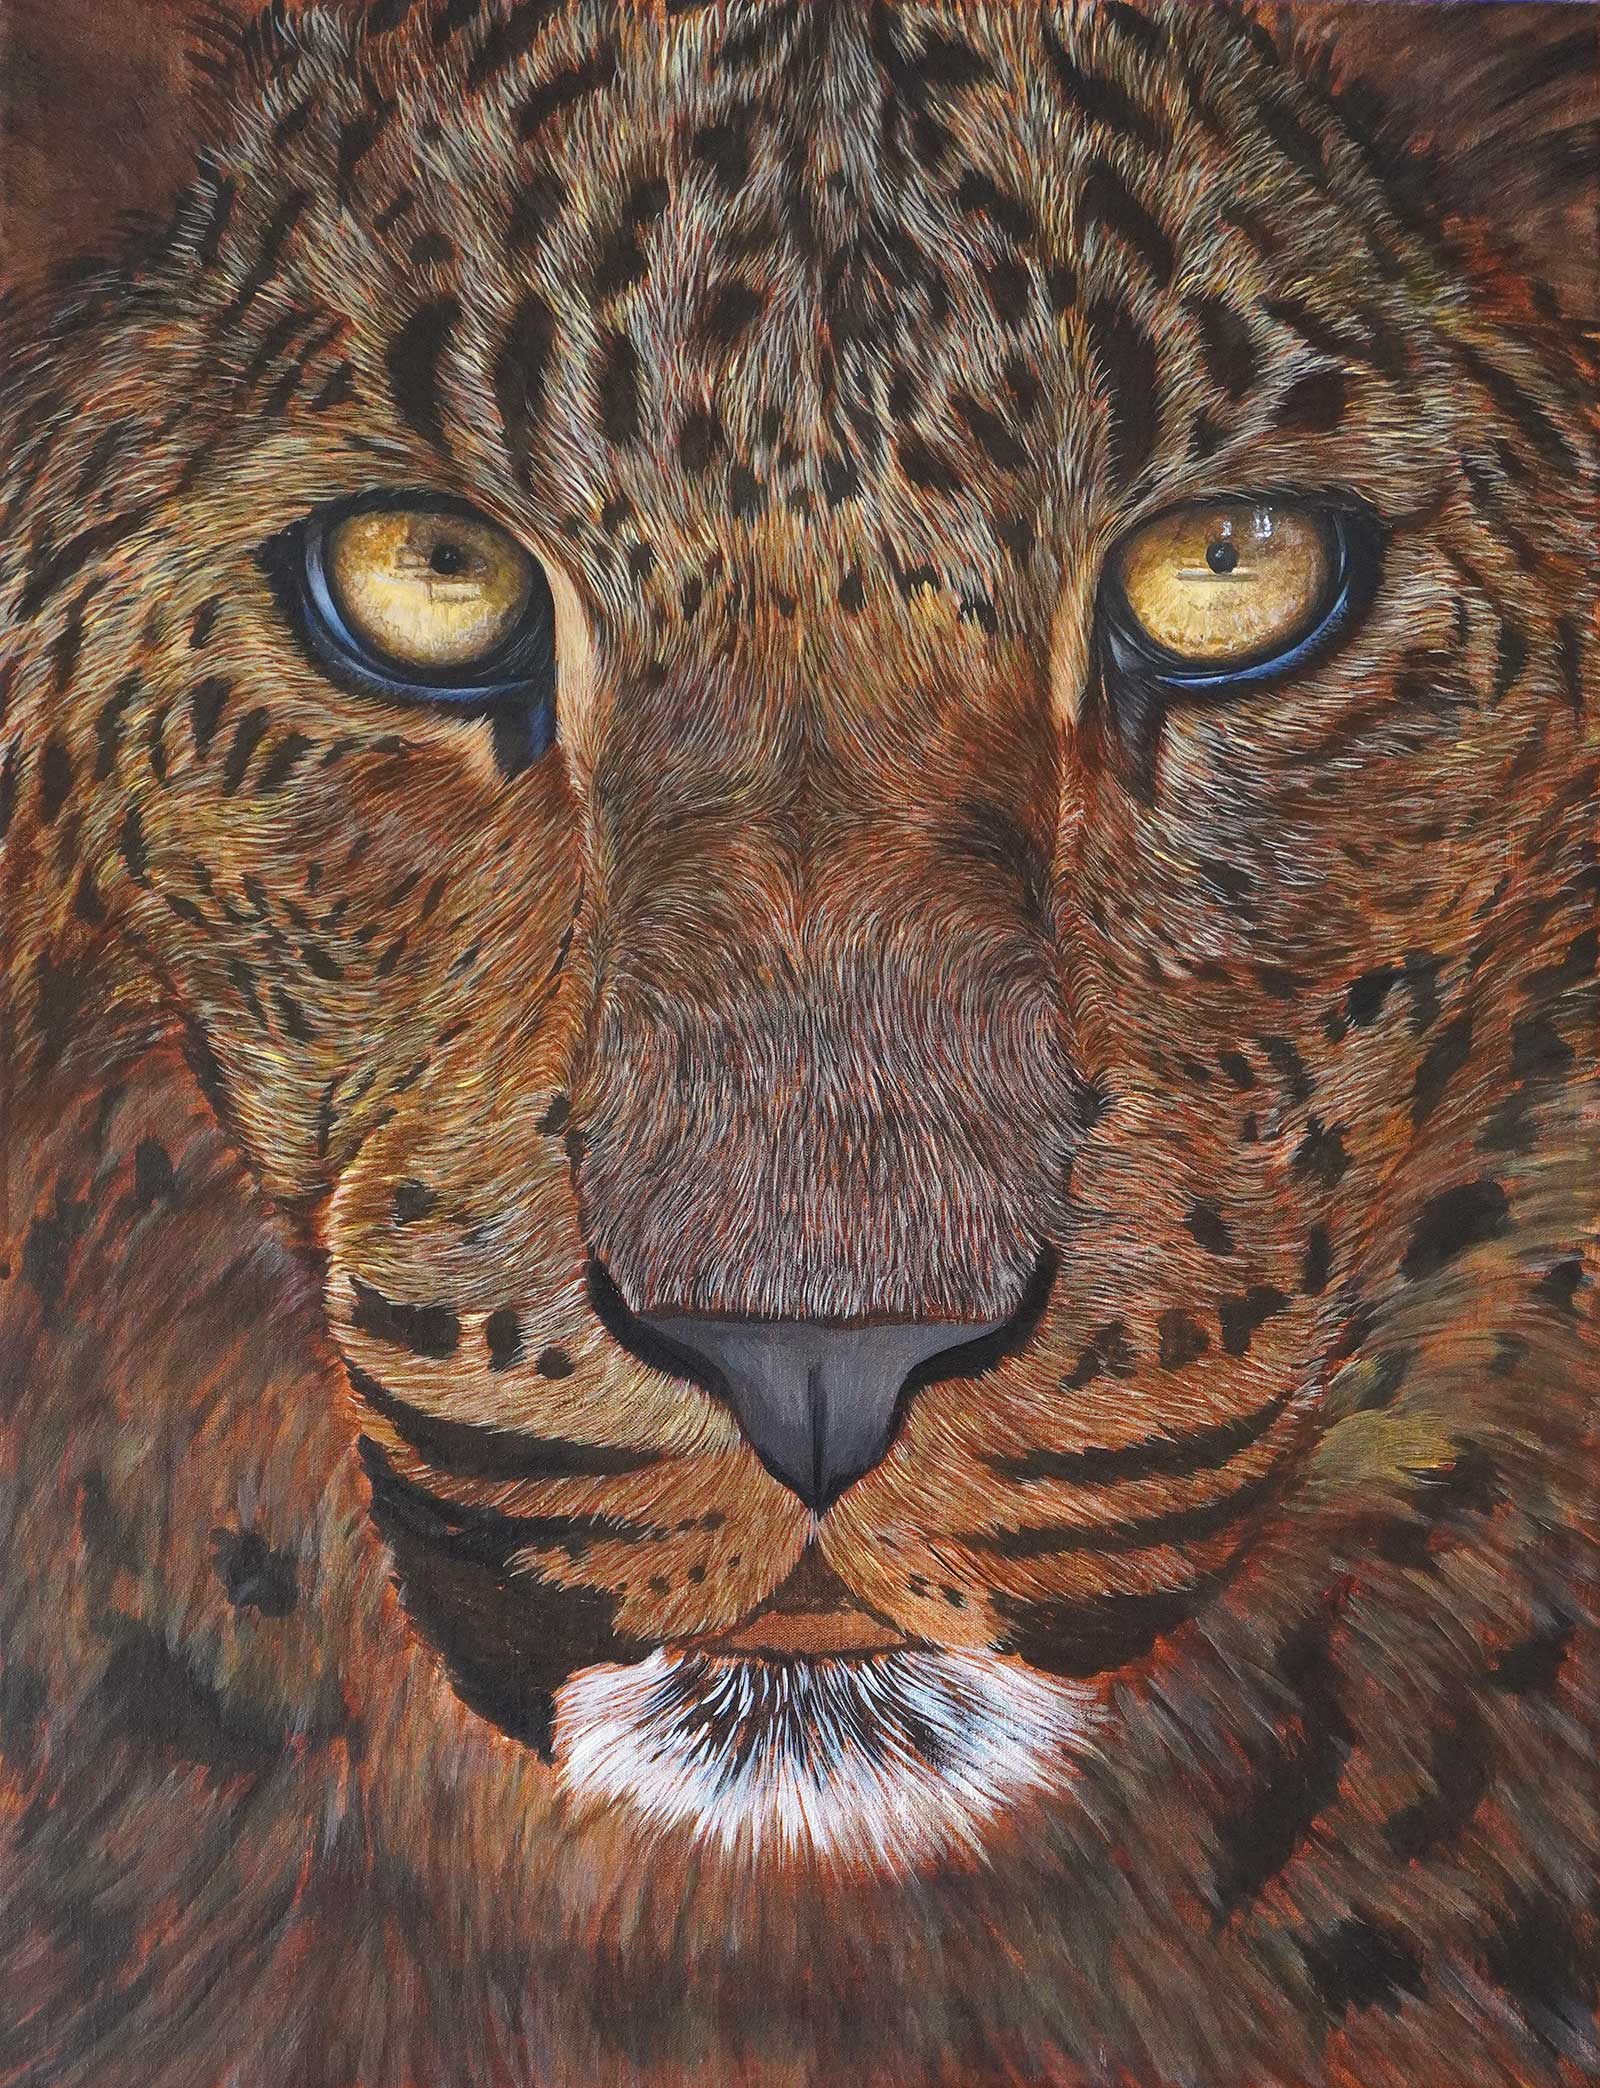
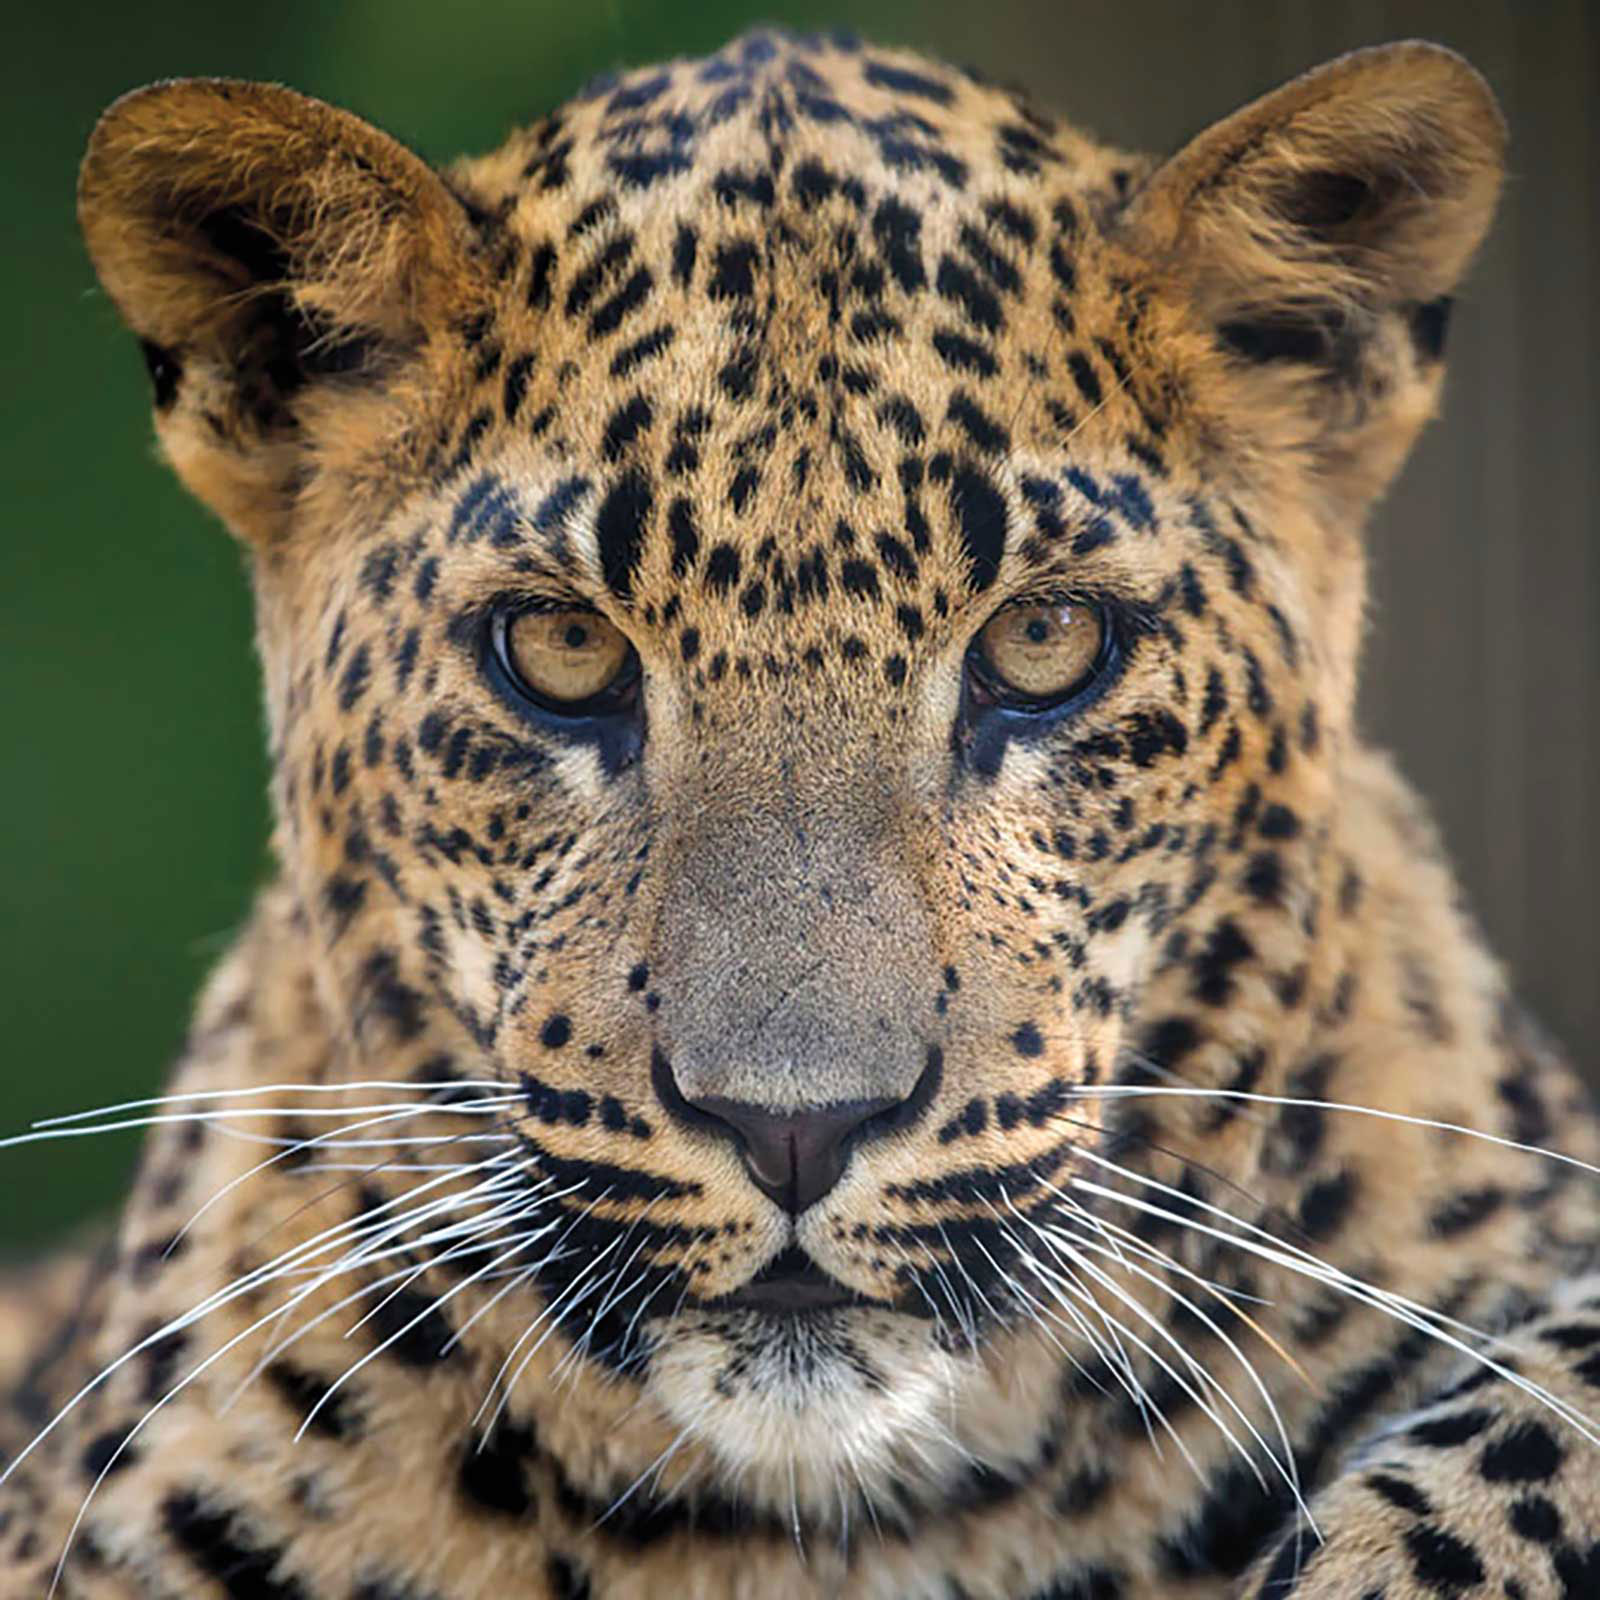 Reference Photo
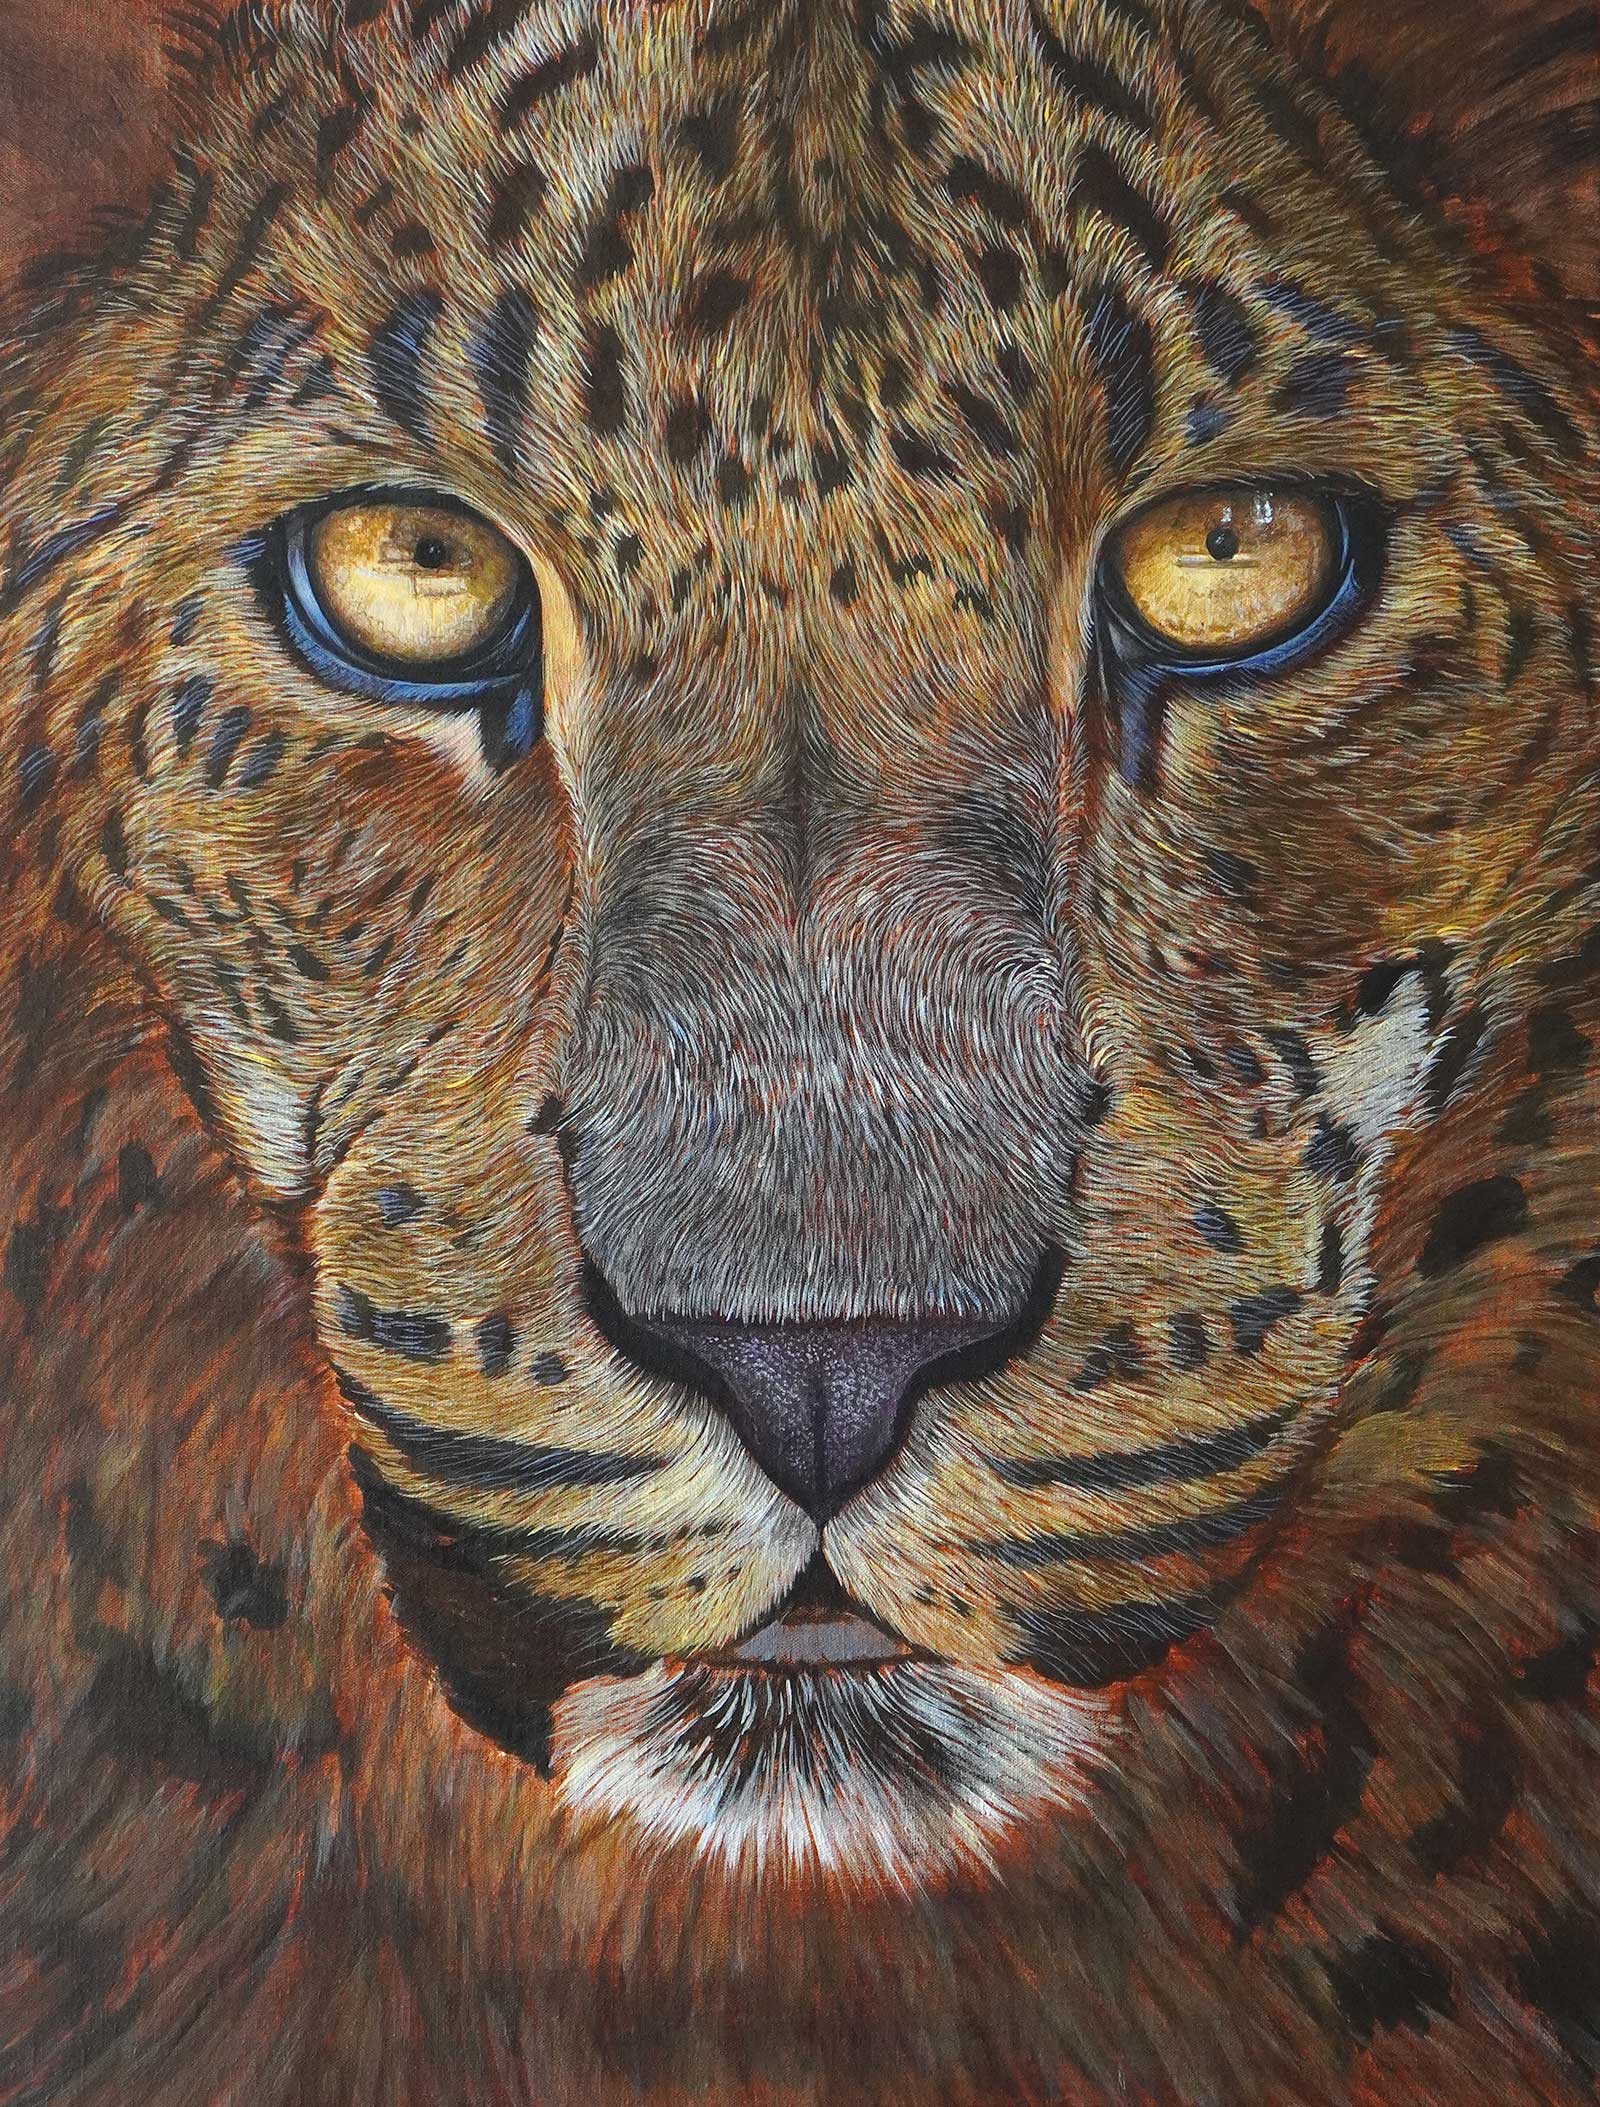
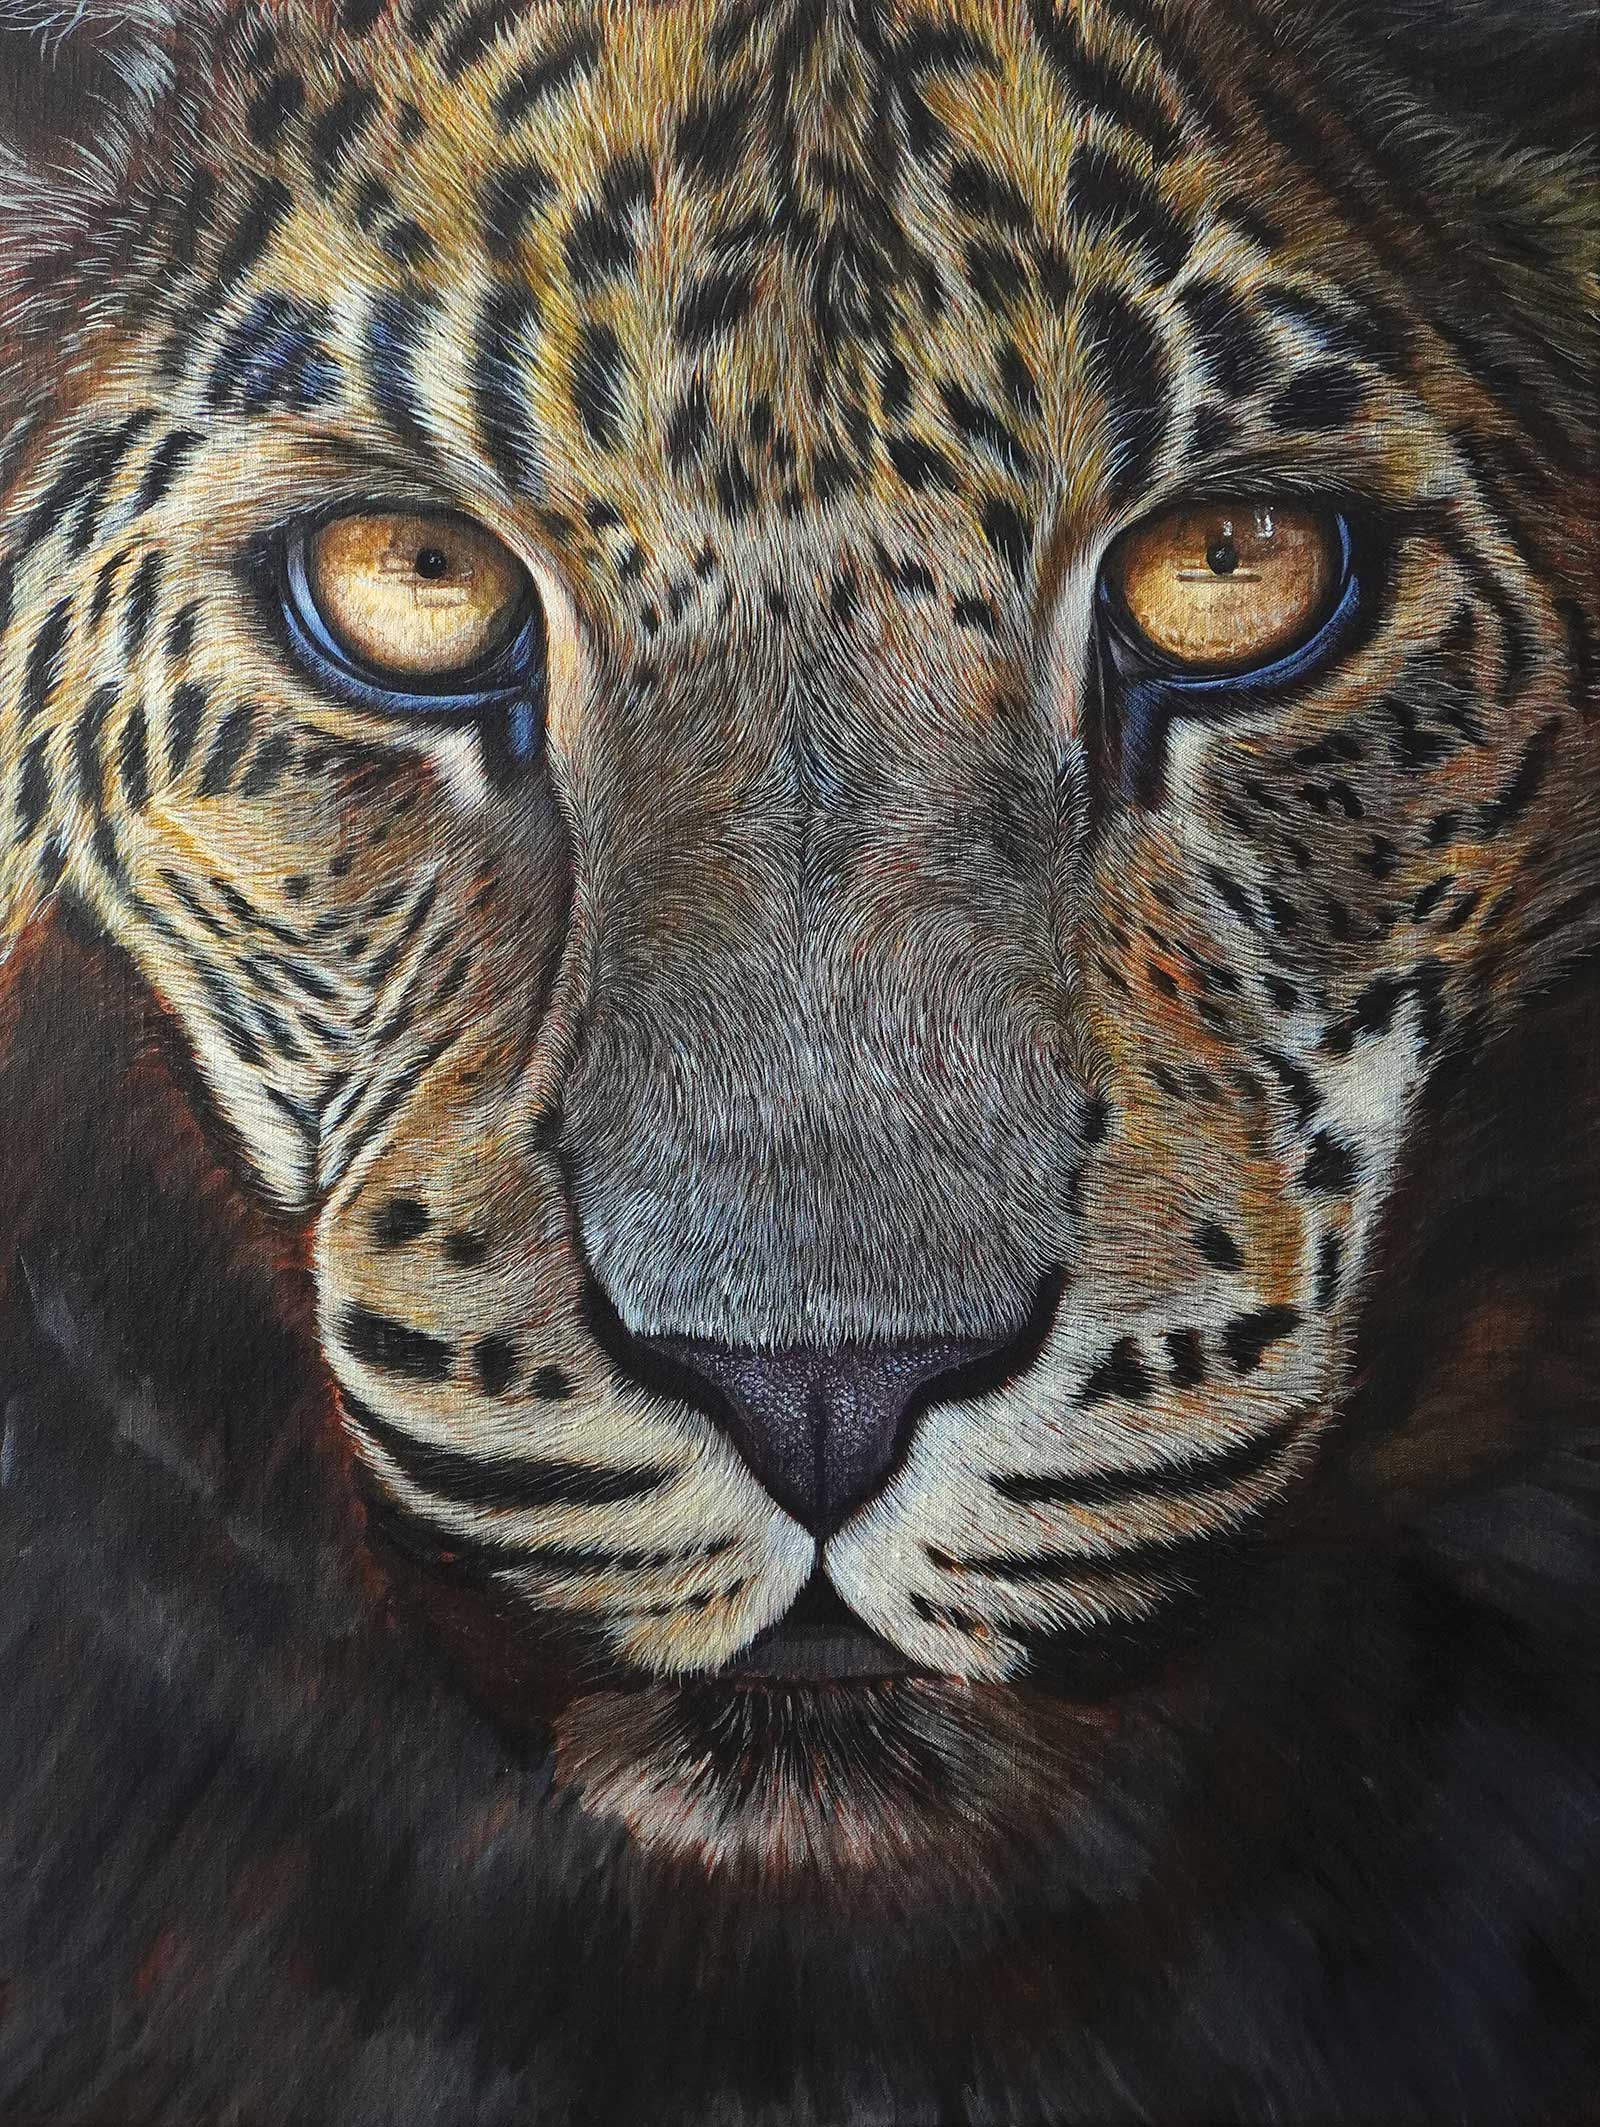
Reference Photo
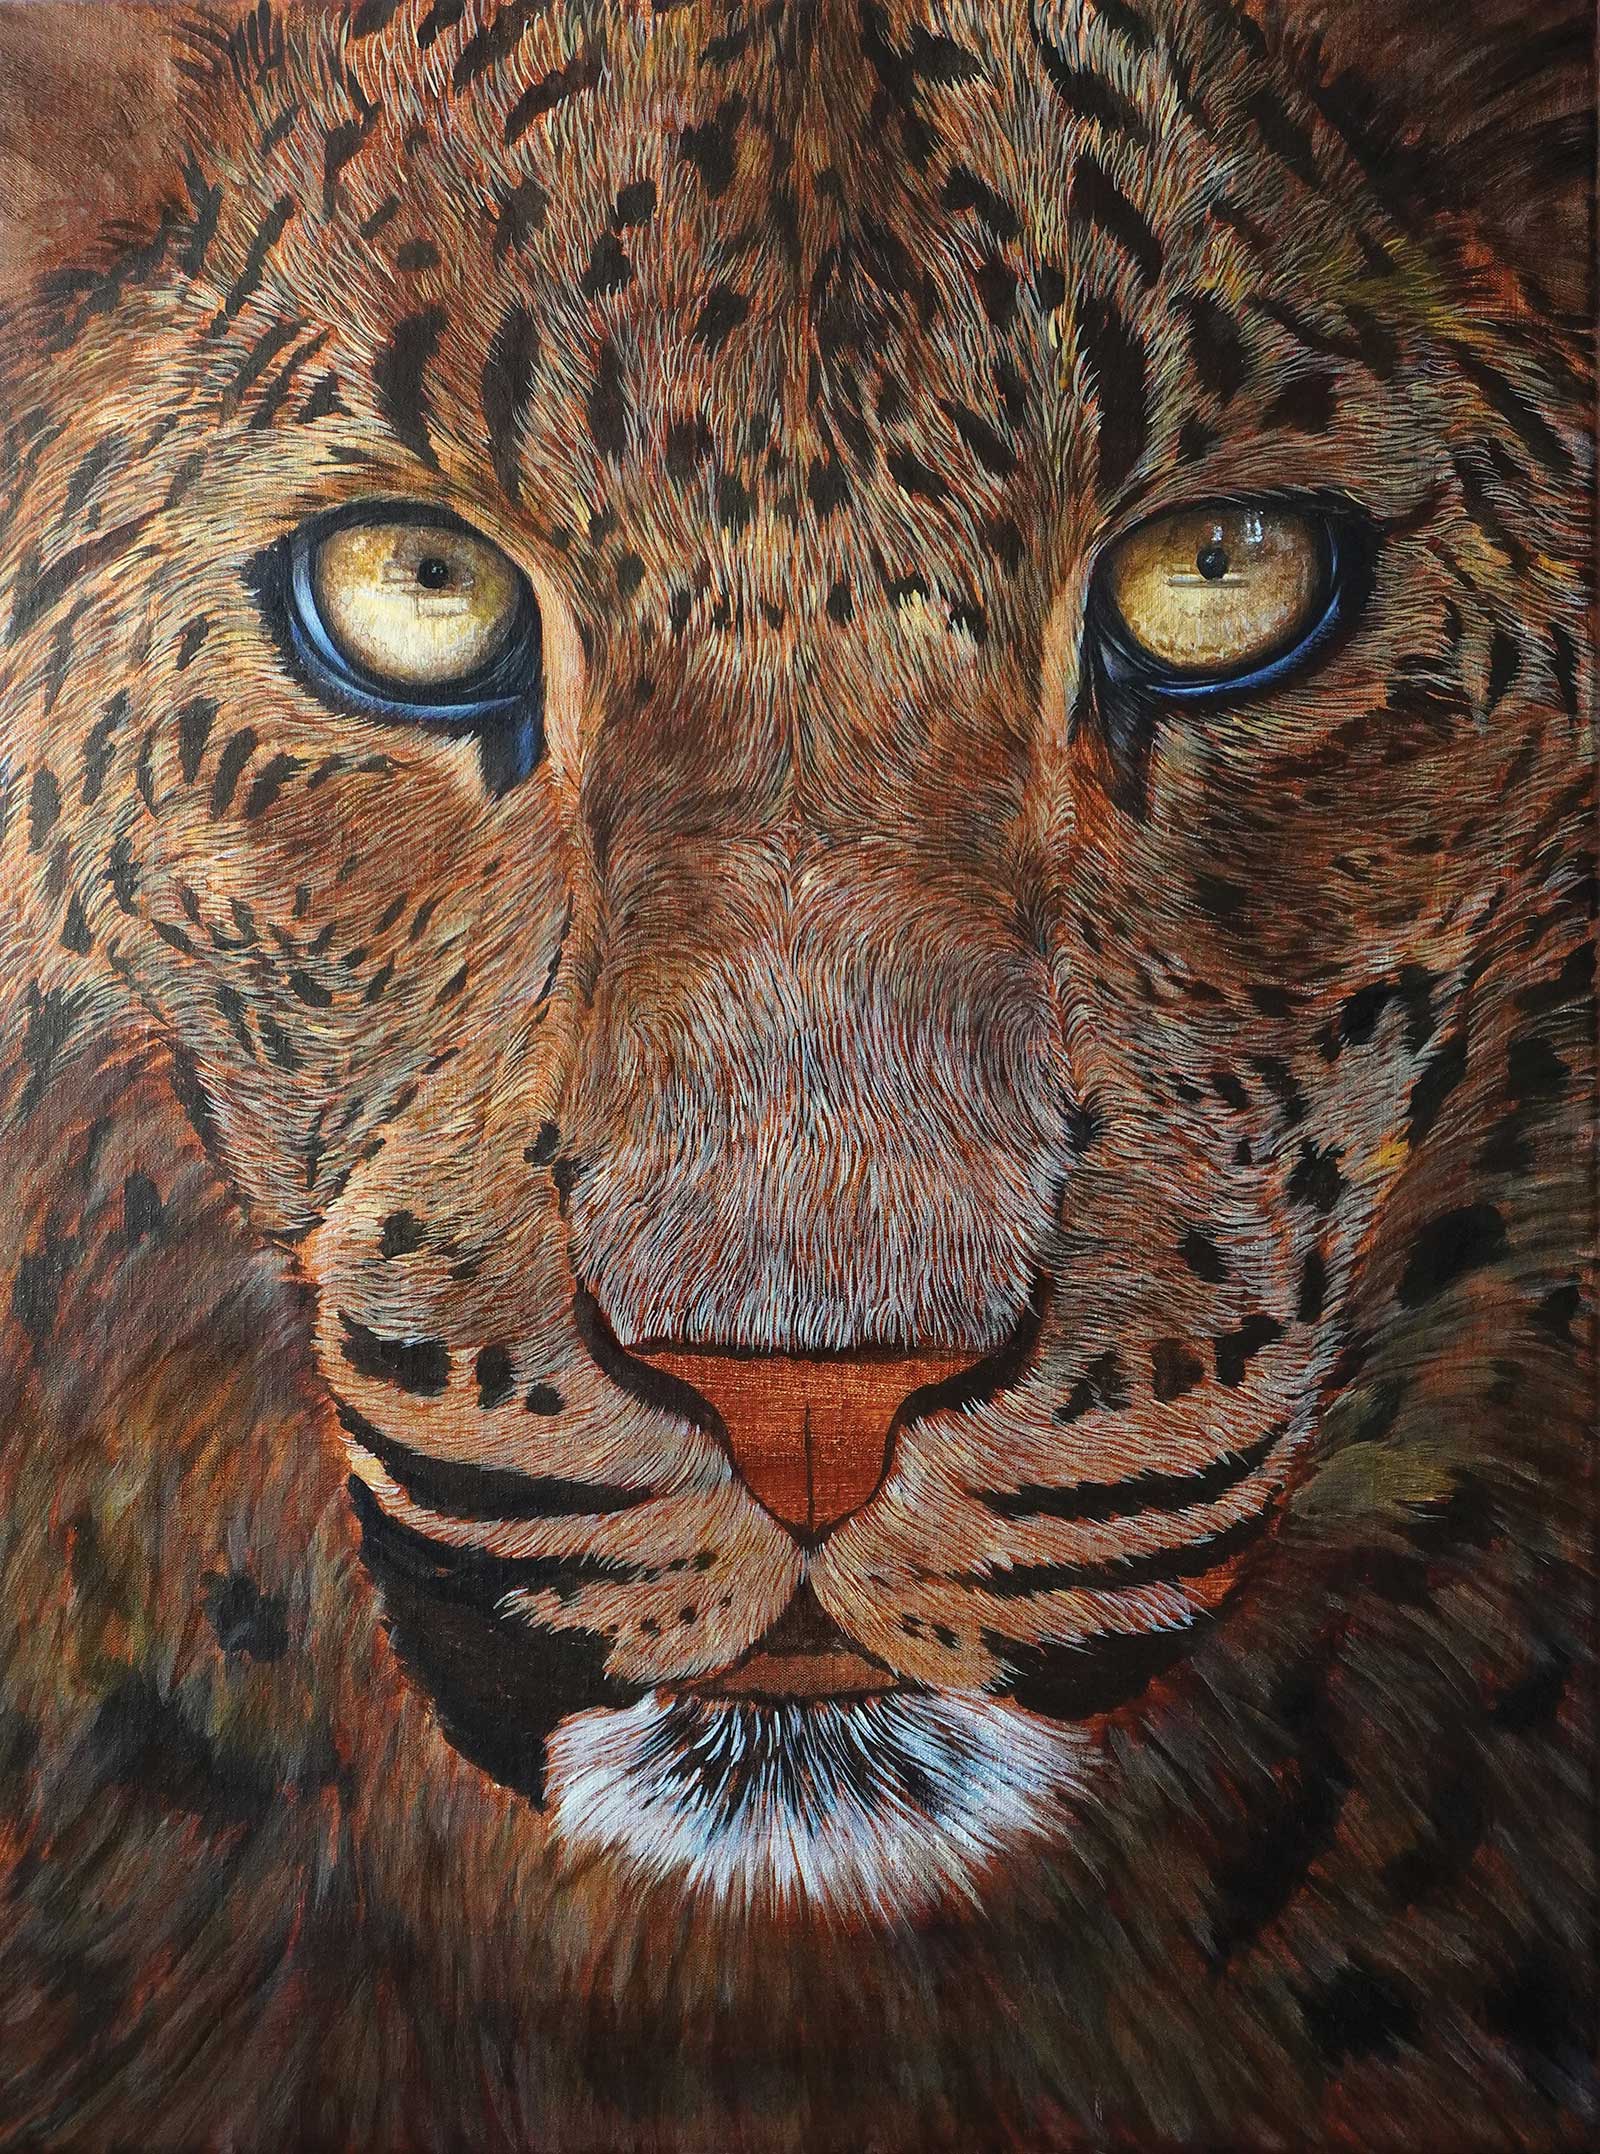
For my painting, I chose this photo in order to capture a very intimate and moody gaze. My aim is to evoke a sense of awe and intensity as though the leopard is emerging from the shadows of the jungle. Reference photo credit: Edwin Butter.
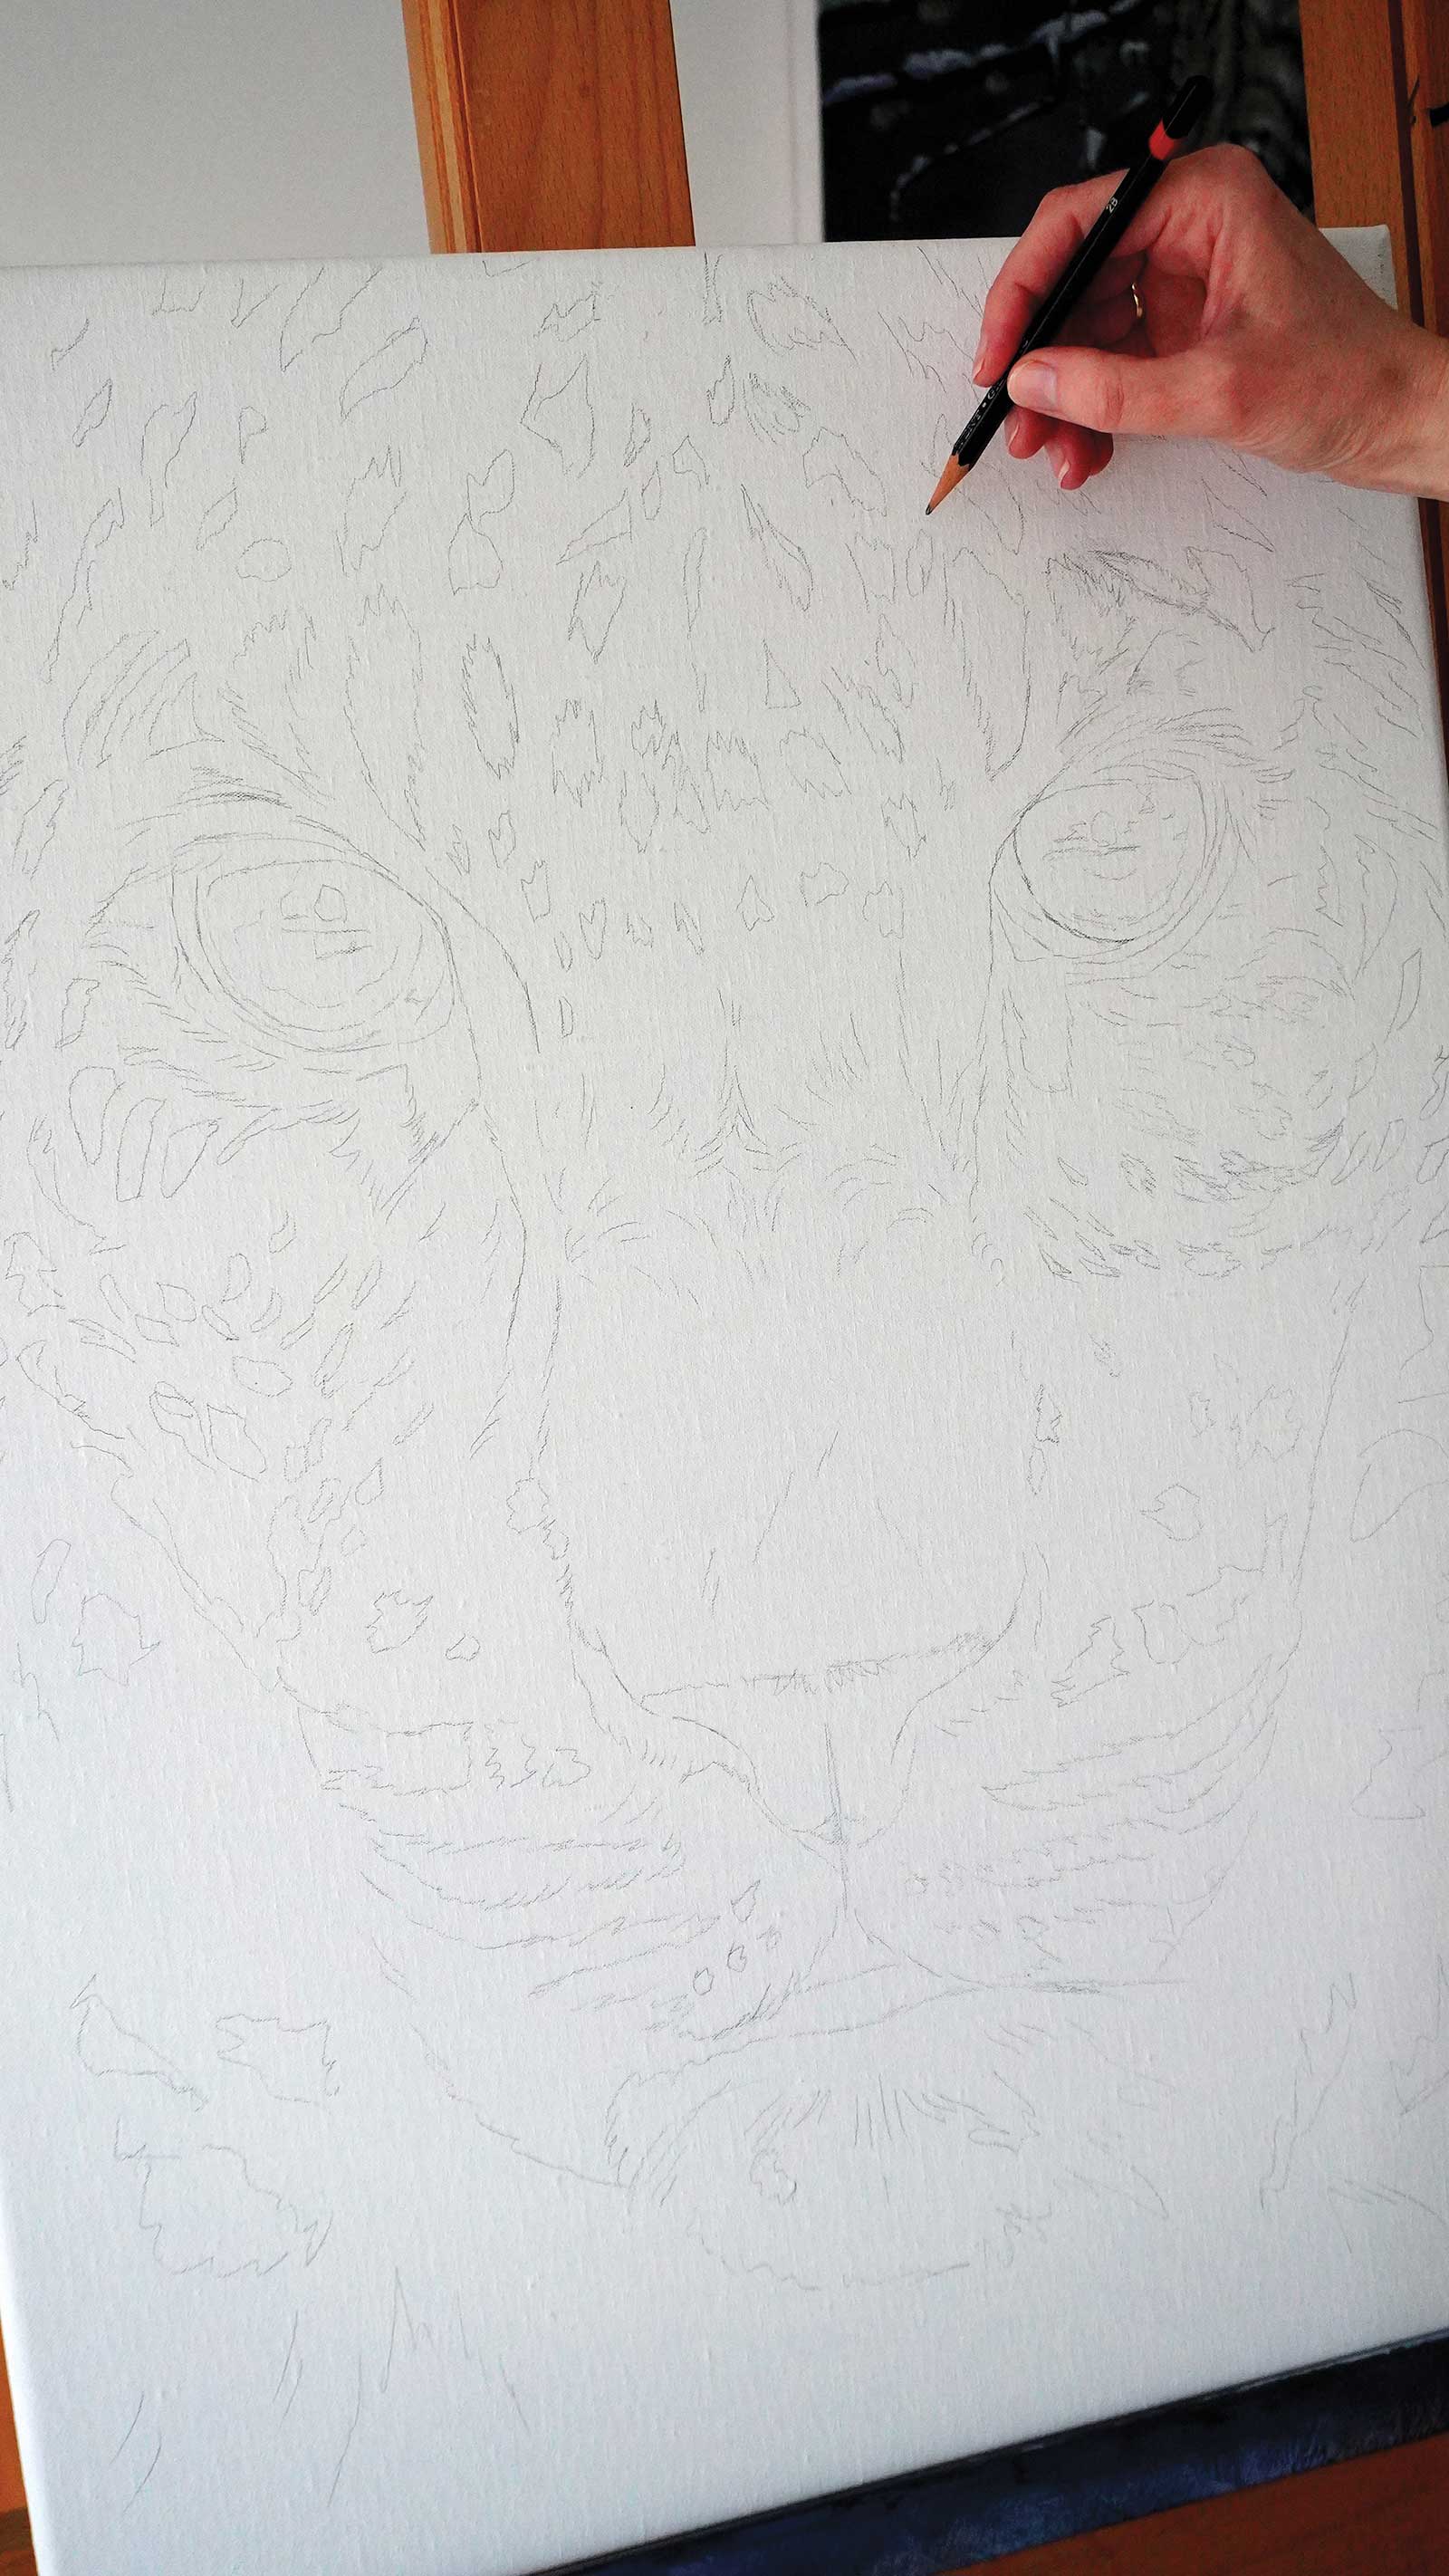 Stage 1
Stage 1 Outline Drawing
I start by drawing all the key shapes onto the canvas. I look for the dark contrasts in the reference photo, which act as the foundations for the next stage.
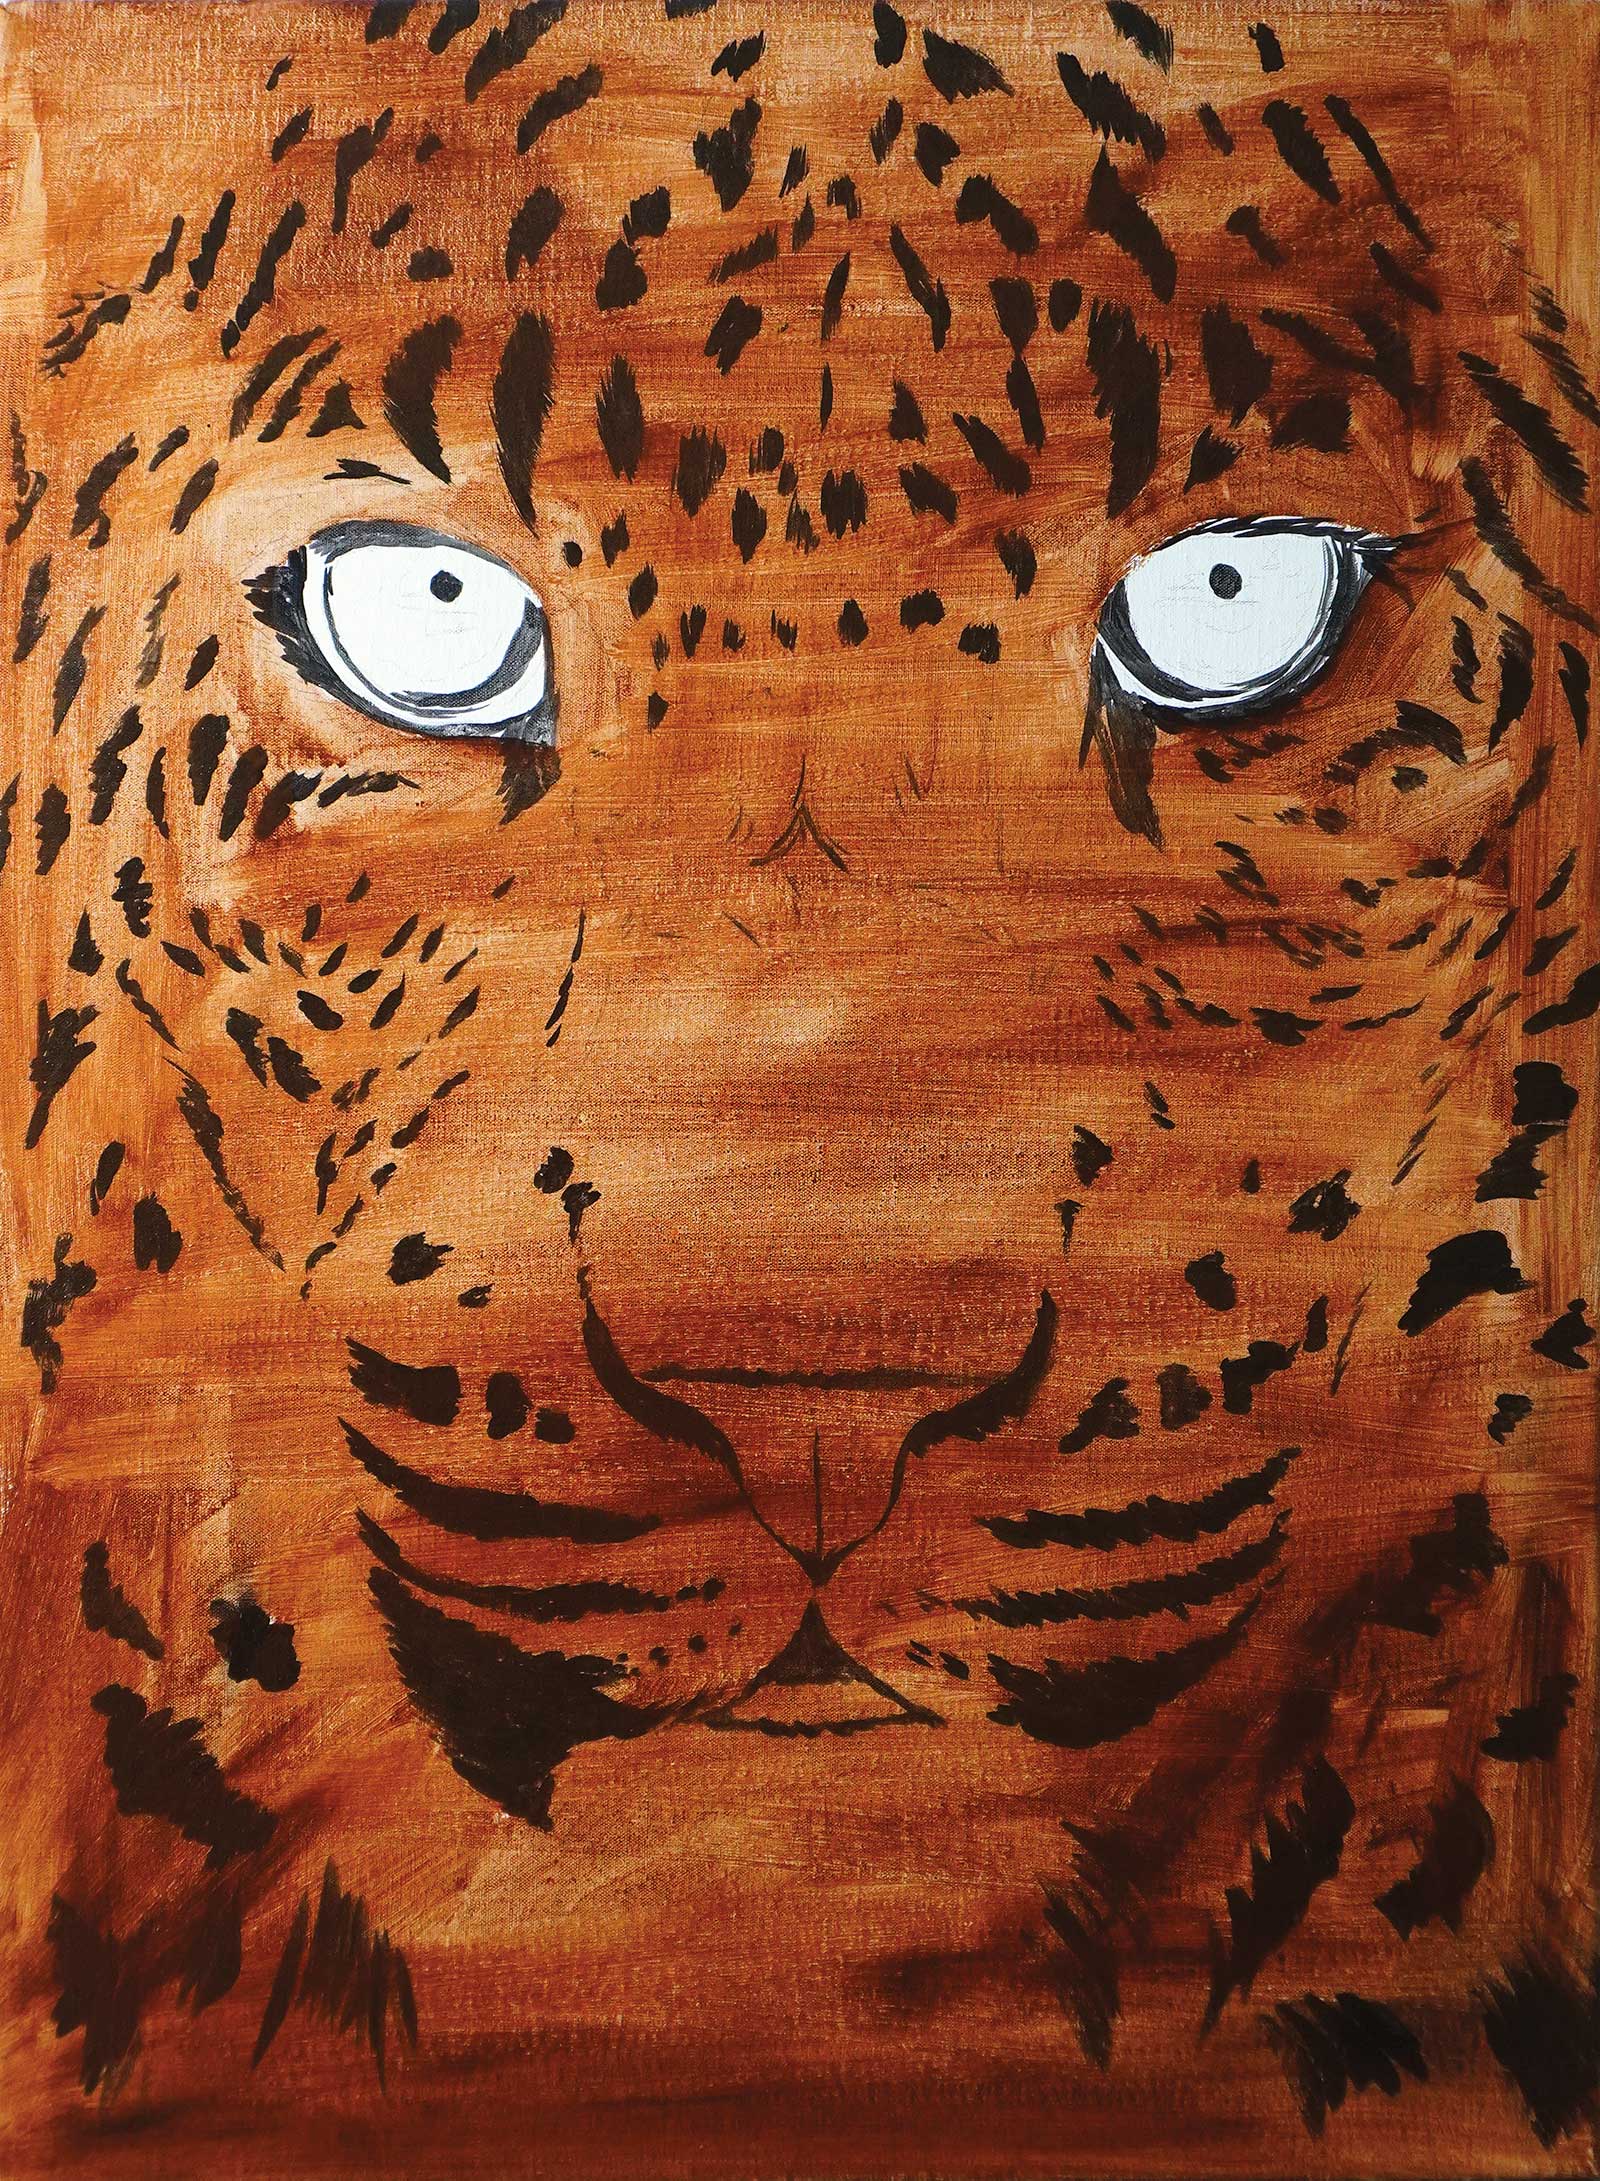 Stage 2
Stage 2 Base Layer and Blocking in the Spots
I roughly defined the darkest tones, outlining key features like the spots, eyes, nose and muzzle. Next, I applied a dark, warm tone to create the initial base coat for the fur.
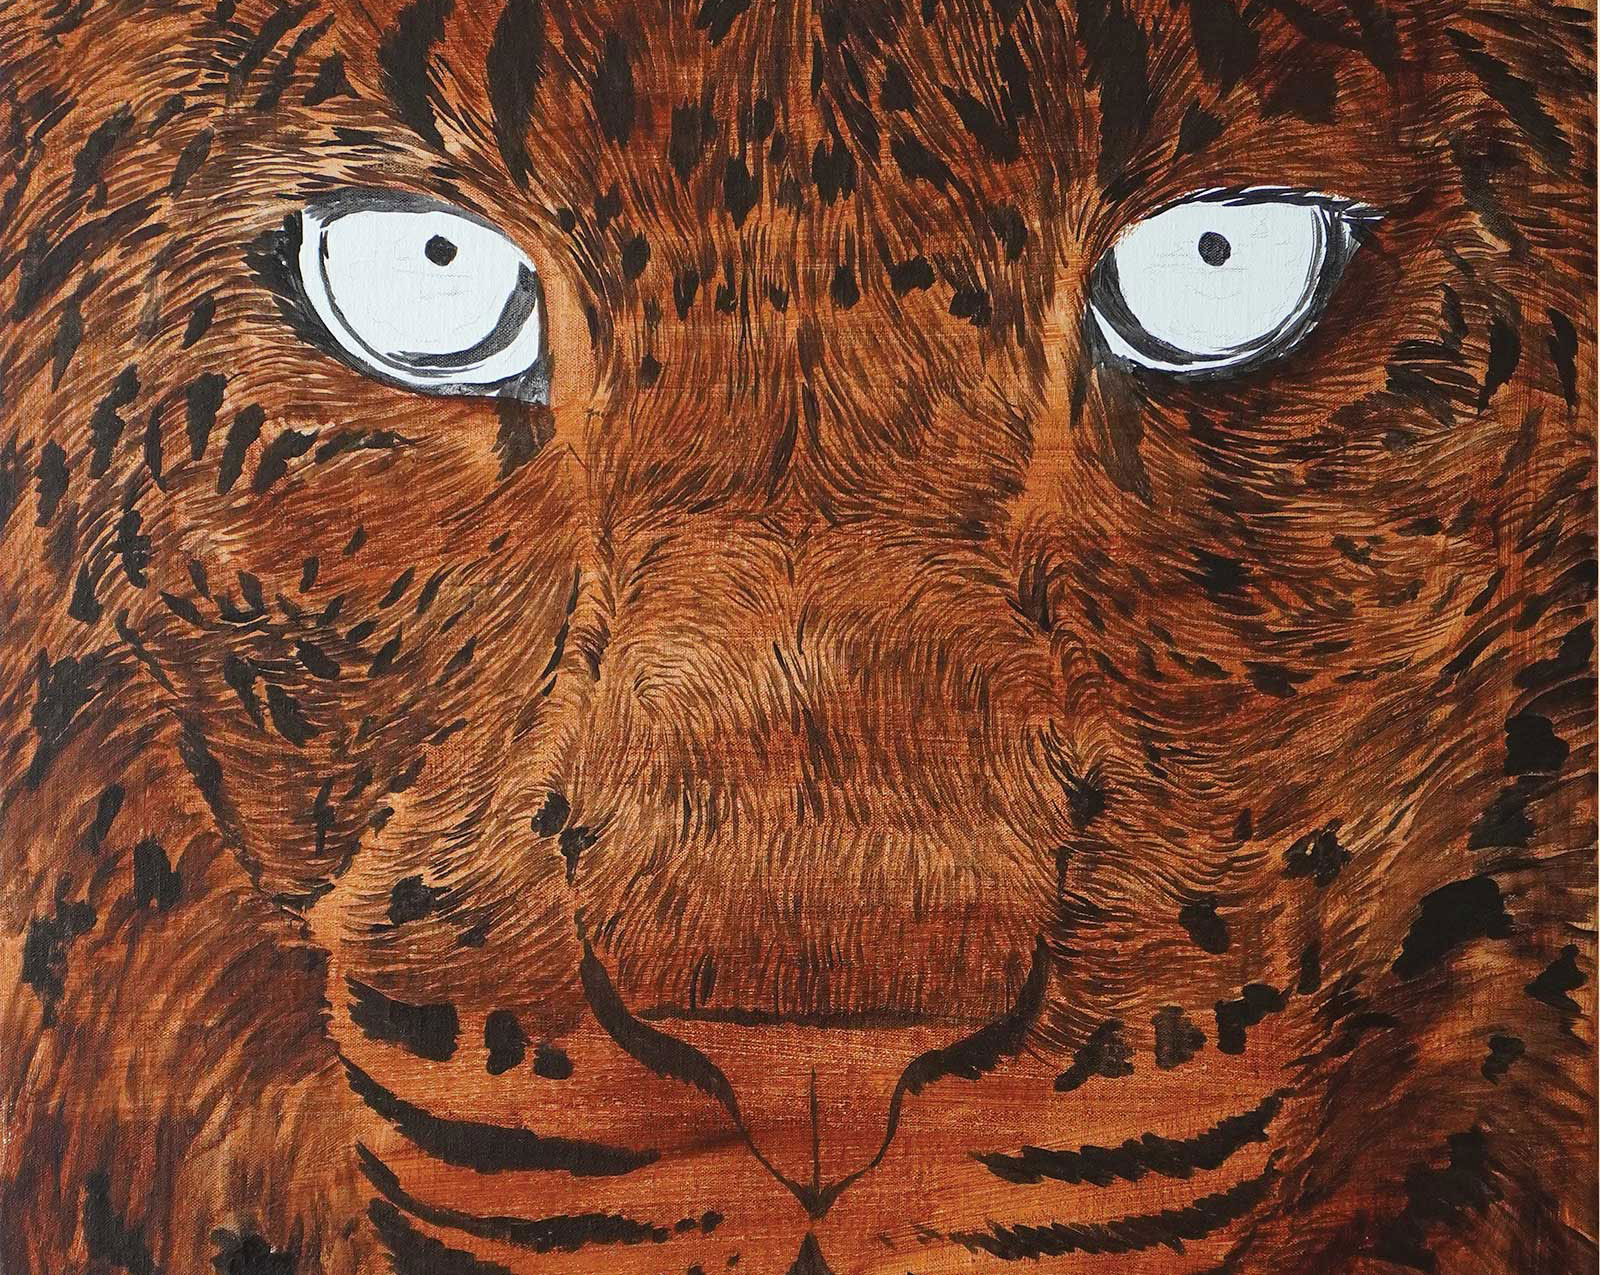 Stage 3
Stage 3 Mapping Out the Fur Direction
I began this stage by establishing the direction of the fur with raw umber and a liner brush. This guides me through tone placement in subsequent stages. The mapping of the fur is rough with limited detail.
 Stage 4
Stage 4 Painting the Eyes
To capture the essence of the painting’s soul—the eyes—I aimed to define their main tones and details. By working fast by keeping the paint wet, I blended the eye tones for a glossy, polished finish.
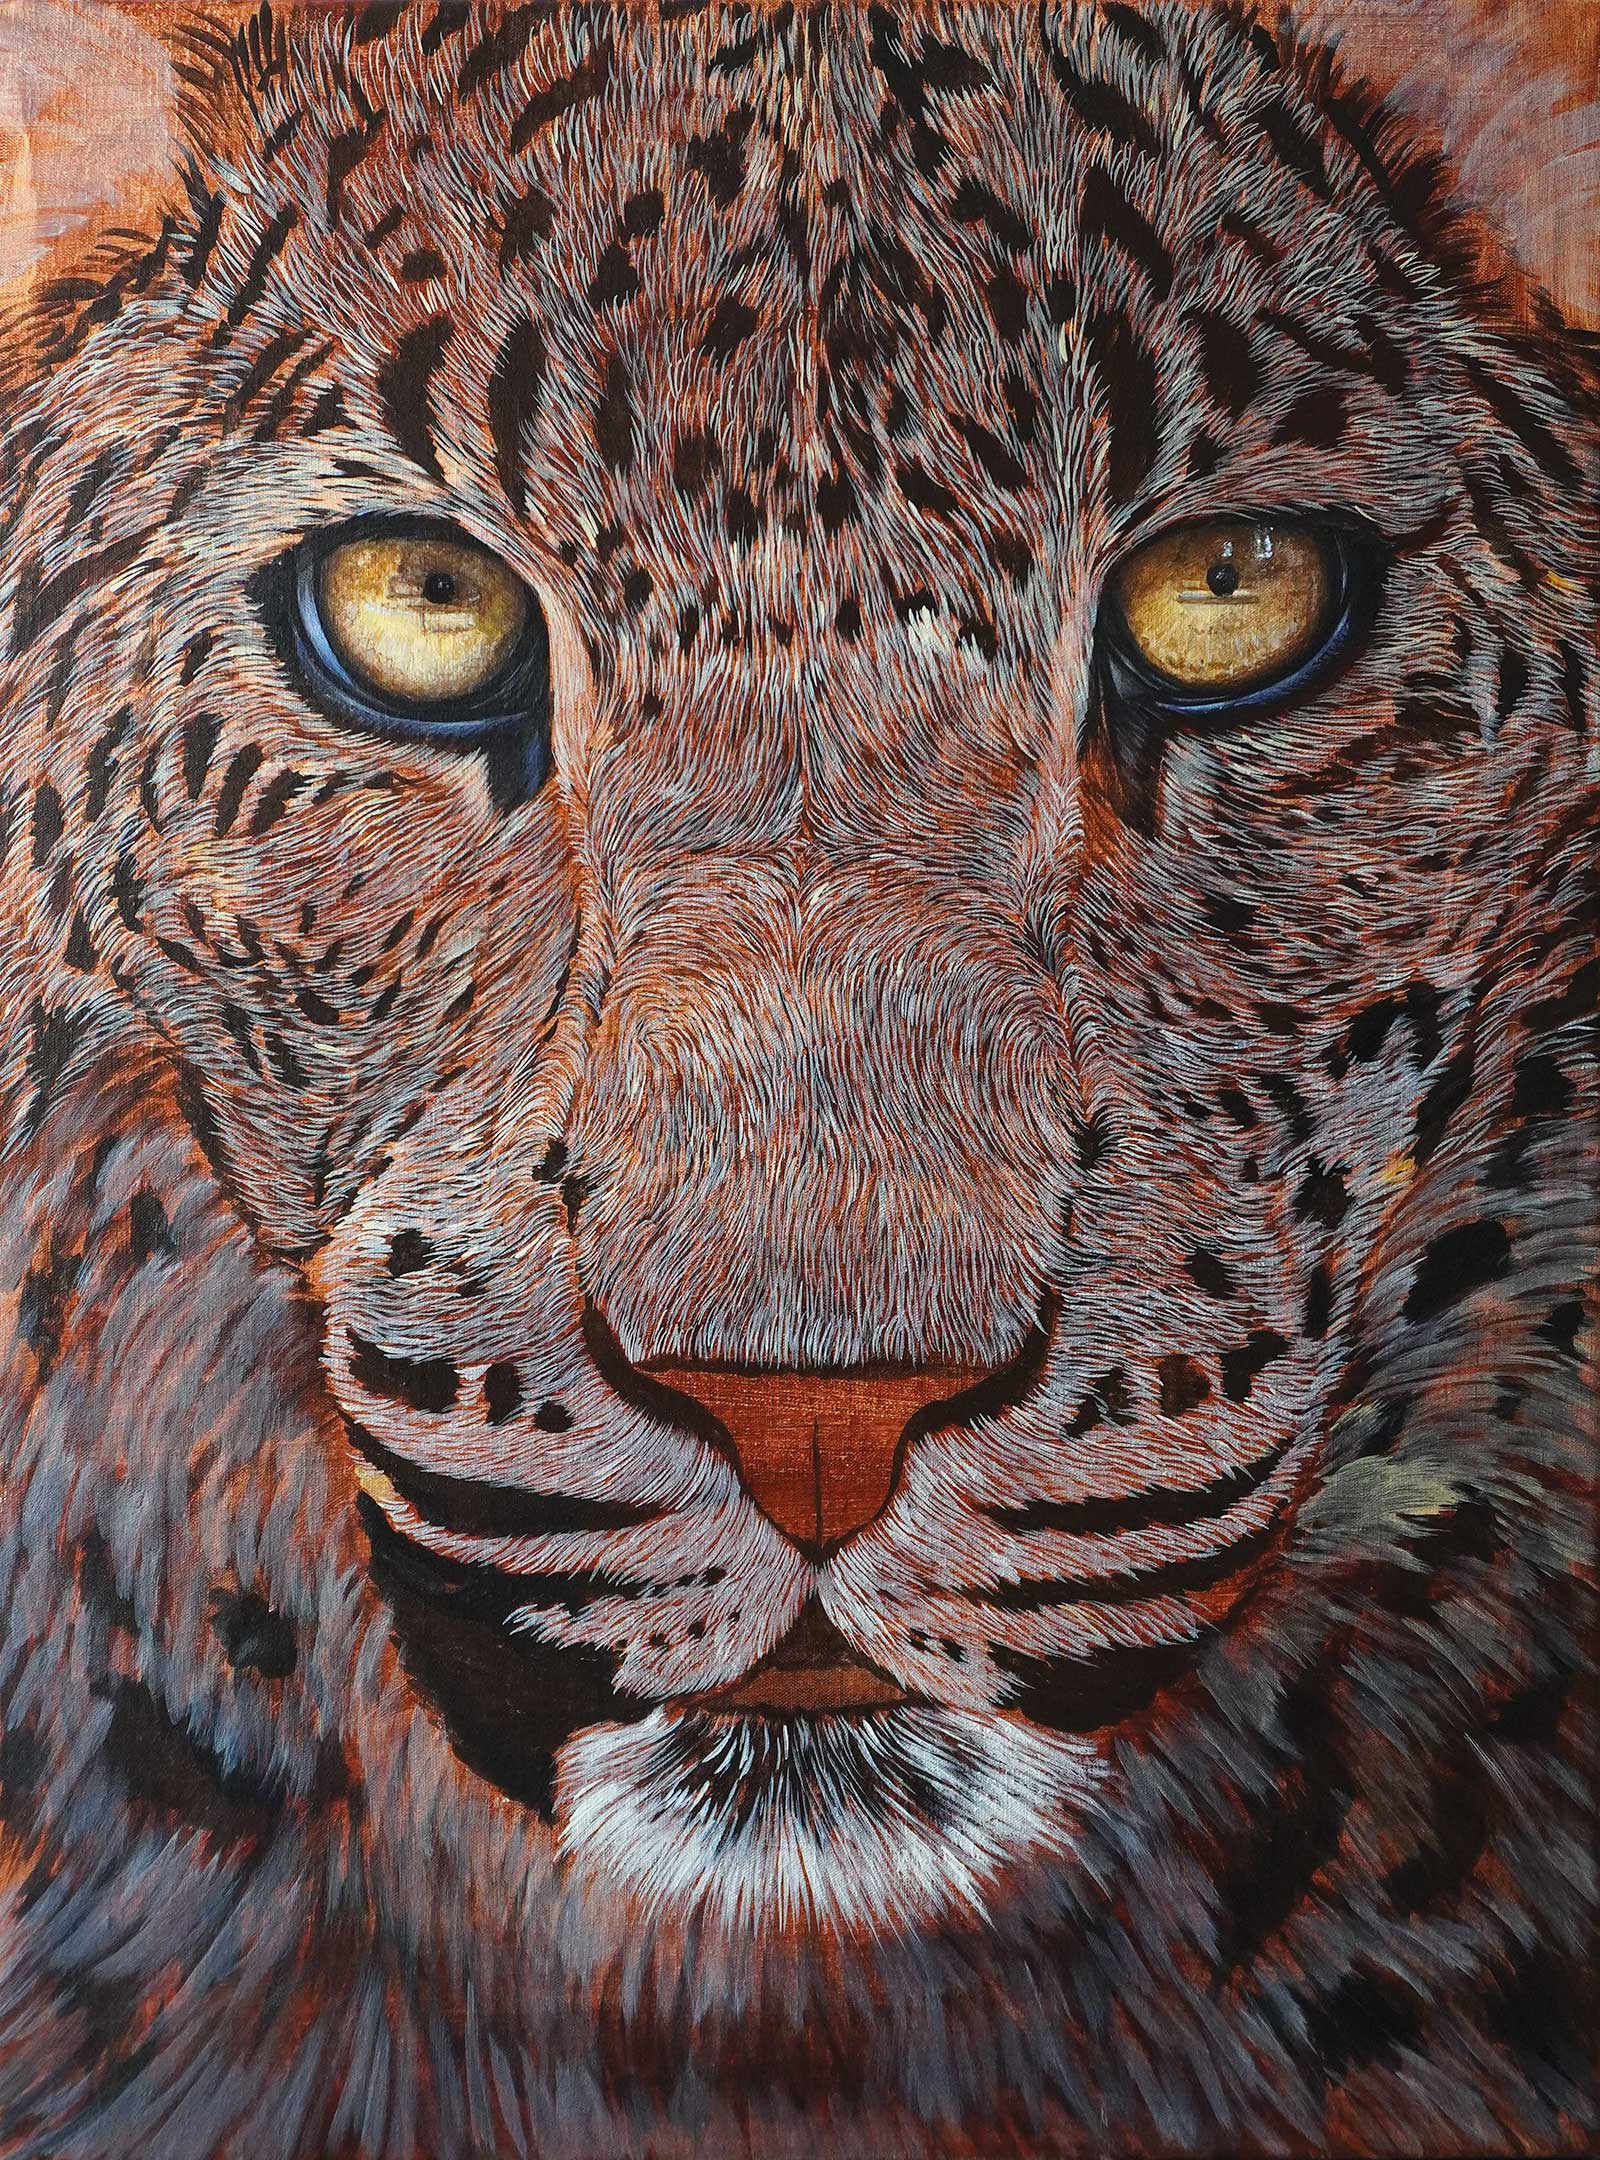 Stage 5
Stage 5 Light Fur Tones
Here I started to apply lighter fur tones with more precise, deliberate brushstrokes, emphasizing finer facial details and bold strokes on the body for a softer focus in the shadows.
 Stage 6
Stage 6 First Glazes
The first warm glazes were applied here. By diluting warm (yellow and brown) tones with water, I blocked in the darker facial shadows and began establishing the main fur color of the leopard.
 Stage 7
Stage 7 Building Further Layers
To add further depth in the fur texture, I repeated the last two stages, adding finer details with lighter tones and applying additional glazes to enhance the tonal range and contrast.
 Stage 8
Stage 8 Emphasizing Lighter Tones
Here I aimed to amplify the lighter fur tones and enhance details to emphasize the softness of the fur, consequently helping to recede the dark tones further into the shadows.
 Stage 9
Stage 9 Strengthening Shadows and Highlights
I worked on darkening the shadows of the chest area and refined the leopard’s spots. Then, I added further detailed highlights to the fur, aiming to create the illusion of the leopard emerging into the light.
 Stage 10
Stage 10 Adding Structure to the Body
To add more structure to the body, I chose thick brushstrokes softened with a mop brush, applying glazes of dark tones to darken the overall area.
 Stage 11
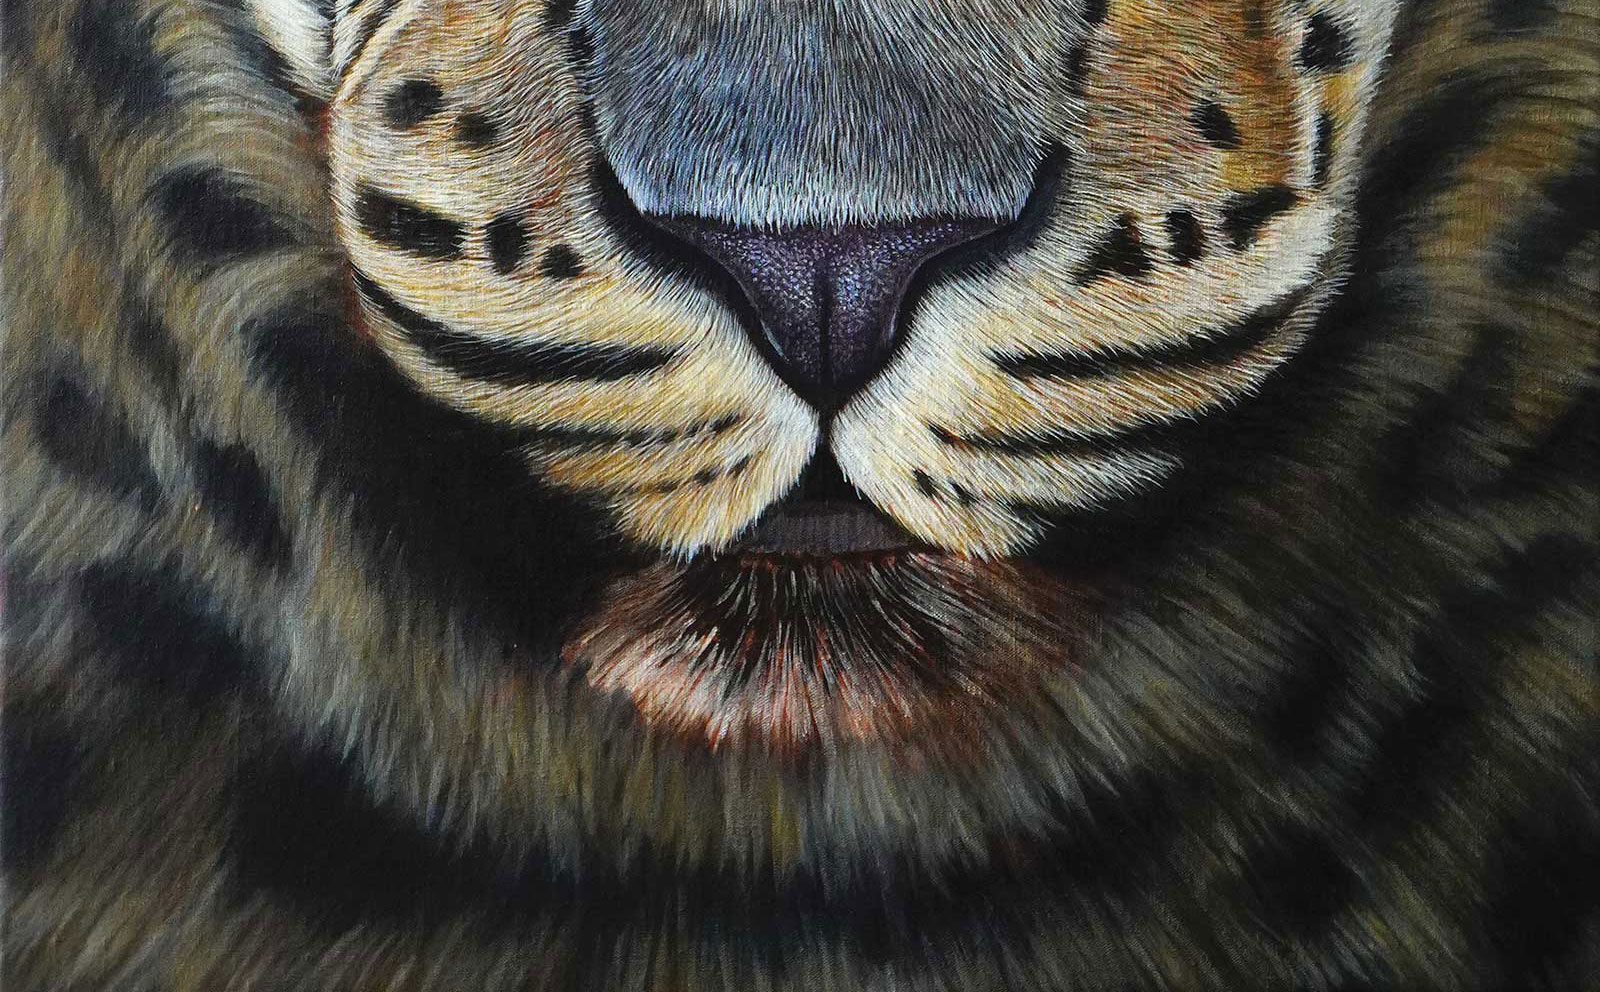
Stage 11 Final Touches
Untitled, acrylic on linen, 24 x 18" (60 x 45 cm) The final stage is what breathes life into the painting, and it’s the most satisfying part to paint. I defined the chin, applied whiskers and added final highlights.
About the artist
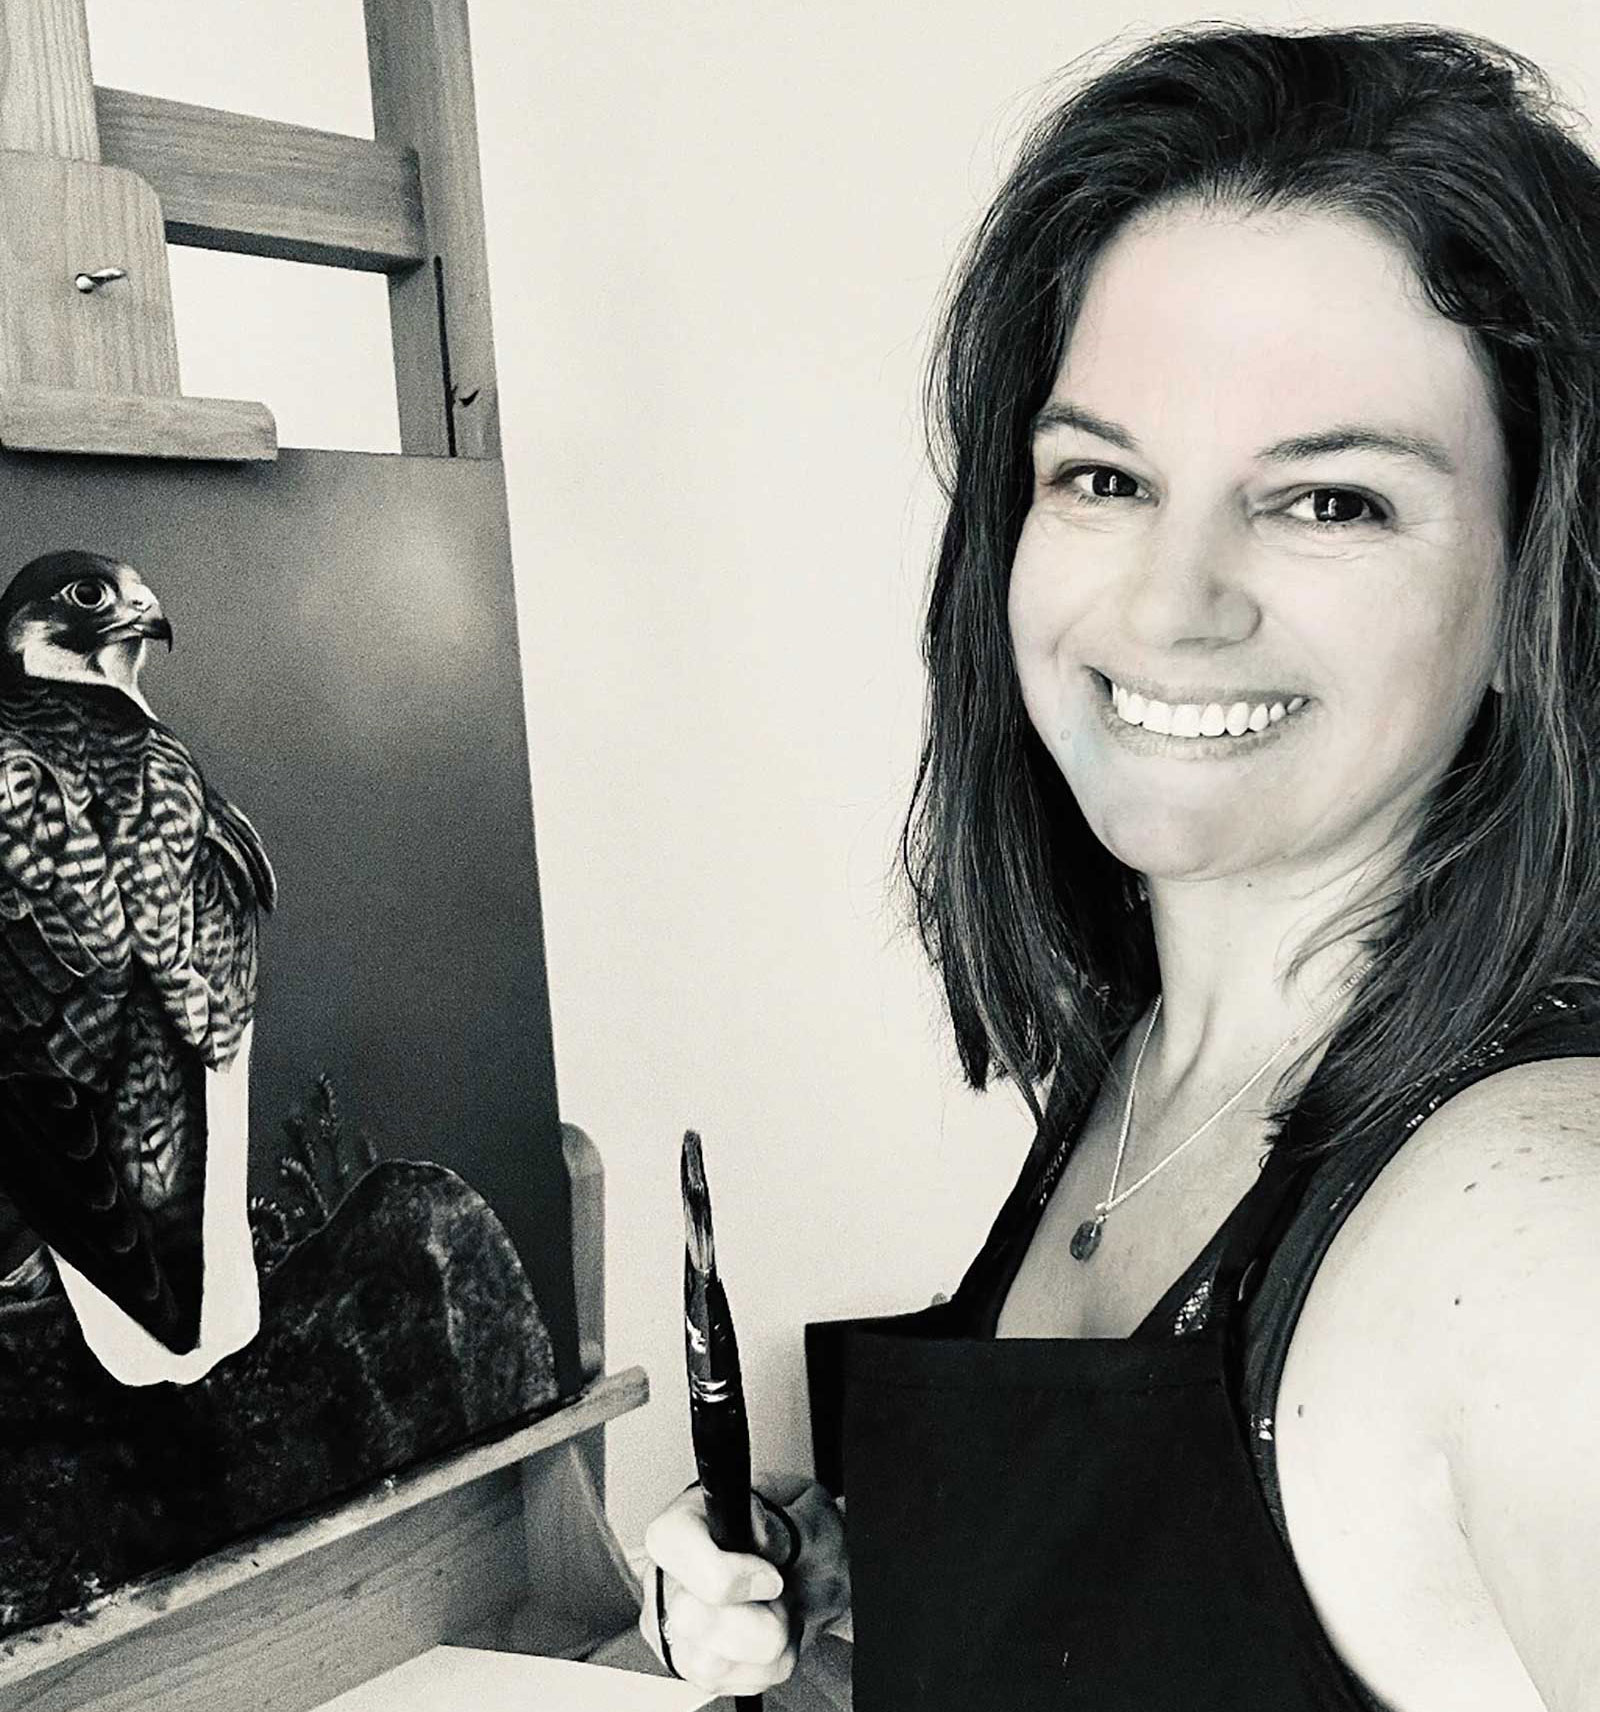 Claire Milligan
Claire Milligan is a professional wildlife artist working from her studio based in the United Kingdom. In addition to producing original works and prints, which adorn walls worldwide, she also runs an online teaching platform on Patreon with thousands of subscribers to her drawing and painting tutorials. Looking ahead, Milligan aspires to refine her painting style, producing larger, more complex and more fulfilling pieces while continuing to share her processes and knowledge with fellow artists on their creative paths. Milligan was shortlisted for the 2020 David Shepherd Wildlife Foundation Artist of the Year.