


Looking back, I remember my first exposure as an undergraduate at the University of Wisconsin Oshkosh. My painting professor, Li Hu, took me to the studio of master painter Daniel Gerhartz for an open studio painting session. It was a truly transformative moment. This experience would be the first time that I saw so many contemporary paintings that were primarily painted in a wet-into-wet technique. I remember the fire and excitement building in me after seeing the beauty that could be achieved by working with transitions and edges in this manner. Henceforth, I knew mastering the wet-into-wet technique would enable me to take my paintings to the next level. My journey started here as an undergraduate and proceeded for many years until now, where I am still experimenting with different ways to perfect it. The following are three pivotal moments in my exploration to mastering this technique that began with my visit to Gerhartz’s studio.
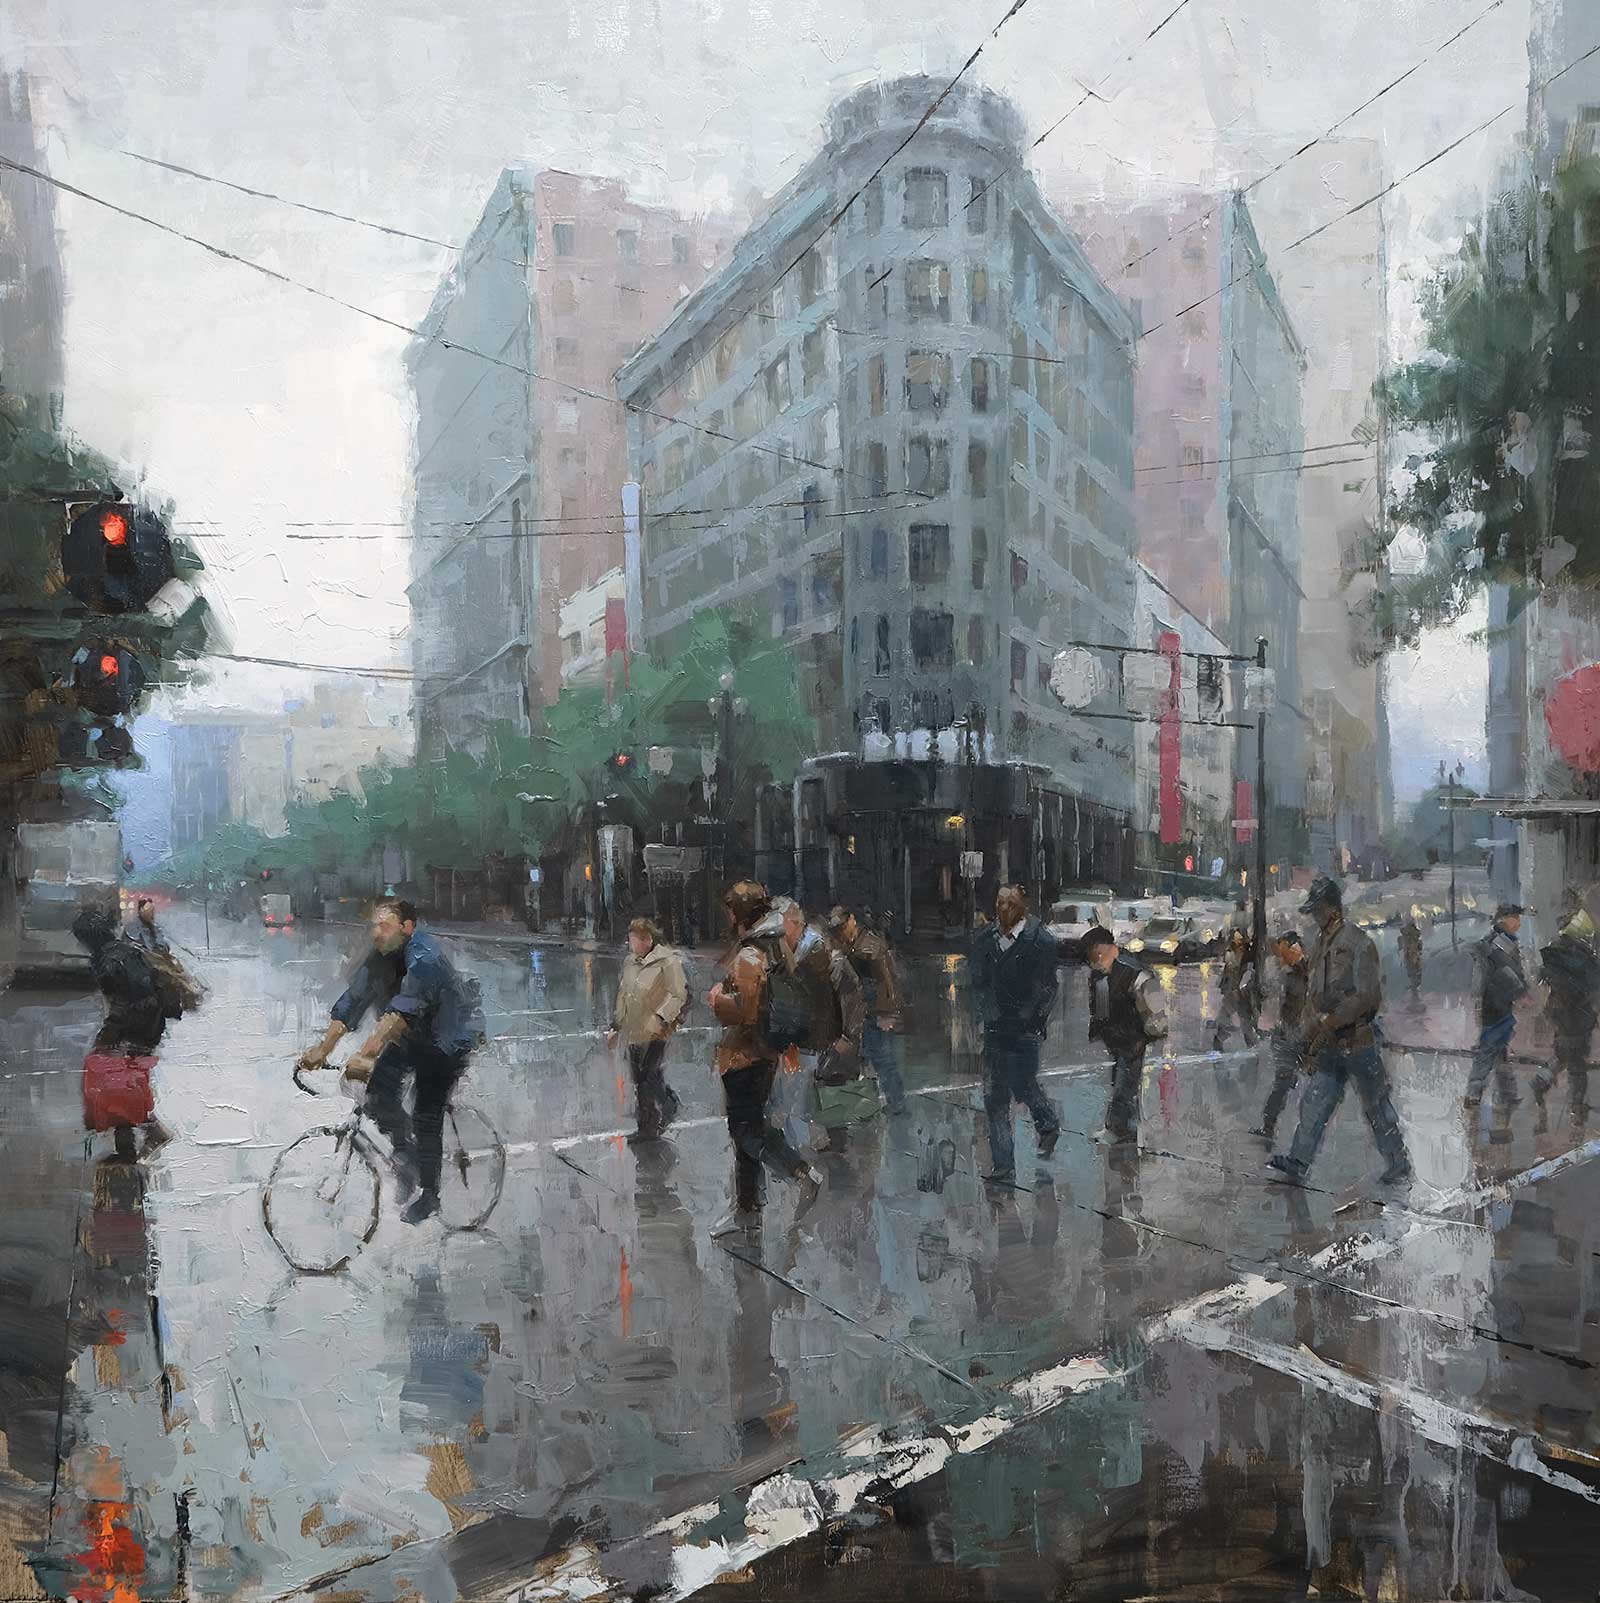
Market Street Crossing, oil on panel, 39½ x 34½" (100 x 87 cm)
Driving back to campus and reflecting on the experience, my professor recommended that I study painting from life if I wanted to increase the development of my painting skills. Following Li Hu’s advice, the next few years I continued to go to various open studios to practice painting the figure and started exploring plein air painting. On occasion, I took workshops with professional artists to gain further insight into their working process. Each session helped with the development of my ability for alla prima painting. Eventually though, my alla prima work came to a standstill, and my studio paintings were definitely missing something. This was when I decided to enroll in graduate school and was accepted into the Academy of Arts University in San Francisco, California, to pursue a Masters in Fine Art.
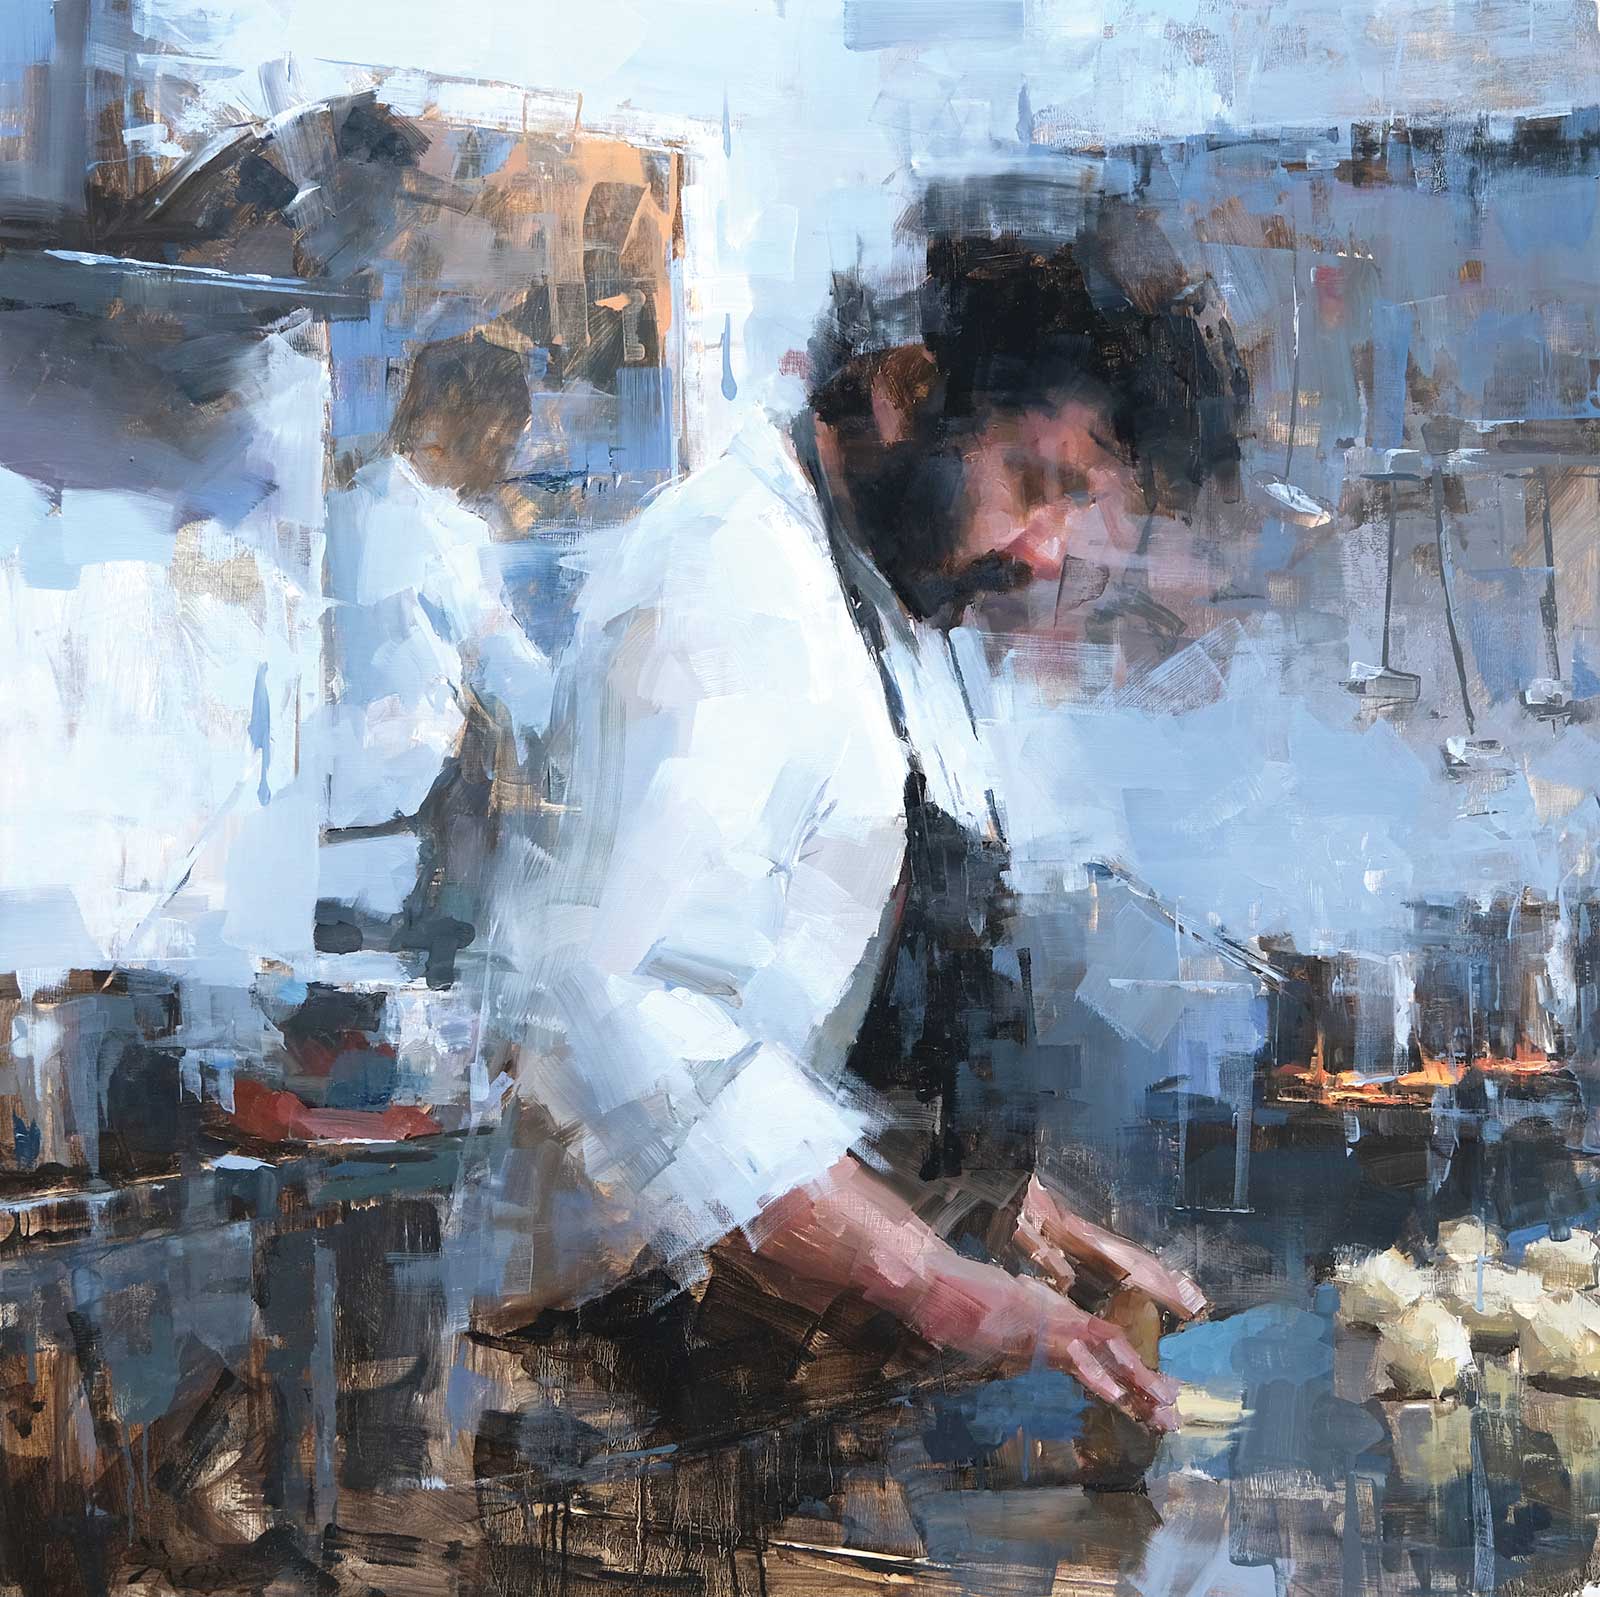
Kitchen #1, oil on panel, 36 x 36" (91 x 91 cm)
After two semesters, I finally had the opportunity to study with Zhoaming Wu, and for the following two years I took every class I could with him to further my knowledge into painting. Shortly after graduating, I was offered a job at the university, as well as invitations to show my work with several different galleries. This was a very pivotal juncture in my exploratory phase as an artist. Initially, during most of the classes I taught, I began with painting and drawing demonstrations from life. While having done drawing and painting from life before, it was much different having to explain the process over and over in a variety of teaching levels. The idea of explaining the process out loud and going back to the basics may sound counterproductive, but for me, it really helped imprint the processes in my mind. The next factor that was very significant at the time was having to produce paintings for several different galleries. At this time, I started experimenting with painting larger paintings so that the edges/transitions would all look like an alla prima painting. Eventually, I was able to slow my process to create a studio painting that appeared as if it was painted alla prima or all in a wet-in-wet technique.
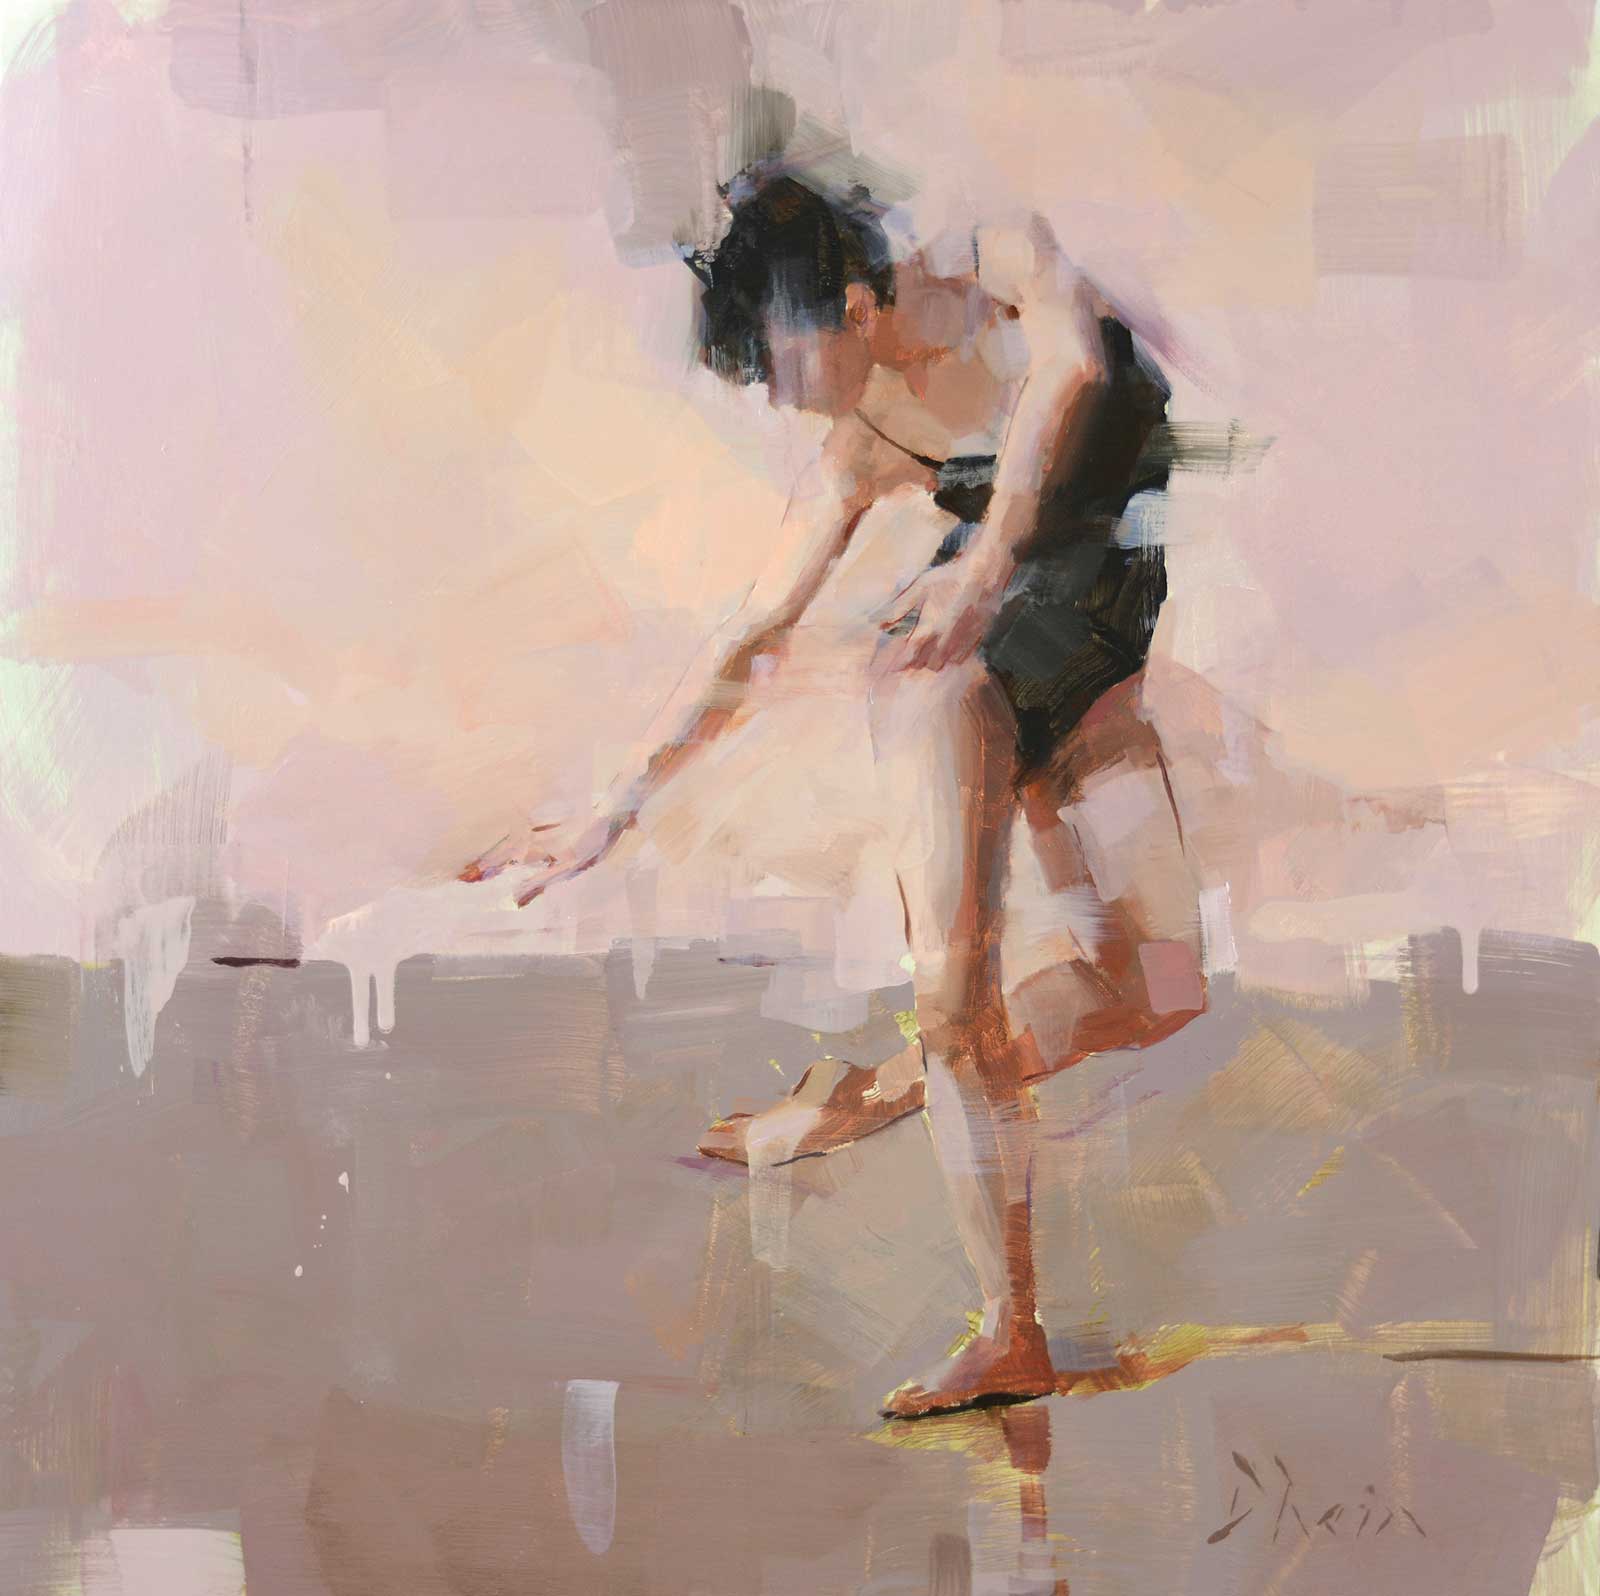
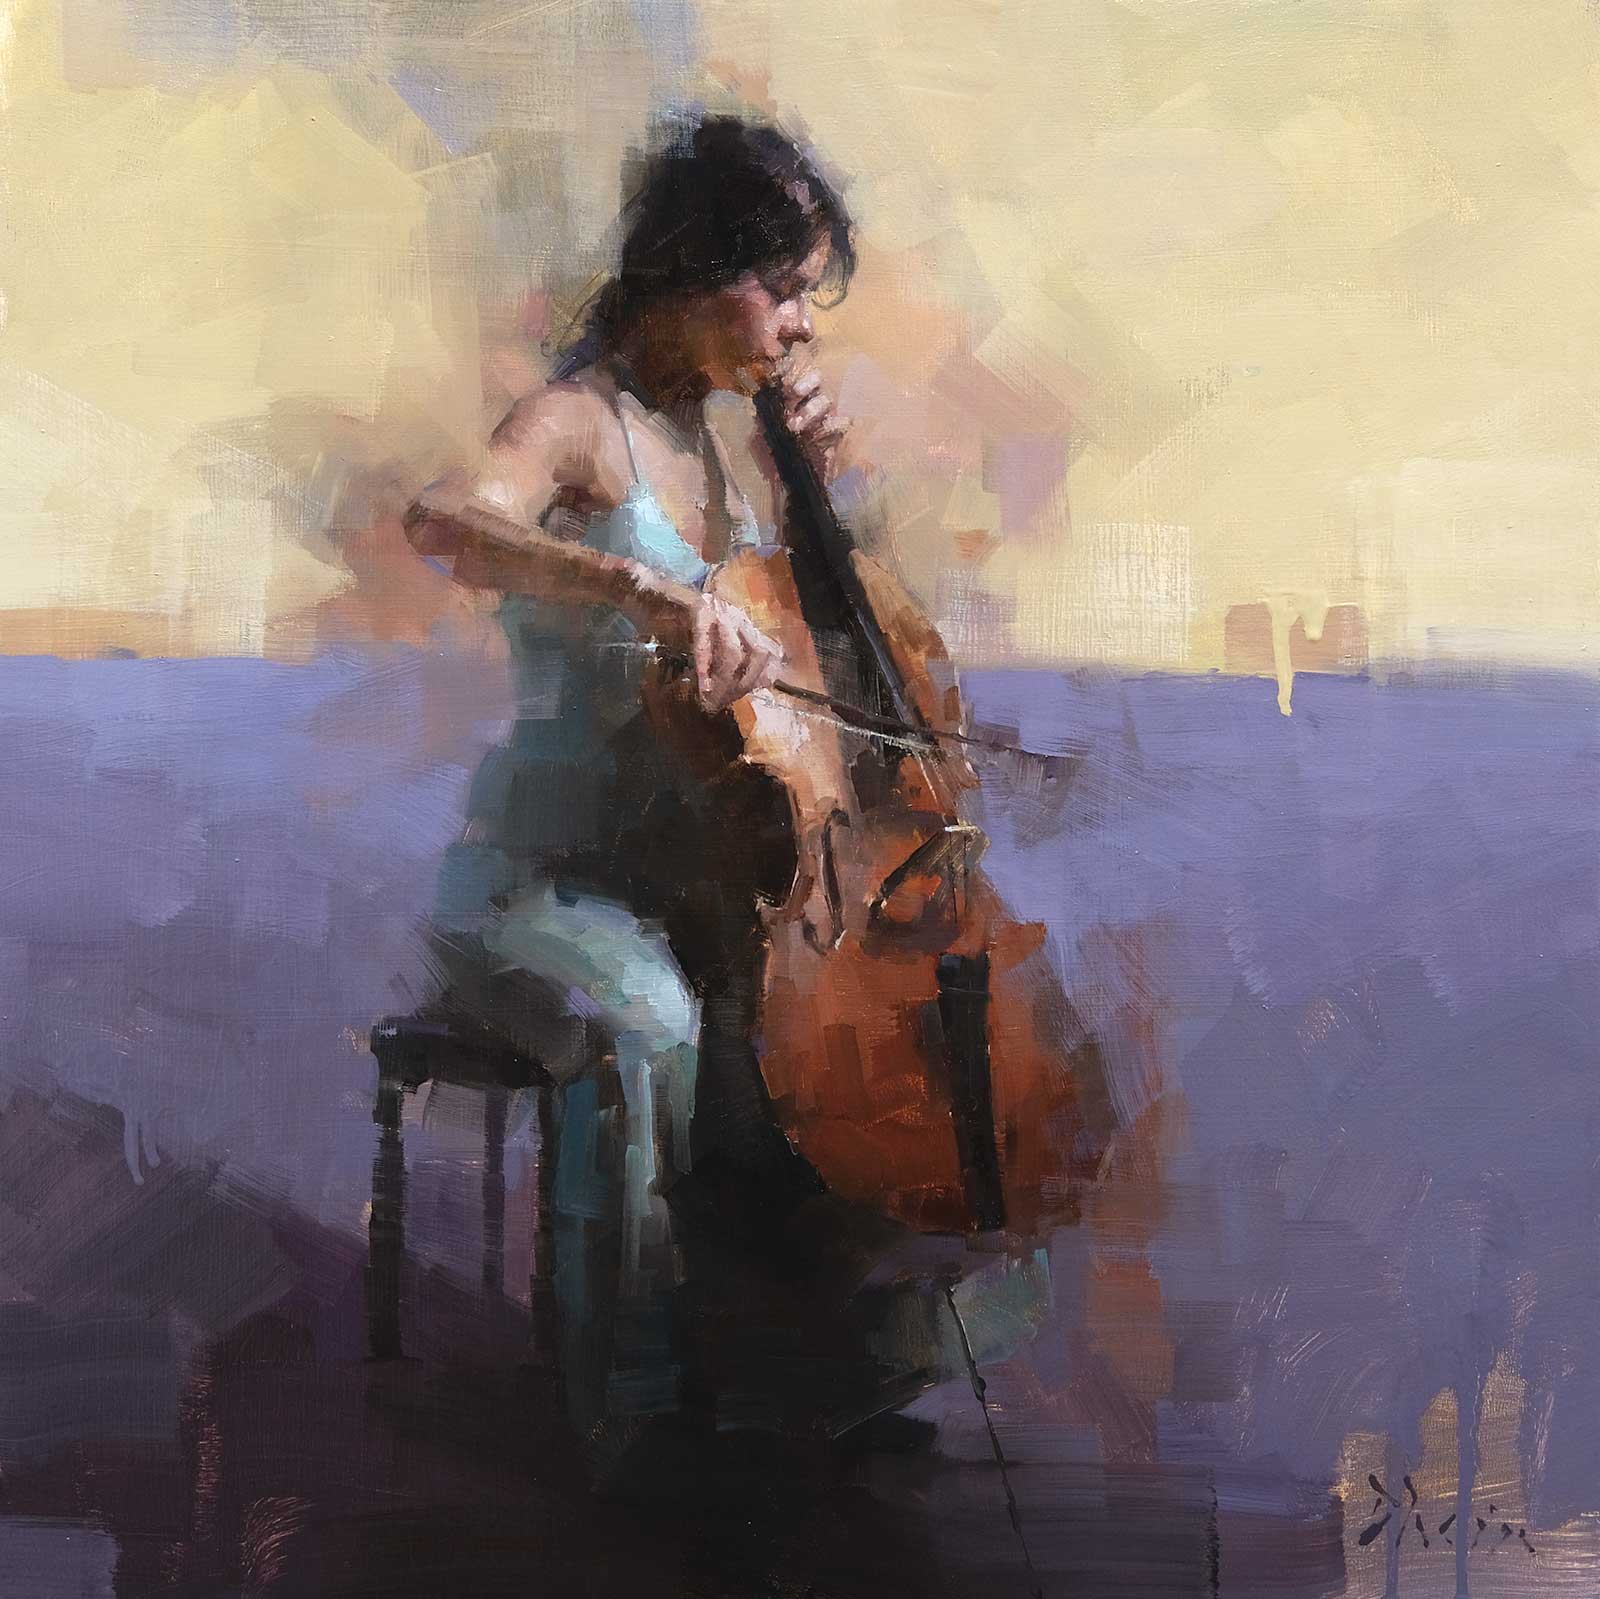
Dancer #4, oil on panel, 18 x 18" (45 x 45 cm)
To summarize, there were four phases that contributed to my mastery of the wet into wet technique. First, there was the inspiration phase; second, a practical phase; third, a guided/instructional phase; and last, a review and professional phase. Each phase definitely contributed to my success today. If I had to do it over again, I probably would take the same route. While some people may be able to master a technique in a short period of time, it took me many years.
My Art in the Making The Cellist #5
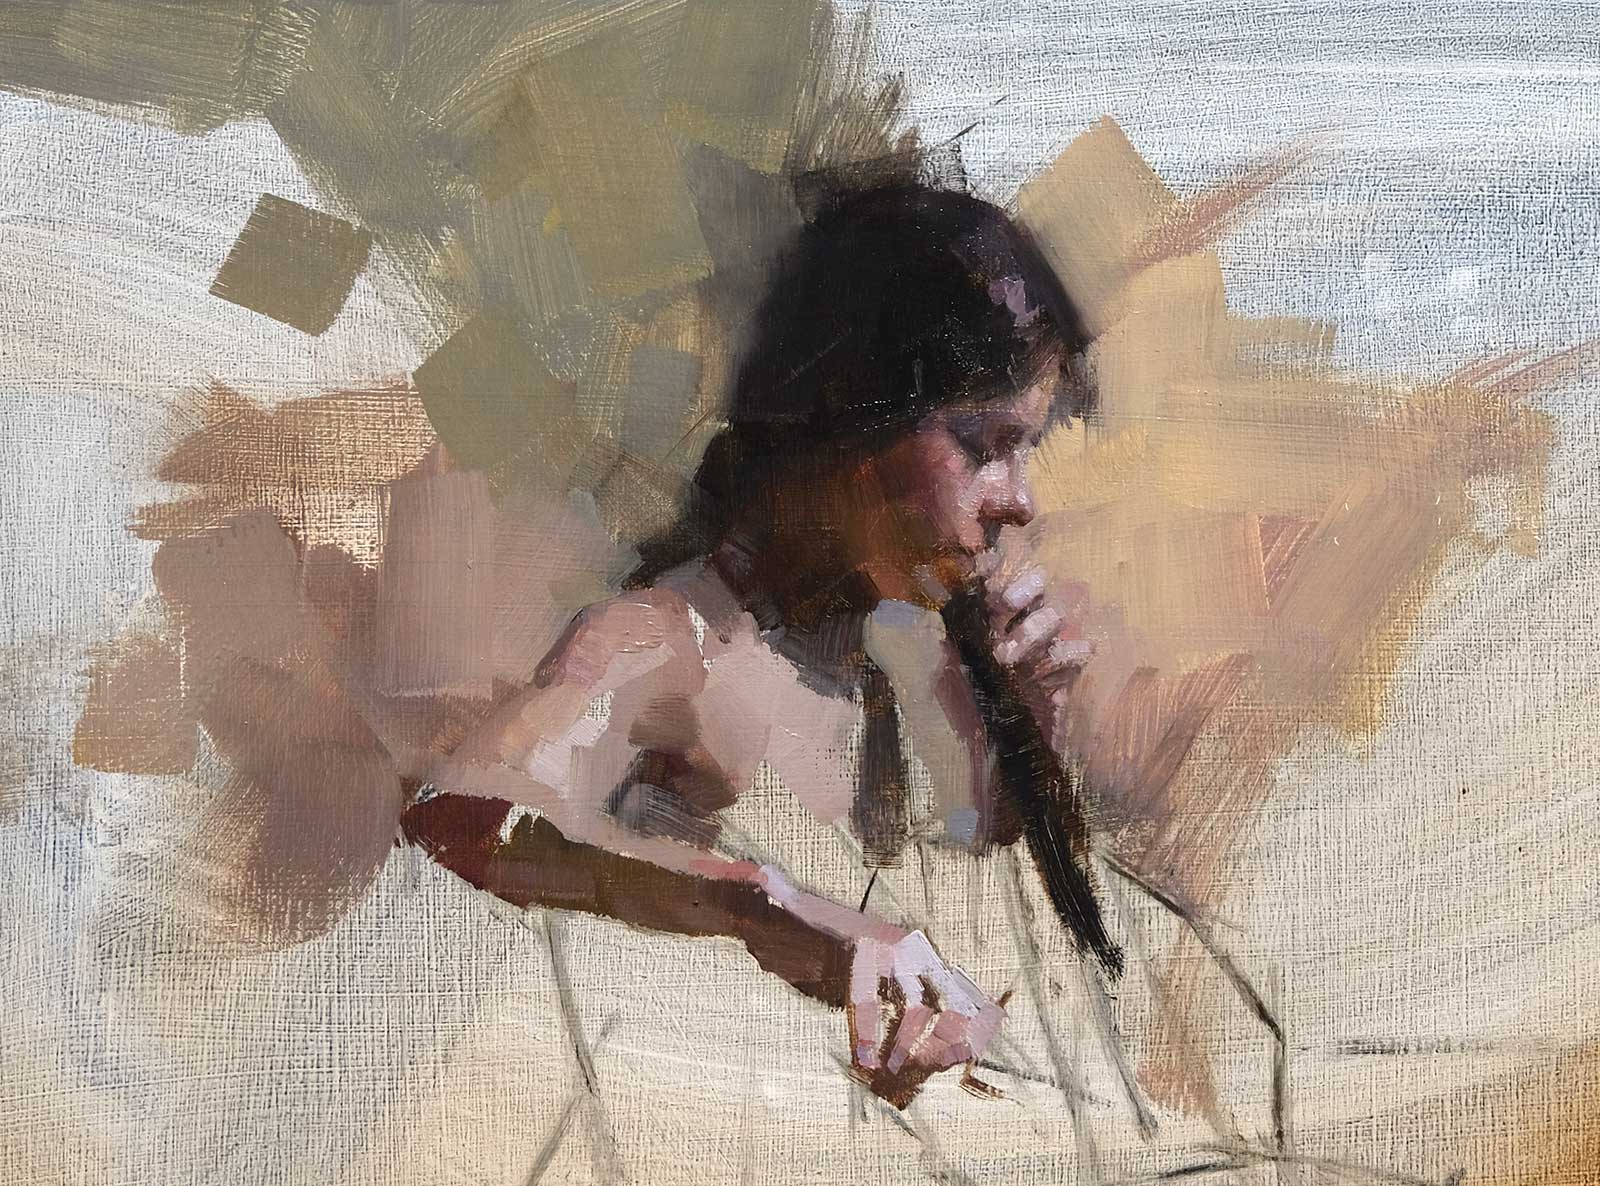
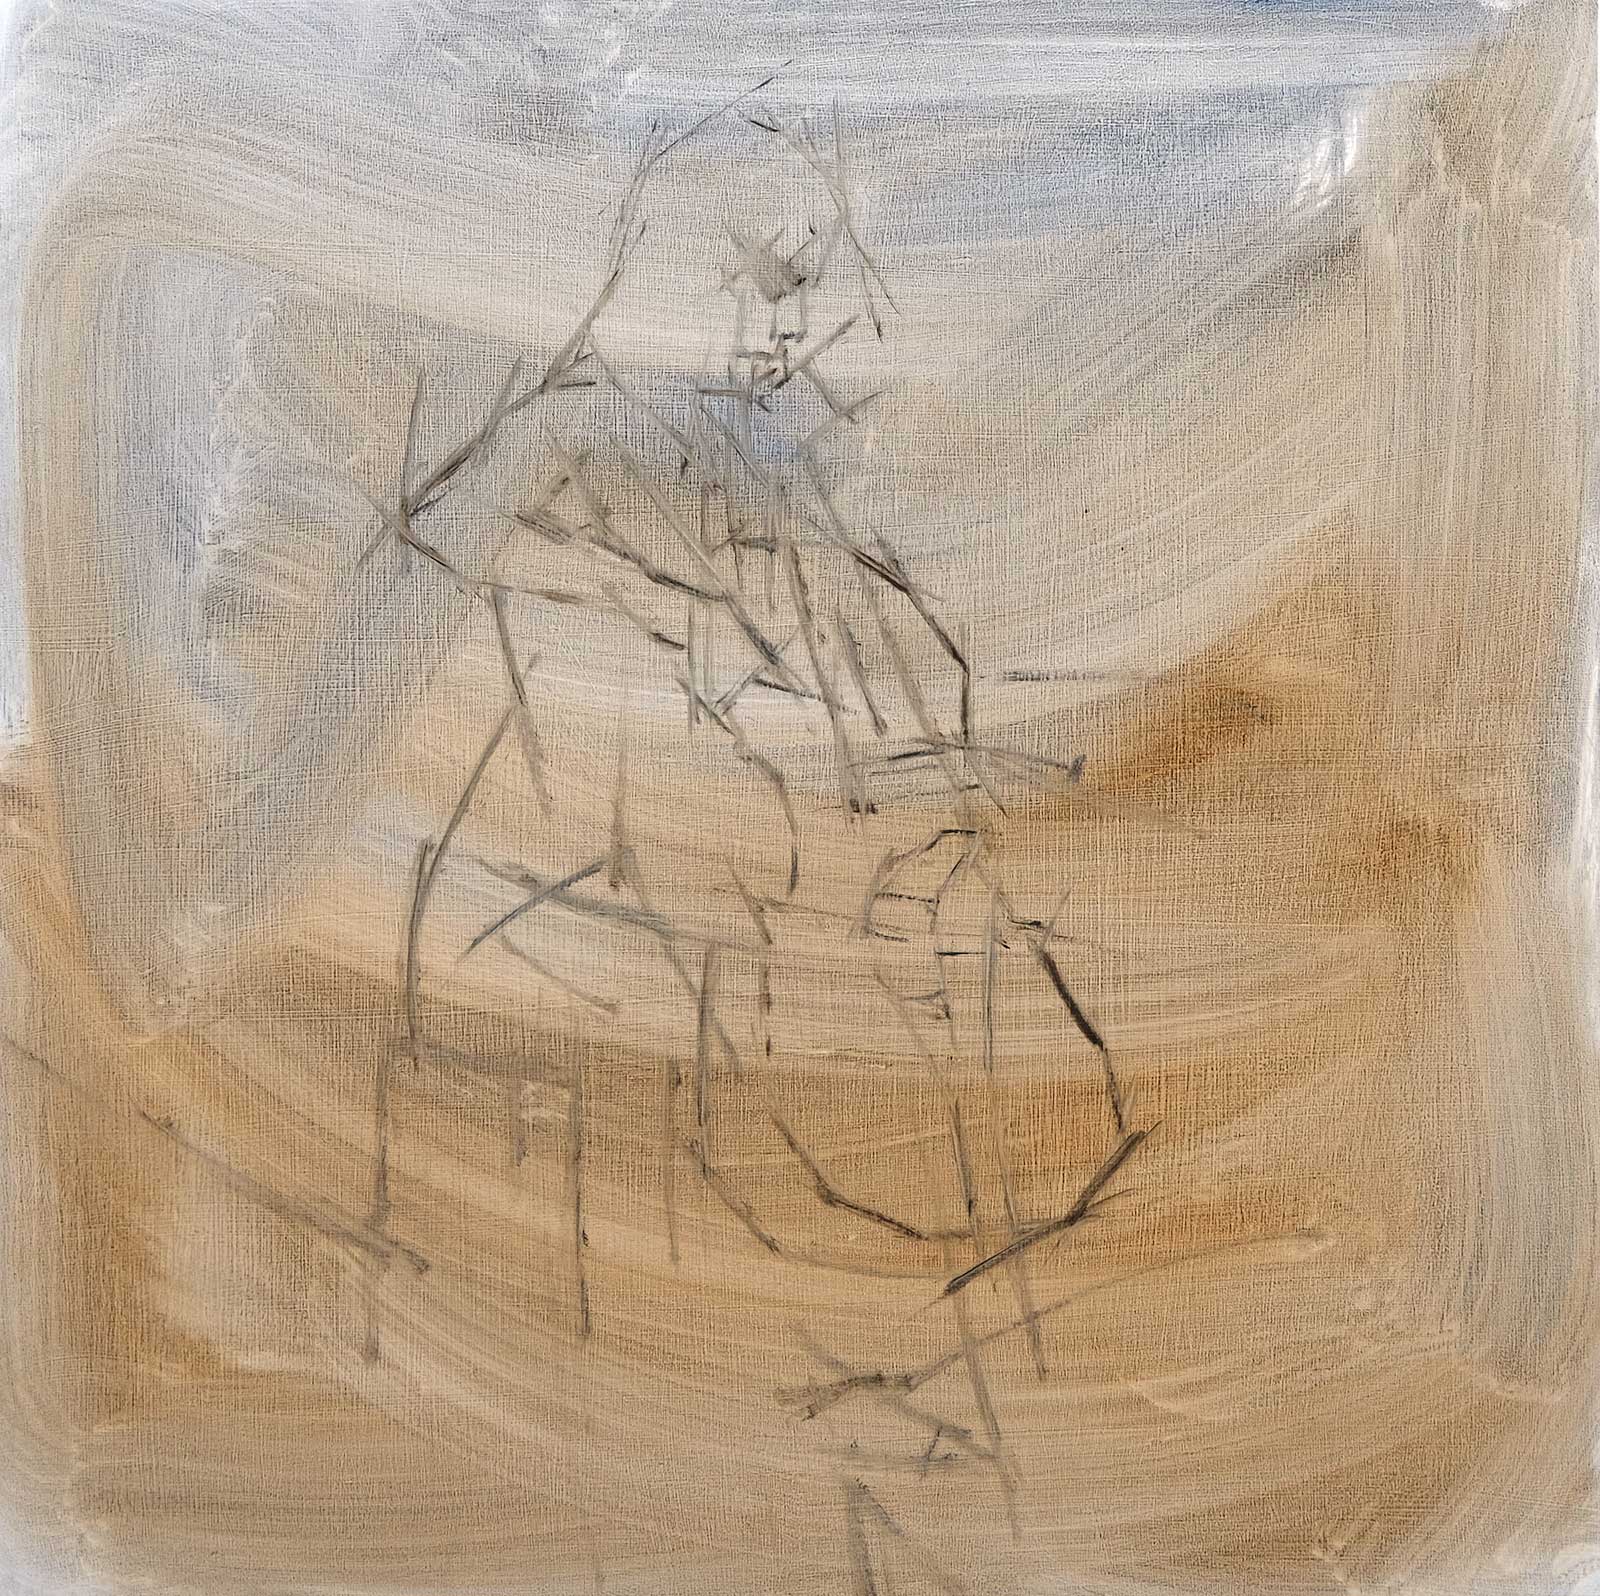 Stage 1
Stage 1 Applying Tint and Sketching the Figure
In the first stage I start by putting a tint on the 60-by-60-cm gessoed panel with a large brush. I do this by adding a mixture of ultramarine blue and transparent red oxide to the panel. It is thinned with Gamsol (note: the consistency is slightly thicker than water). After the application of the thinned paint, I lightly wipe off the panel with a paper towel, taking care not to wipe off too much of the tone. After about 30 minutes of drying I sketch the figure using a brush of the same mixture of the tone color but slightly thicker.
WHAT THE ARTIST USED
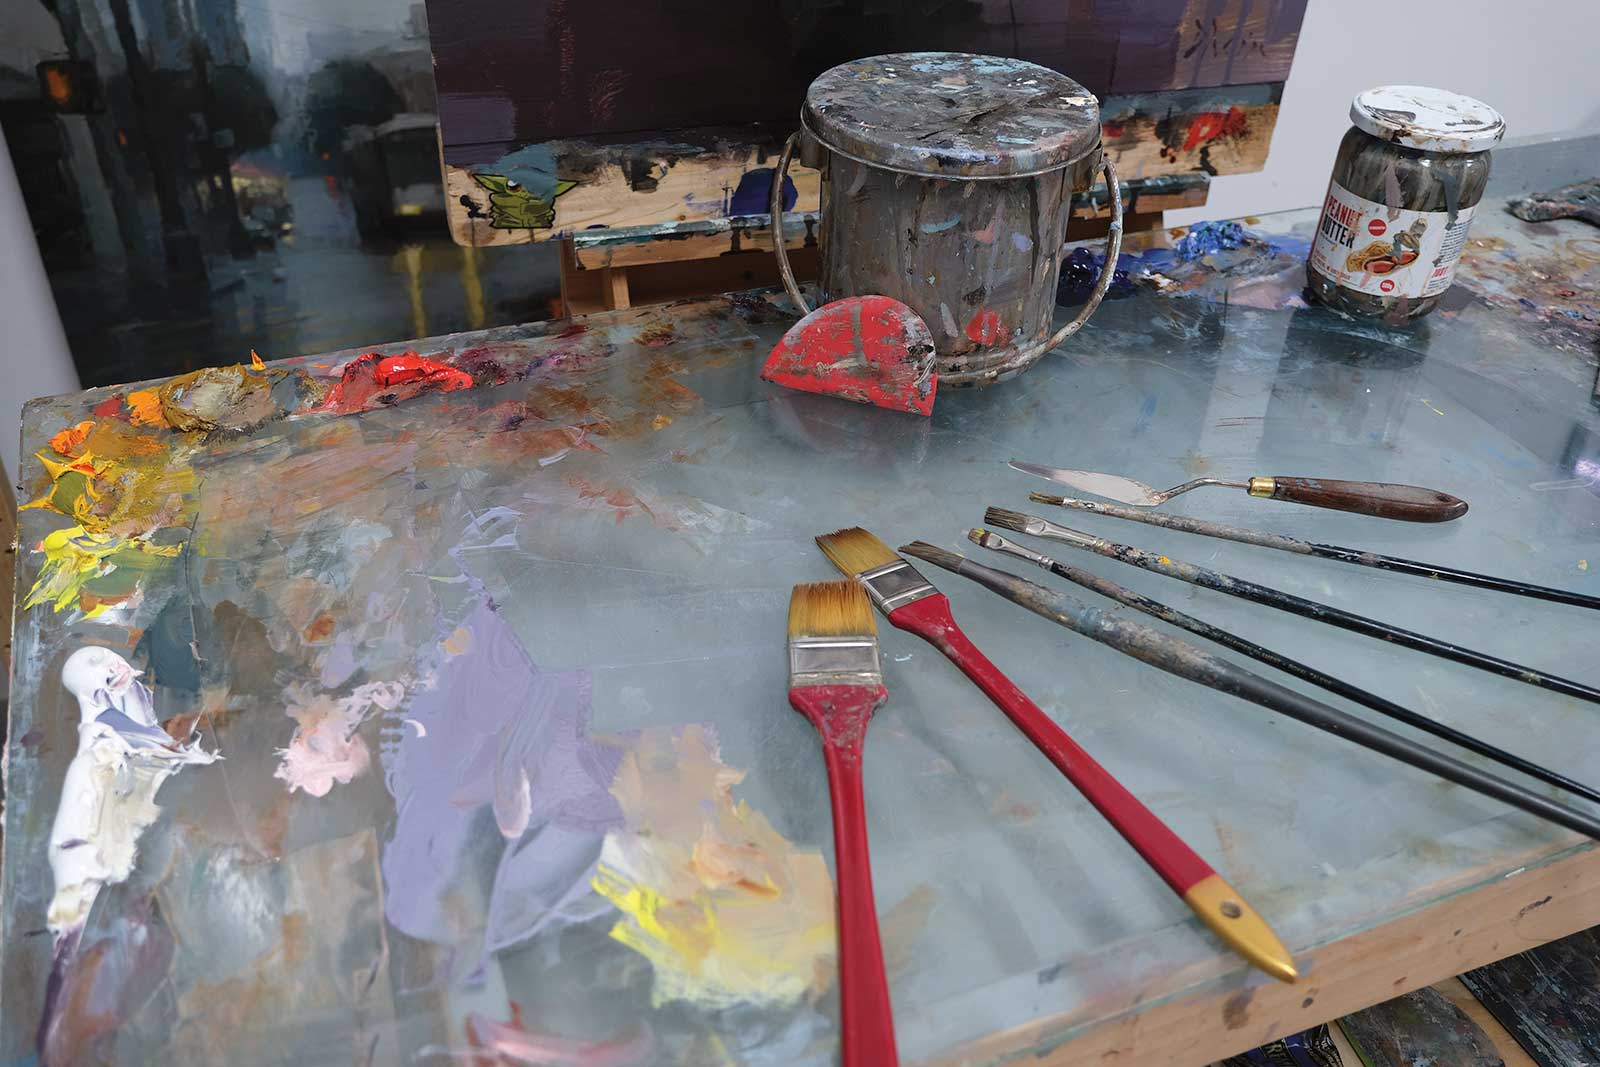
Oils
Yellow ochre, Lemon yellow, Cadmium yellow, Cadmium orange, Permanent red medium, Alizarin crimson, Transparent oxide red, Viridian, Ultramarine blue, Titanium white
Brushes
Wash brushes, Hwahong series 156, sizes 2 and 1, Natural hair mongoose flat or filbert brushes (Rosemary Brushes series 278, or 279, sizes 2, 3, and 5)
Additional Supplies
Palette Knife (one with a bevel), 4" Squeegee, Gamsol, Artist-grade walnut oil (about 30% walnut oil and 70% Gamsol), Primed acrylic gessoed wood panel (four coats),
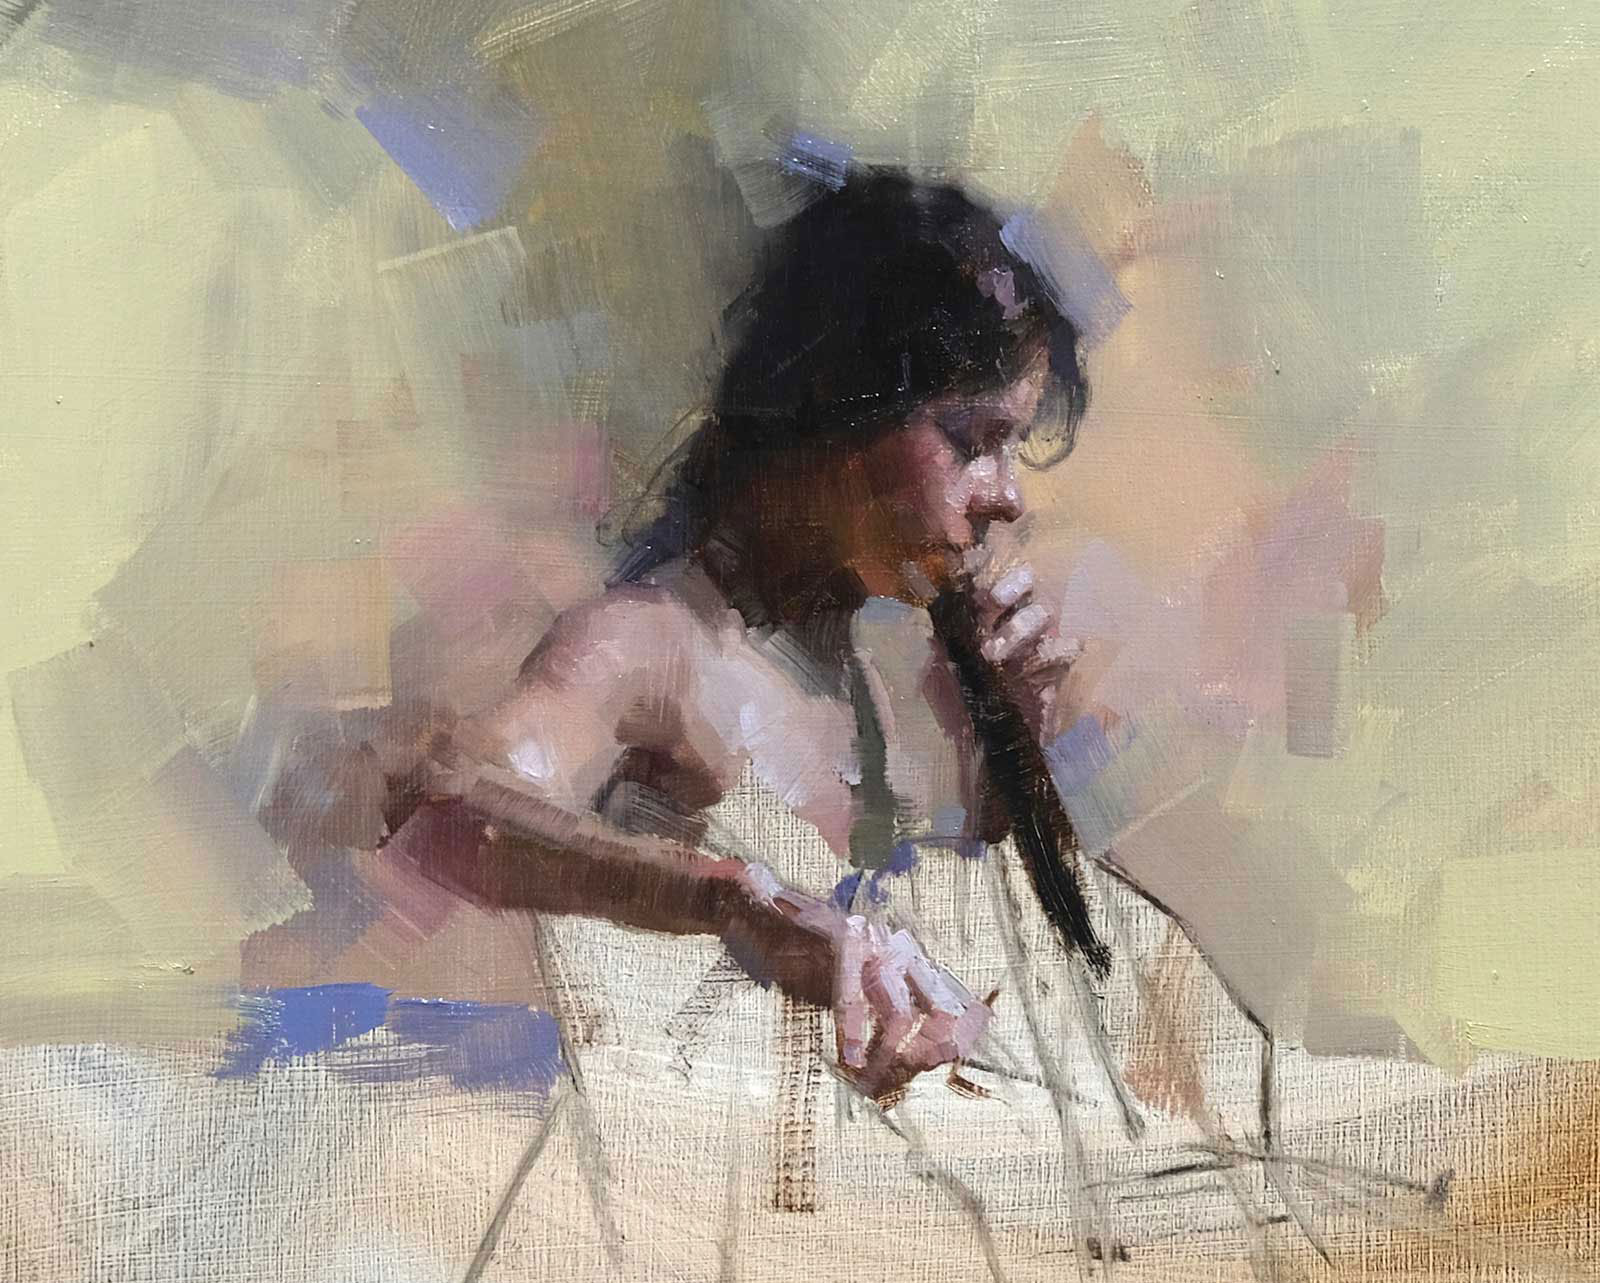
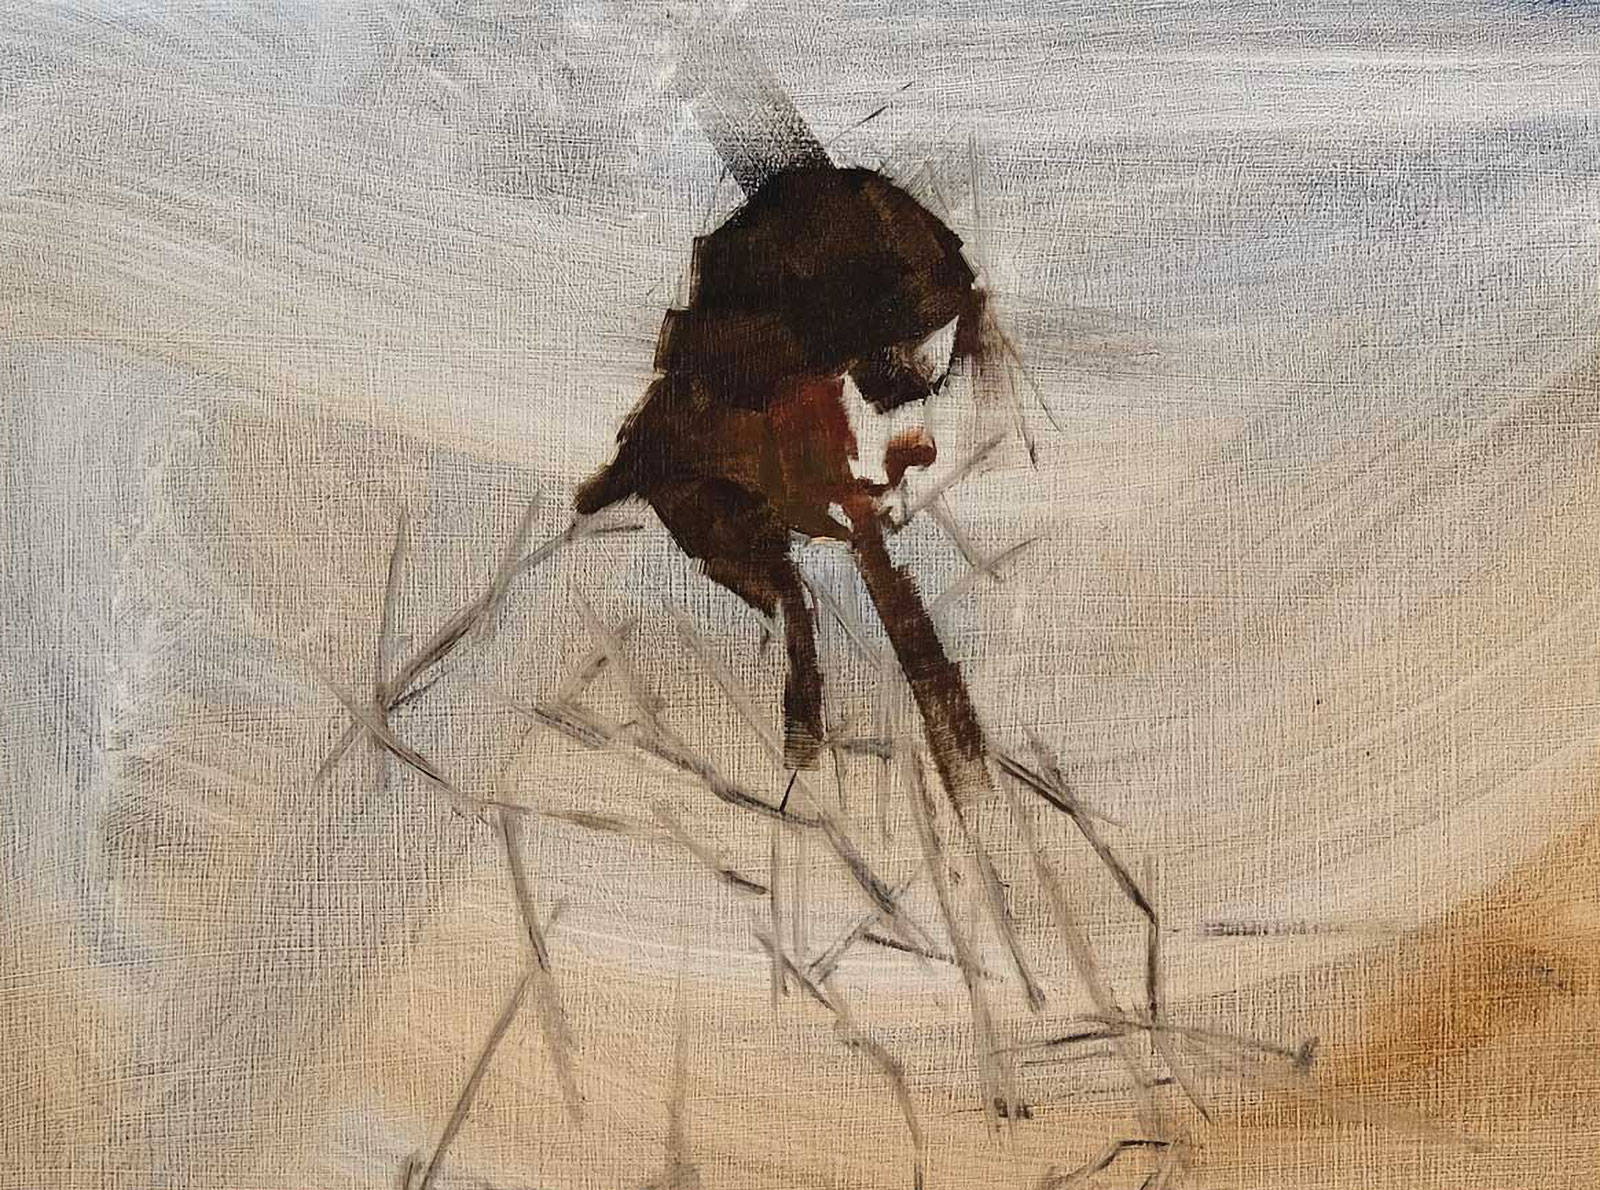 Stage 2
Stage 2 Two-Value Statement
During the second stage I am creating a two-value statement. I use the background value for the lights and add a mixture of transparent red oxide and ultramarine blue for the darks (this mixture is thinned with a mixture of walnut oil and Gamsol).
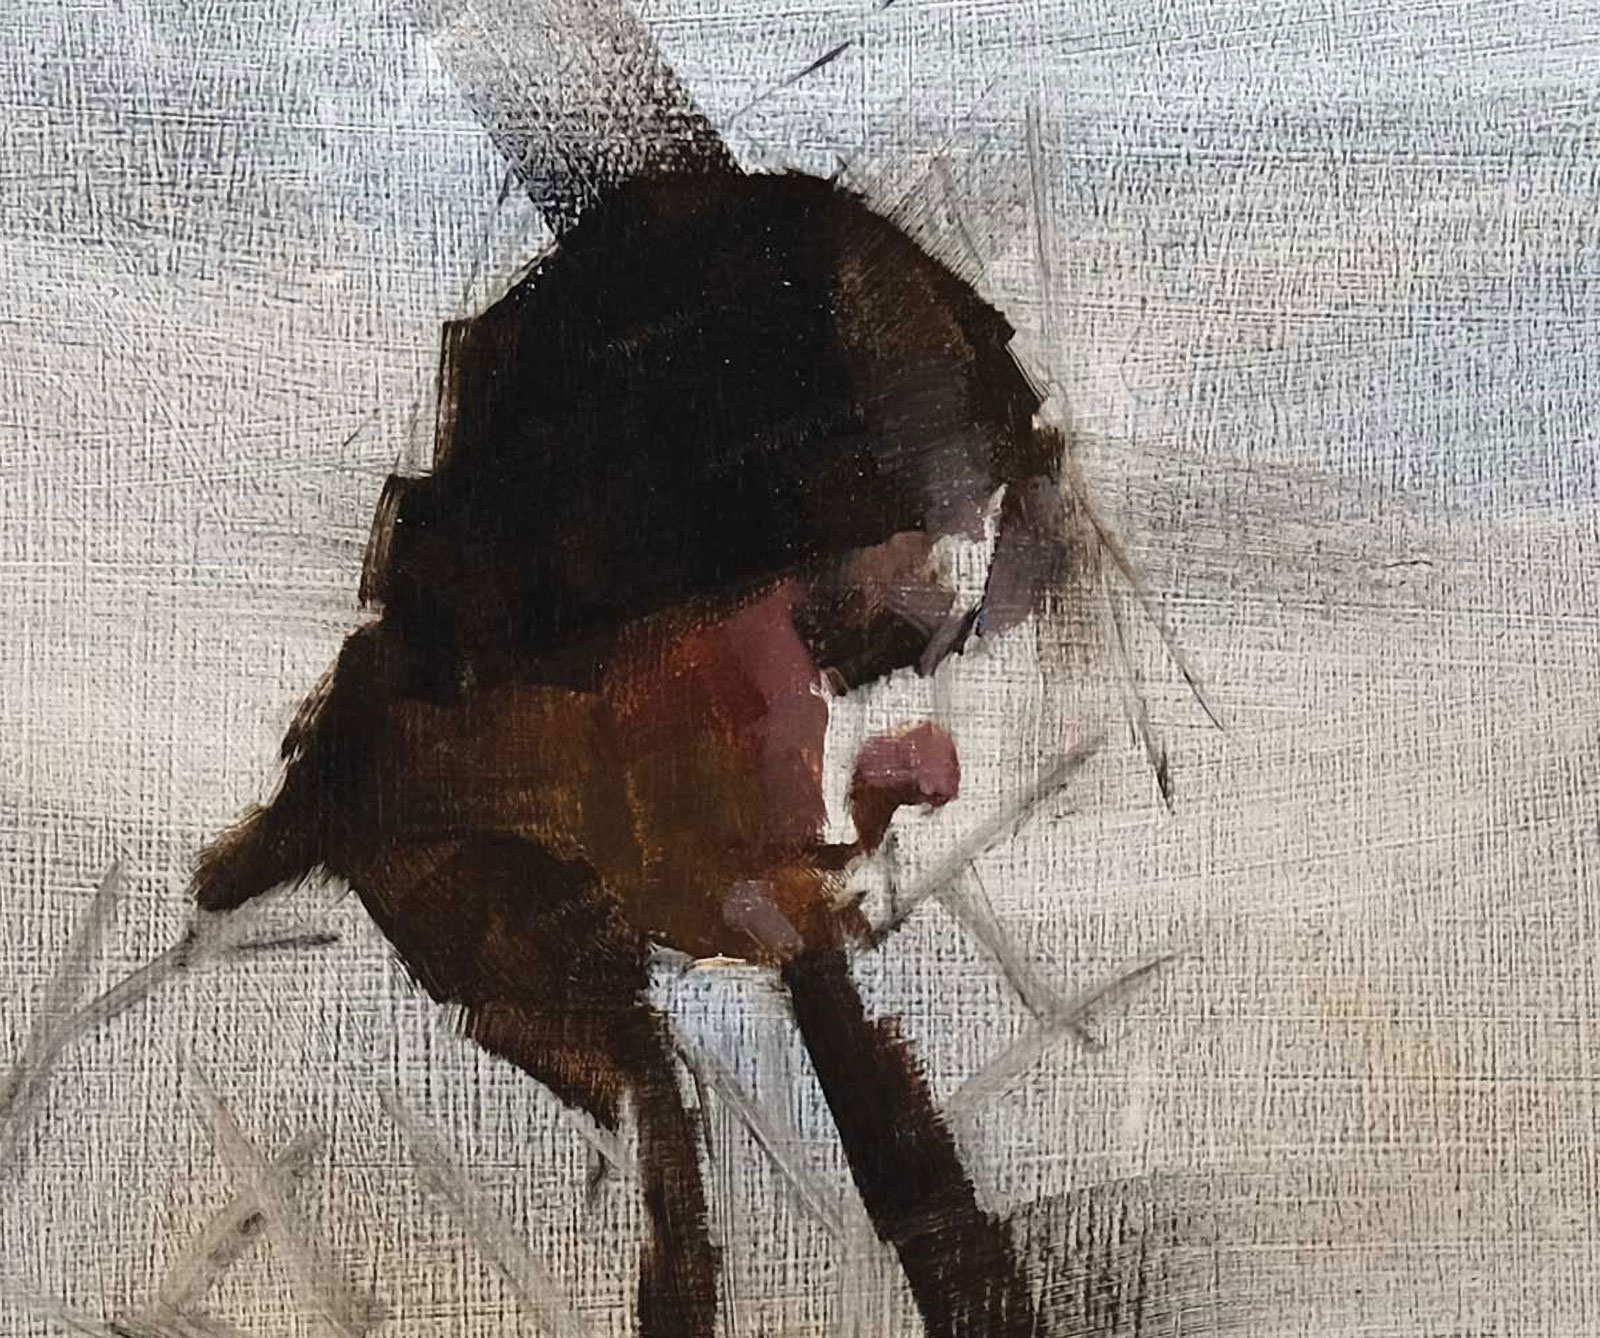 Stage 3
Stage 3 Transitions in Shadows
Adding opaque colors (white, permanent red medium and yellow ochre) to the shadow mixture in various amounts, I start working on the transitions coming out of the shadow areas. The pressure of the brushstrokes is very delicate because I do not want the panel color to show through. For this technique I used a small flat synthetic brush. Later I used a larger flat synthetic brush for the larger areas.
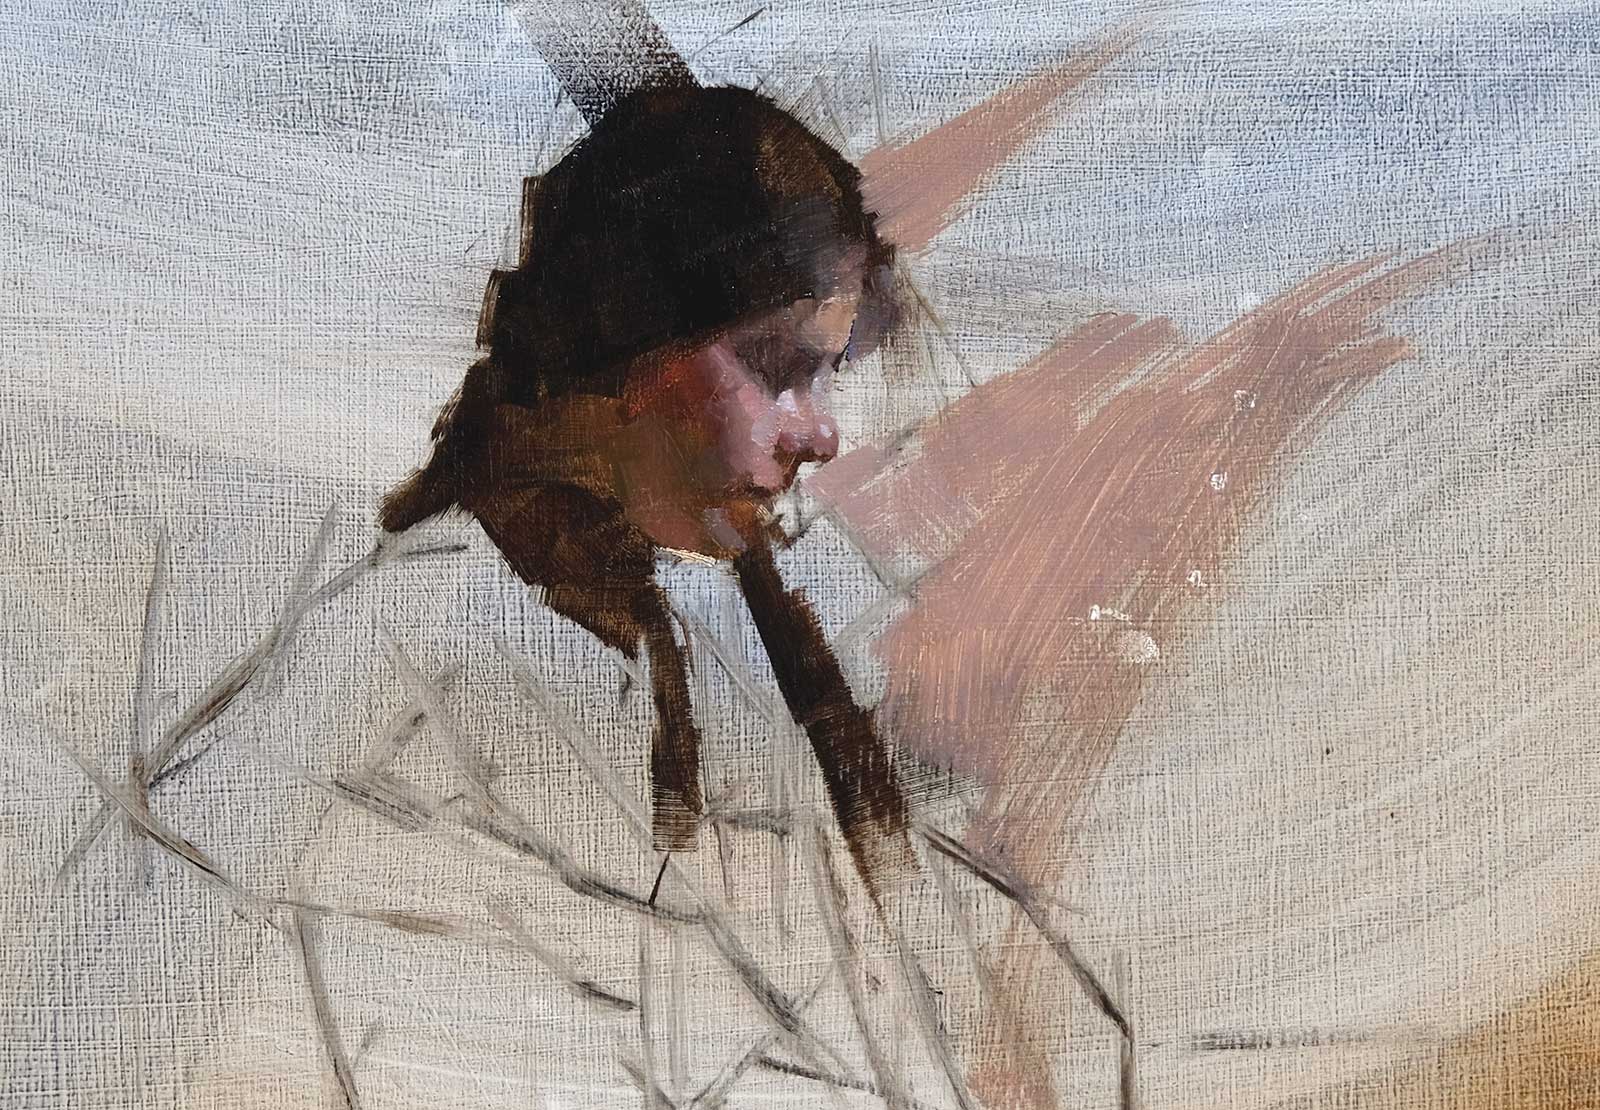 Stage 4
Stage 4 Sculpting the Paint
I think of this next stage as a sculpting phase. Just like the sculptor adds clay to create the form, I am adding paint to do the same. As the values of the face get lighter my paint application tends to get slightly thicker. Notice that I am still working in a small area; this is because I want to create the edges while the paint is still wet.
 Stage 5
Stage 5 Starting on Background
As I move away from the face to other areas close by, I start adding some of the background color. During this phase I am being very methodical as I create a variety of contour edges (hard, firm, soft and lost). These transitions and edges are important if I want the aesthetic of the finished painting to look like an alla prima painting. The hands and arm are painted the same way as the face, starting with a two-value statement.
 Stage 6
Stage 6 Color Relationships
I put some of the background colors in now to see the relationship to the flesh tones. I do this early because the temperature around the figure will affect how the flesh tones are perceived. For example, if the background is blue (cool) the flesh tones will appear much warmer than if it is orange (warm). A color’s appearance is relative to what is next to it.
 Stage 7
Stage 7 Continuing to Work in Small Areas
I am conscious of the time I have to work each session so that I do not get too far ahead. This way of painting allows me to always work in wet-into-wet edges and transitions throughout the painting. Sometimes there will be an area that is too wet, and I will leave it for a few hours before working back into it. By waiting, the paint has some time to slightly dry and will make the subsequent paint application easier.
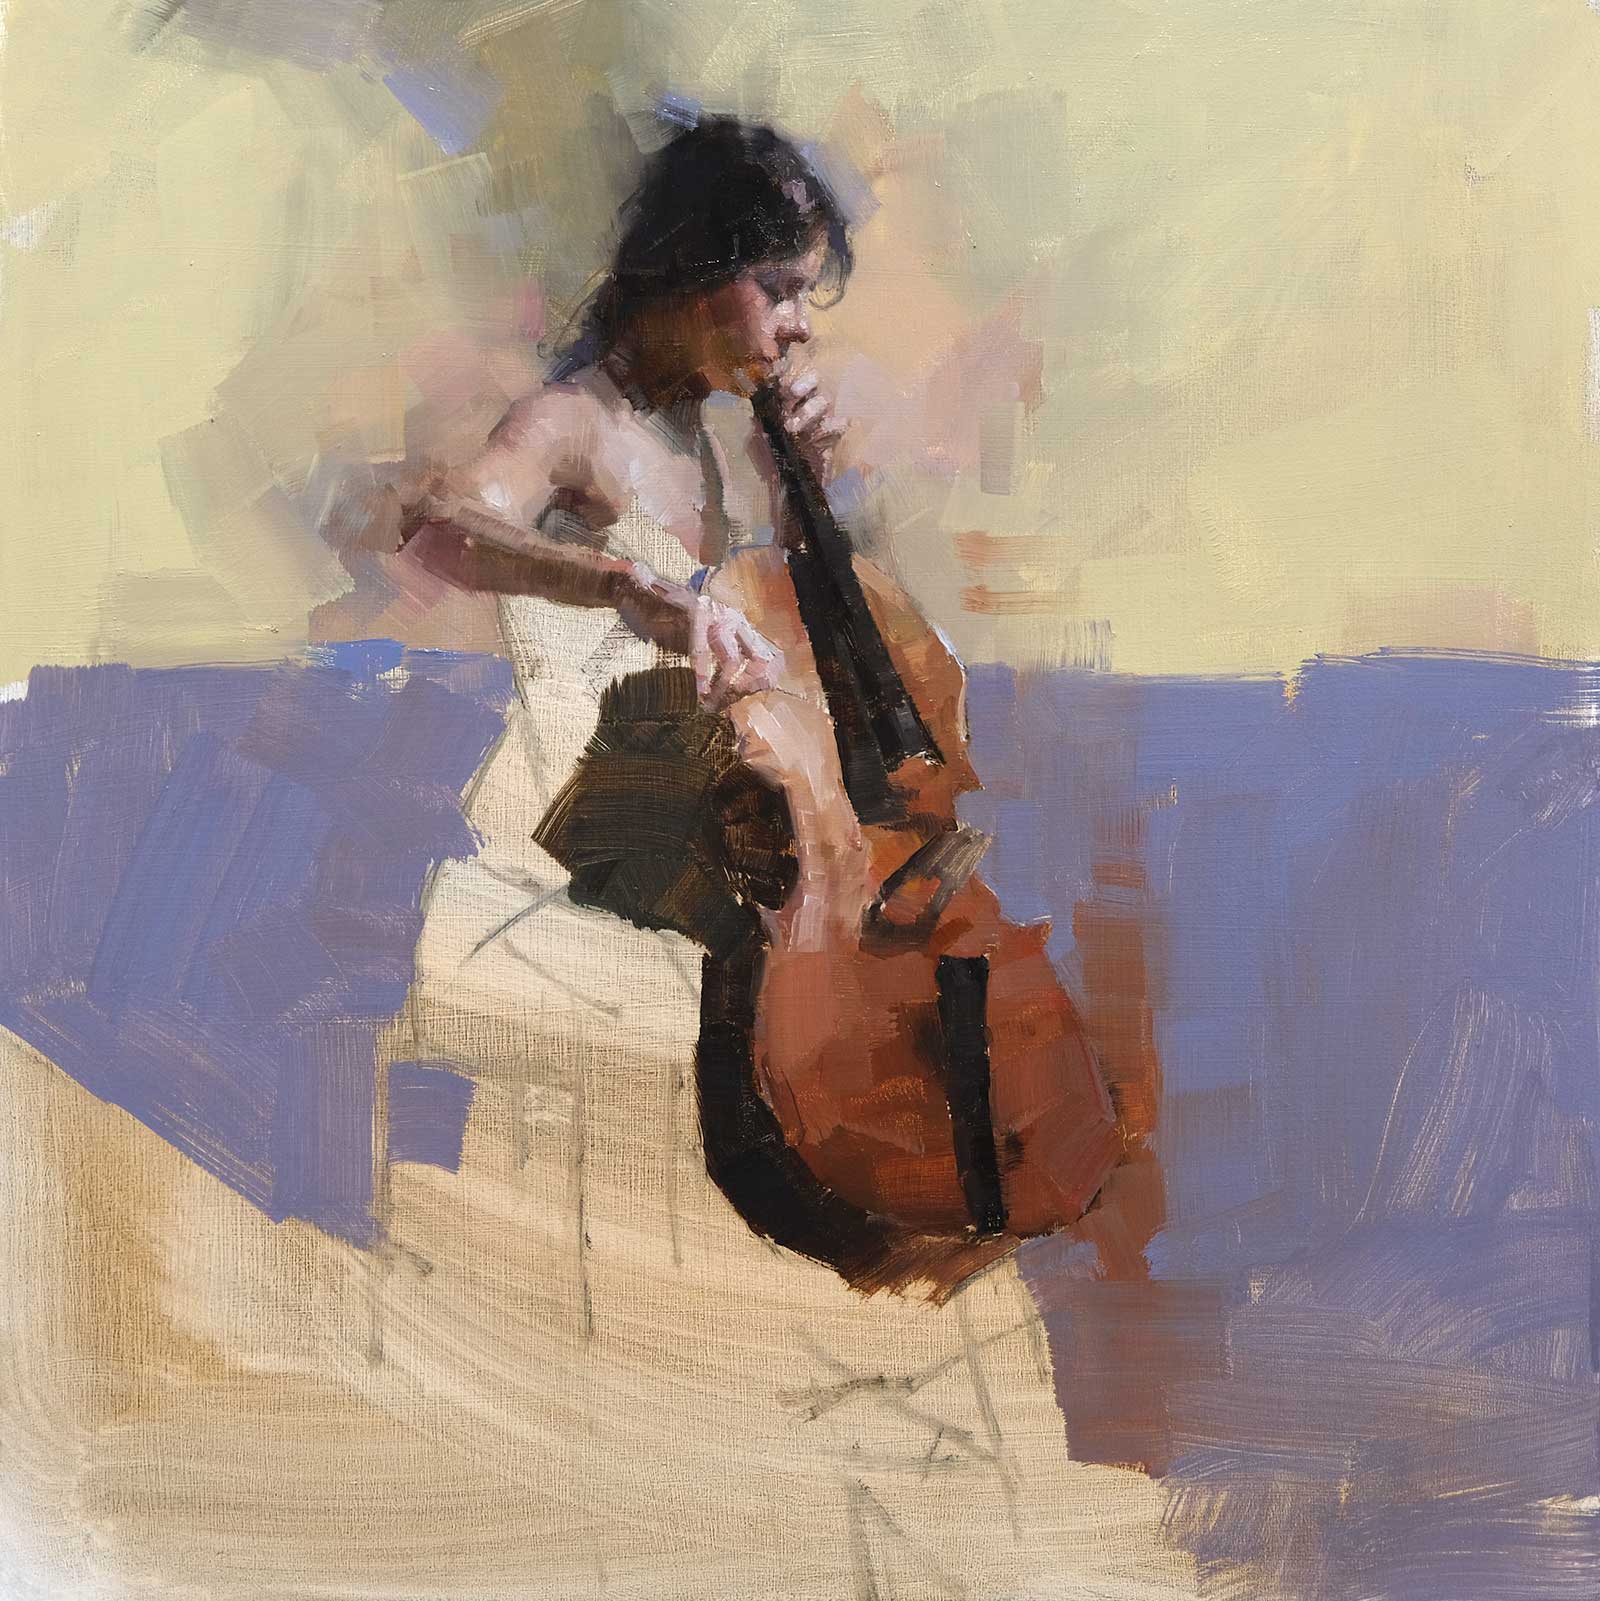
 Stage 8
Stage 8 Assessing the Design
In this phase the whole design is completed, which enables me to look for areas to lose, as well as soften and sharpen. Also, I am looking for areas to integrate some of the background color into the subject matter and vice versa.
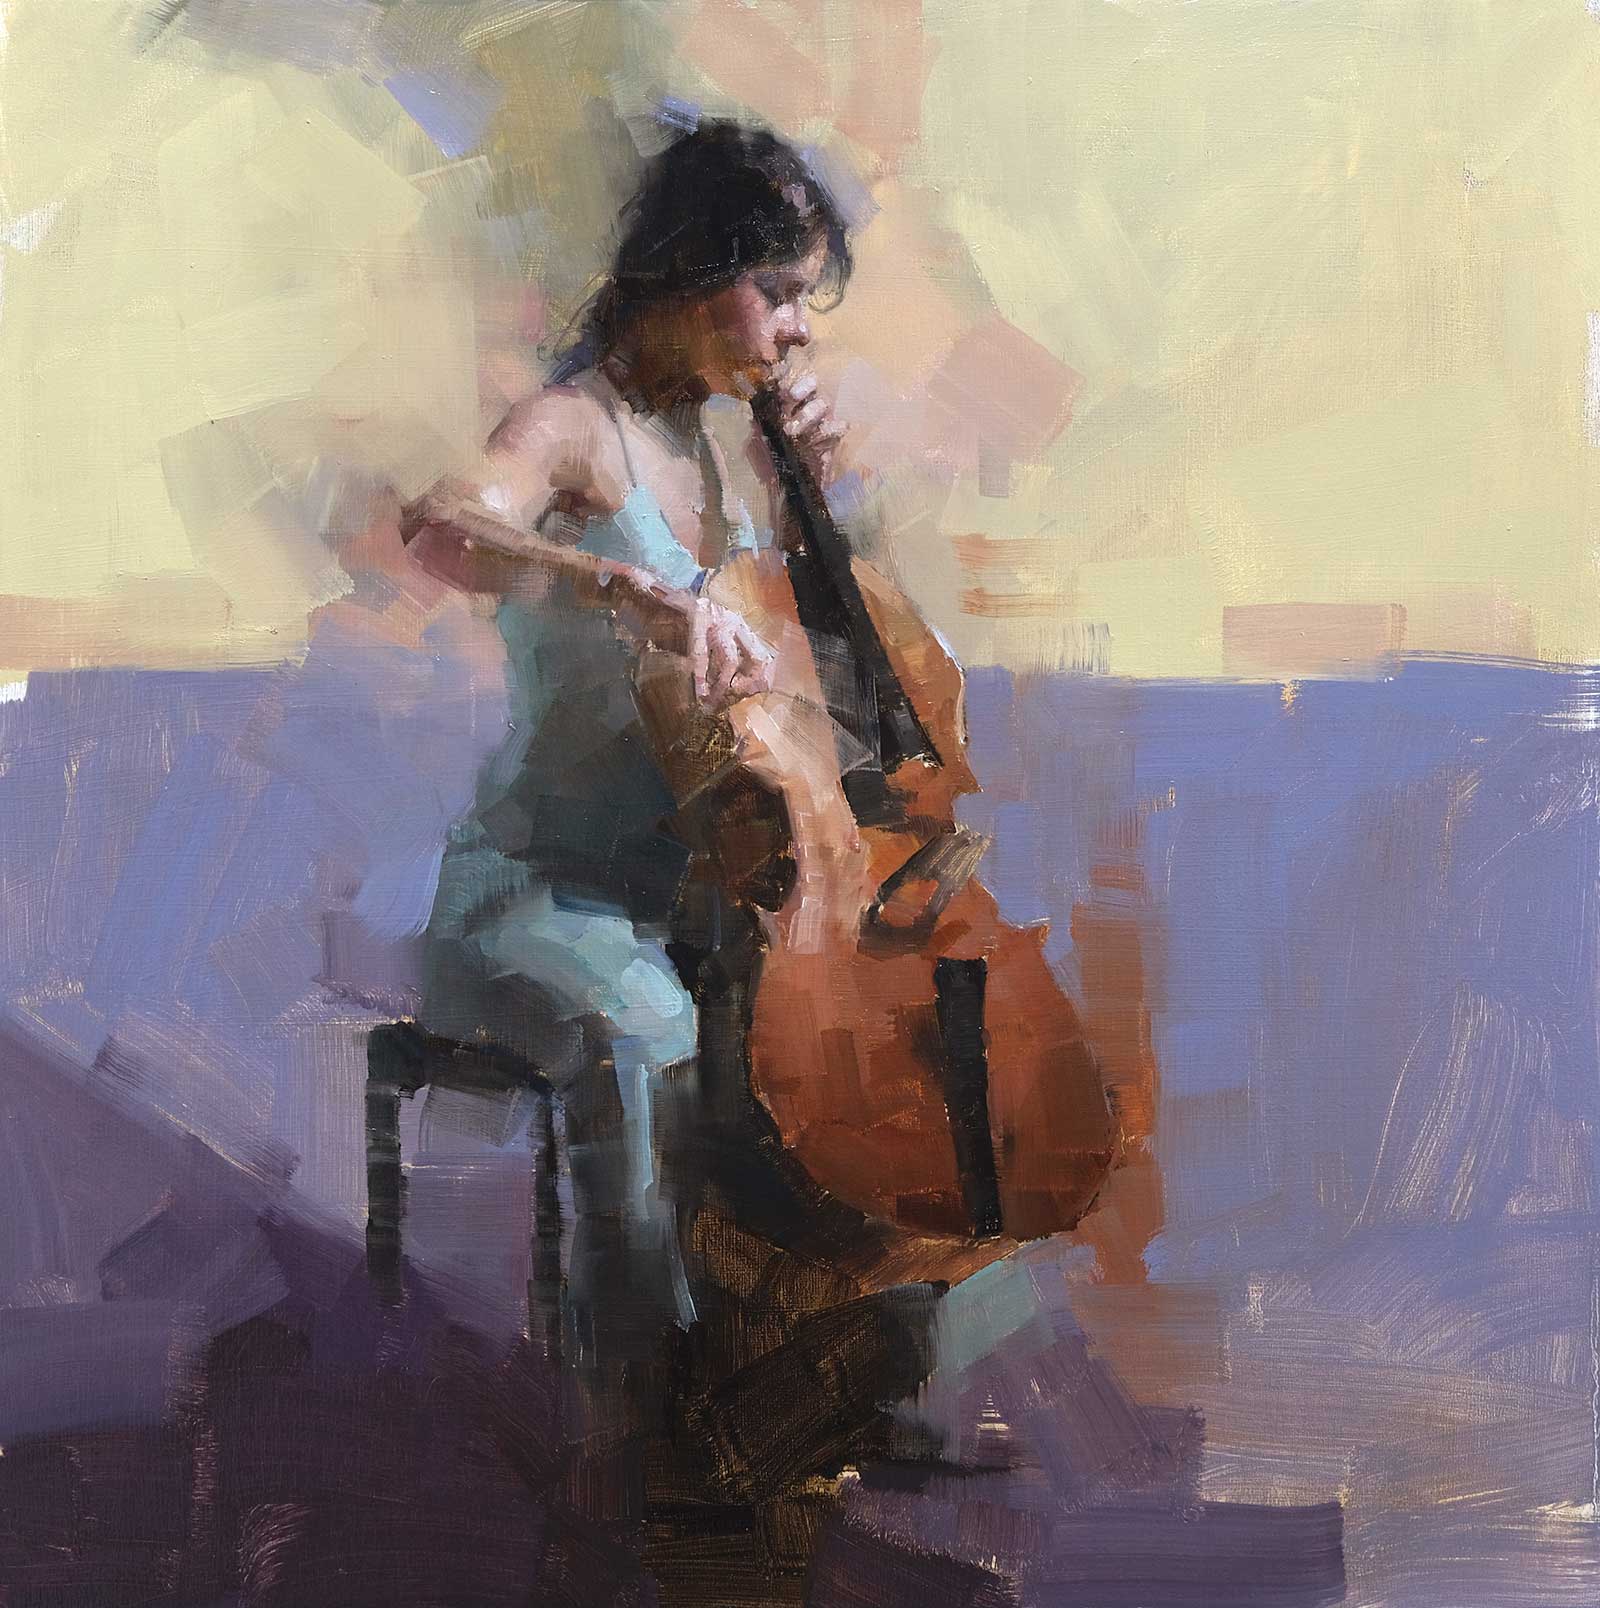
 Stage 9
Stage 9 Finished Artwork
The Cellist #5, oil, 23½ x 23½" (60 x 60 cm) In the final stage I try to push and pull areas, using contrast and edge control to create the illusion of three dimensions on a two-dimensional surface. Afterwards, I sign and photograph it. Then I review the image to see if there are any more areas that need adjustments. After a couple value and edge adjustments, the painting is finished and rephotographed. Because the painting was painted wet into wet and the surface was well primed, it will dry to a nice satin without matte areas.
About the artist
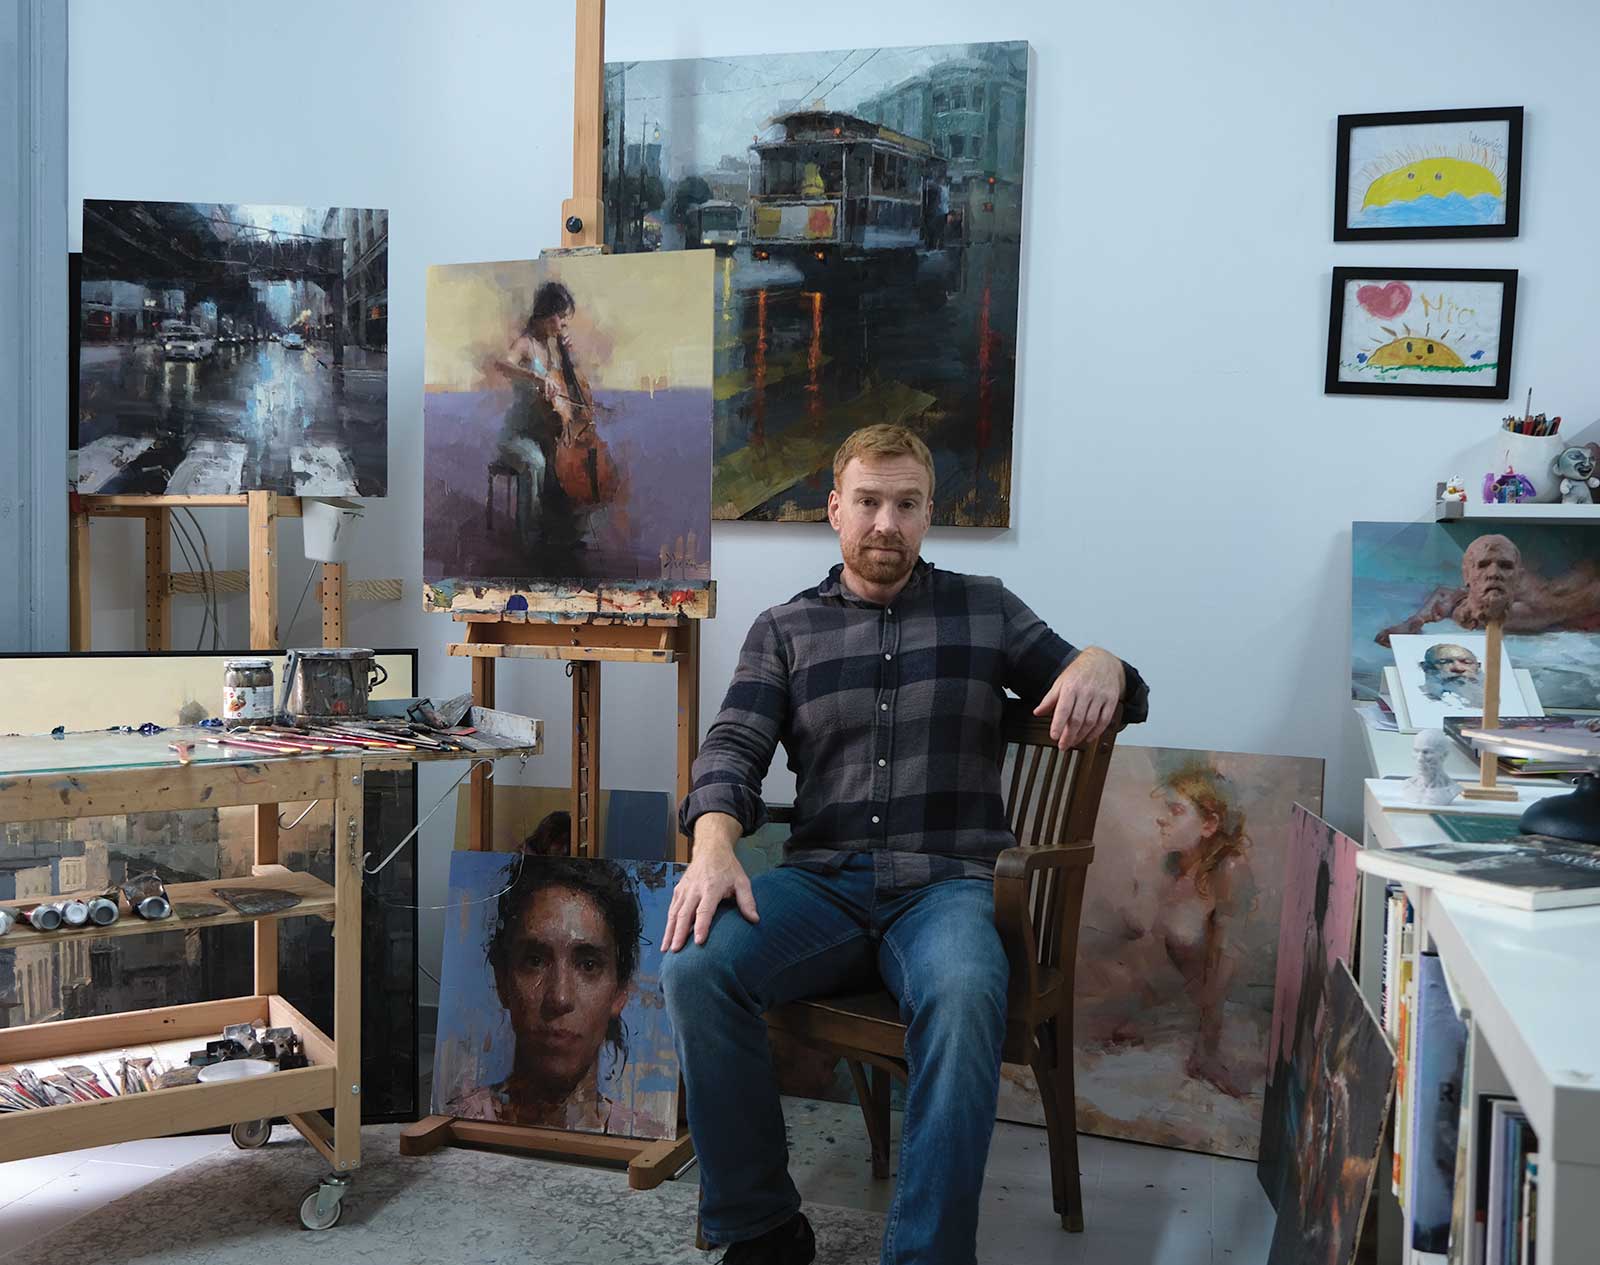 Jacob Dhein in his studio
Jacob Dhein has been interested in art since he was a child. By the time he graduated from high school, one of his drawings was exhibited on the wall of a local bank. It wasn’t until he was a sophomore at the University of Wisconsin Oshkosh that he decided to take a formal drawing class. He found this so compelling that he continued with sculpture and painting. During this time he met several accomplished and influential artists who encouraged him to pursue a career in art.
In 2006, Dhein graduated with a Bachelor of Fine Arts degree with an emphasis in painting and sculpture. He worked for several years after graduation, although still continued with his artwork, mainly doing portrait commissions. During this time he took workshops to enhance his skills with painters whose work he was interested in. After two years, in 2009, Dhein dedicated himself to painting full time. He decided to get his Master of Fine Arts at the Academy of Art University in San Francisco, California, which he completed in 2013. From 2014 to 2019, Dhein taught drawing and painting at the Academy of Art University.
Currently Dhein resides in Cádiz, Spain, focusing on painting a variety of subject matter and teaching workshops internationally. He has had numerous solo shows and is represented by galleries around the world including Abend Gallery, Anne Neilson Fine Art and Le Prince Fine Art in the United States; Gallery by the Lakes in the United Kingdom; and L’Oeil du Prince Galerie in France.
Contact at
jacobdhein.com