



Most landscape compositions are designed to lead the viewer deep into the scene. If there’s a foreground, it serves as a framing device or a departure point. By contrast, botanical studies typically focus up close on a flower or a plant that’s taken out of context and put against a white backdrop.
But what if we could merge these two ways of seeing? My goal in this painting is to bring attention to the foreground without losing the story of the wider scene. To achieve that goal I’ll need to develop a way to render a living plant with loving detail while observing it in its natural setting.
Fidelia Bridges, Milkweeds, 1876, watercolor and gouache on paper, 16 x 9½" (40 x 24 cm). Munson-Williams-Proctor Institute.
Fidelia Bridges: Foreground Specialist
I begin my journey by studying the work of Fidelia Bridges (1834-1923), who pioneered this idea more than a century ago. She was known for her meticulous botanical studies, many of which were painted outdoors in nature. She rarely followed the convention of painting her subjects against a white background, instead using paper that she pre-toned with a watercolor wash. In her more finished works, she painted a landscape background, but nearly always the distant areas are rendered in a simplified, blurry way.
According to Katherine Manthorne, author of Fidelia Bridges: Nature into Art, “She telescopes the space, painting the background in soft focus so that it appears an indeterminate distance away, while the plant forms in the foreground seem to jump off the page.”
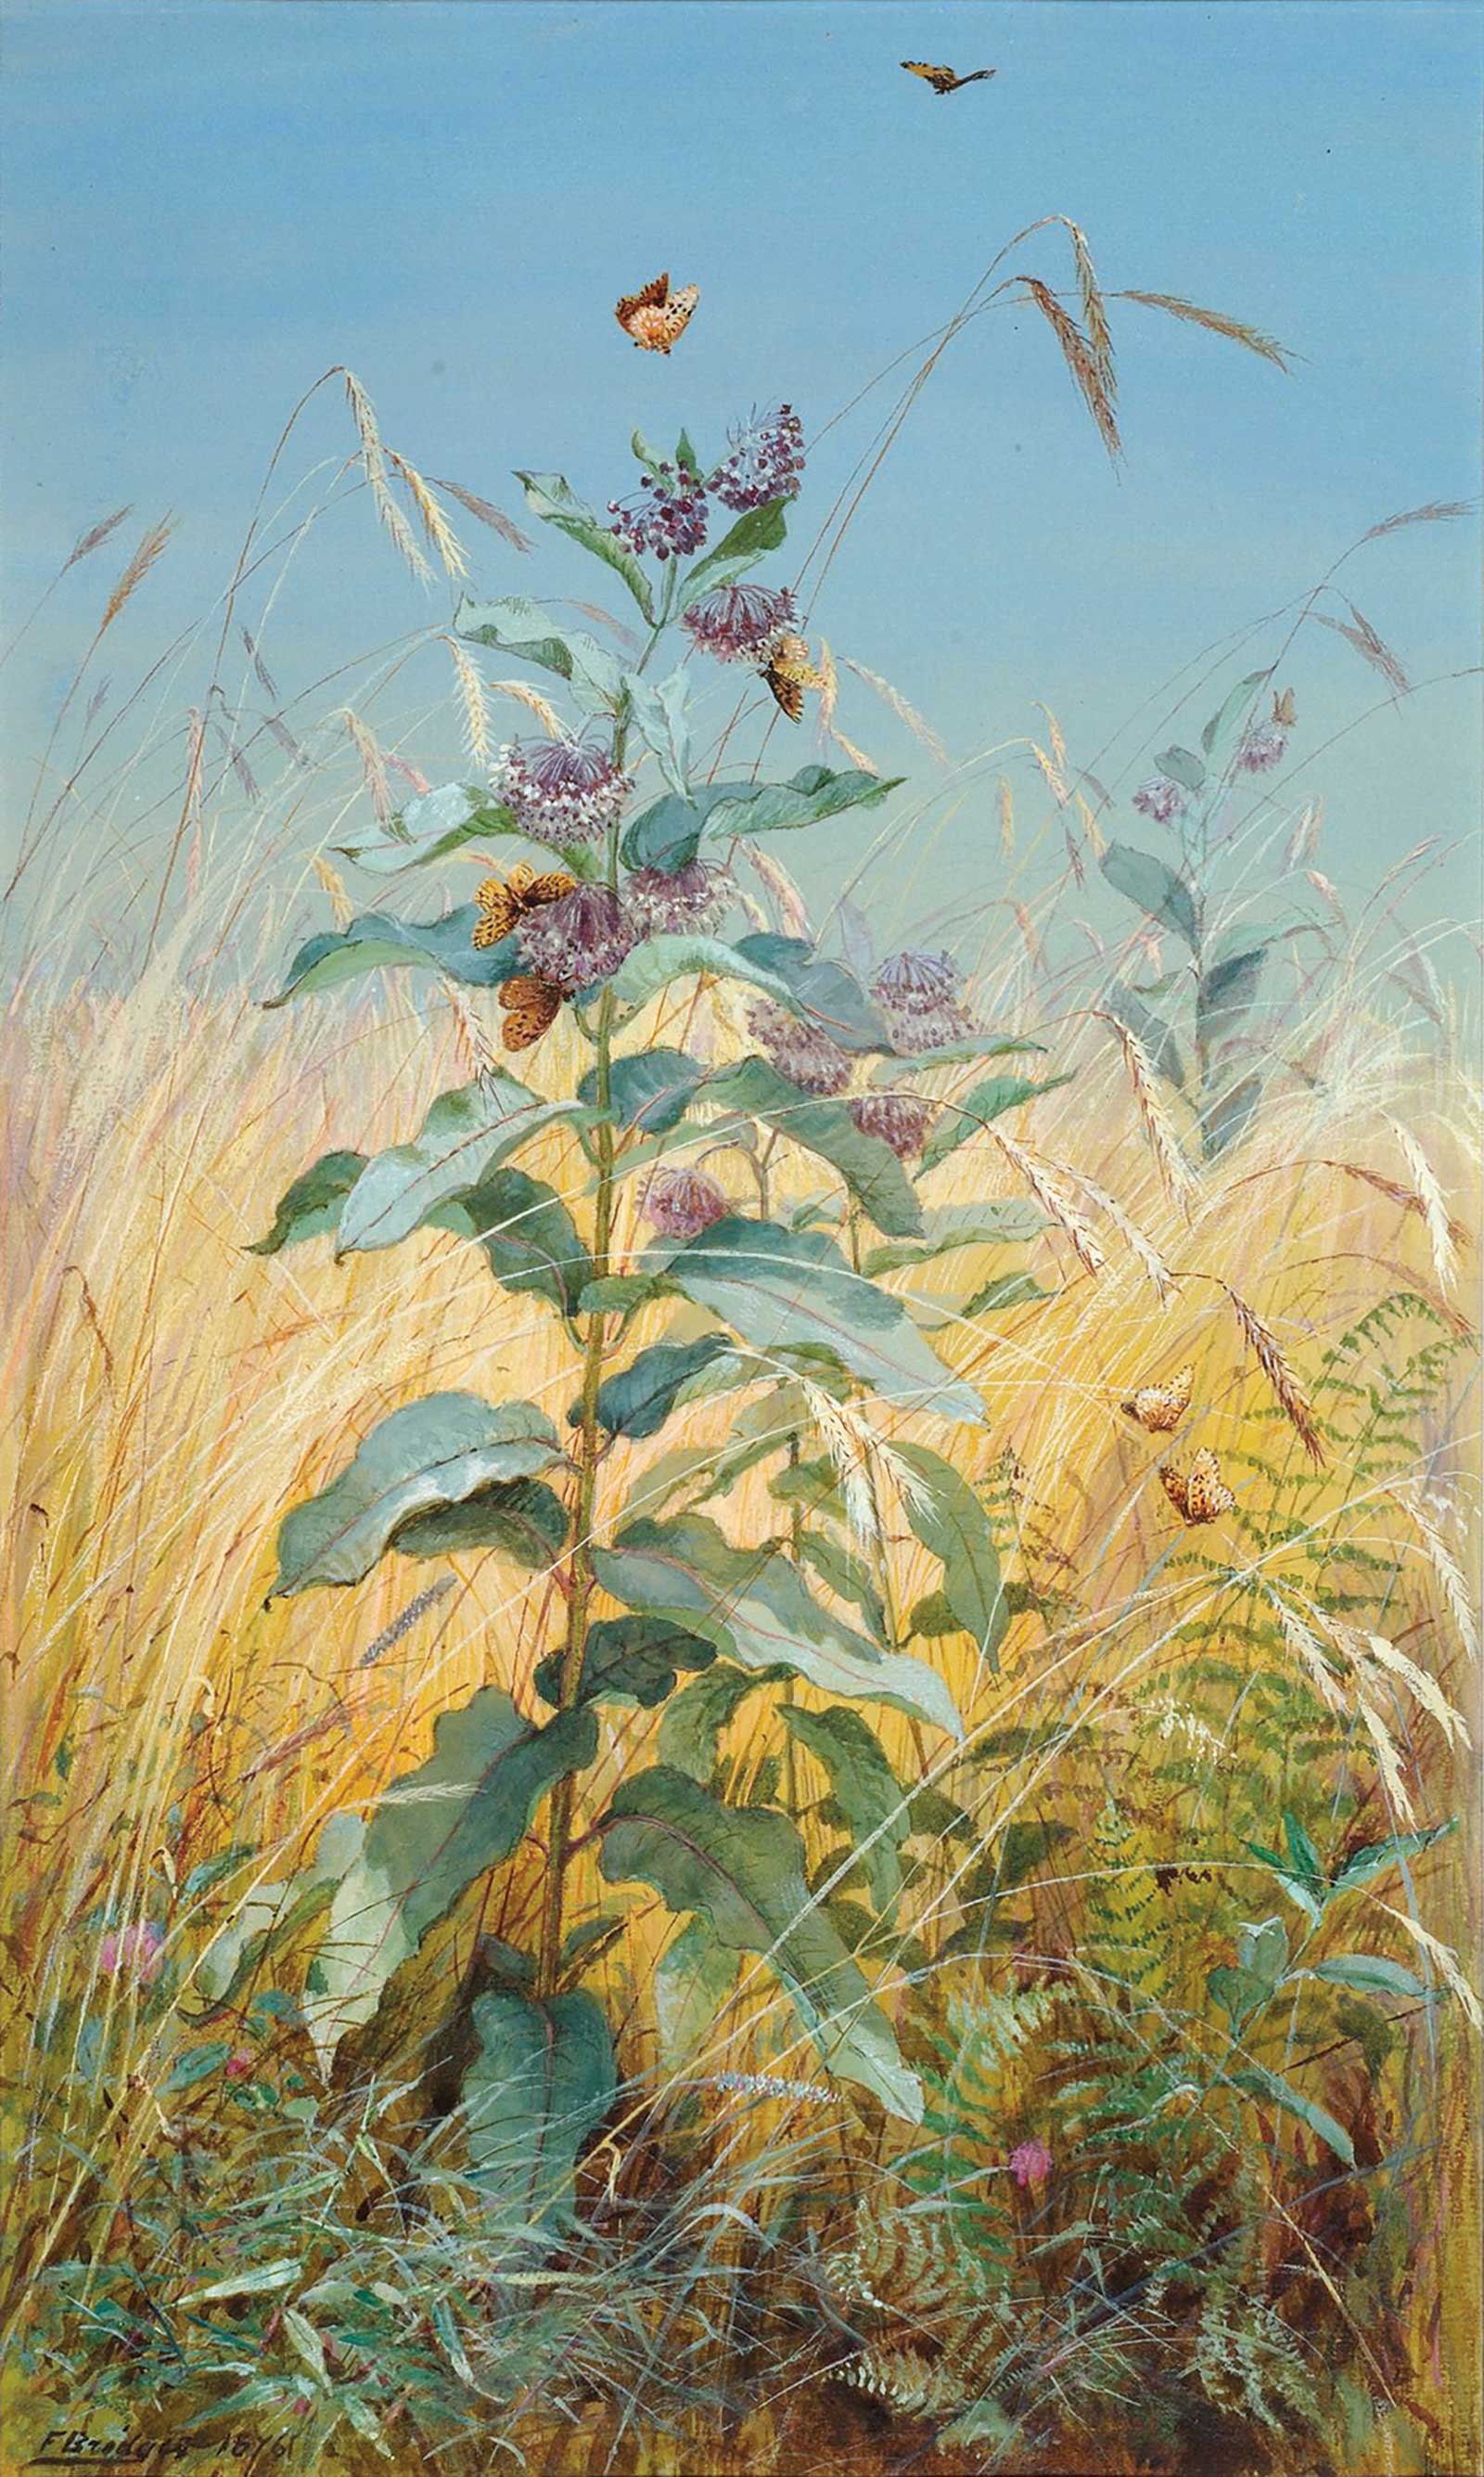
Fidelia Bridges, Milkweeds, 1876, watercolor and gouache on paper, 16 x 9½" (40 x 24 cm). Munson-Williams-Proctor Institute.
Bridges may have developed the idea from the influential English critic John Ruskin, who wrote: “If we look at any foreground object so as to receive a distinct impression of it, the distance and middle distance becomes all disorder and mystery. And therefore, if in any painting our foreground is anything, our distance must be nothing and vice versa.”
I Hit a Snag and Hatch a Plan
Using Bridges and Ruskin as a guide, I’ve now got a plan. I’ll paint a “distinct impression” of a living roadside weed in front of a background that’s all “disorder and mystery.” I choose a milkweed and some Queen Anne’s lace on a quiet farm road, and I set up to paint them.
But I immediately come up against a problem. It’s impossible to focus on a single plant in its natural setting because the actual background is so busy and detailed that I can’t isolate the plant’s shapes, tones and textures enough to paint them. What I need is a way to isolate the foreground subject against a simpler backdrop. So I invent what I call the “FLIP method.” Here’s how it works in five stages.
The FLIP Method (Foreground Landscape Isolation Panel)
 Stage 1
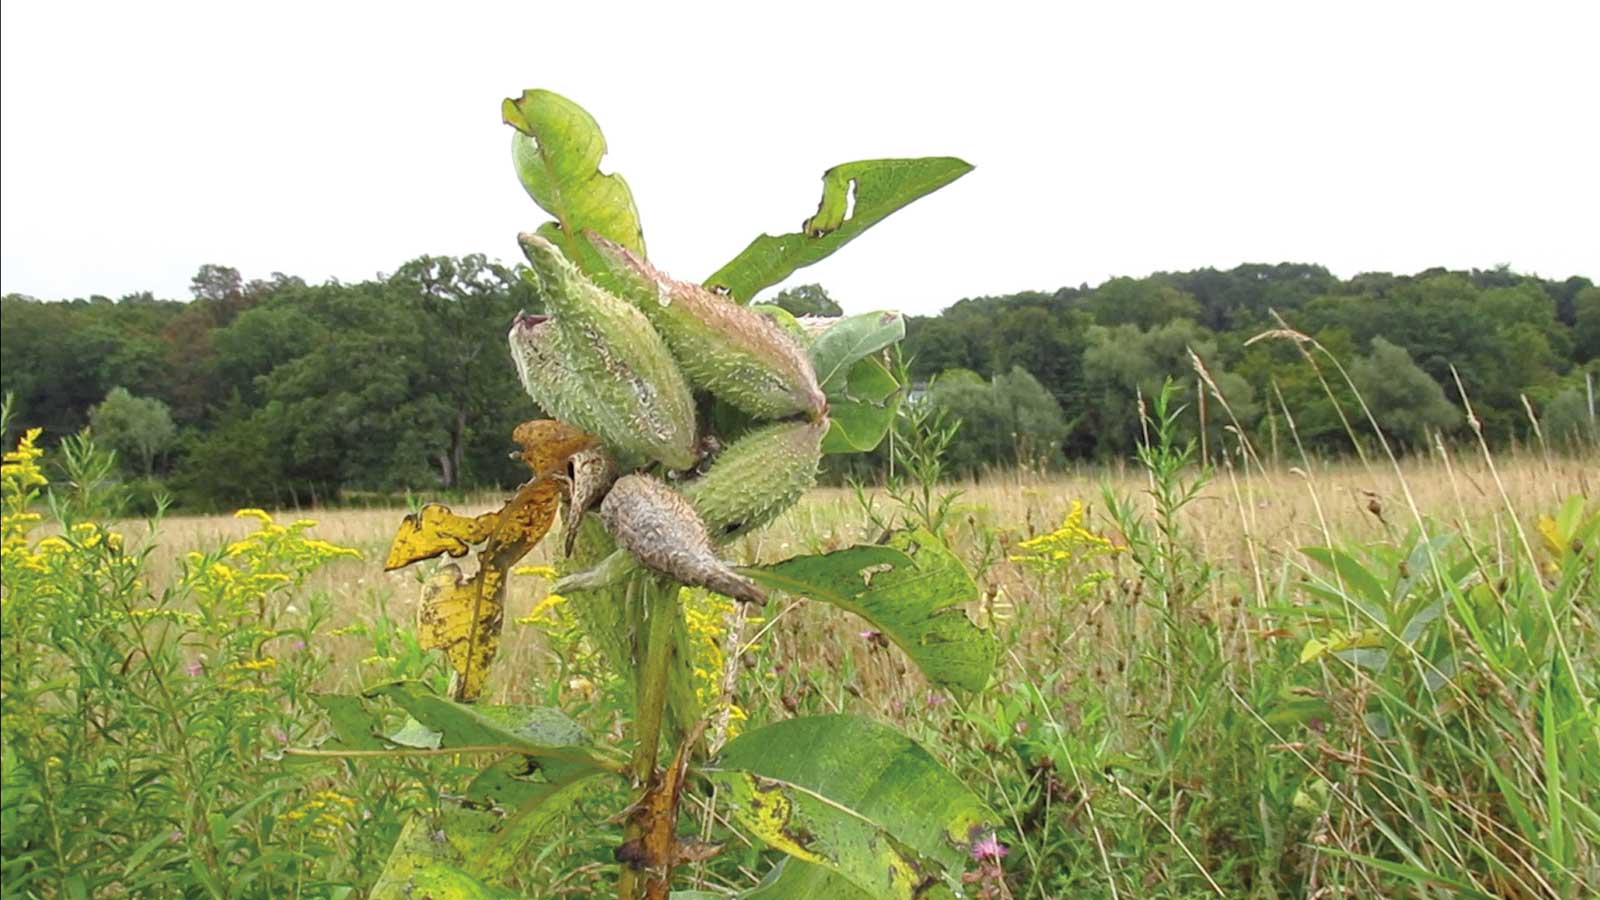
Stage 1 Choose the Subject
I look for a botanical subject that I’ll be able to observe from sitting or standing height. The plant should be relatively simple and stable, and it shouldn’t be too big. I like the way the milkweed plants look at this time of year, as the seed pods have formed but not yet opened. I take note of the big, abstract tones of the background because I’ll need to paint that scene in the next stage.
 Stage 2
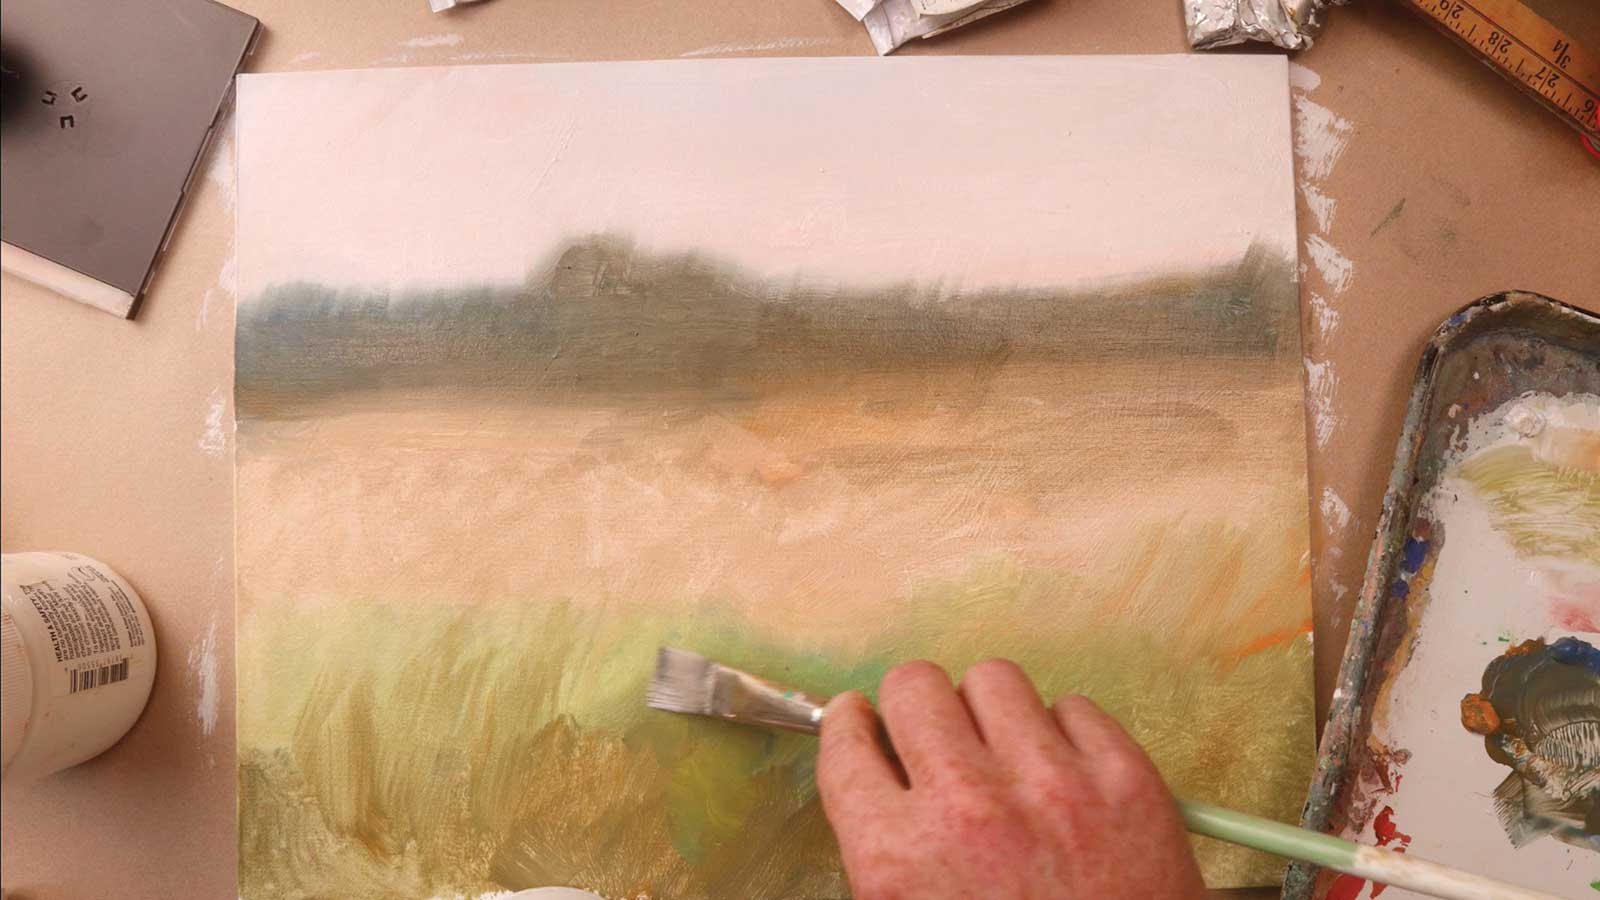
Stage 2 Prepare the Panels
Back in the studio, I use casein to prepare two panels: the painting panel and the FLIP panel. Both are painted with an out-of-focus version of the same background landscape that I saw the day before. The painting panel is a 14 by 18" canvas panel, and the FLIP panel is 28 by 36", twice as big.
 Stage 3
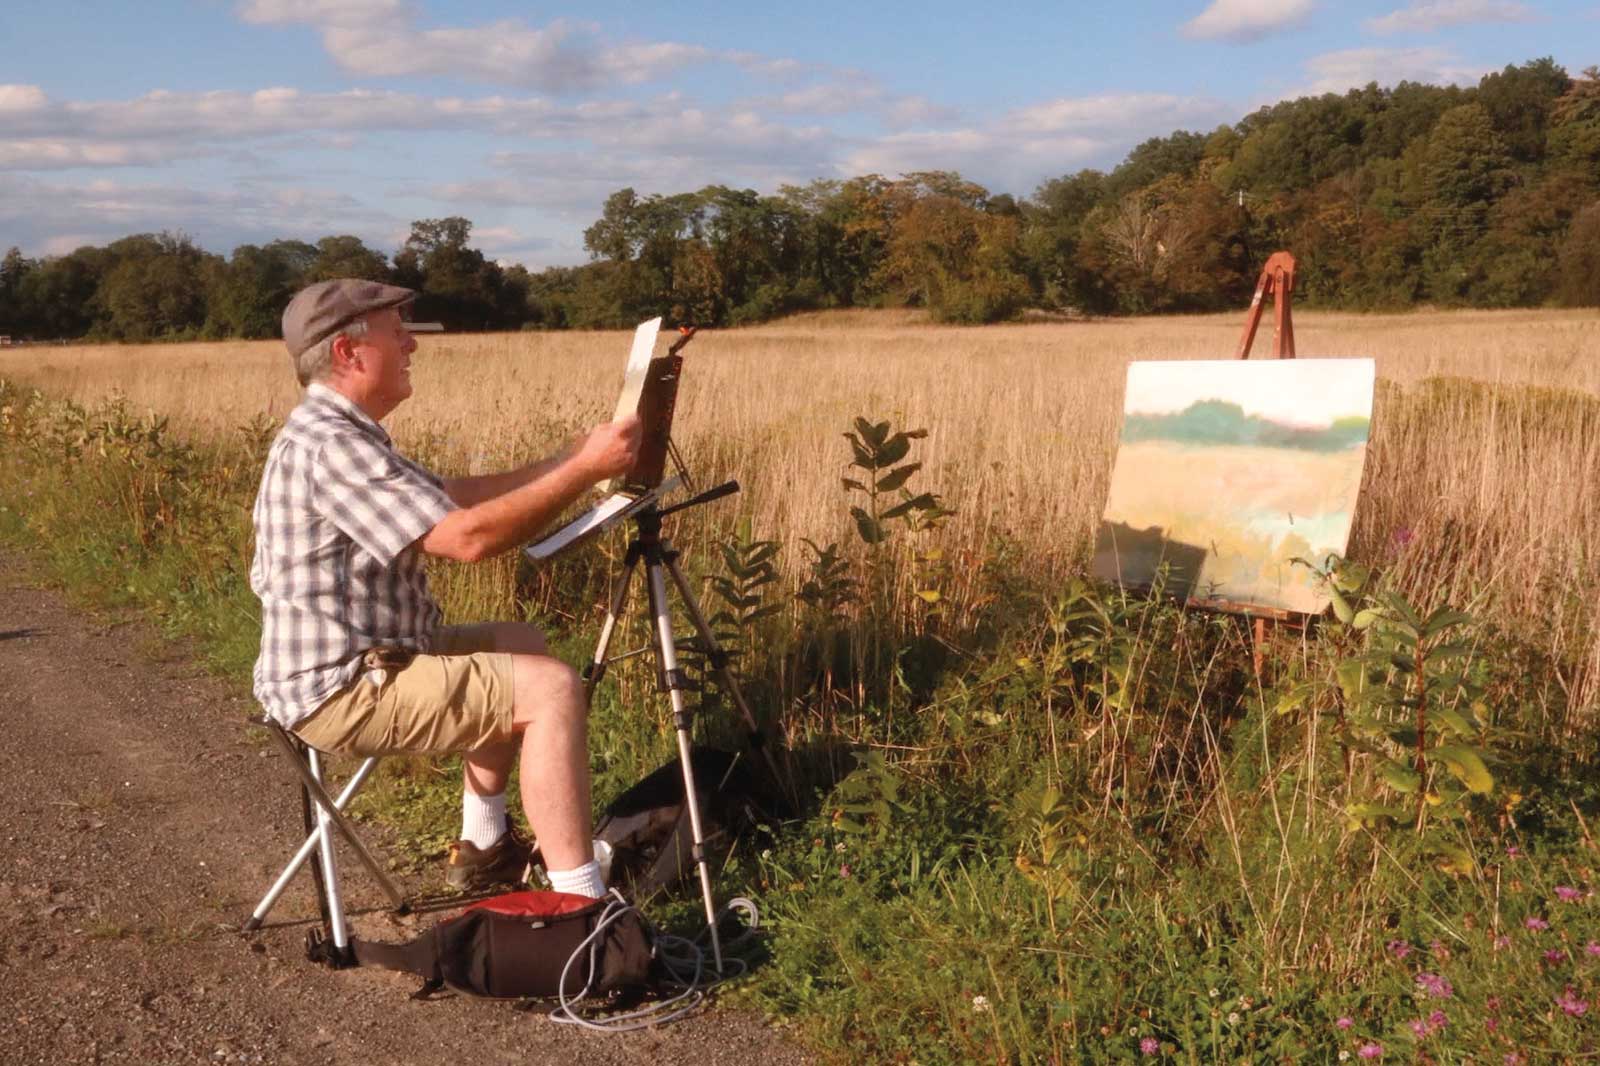
 Stage 3 Set Up On Location
The FLIP panel is on its own easel, lined up behind the specimen I want to feature. It has to be bigger than the painting panel because it needs to go behind the plant.
 Stage 4
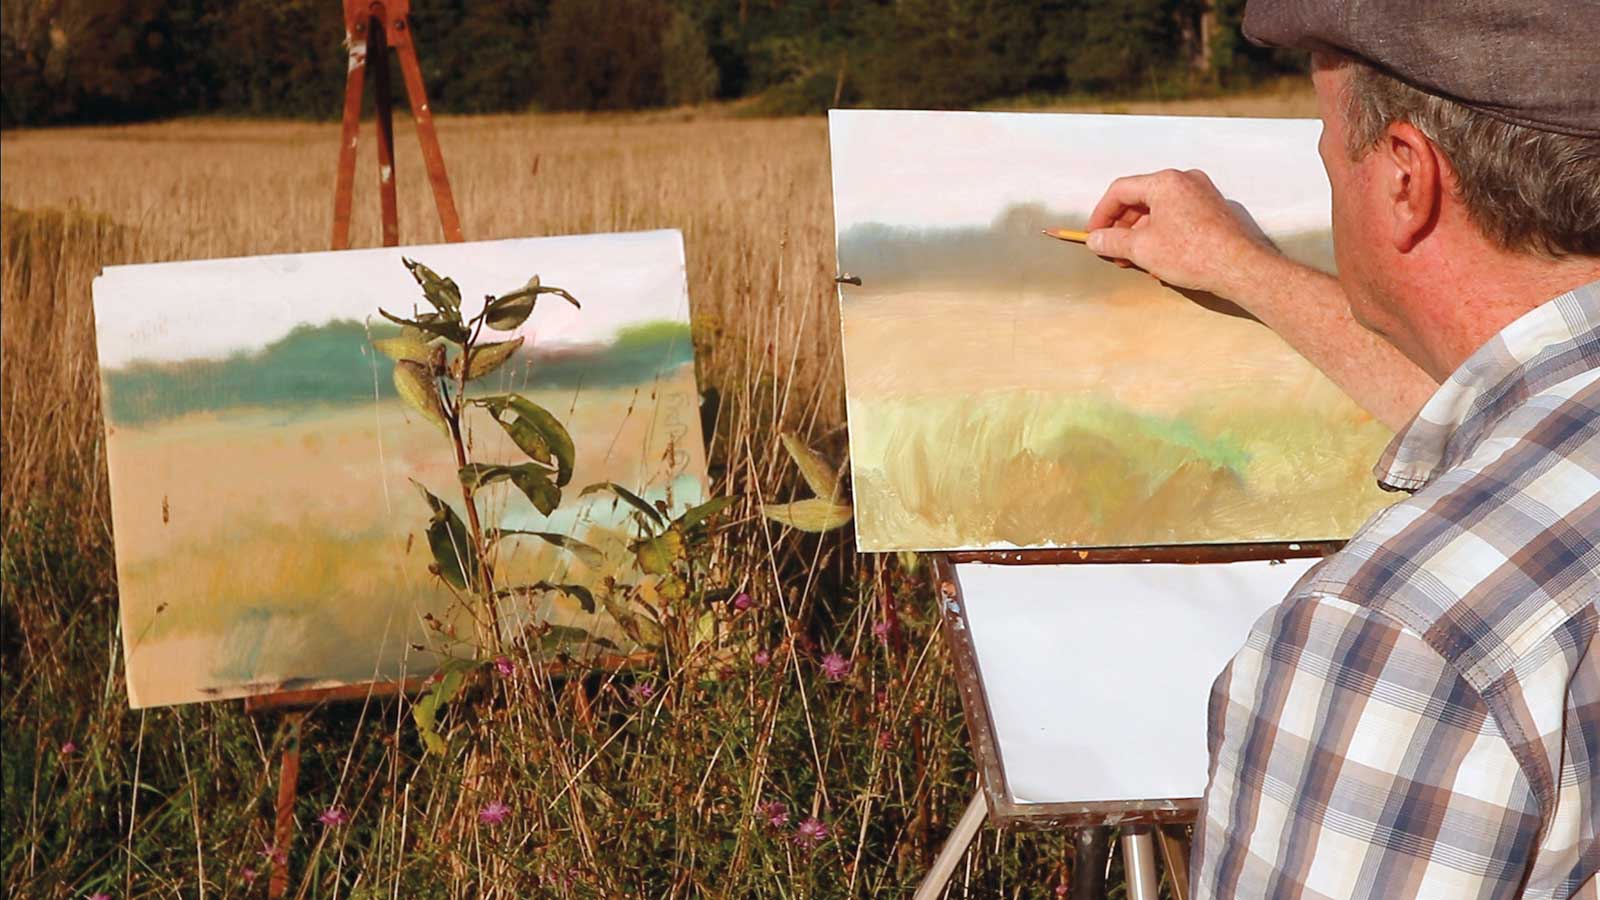
Stage 4 Match to Sight Size
Once they’re both set up, the apparent size of the plant in front of the FLIP panel will roughly match the painting.
 Stage 5
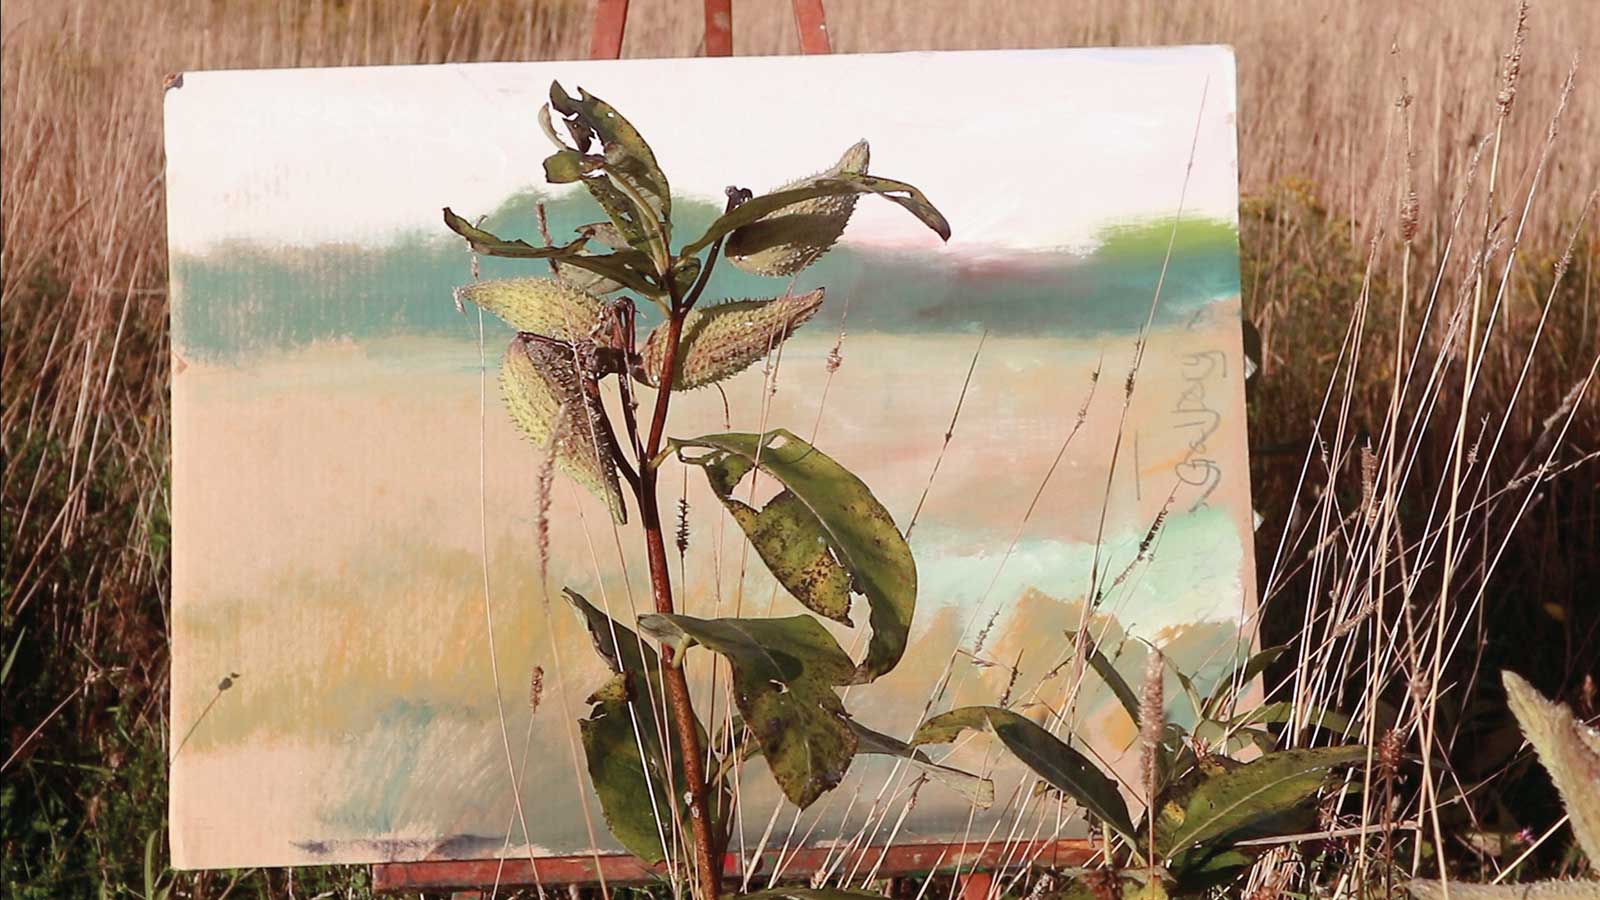
 Stage 5 Select the Reality You Want
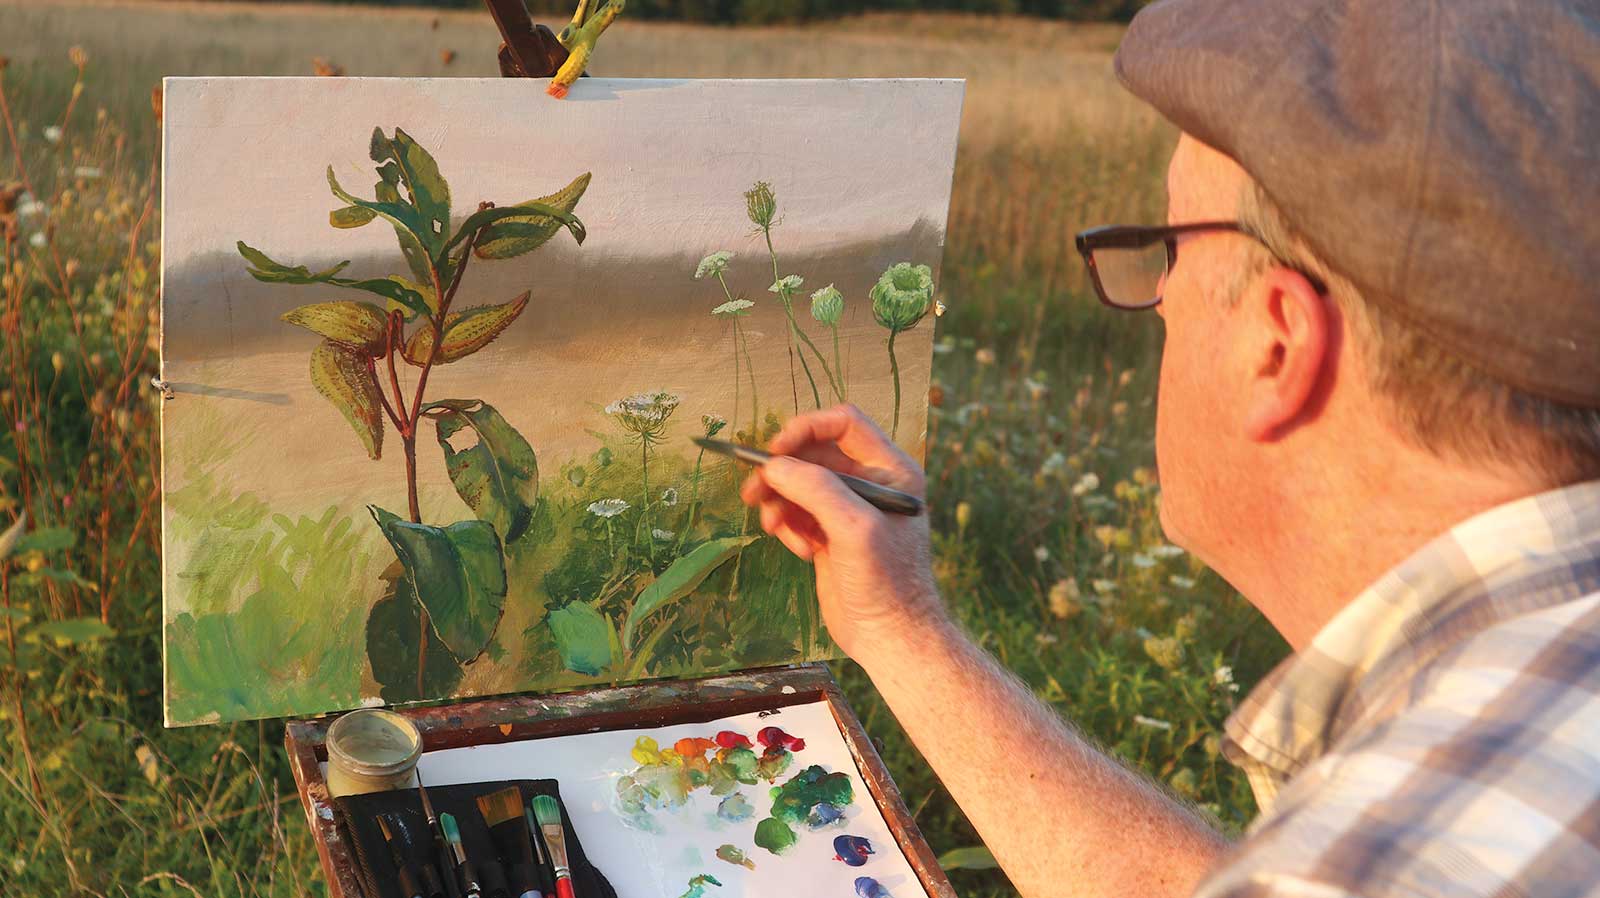
Here’s a photo of what the actual plant looks like from my perspective, with the FLIP panel behind it.
 Stage 6
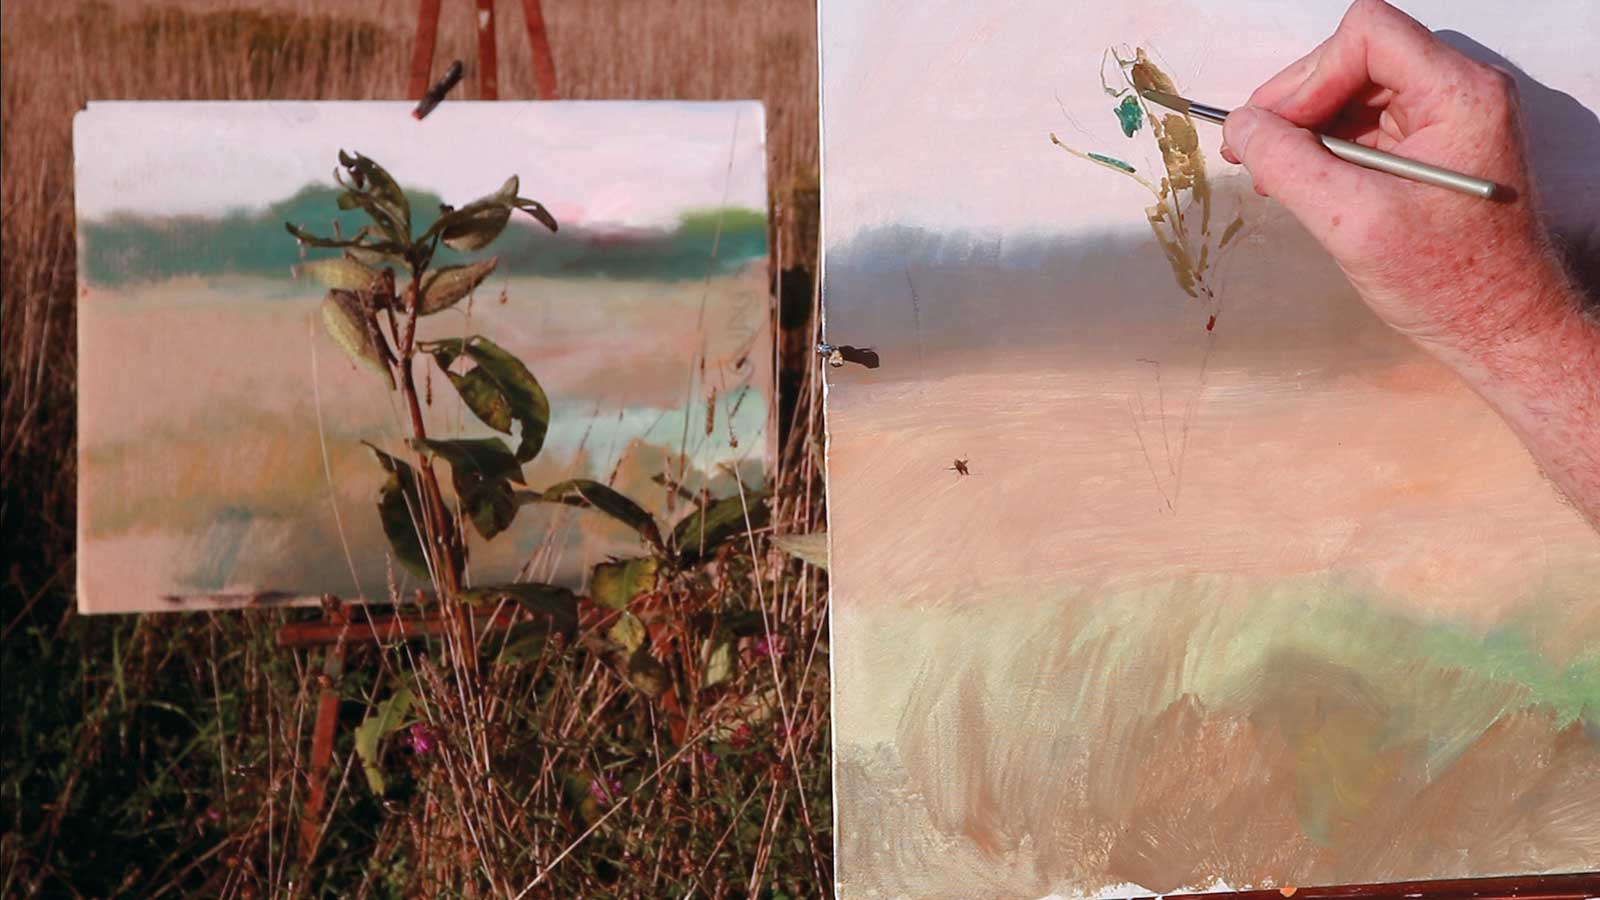
 Stage 6 Paint What You See
The translation from 3D reality to 2D painting is straightforward. The painting has to be accomplished in a day or two because the plants will move and change over time.
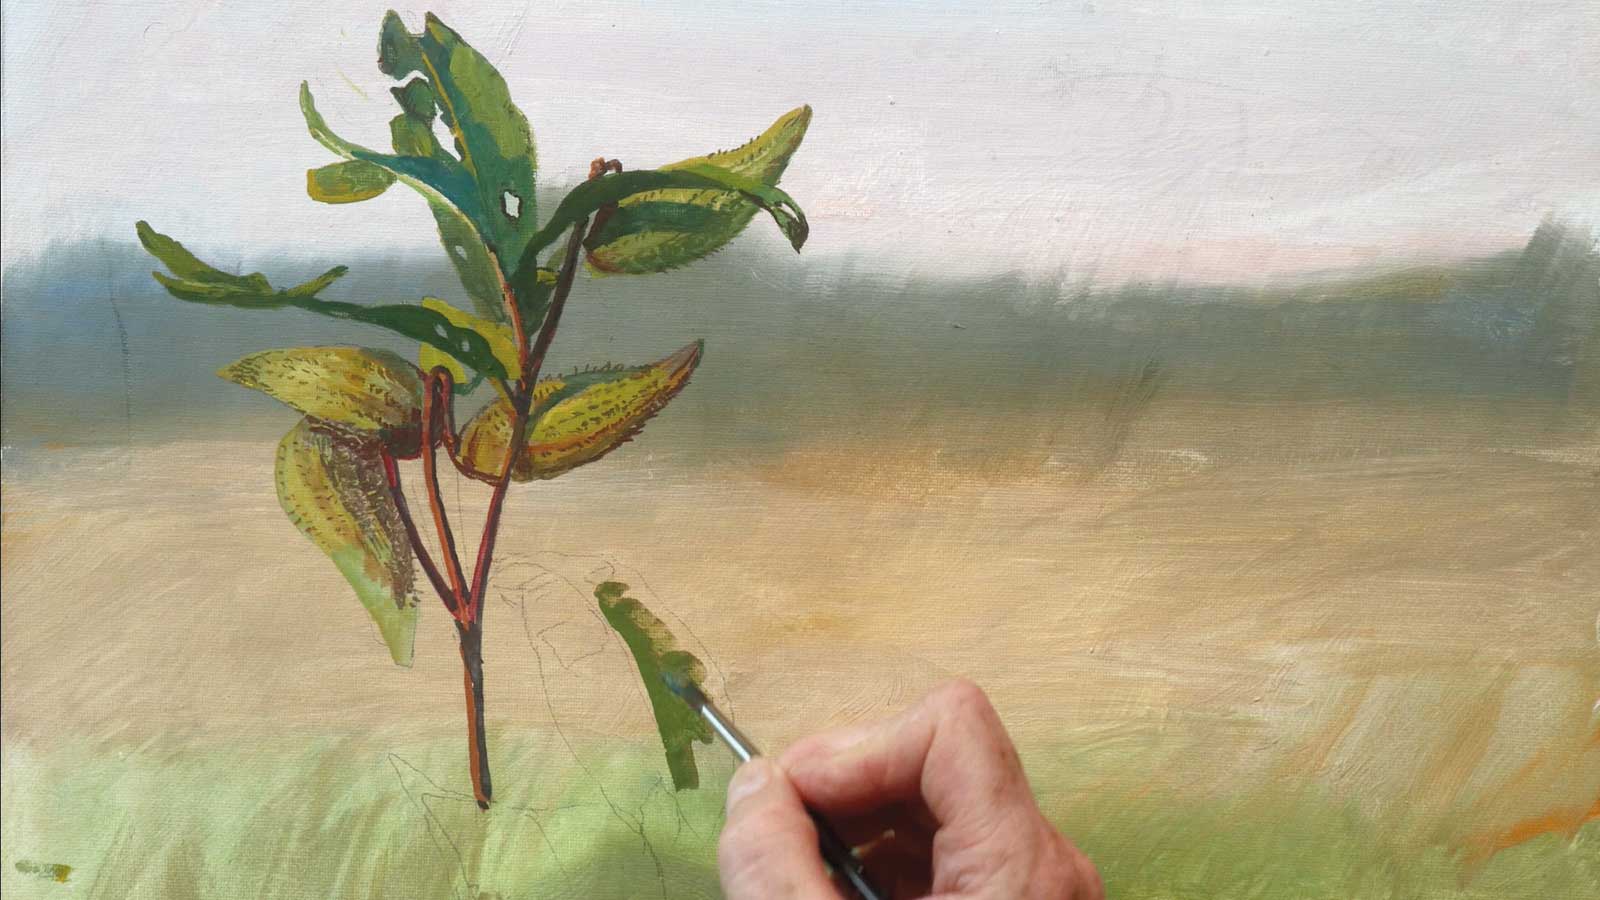 Stage 7
Stage 7 Pour On the Detail
I’m painting the plants in casein, but you could just as easily do this exercise in gouache or oil. There’s no limit to the amount of detail you can lovingly bestow on the foreground, thanks to that blurry background.
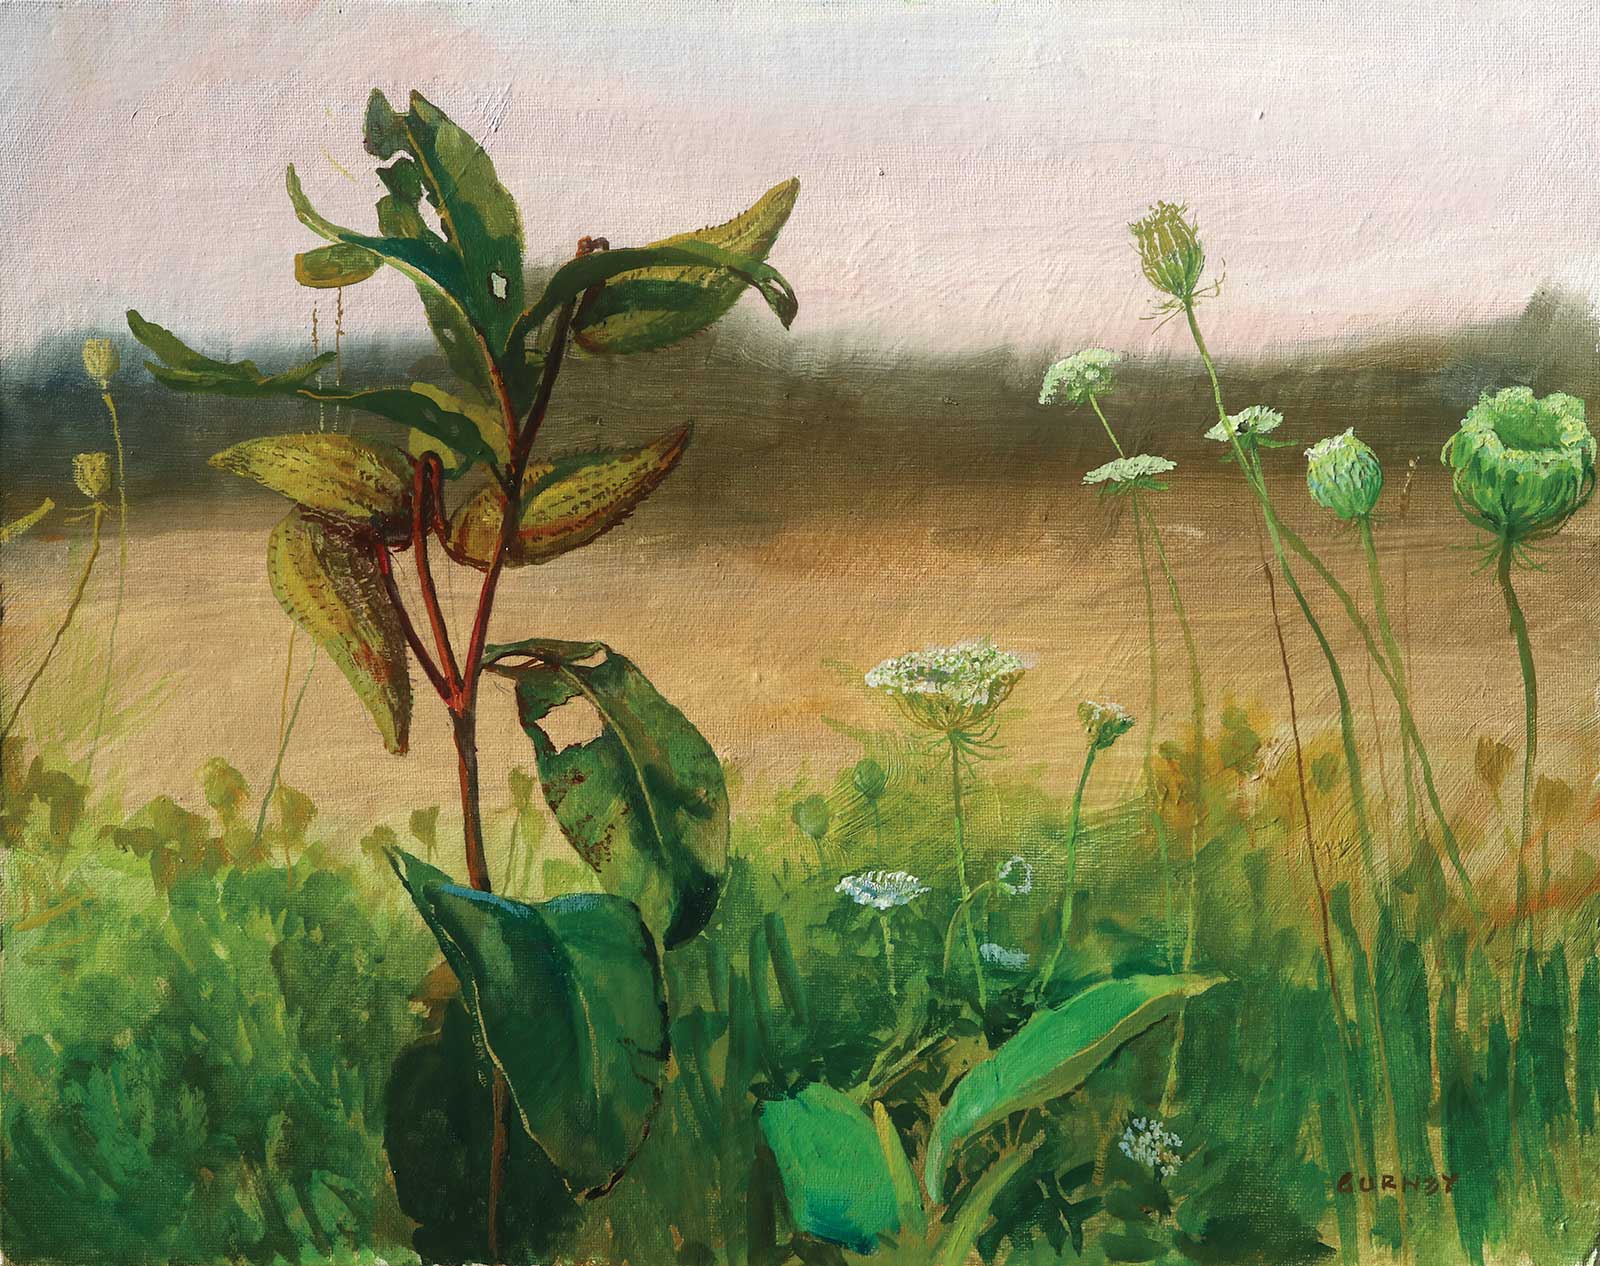 Stage 8
 Stage 8 Finished Artwork
Milkweed and Queen Anne’s Lace, casein, 14 x 18" (35 x 45 cm)
Just about every painting is the story of translating three-dimensional reality into a manageable two-dimensional rectangle. Part of that translation is a filtering process, where the infinite detail available from the real world is reduced to make the interpretation possible. I welcome any device or method that makes that process easier. Using such tools is never a mechanical process because they deepen my understanding of how selectively my attention is distributed in a scene. Selective attention is a key part of any artistic temperament. Émile Zola once said, “A work of art is a corner of creation seen through a temperament.” The joy of art is that it allows us to see the world vicariously through the temperaments of other human beings. —
About the Artist
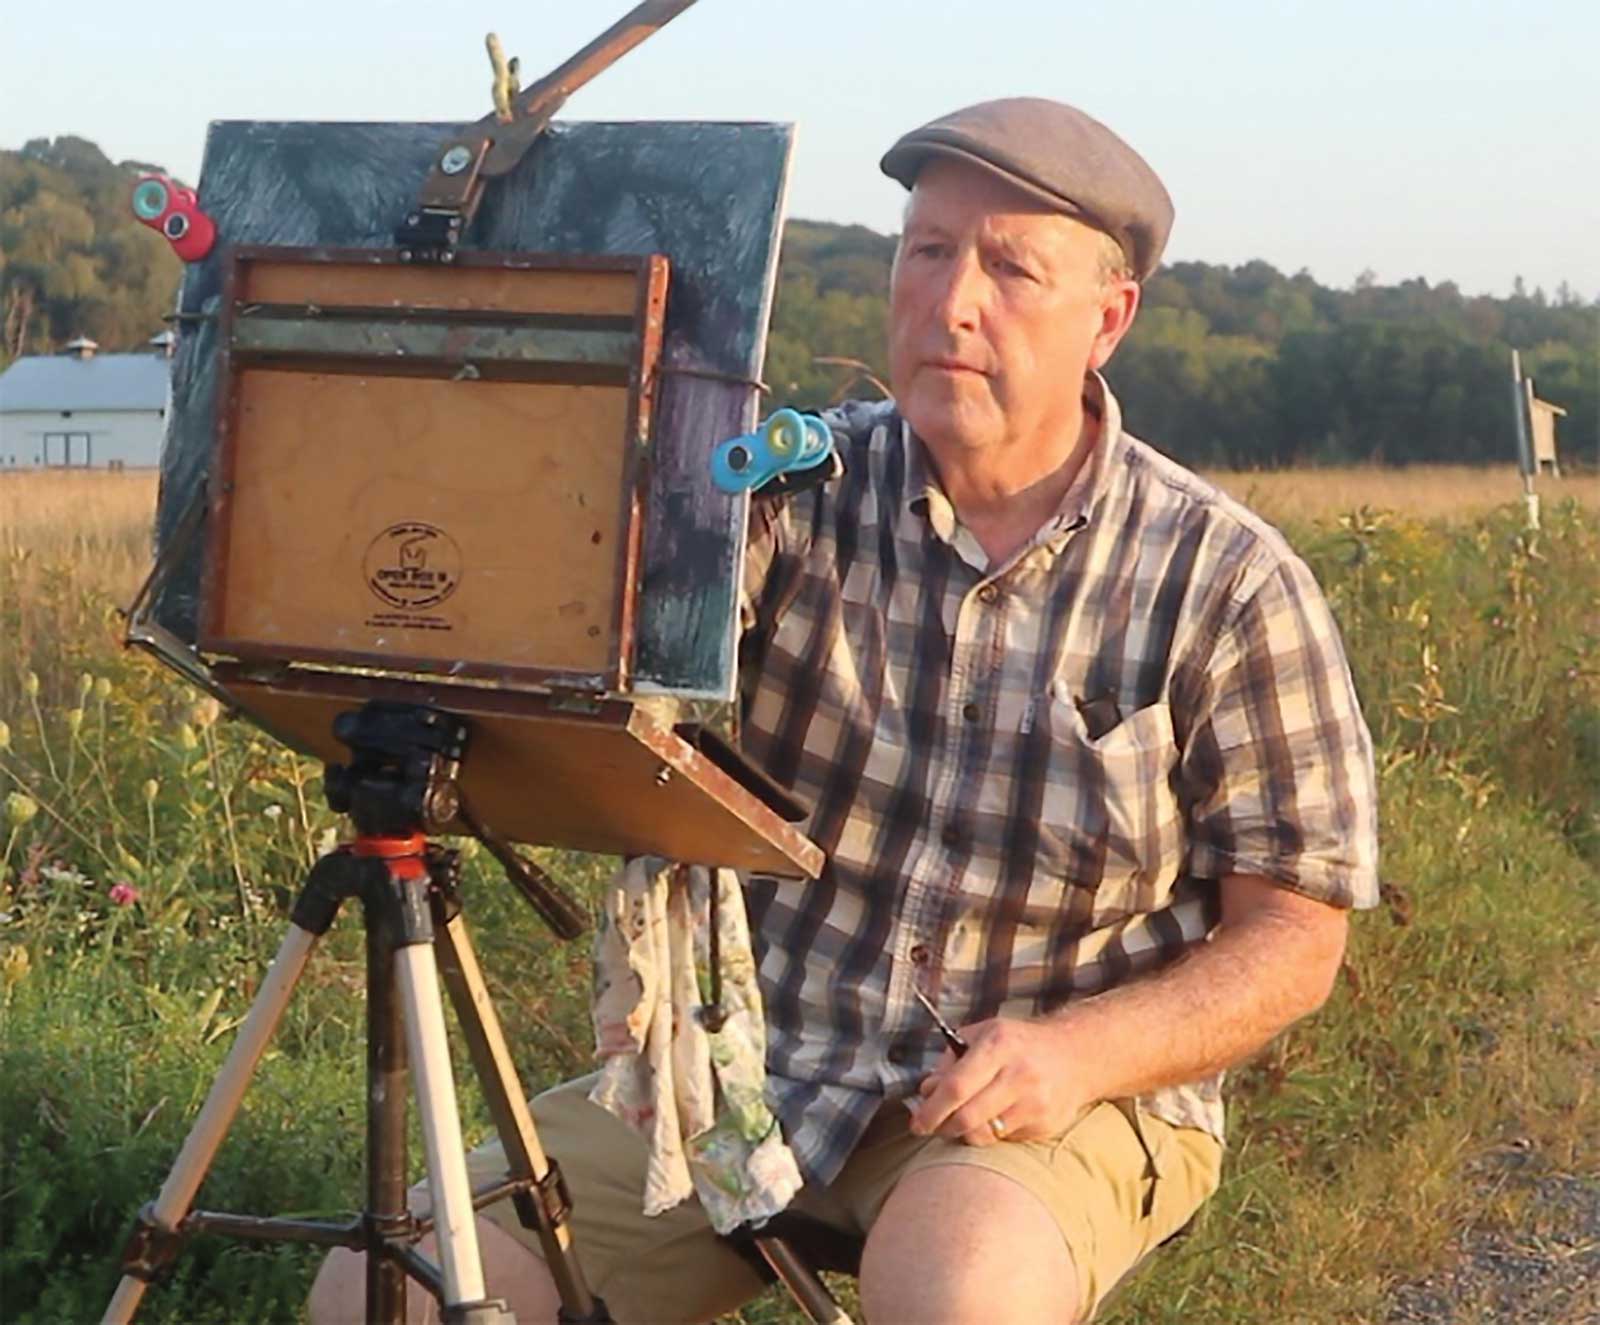 James Gurney
James Gurney recently started a newsletter on Substack called “Paint Here,” where artists can subscribe for free and get inspiring posts delivered by email. You can also follow Gurney on your favorite social media.
Website: jamesgurney.com