


When I started painting, making a better painting was very much a hit and miss affair. It wasn’t until I started painting in series, (in the fashion of Monet and many others) that I really started to improve. It’s called iterative painting—gradual improvements over several paintings. These days I use a mix of traditional and digital media for the sake of efficiency. I’m going to discuss one I did recently based on a trip I took to Tapotupotu in the magical north of New Zealand where we camped for two days. Great surf!
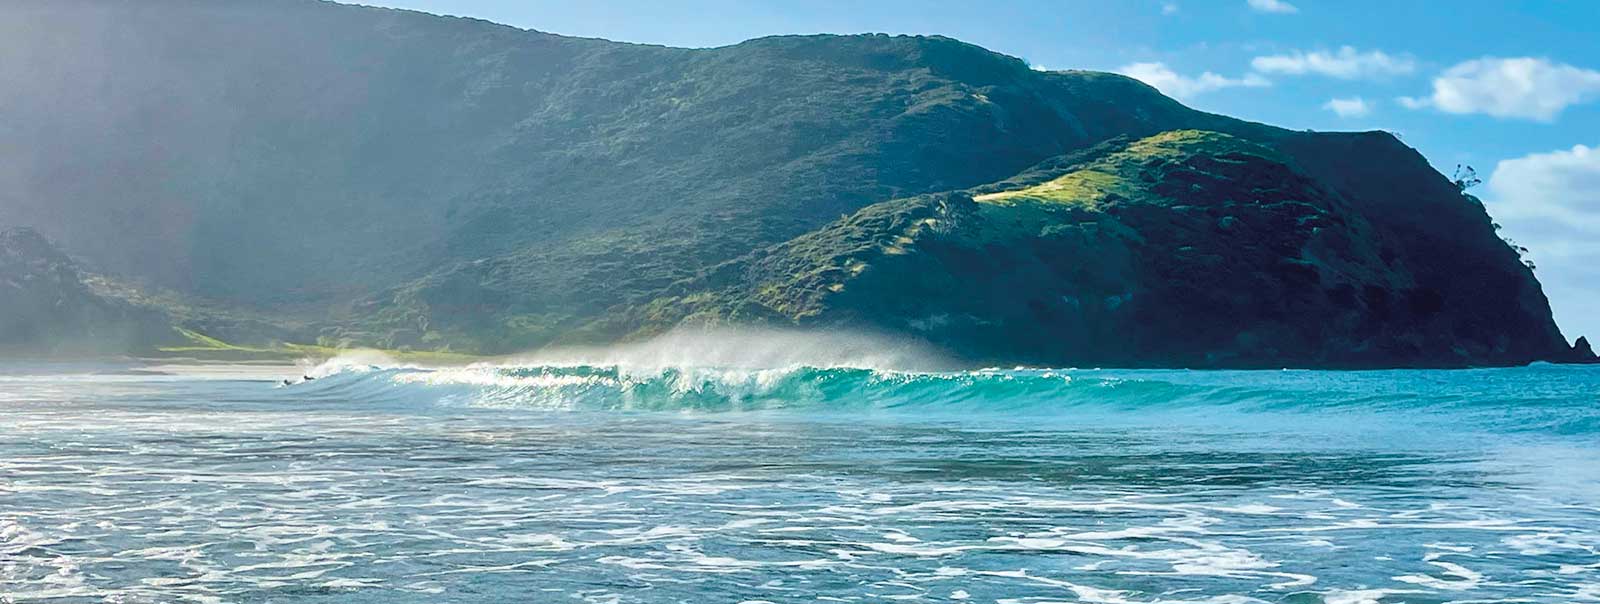
Reference photo of Tapotupotu.

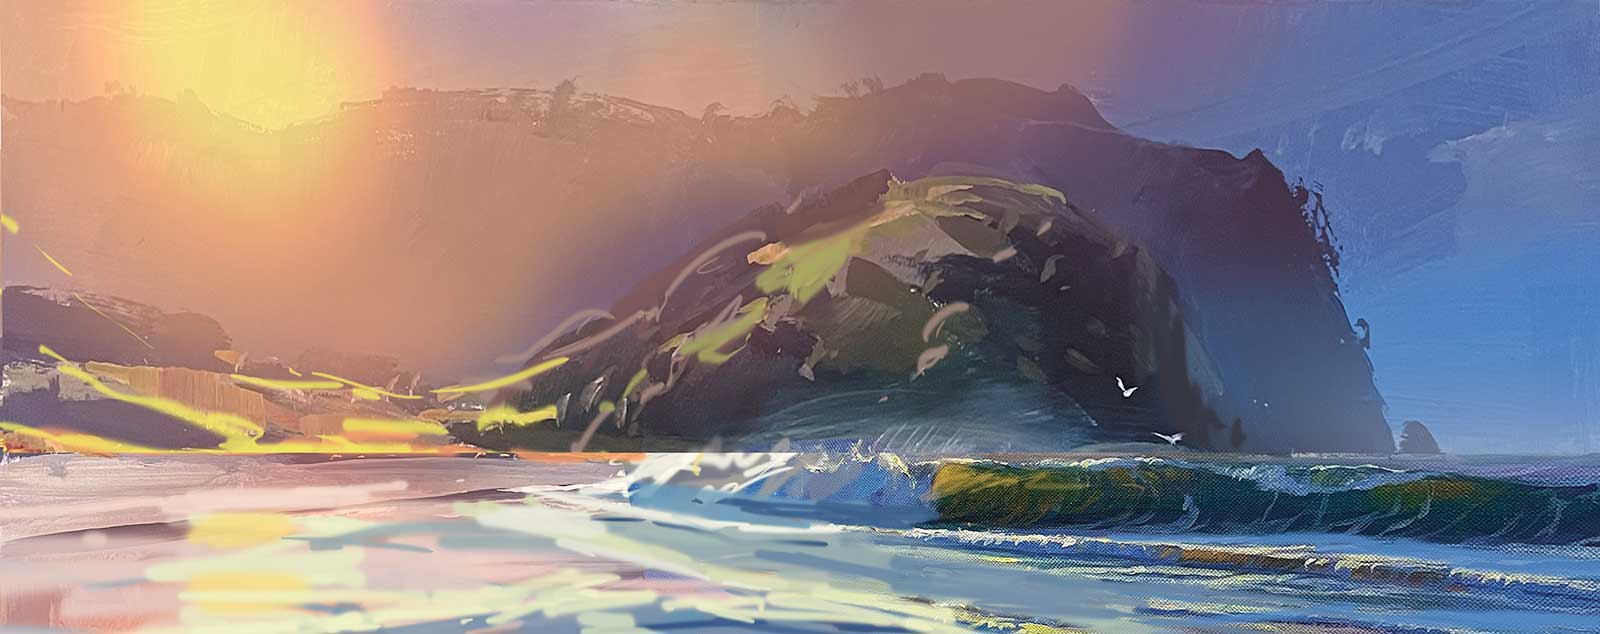
Tapotupotu 1, acrylic on board, 7 x 14” (17 x 35 cm)
Digital sketch over painting.
I took loads of photos as resources for paintings, editing the color on my phone camera while on the spot in order to get the color as close to the scene as possible. I was hugely impressed and moved by the grand hills behind the surf. Such a great backdrop, but also full of beauty itself. With all that in mind I painted this in the studio some days after returning while the inspiration was still fresh. It was a small painting to get my feet wet and start exploring the subject.
Next, I took a photo of this painting and painted over top of it in the Procreate app on the iPad.
The biggest change I made was to lower the horizon. giving more weight to the hills, which was what I loved most about the scene. I decide it warranted a longer canvas, so I extended the sketch:
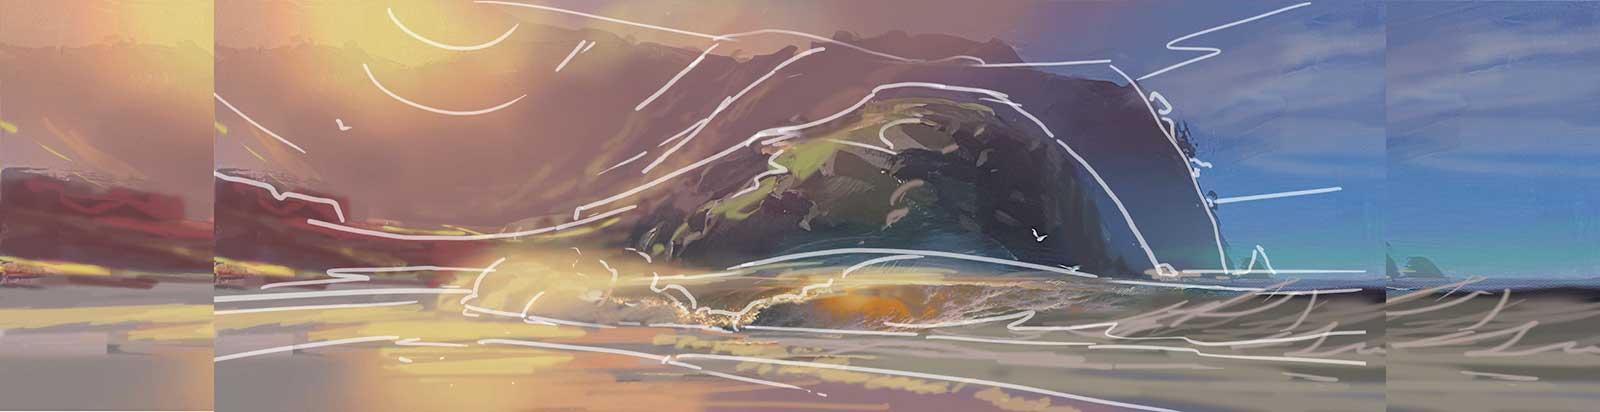
Extending the digital sketch over painting
Once I was happy with that, I went back to the easel and painted the scene again on a larger canvas.
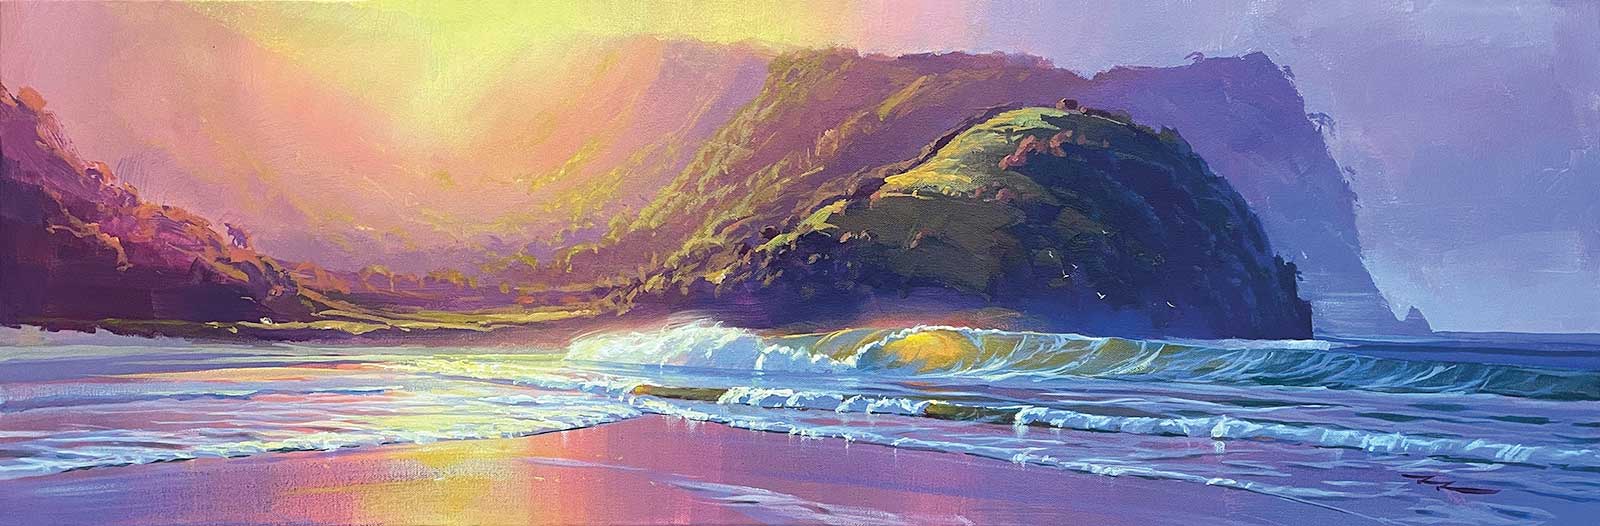
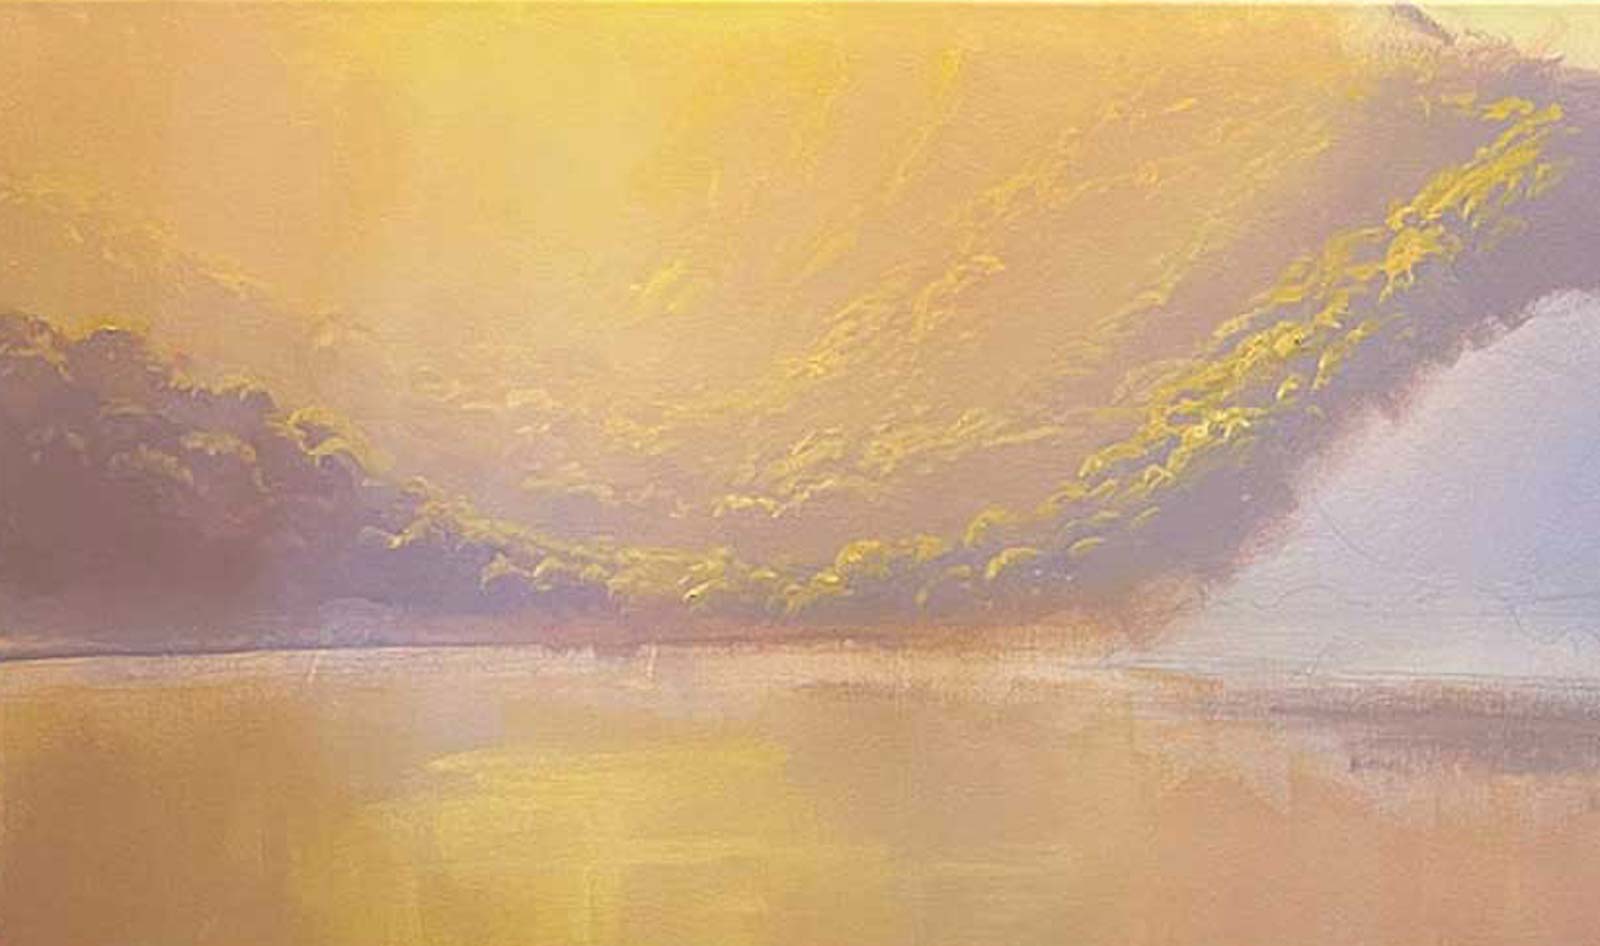
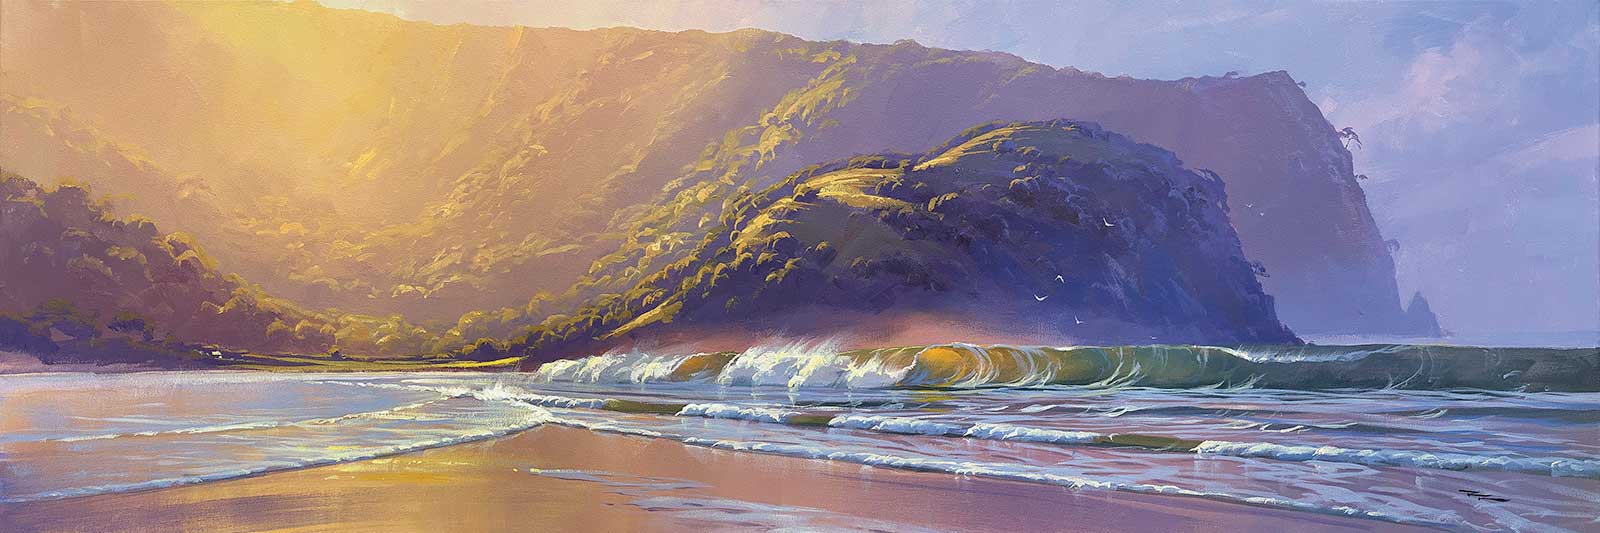
Above: Tapotupotu Sunset, acrylic on canvas, 12 x 36" (30 x 91 cm)
I was very happy with this, but given a day on the wall I could see some things I wanted to try on a larger canvas. So I made some tweaks again in Procreate and then went back to the easel once again.
Tapotupotu Sunset, acrylic on canvas, 12 x 36" (30 x 91 cm)
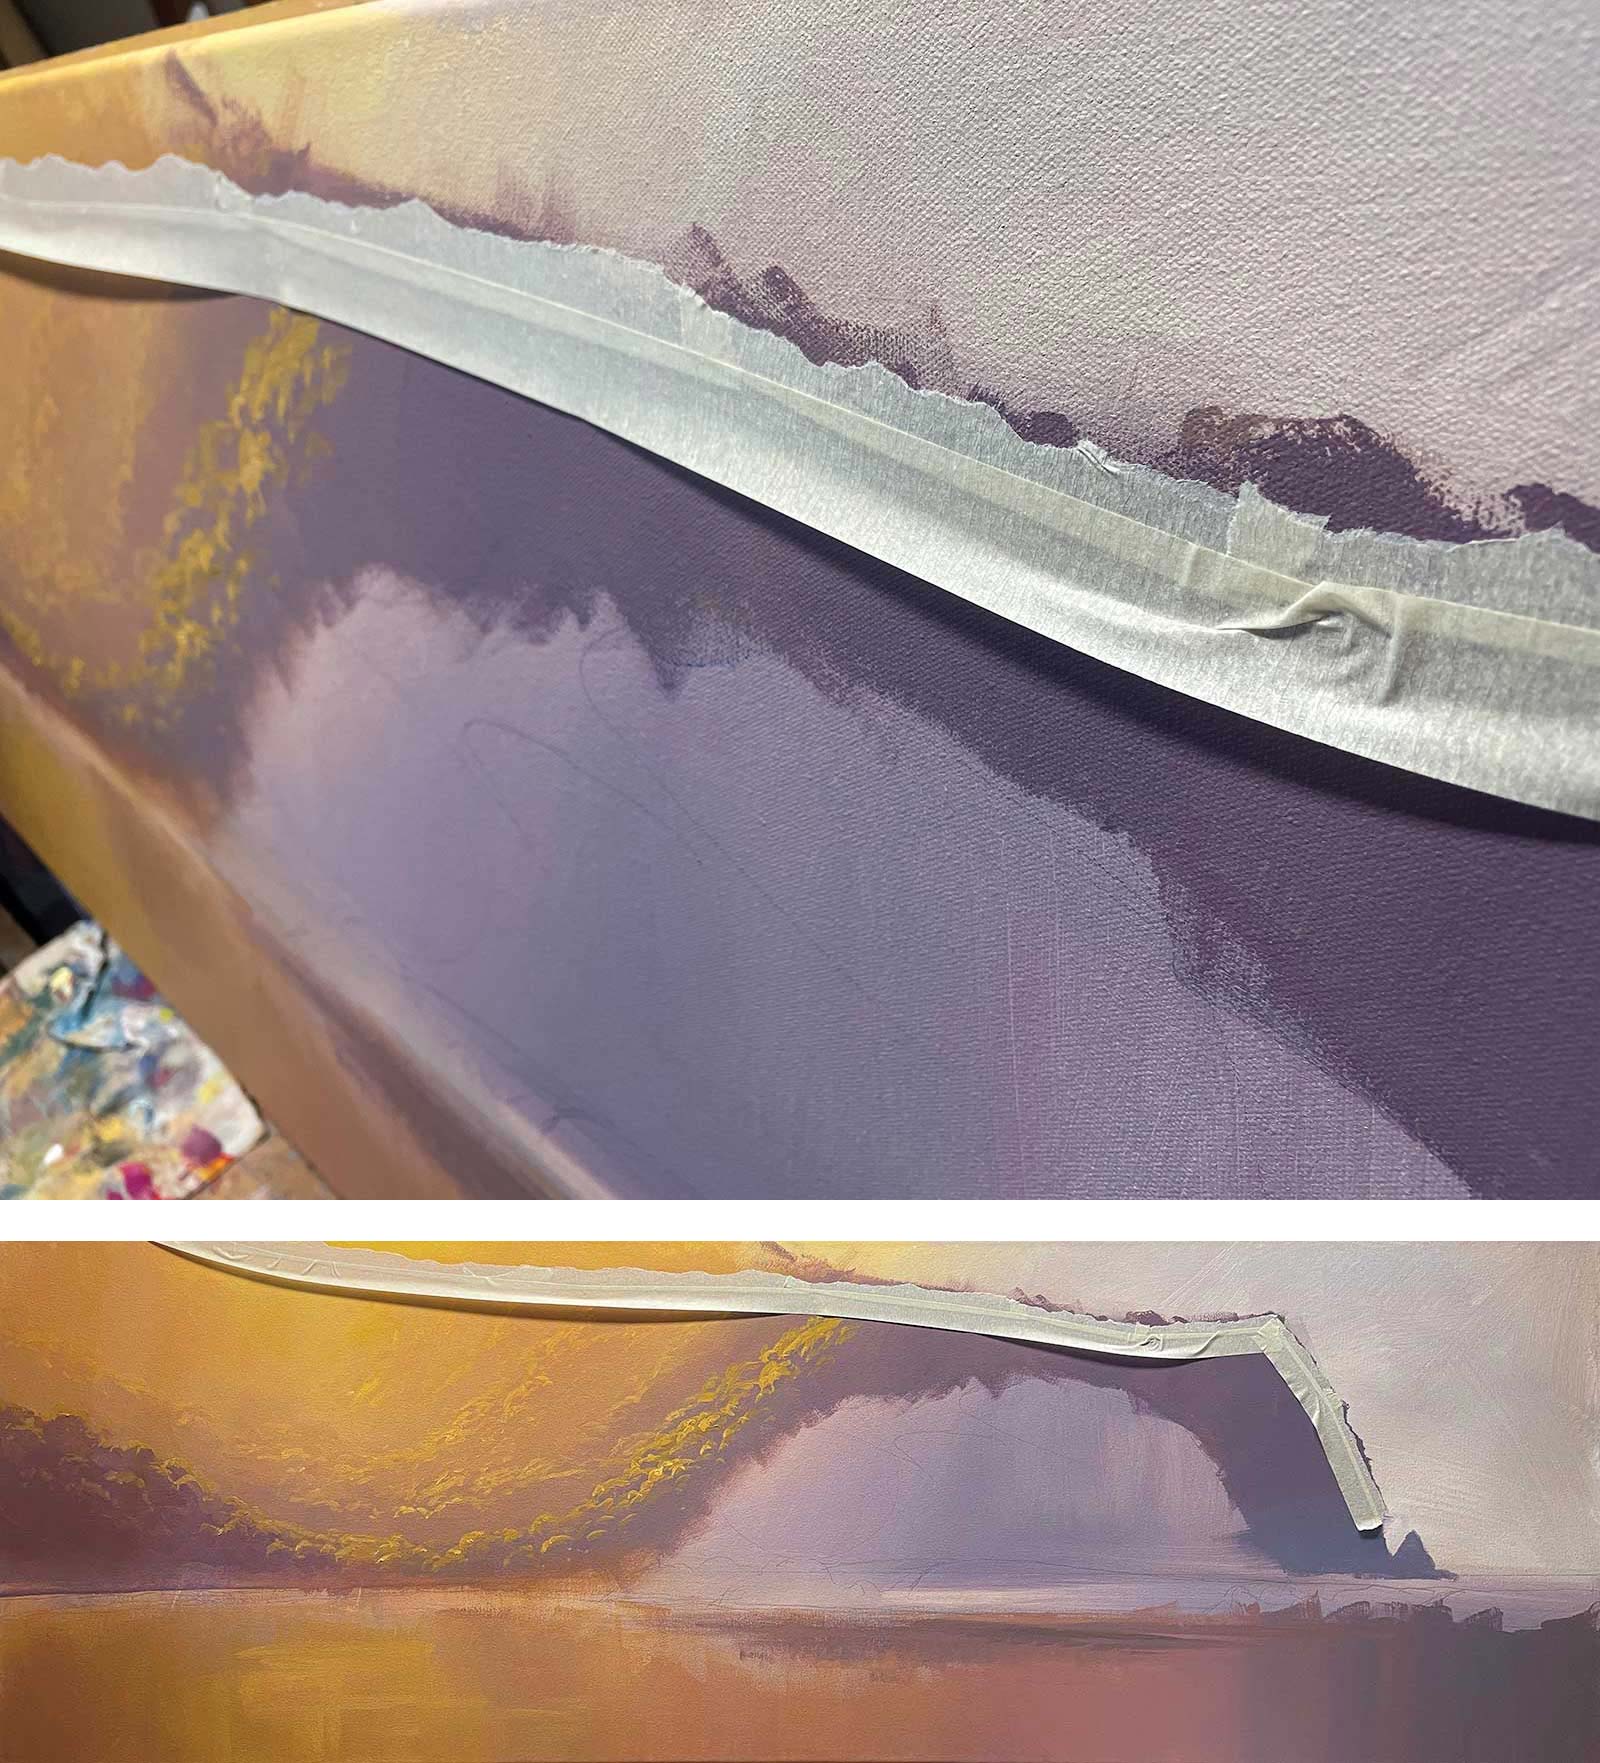
The biggest change is in the coloring as you can see, which is more subdued than the prior painting. The larger canvas presents its own challenges, calling for more detail, larger brushes and loads more paint. When painting landscape in acrylic it helps to paint from the sky forward, although in this one I started with the hills first and used tape to mask the edges.
Step by Step: Tapotupotu Magic
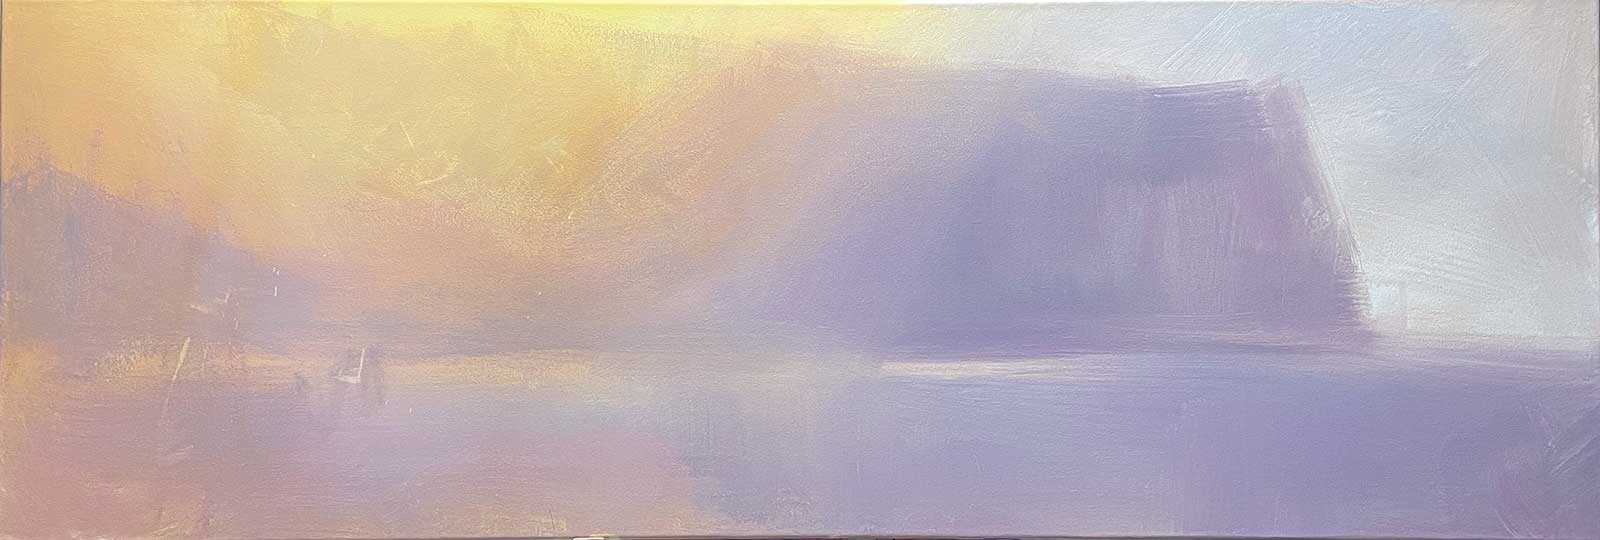 Stage 1
Stage 1
The undercoat.
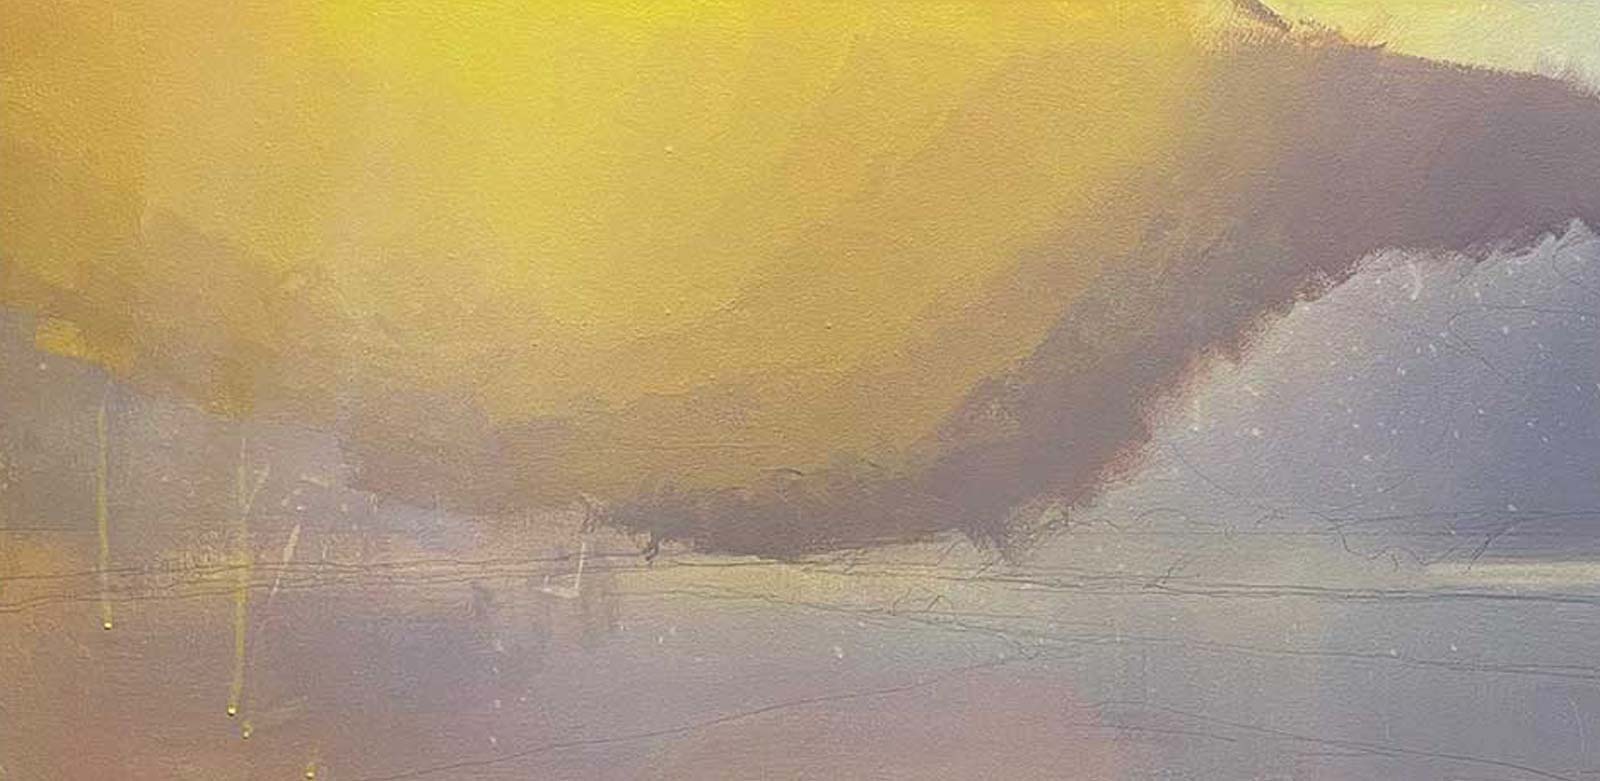
 Stage 2
Stage 2
Transition of colors, light warm to cool dark through the hills.
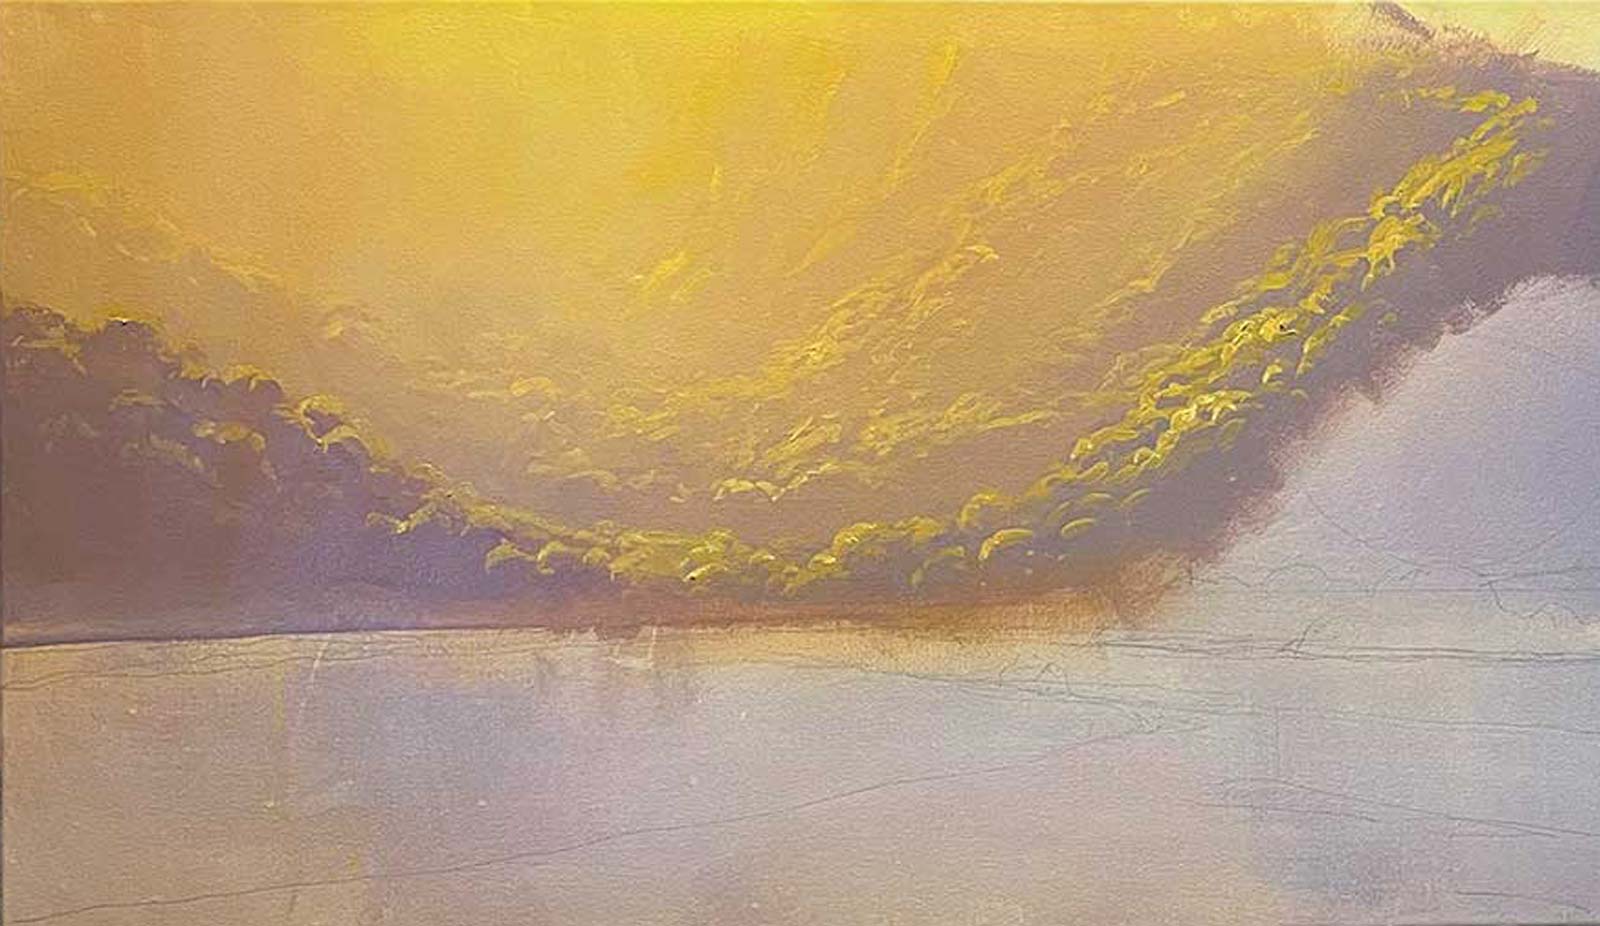
 Stage 3
Stage 3
Building ridges while painting outwards from the sun.
 Stage 4
Stage 4
Light upon the ridges using a filbert brush.
 Stage 5
Stage 5
Using those same colors but a little darker reflected in the wet sand.
 Stage 6
Stage 6
Masking the ridgeline to paint the sky.
 Stage 7
Stage 7
Preparing the glow in the spray above the waves.
 Stage 8
Stage 8
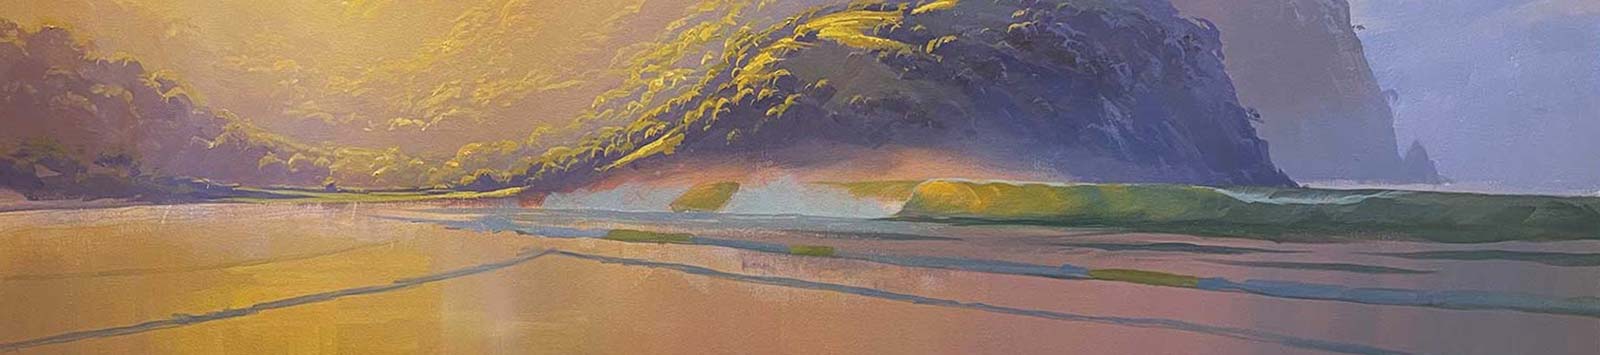
The base layer for the waves.
 Stage 9
Stage 9
The final wave layer, getting lighter and warmer towards the sun.
 Stage 10
Stage 10
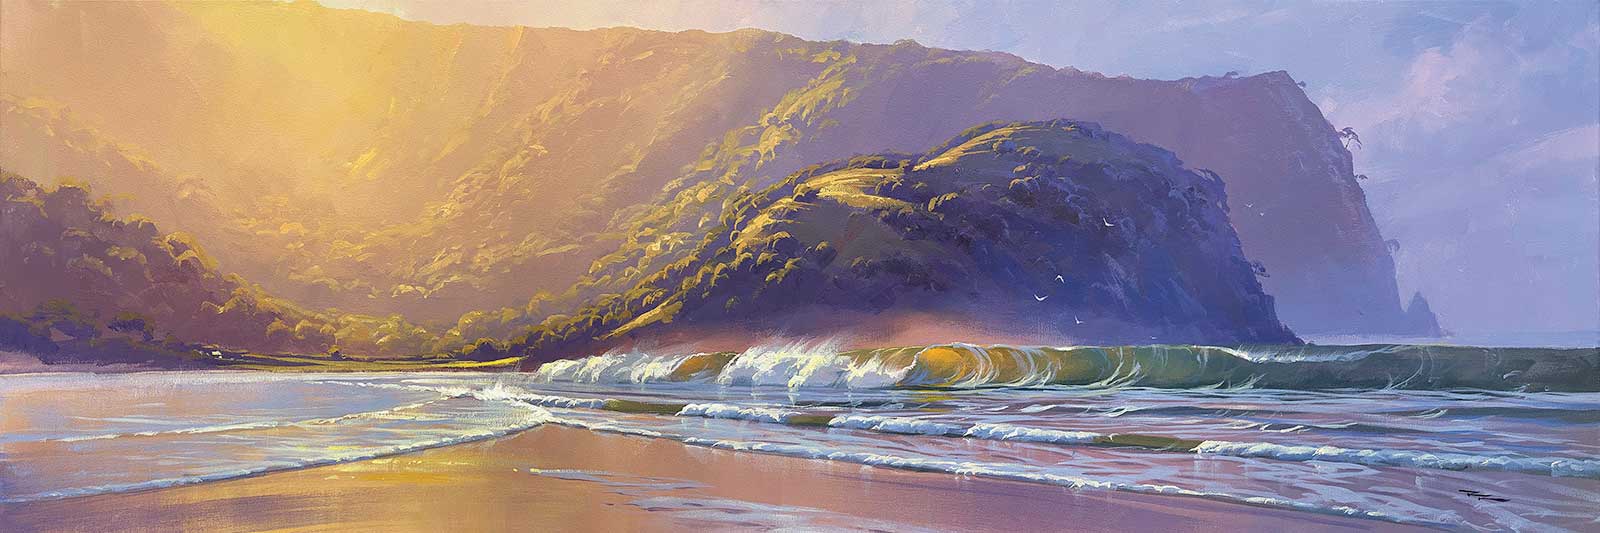
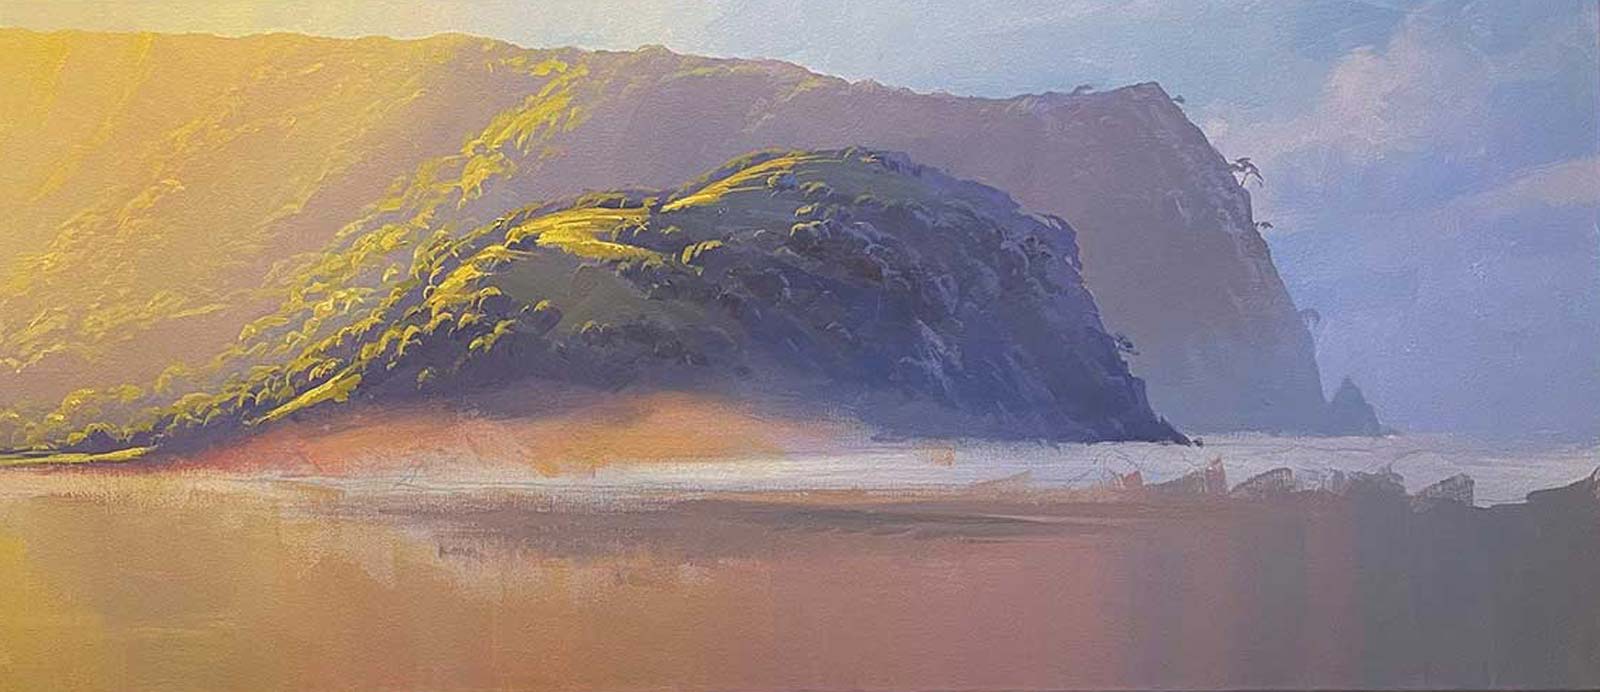
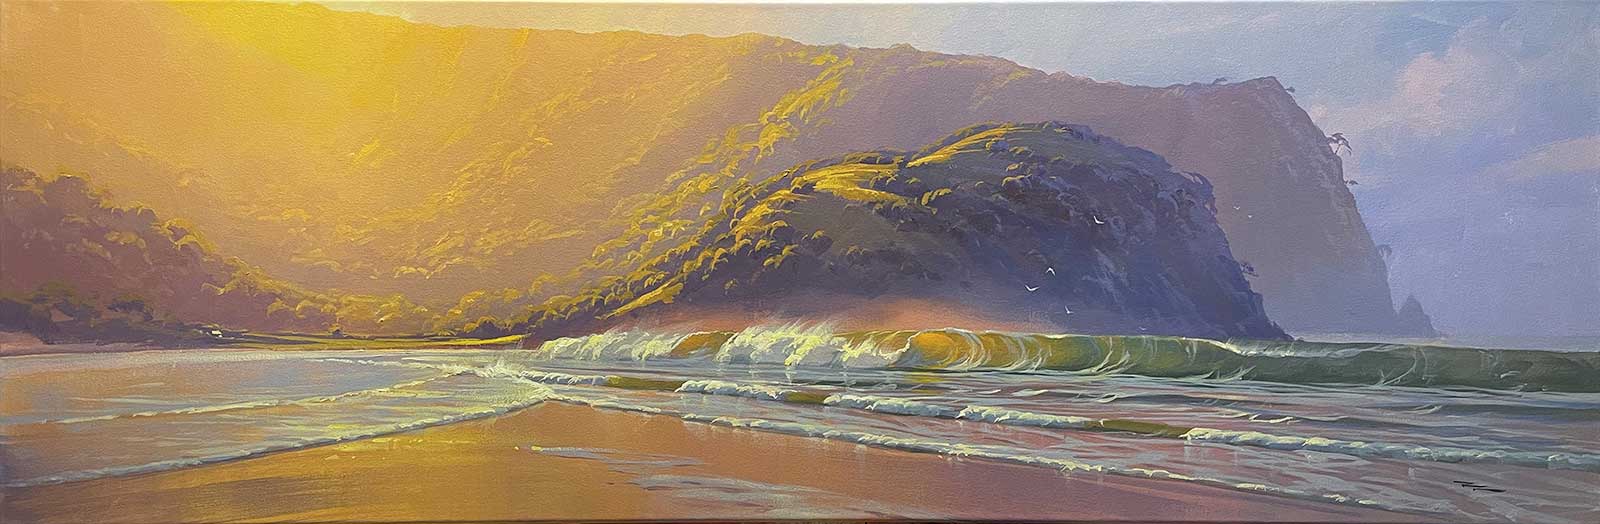
Tapotupotu Magic, acrylic on canvas, 20 x 60" (50 x 152 cm)
Every time I bother to use this iterative approach to studio painting, I am encouraged by the final result. I also enjoy the studied, thoughtful process. Give it a try! —
About Your Tutor
Richard Robinson is one of New Zealand’s premier outdoor painters. You can view his extensive online lessons at www.mypaintingclub.com.