


For me as a wildlife artist, scratchboard is an interesting art form to work with. I’m able to create artworks with exceptional detail and realism, giving me the ability to render a wide range of intricate subject matter like the fur, feathers and skin of animals.
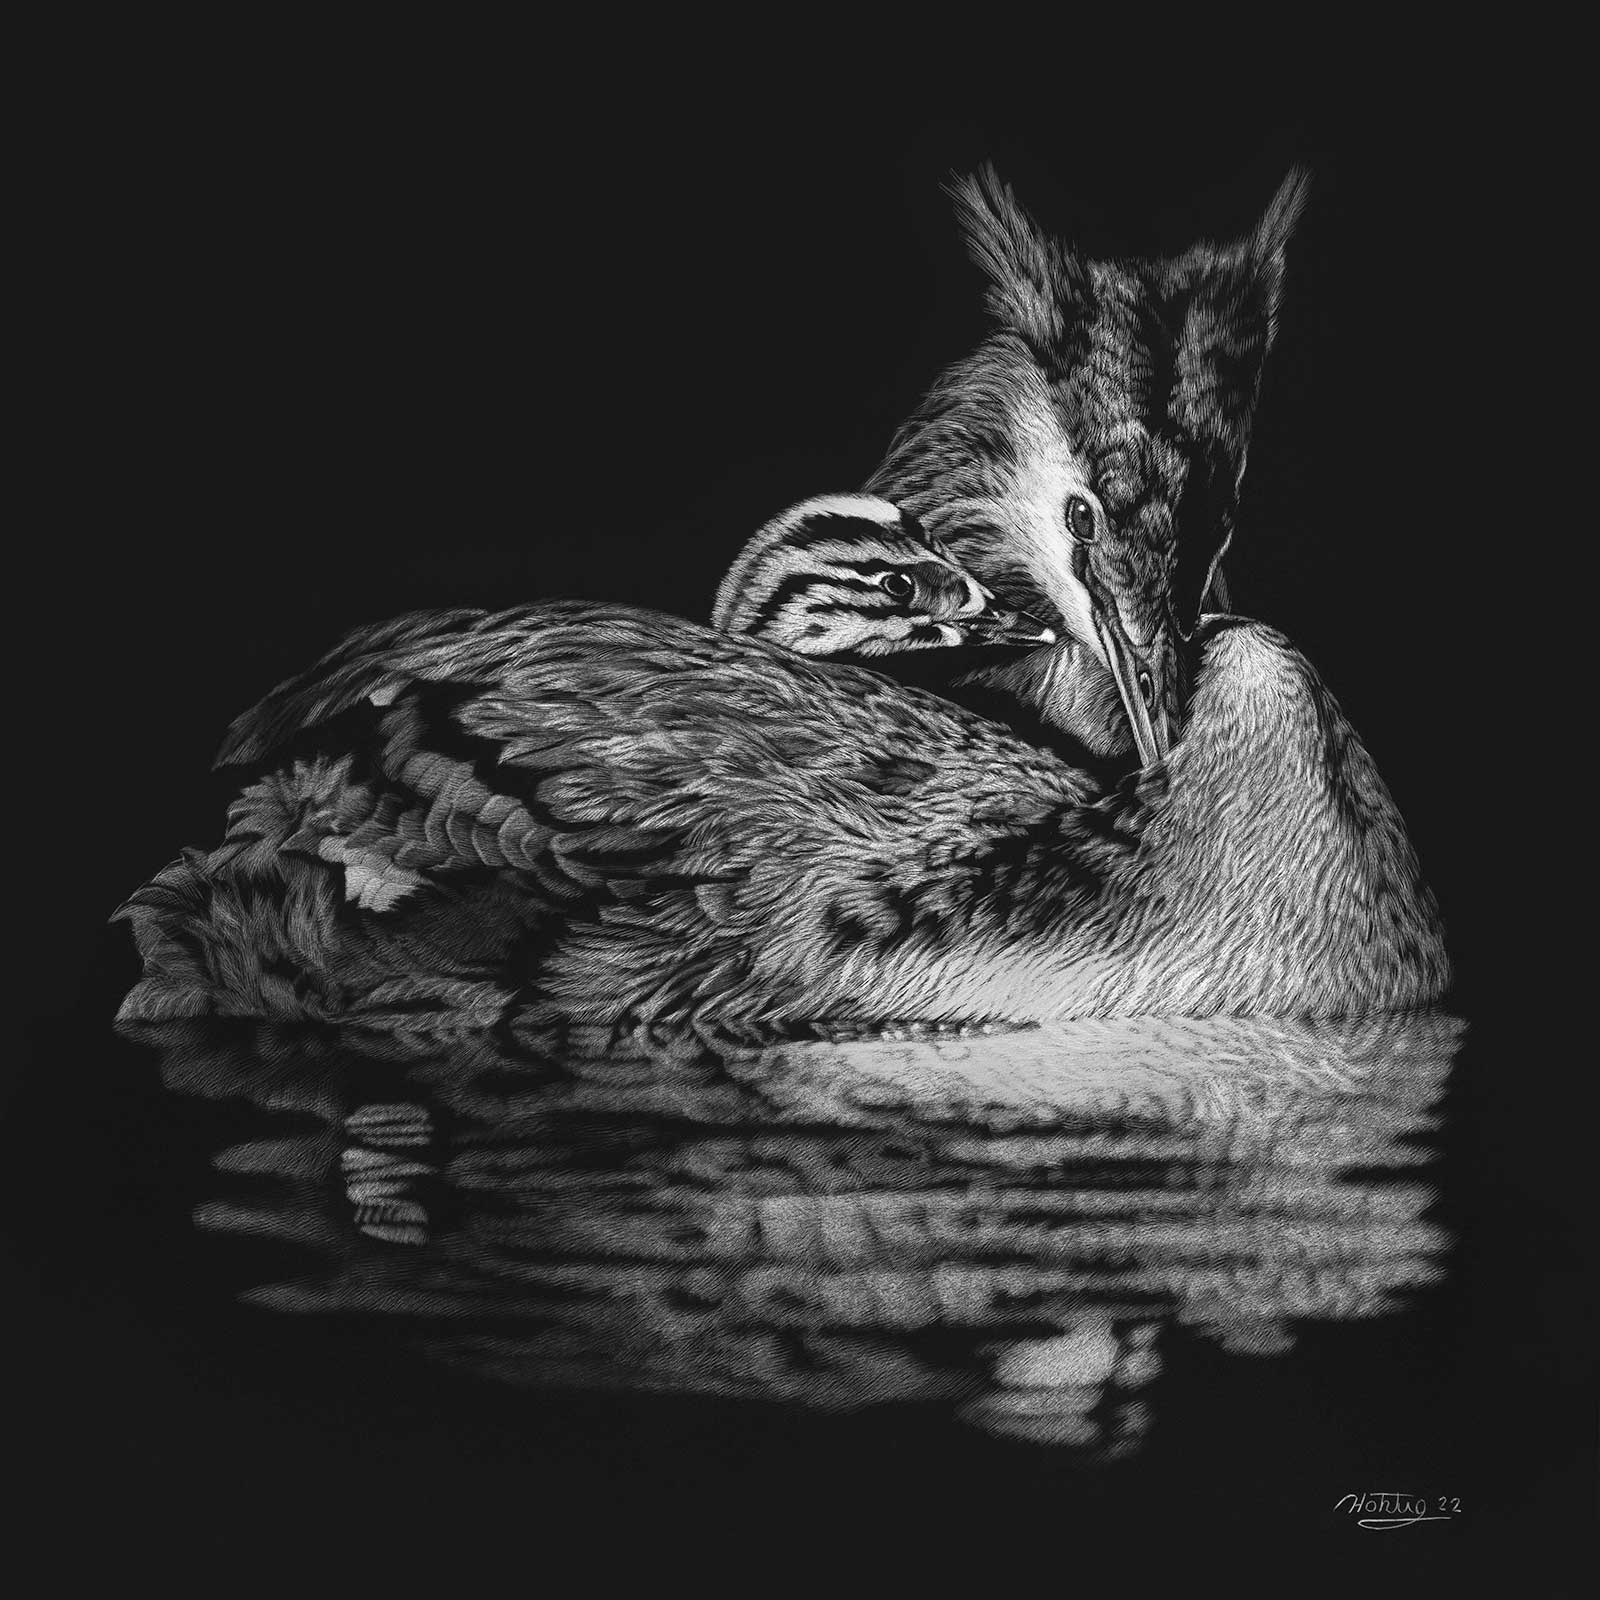
Tender Reflections, Great Crested Grebe, scratchboard, 12 x 12" (30 x 30 cm) This piece combines a lovely geometrical balance between the mother bird and the striped appearance of the chick, which make the composition in this scratchboard work perfectly. I used tattoo needles to create the water reflection while the plumage of the birds was mostly done carefully scratching in layers with an art knife.
Scratchboard has a long history, going back to when monochrome illustrations were used for books and journals. The further development of modern, museum-grade materials has allowed this medium to continually evolve to the present day where it is now prominent in design work and fine art. Since 2011, a vibrant community of artists has formed in the International Society of Scratchboard Artists (ISSA) counting 250 members from ten countries. When I discovered this unique medium over a decade ago, scratchboard soon became a great addition to my technical portfolio, and I have been a member with the ISSA for many years, honing my skills in this technique.
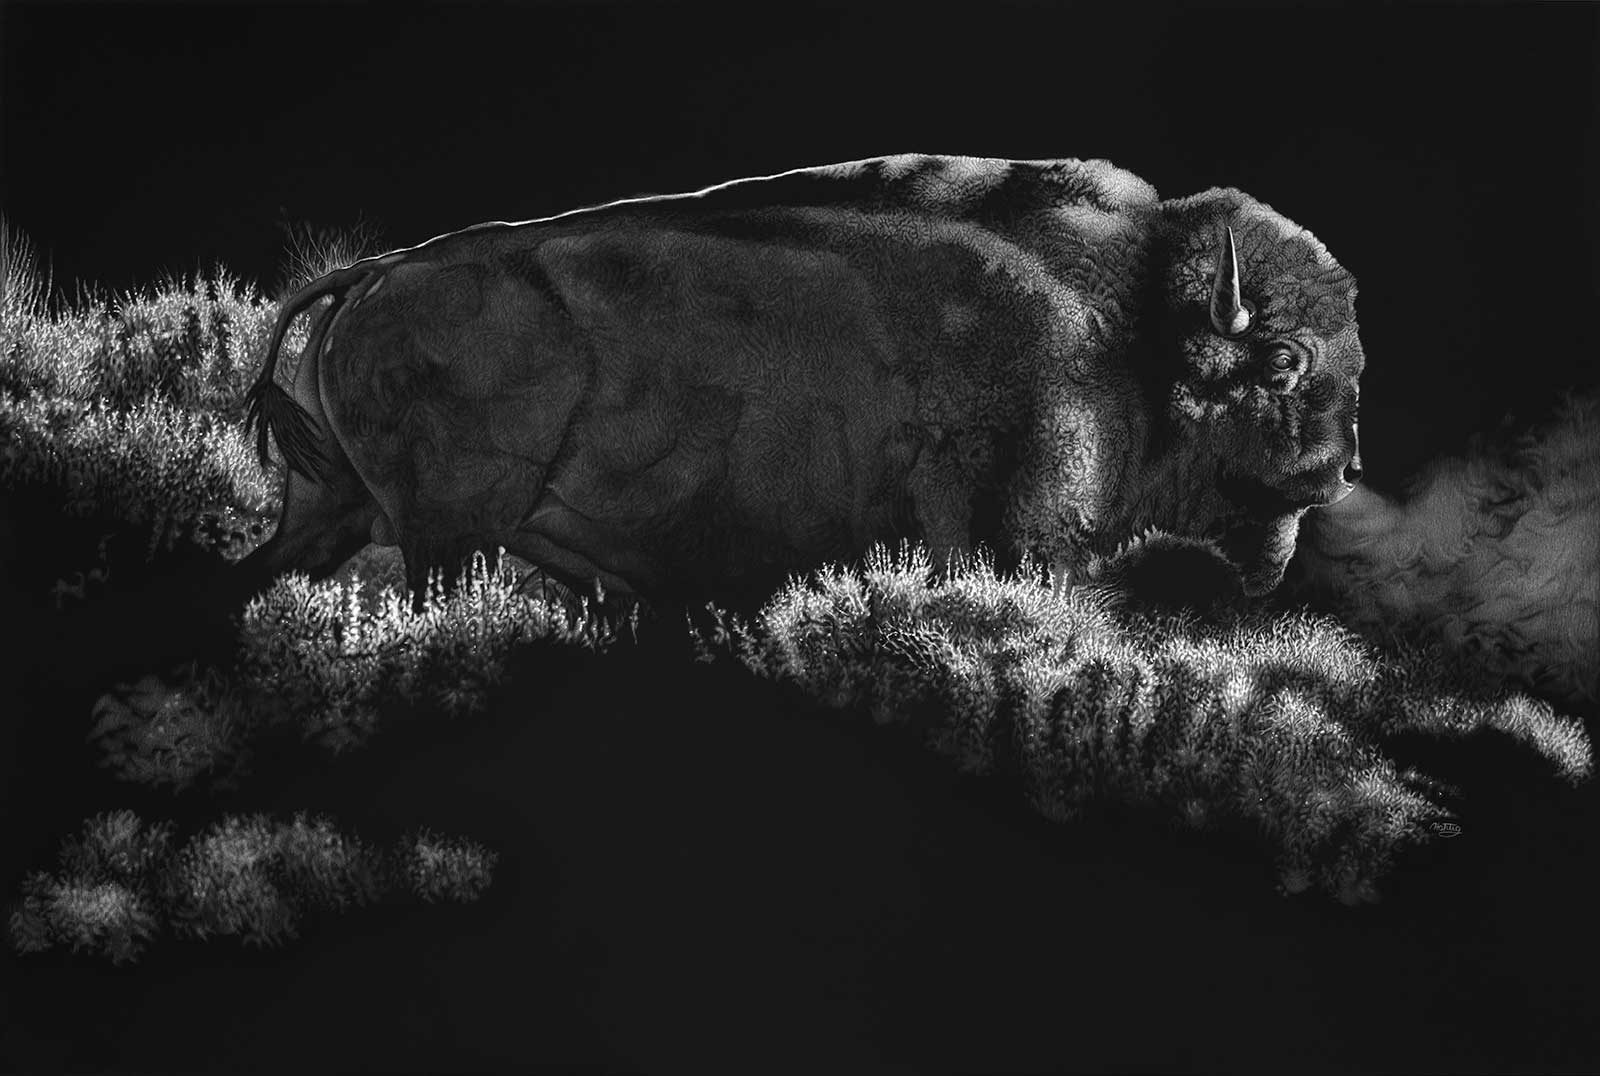
Silver Light, American Bison, scratchboard, 24 x 36" (60 x 91 cm) I added an enchanting backlight situation to this scenery to describe the scrubby habitat, at the same time perfectly framing the bison’s anatomy. Using high contrast and light in my work allows me to enhance the strong presence of the animal, and a dramatic scene is created.
Within my artwork, I’m inspired to capture the finest details of nature. I want to capture that feeling of beauty, perfection and natural spirit. Scratchboard technique allows me to reach for this goal, communicating my emotions about nature and wildlife in the drama of black-and-white contrast, light and atmosphere.
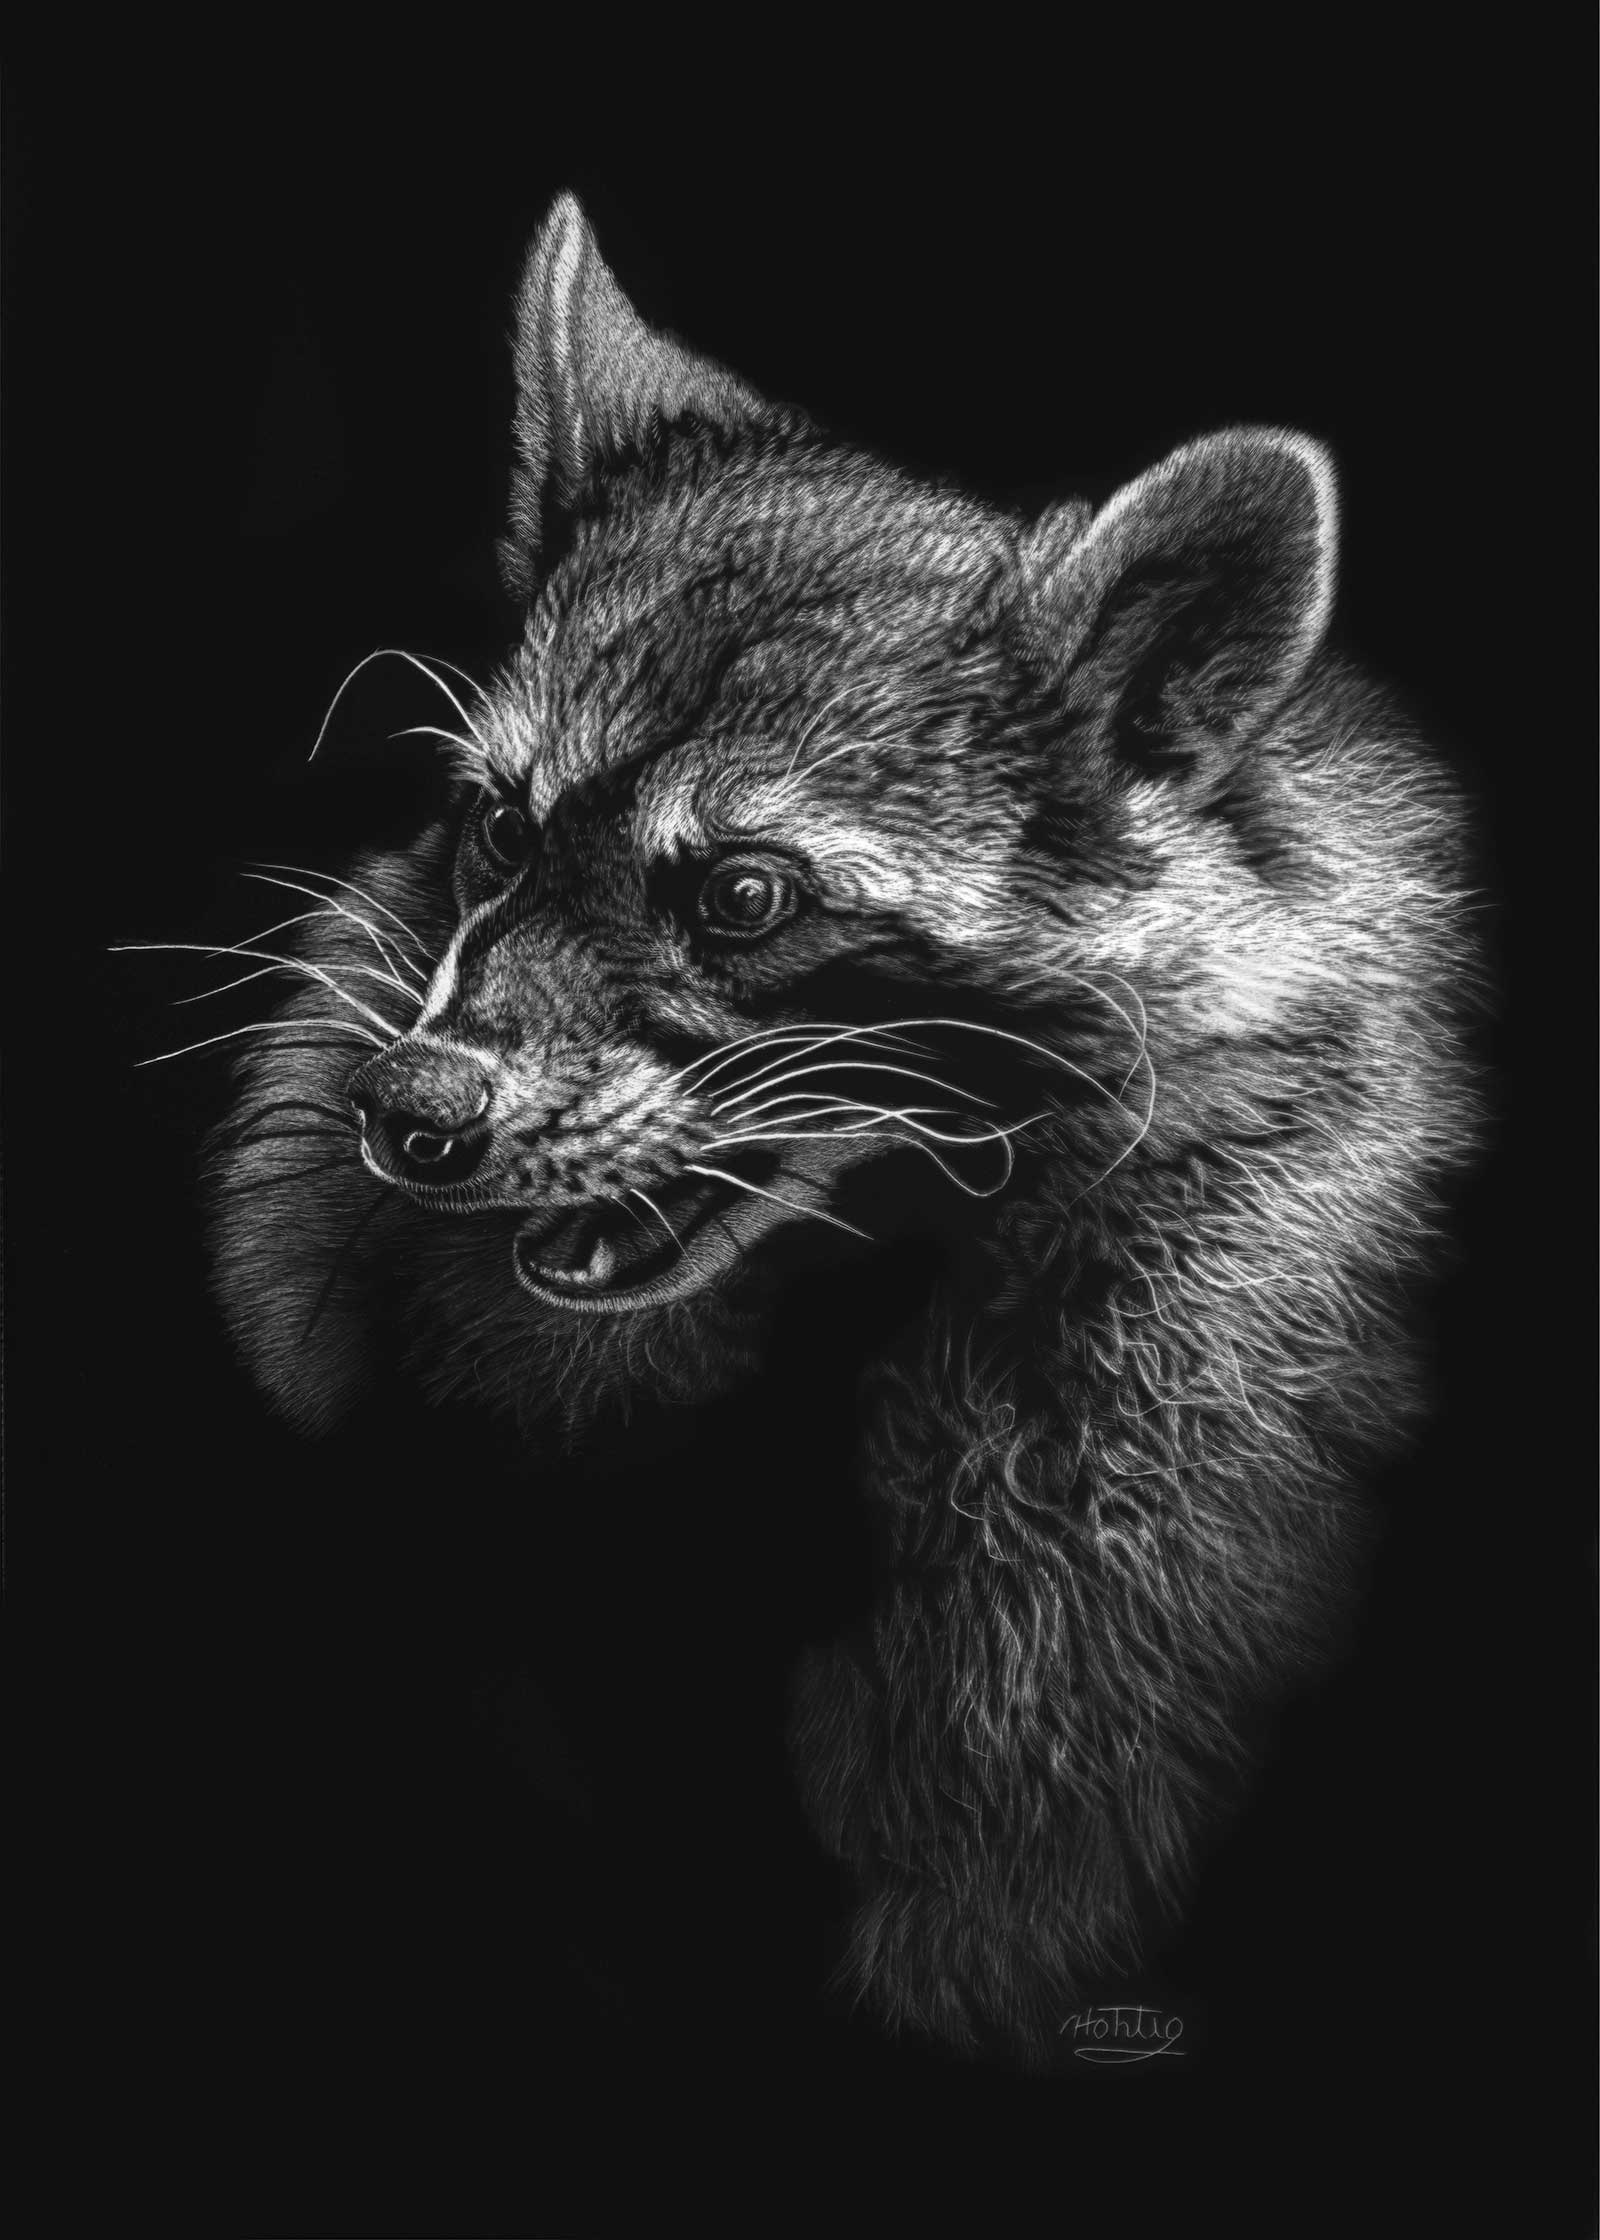
Rascal, Raccoon, scratchboard, 7 x 5" (17 x 12 cm) I had fun creating a scratchboard portrait of the raccoon with its black band over the eyes and the funny curved white whiskers. I paid attention to the light coming from the right and allowed the shadows to nicely blend in with the black background. I mainly used tattoo needles for scratching the soft fur. The bright whiskers were added with the scraper cutter tool.
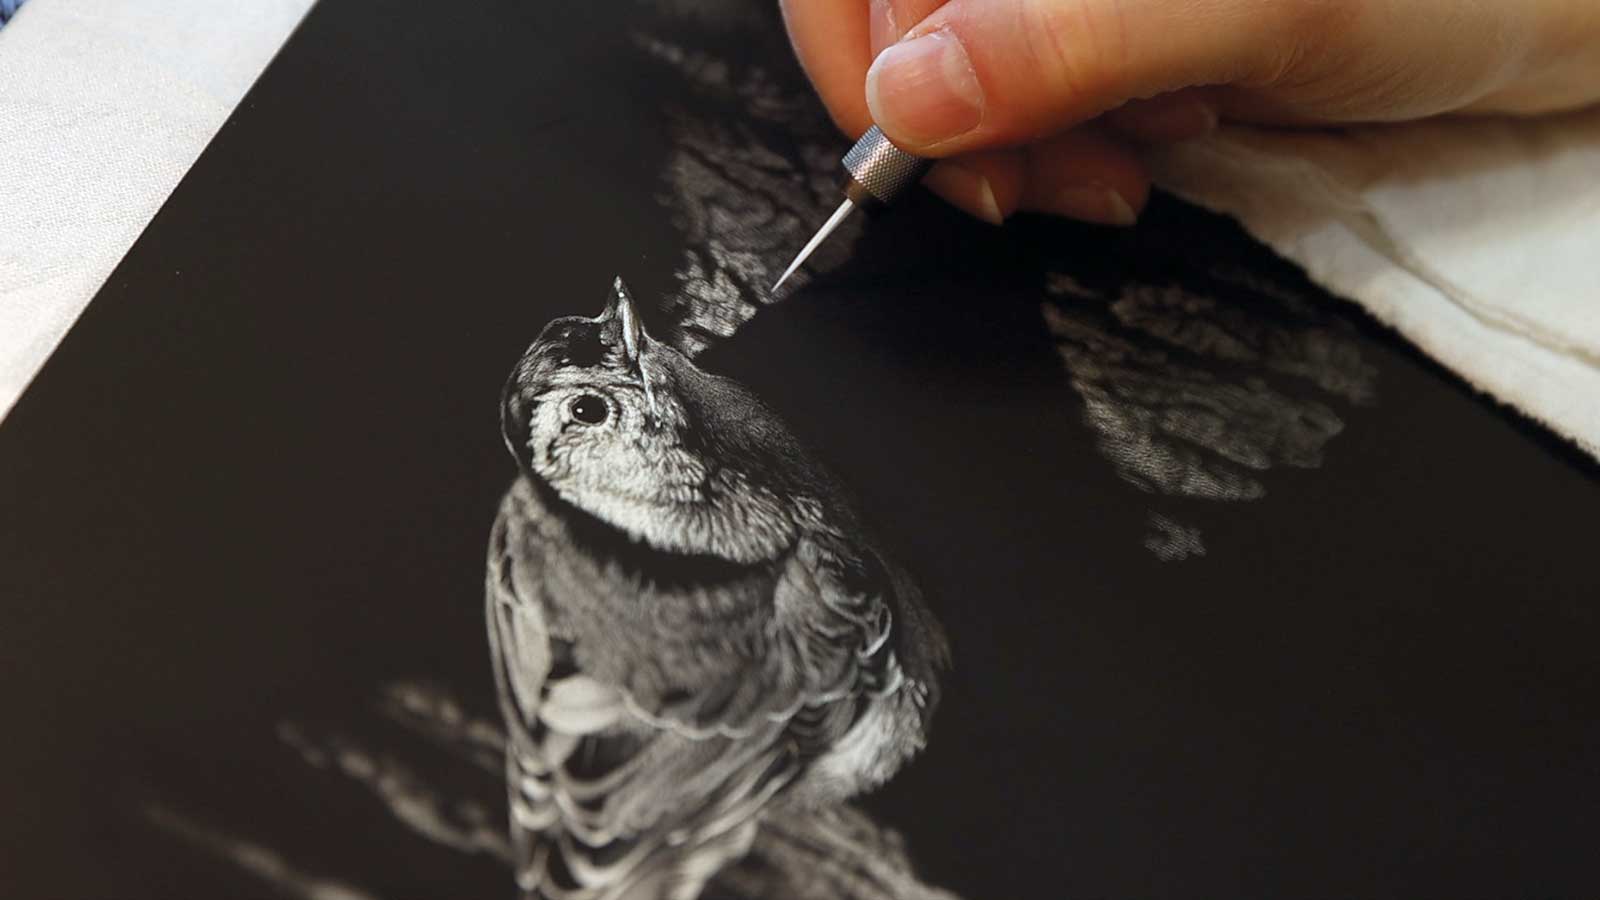
Scratchboard is an engraving-like subtractive process in which sharp tools are used to create an image. Still, it is a medium many artists and people are not familiar with.
A scratchboard is basically made of three layers: a wooden panel or cardboard is the foundation, sandwiched in the middle of the board is a layer of white Kaolin clay, and the top of the board is completely stained with black India ink. Sharp tools with an abrasive tip such as scalpel blades are used for scratching. In the process the dark top layer is taken away, and each scratch reveals the white layer underneath. The values within the artwork are achieved through the varying amount of removed black ink. The brightness of the white increases the more ink is scratched away from the surface. It is like drawing in a reversed tonal style where the lights are emerging from the dark background.
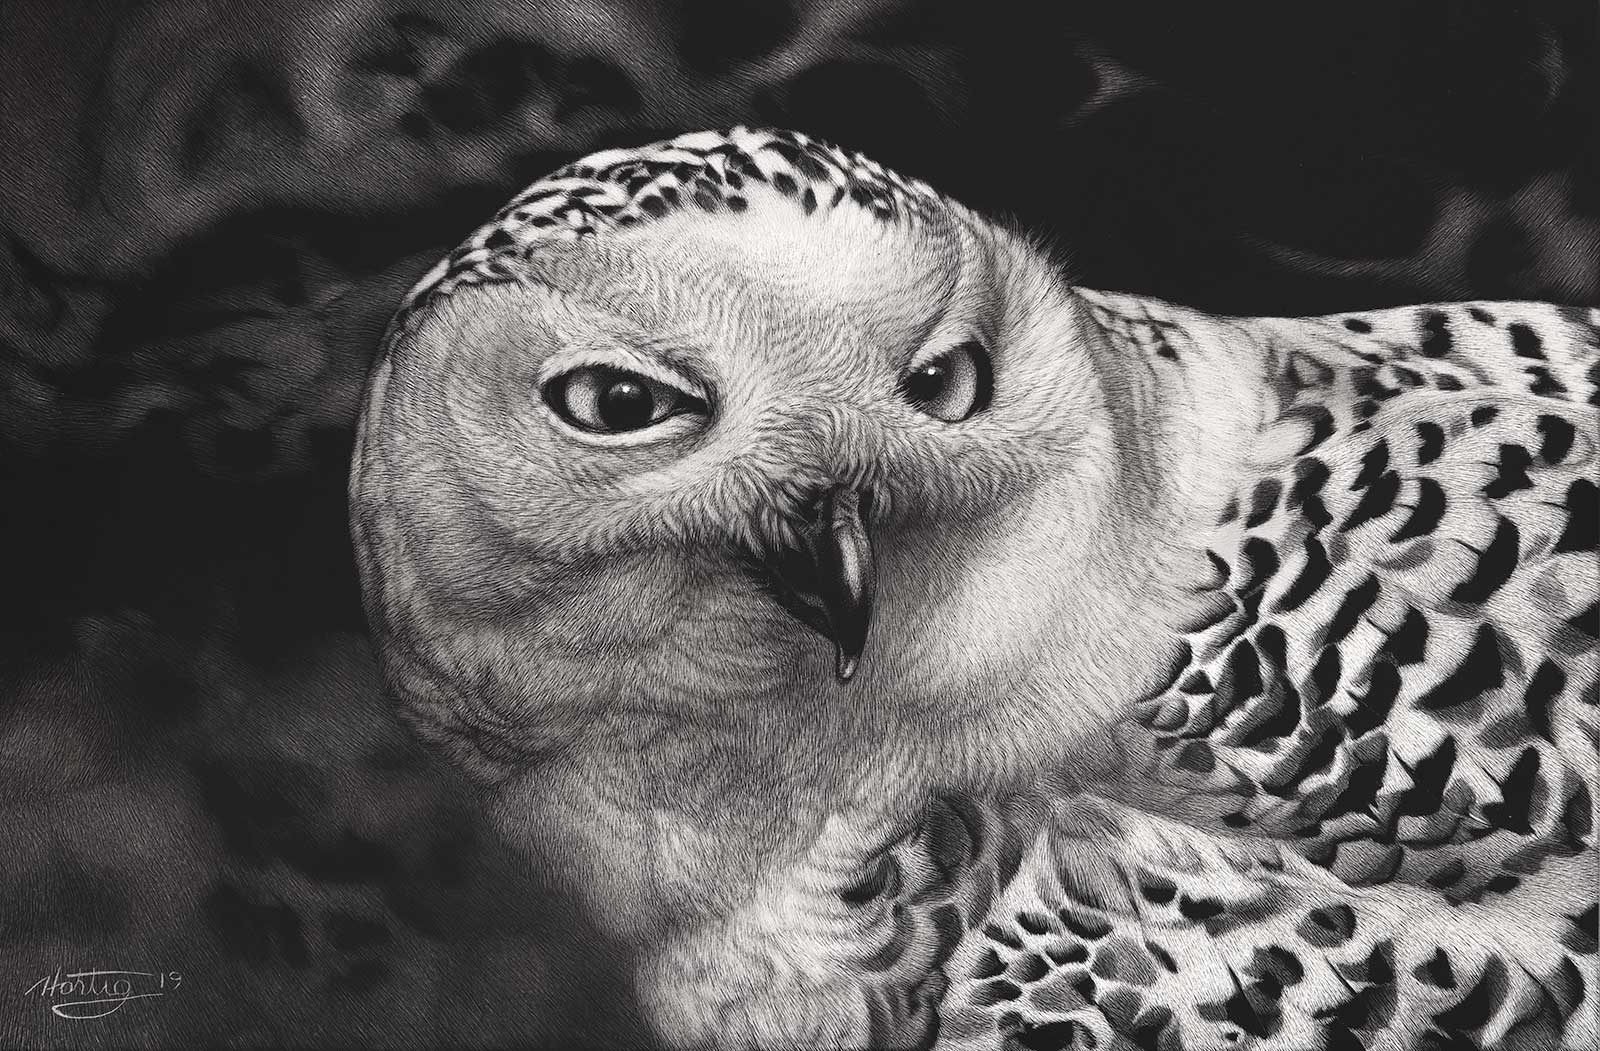
Nordic Camouflage, Snowy Owl, scratchboard, 8 x 12" (20 x 30 cm) The female snowy owl has a white plumage covered with black spots, helping her blend into the environment while incubating her eggs on the ground in the tundra region. Black-and-white animals are a great subject for scratchboard, but it takes a lot of patience and practice to scratch such difficult feather markings.
It is also possible to add color to a scratchboard by adding transparent mediums such as inks, watercolors or fluid acrylics with a brush or airbrush application over the scratched surface. The color will adhere to the revealed white clay without interacting with the remaining black areas of the board.
My Art in the Making Oblique Attitude
 Stage 1
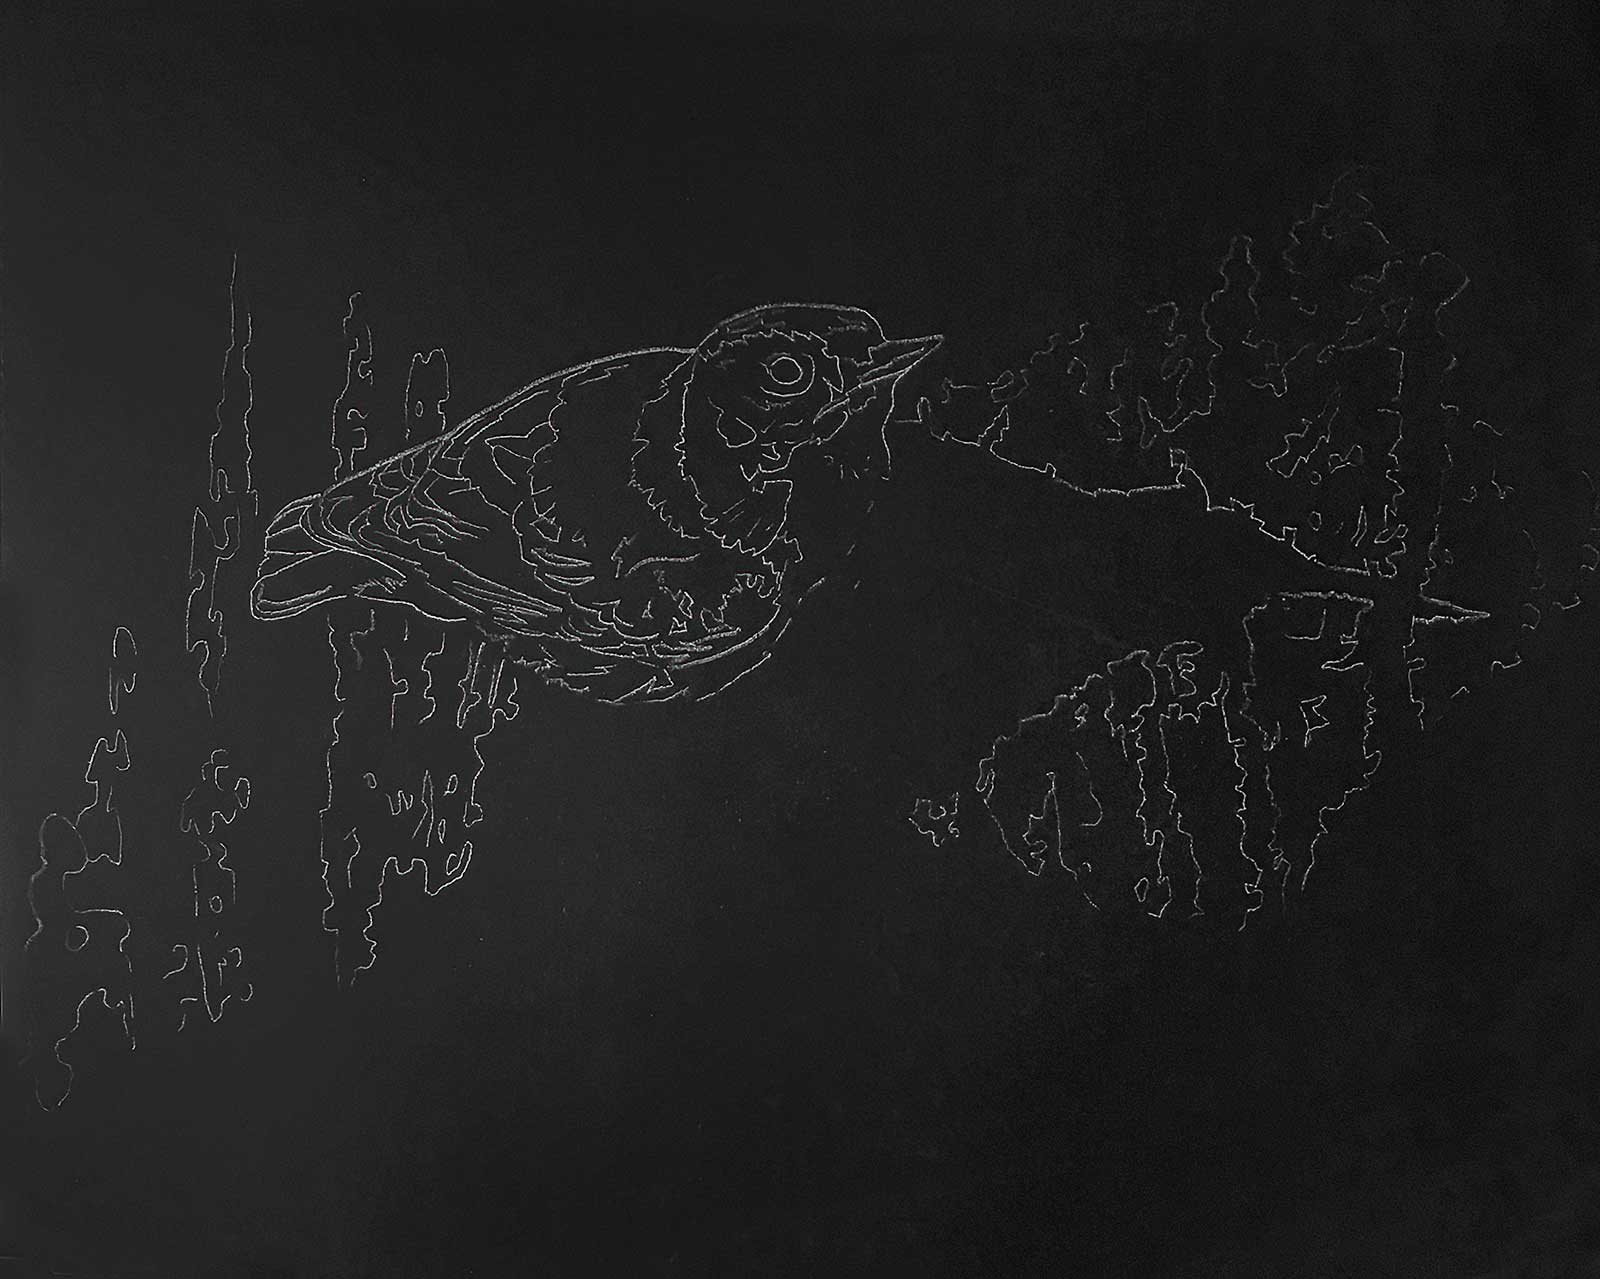
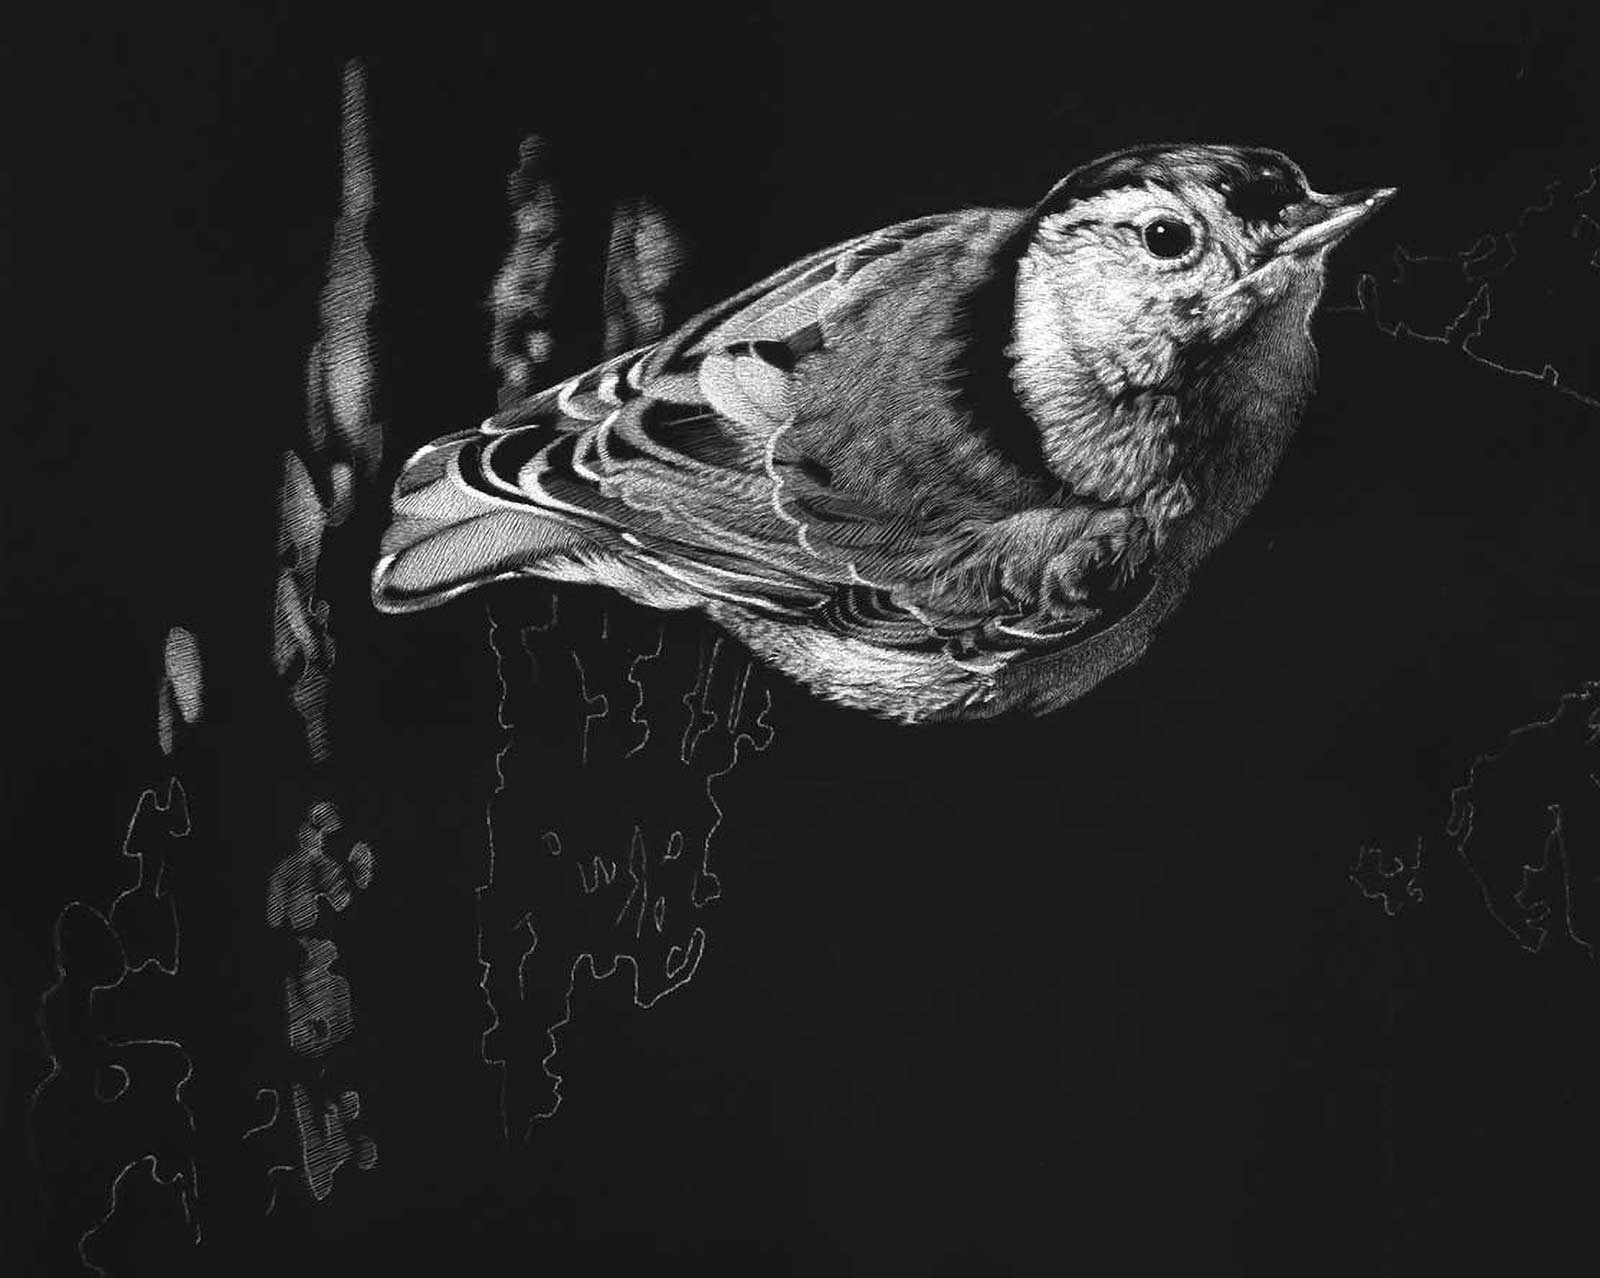
Stage 1 The Outline
Charcoal paper is used to transfer the sketch I prepared on paper to the board. The outline will be covered by scratching and disappears during the process.
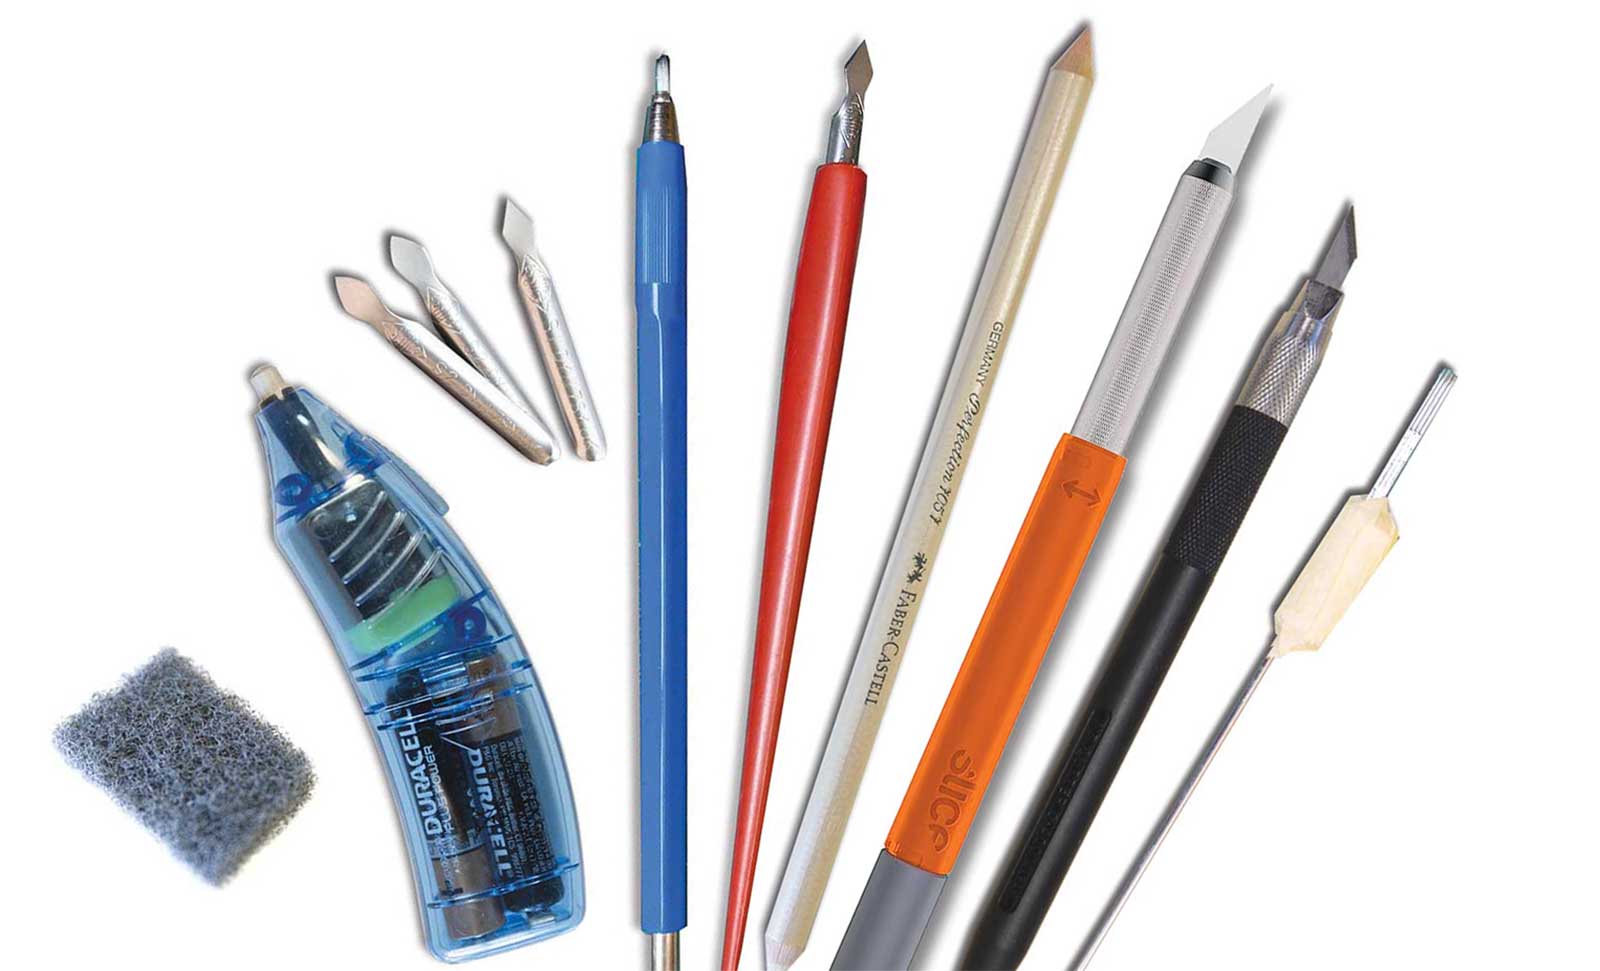
WHAT THE ARTIST USED
Ampersand Art Products
Ampersand Scratchbord, (Black) Ampersand InkTM, Ampersand Scratchbord tool kit
Art Knives and Blades
NT-Cutter precision knife with OLFA® KB-5/30B art blade, Slice Craft knife with pointed ceramic blade #10519, Scraper Cutter tool (red handle) with S12/1 and S12/2 tip, Tattoo Needles
Additional Supplies
Several parallel profiles (flat, magnum), Several circular profiles (round liner, round shader), Erasers, Fiberglass brush, Mechanical or electrical eraser, Steel wool, sandpaper, Saral wax-free transfer paper, Paper towels, Watercolor brush, Affinity Photo 2 Image Editing Software
 Stage 2
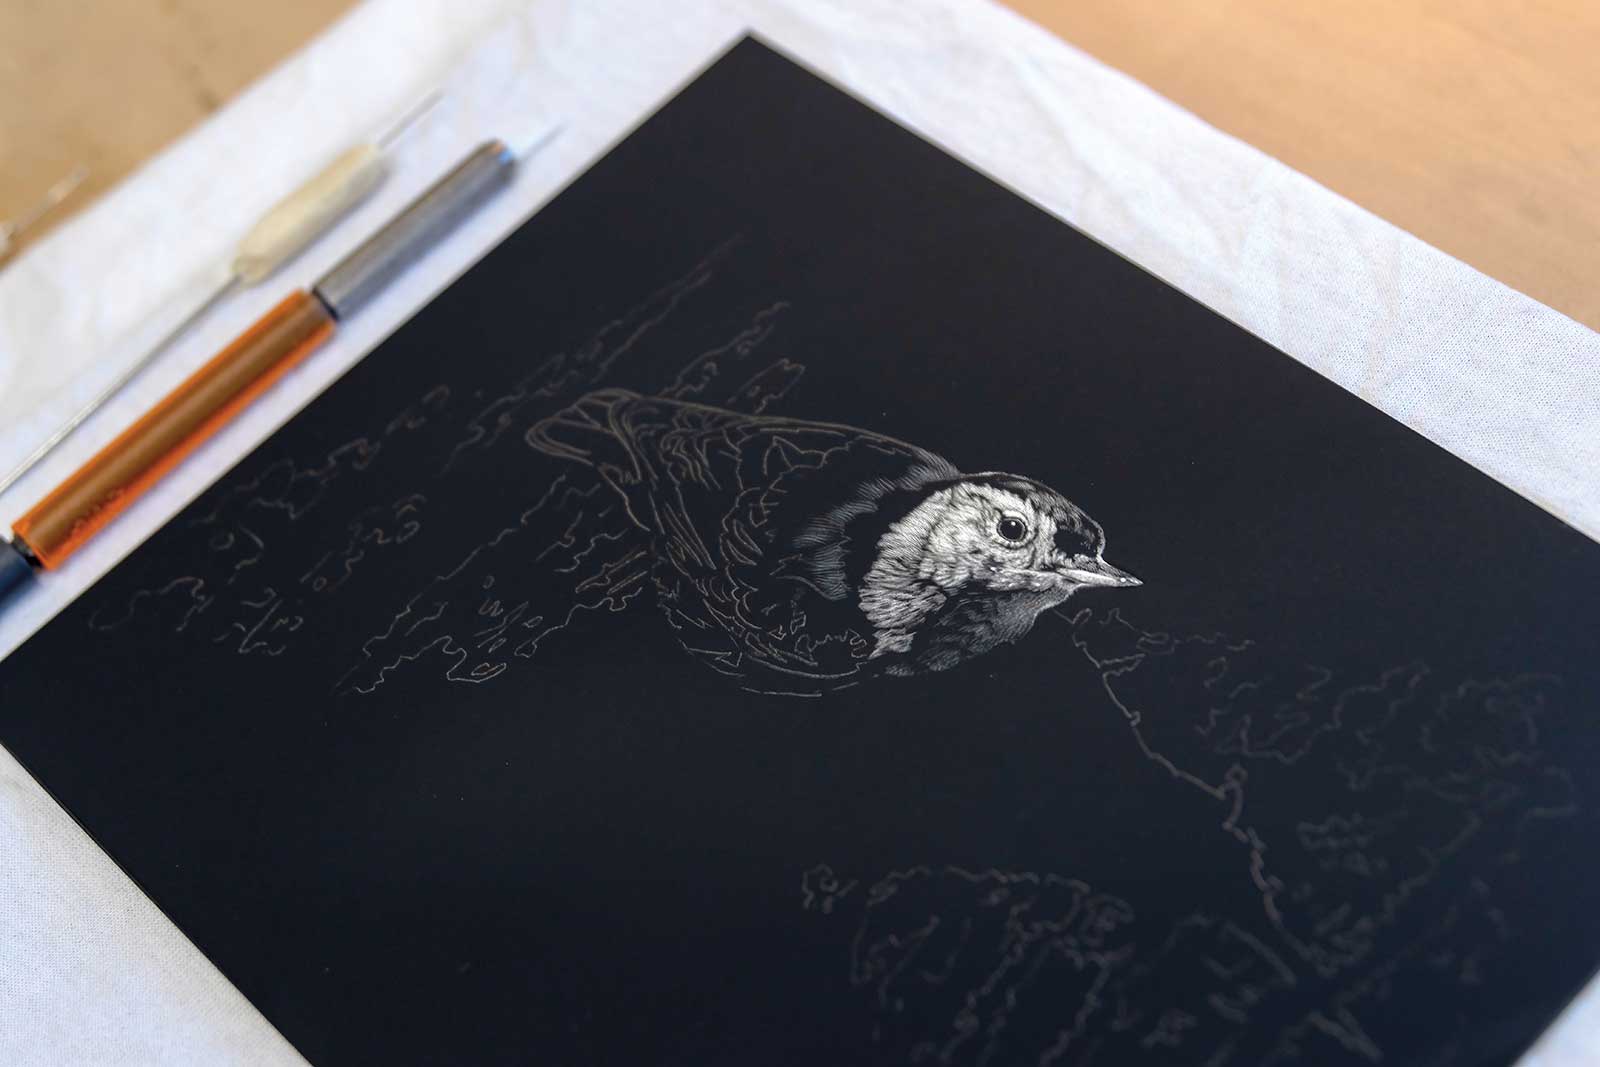
Stage 2 Individual Plumage Patches
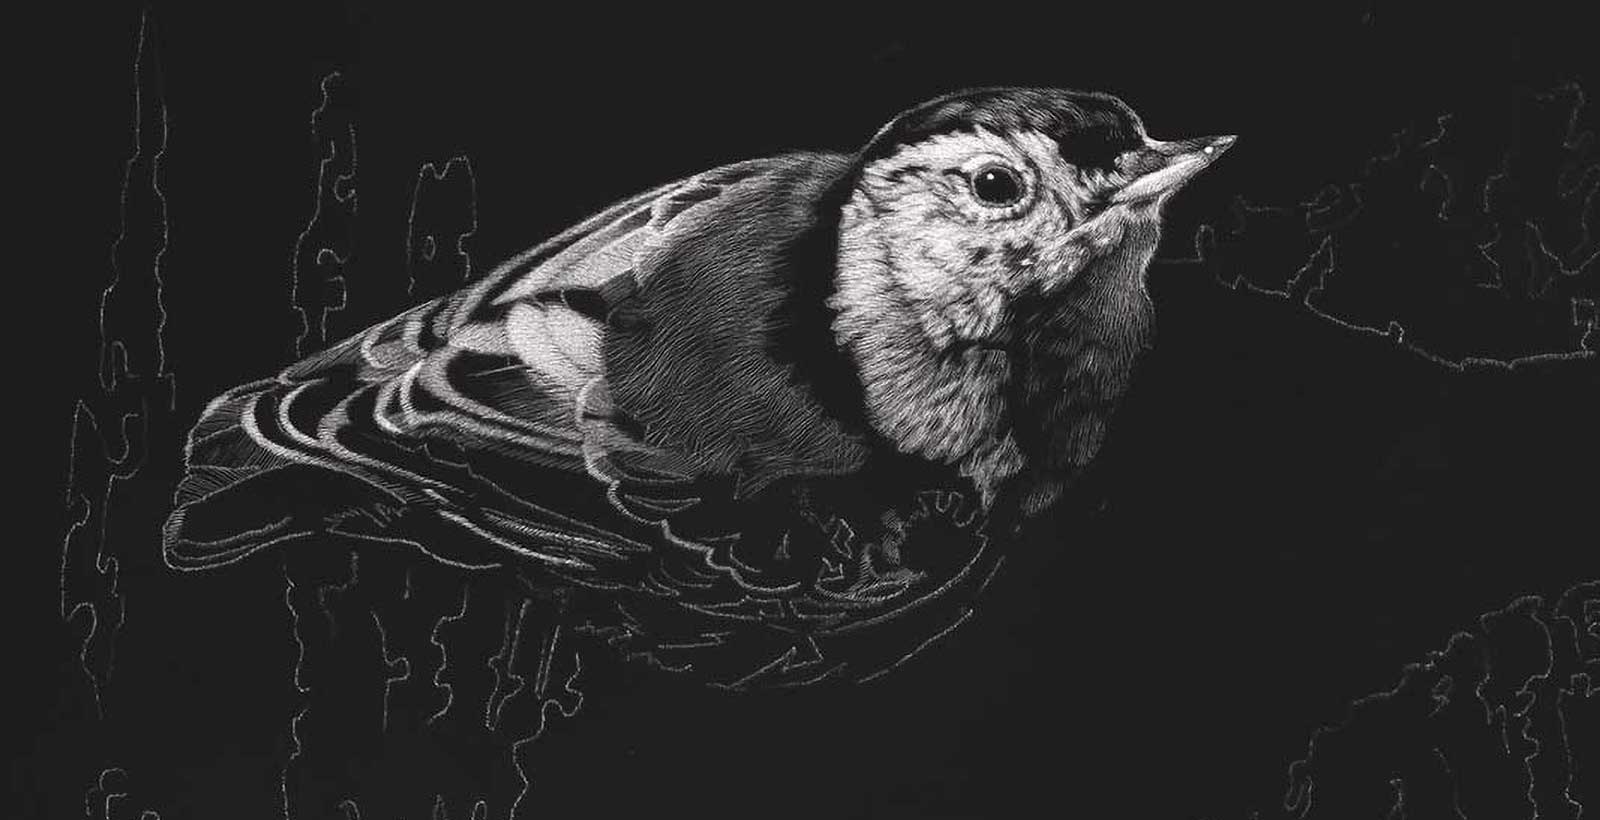
I begin scratching using a ceramic blade. The bird’s head is white, and I work in the crosshatching technique. I pay close attention to the structure and movement of the plumage and the dividing feather patches.
 Stage 3
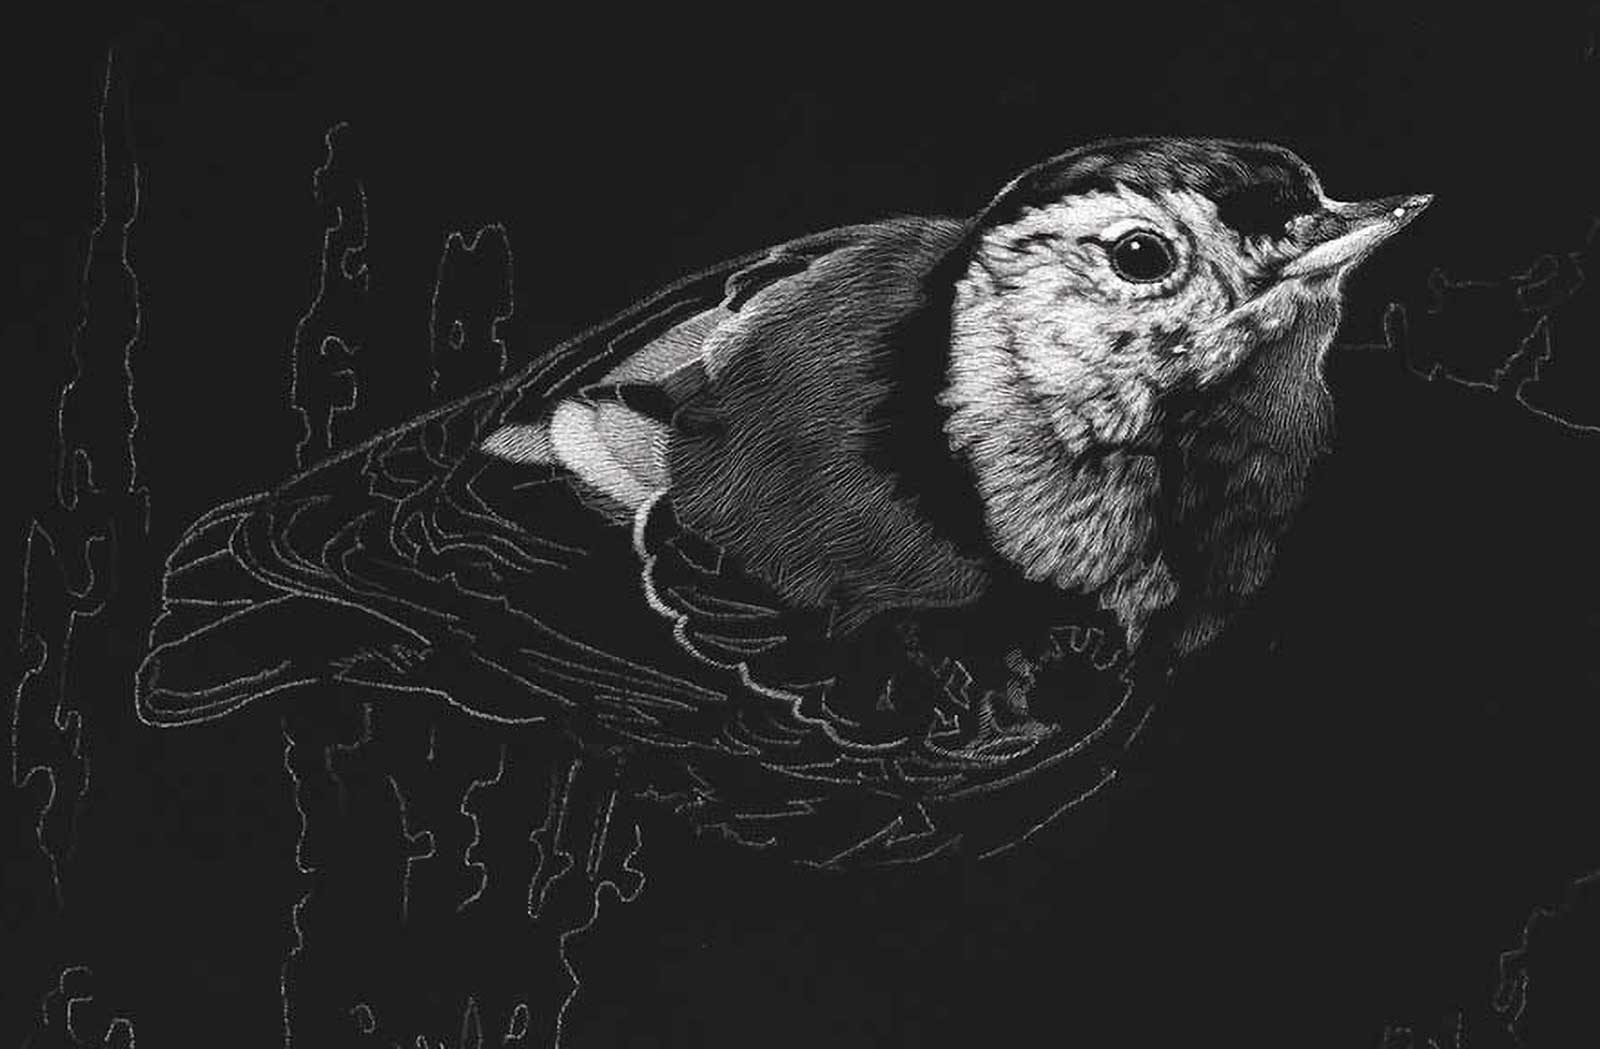
Stage 3 Soft Plumage Texture
The bird’s nape and back plumage has a uniform, soft-gray appearance. The effect is achieved in crosshatching technique with a magnum tattoo needle, which contains several needles in two rows and parallel order.
My Basic Scratching Techniques
There are three basic scratching techniques, which build the foundation of my overall process and can be applied on its own or combined depending on the final effect I’m aiming to achieve. As a general rule, I hold the art knife very gently in my hand, working in soft layers of scratching.
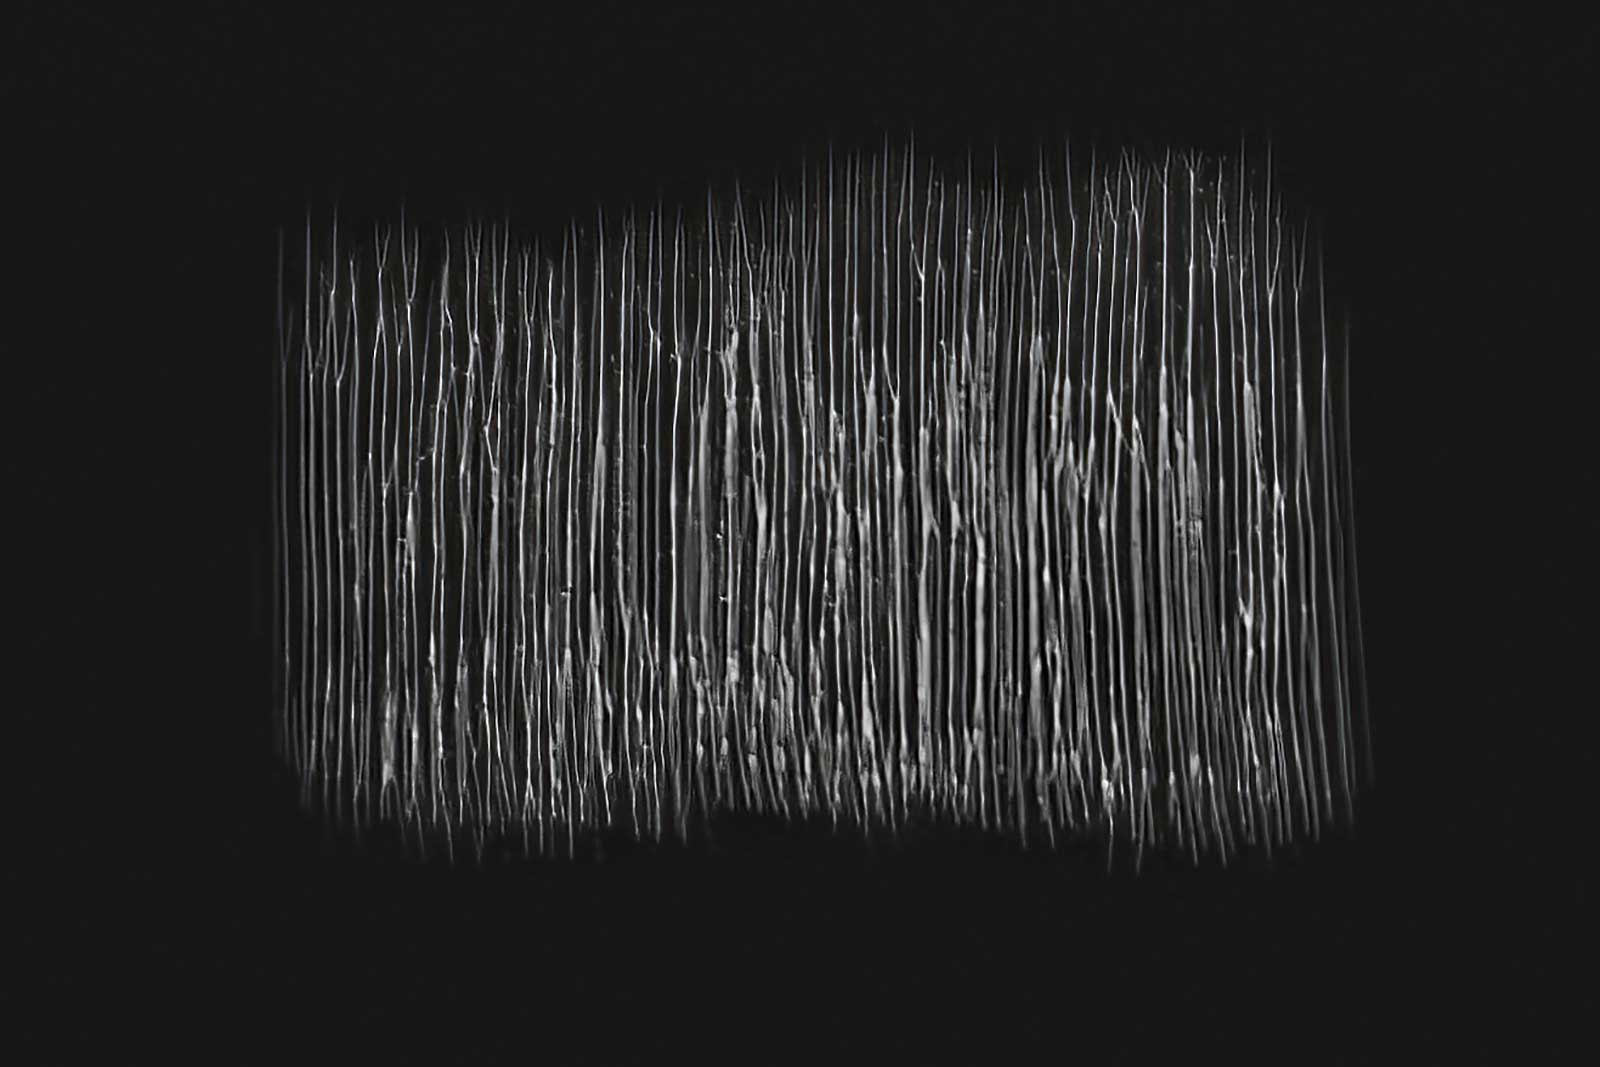 Parallel Scratching
Parallel Scratching
With the parallel scratching technique I create fine, adjacent parallel lines. With each stroke I fill in the gaps until the surface appears as a soft gray area. My blade is lightly touching the surface, and I go over in several layers until the desired brightness is established.
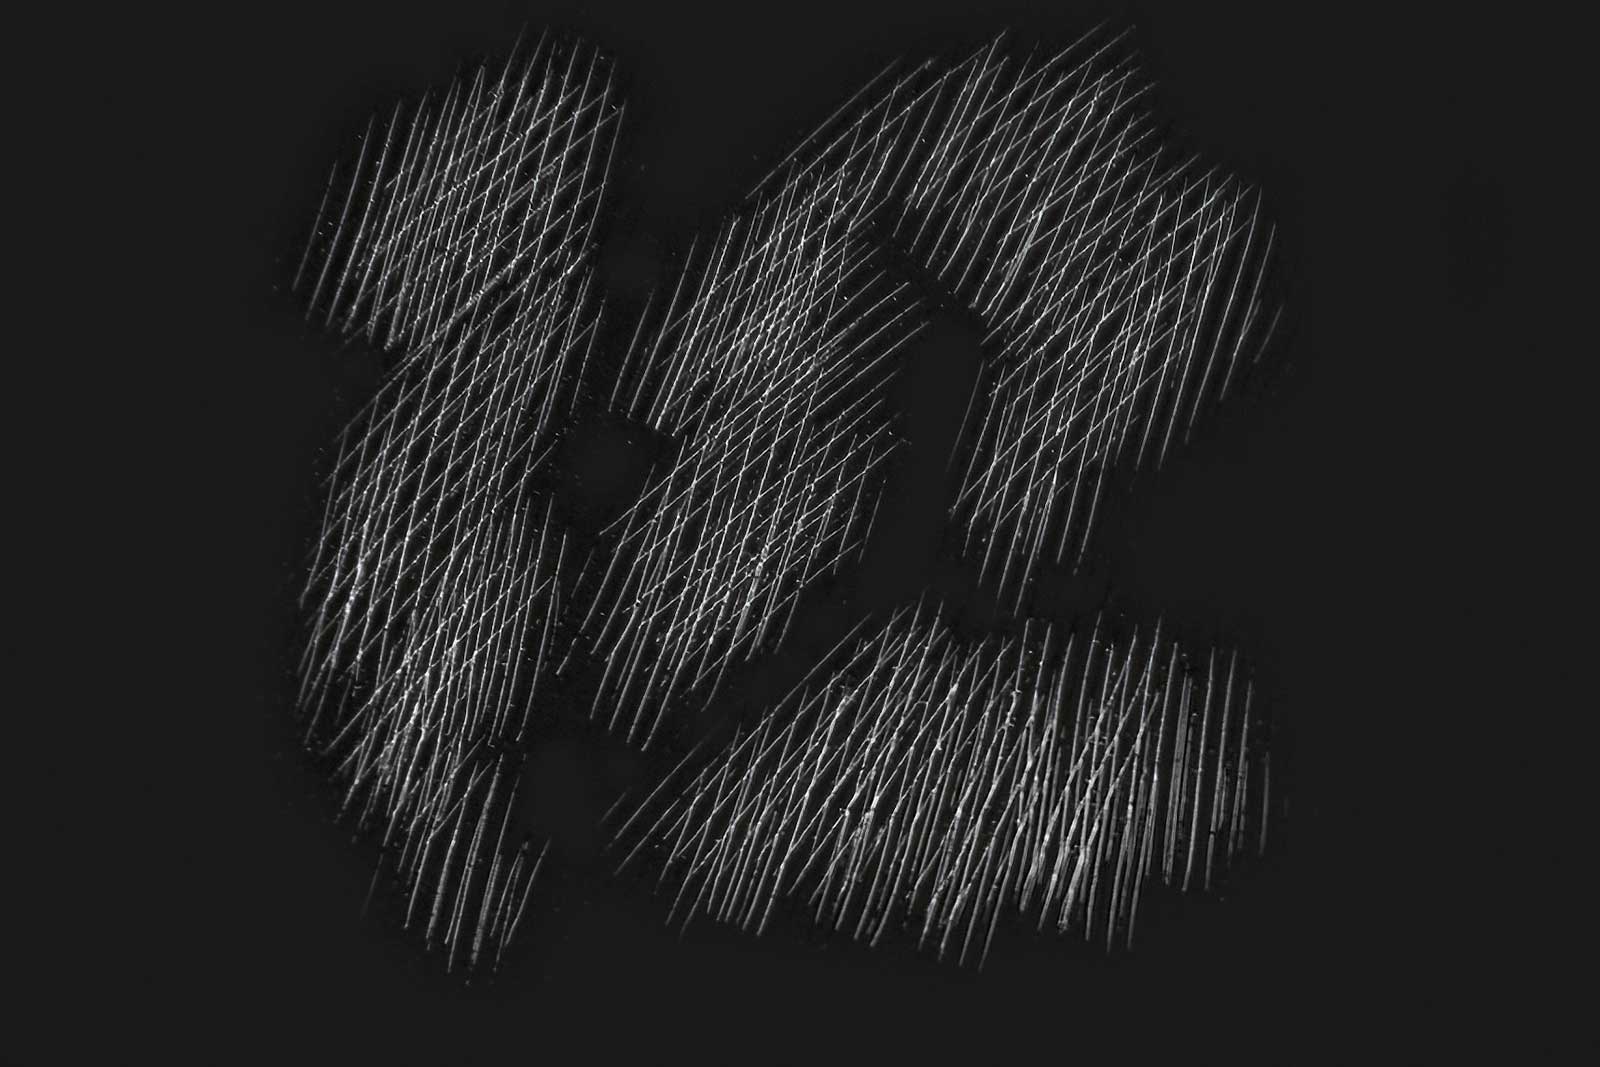 Crosshatching
Crosshatching
In the crosshatching technique, the first layer of scratching is more or less in parallel order, but the lines have their own swing. Additional scratching layers are done in the same way but with a slightly convergent angle. Patches of crossed lines with different lengths of strokes create the effect of soft fur texture.
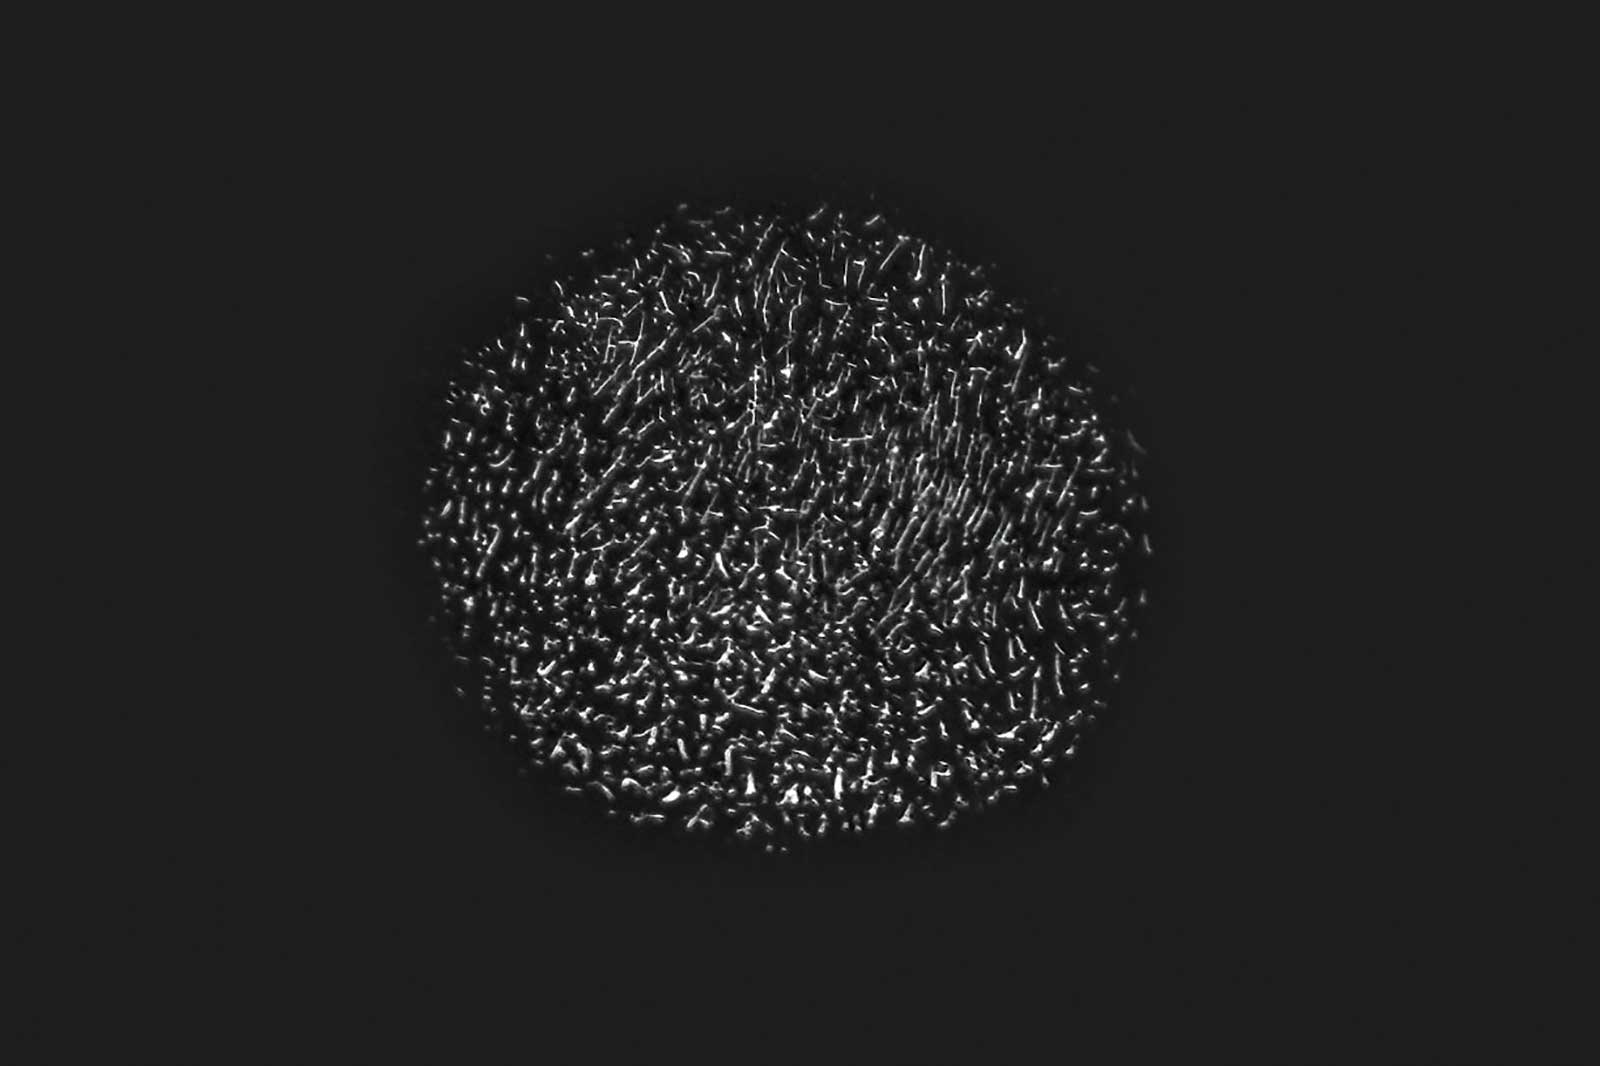 Stippling
Stippling
A quiet, time-consuming but effective way to create contrast gradients is the stippling technique. The process follows the principle of putting down layers of small dots or very short lines by tipping the blade or needle with a certain pressure on the scratchboard surface. An area is filled with marks until the accumulation is evenly covering the surface.
 Stage 4
Stage 4 Flight Feathers
The anatomy of the larger feather (wing and tail) is best described in the parallel scratching technique. I often begin with a basic layer of scratching using flat or magnum tattoo needles.
 Stage 5
Stage 5 Contrast Adjustment
Individual feathers and hem lines vary in brightness. I generally work in layers until the needed contrast is established. I often refine the structures, going over with a blade for scratching the final layers.
 Stage 6
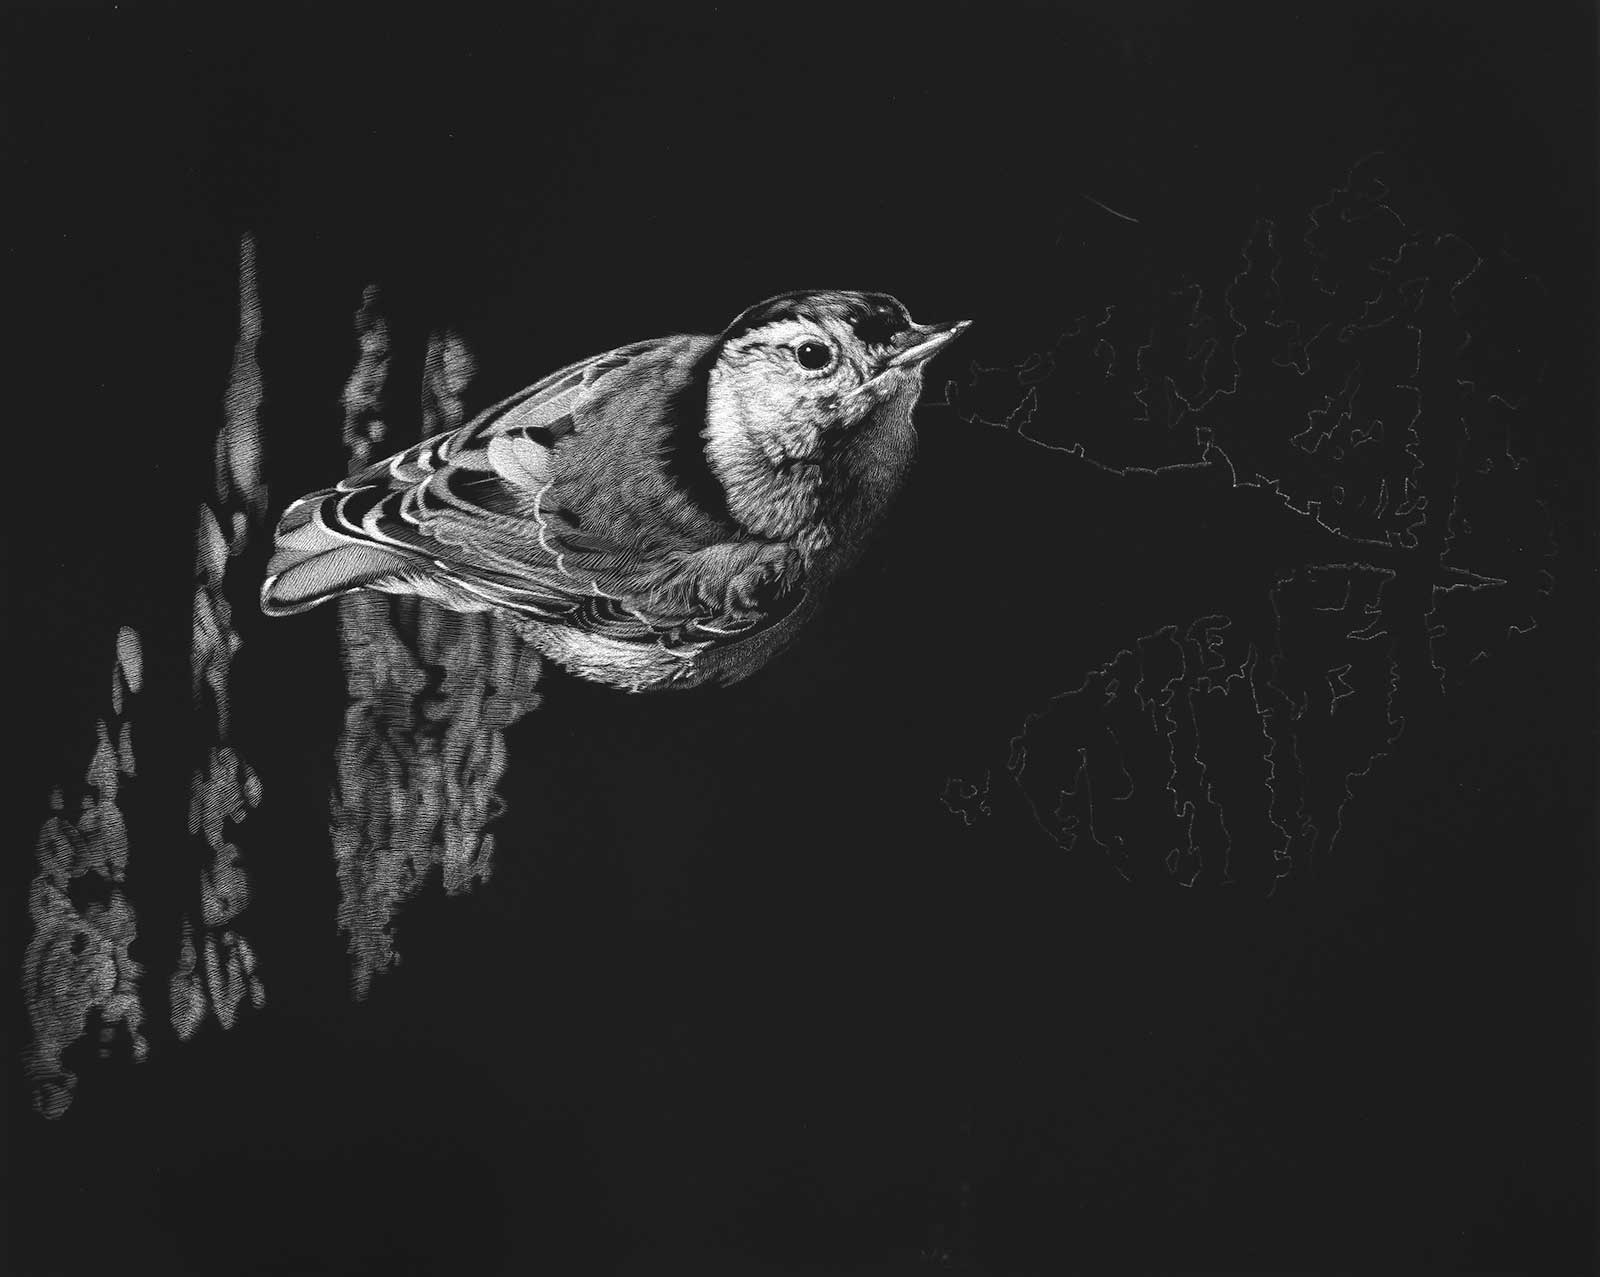
Stage 6 Subtle Shadow Gradient
The shadow area on the bird’s breast is predominantly established in the stippling technique using round tattoo needles, which contain several needles in circular order. It gives me good control for creating fine contrast gradients.
 Stage 7
Stage 7 Starting on Background
I want to depict the bark on the left side out of focus as a soft background element. I start putting in the base layer using a magnum needle and soft parallel scratching.
 Stage 8
Stage 8 Tree Bark Structure
I closely observe the typical structure of the tree bark and leave little cracks and shadow lines untouched. The dark patterns in between the scratched areas create the natural look of the wood.
 Stage 9
Stage 9 Out of Focus Areas
I put in some subtle details in the bark while blending back other areas with diluted black ink. Scratching these highlights with the fiberglass eraser helps to maintain a soft effect and focus.
My Design and Composition Tactics
- A Perfect Fit Using no more than ten colors total of cool and warm, transparent and opaque paints, I like to interpret color in my paintings emotionally, while not straying completely from what is in the realistic world. I love color because it speaks powerfully for me.
- The Magic of Light Aside from dynamic fur patterns, the light in the scenery might be the most important factor to make a scratchboard work outstanding. Backlit subjects can create a soft and magical atmosphere or even more dramatic scenery in the artwork.
- Beautiful Black The black background of the scratchboard is a design element on its own. It is important to use it wisely to give the image enough negative space and to enhance the drama of shadow and light in the scene.
- Play Hard, Work Smart To achieve the desired impression in the final work, reference material preparation is key. I take photos of animals and use image editing tools to manipulate, cut and even combine different elements into one scene. I often increase contrast or add light and shadows to push the boundaries until I find the perfect layout for my work.
 Stage 10
Stage 10 Continuing Bark
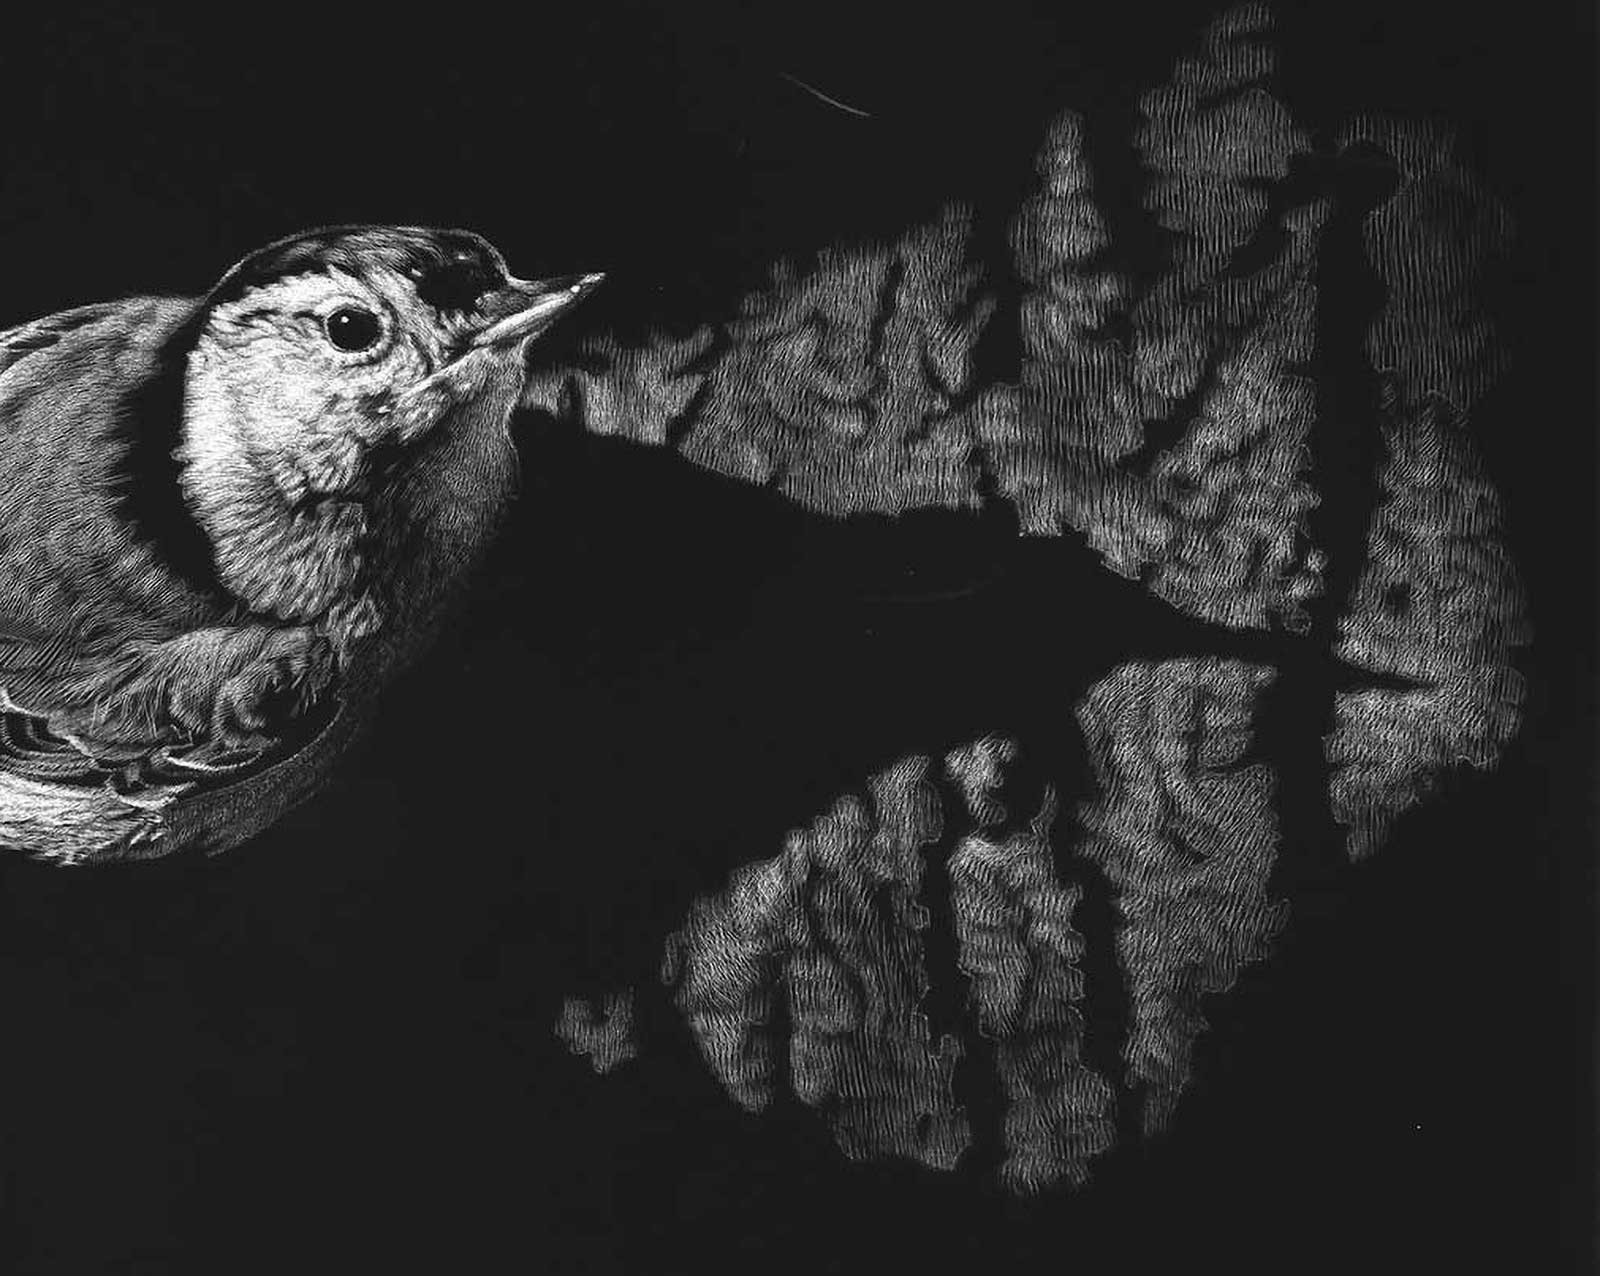
The right side is in sharper focus. The first layer of scratching is done using a magnum needle and soft parallel scratching. I vary the angle of strokes to indicate the flow of the bark’s structure.
 Stage 11
Stage 11 Final Structure Layer
I finish the background by scratching the final layer of tree bark in sharp crosshatching technique with an art knife. I put in the brightest highlights around the bird’s shadow to create a dramatic composition.
 Stage 12
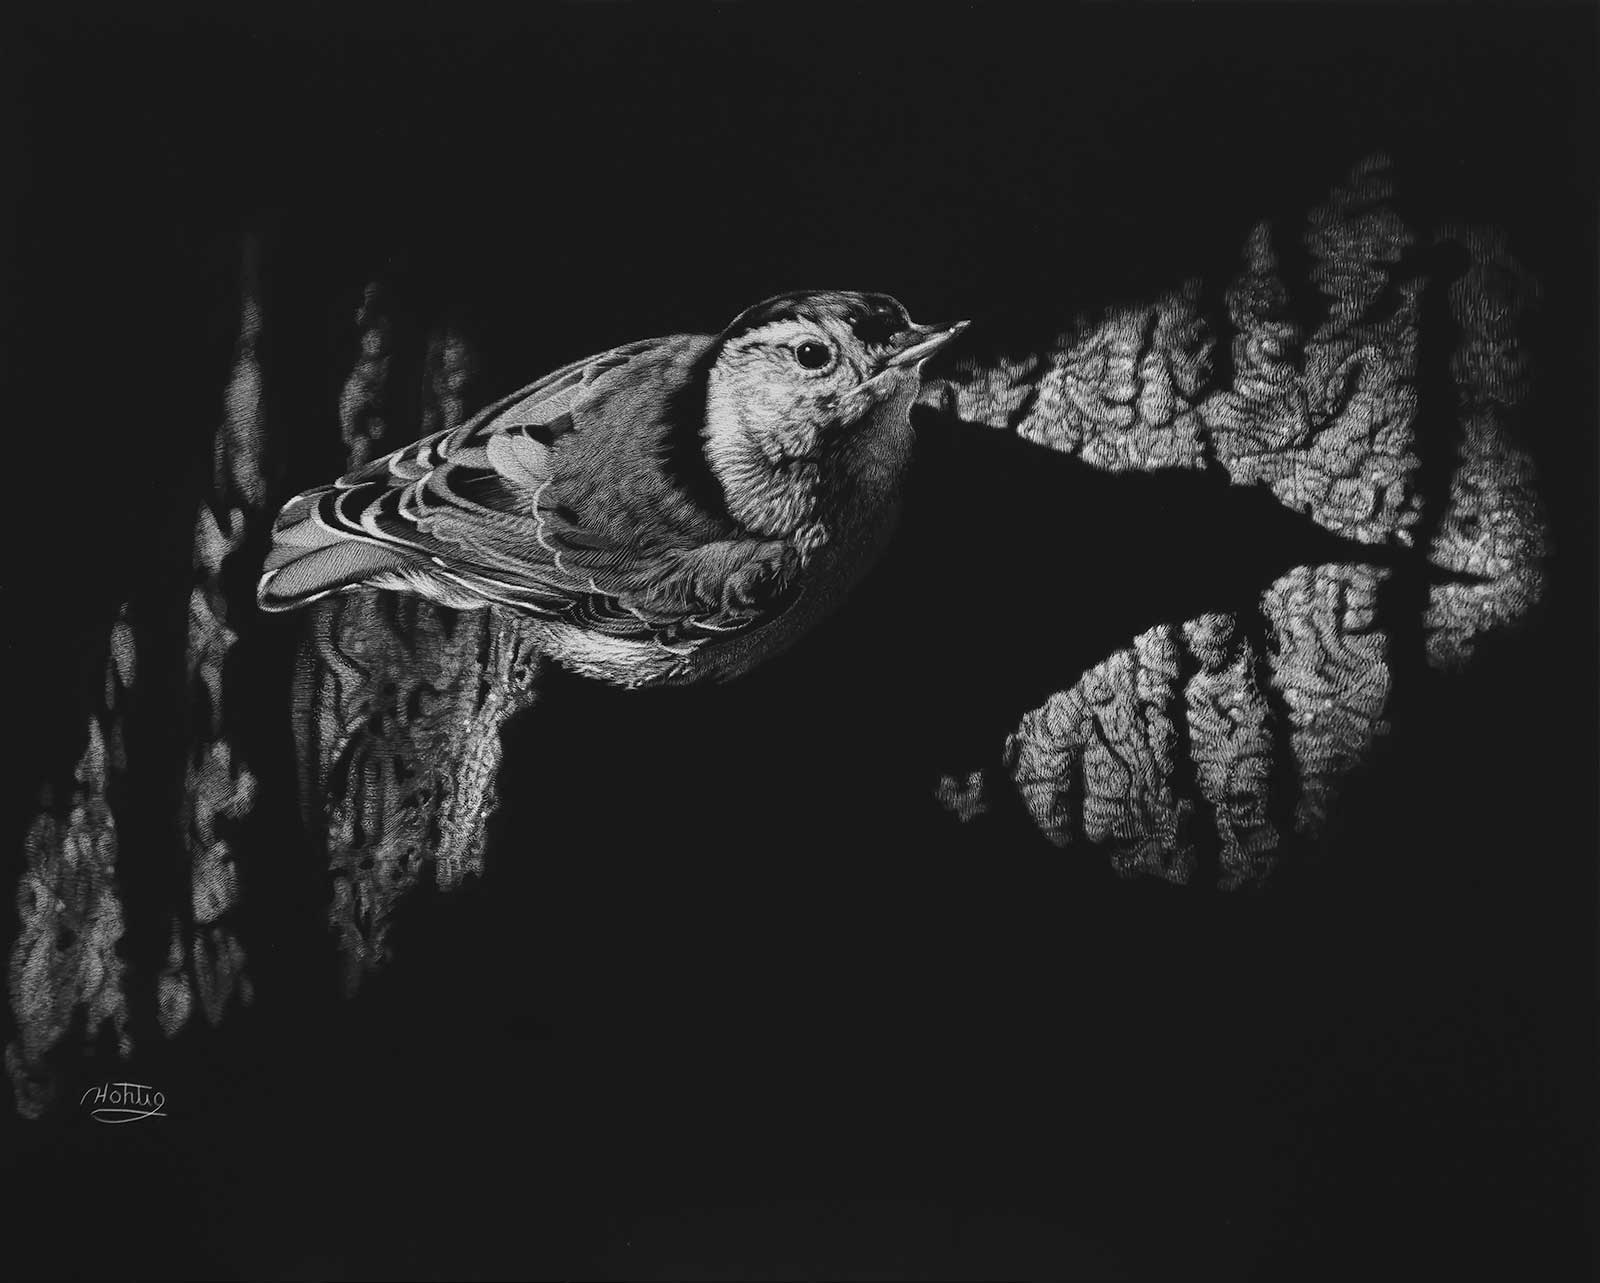
Stage 12 Finished Artwork
Oblique Attitude, scratchboard, 8 x 10" (20 x 25 cm)
The vertical negative space between the bark is an interesting design element of the artwork. The horizontal position of the bird and its shadow increases the dynamic of the image.
About the artist
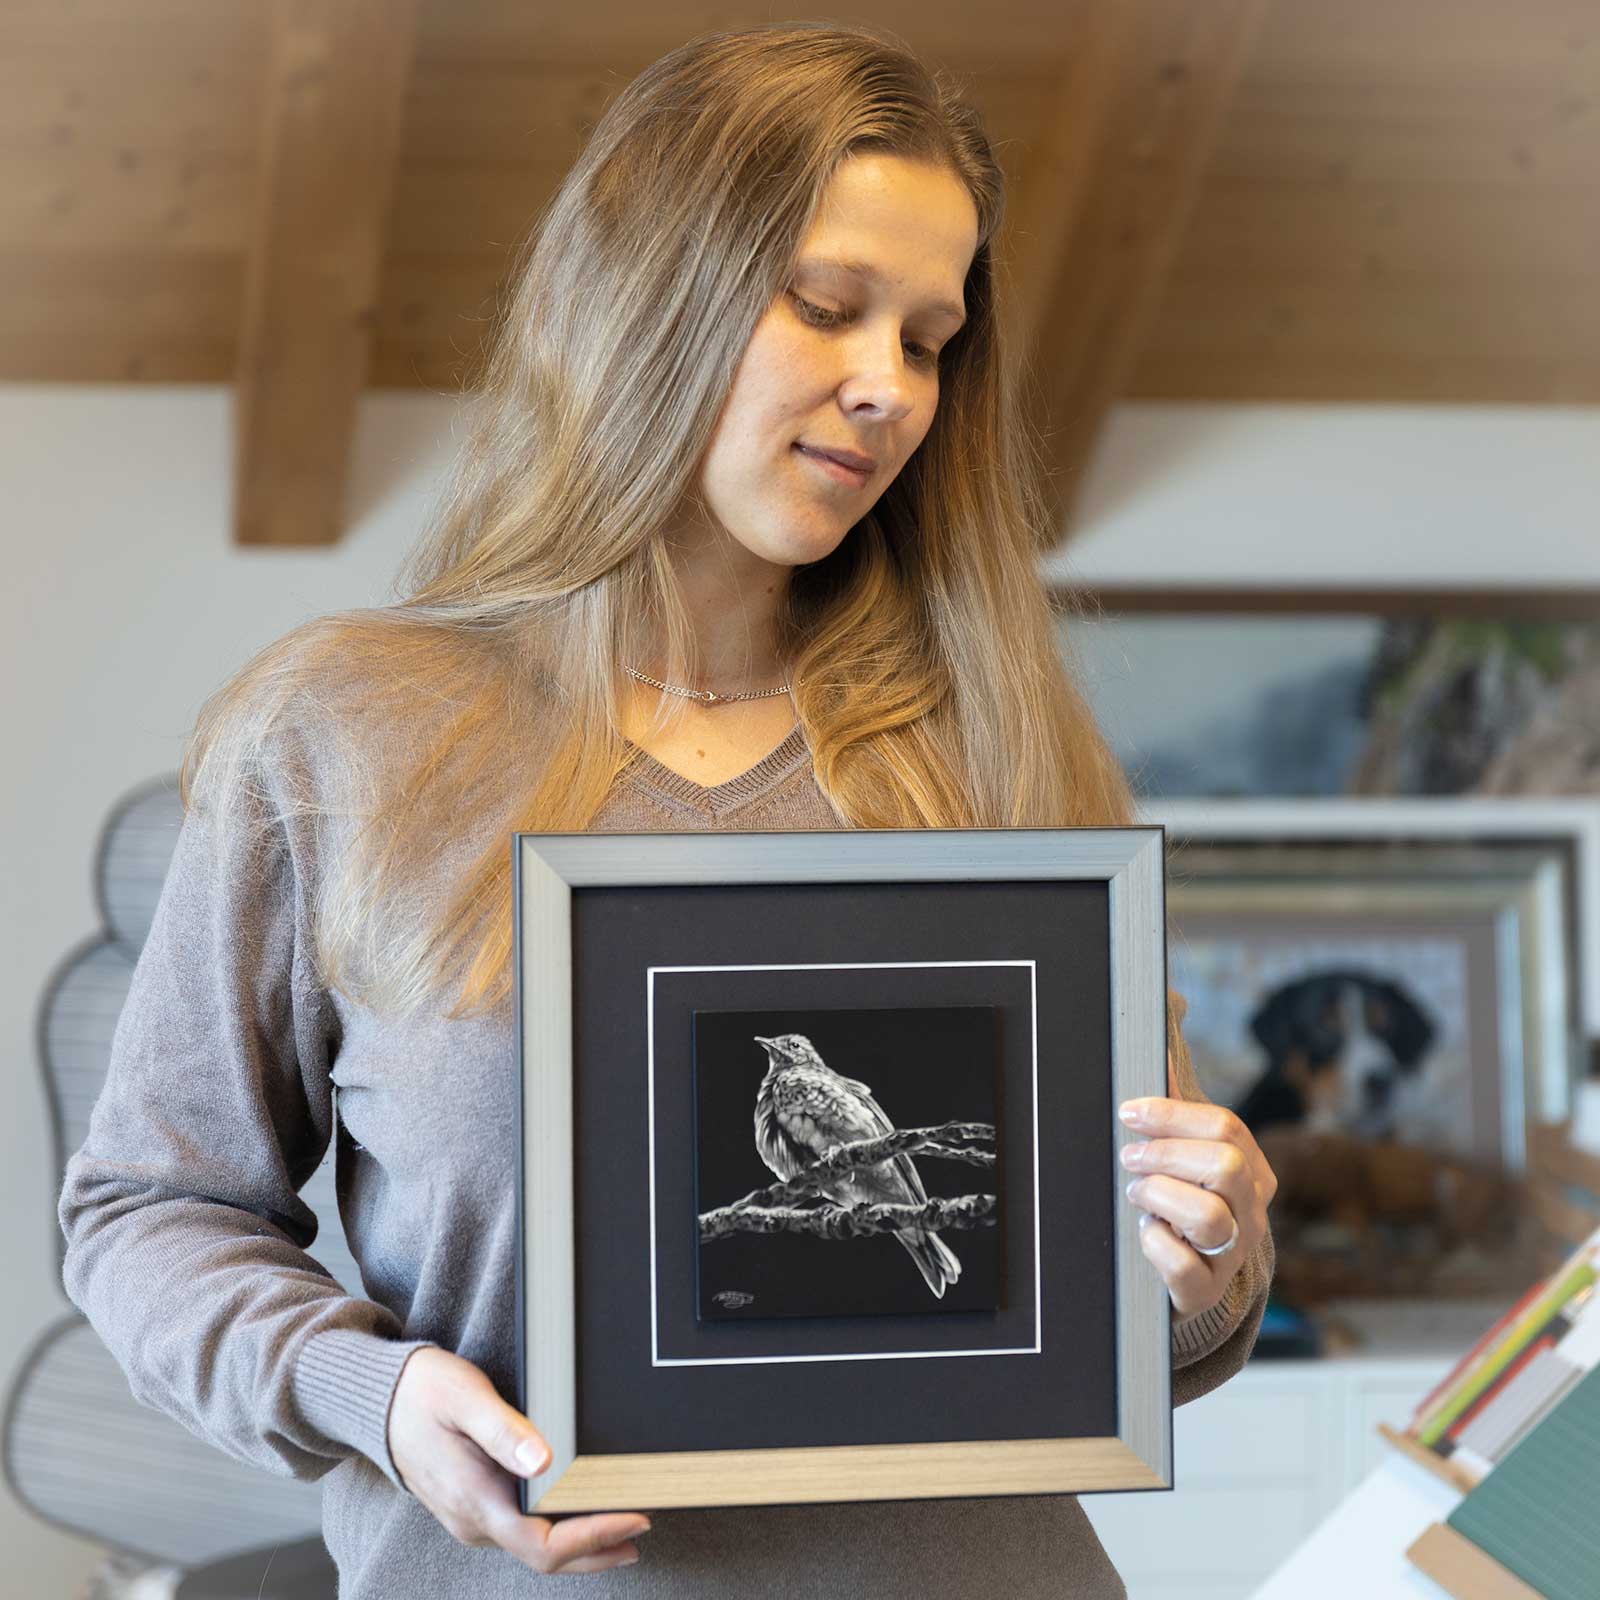 Diana Höhlig
Diana Höhlig is a German wildlife artist combining a passion for nature and conservation through fine art. The inspiration for her work is found outdoors by traveling and observing animals in their habitats, where she gathers reference material with a camera and sketchbook. A member of Artists for Conservation and the Society of Animal Artists, Höhlig’s work is shown in international exhibitions. She has also been selected four times for the renowned Birds in Art exhibition at Leigh Yawkey Woodson Art Museum in Wisconsin. Last year, the International Society of Scratchboard Artists named her a Master Scratchboard Artist, which is the highest level of achievement requiring that the artist show an outstanding portfolio of scratchboard artwork and actively promote the medium.
Represented by
Hiram Blauvelt Art Museum, New Jersey, USA, www.blauveltartmuseum.com