


I’ll be discussing a bit of my process behind my recent dual-figure oil painting titled Save Our Souls. This painting features my fiancé and me, and it’s a very sentimental piece for the both of us.
 Stage 1
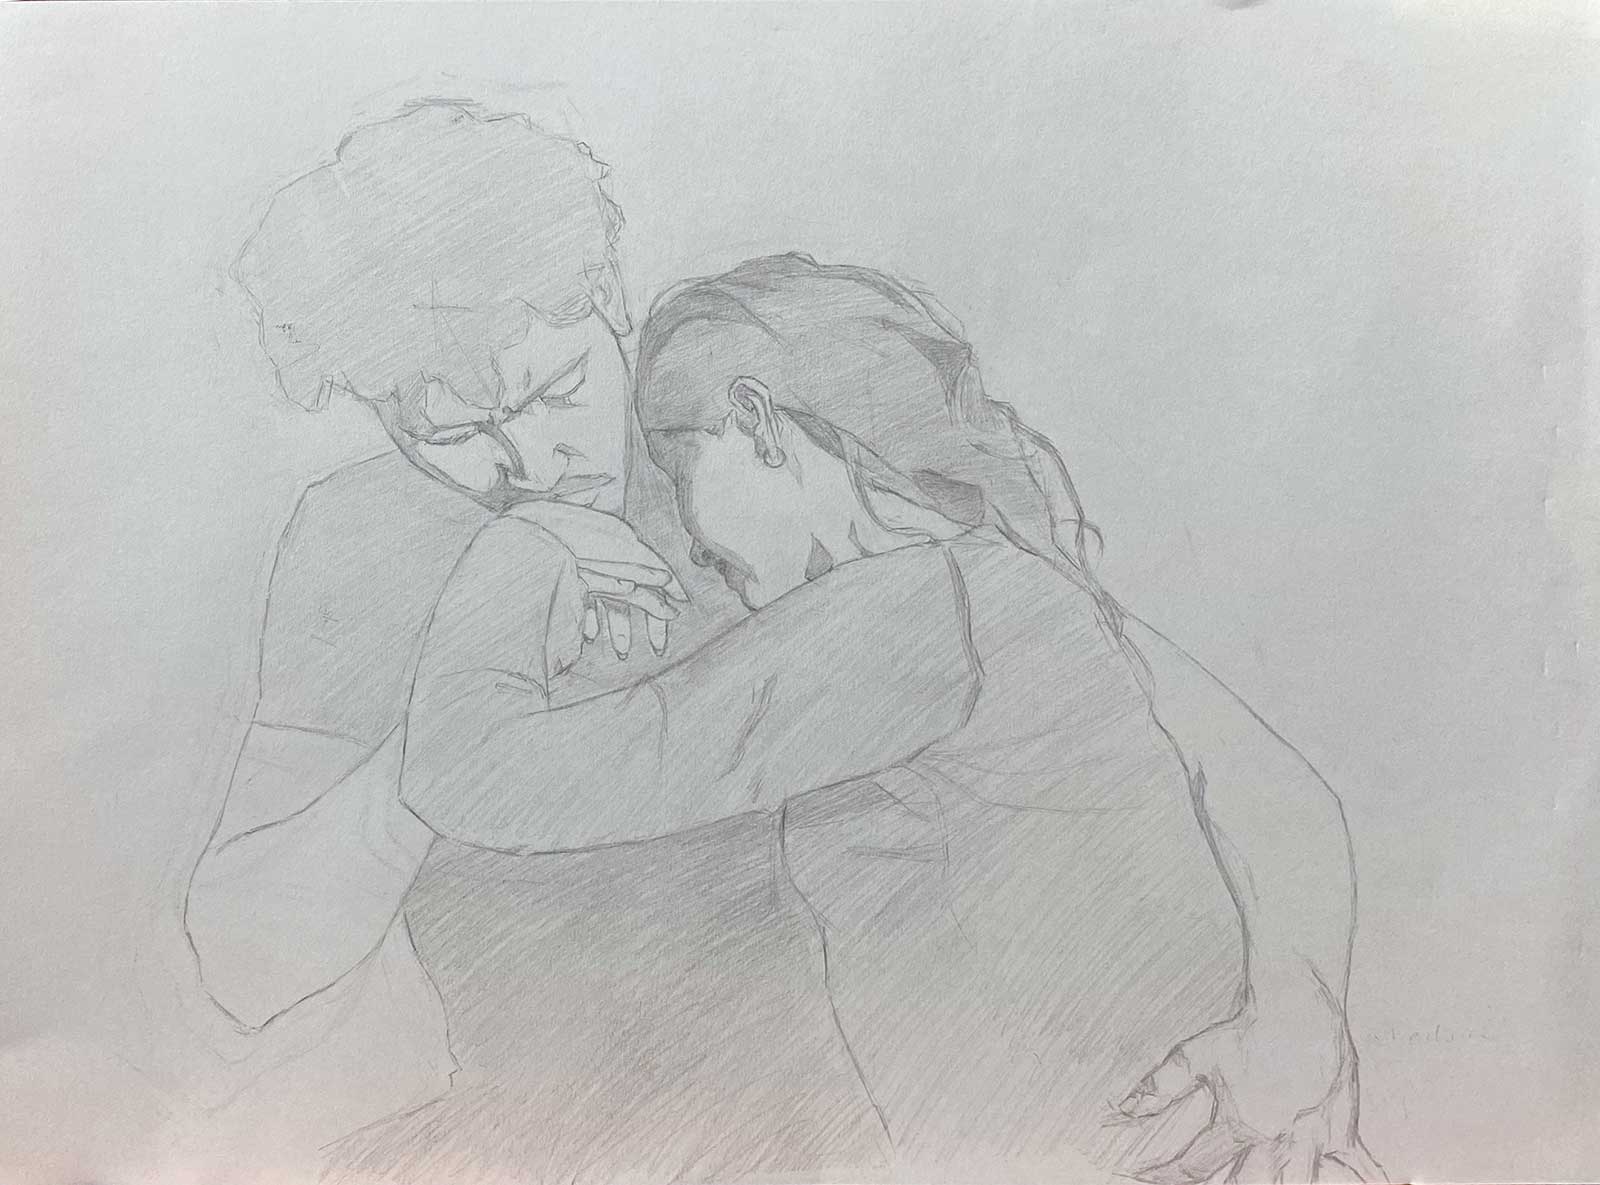
Stage 1: I first began with my drawing. Drawing is essentially the foundation to painting. I can have all the color mixing skills in the world, but when it comes to the human figure, I need to be meticulous with drawing accuracy. For this drawing, I used graphite on an 11 by 14" sheet of paper. I worked from a photo since this was a self-portrait.
 Stage 2
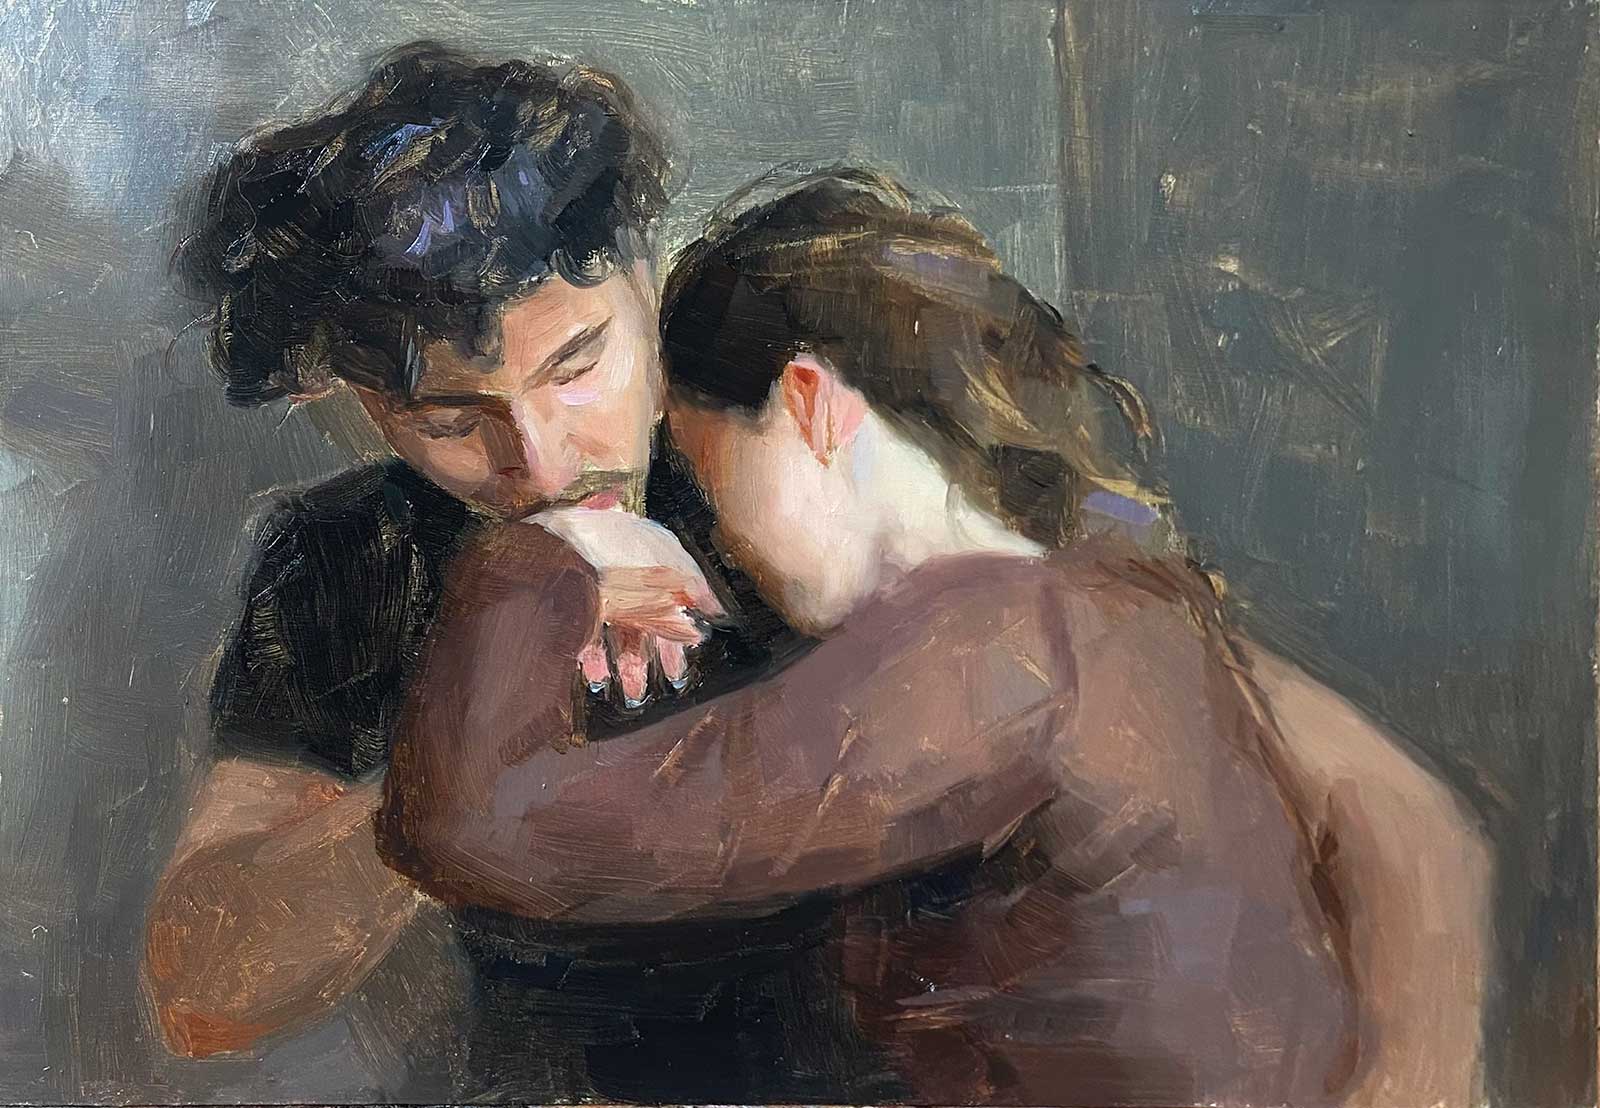
Stage 2: Once the drawing was complete, I went ahead and started on my color study. Color studies have quickly become vital in my prep for painting. I’m able to adjust my color and value quickly and have this up next to my painting while I work. I tried to stick as close to the study as possible, since I knew these colors and value ranges worked—and this is exactly how I want my painting to turn out, only at a larger, more refined scale. This study is 5 by 7" on a hardboard panel.
 Stage 3
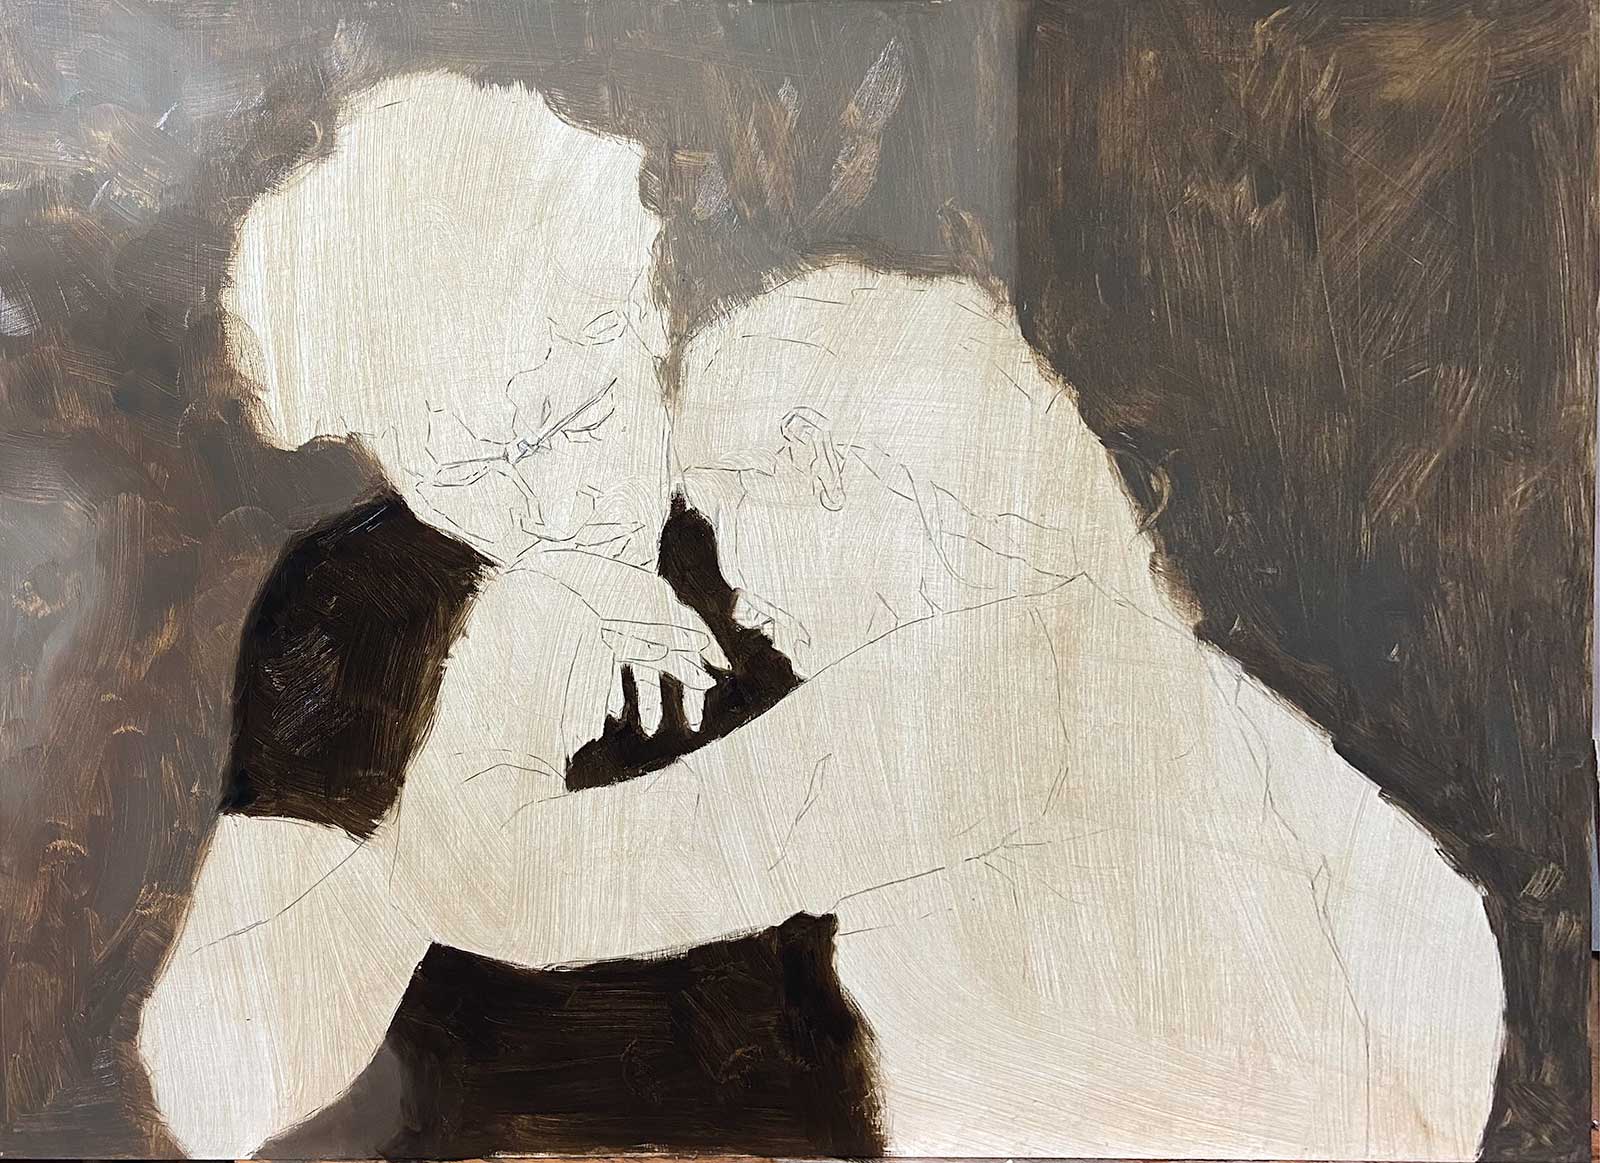
Stage 3: I then made a copy of my original drawing, enlarged it and did a charcoal transfer over to my panel. I prefer to work on a toned panel; this one was toned with a light wash of raw umber. I like to work from back to front and save the figures for last. Since the figures will be the focal point, I want everything surrounding it to be strong and be a great secondary supporting role for the main characters.
 Stage 4
Stage 4: Since I usually work indirectly, I know that my first layer will be worked over with the proceeding layer. This allows my primary layer to be looser and fresher, with less refinement in the brushstrokes. When the second layer is then applied over it, it has a lovely play of loose and refined brushwork.
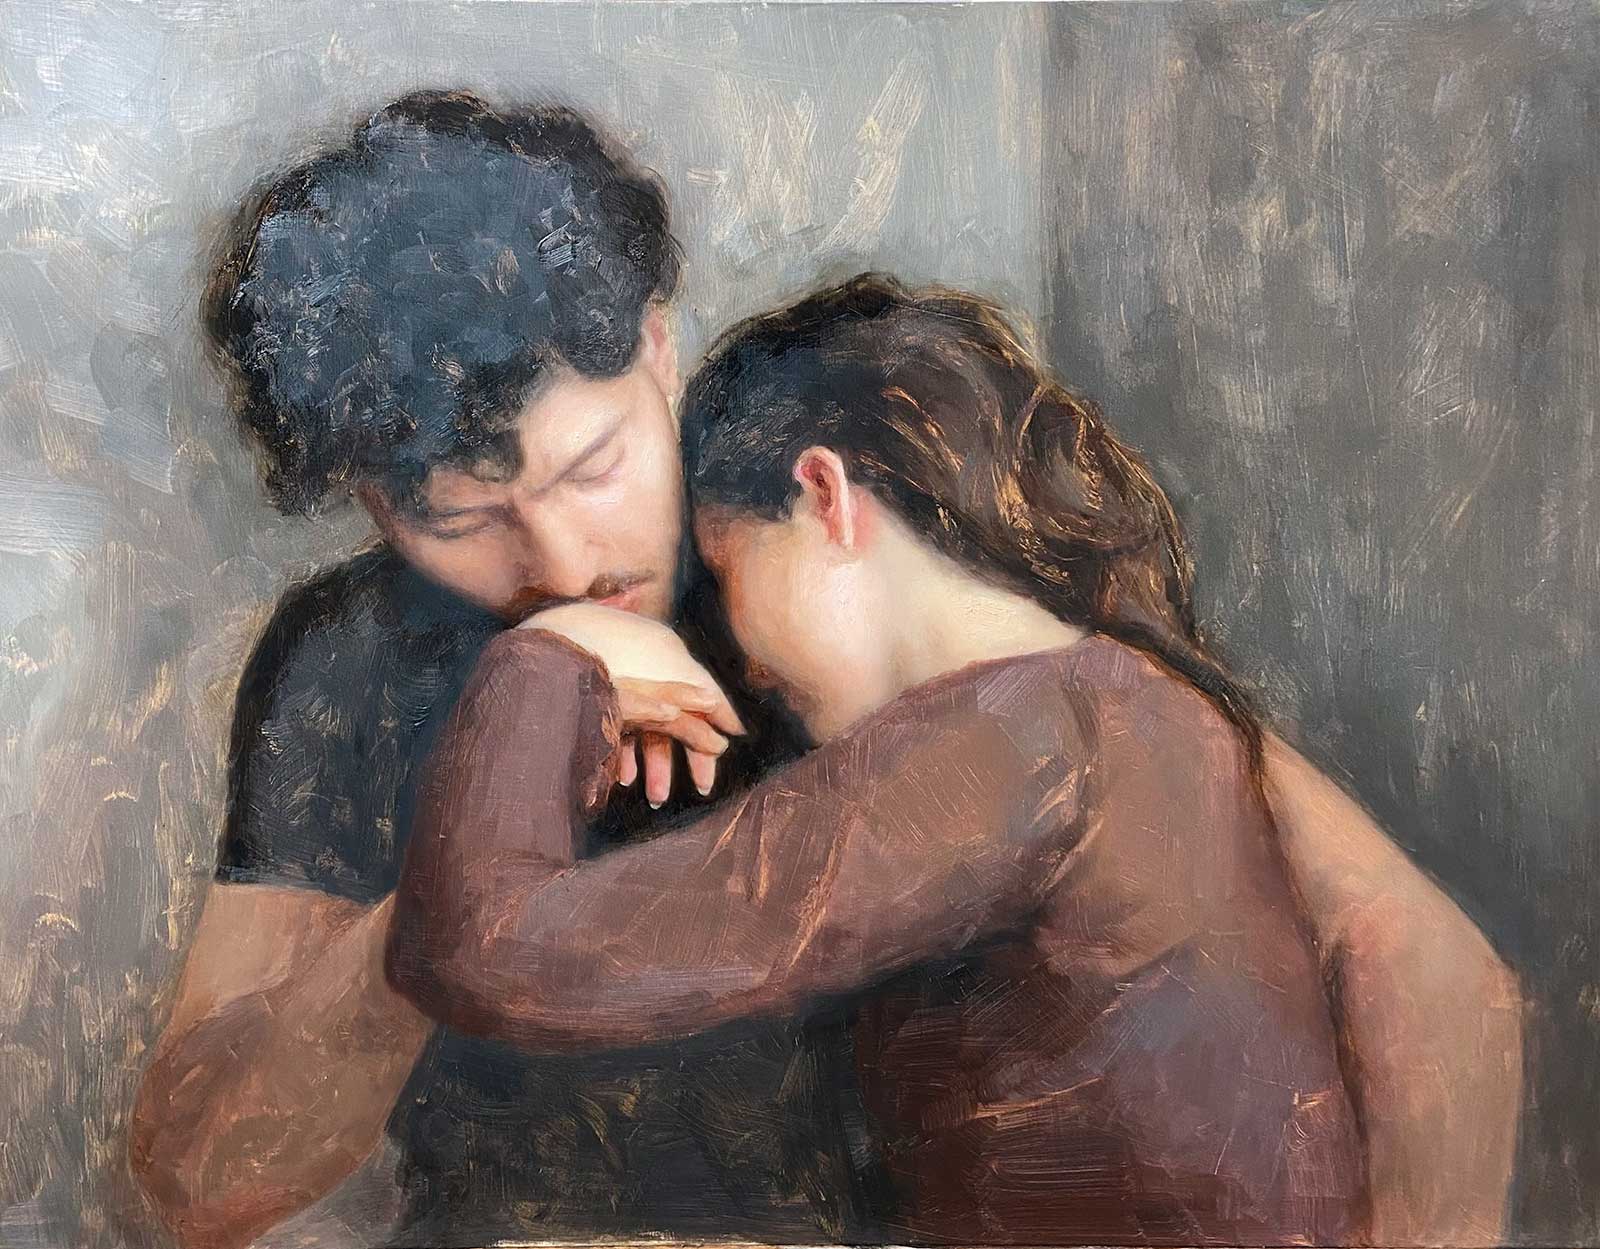 Stage 5
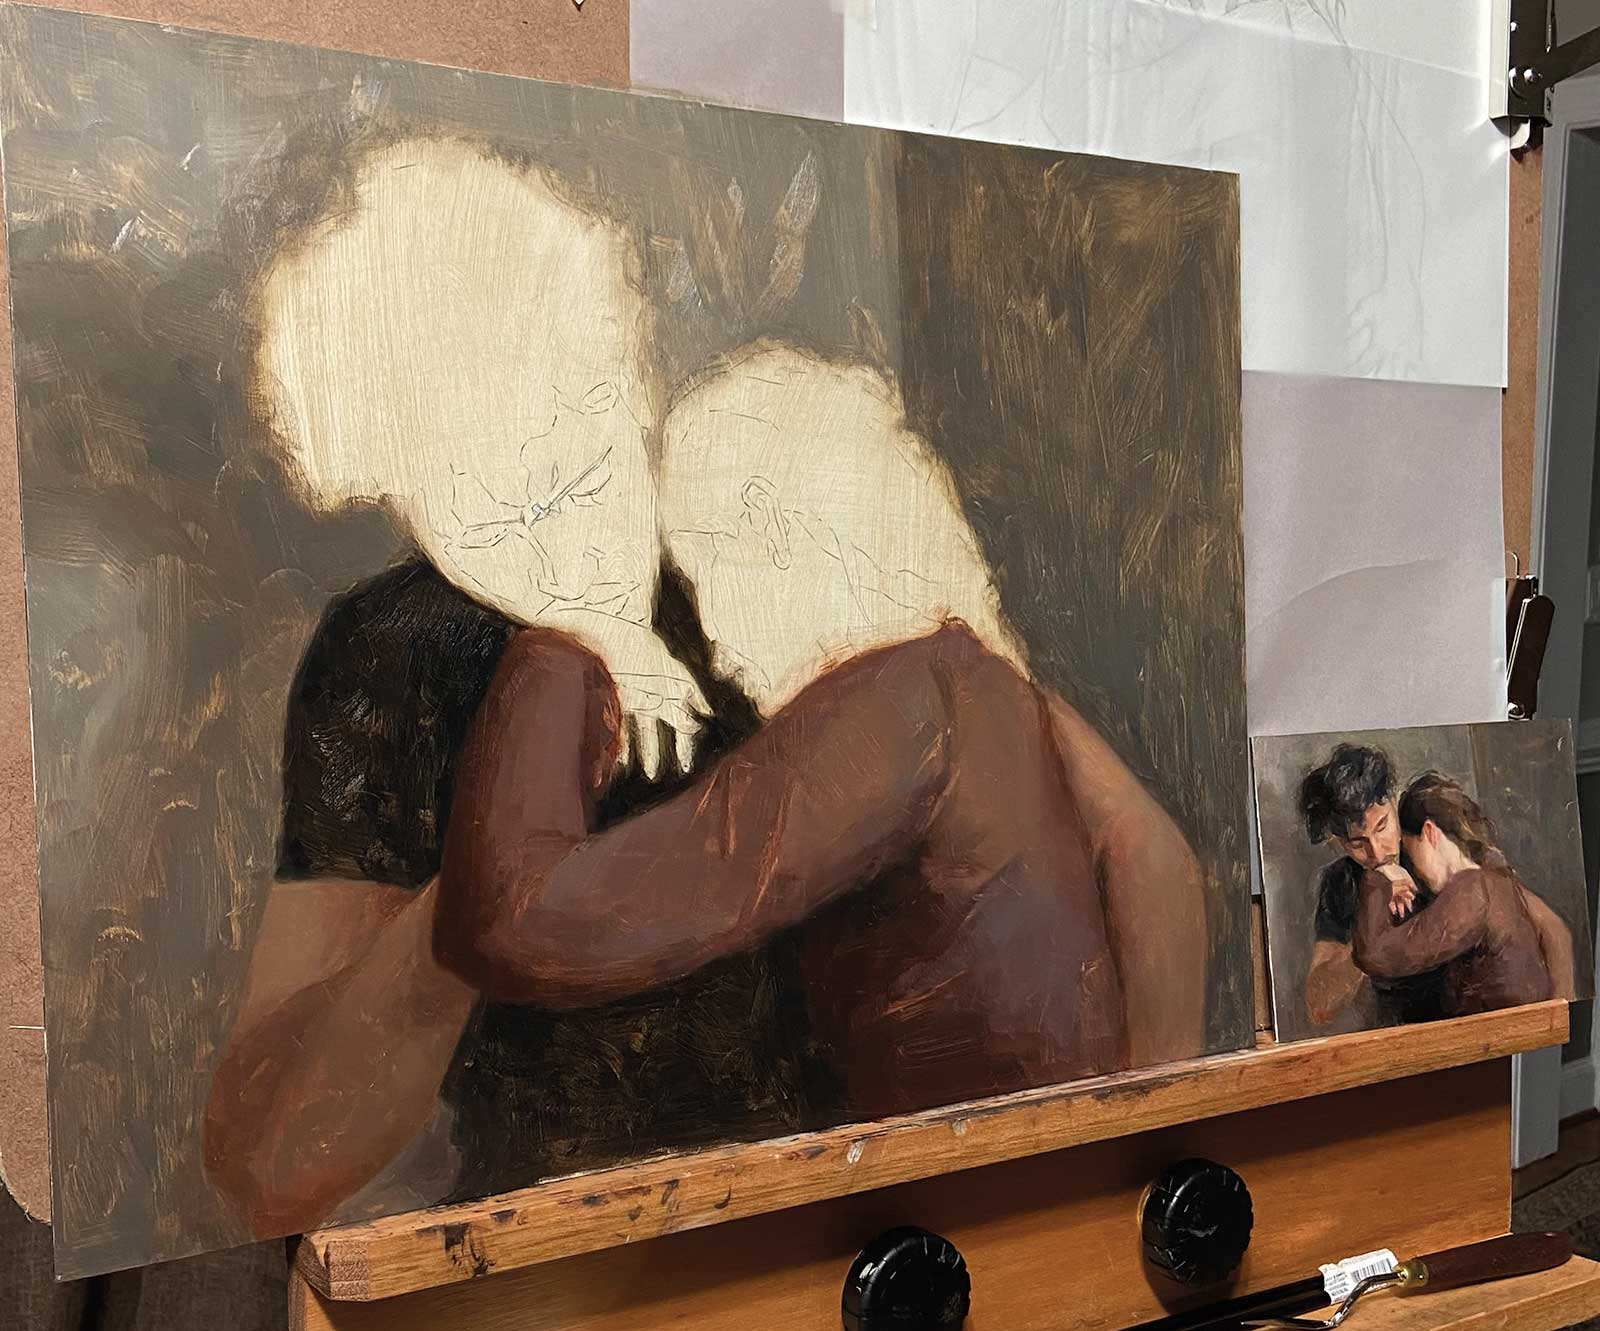
Stage 5: There’s always a part of the painting where you’re looking at a week’s worth of work, thinking, “What is going on here?” There are varying amounts of layers on different parts of the painting, i.e., my fiancé’s portrait is nearly done, yet everything surrounding it is sunken in and feels “wrong.” The dark edges around his hair and shirt are where I’ve oiled out using Rublev Oleogel.
I always oil out the edges of the areas I’m going to be working in so I can see the true colors/value of the paint and better match it in the subsequent layer.
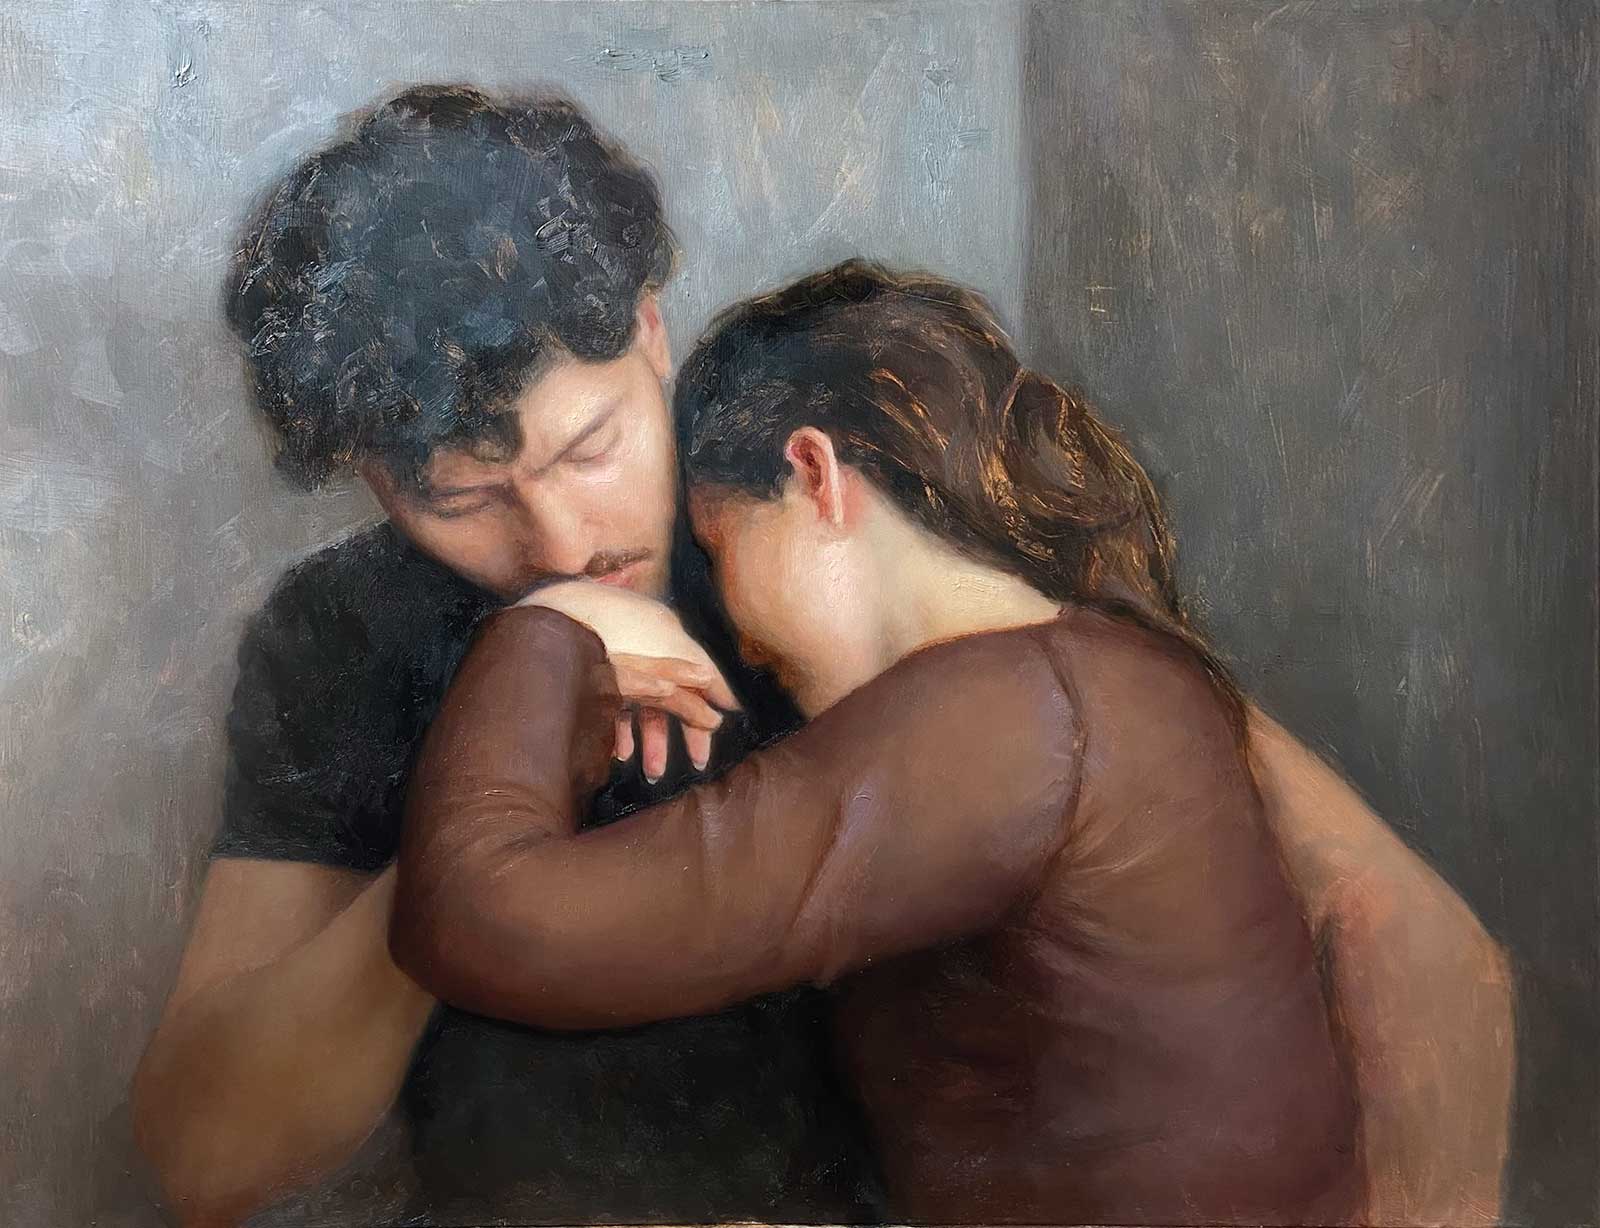 Stage 6
Stage 6: In this stage, I refined both our shirts and his right arm in a second pass. At this point, everything is well within the ideal value and color range I want. I’m mainly paying attention to form (making sure it all feels real and dimensional), warm/cool color relationships and details. I begin to make a mental list of what needs to be done and how I want to complete them. I know I need to work on refining my face, ensuring my cheeks feel supple and the value compression of my turned face stays believable and remains further in space than my cheek and neck. I’m also working on the background, ensuring there is an entertaining amount of texture (thick and thin) but keeping the focus all on the figures.
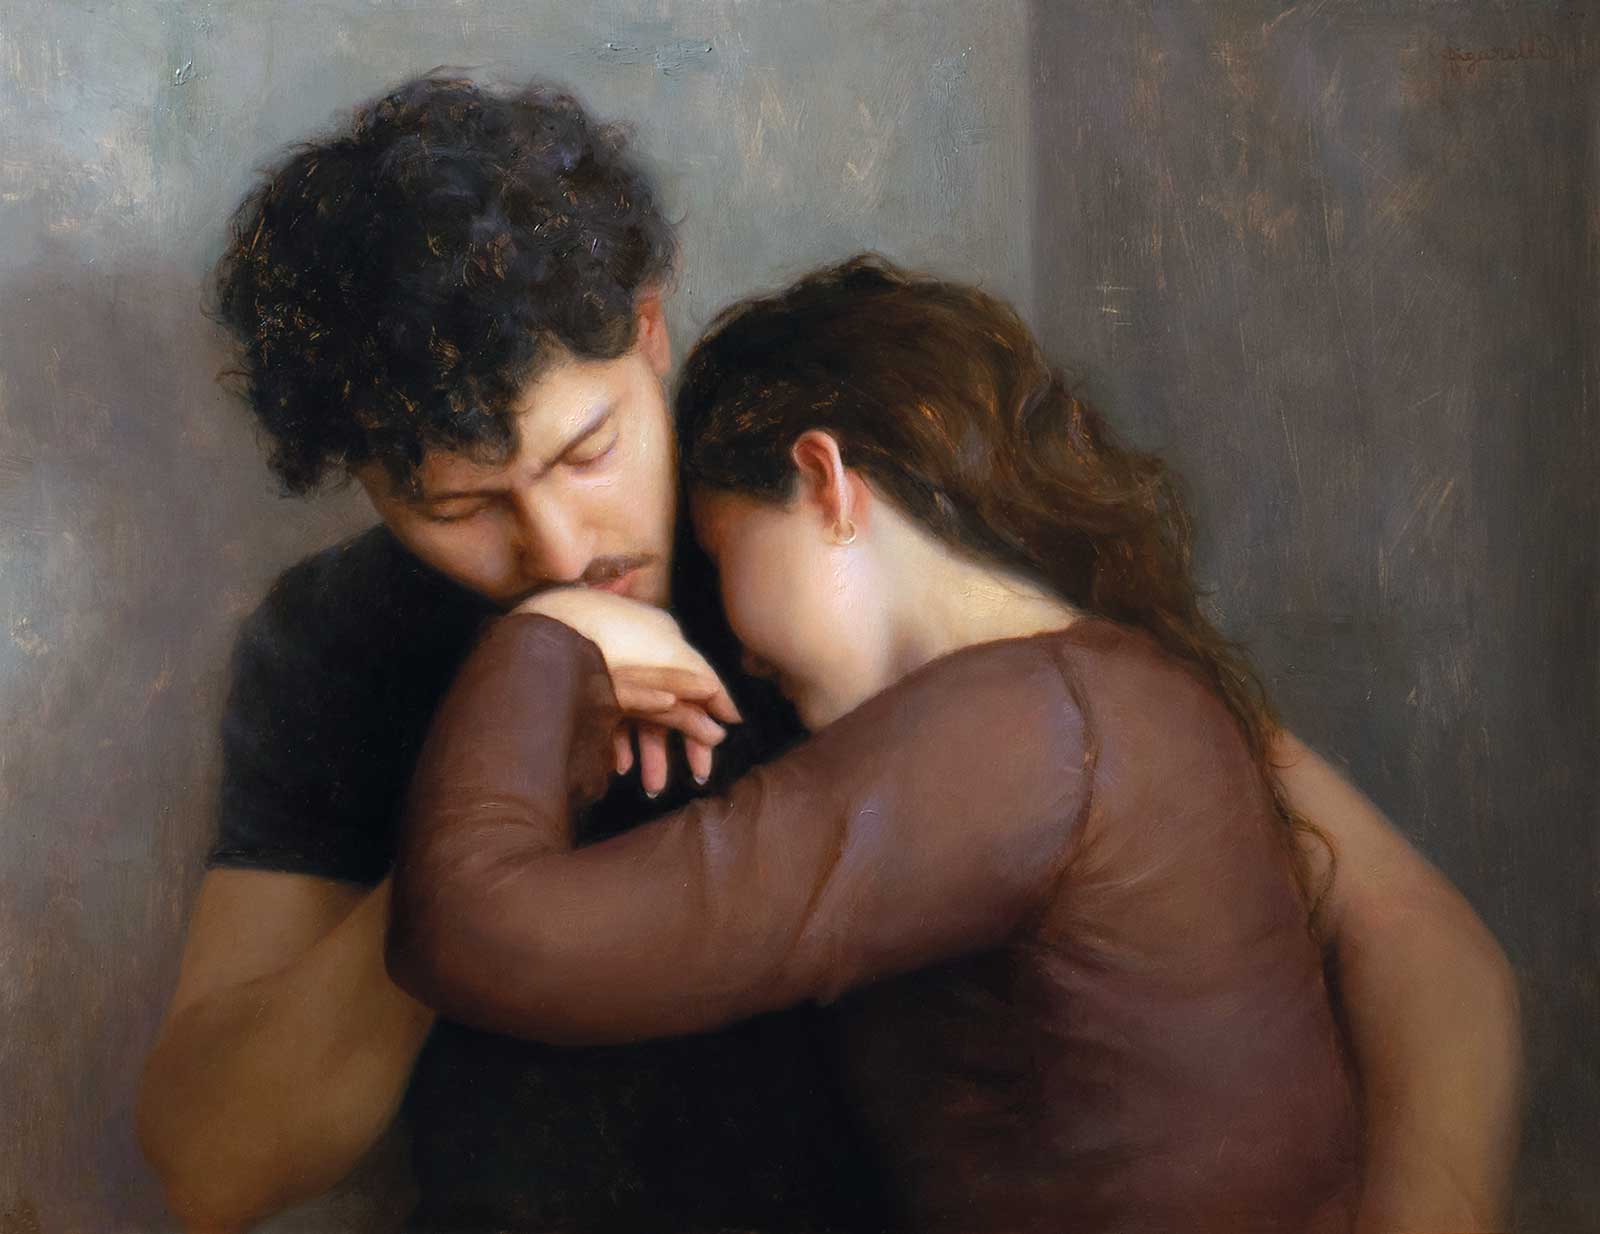 Stage 7
Stage 7: When it comes to fine tuning the details, I always make sure to pay attention to my variety of edges. Soft edges in the fly-away hairs, hard edges at bony structures like our fingers—these little details are so important to me and my work. I want to ensure every part of the painting feels intentional and entertaining, even in the most mundane areas, like our fingernails. I wished for each portion of this painting to seep with love and devotion. When I finally felt like I achieved that—after about three and a half weeks in the studio—Save Our Souls was off the easel. —
Tina Figarelli is a realistic figurative artist originally from Chicago, Illinois. She currently resides in Raleigh, North Carolina, as an artist intern at East Oaks Studio, where she paints full-time and teaches online lectures and workshops.