


For many, drawing is a passion, a hobby, a dream or a profession. For me, it’s the opportunity to express on paper my love for the unparalleled beauty of the natural world that surrounds us. To achieve this goal, I chose colored pencils. Although drawing with colored pencils is considered a relatively simple and convenient technique, selecting the right tools is not a trivial task. Drawing with colored pencils is a highly engaging endeavor that involves many details, and by adhering to certain principles, you can create truly valuable artwork.
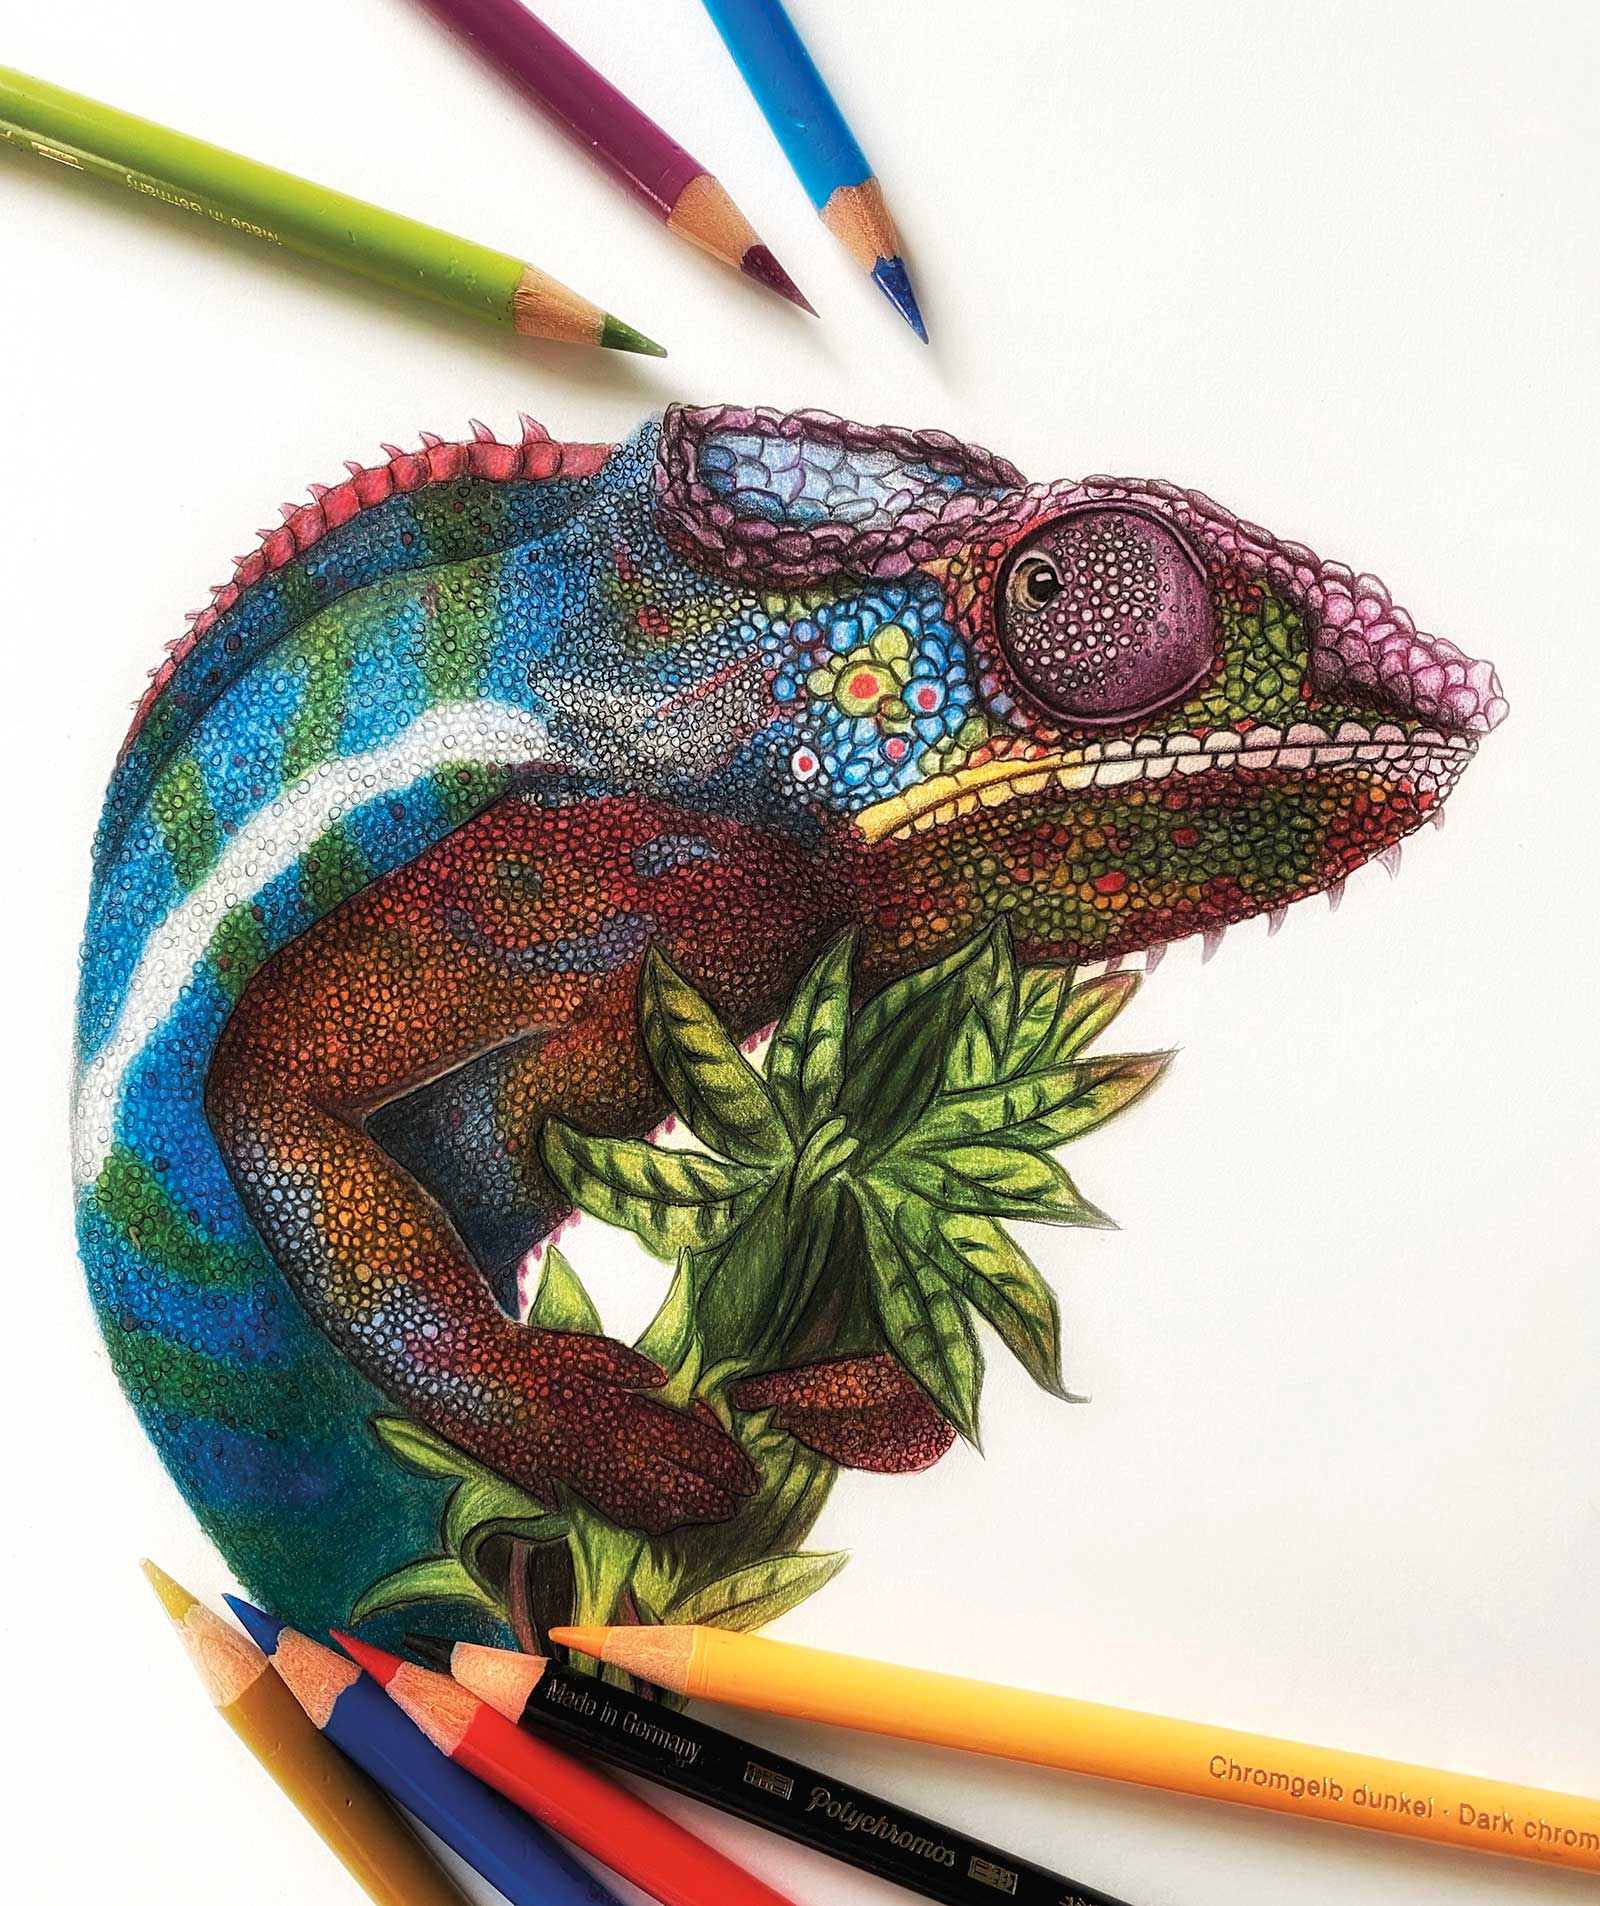 Madagascar chameleon, colored pencil, 11¾ x 8¼" (29 x 20 cm)
 Many artists who create their drawings using colored pencils employ various techniques, and there are many of them. When I embarked on my creative journey, I was amazed at how differently the same drawing could look using different techniques. Even the sharpness of your pencil, the angle at which you hold it or the pressure you apply can affect the result.
So, when I ventured into this exciting adventure with colored pencils, I had to make several decisions that brought me to my current level of skill. Below is a brief description of what I had to choose.
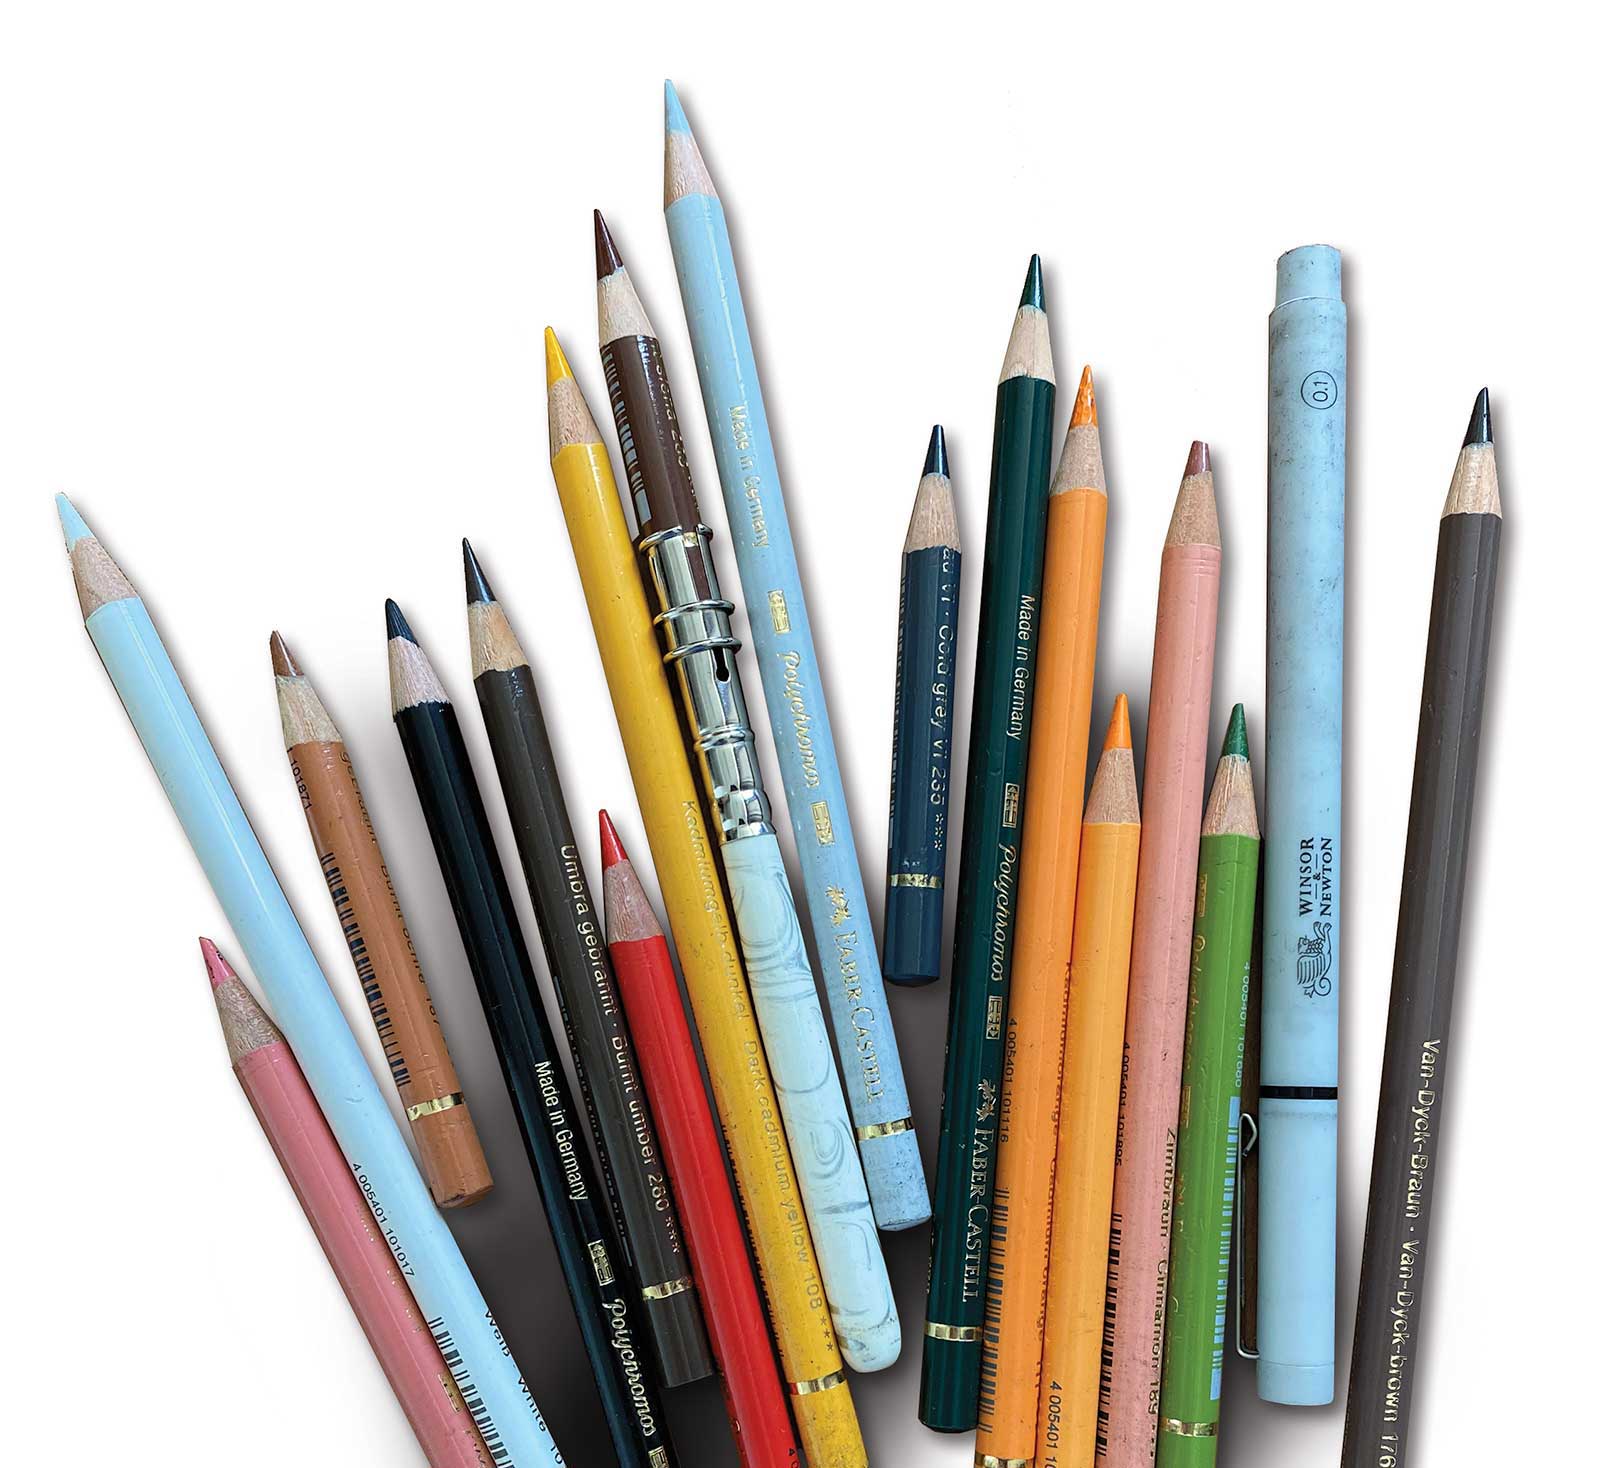
After trying various pencils, I settled on ones with moderate softness combined with the ability to sharpen to fine points, along with exceptional color saturation and the ability to blend and layer colors. Maximum satisfaction of the pencil is obtained through the high quality of materials used by the manufacturer. To choose a suitable tool, I tried the products of many well-known manufacturers, such as Faber-Castell, Caran d’Ache, Derwent, etc. When selecting paper, I opt for water-resistant options that can be used for both dry and wet creative techniques.
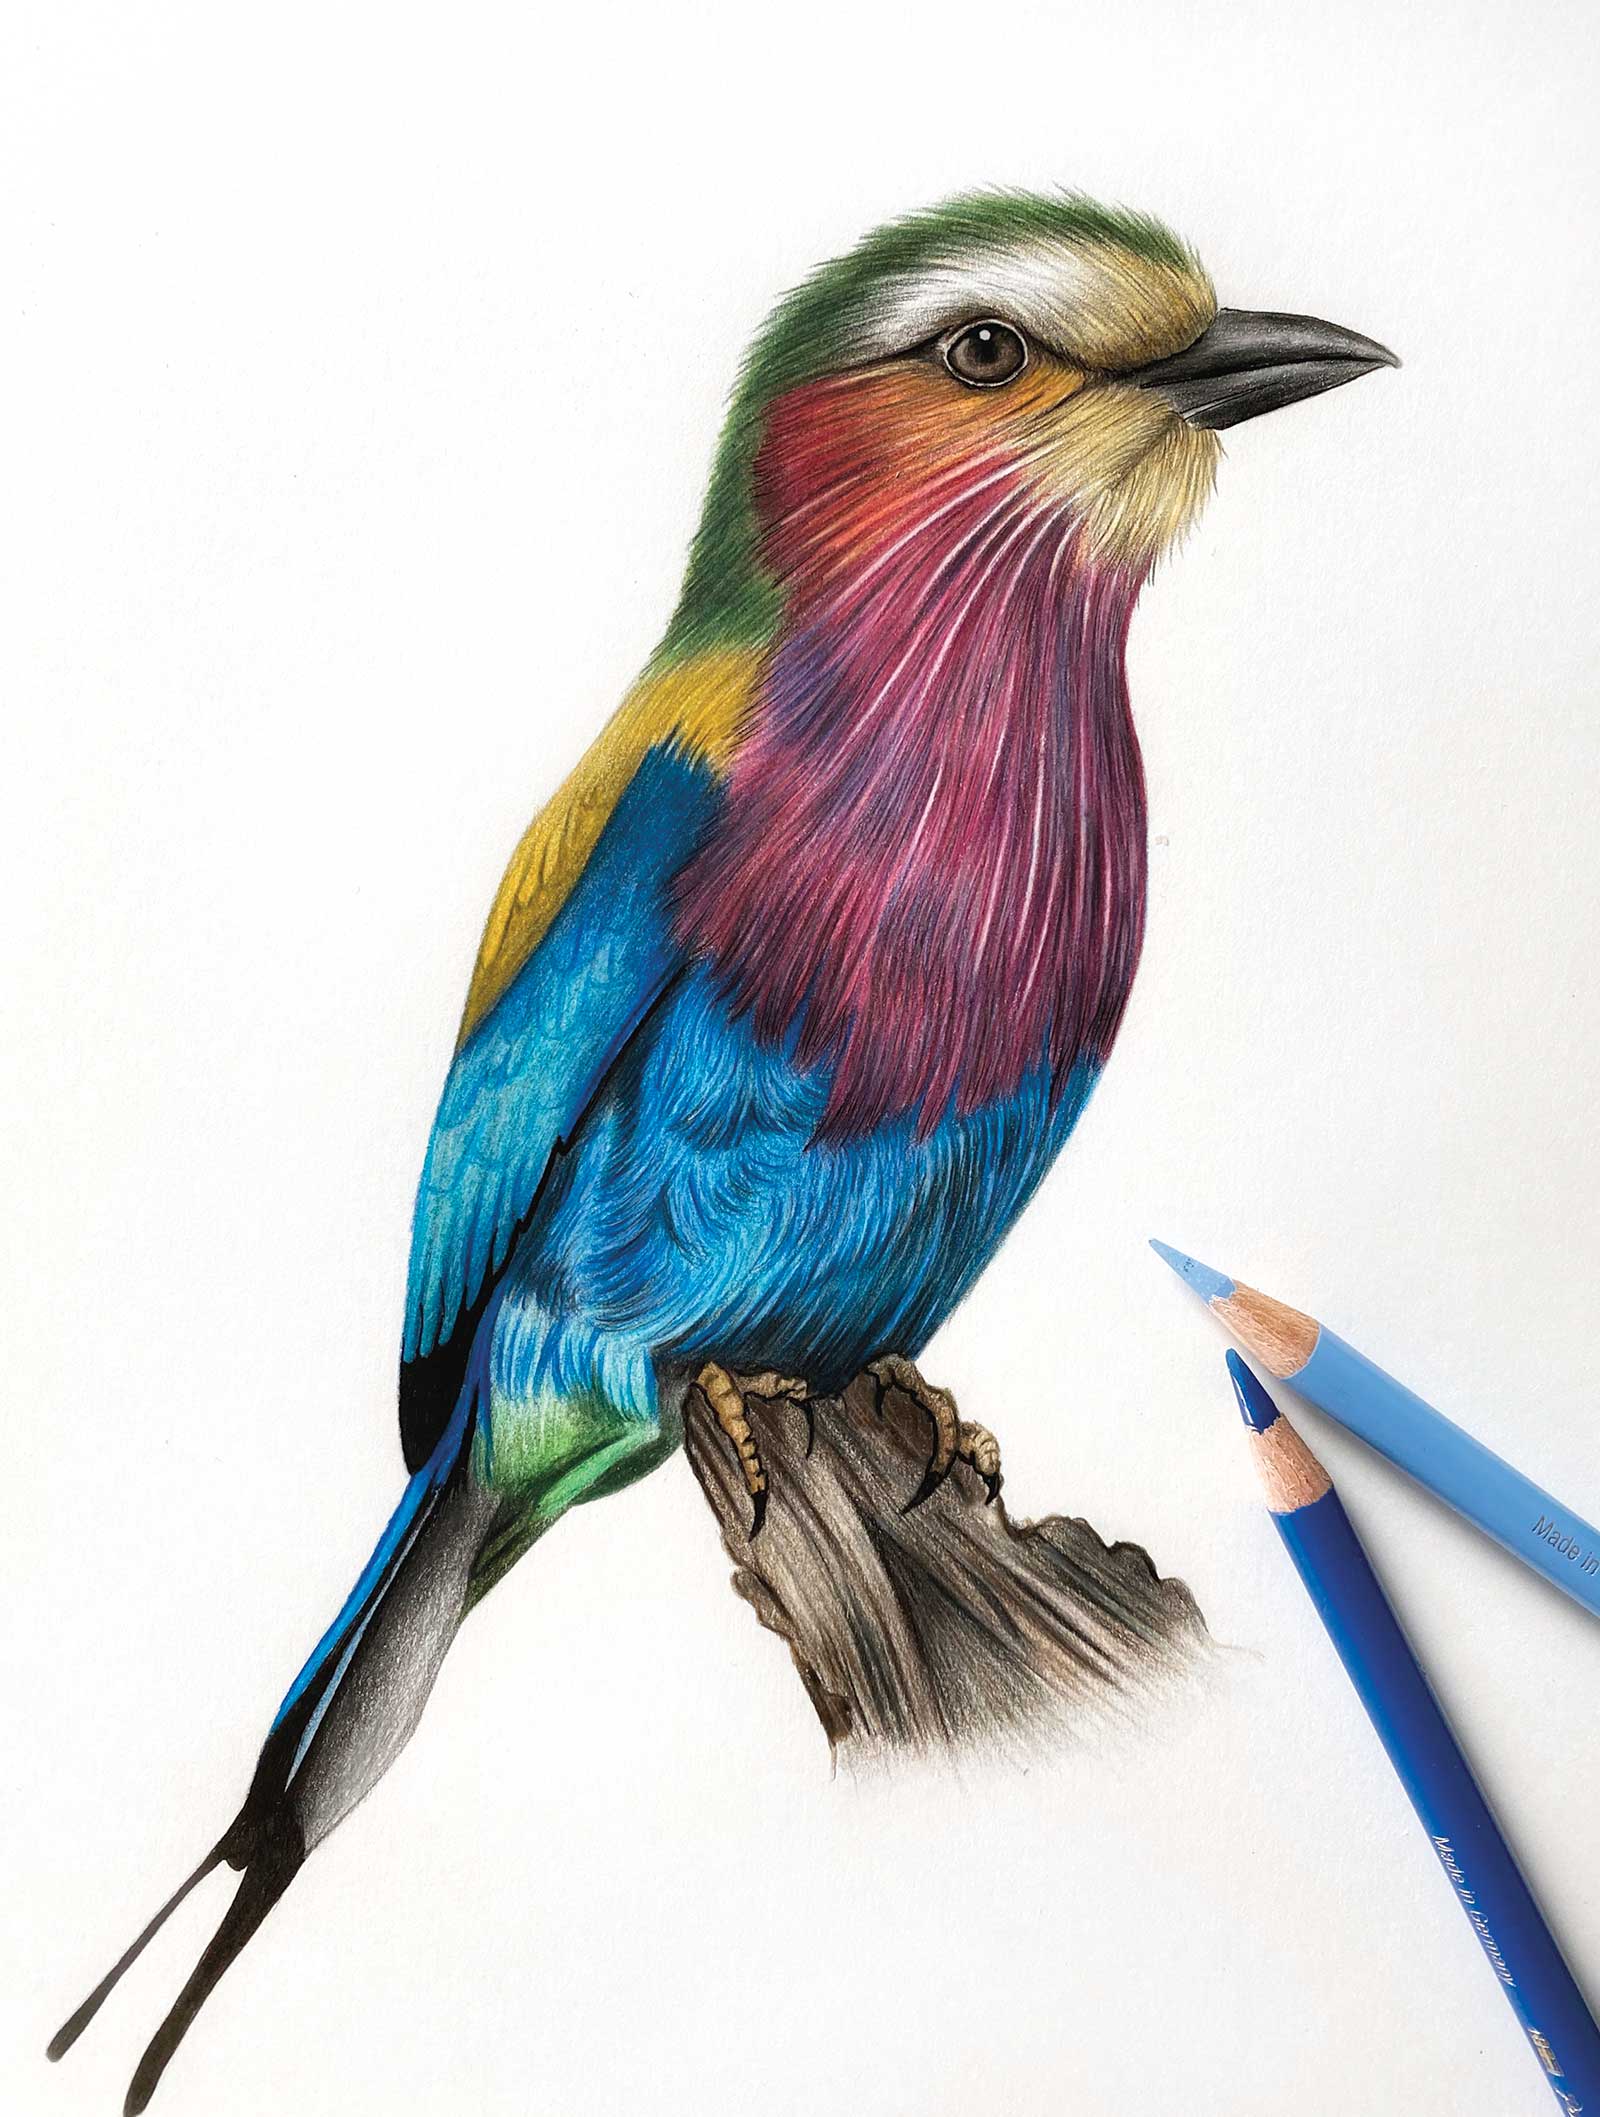 Lilac-breasted roller, colored pencil, 11¾ x 8¼" (29 x 20 cm)
 My style can be described as photorealism, which requires a high level of patience and the development of many skills.
As far as subjects go, the first step is choosing a photograph. I use high-resolution photos to accurately represent the subject. The theme of my work revolves around the animal world, and the choice of the animal I draw depends on the variety of colors associated with it.
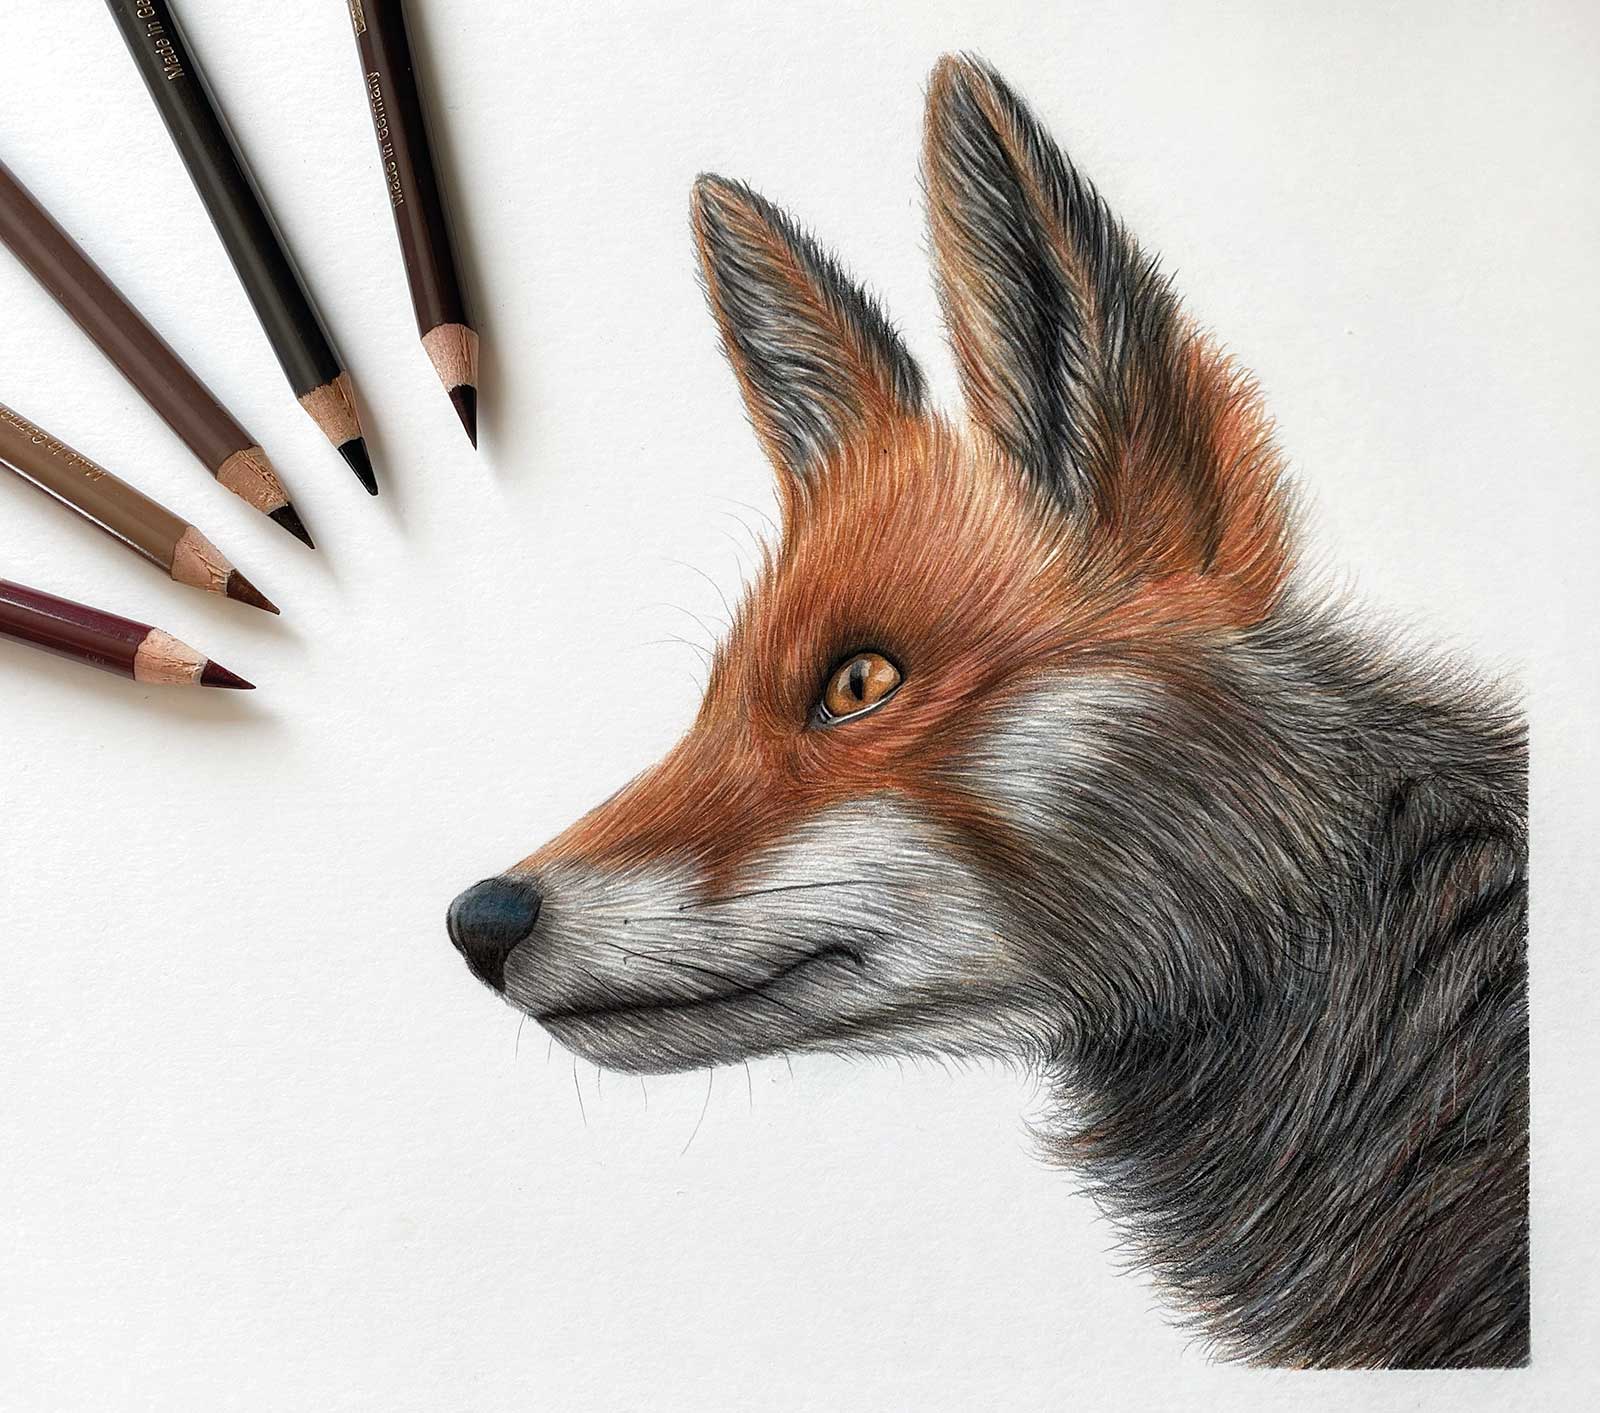
American red fox, colored pencil, 8¼ x 11¾" (20 x 29 cm)
Now, I’d like to go to the process of drawing and what I pay attention to:
Pressure Sensitivity
Unlike paints, the intensity of colored pencil on paper depends on the pressure applied. I always start with soft pressure and gradually move to stronger pressure. When precise control is needed, I hold the pencil near the tip, which is great for detailed work. This approach is quite effective when you want to work with strong pressure and fewer sharp movements. To achieve smoother strokes, I hold the pencil closer to the middle. This grip is very useful for creating rough sketches and allows for longer and more precise straight lines.
Color Overlay
In my artwork, I continuously blend different shades and colors of pencils. This helps add color saturation to the drawing and create depth or shadows. When working with colored pencils, the order of layers is crucial—you’ll get different results depending on whether you apply a light color over a dark one or vice versa.
Blending
To make the drawing look neat and ensure smooth color transitions, I use a white or light pencil for blending.
Emphasis
Emphasizing details is a crucial aspect of creating my artwork. After most of the work is done, and the drawing has the right colors, I use dark shades or black to highlight the detail’s intensity. For highlights I use a white or light pencil.
By combining the elements mentioned above, step by step, I achieve my goal of reproducing the unmatched beauty of the animal world on paper.
My Art in the Making Iguana
 Stage 1
Stage 1 Sketch
This sketch shows where the entire drawing journey begins. I start with a regular pencil to outline the details and plan the next steps.
WHAT THE ARTIST USED
Faber-Castell Polychromos Pencils
176 Van dyke brown, 168 Earth green yellowish, 189 Cinnamon, 109 Dark chrome yellow, 111 Cadmium orange, 267 Pine green, 230 Cold gray, 108 Dark cadmium yellow, 121 Pale geranium lake, 280 Burnt umber, 199 Black, 101 White, 187 Burnt ochre, 235 Cold gray
 Stage 2
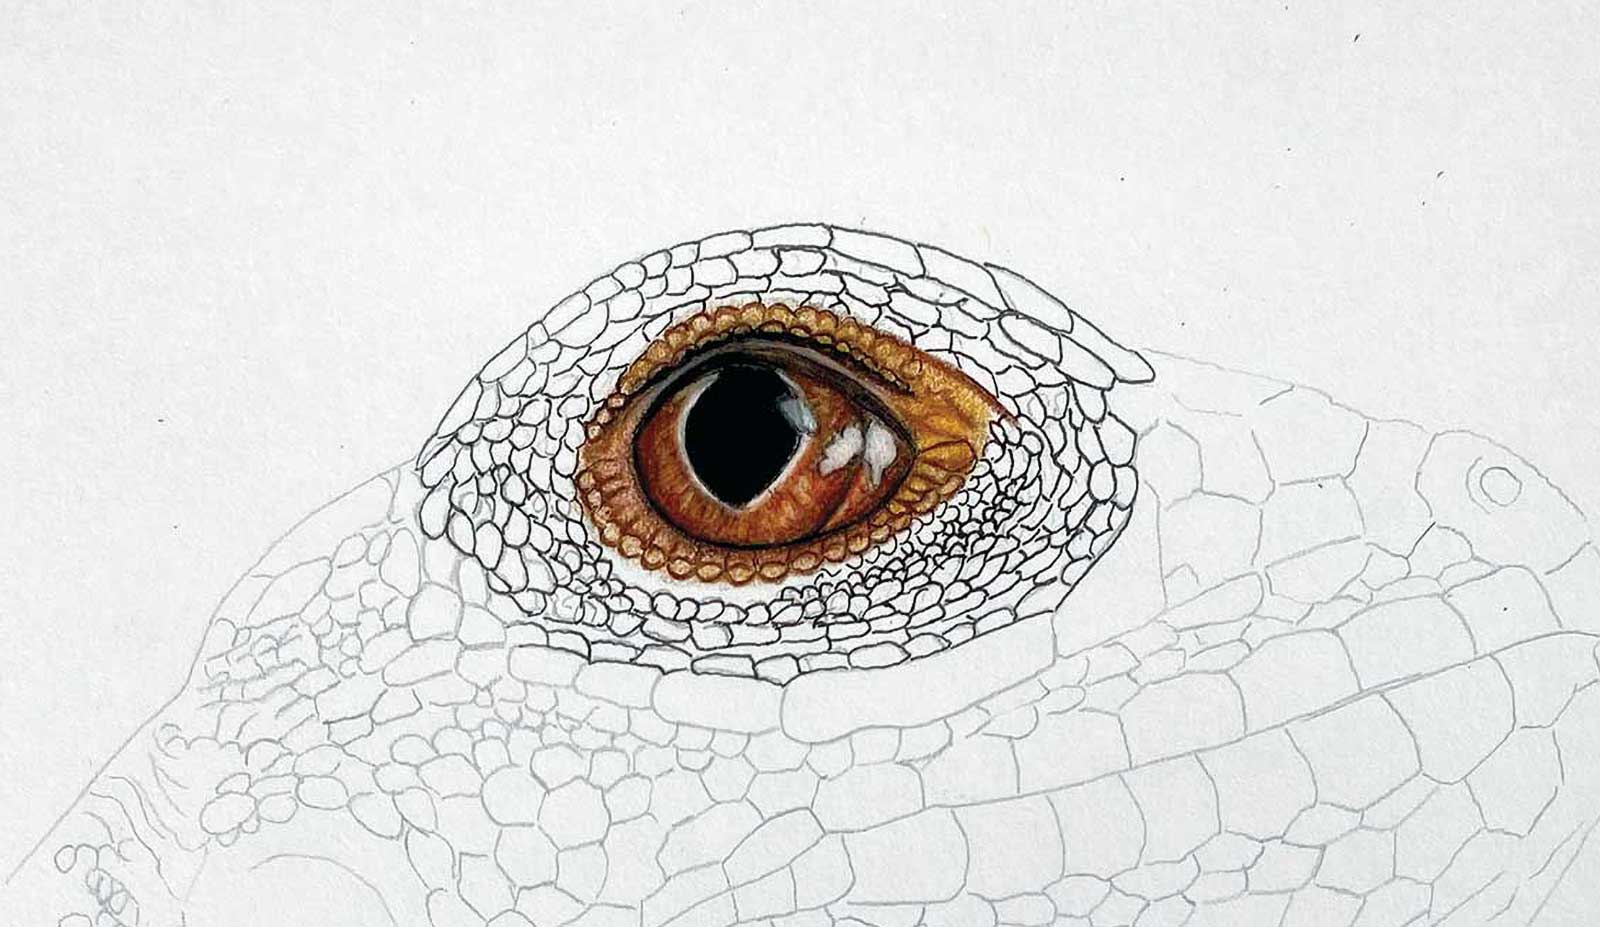
Stage 2 The Eye
For all my animal drawings, I always start with the eyes, and this iguana is no exception. After selecting colors that closely match the original, I draw the eye.
 Stage 3
Stage 3 Starting on the Scales
In this stage, you can see how I outlined the scales with a black fineliner.
 Stage 4
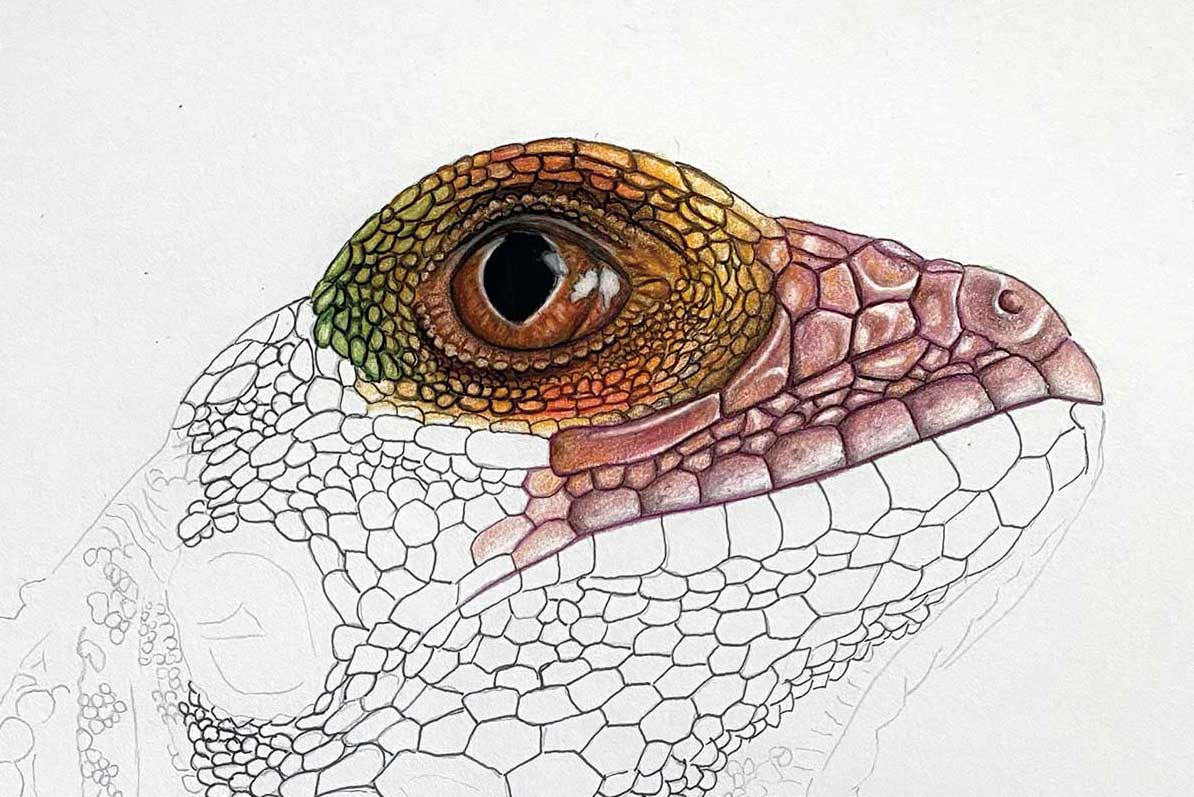
Stage 4 Initial Color
Next step, I apply a first layer of color with colored pencils.
 Stage 5
Stage 5 Creating Texture
I add another layer, defining the scales’ texture.
 Stage 6
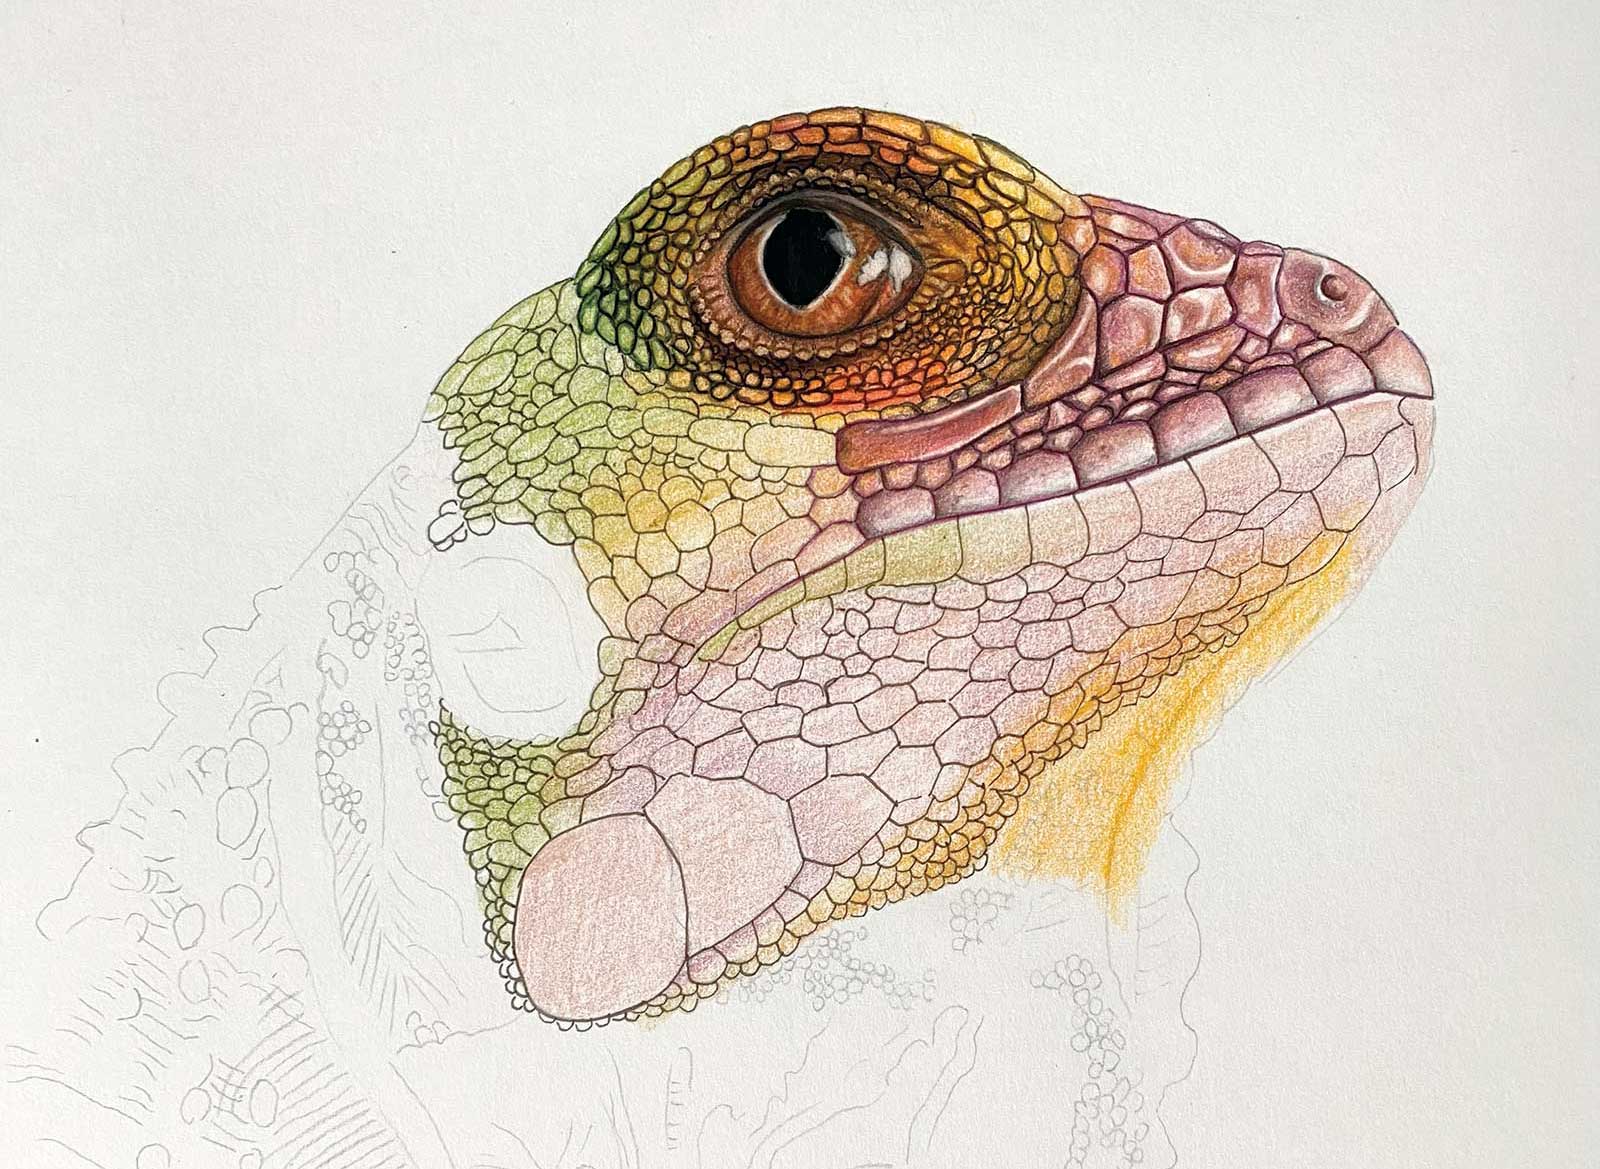
Stage 6 Shadows and Highlights
At this stage, you can see how I’ve used dark colors to create a sense of volume and shadows—and glare with light colors. I made the contours in a more saturated black color so the details were more visible.
 Stage 7
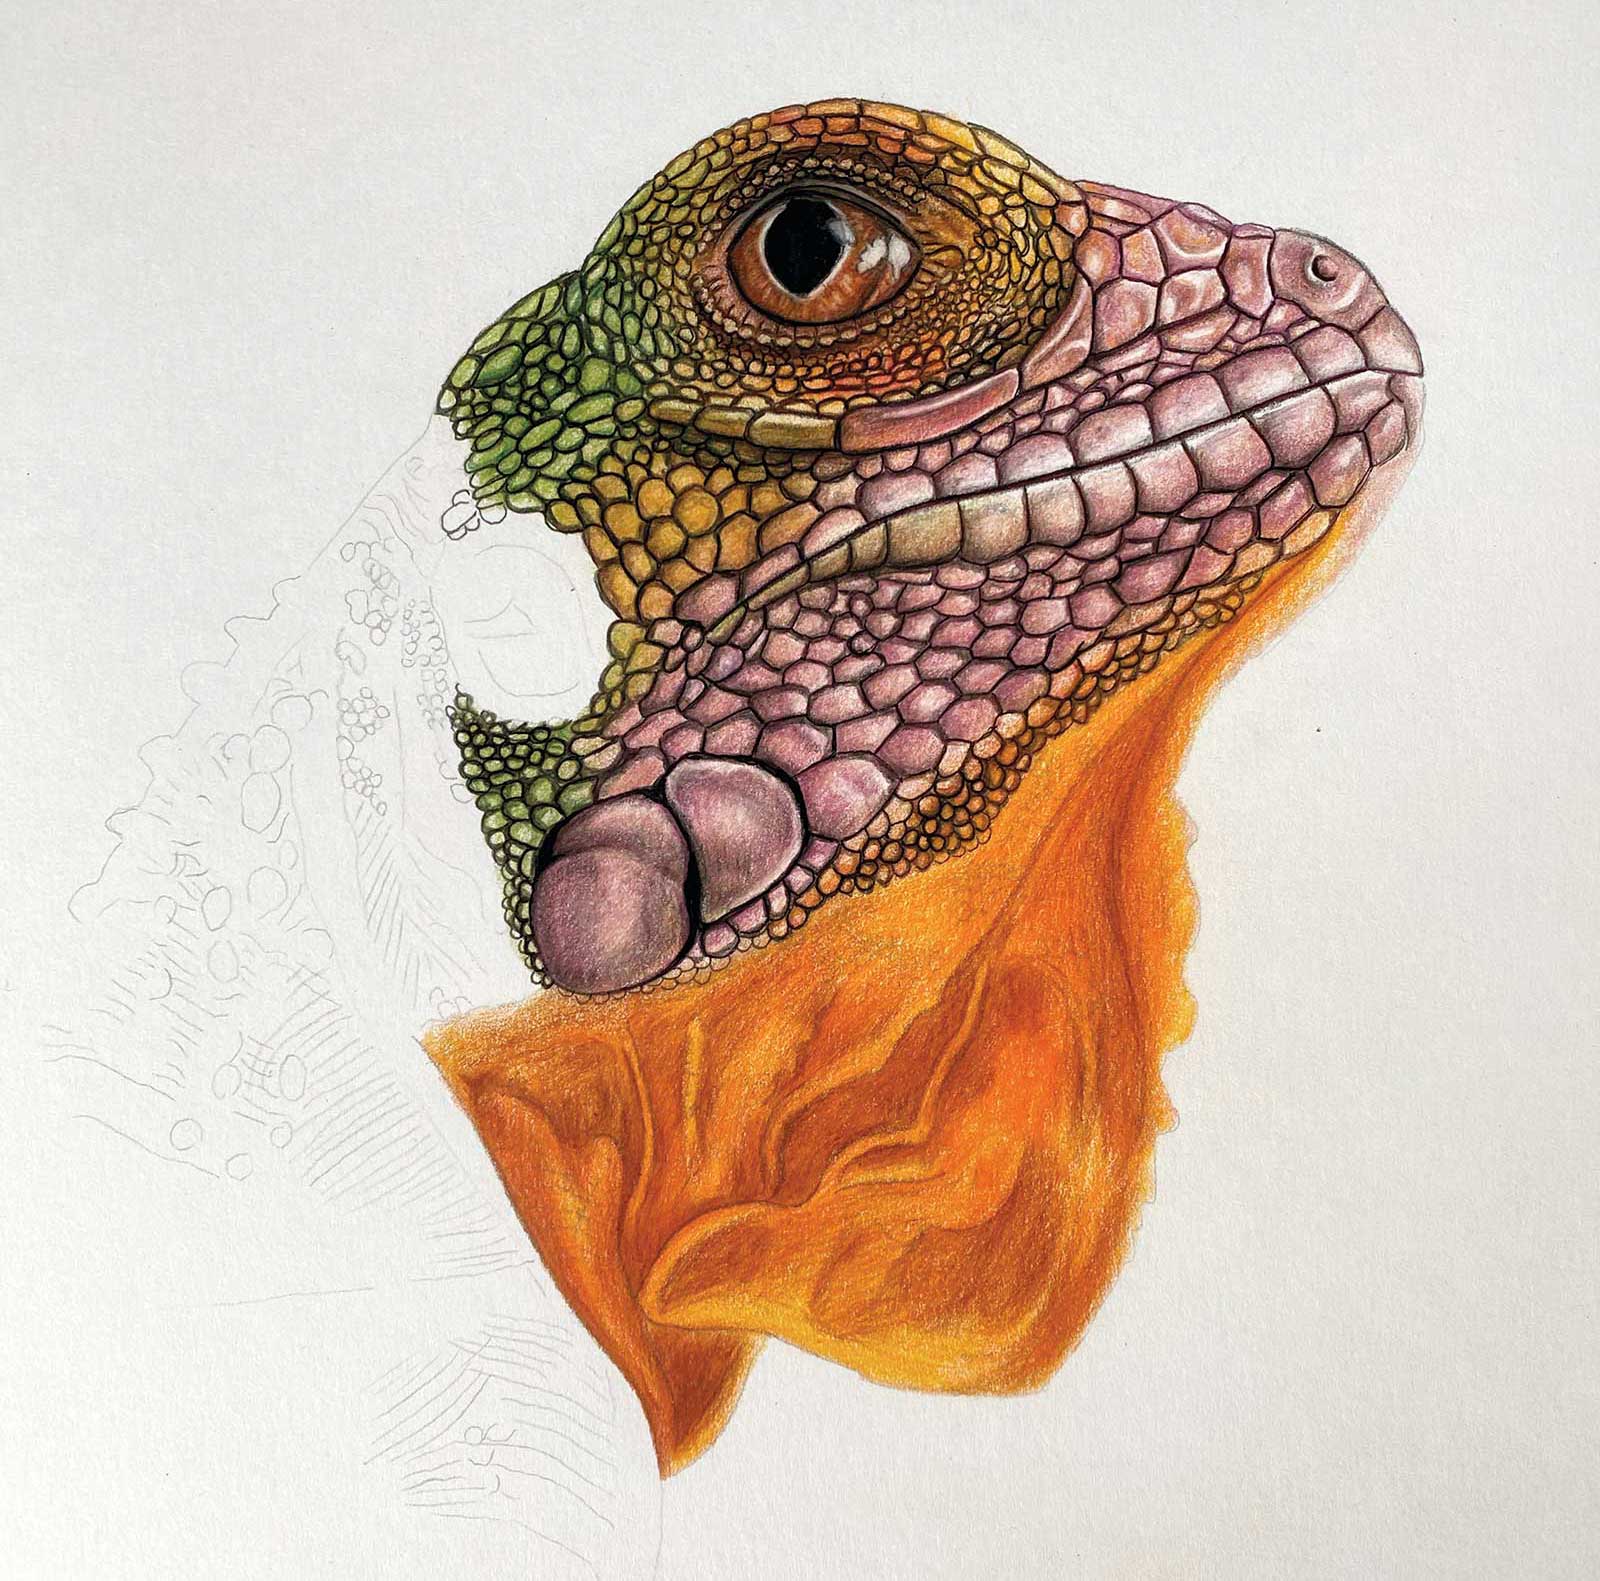
Stage 7 Throat of Iguana
I start to draw the throat bag of the iguana. To begin, as you could see in the previous photos, we start applying the first layer of color with yellow pencil.
 Stage 8
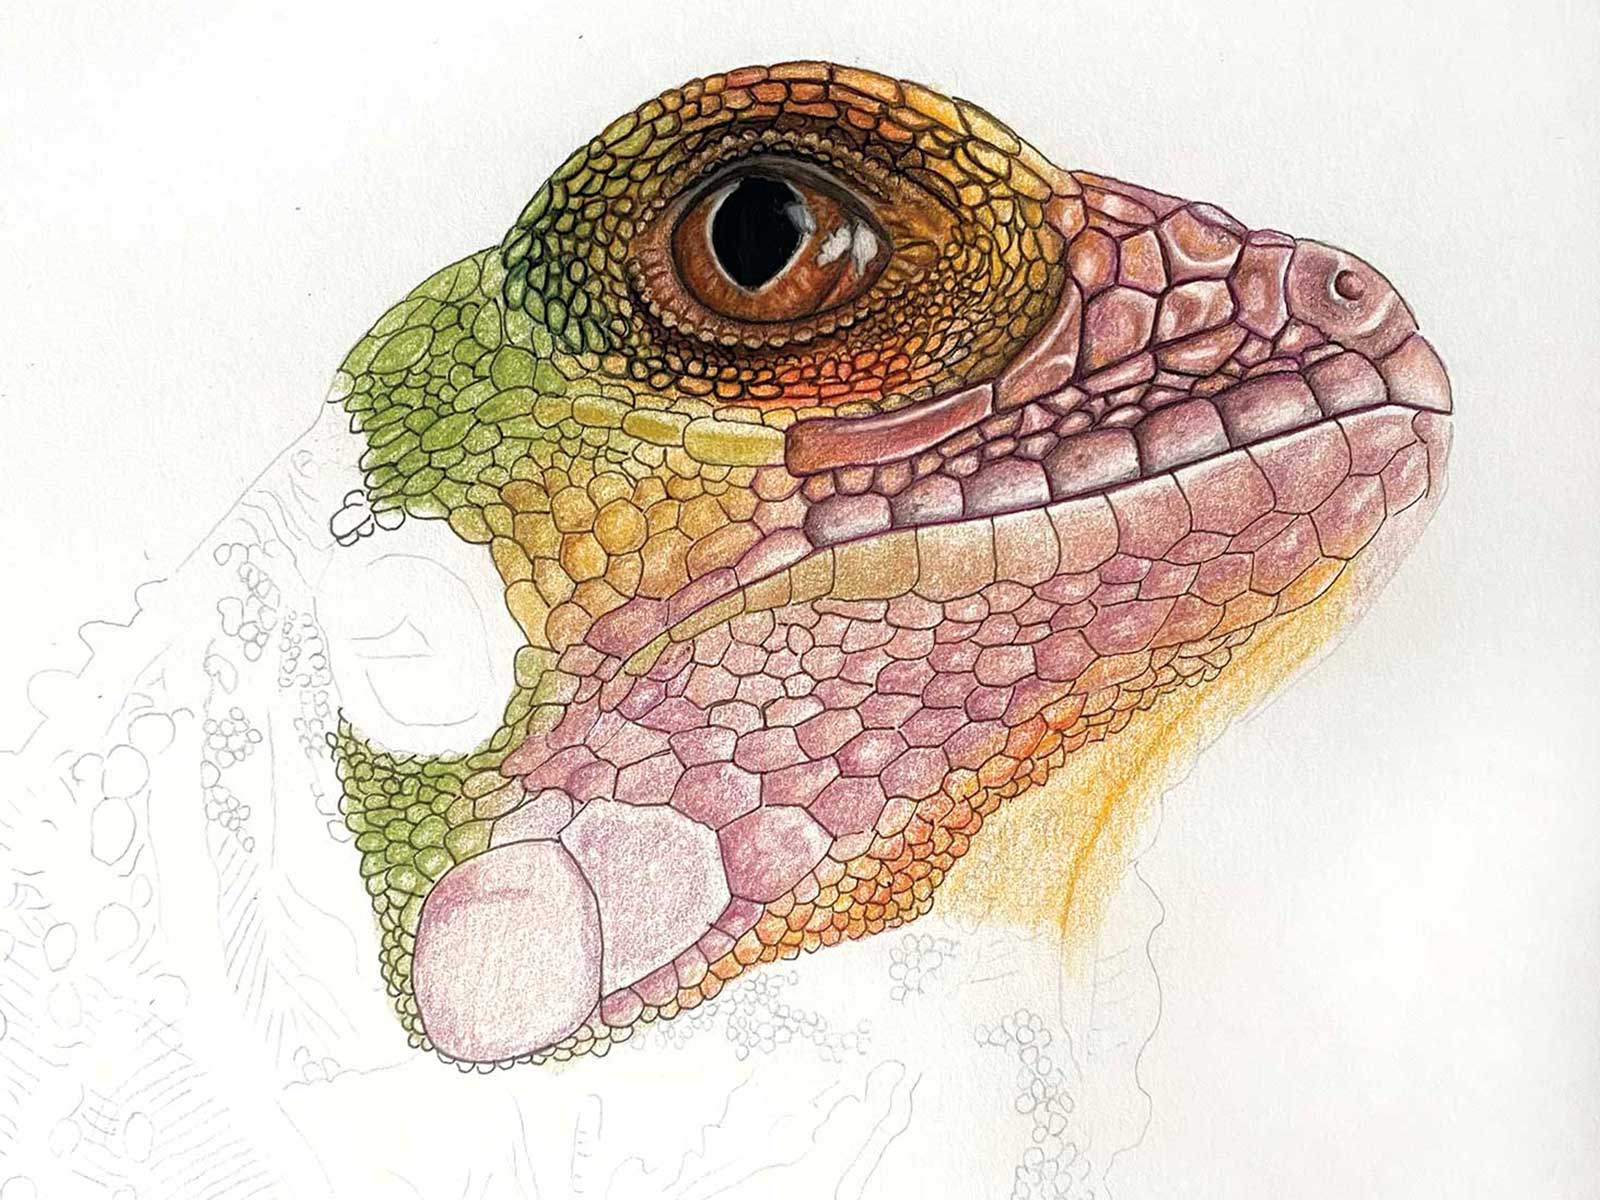
Stage 8 Saturation
This photo shows how I add saturation by applying a second layer of a slightly darker yellow color.
 Stage 9
Stage 9 Adding Orange for More Depth
Next step, I apply a third layer of color, using a warm orange shade to create depth in the shadows and illuminated areas.
 Stage 10
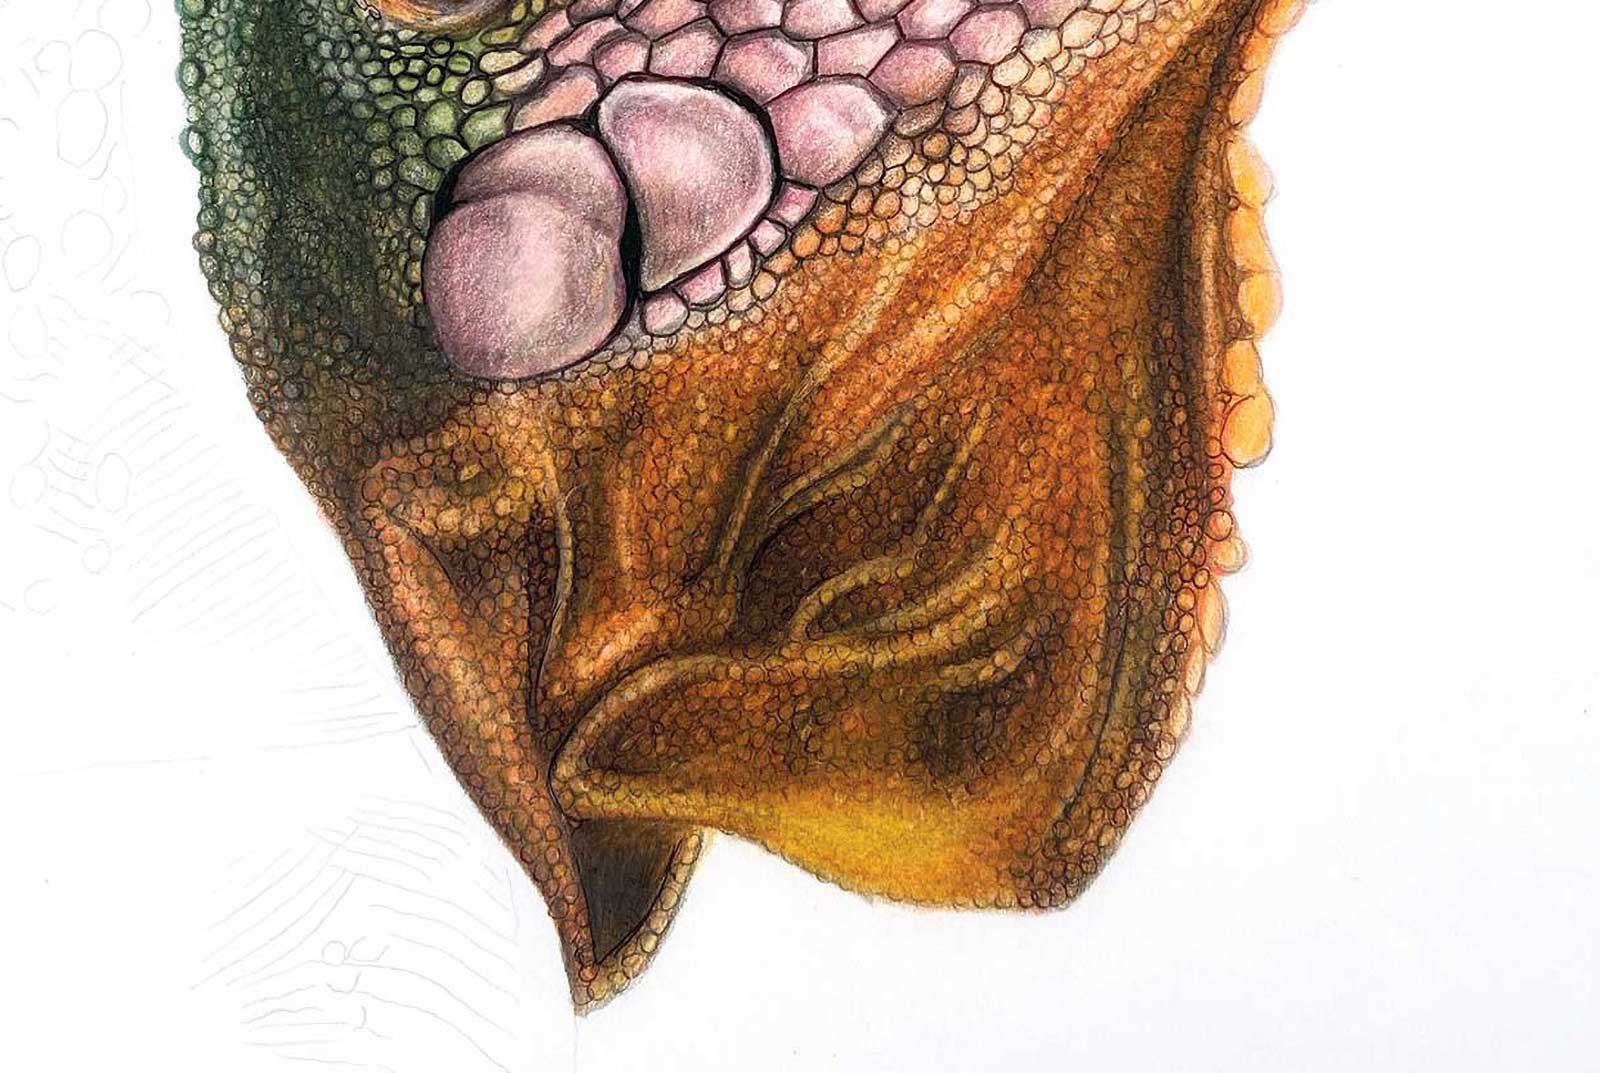
Stage 10 Continuing to Build Volume
This is the final stage of drawing the throat pouch. Here I used even darker pencils, including black. With white pencil, I highlighted the areas that should be lighter to build more volume and details in the scales.
 Stage 11
Stage 11 Further Refining
This represents all the steps we did above.
 Stage 12
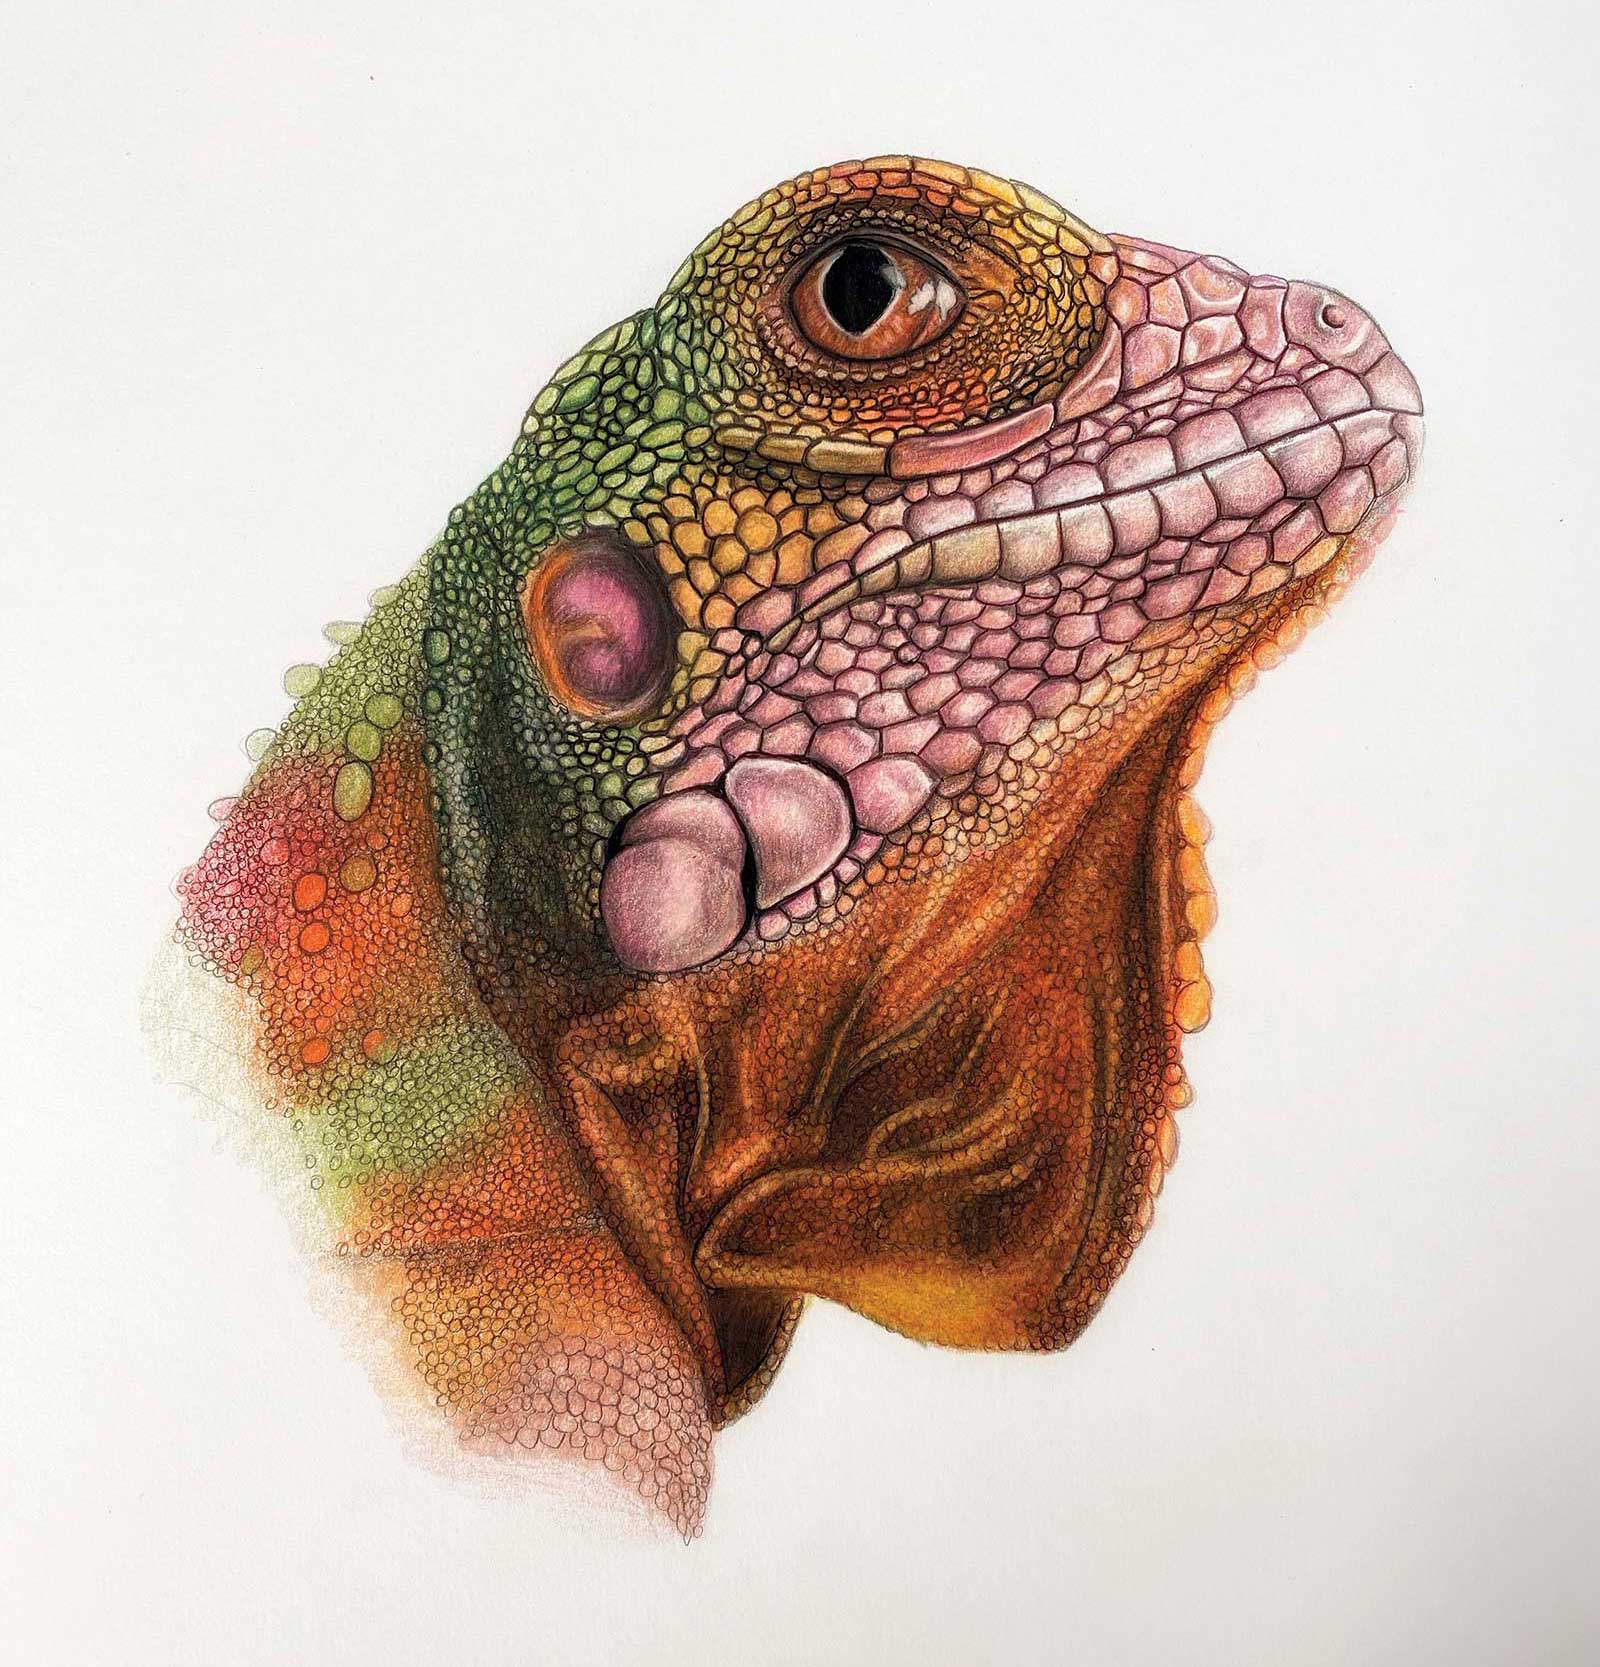
Stage 12 Finished Artwork
Iguana, colored pencil, 11¾ x 8¼" (29 x 20 cm)
About the artist
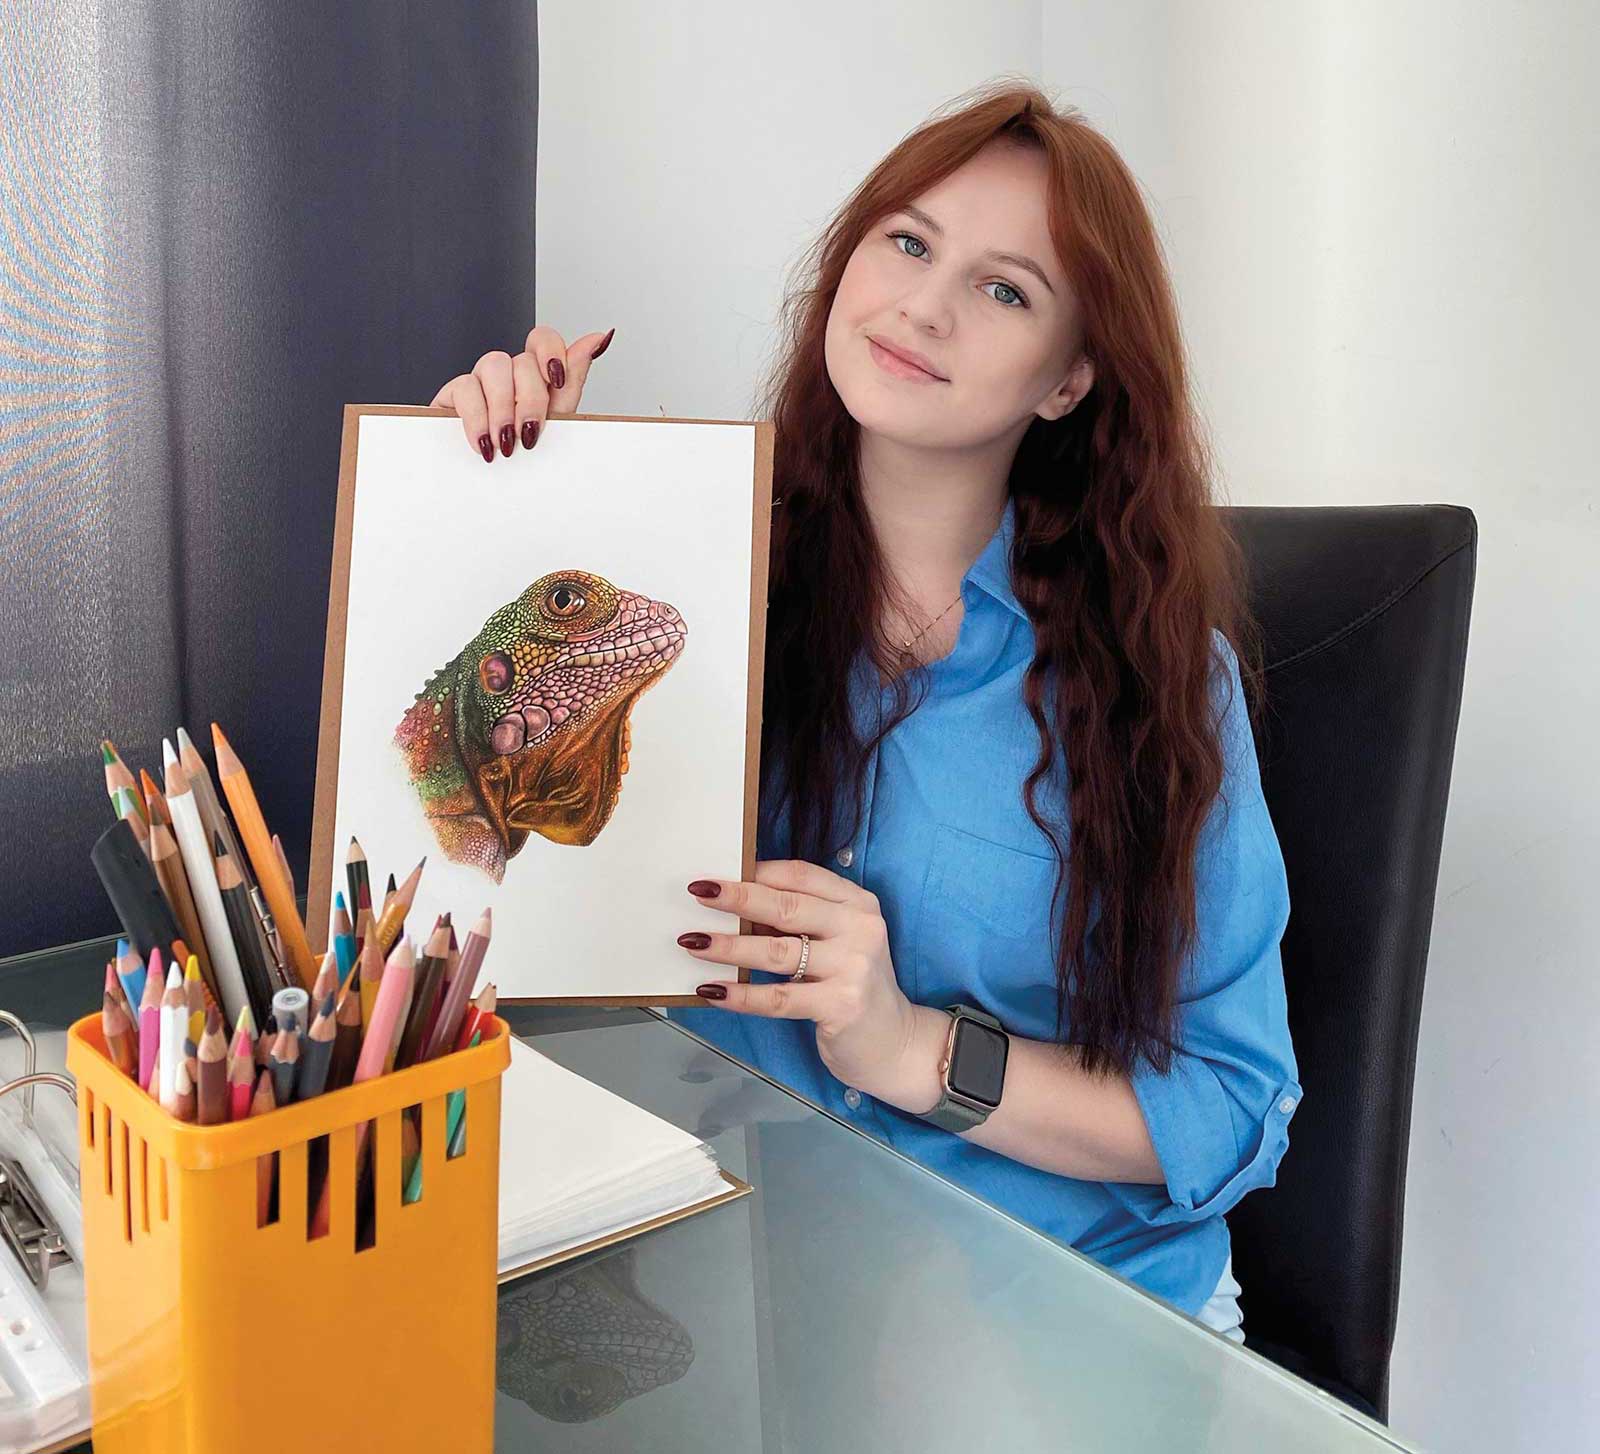 Solomiia Boiko
Poland-based Solomiia Boiko is a self-taught artist whose love for drawing started in childhood. Carefully studying different styles through years of workshops and tutorials, she has developed her skills and honed her creative abilities. Currently, Boiko’s colored pencil artwork can be found through her Instagram page. She can be contacted directly through email or Instagram to purchase her drawings.
Contact at
drawingsmiaart@gmail.com