


Asking a passenger to capture usable reference photos from inside your moving vehicle isn’t ideal, but driving around (especially during dawn or dusk) can yield surprisingly inspiring compositions. Pulling the car over won’t help much because the light and color you’re currently seeing can change 10 seconds down the road, and upon reviewing the image later it may be nothing like what you feel you had witnessed. From years of mining my subject matter from my RV travels with my family across the country, I’ve developed a rather idiosyncratic method of using inadequate digital photos altered by idyllic memories to inform my paintings, which for years were completed soon after in coffee shops.
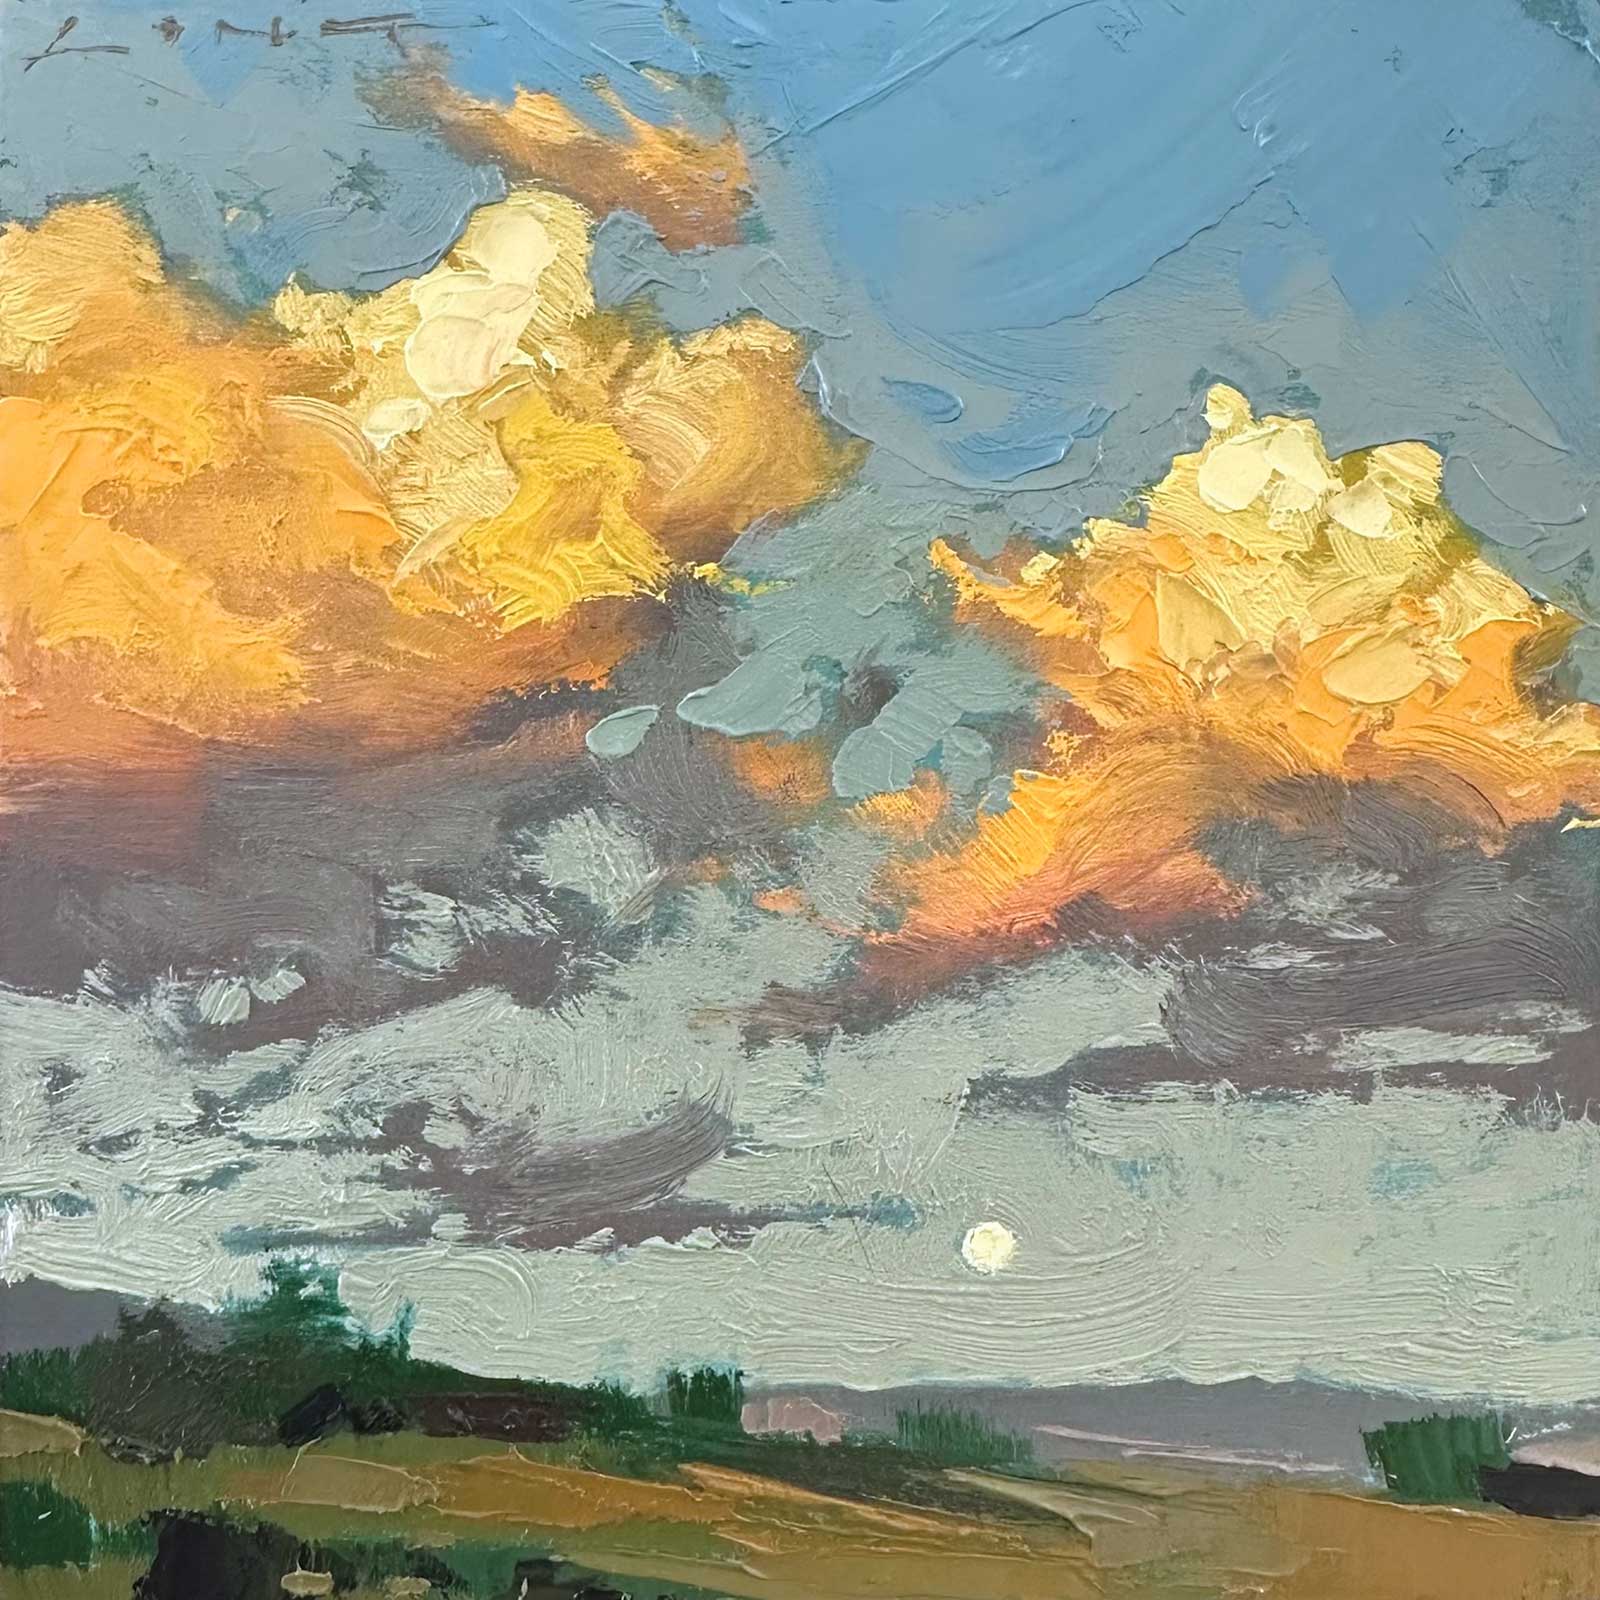
Low Moon, Yellowstone Valley, oil, 6 x 6" (15 x 15 cm)
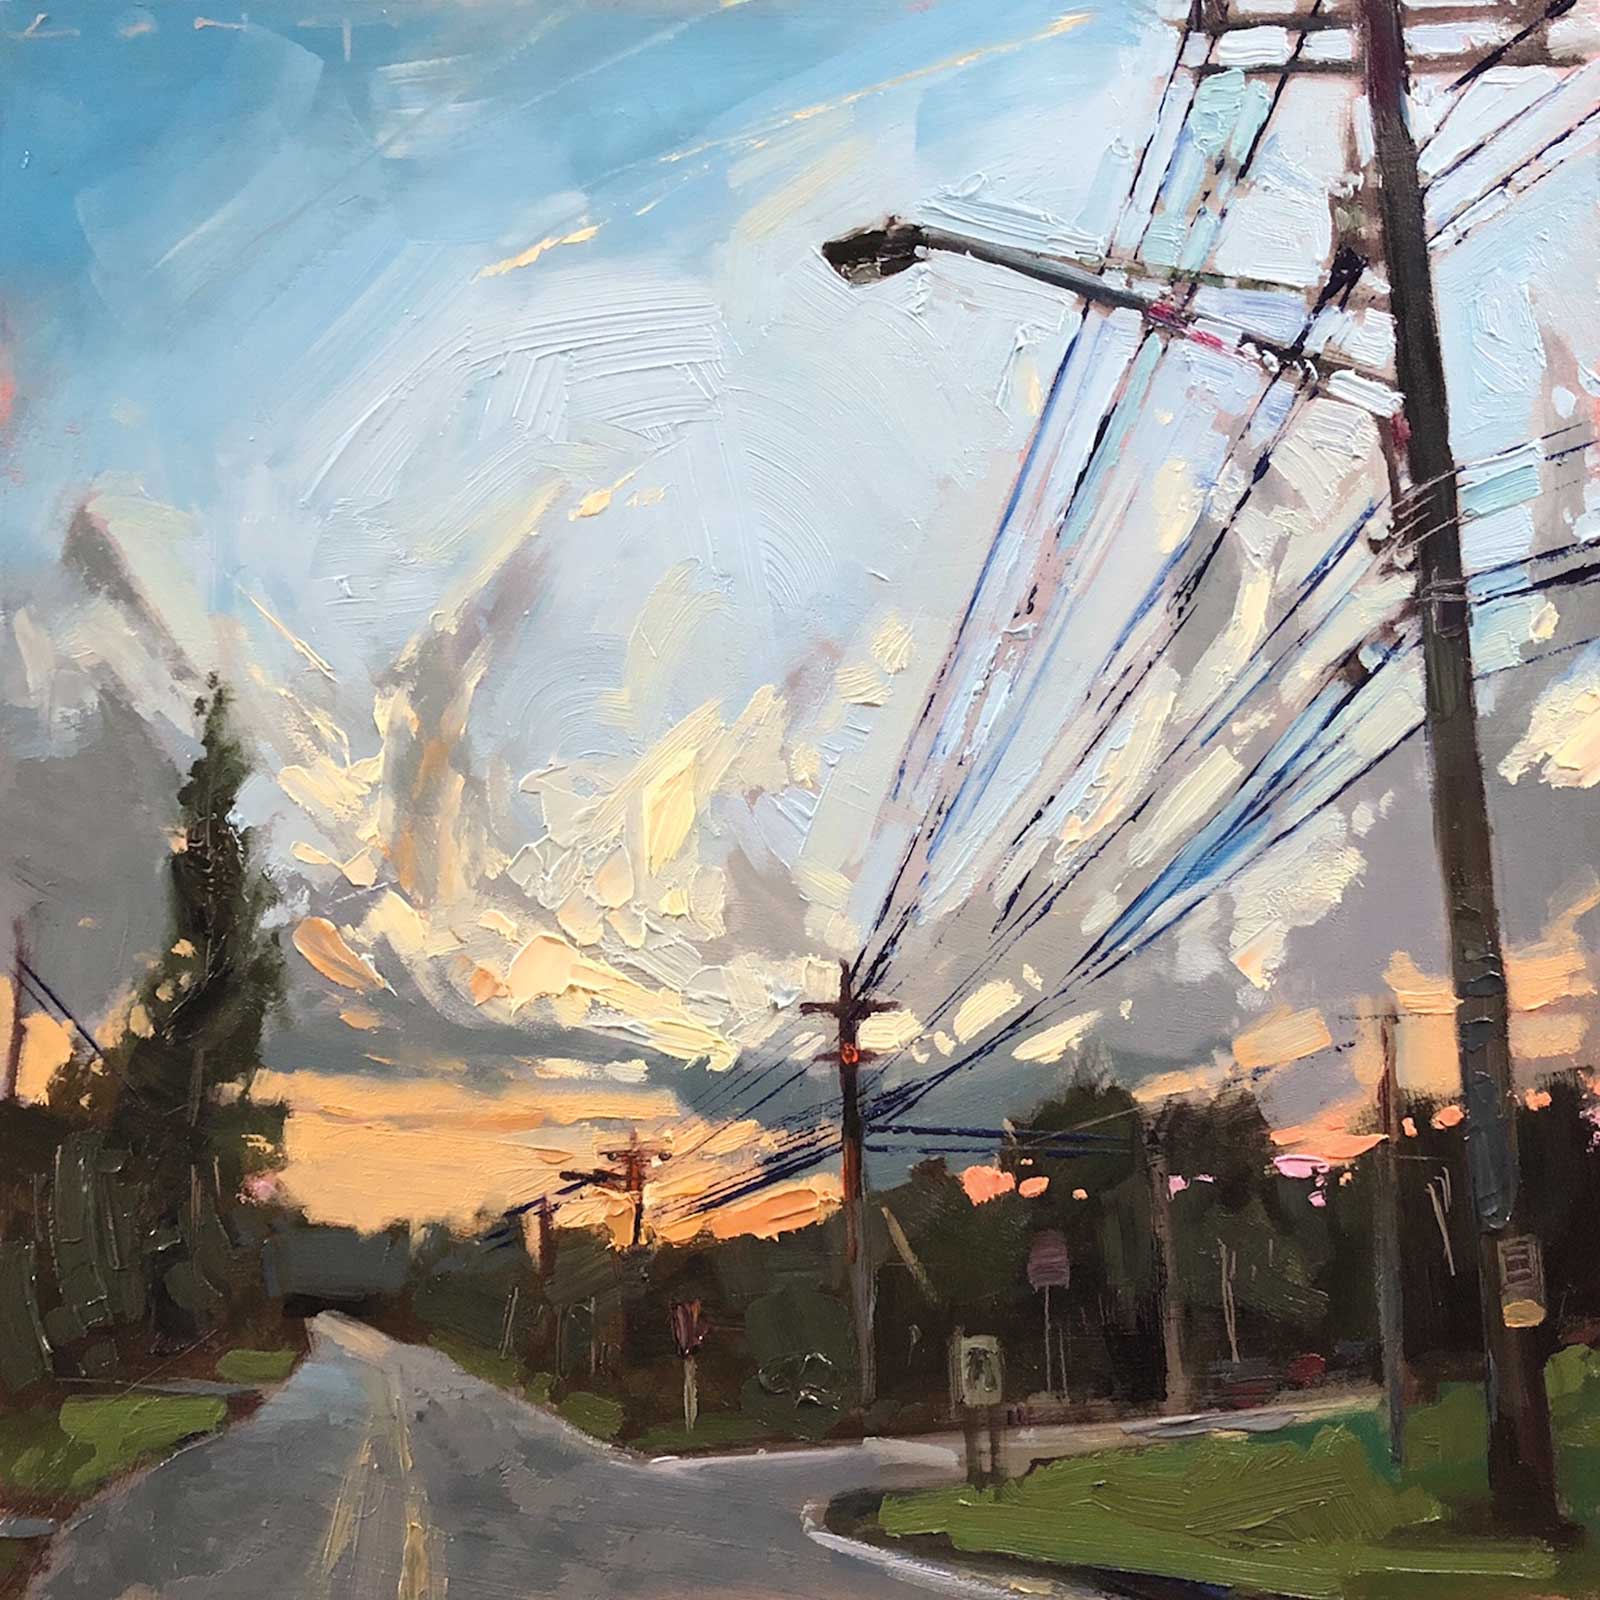
Quiet Evening Drive, oil, 10 x 10" (25 x 25 cm)
I have plenty of experience performing a start-to-finish painting in front of an audience with a minimum setup, and thus I have somewhat unique painting rituals. I prefer solid surfaces like wood panels, a water-soluble oil paint palette usually limited to only six colors, and a couple of brushes and knives plus a razor blade scraper for tools. I find I have the most fun working quickly on smaller (6 x 6” to 12 x 16”) pieces, figuring out how the color contrasts and physicality of the paint can enhance the image and get it as close to my memory of the location as possible. I also enjoy working without any mediums, thinners or water added, as it allows me to concentrate on mixing and applying clean colors. Yeah, I go through brushes, rags and paint a little quicker, but I think the results are worth it.
My Art in the Making Daybreak, East Beach Blvd.
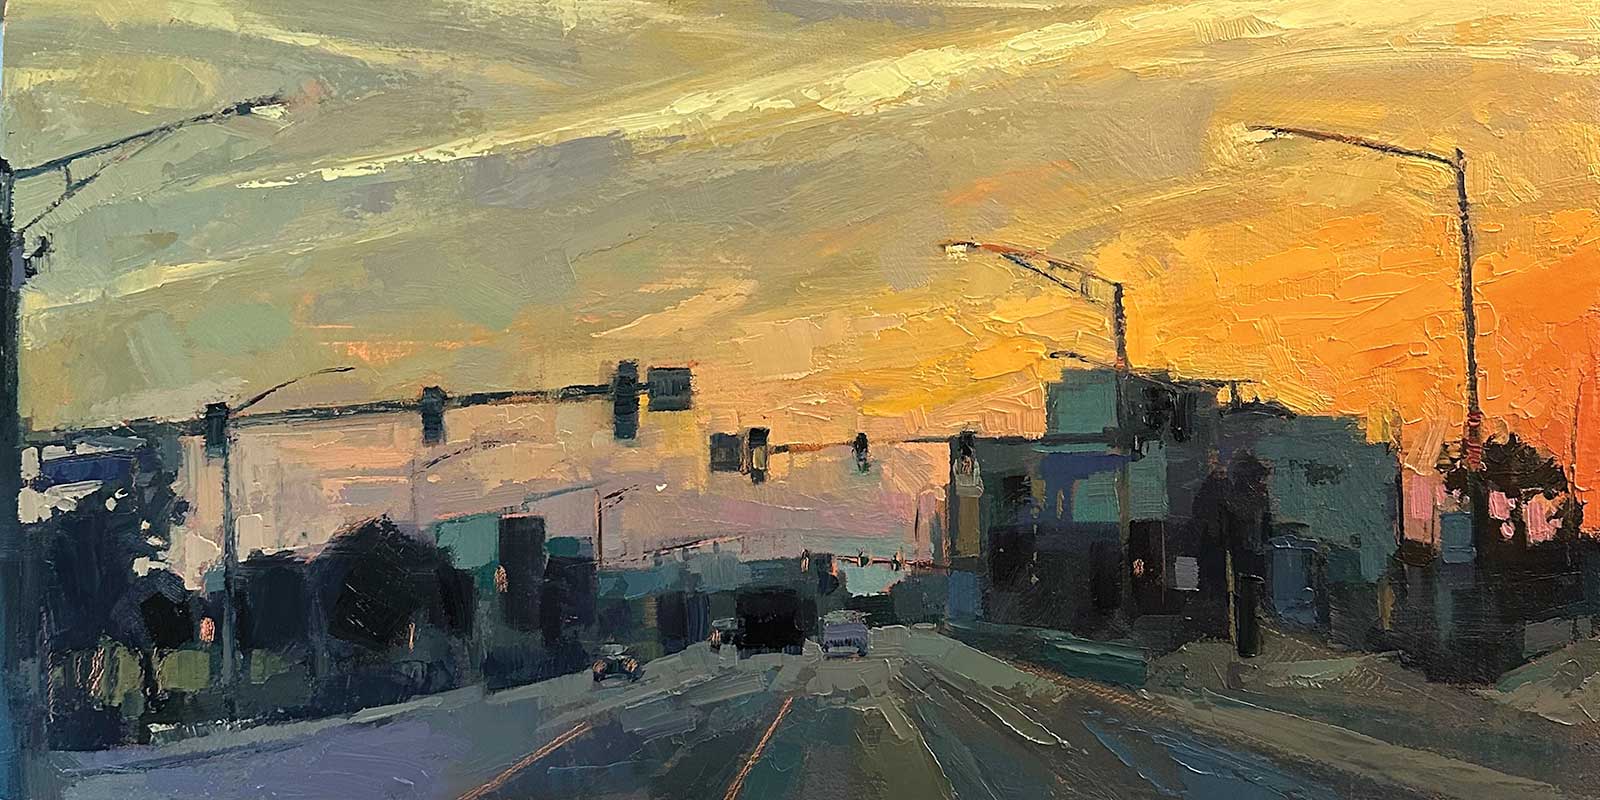
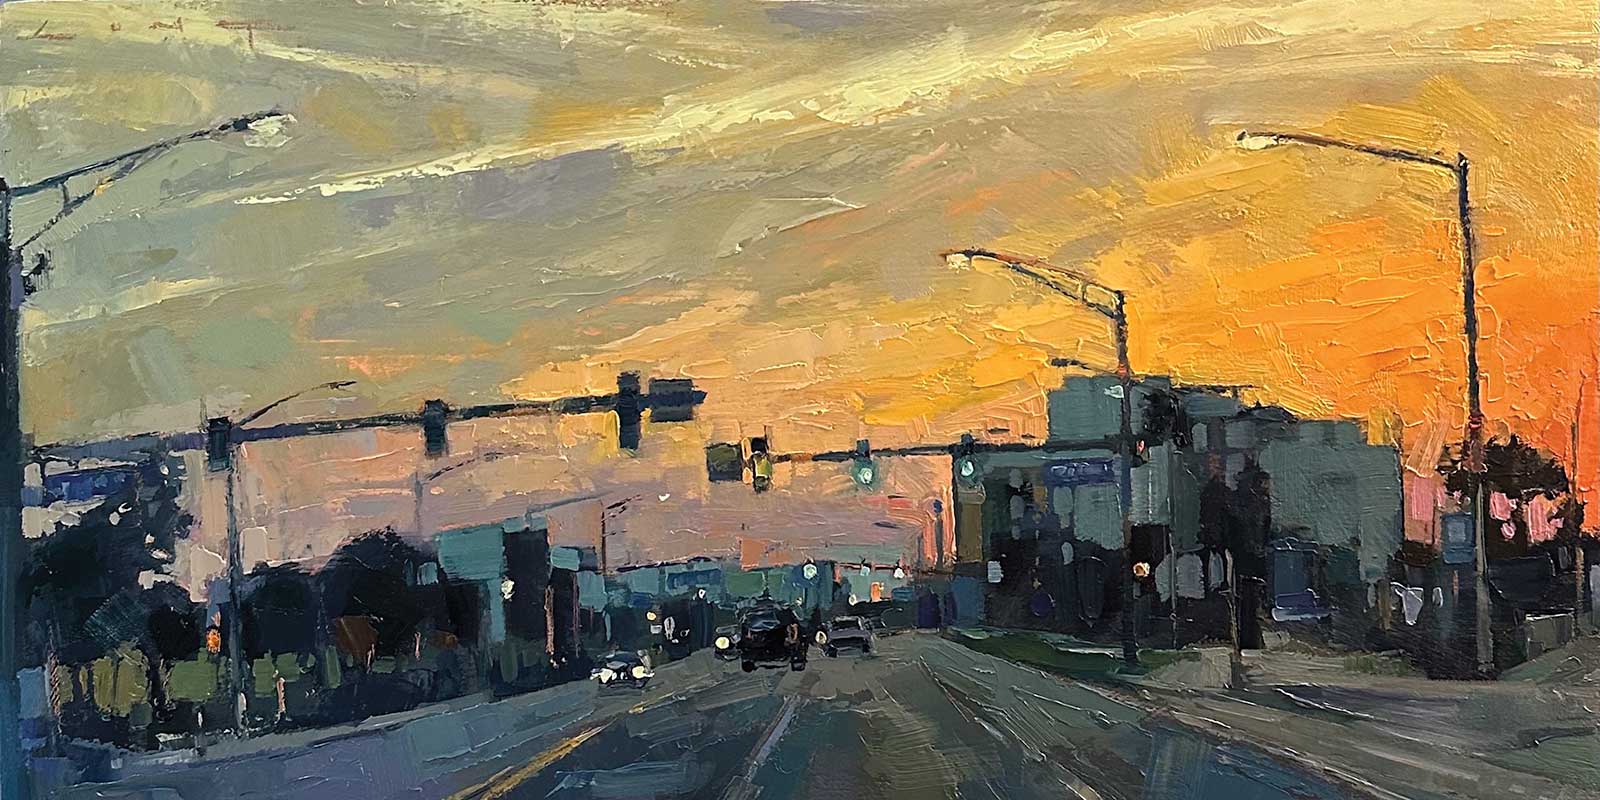
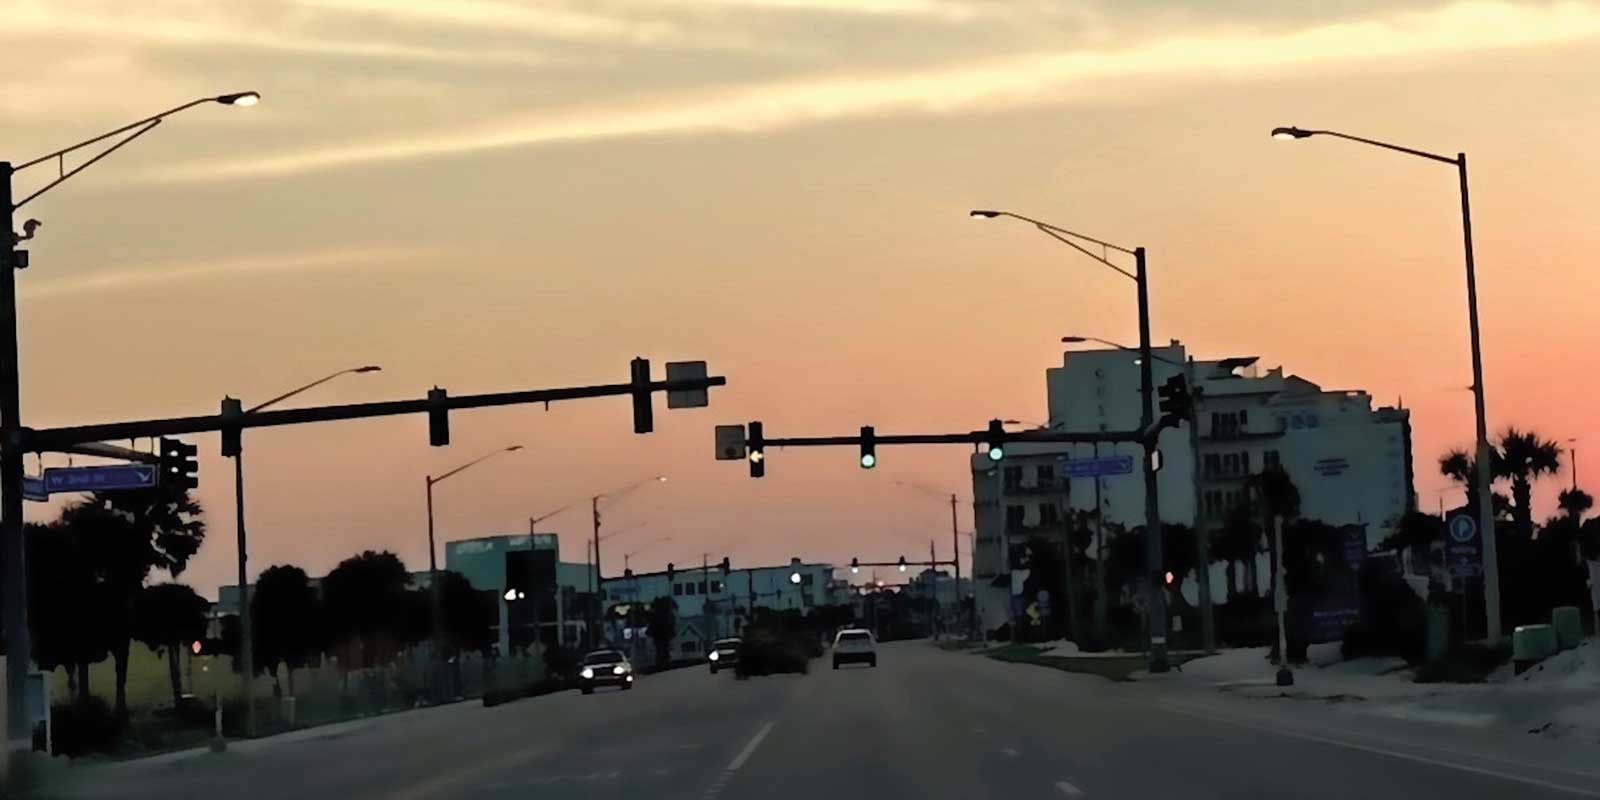 Reference Photo
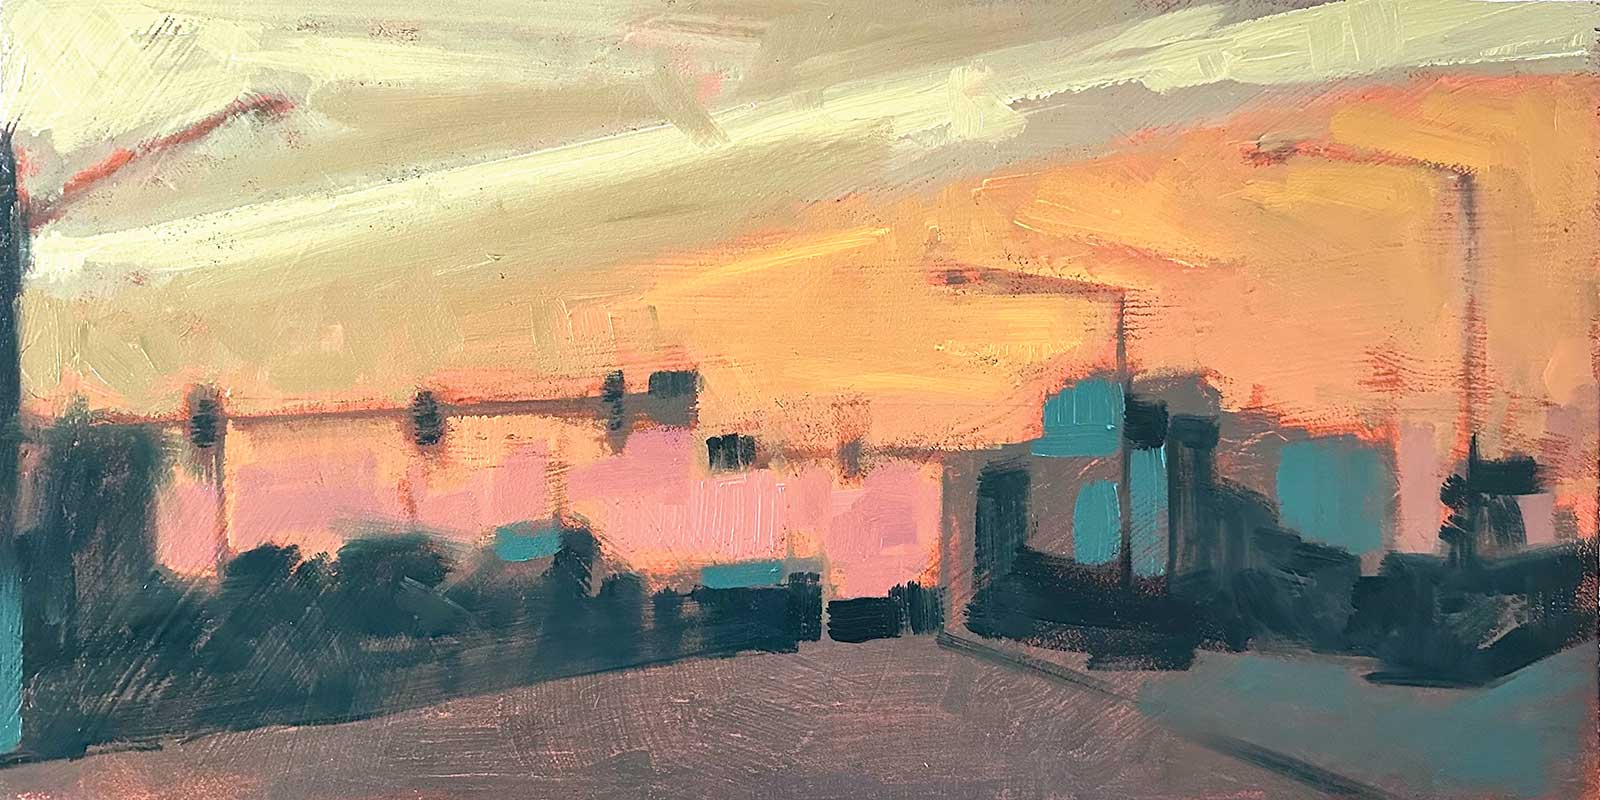
My focus the past several years has been producing sweeping cloudscapes, urban roadways and starlit nocturnes that convey a sense of “with-ness” and invoke memories of seeing stunning plays of light and shadow when gazing far into the distance. I chose to paint this wide format image of Gulf Shores, Alabama, just as the spring sun was rising on a recent trip south. The smartphone reference photo that my wife took in the passenger seat did not match our “wow” perception of the hazy morning glow escaping out from behind the almost indistinct foreground grays of buildings and road, punctuated by distant stoplights and passing headlamps. It felt like a challenge to try and regain the original atmosphere we experienced.
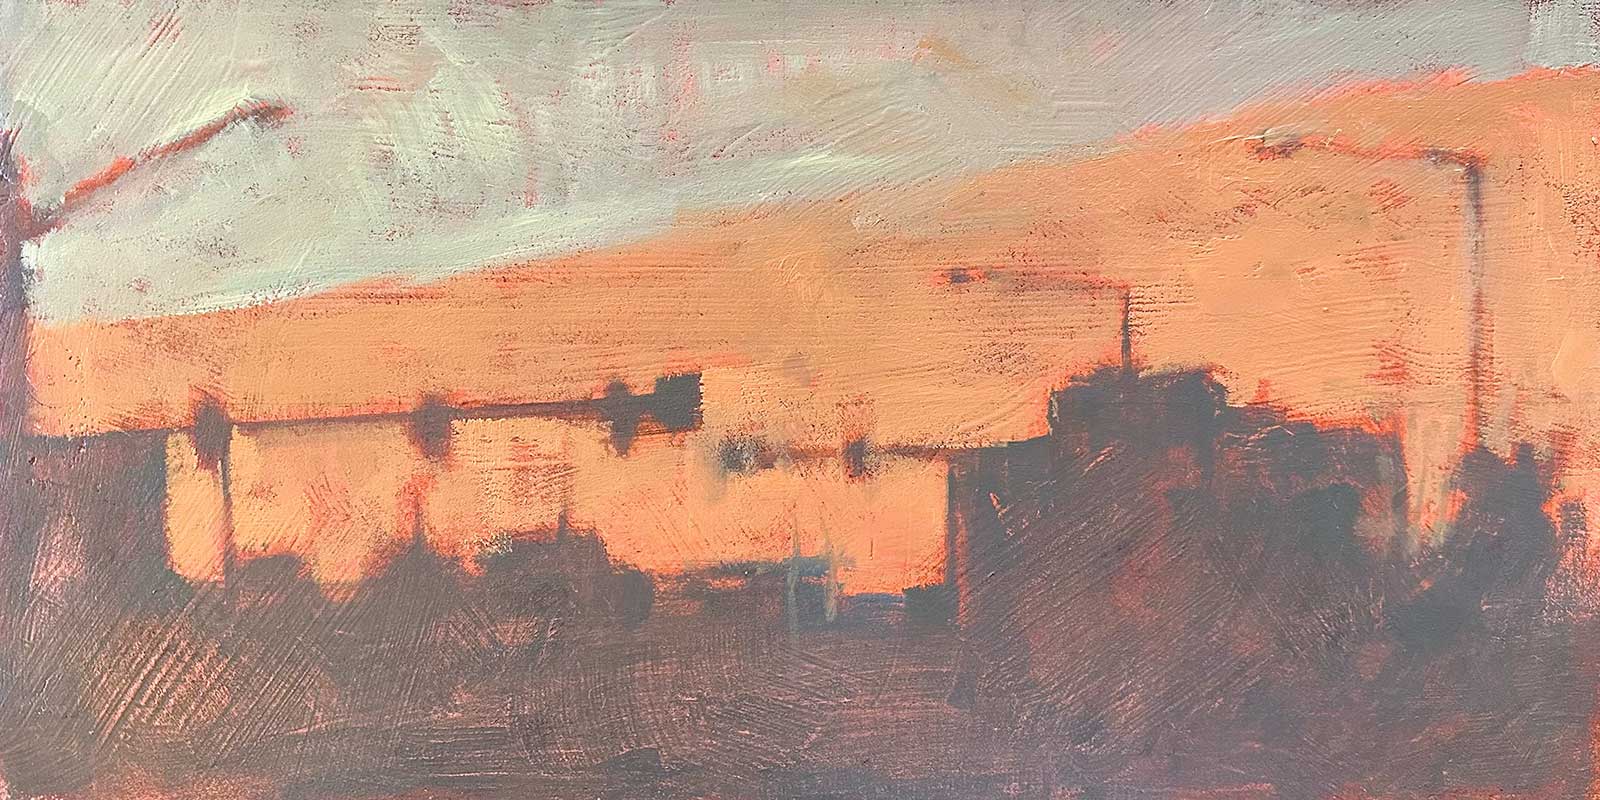 Stage 1
Stage 1 Dry Brushing
I never draw anything out in pencil, as I desperately want to get to the fun stuff like adding heavy, gestural pieces of paint, scratching away previous layers with the end of my paintbrush and blurring hard edges with swirling brush twirls. To replace that more precise beginning stage a painter with patience might employ, I start with dry brushing three tones to delineate my major shapes that will inform the structure of my piece. These colors I mix are loose approximations and not intended to be the final intensity or value of subsequent paint layers I will be adding. I try to be accurate with my vertical and horizontal proportions if I’m keeping them the same as my reference (which I am in this case).
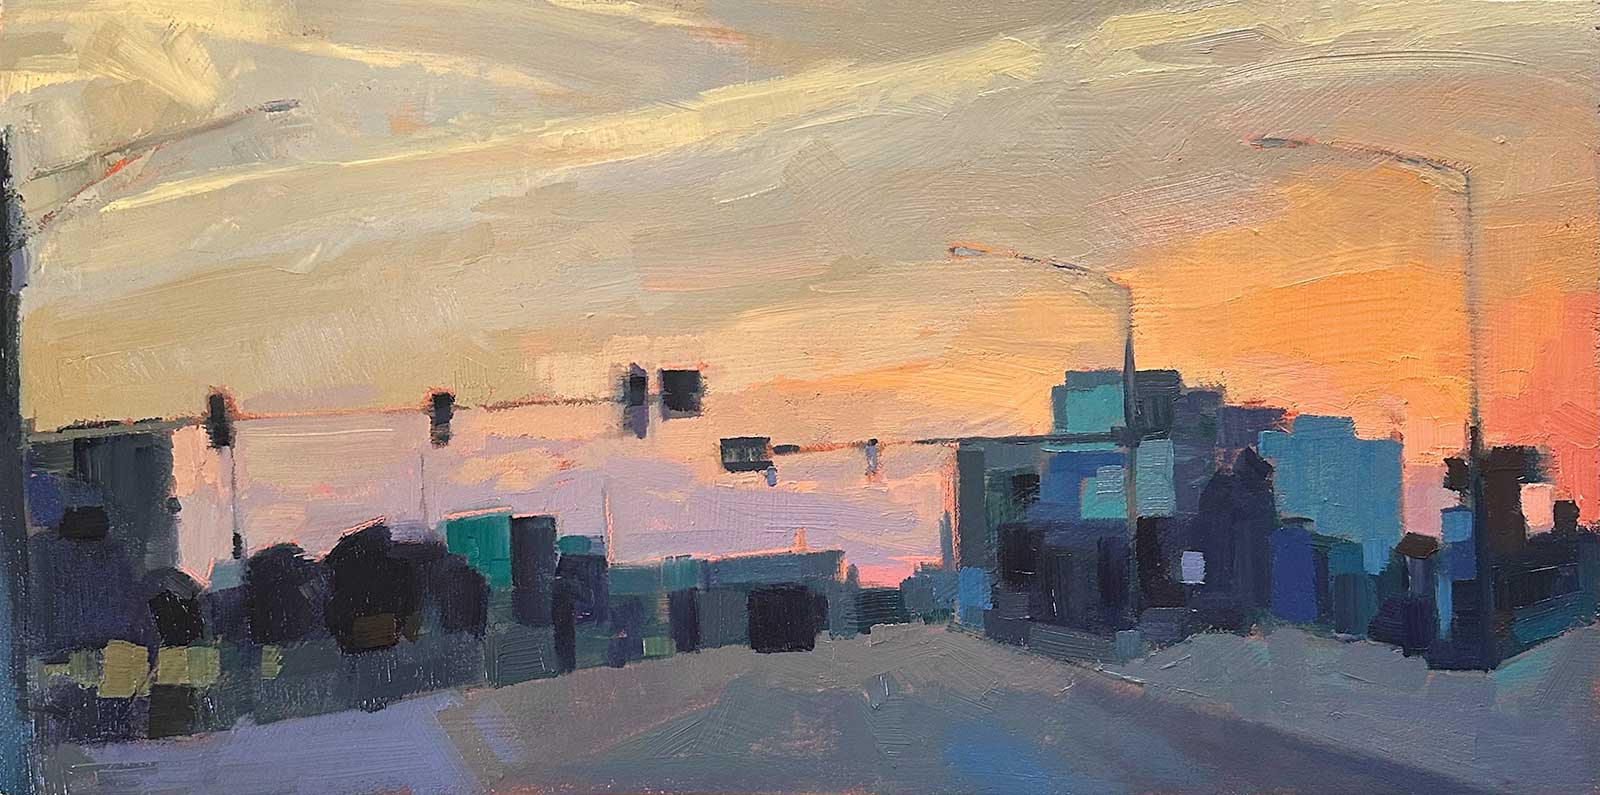
 Stage 2
Stage 2 Additional Color Variations
I now introduce two more variations of color in each of the three previously dry brushed regions, using the size 16 brush and the angled chisel knife. I do so with the intent on maintaining as much compositional energy as I can while using paint applied in brief, straight strokes. This stage takes me just a few minutes, and I purposefully leave areas of exposed underpainting and unintended color mixing in the hopes that happy accidents will occur. Fingers crossed.
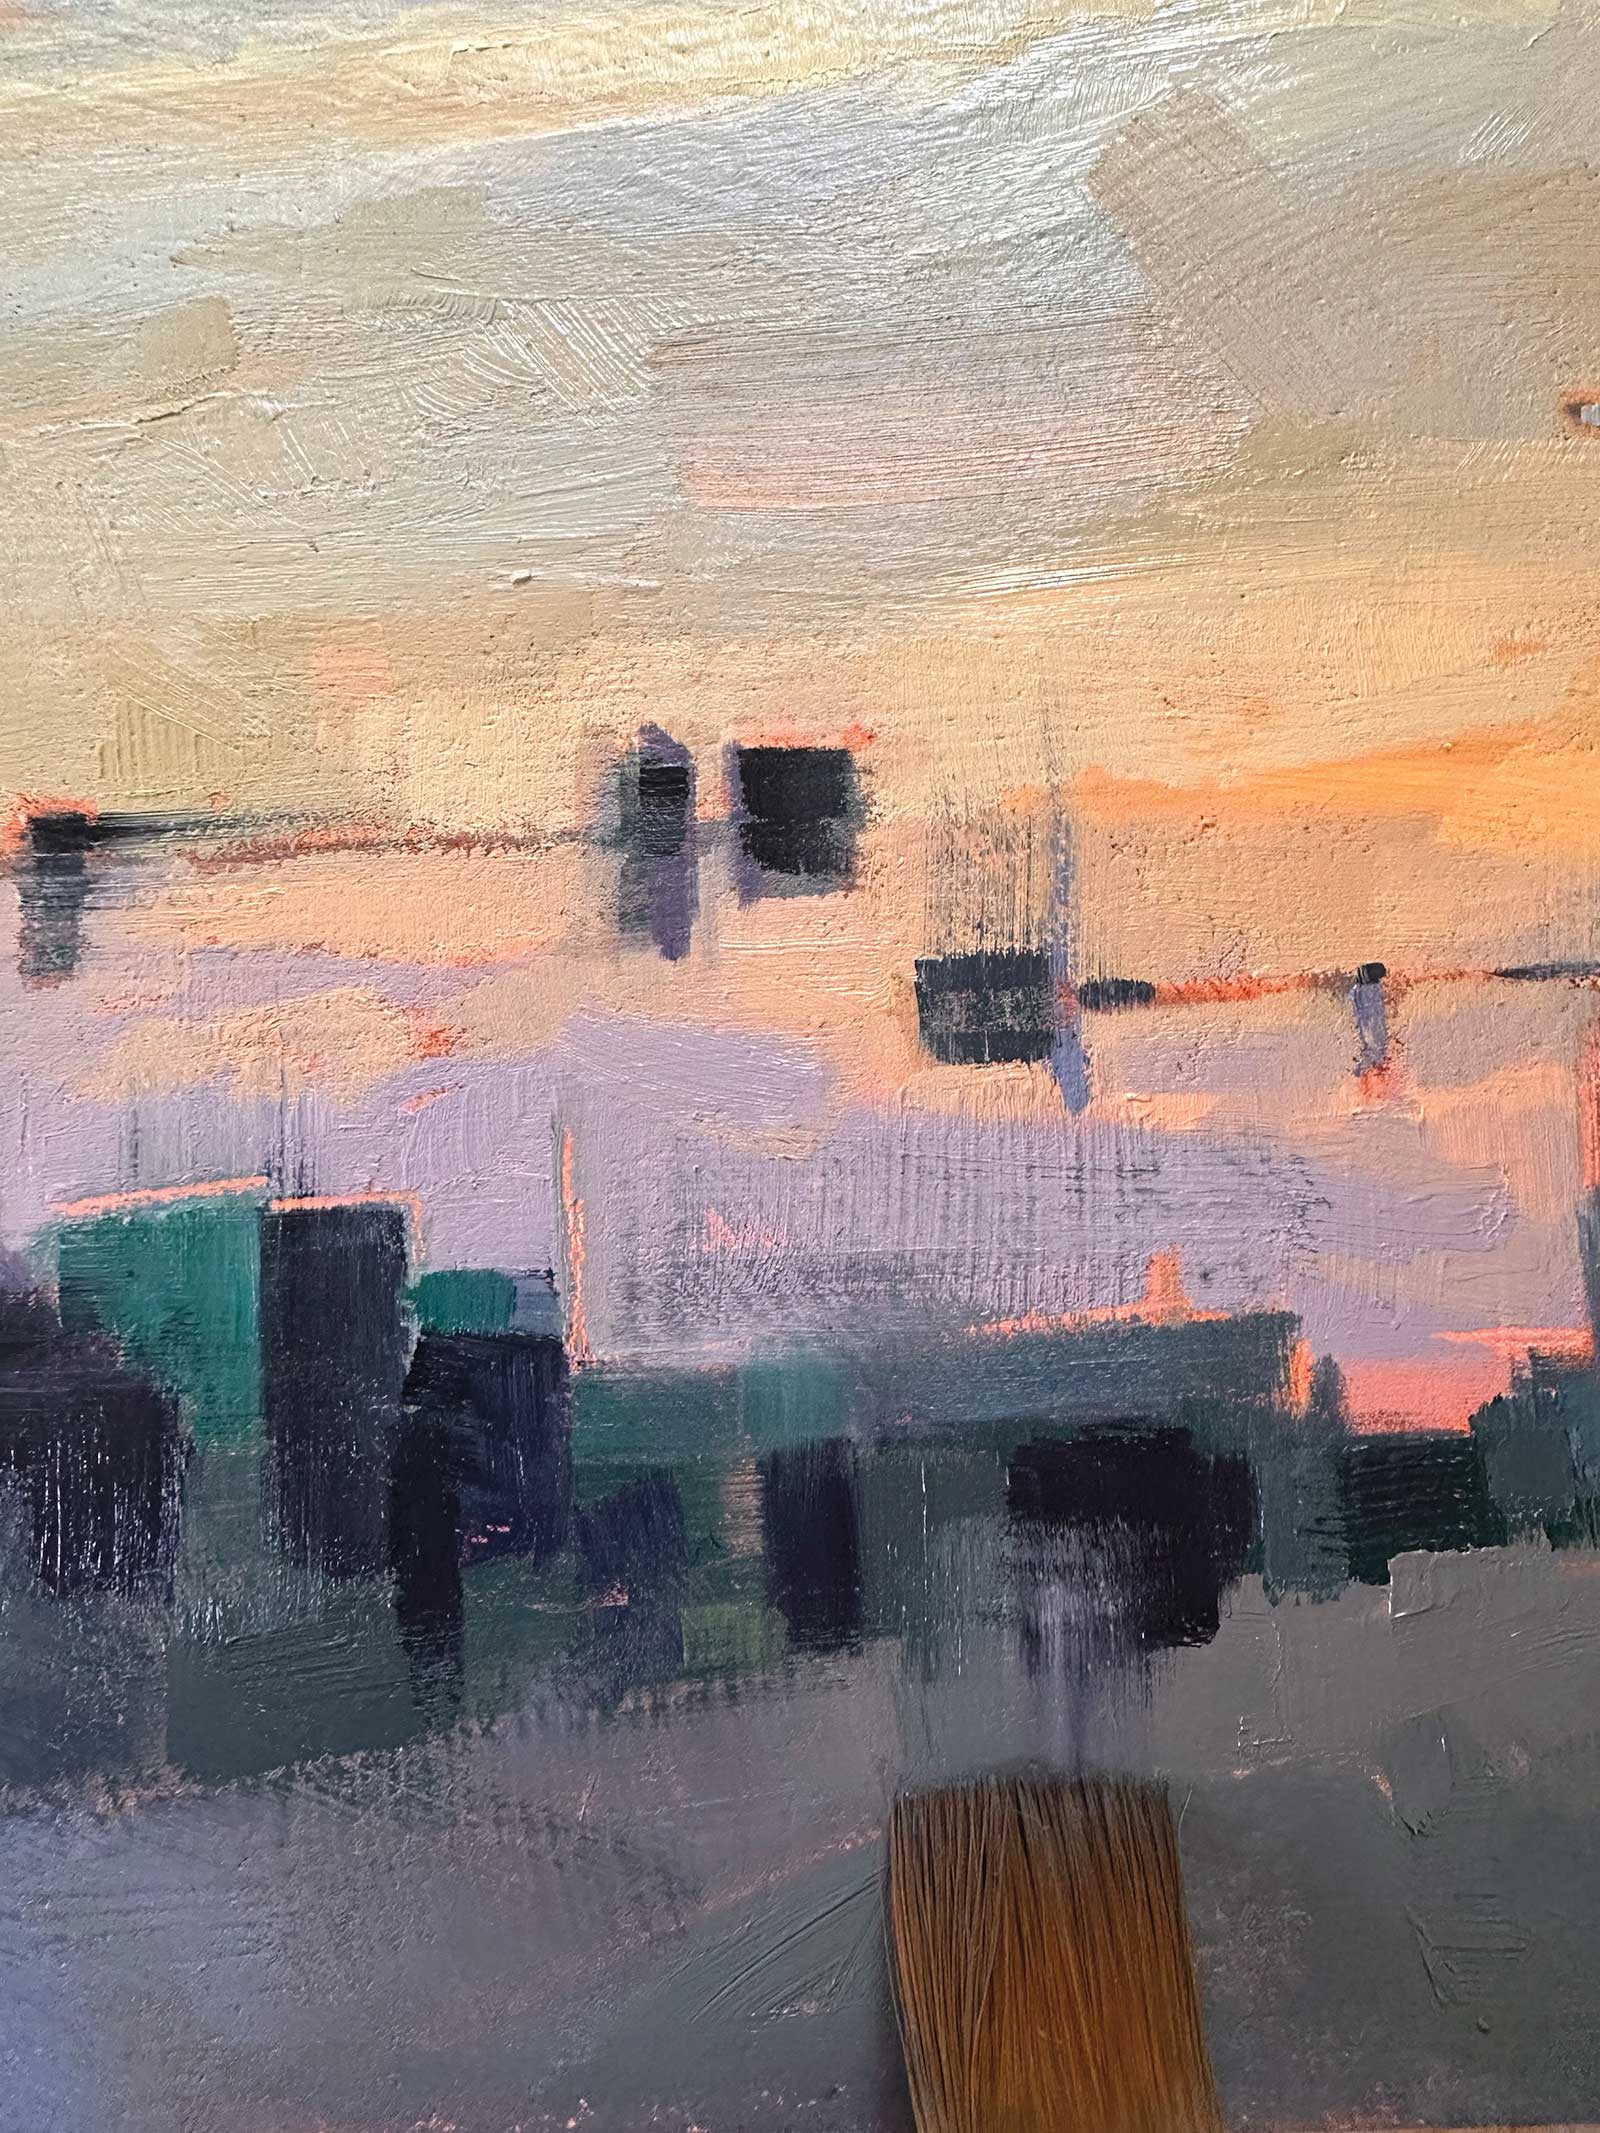
 Stage 3
Stage 3 Temperature and Value
I’ll slow down here as I begin to mix and apply colors that augment the temperature and value in both my foreground and background. I always work on the entirety of the painting at every stage, as that holistic approach was cemented in me as a sculptor in my 20s. The decision to really push the warm/cool intense colors on the far right of the composition was made here, while simultaneously allowing the left side to become more neutral. I remember almost having to look away from the right side of the road due to the glow; another building out of frame blocked the direct light of the rising sun and allowed the camera to capture some of the subtle shadows in the mid and foreground.
 Stage 4
Stage 4 Softening Edges
I use the size 16 flat to knock down select hard edges I have made when adding dark pieces of paint, like with the car and stoplight shapes, and with the wispy angular cloud formation high in the picture plane. I want to imply triangles between the streetlights and bright cloud edges. The rounded end of my brush handle allows me to scratch through to the underpainting when I want to redefine over the edges I softened.
 Stage 5
Stage 5 Emphasizing Boundaries
This is my favorite part of the process—strategic emphasizing of boundaries really helps the painting come to life. I spend a good amount of time mixing gradations of colors I know I’ll need in the sky and the road. My tapered painting knife is used to add up to 1/8" thick pieces of paint highlighting the negative space, then the size 3 flat brush to transition some edges to the thinner layers underneath.
 Stage 6
Stage 6 Lights and Darks
My lightest lights and darkest darks are applied, along with adjustments to all my chromatic grays. I brushed in a few additional intense orange shapes to enhance the glow just a little bit more. When I feel the piece conveys the atmosphere I want, I use the tip of my knife and the edge of my size 3 flat to add the small green and yellow highlights that work to draw the viewer’s eye down the road.
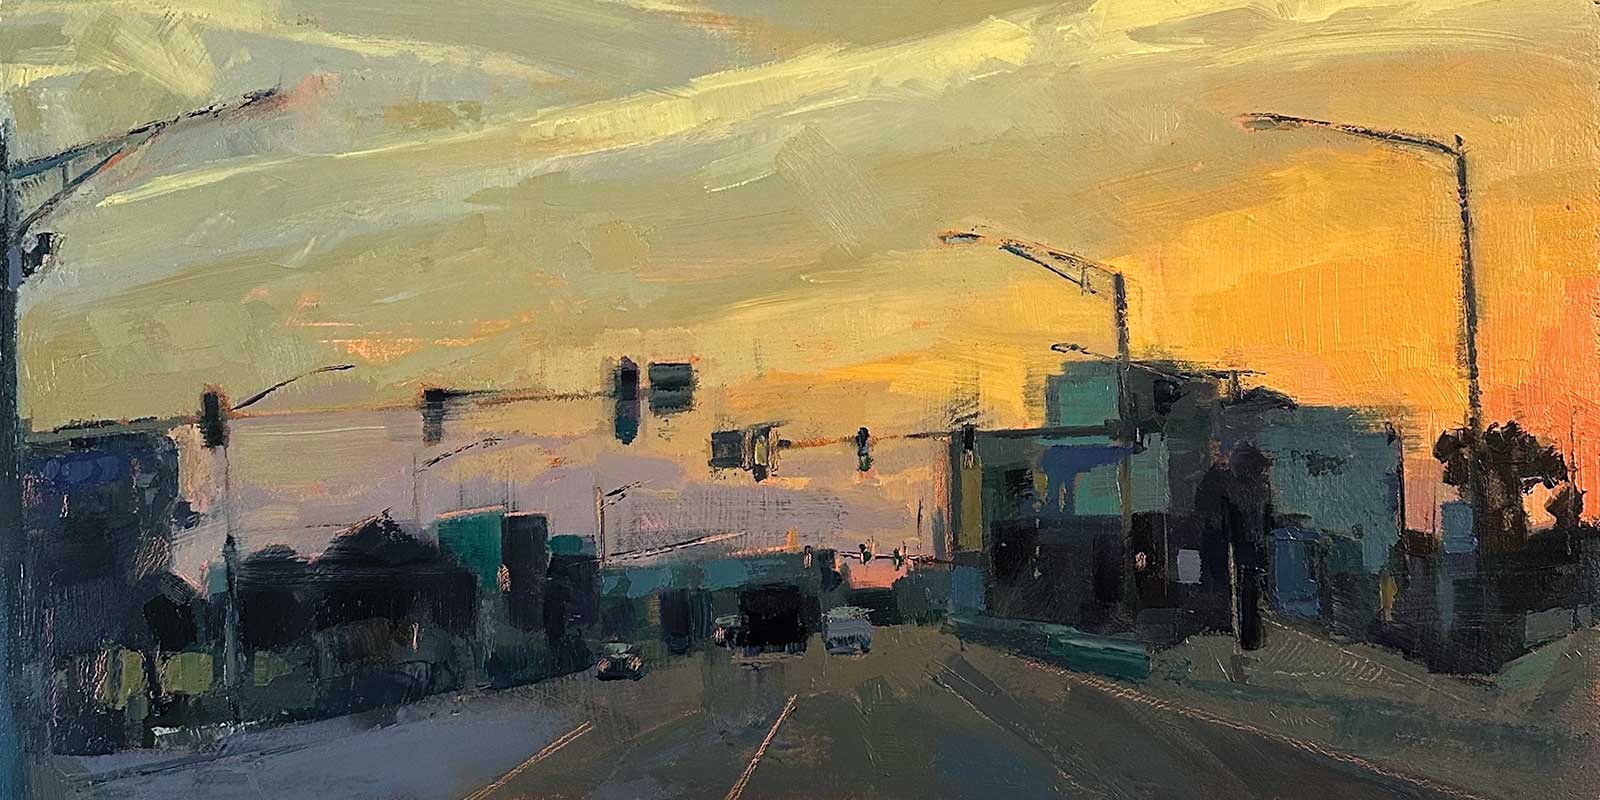
 Stage 7
Stage 7 Finished Artwork
Daybreak, East Beach Blvd., oil on wood, 9 x 18" (22 x 45 cm)
About the artist
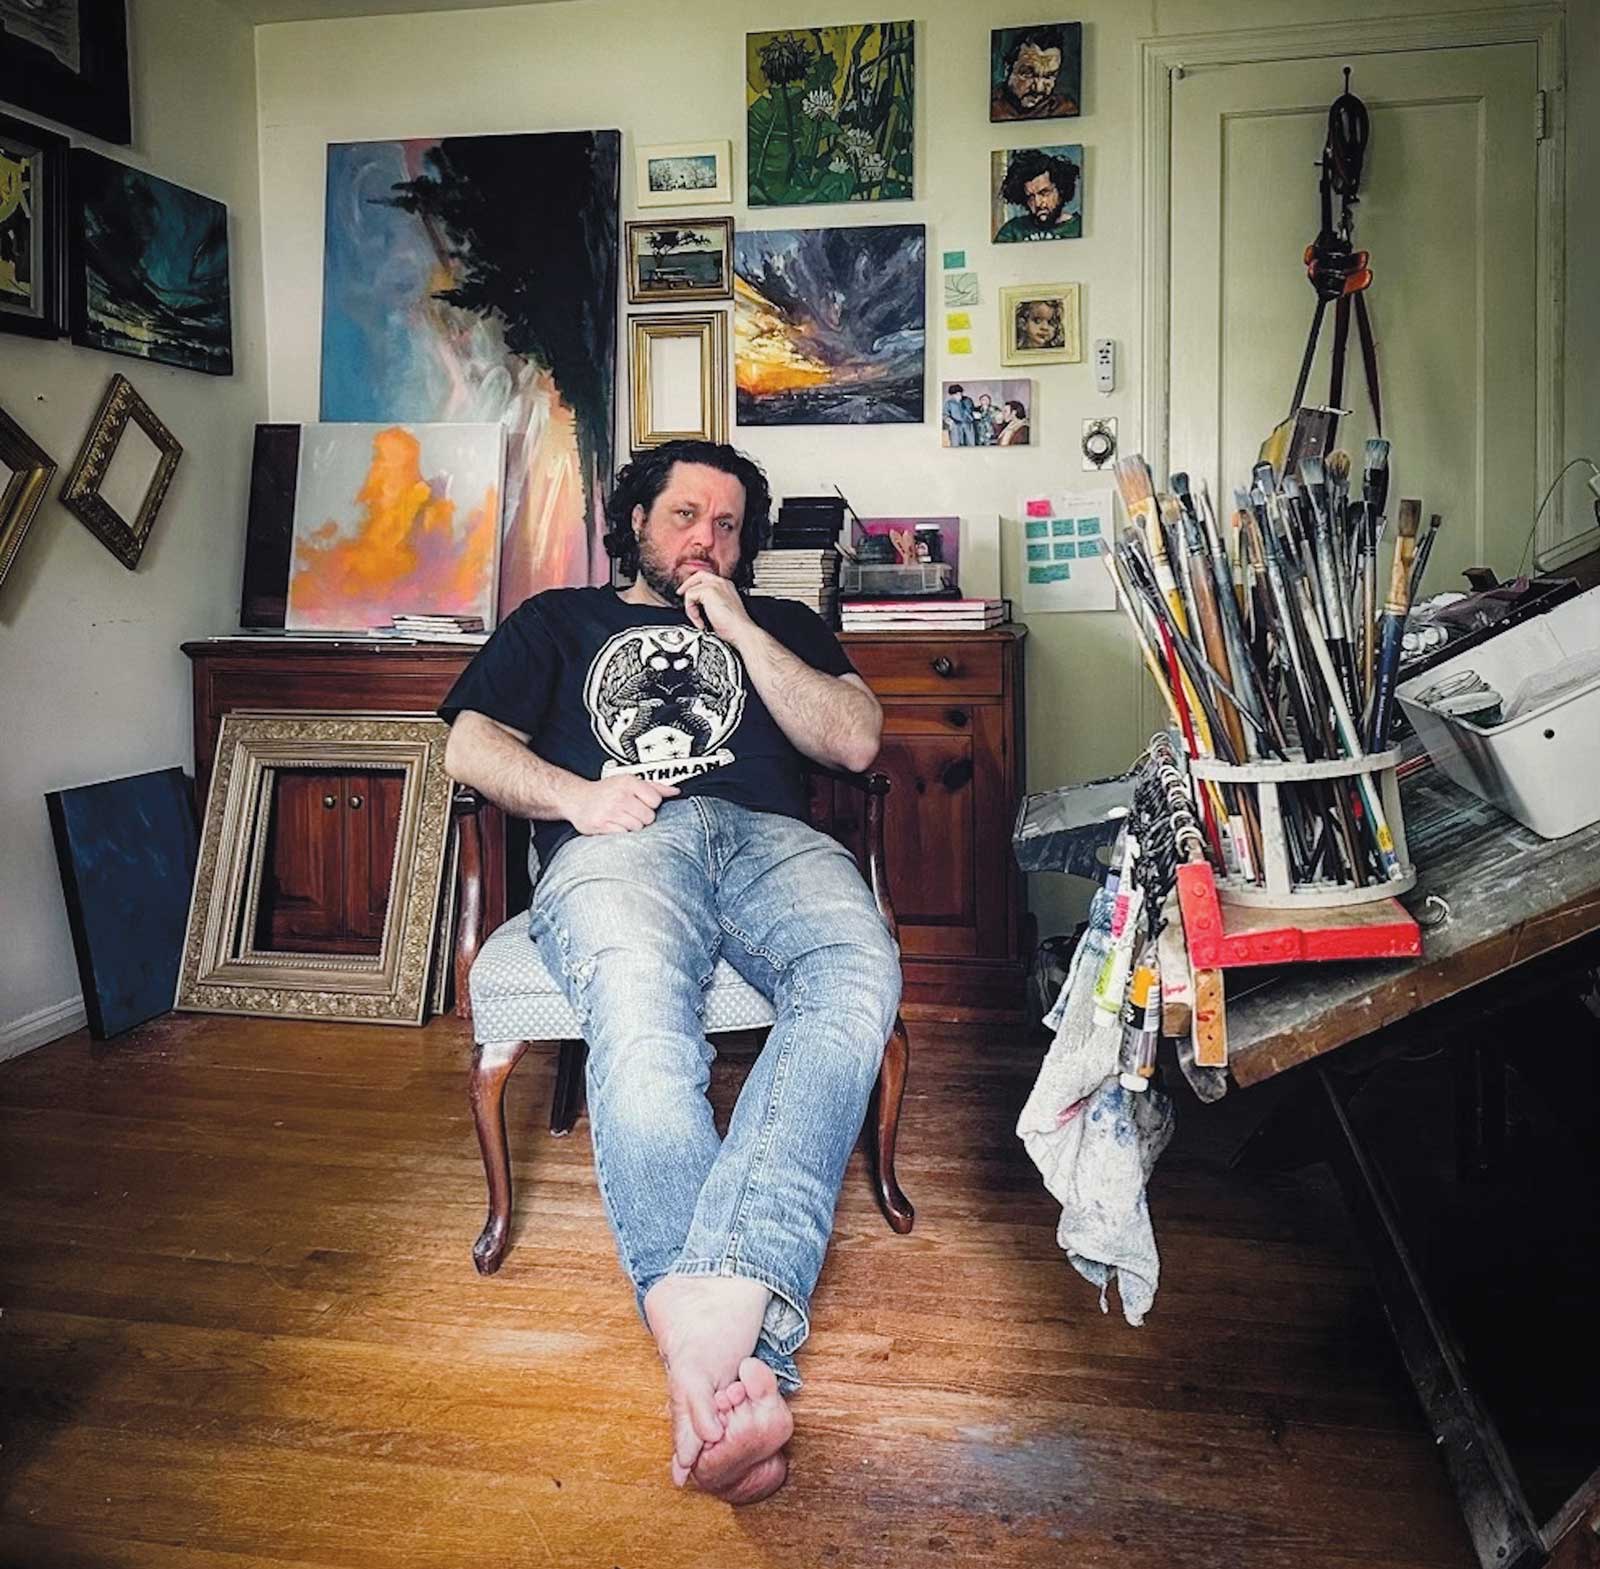 Chris Long in his studio
After abruptly abandoning his previous decade-long career as a figurative sculptor, Connecticut native Chris Long taught himself to paint around the French Quarter, New Orleans, Louisiana, in early 2011. He produced thousands of original acrylic still life paintings to sell in markets and festivals, but by 2017 switched to painting oil landscapes in plein air and from his extensive photo library (Long frequently traveled coast-to-coast with his family in an RV full-time until 2020). As a daily painter, he completes two to three originals per day, and when not working on commissions or cleaning paint off of clothing, he can be found wandering aimlessly (barefoot, of course).
Contact at
www.chrislongpainter.com