


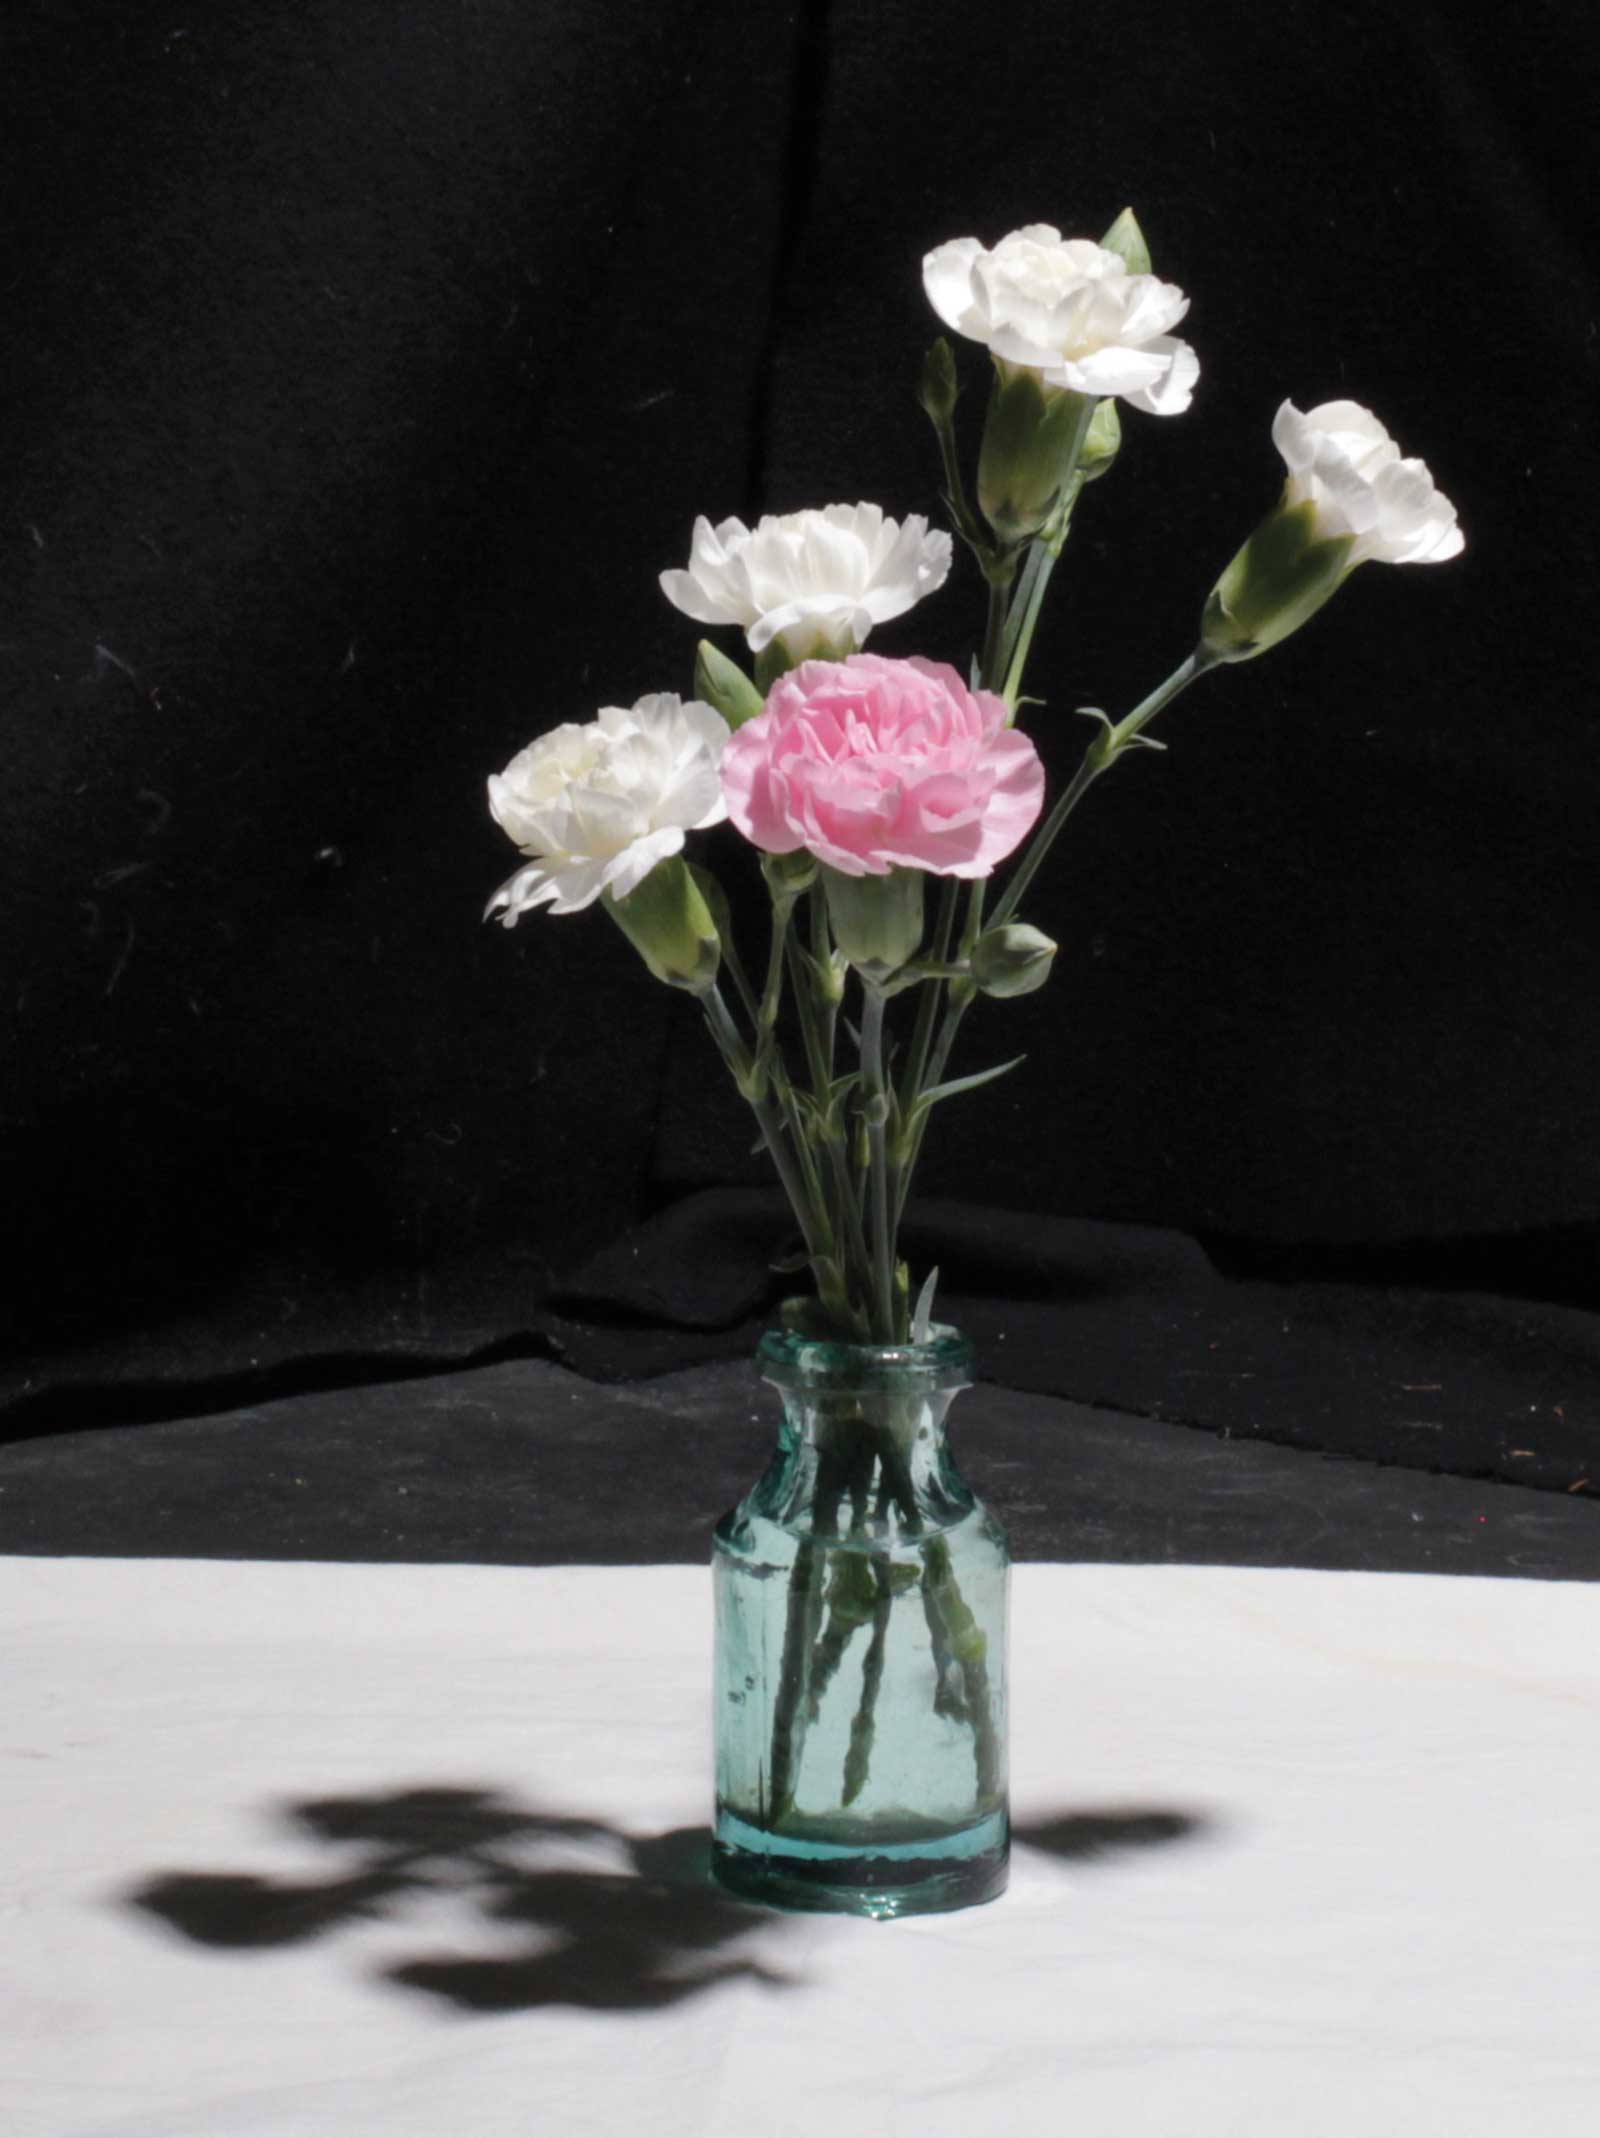
Choose flowers and a vase you love and that inspires you to paint them. Carnations are a good choice as they are very long lasting and won’t move or change too much over time. Lighting is important and dictates a lot of the feel of the finished piece. Artificial light is easiest to learn by as it remains constant, and for my demonstration I have chosen to work in artificial light to keep things simple.
I always paint on wooden panels as they have a smoother surface, which is easier for doing detailed work on. It’s important to choose a panel with the best proportions to suit the arrangement, so I always keep a stock of different sizes and shapes. Design the composition with the edges of the panel in mind, with consideration to how much space you want around the arrangement. Once I am happy with the arrangement, I start the drawing on my panel, which should be angled so that it is perpendicular to my line of sight.
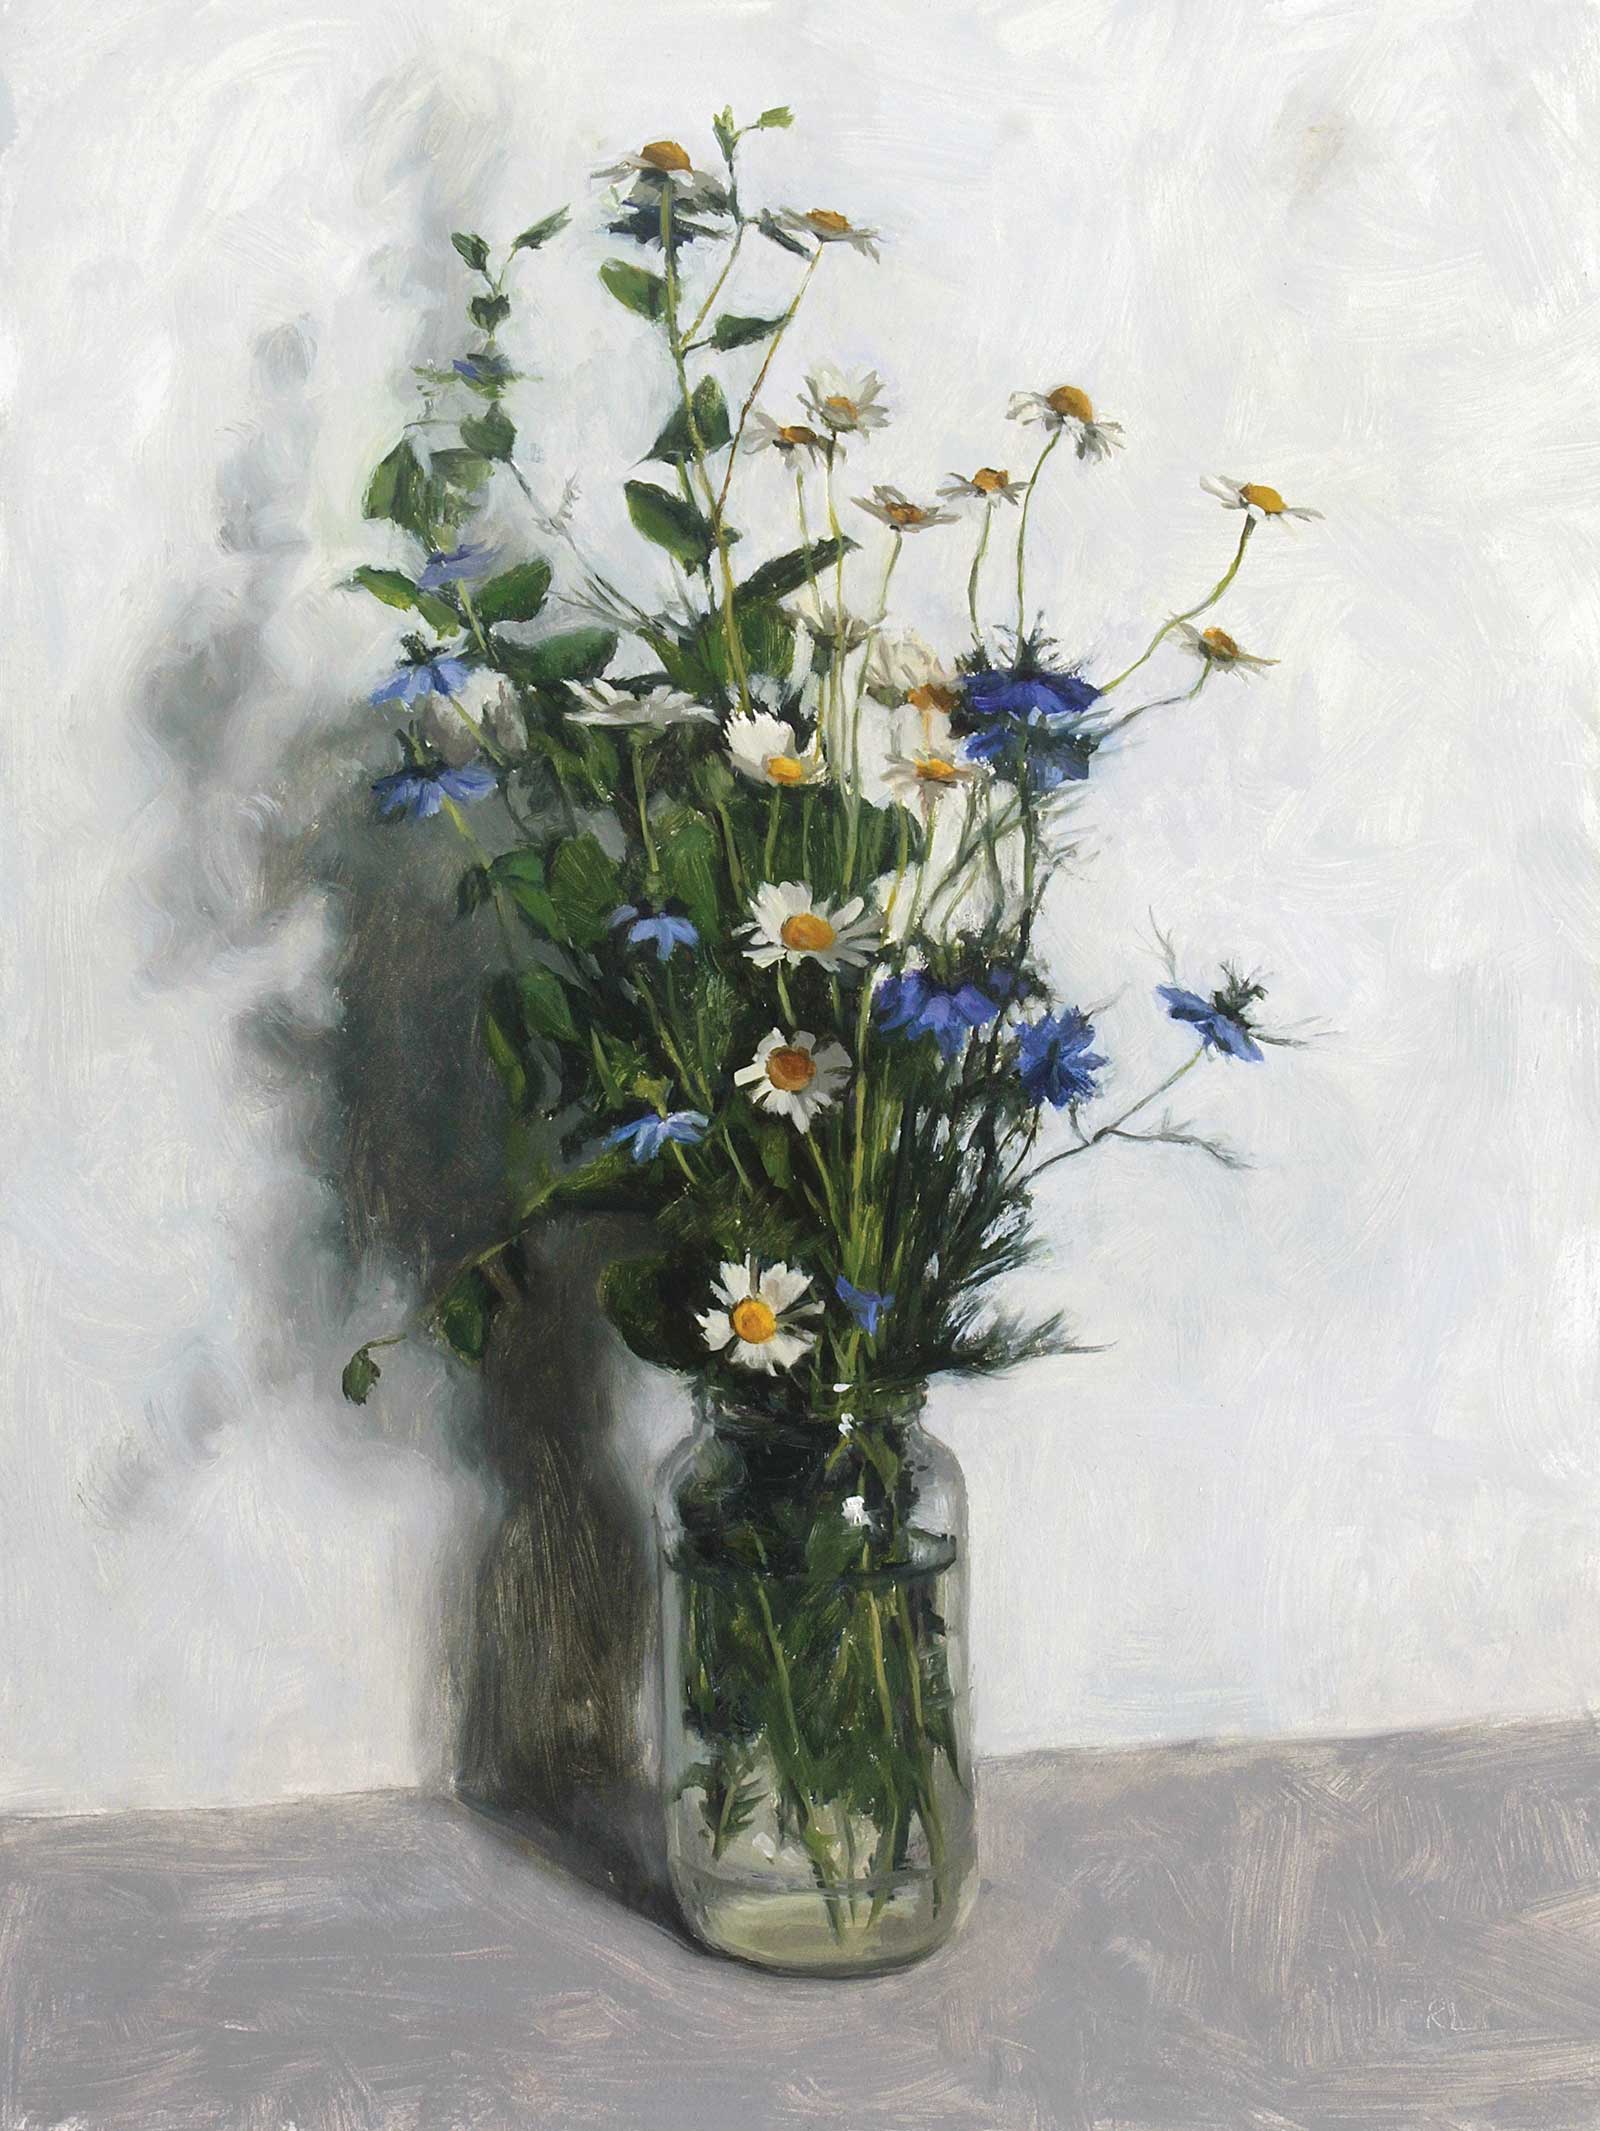
Nigella and Wildflowers in a Glass Jar, oil on panel, 12 x 9" (30 x 23 cm)
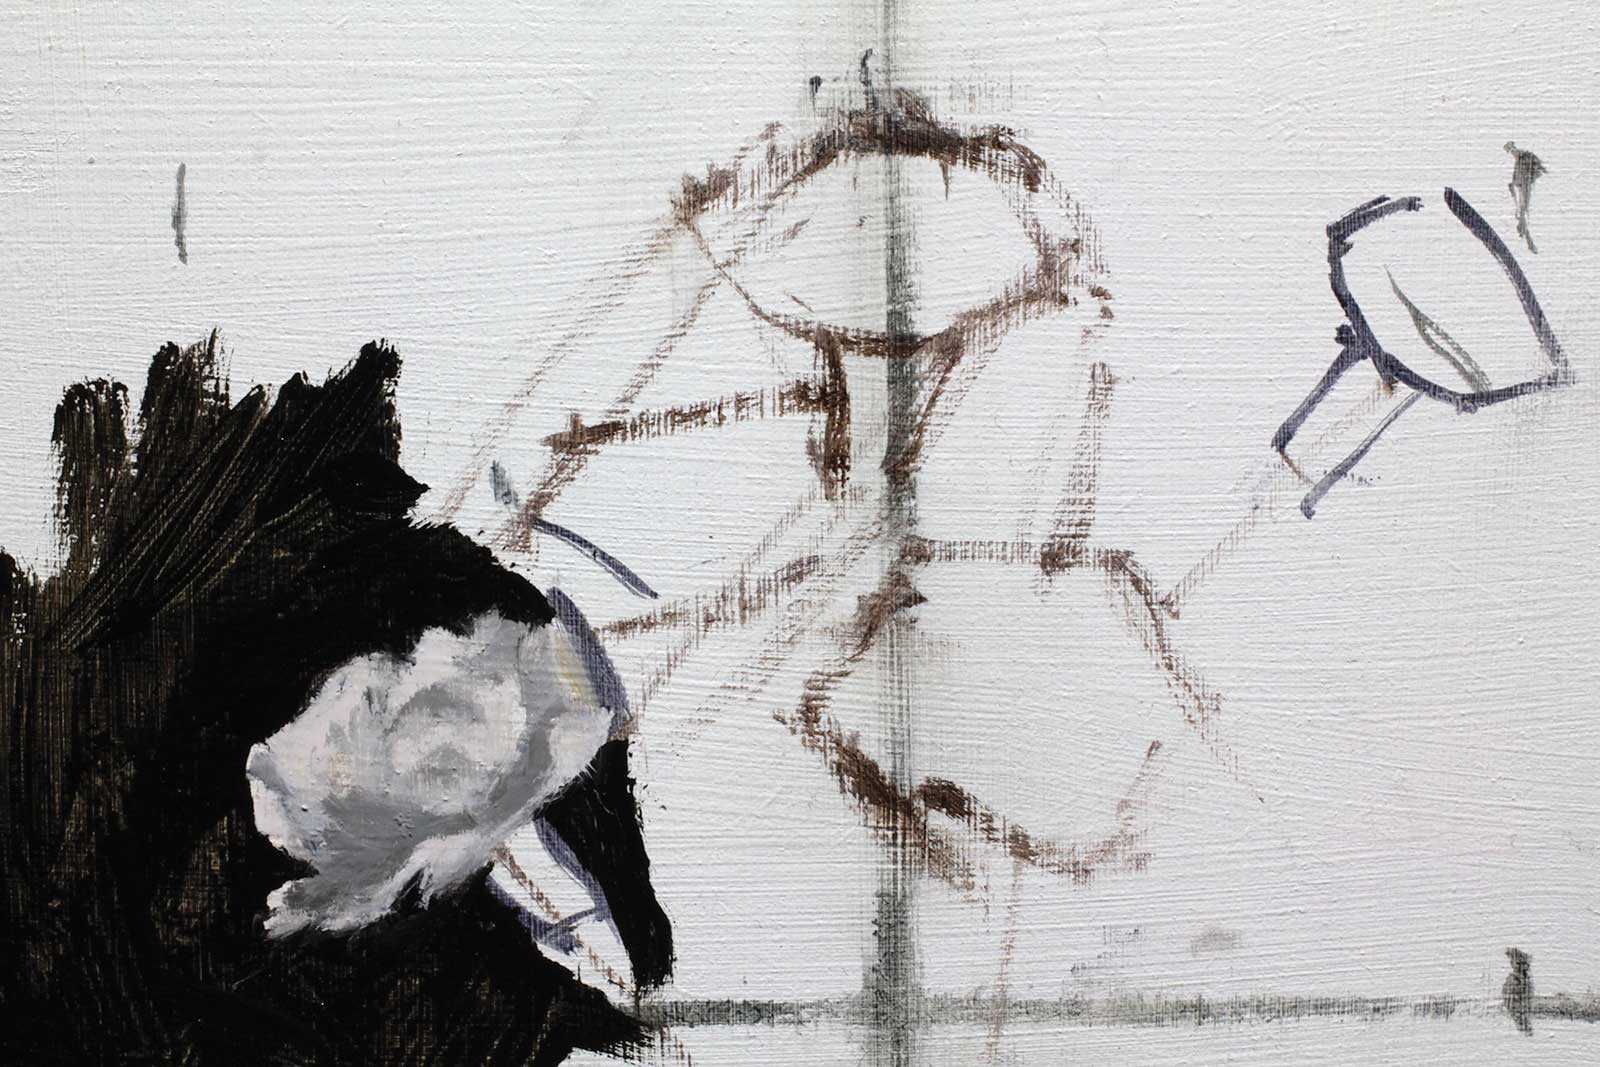
Firstly I mix some burnt umber and ultramarine blue together with some painting medium which can be thinned slightly with artists’ white spirit. I mark the center of the panel with a horizontal and vertical line to help me place the composition and also place marks about a centimeter from each corner to remind me where the edge of the frame will be.
I mark the outermost points of the arrangement next, using comparative measurements to get the proportions right. I often re-draw these points to make sure I have positioned the composition exactly how I want it. It’s so important not to rush this stage as it’s difficult or impossible to correct later. Once I’m happy I mark in more points of the larger shapes and join these with straight lines.
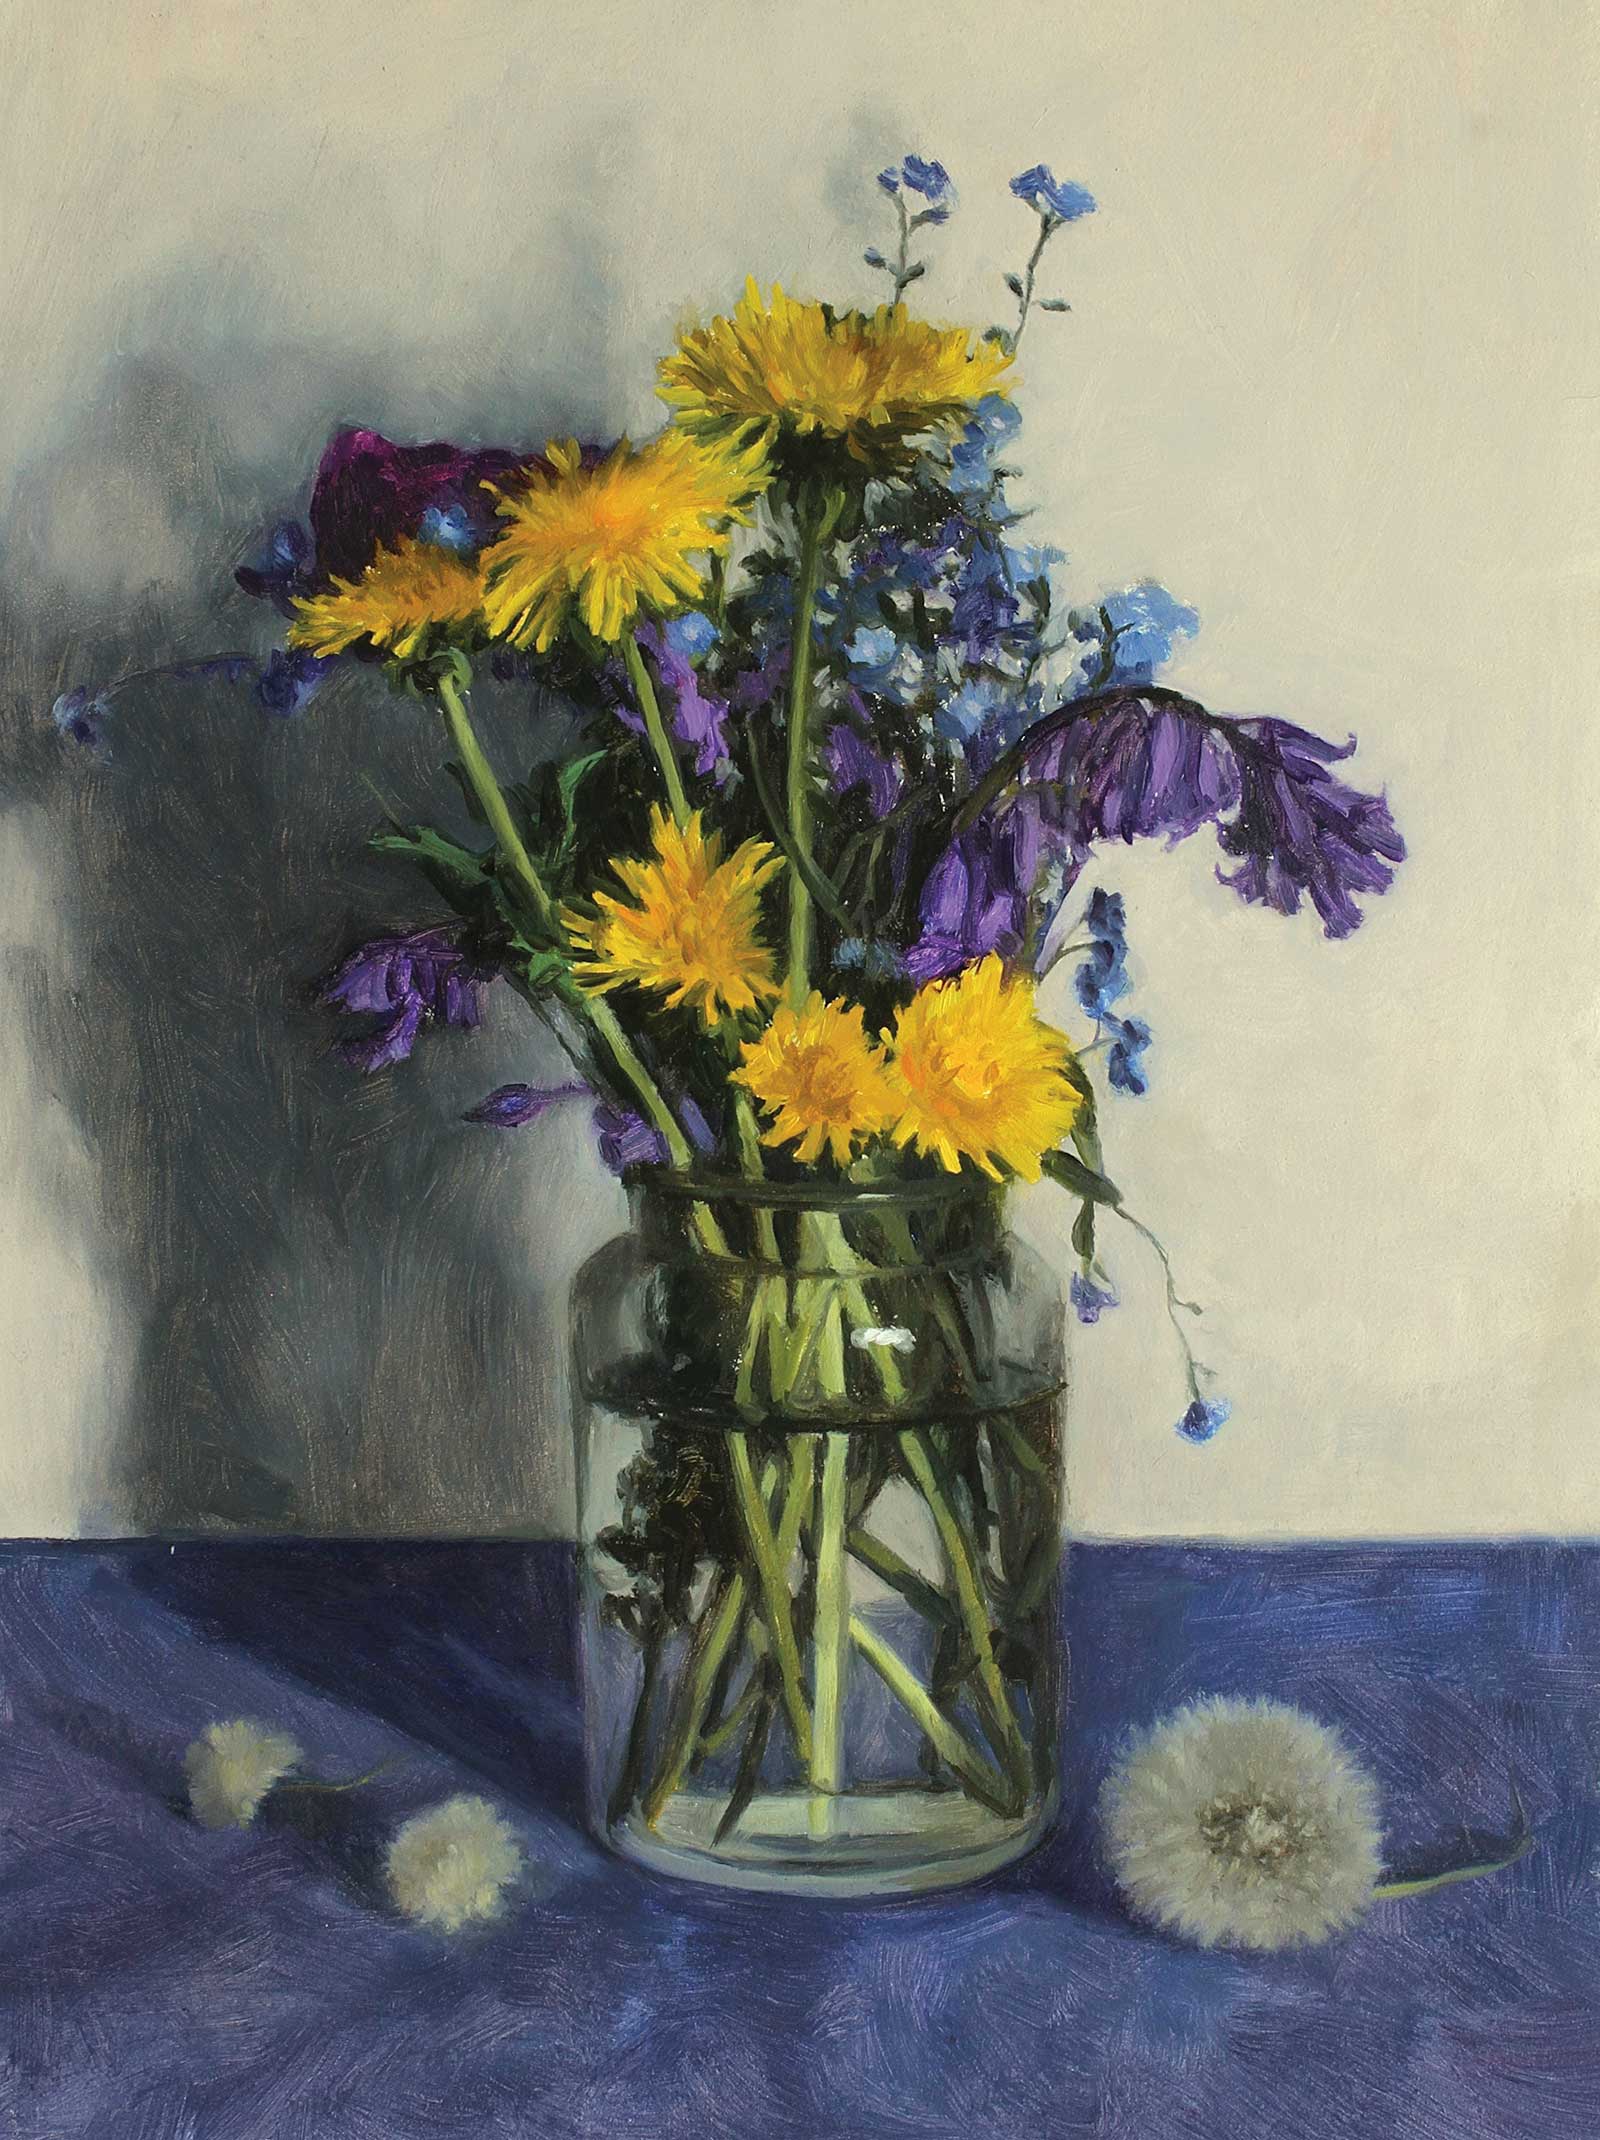
Dandelions and Bluebells, oil on panel, 12 x 9" (30 x 23 cm)
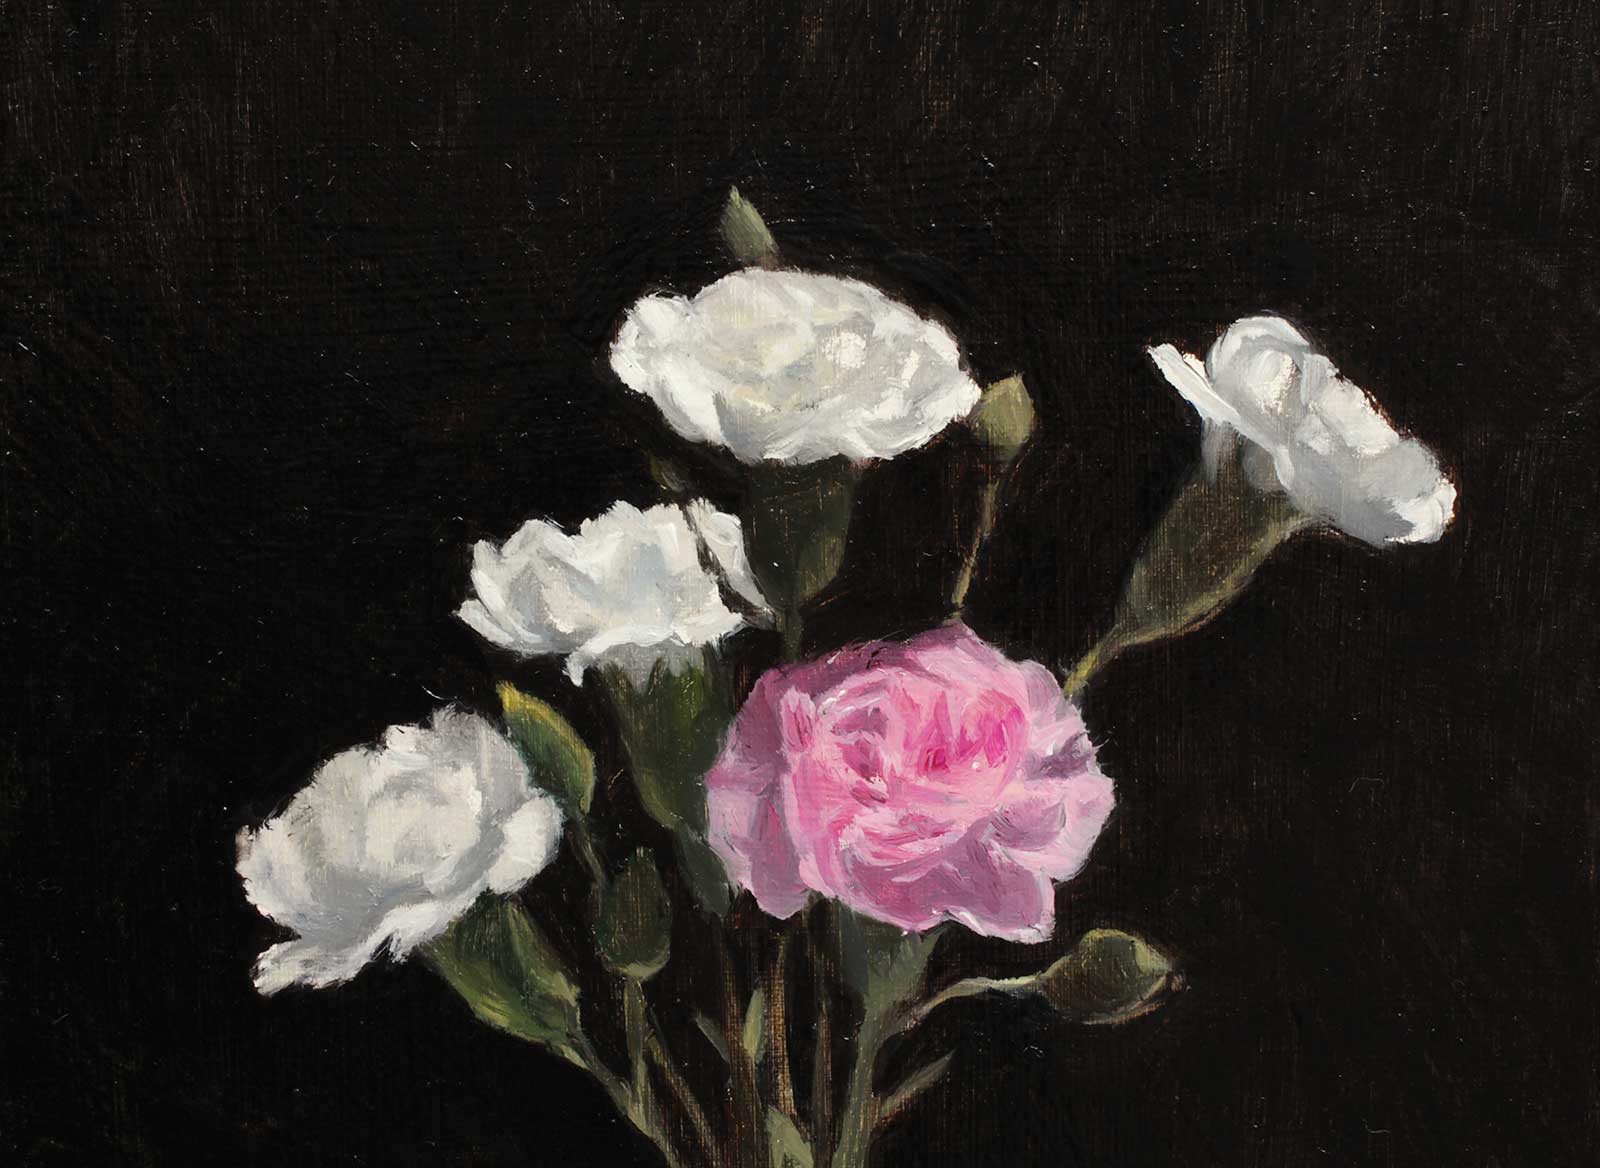
I always start painting the flowers first as they will move and change. After drawing, judging values correctly is most important. To do this I squint to throw my eyes slightly out of focus and get a feel for the relationships between the values. I will take a mental note of where the lightest light and darkest dark are. In this set up, the specular highlight on the bottle is the lightest light and the occlusion shadow underneath the bottle is the darkest dark, but as well as this, I always check which are the lightest areas within the flower arrangement. Usually one or two of the flowers will be receiving more light, and this relationship must be maintained in your painting. This gives a sense of form to the whole arrangement.
I start by blocking in the larger shapes of each flower and put in some of the background around it to help me key the values correctly. I mix the color to the right value and try to keep the chroma (or intensity) of the color high where it appears high in nature. This may mean that you can’t take your darks or your lights as extreme as they appear but must compress them closer together to maintain the chroma. I’m even happy to slightly change the hue to keep the chroma high if necessary. Once I feel I’ve established the relationships I carry on putting in more details. I tend to work on one flower at a time because some varieties can change so quickly, but with stable flowers like carnations you could block in the whole arrangement first and then come back to the smaller details. I don’t put many details in, just enough to suggest the forms of the petals when the painting is viewed from a distance.
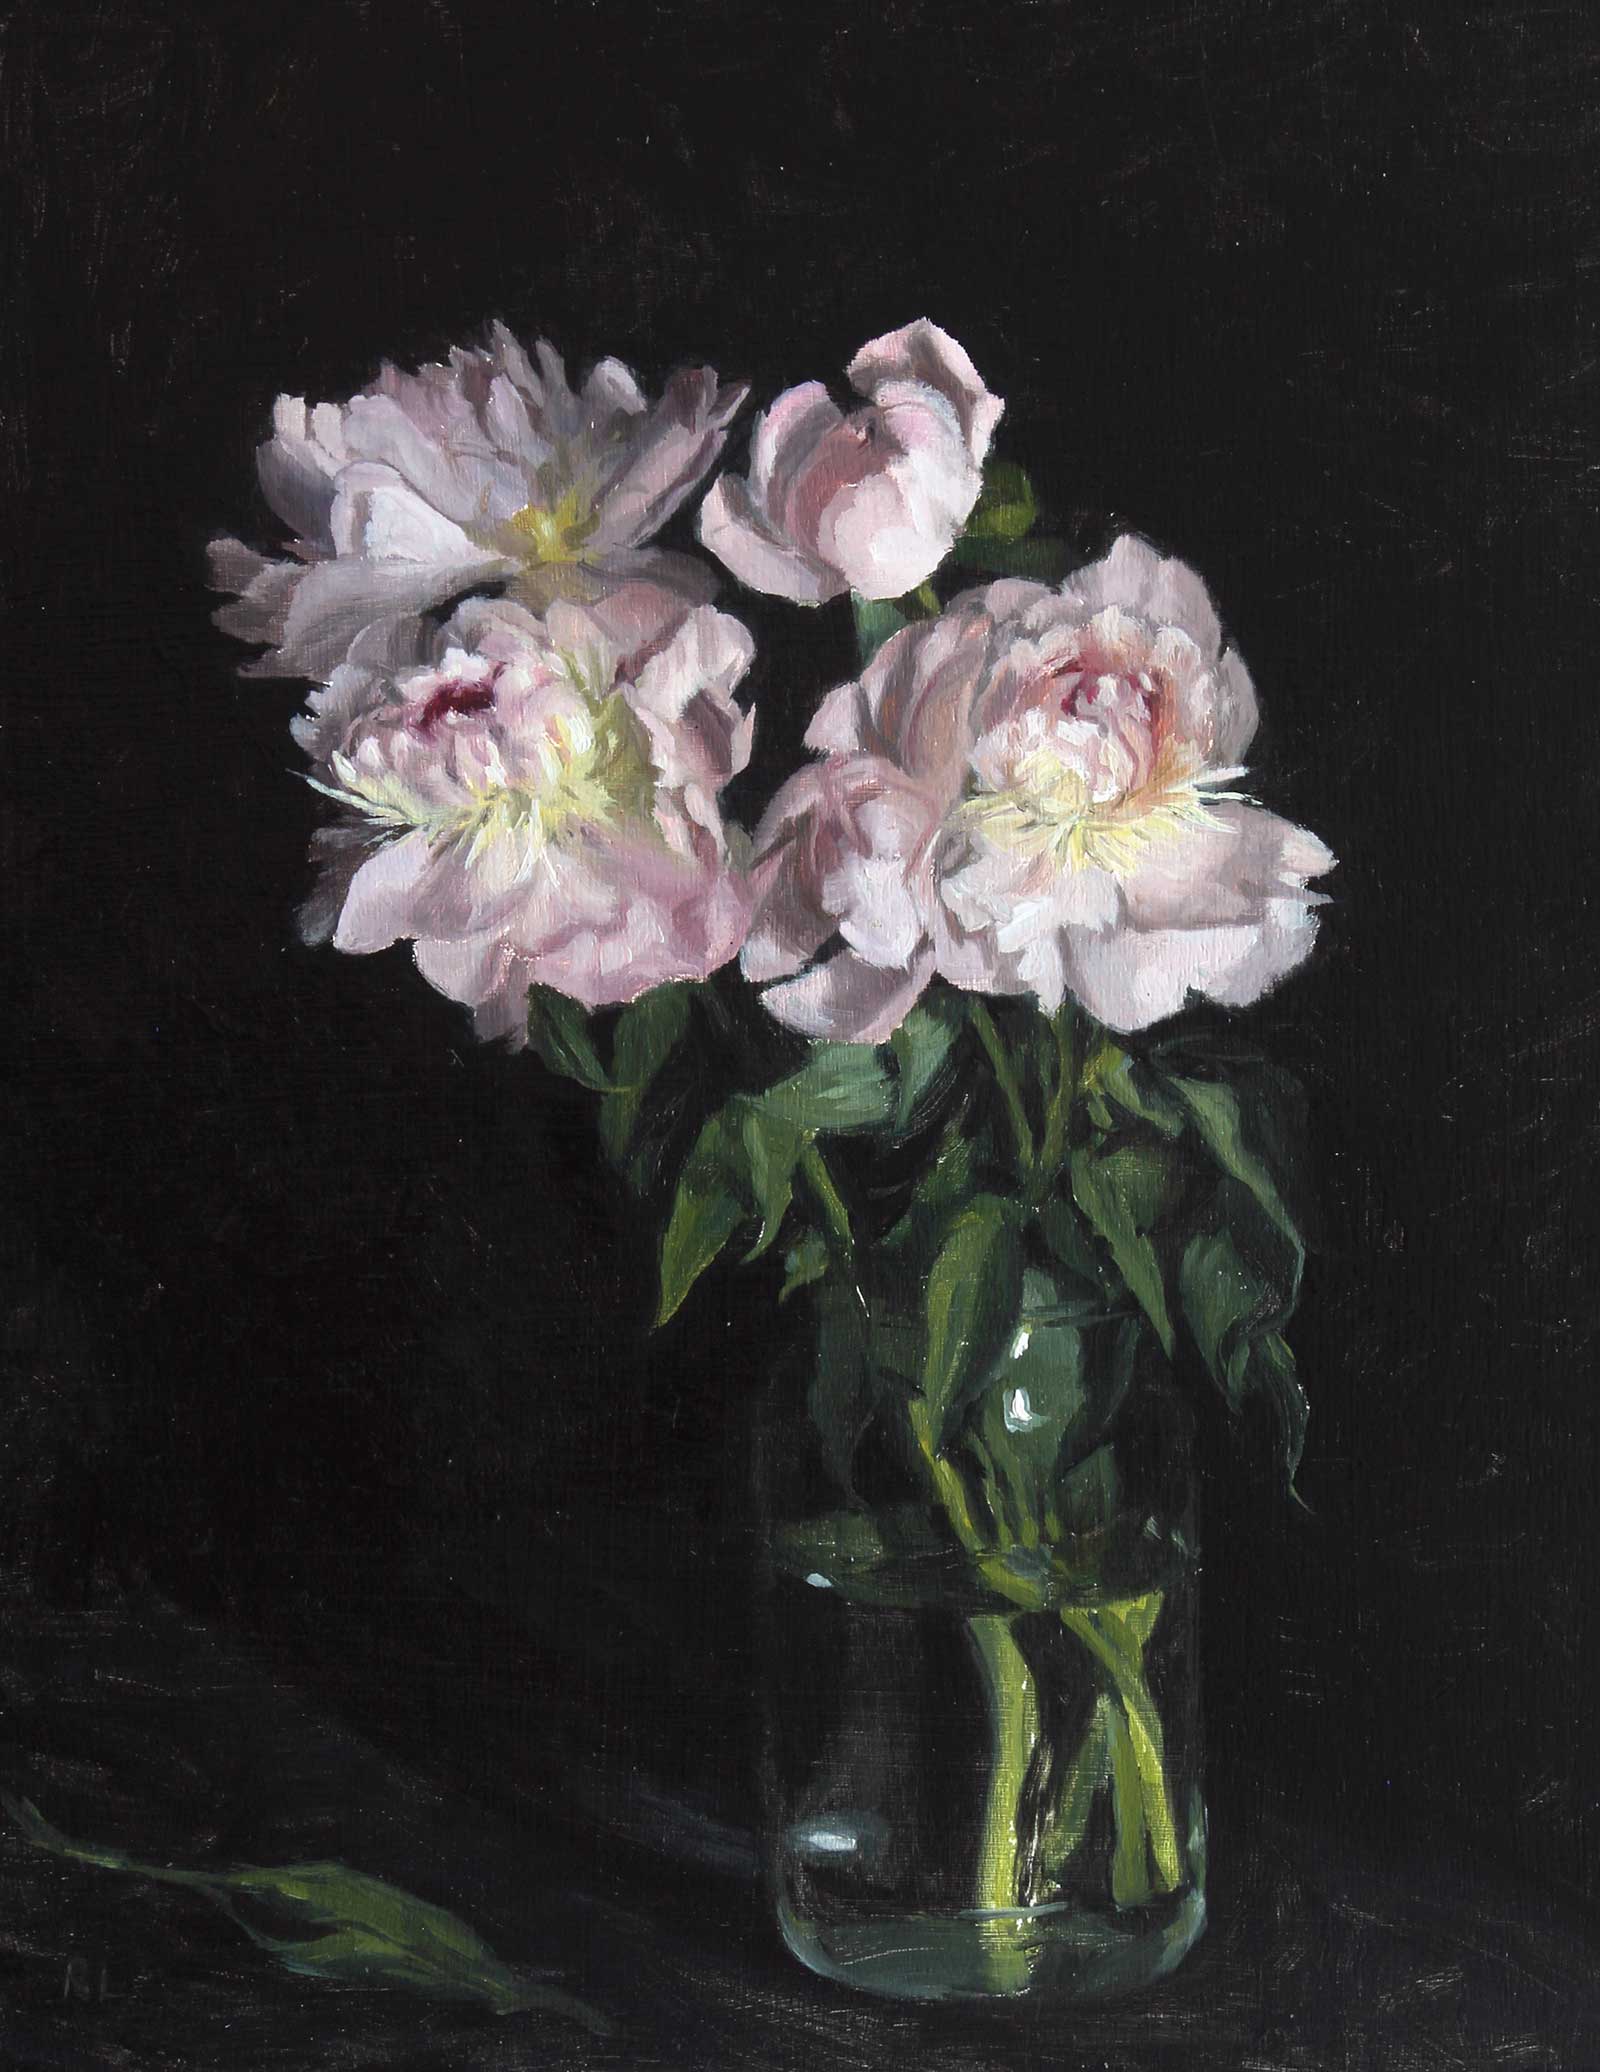
Peonies in a Glass Jar, oil on panel, 10 x 8" (25 x 20 cm)
I try to paint edges as I see them in nature, I find there is always a variety of hard and softer edges that can be observed. In general I will keep the harder lines to the front of each flower, as they draw our attention and give a sense of the nearer petals overlapping the more distant ones.
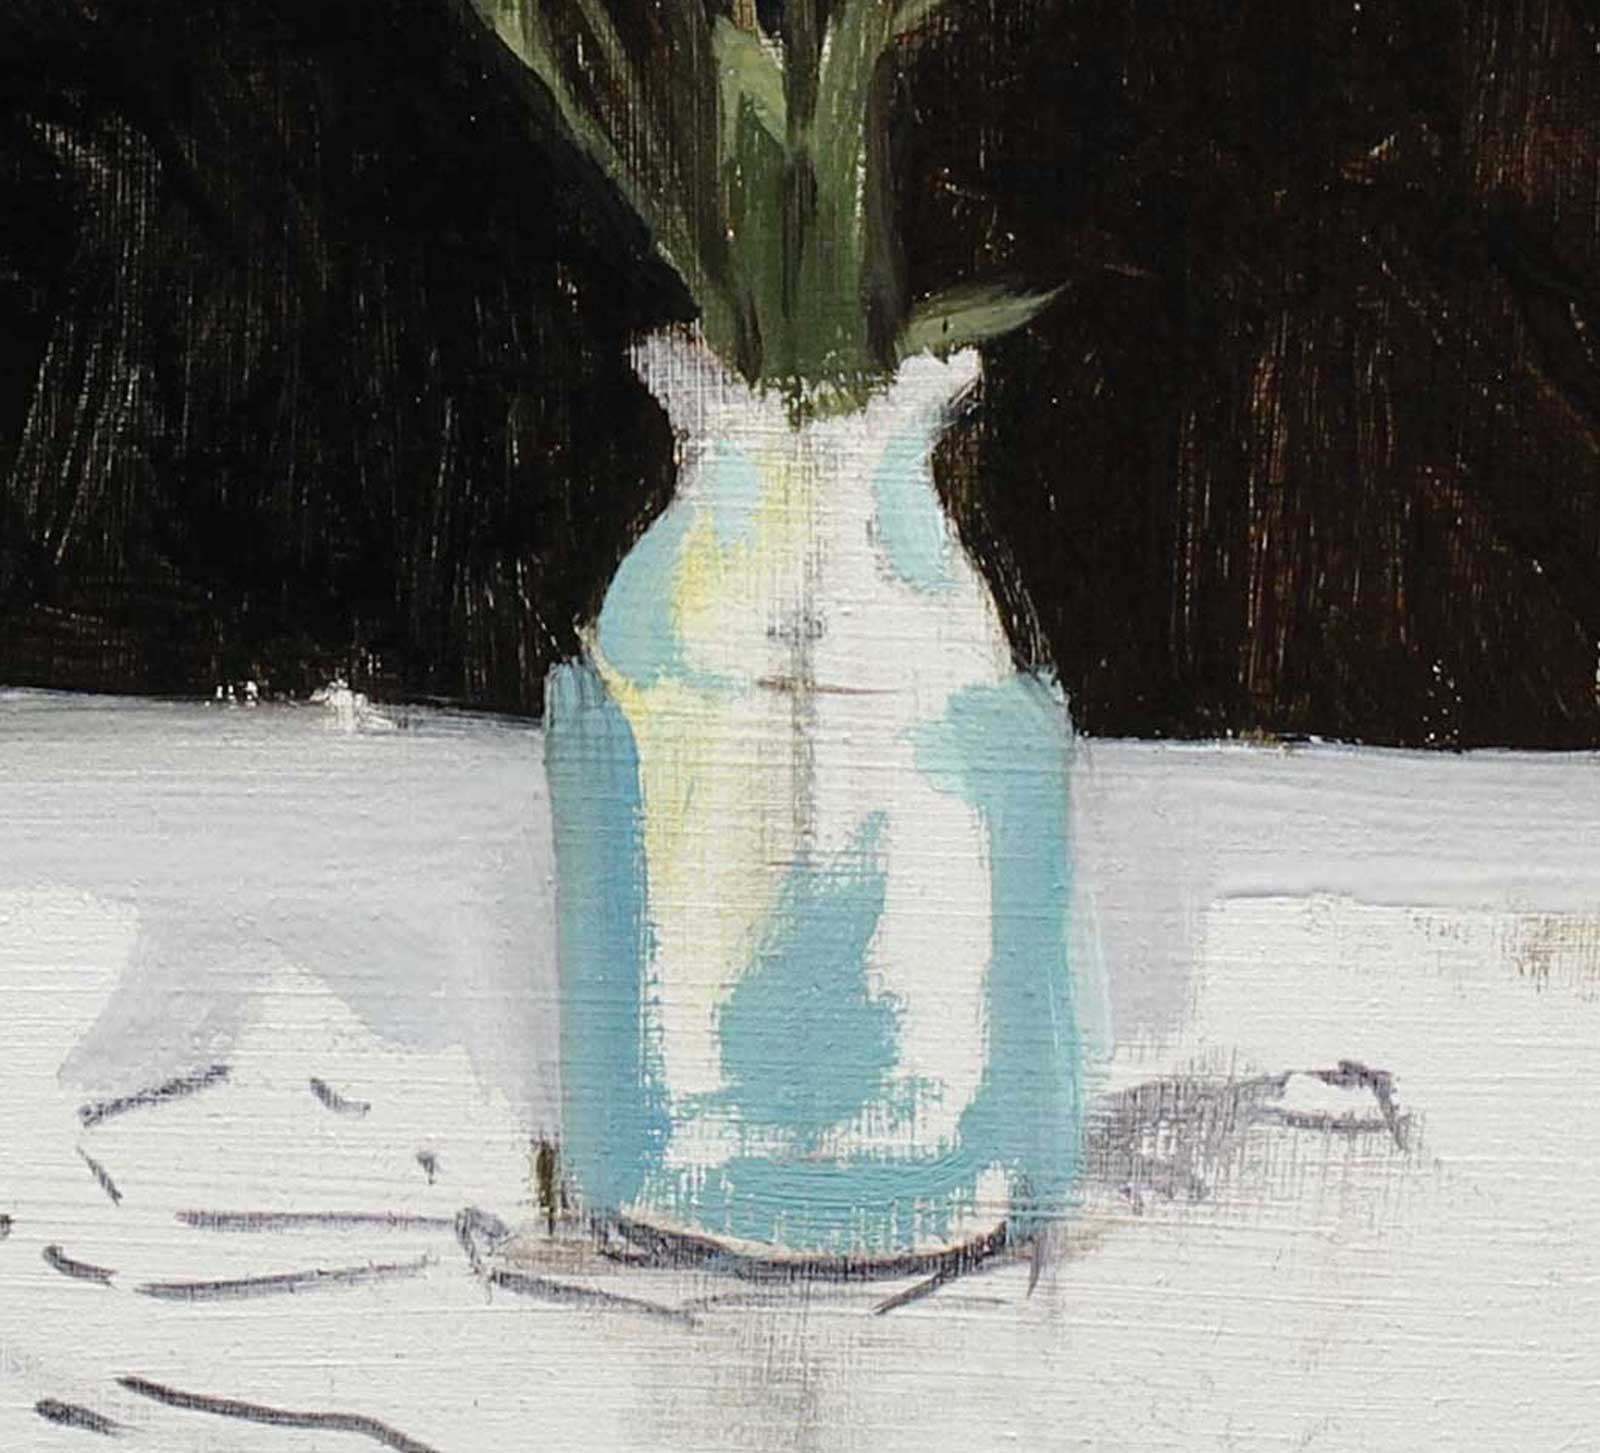
Once I have covered the whole panel, I will check to see if anything looks out of place or wrong. It’s important to be happy with the flowers before they wilt, but I will sometimes correct mistakes in the vase once the painting is dry. In this demonstration I allowed the painting to dry before correcting the shape of the bottle. I also glazed over the background to make it a little darker and correct any areas where I picked up a bit of the carnation color in the background paint.
My Art in the Making Carnations in a Glass Bottle
 Stage 1
Stage 1 Arranging the Still Life
Take time to choose an arrangement that inspires you and feels balanced. It’s a good idea to look at the work of past masters to give you ideas and inspiration.
Stage 2 Sketching Correct Proportions
Take time to place the arrangement exactly how you want it on your panel and take care to get the proportions correct. I use comparative measurements to help me with this.
 Stage 3
Stage 3 Starting Block-in
Start to block in a flower on the left of your arrangement if you are right-handed. Put in a bit of the background around the flower to help you judge the values.
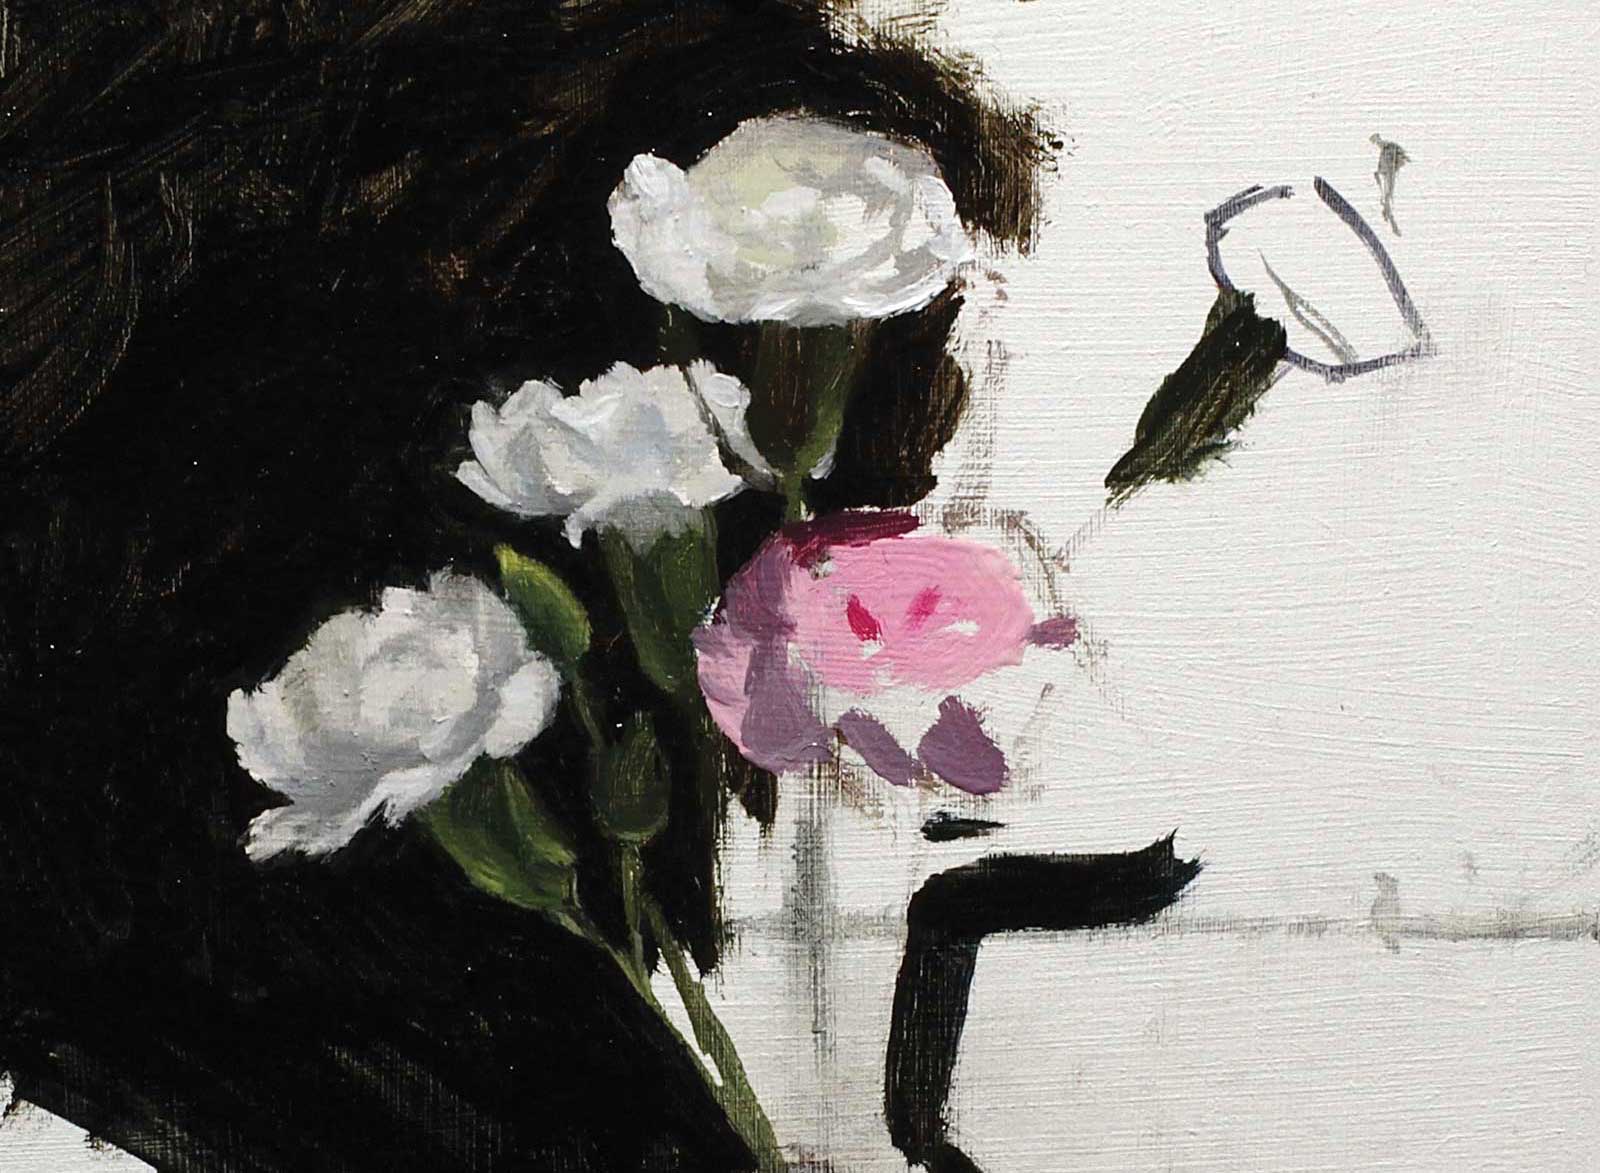 Stage 4
Stage 4 Notice Value Relationships
Continue to work across the panel, making sure you squint and look at the value relationships across the whole of the arrangement, not just the flower you are working on.
 Stage 5
Stage 5 Details in the Flower
After establishing the correct relationships in the block-in, you can suggest a few details within the flower, remembering to squint so that you don’t exaggerate the value differences.
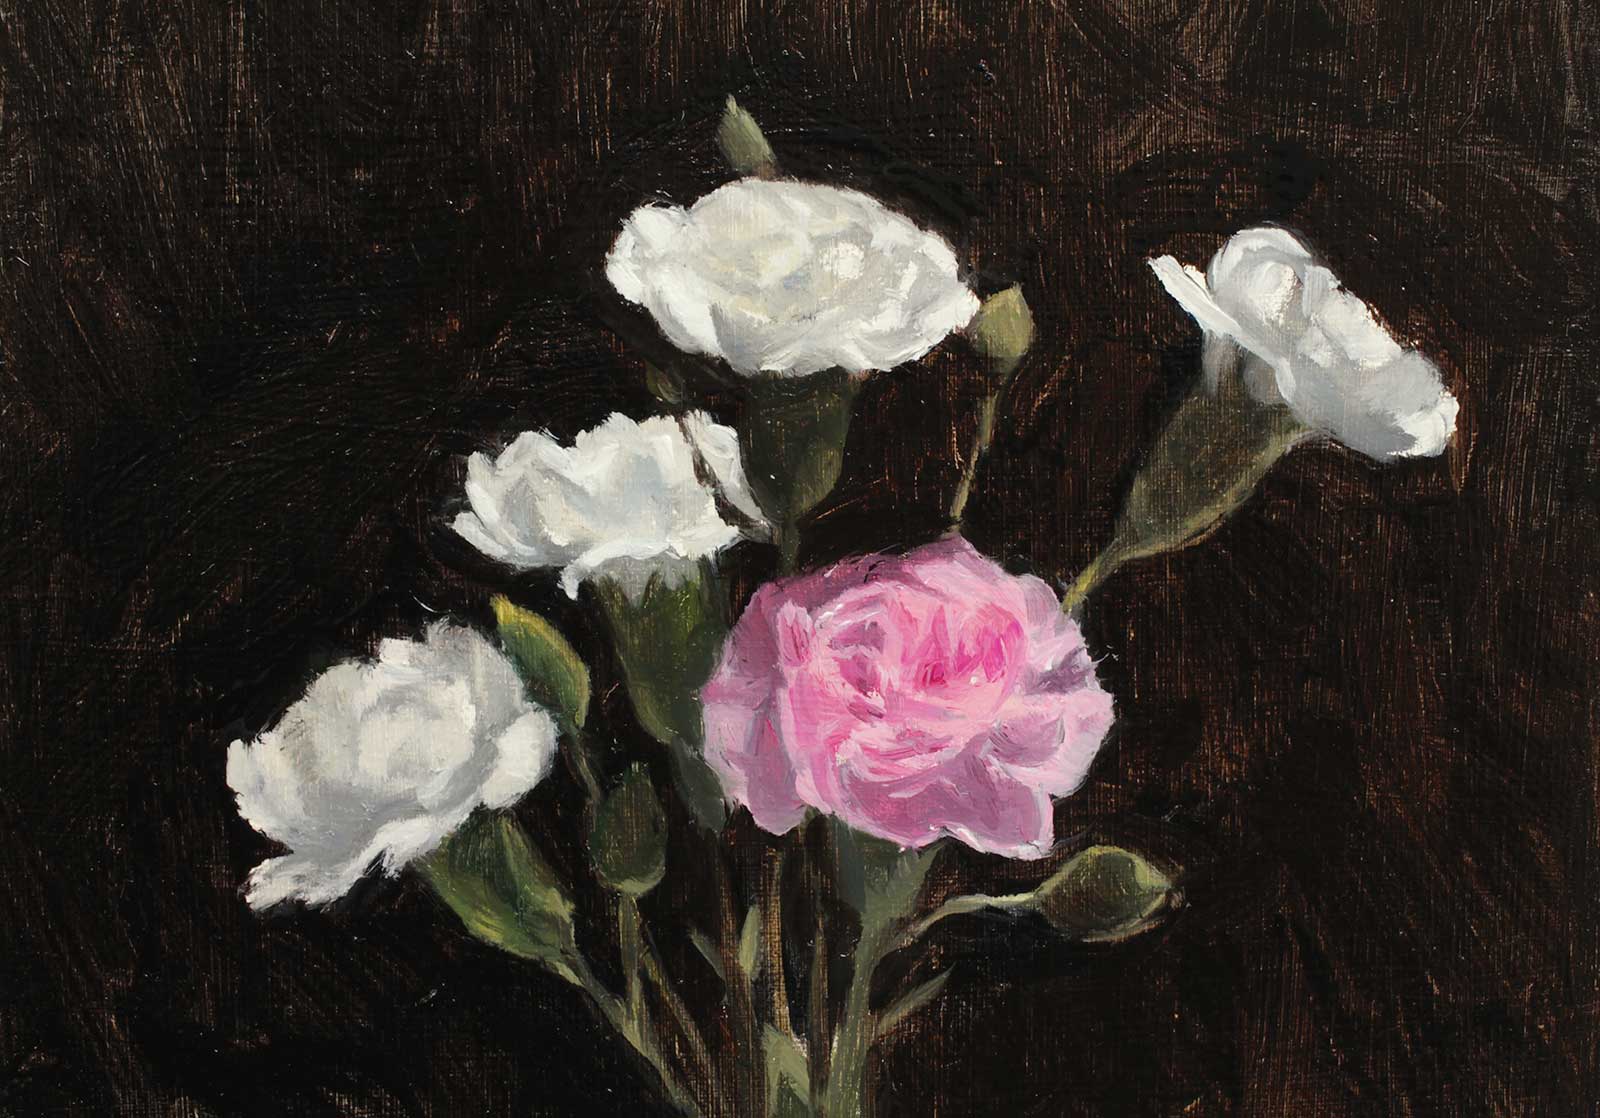 Stage 6
Stage 6 Building Form
Edges can be used to suggest the form of the flower. The harder edges appear to come forward and can be used for the petals on the near side of the flower.
 Stage 7
Stage 7 Bottle/Vase
Once you are happy with the flowers you can start work on the bottle or vase. To suggest the brightness of the specular highlight on the bottle, I used pure white impasto.
 Stage 8
Stage 8 Background Glaze
Once the painting is dry, I glaze the background color to make it a step darker, correcting any mistakes at the edges of the flowers and foliage at the same time.
 Stage 9
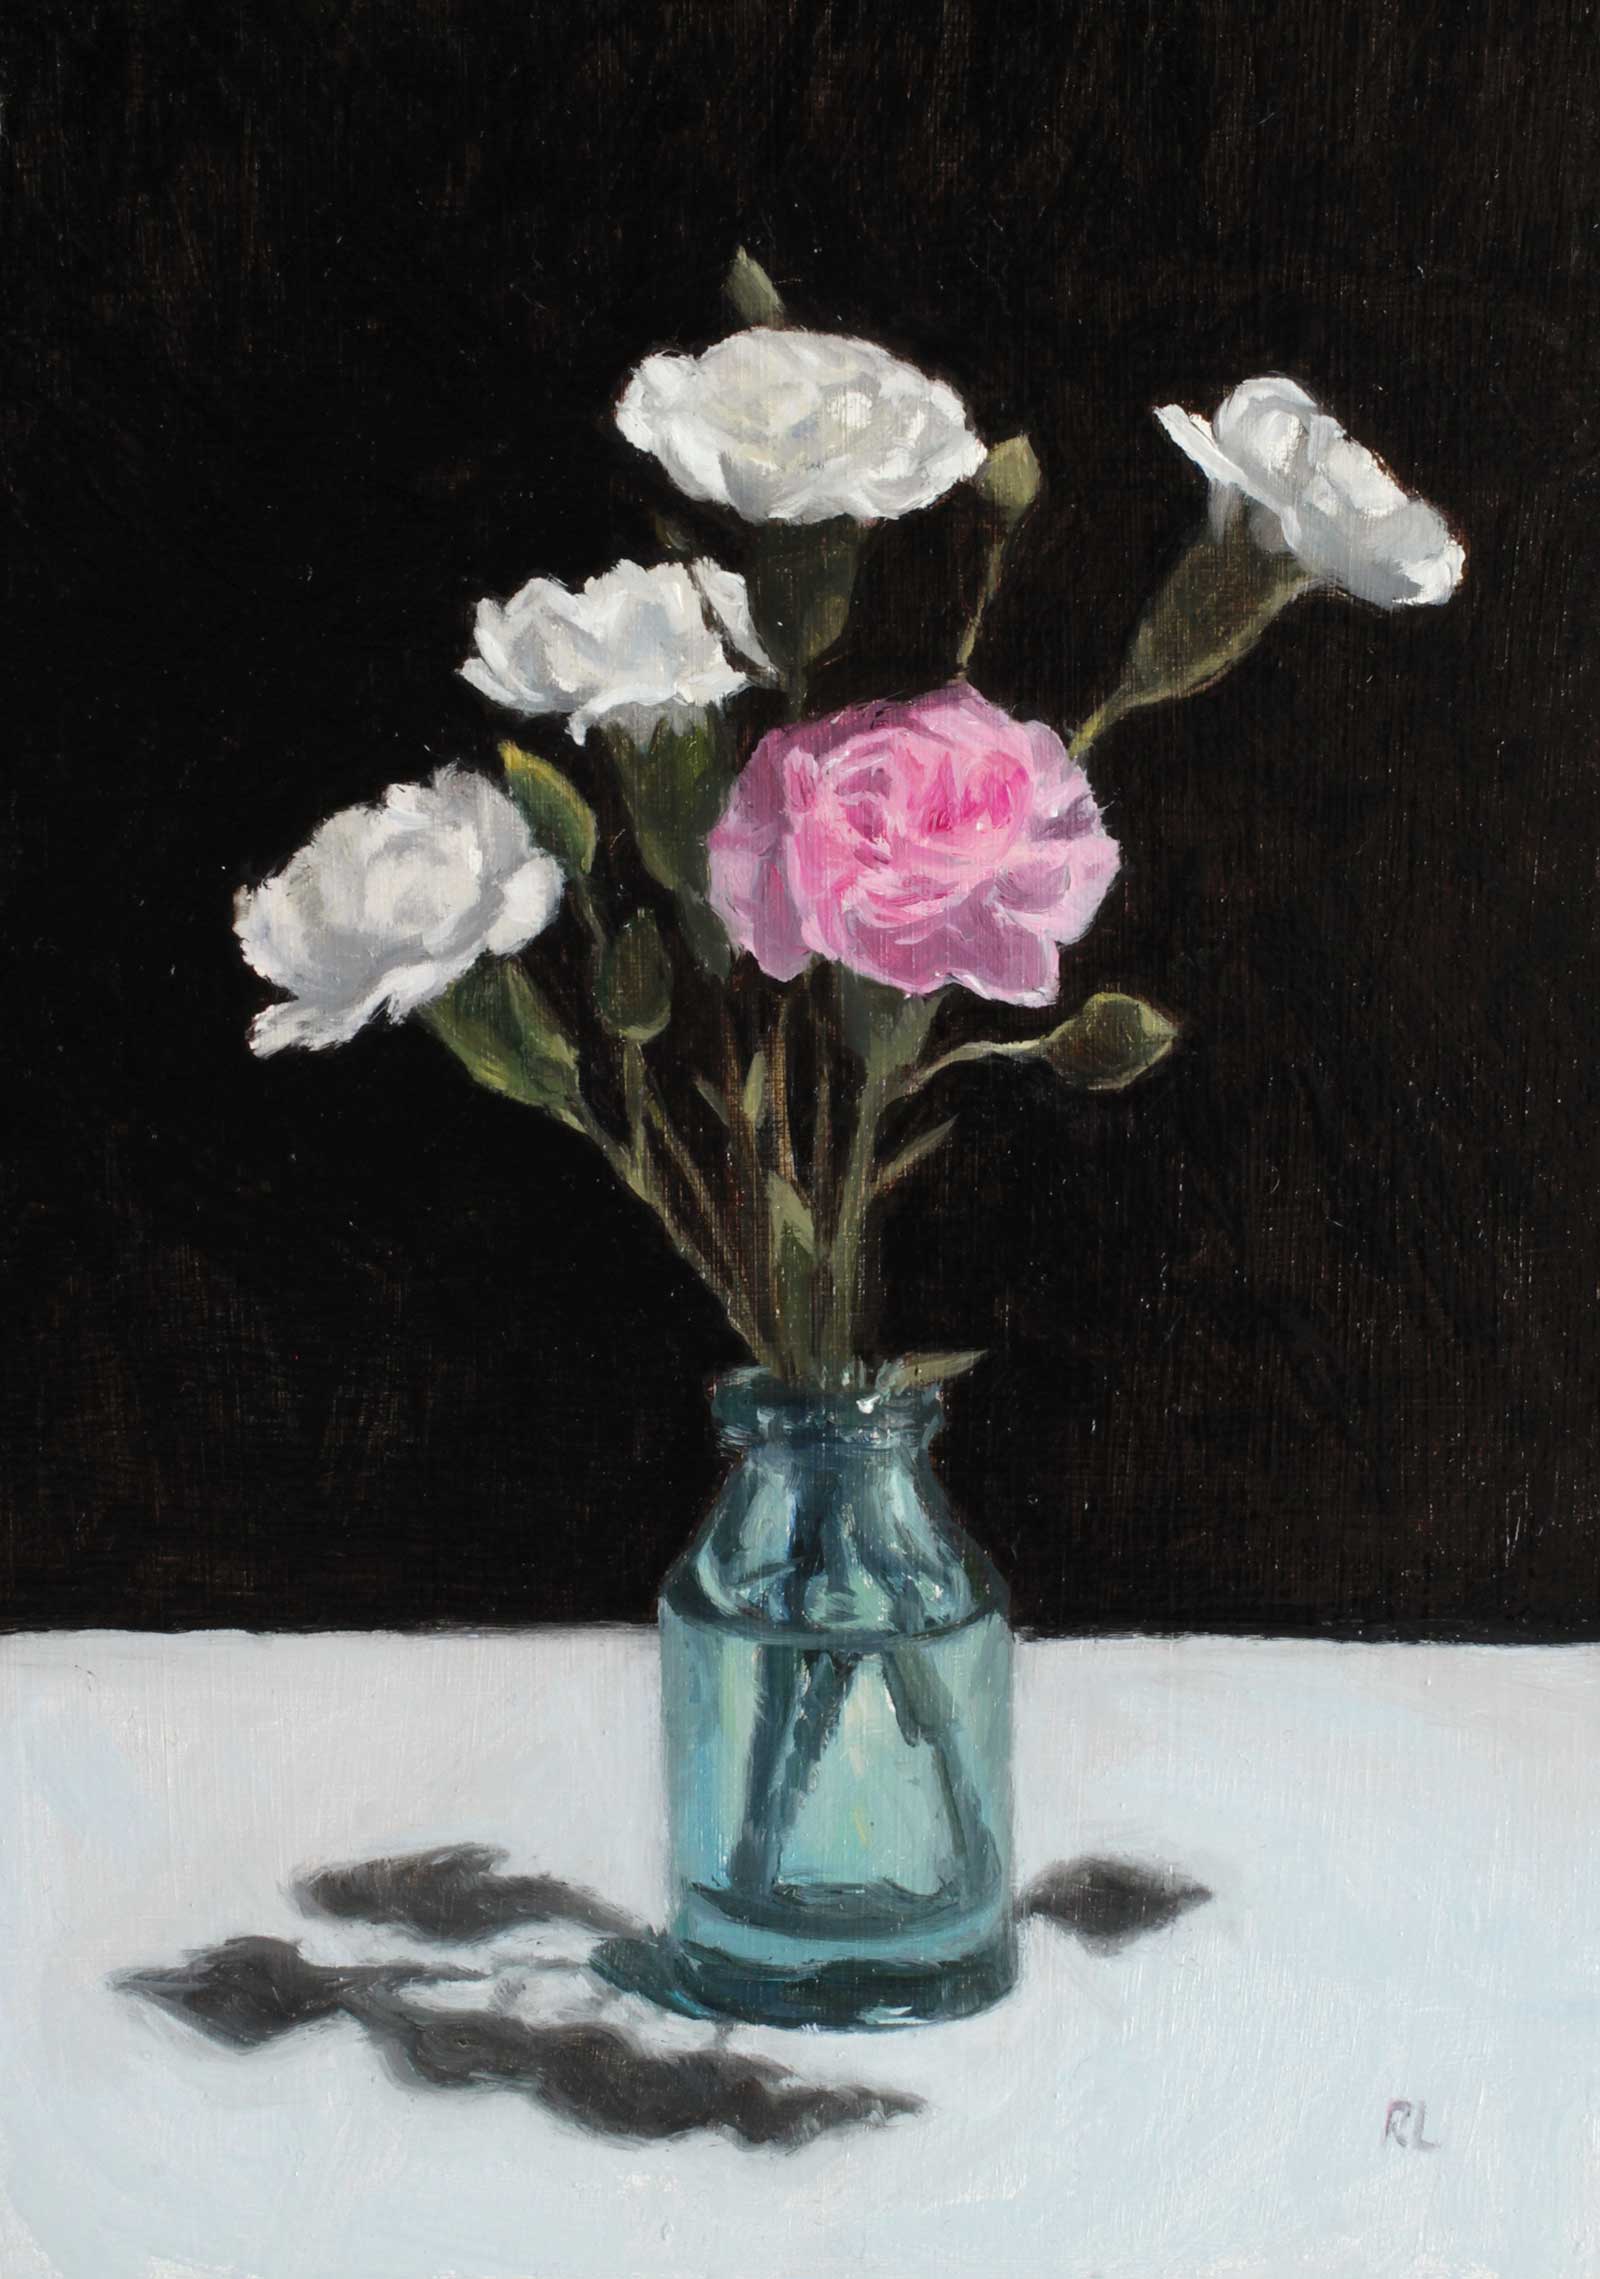
Stage 9 Finished Artwork
Carnations in a Glass Bottle, oil, 8¼ x 6" (21 x 15 cm)
I also tidy up any mistakes I see in the bottle at this stage. Once I’m happy I sign with my initials in a place that I feel complements the composition.
About the artist
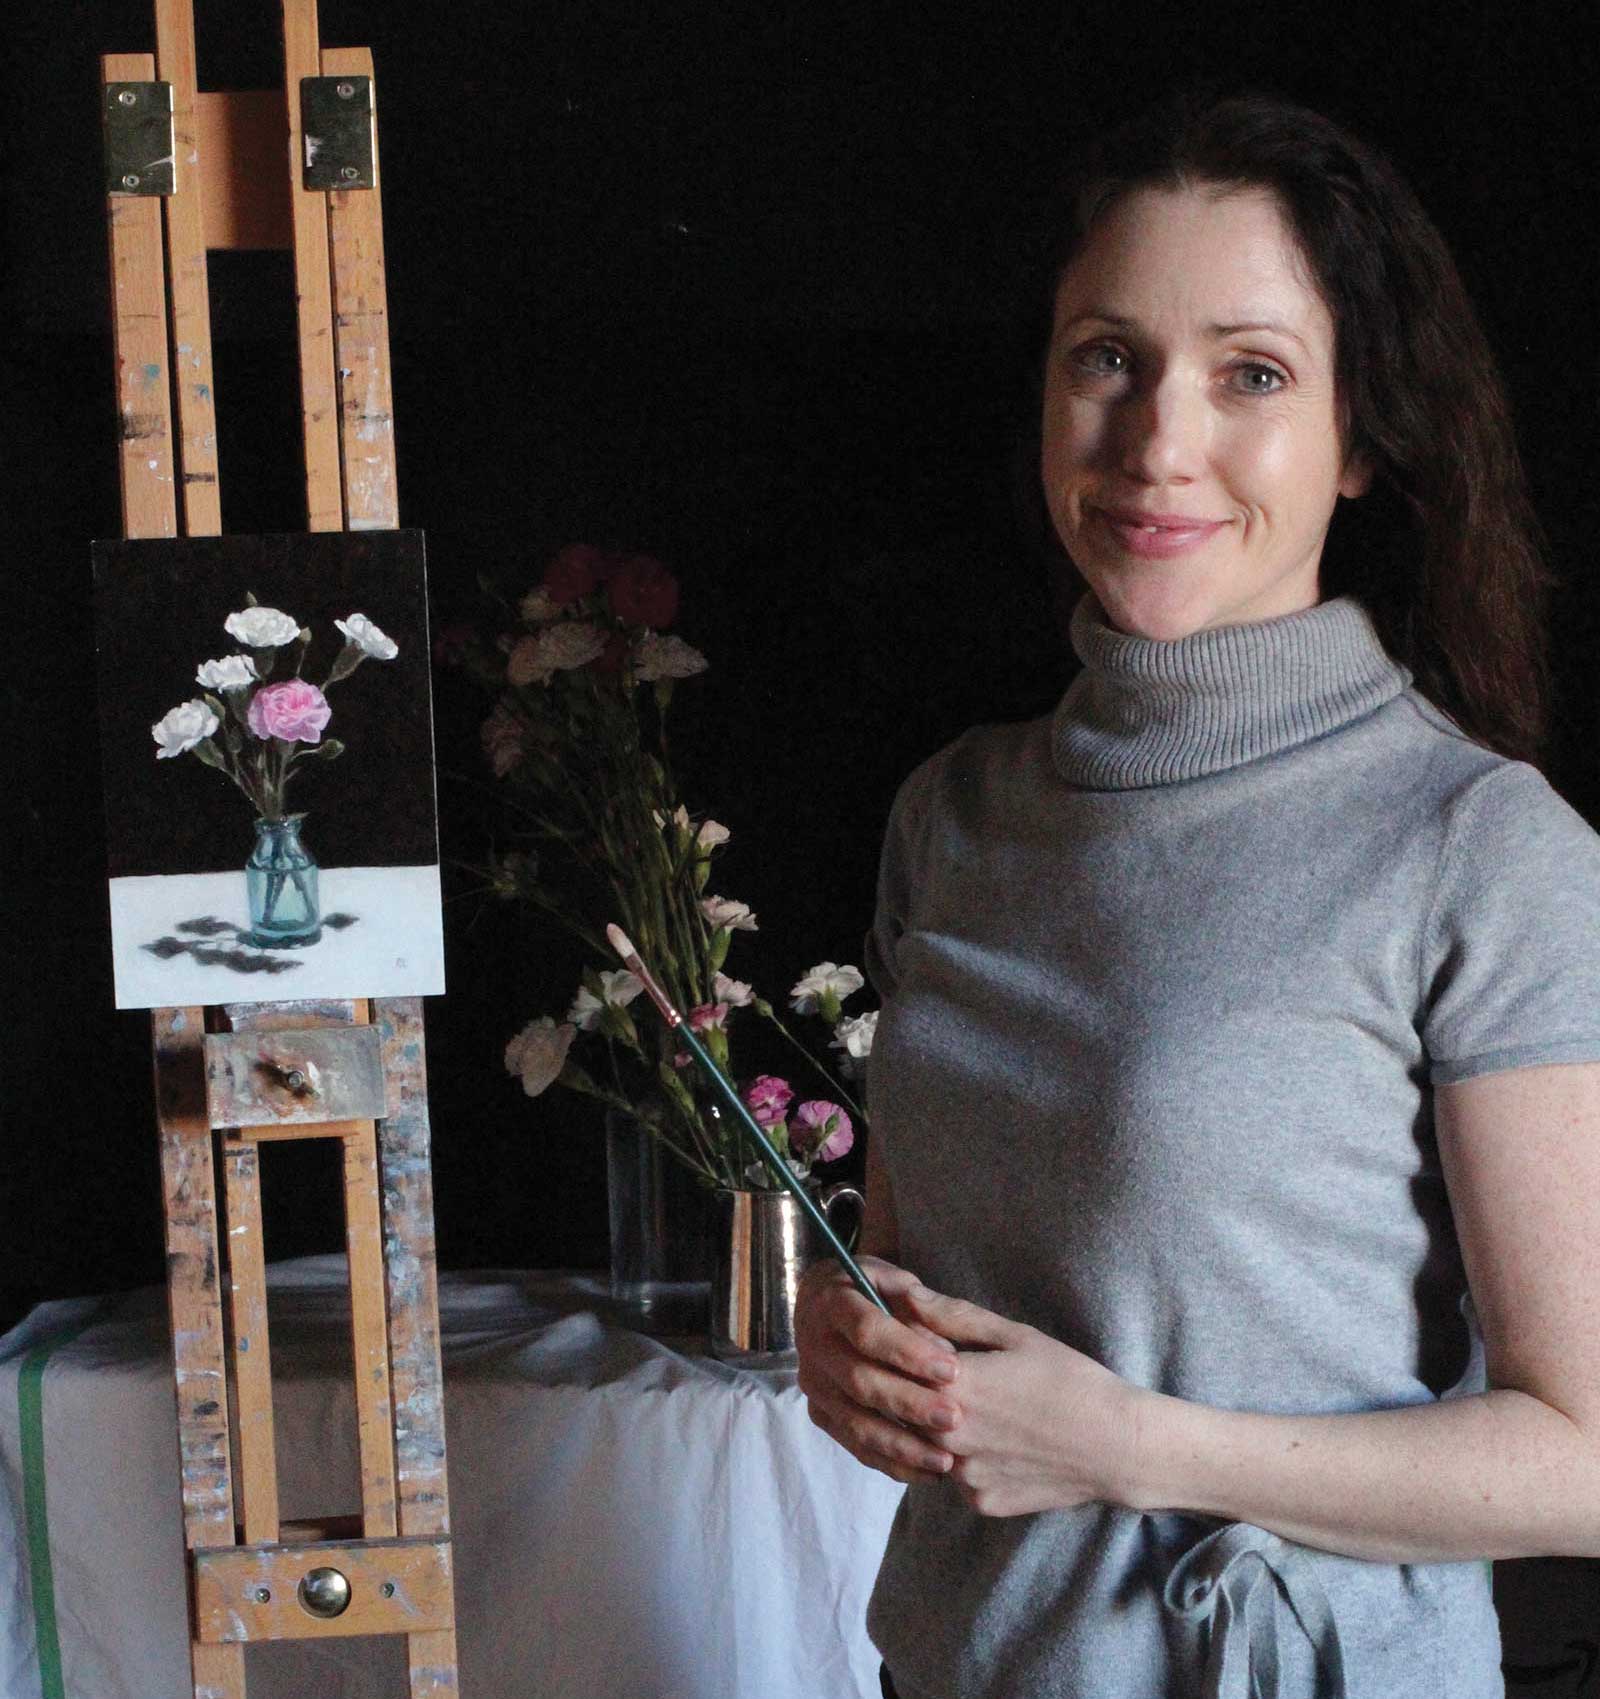 Rosemary Lewis in her studio
As a child, Rosemary Lewis loved to draw and paint and felt lucky to have parents that encouraged her. She studied “A level art” and sold her first painting at age 18. However, Lewis also had a passion for dance and decided to attend the Rambert School of Ballet and Contemporary Dance, graduating from the professional dancers course.
She continued to paint and sell her artwork while studying, and upon graduating, felt increasingly drawn to explore art rather than pursue a career in dance. Lewis decided to take a foundational art course at Central Saint Martins College of Art, after which she directed her own studies into the techniques of the late 19th and early 20th-century realist and impressionist oil painters. She discovered that the discipline and focus she had gained from her studies in dance were skills that transferred well into learning realist oil painting techniques, and the feelings that she was once able to express through dance, she can now put into her paintings.
Lewis has taken part in many exhibitions in the United Kingdom and abroad, and her work is in collections worldwide.
Represented by
Carina Haslam Gallery, Rickmansworth, UK www.carinahaslamart.com
Norton Way Gallery, Hertfordshire, UK www.nortonwaygallery.com
The Atelier Gallery, Edinburgh, UK www.theateliergallery.co.uk
New Blood Art Gallery, Online www.newbloodart.com
Contact at
rosemarylewispaintings@gmail.com
www.rosemarylewispaintings.co.uk