


I began painting in 2003 under the instruction of European-trained art restorer and artist Vitek Kruta from whom I learned many of the glazing techniques I use today. I paint in a realistic style, and oil paint is my primary medium.
Glazing is the process of applying a thin layer of translucent oil paint on top of another layer to change the color or value of the underpainting. Paint and glaze both contain paint pigment, but the difference is that paint is generally opaque, whereas glaze is always translucent. Glazes are created by diluting paint with a medium (a binder) until it becomes semi-transparent or by using an oil paint that is transparent.
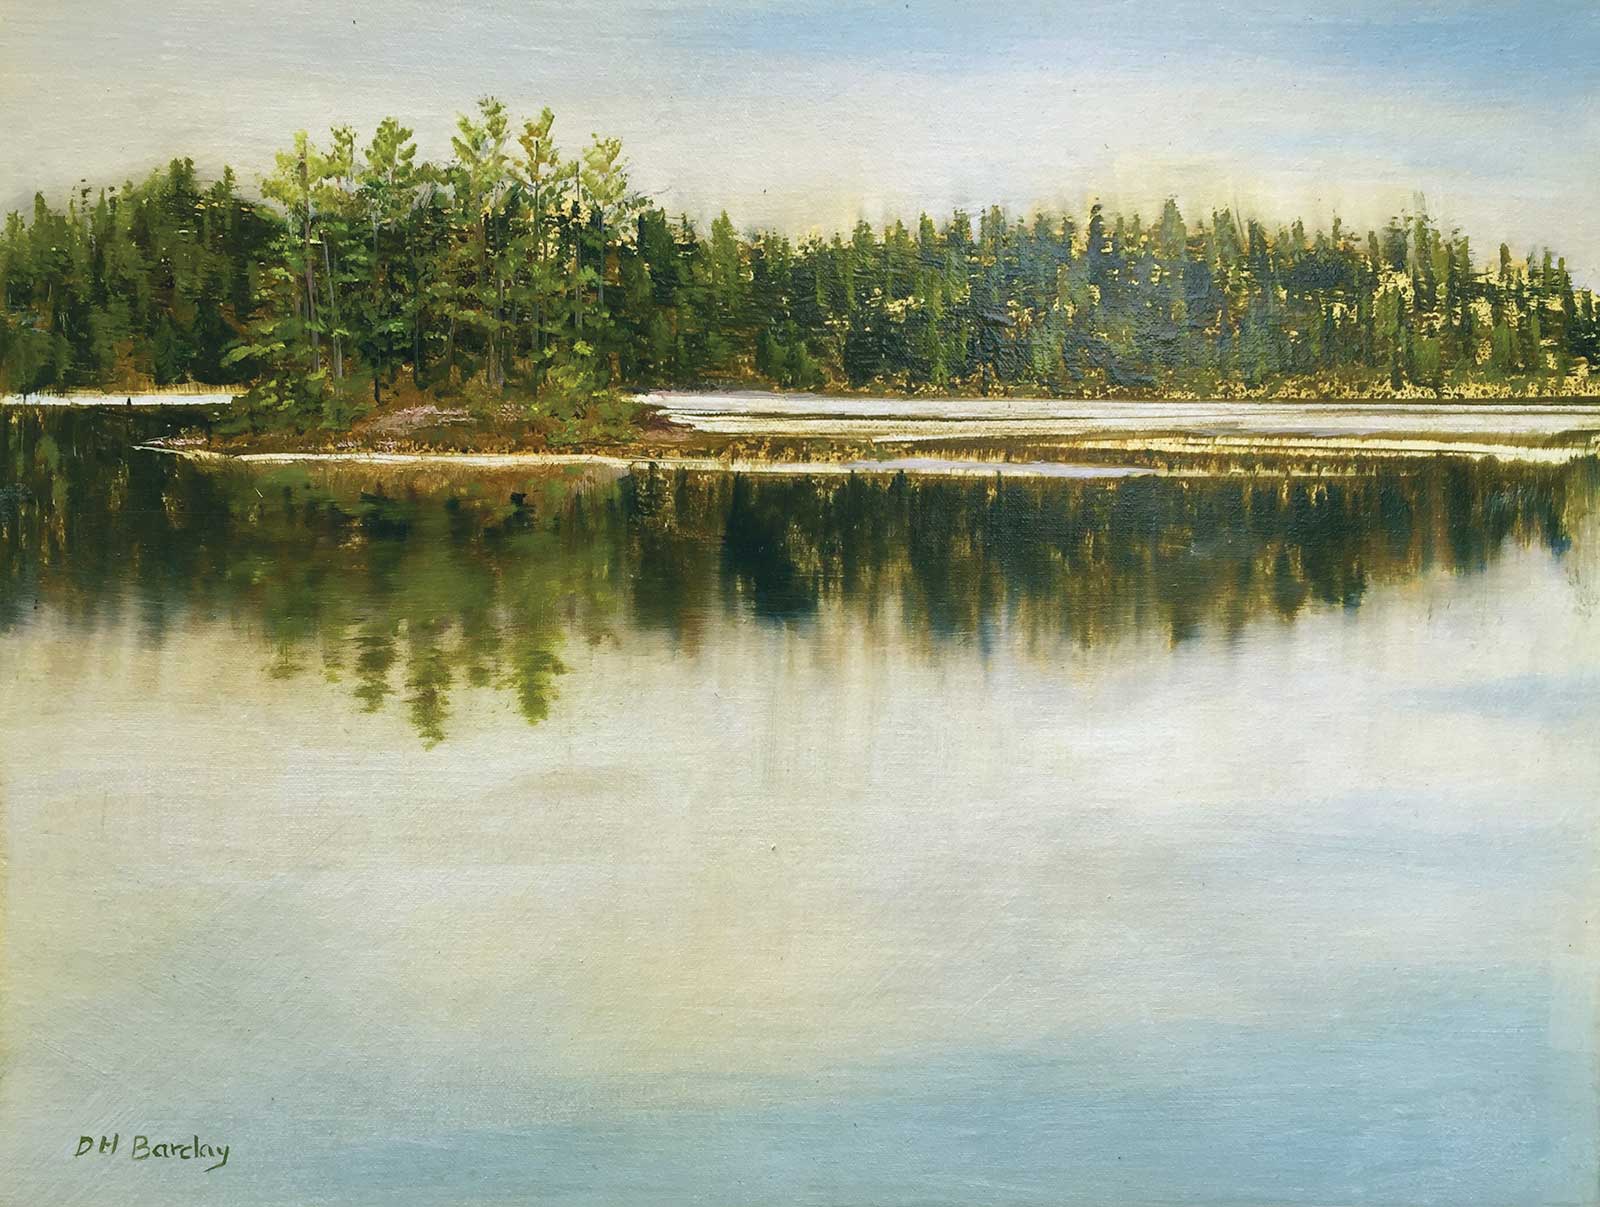
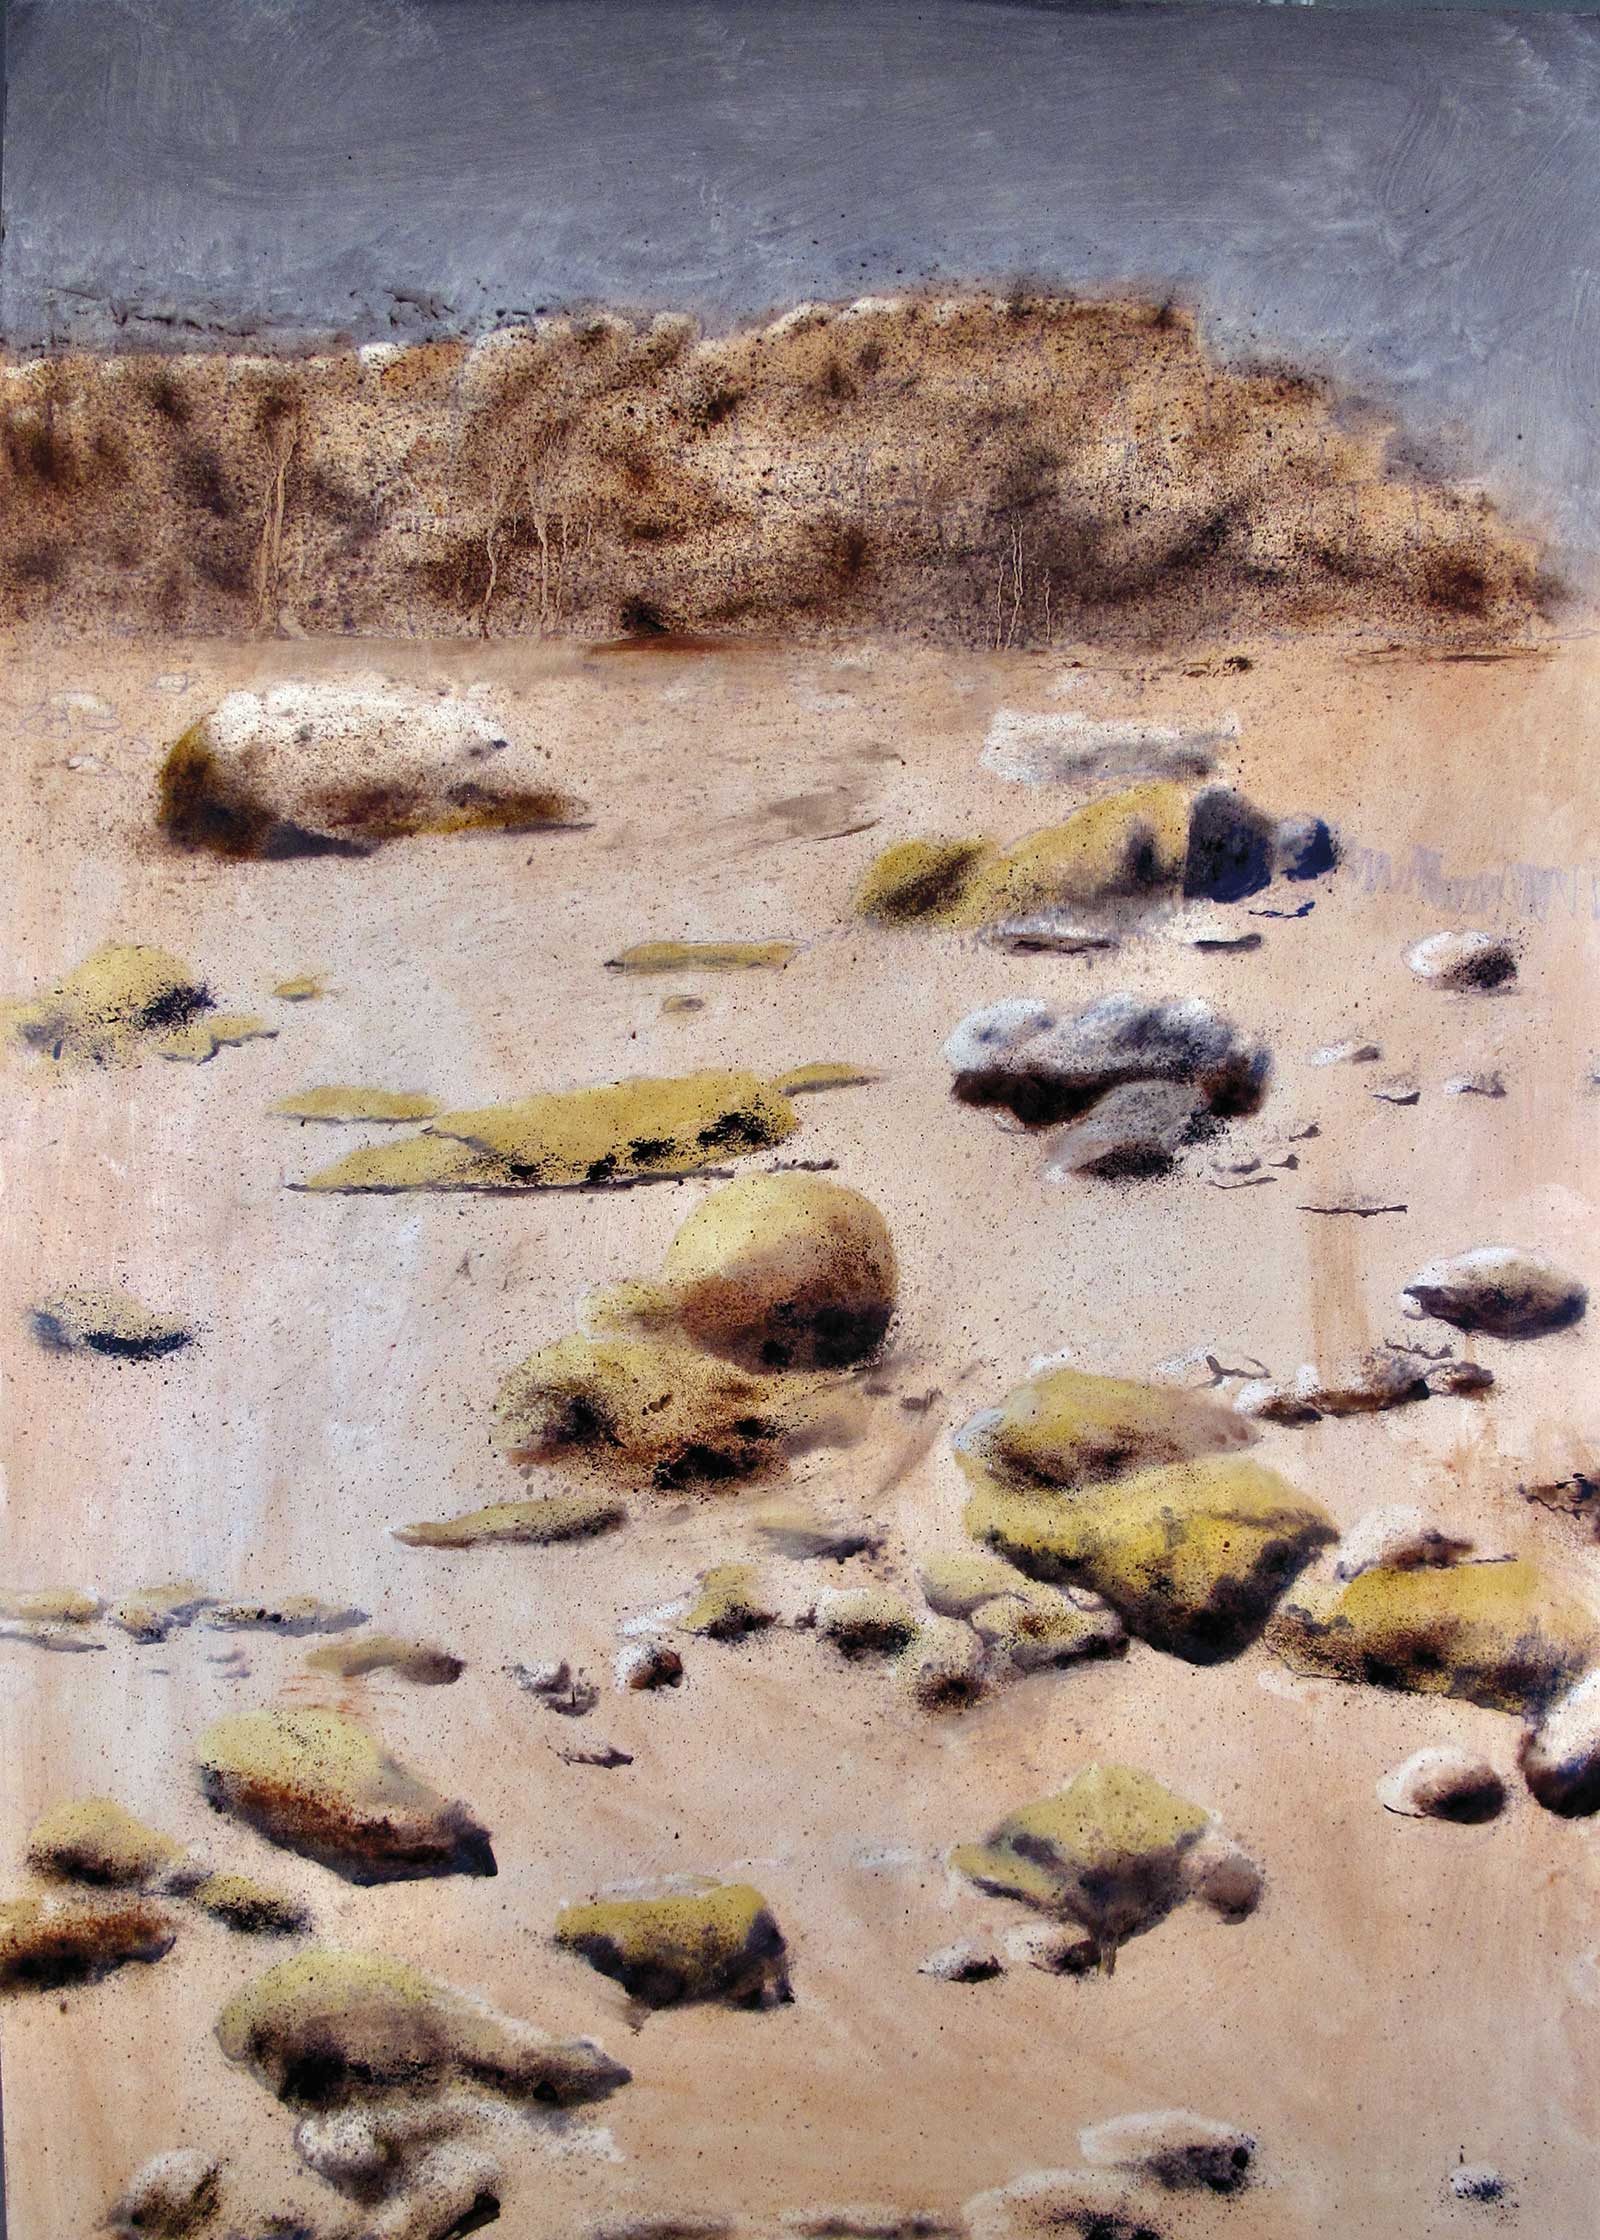
Atkins Reservoir, oil, 9 x 12" (22 x 30 cm)
Light travels through the newly applied layer and reflects off the base layers below, so that the viewer sees a mix of the different colors. Glazing can add depth and luminosity to paintings, make a painting more vibrant and tone down overly bold colors. Multiple layers of glaze may be applied to the same area, enhancing the desired effect.
Creating depth with glazing only works on a very smooth surface. Coarsely woven canvas breaks up the surface’s reflective capability. I prefer to paint on untempered masonite or MDF board because they are smooth and stable. When preparing a board for painting, I apply at least two layers of gesso. With canvas, I buy super smooth material primed with five layers of gesso.
Before starting a painting, I ask myself these questions: What is my focal point? What is the direction of the light? What mood do I want to convey?
My Three-Step Process
The first step includes sketching the overall outline of the painting, toning the canvas, and the initial block-in. I plan each painting working directly on the canvas and rarely do thumbnail sketches. I use a light water-based marker that is easy to cover with paint. My landscapes are a simplified version of scenes as they appear in nature, and I freely move, add and subtract objects to improve the composition. I avoid toning any portion of the canvas where I need the radiant white of the surface to radiate through layers of glazing.
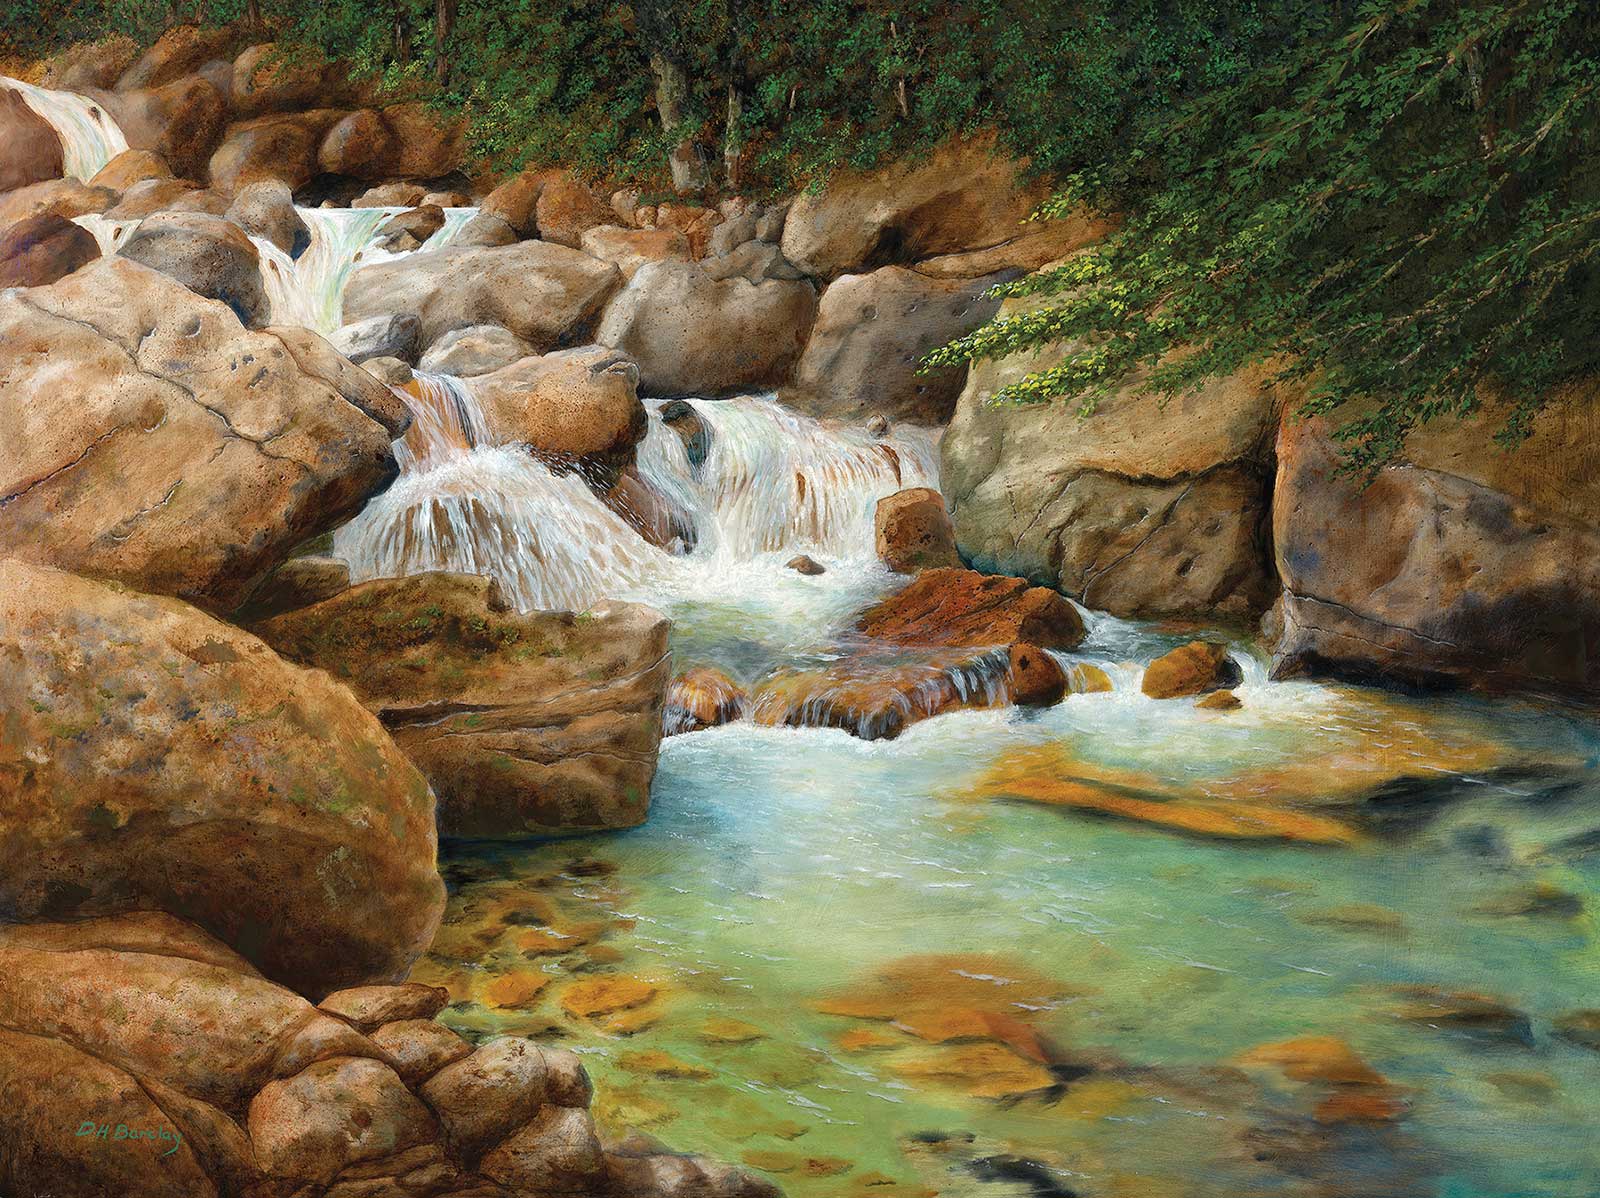
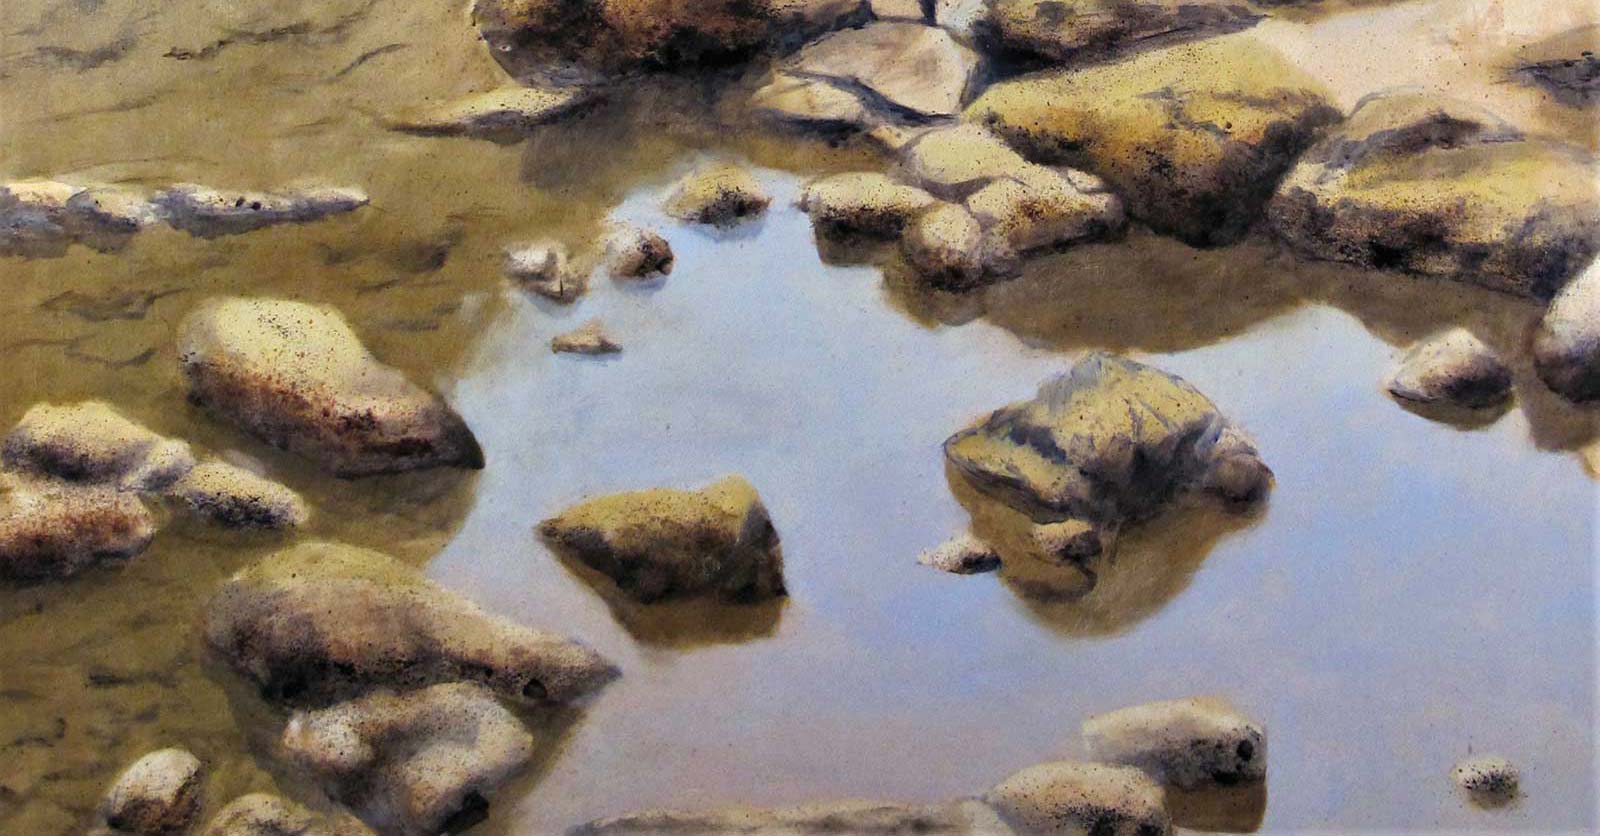
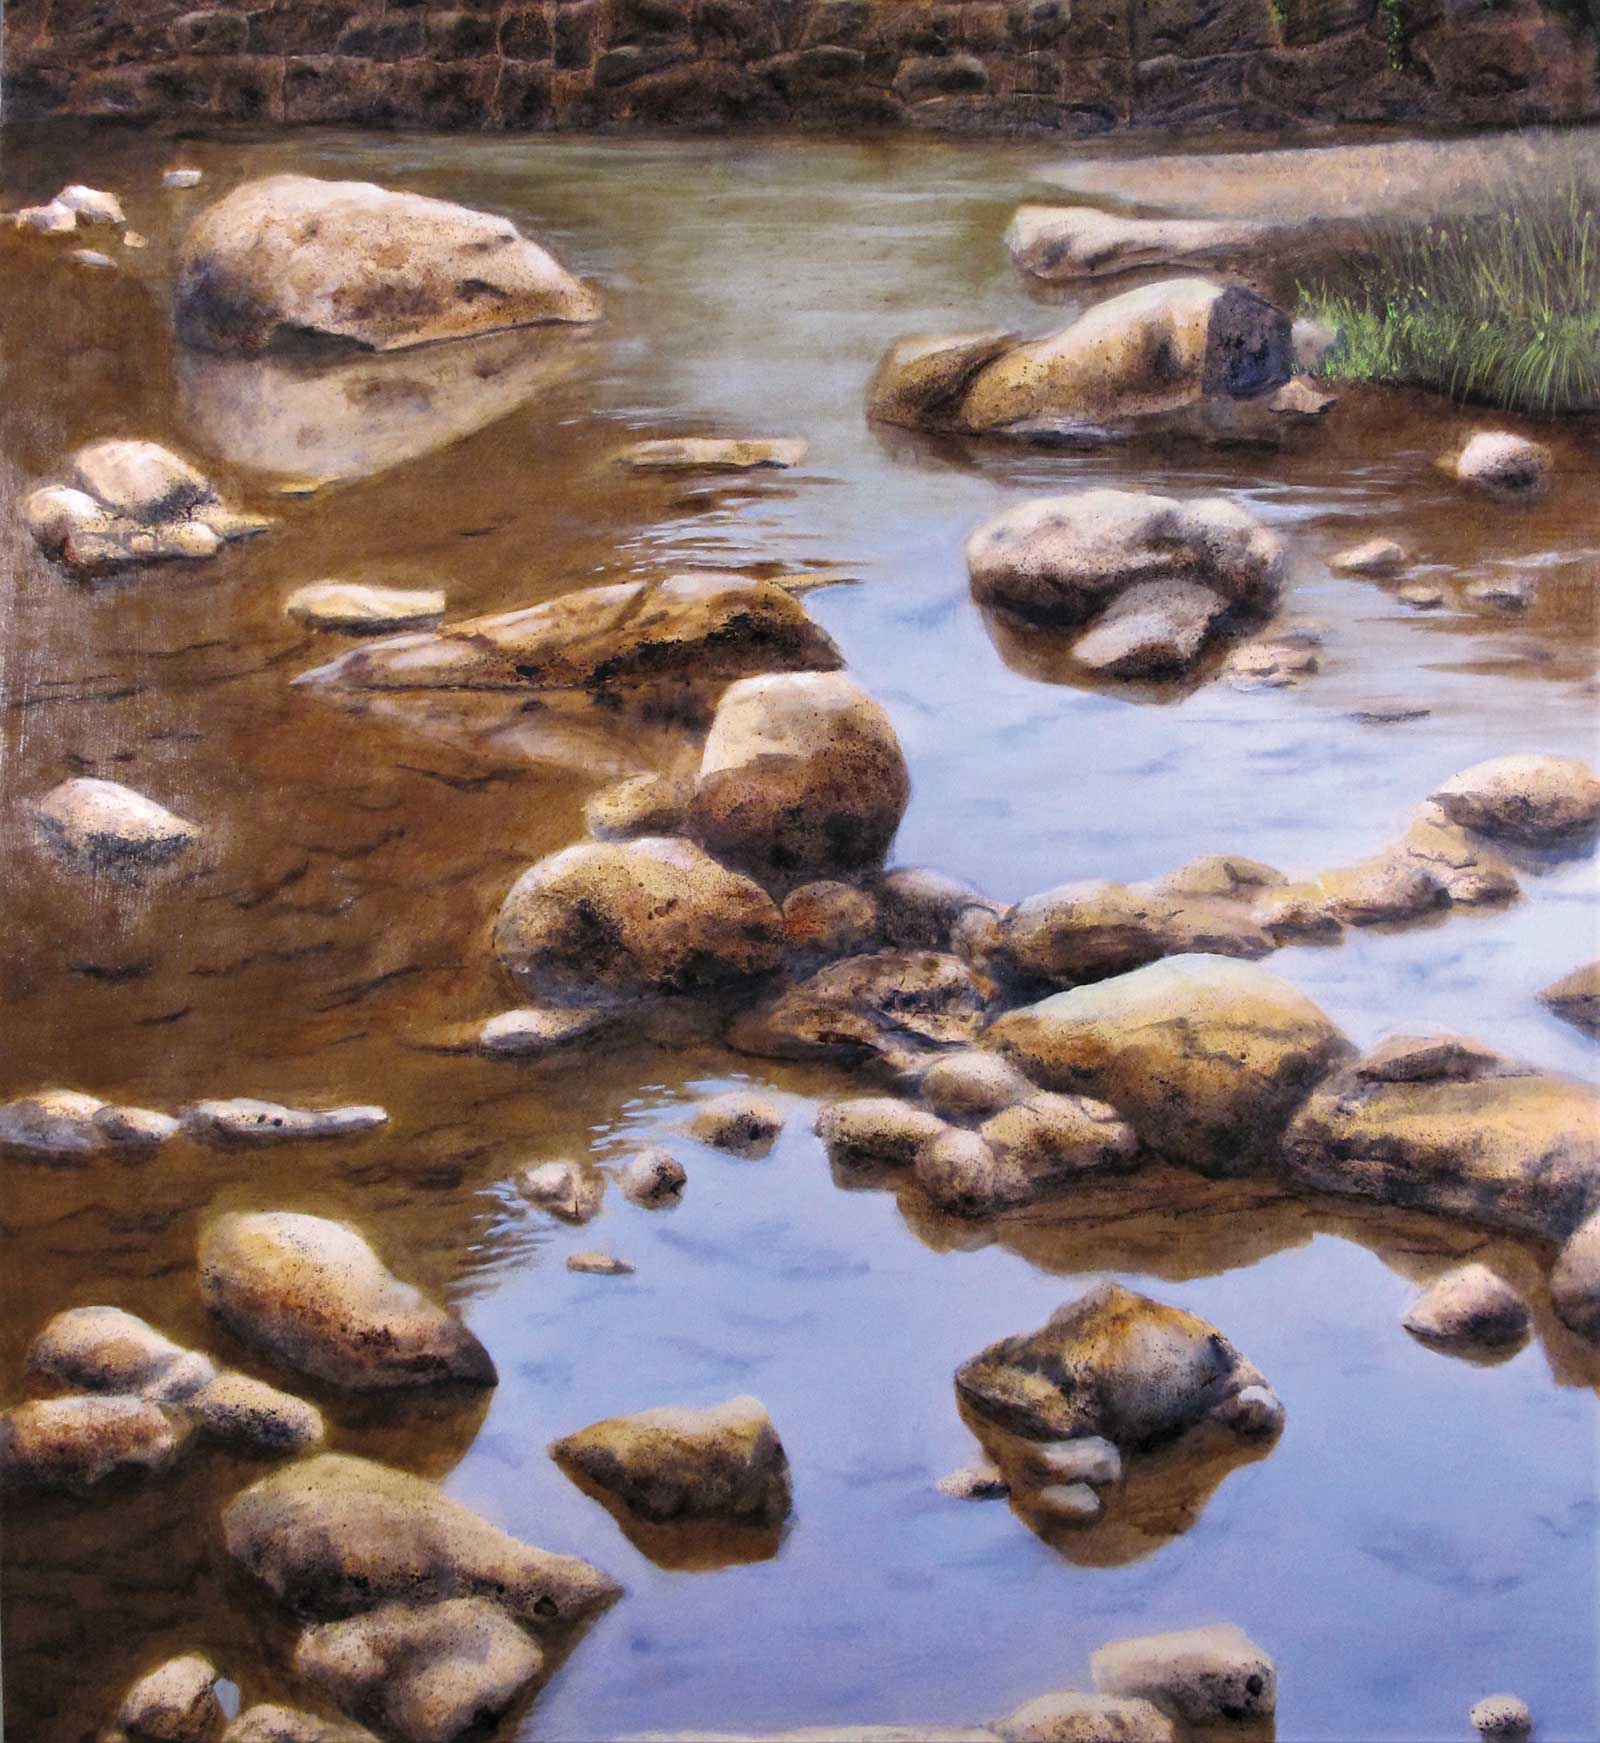
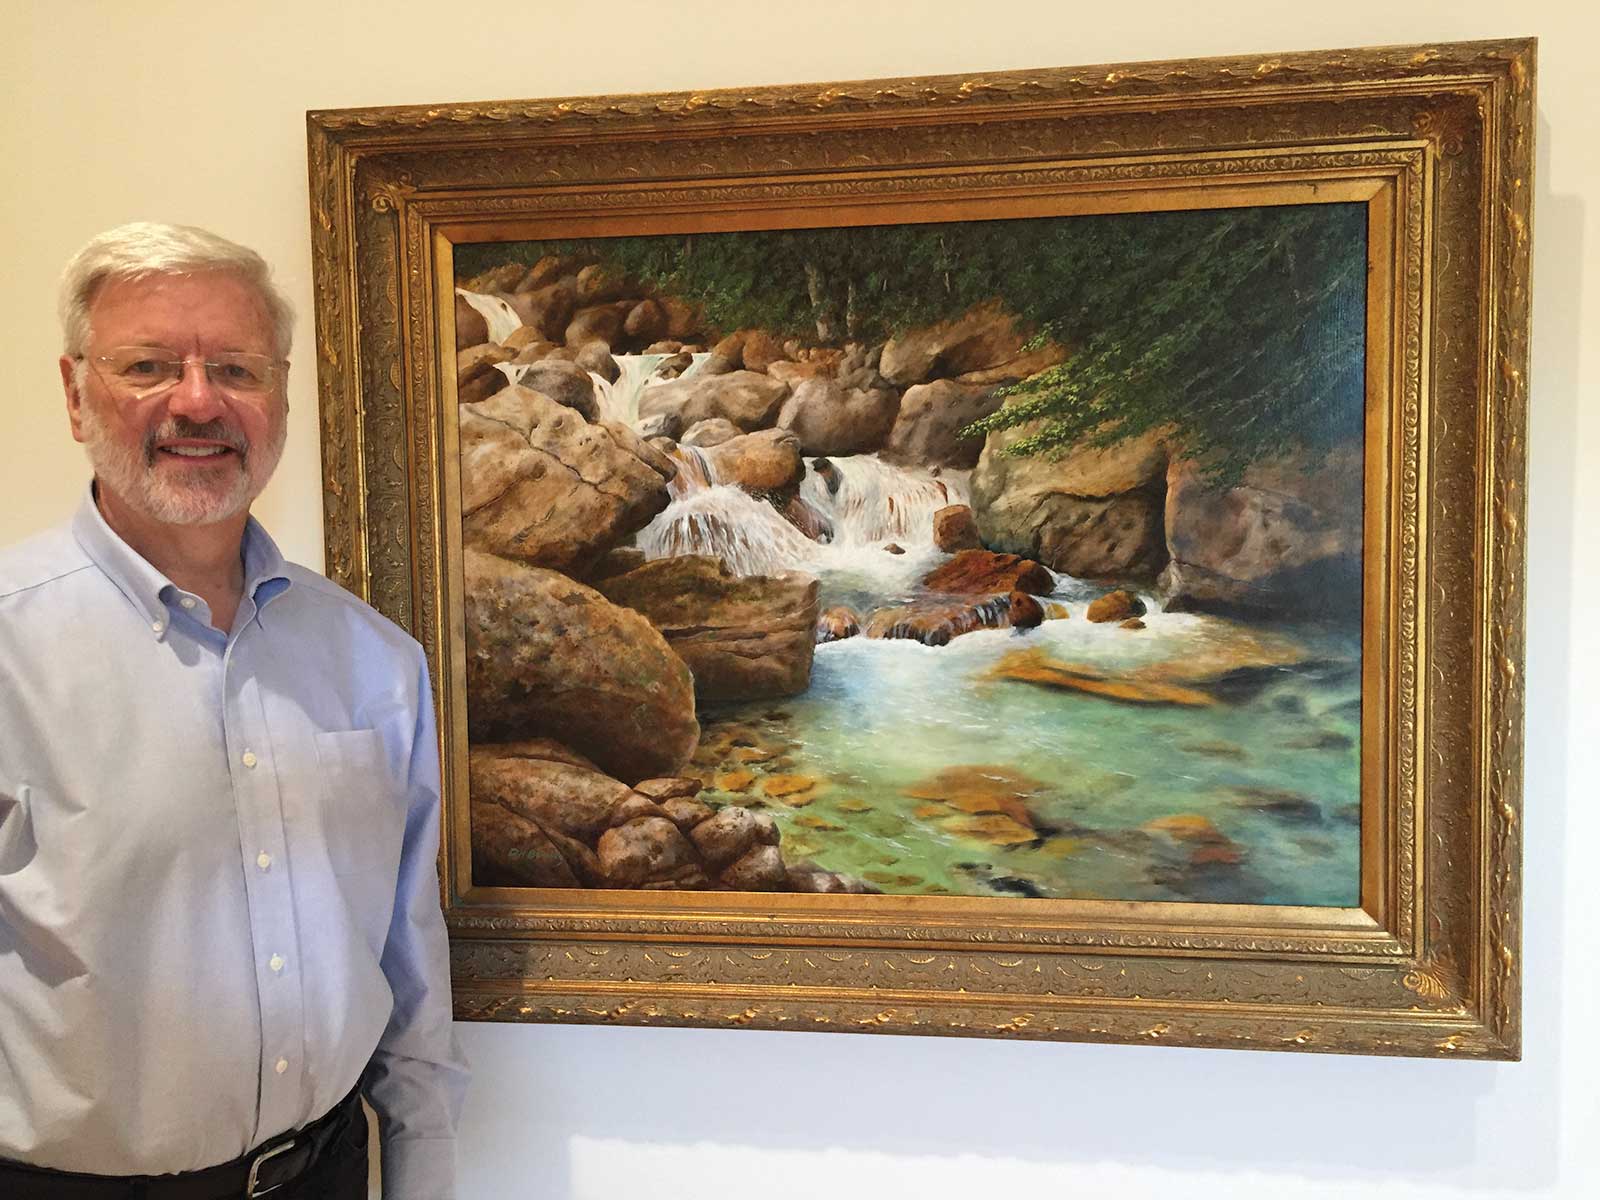
Mountain Stream, oil, 30 x 40" (76 x 101 cm)
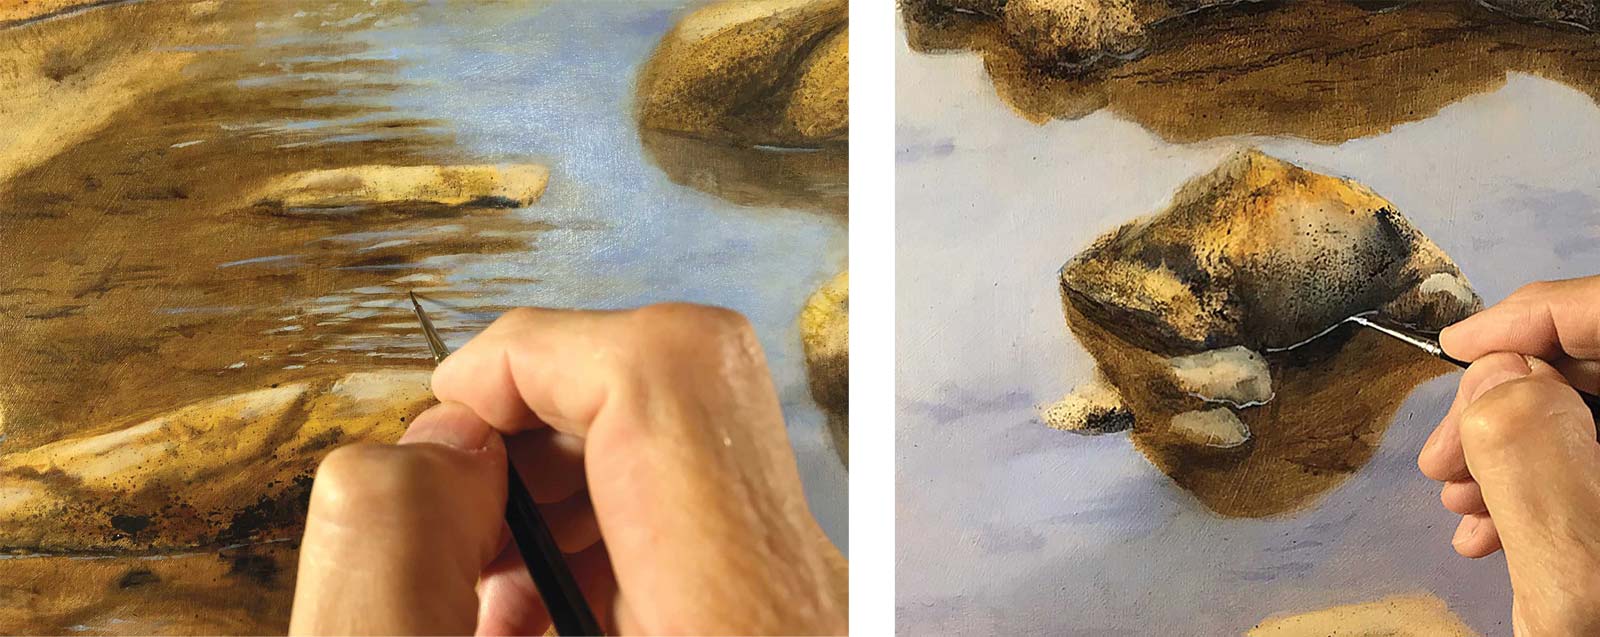
The second step is where the lion’s share of the painting takes shape. I work from light to dark, building up thin layers of paint and glazes. My paintings often have four to six layers of glazing (and sometimes more) to achieve the right value, color and luminosity. I vary the tools I use—brushes, homemade brushes, palette knives and scratch tools—to achieve “painterly” marks that appear random and realistic. I work intensively in two to three-hour blocks and prefer to work on a large scale, typically 2-by-3-feet (60 x 91 cm) or larger, because I can add more rich detail. My best results are achieved if I periodically set a painting aside for a few days during the process. Often, I take a break, step back and critique my work in order to ensure that the perspectives are correct and that I am maintaining the overall strength of the composition.
The third step is the final touch-ups and highlights. I save the brightest highlights until the very end because it is clearer where they are needed. I consider the painting finished when I realize that my tweaks no longer make a significant difference.
The revival of the ancient technique of glazing puts another valuable tool in every artist’s toolbox. It gives artists more control over color, value decisions and the vibrancy of their paintings.
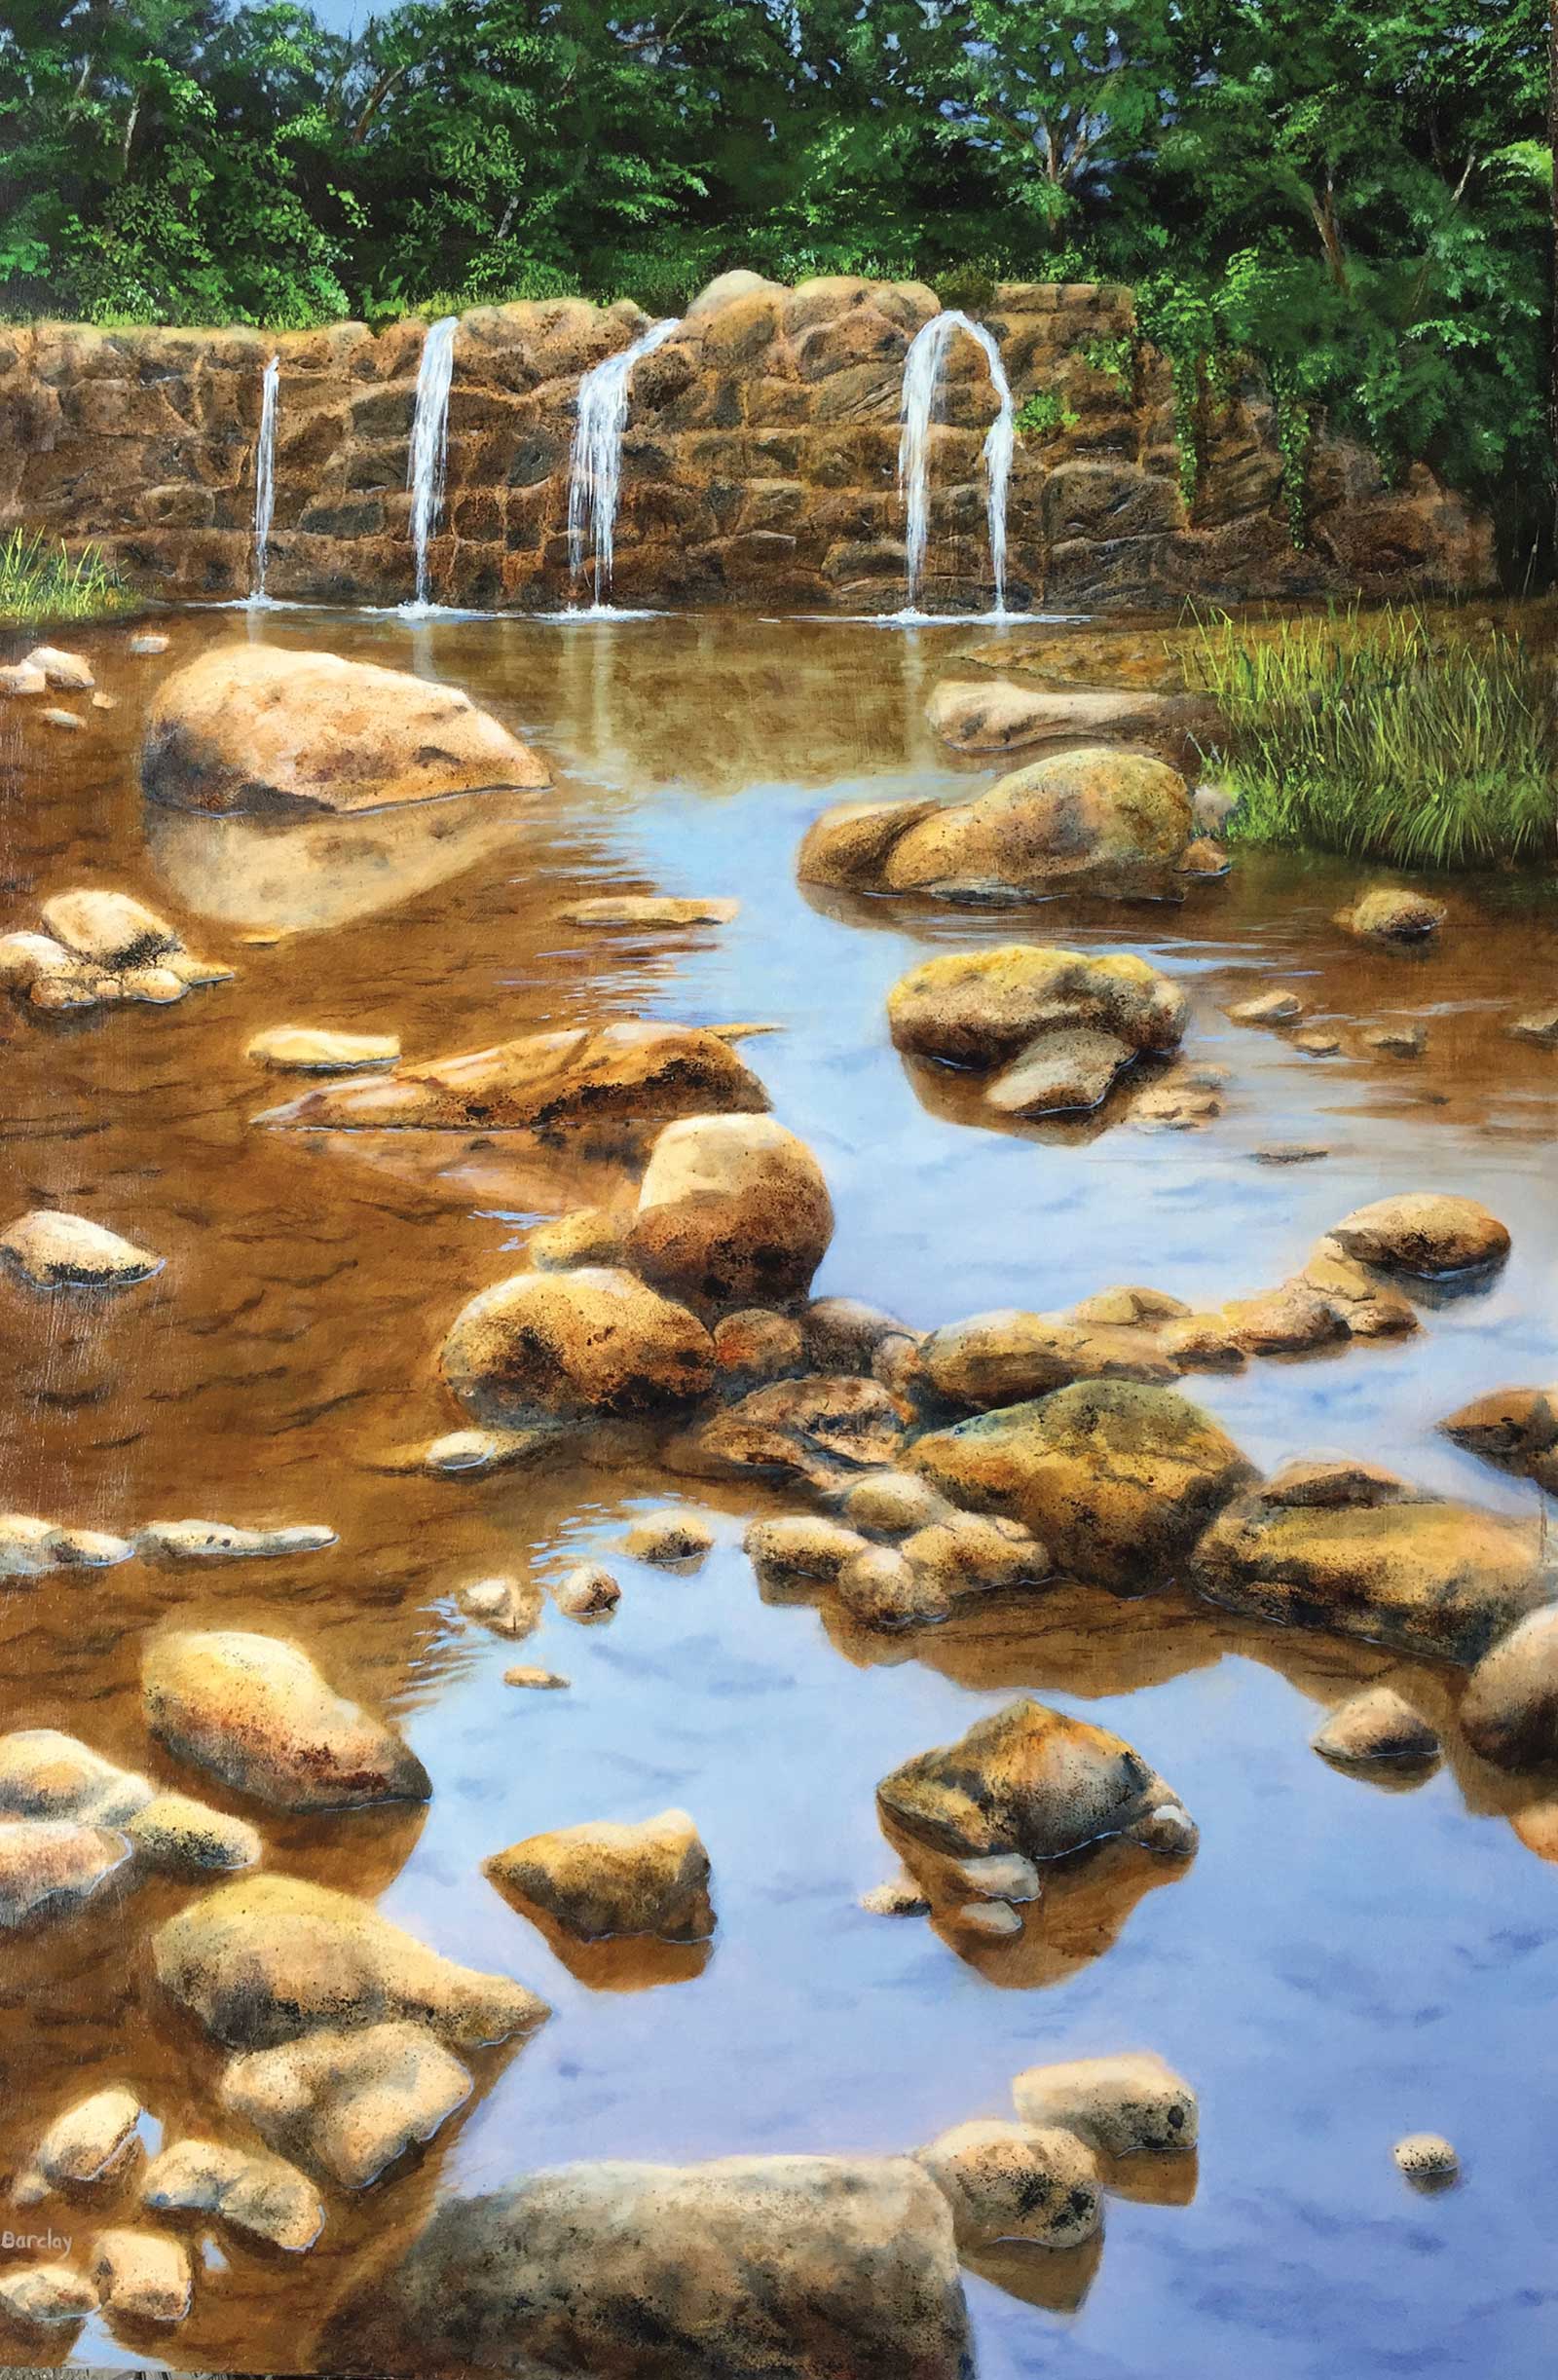
My Art in the Making Brassworks Waterfall
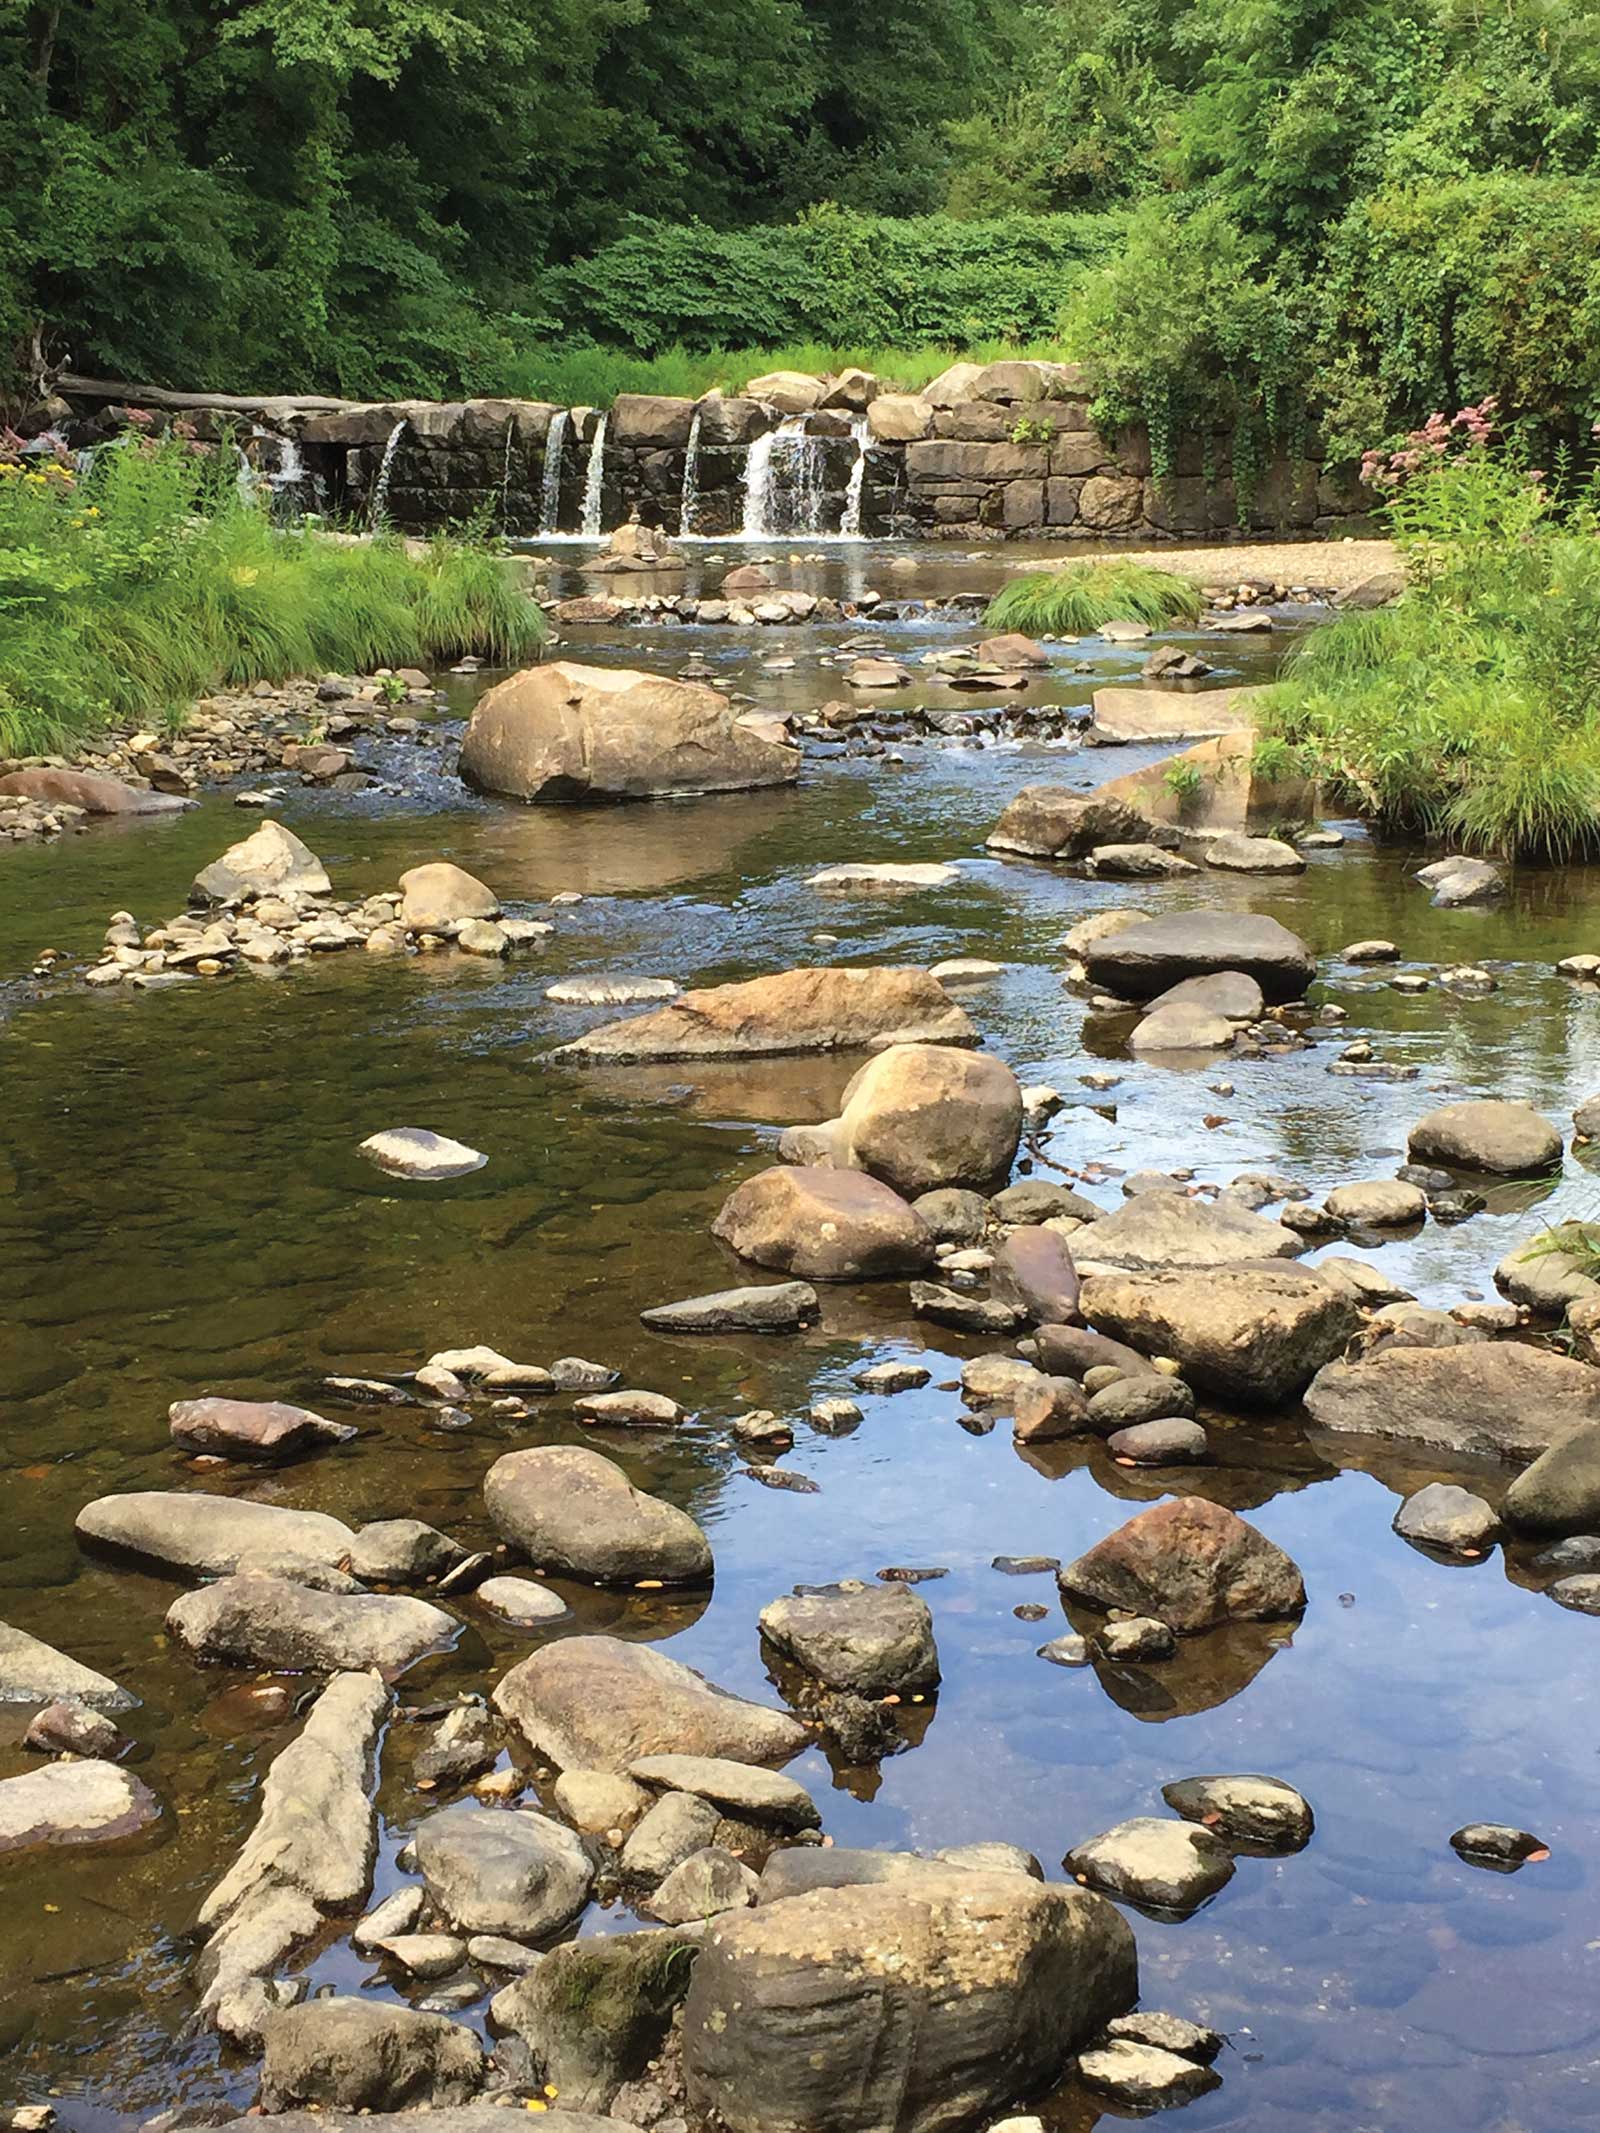
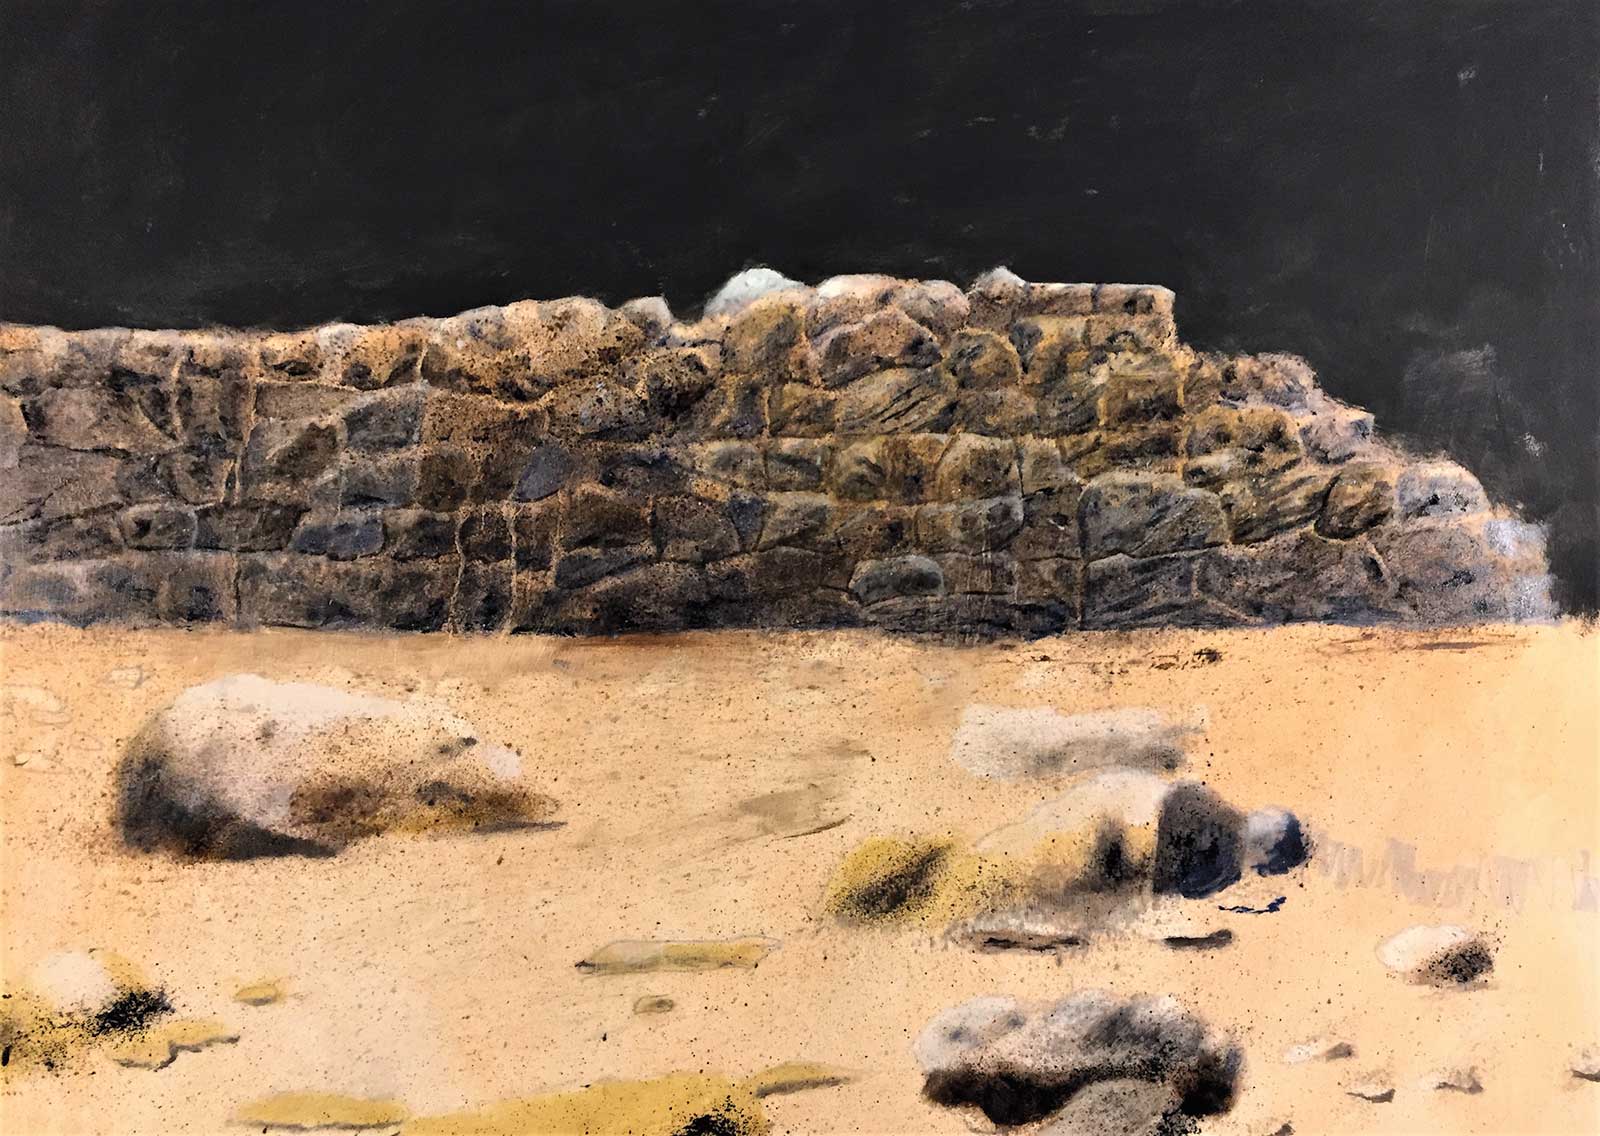
Reference Photo
In this demonstration, I will take you through the glazing and layering techniques used to create three-dimensional depth both above and below the water surface, in the rocks of the dam wall and in the tree foliage.
While some paint can be applied wet-on-wet, most glazing layers can only be built up when the previous layer is dry. To accelerate the drying process, I use Winsor & Newton Liquin Original as a medium to thin the paint and to ensure that it is dry by the next day. Transparent water is best achieved through the application of multiple layers. The first layer of paint usually has too much contrast and needs subsequent layers of glazing to tone it down and to add more texture and detail. In this painting, the rocks above and below the water surface were created using three to six layers of paint and glaze. The vibrant sky color toward the bottom of the painting is created by allowing the “hidden color” of the orange underpainting to peek through the blue glaze.
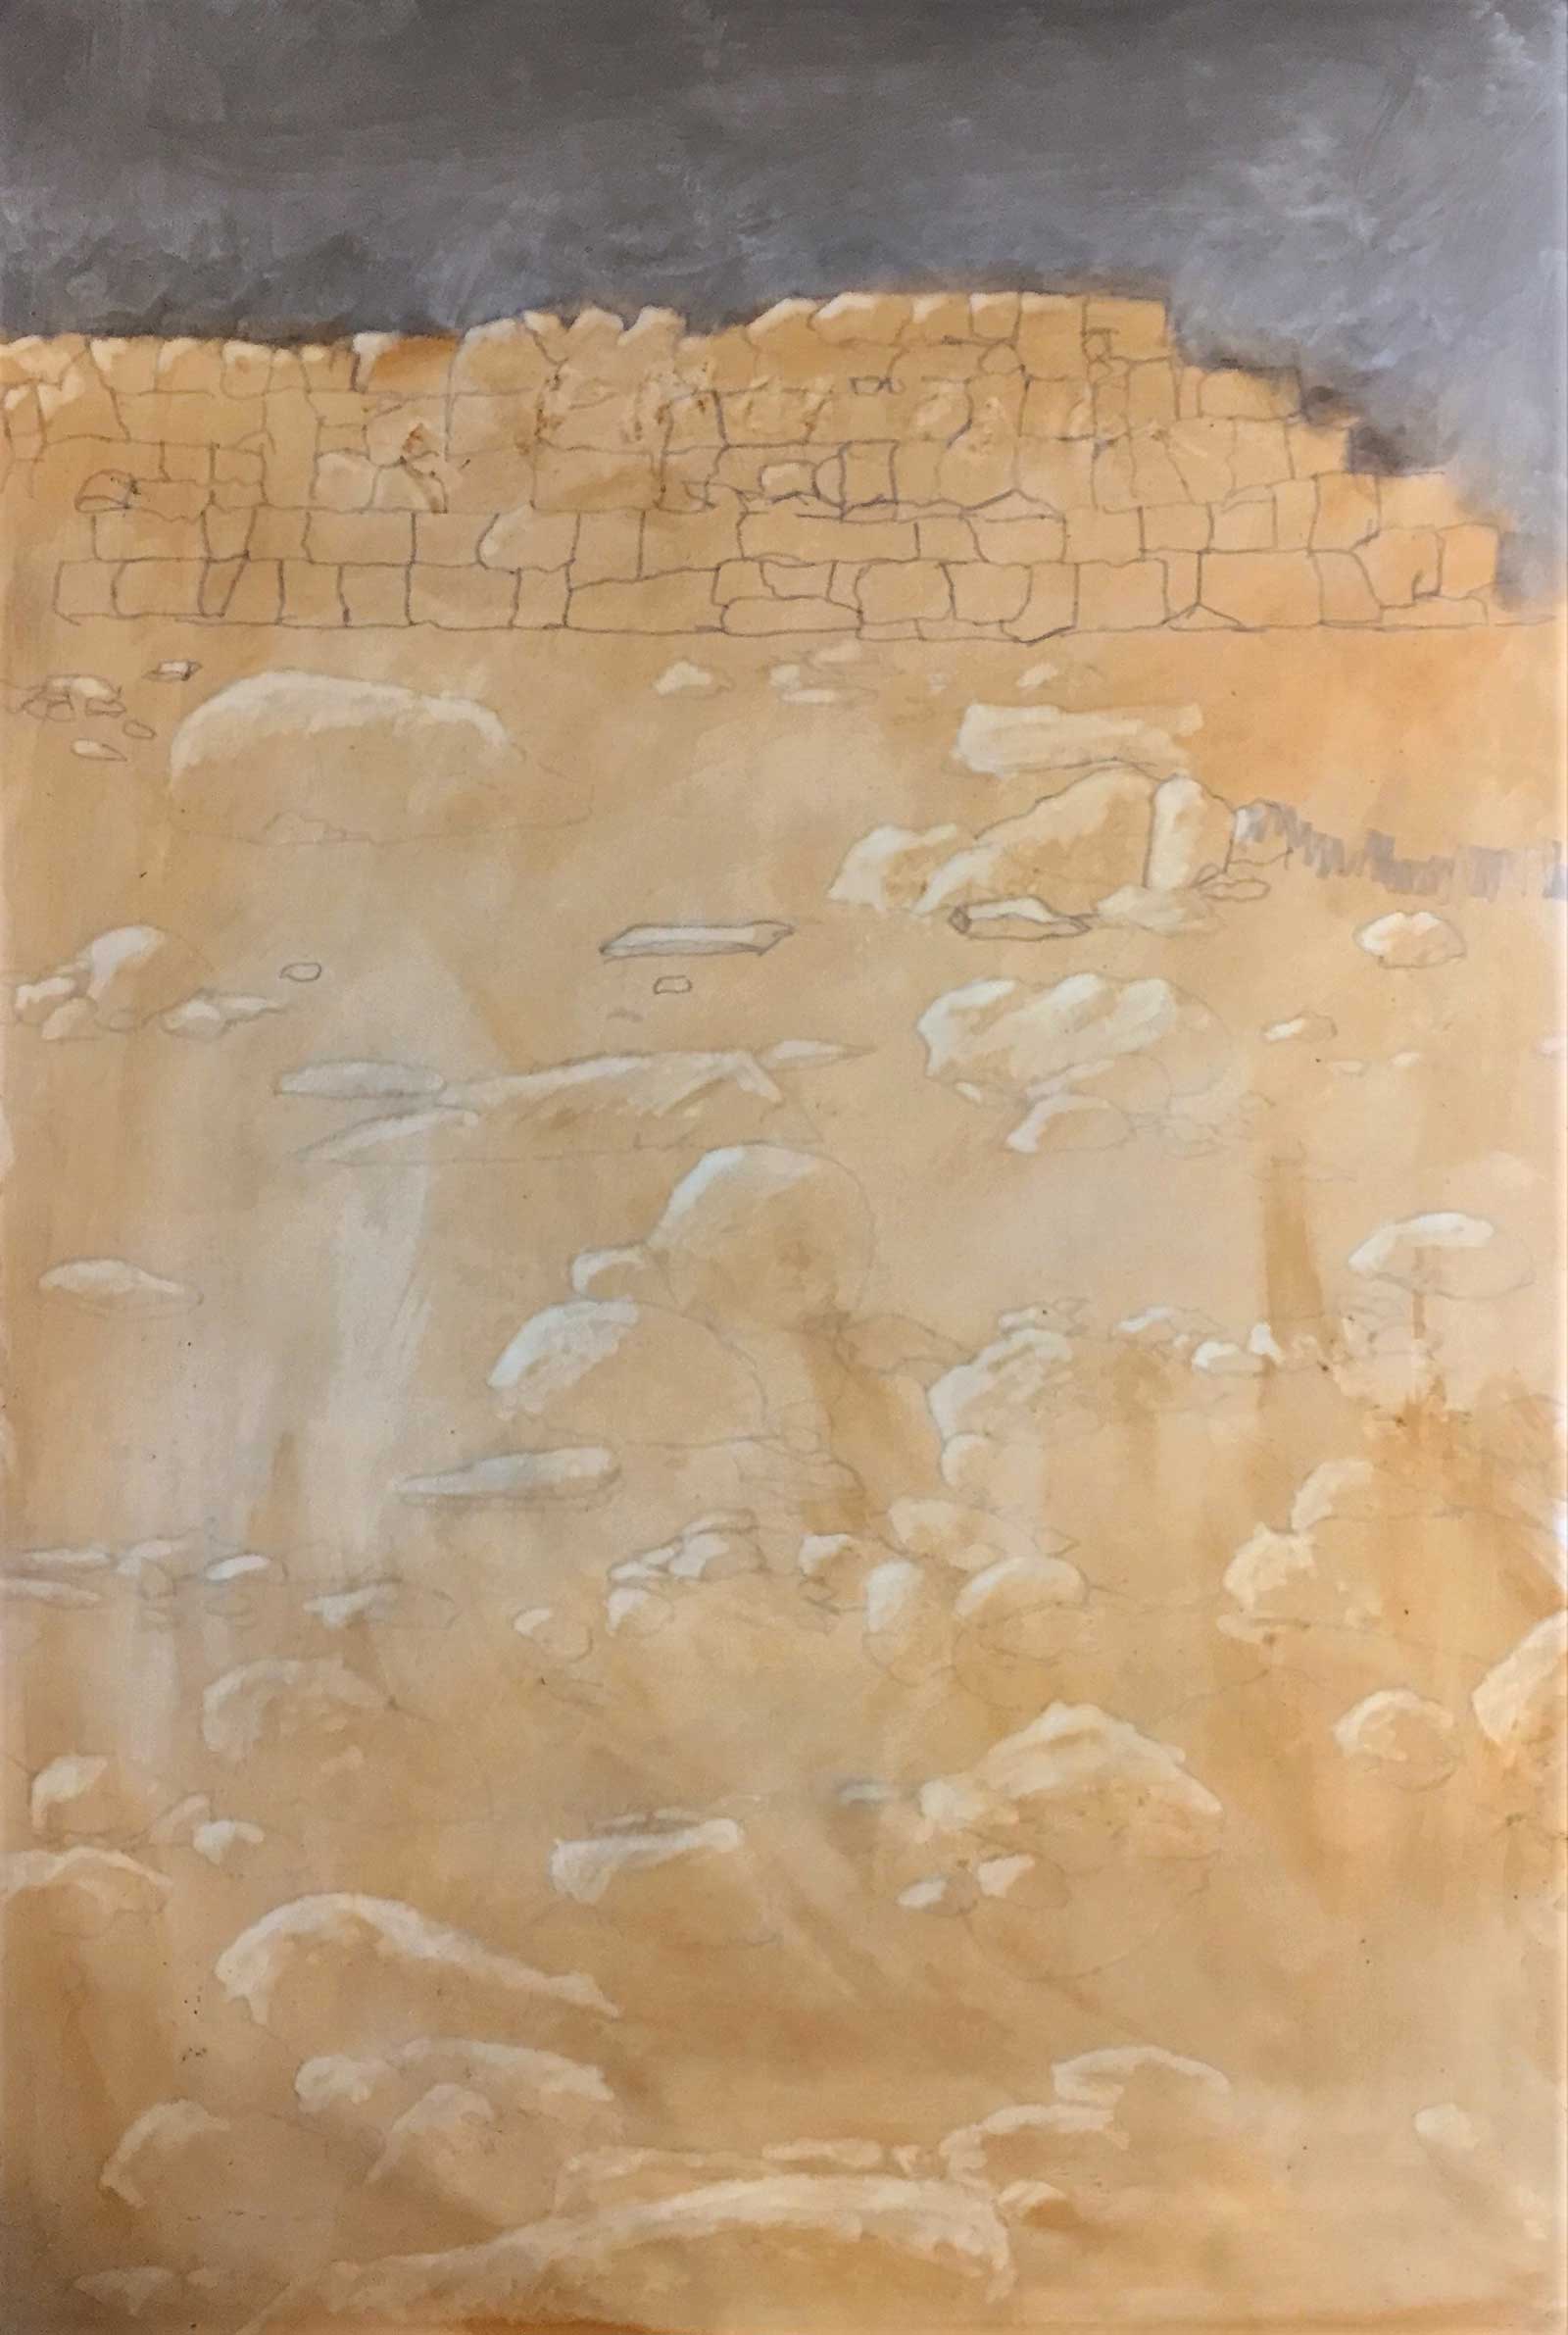 Stage 1
Stage 1 Block-in
After making a light sketch of the major shapes, I dilute burnt sienna with Gamsol and cover the surface, then wipe most of it off with a paper towel or rag. While still damp, I wipe out the highlights with a Q-tip dipped in Gamsol. In this demonstration, I purposely used burnt sienna to tone the canvas because its orange color is the complement of the rich blue of the sky reflected on the surface. Later, when the blue color is applied as a glaze, the underpainting that shows through will embolden the blue.
WHAT THE ARTIST USED
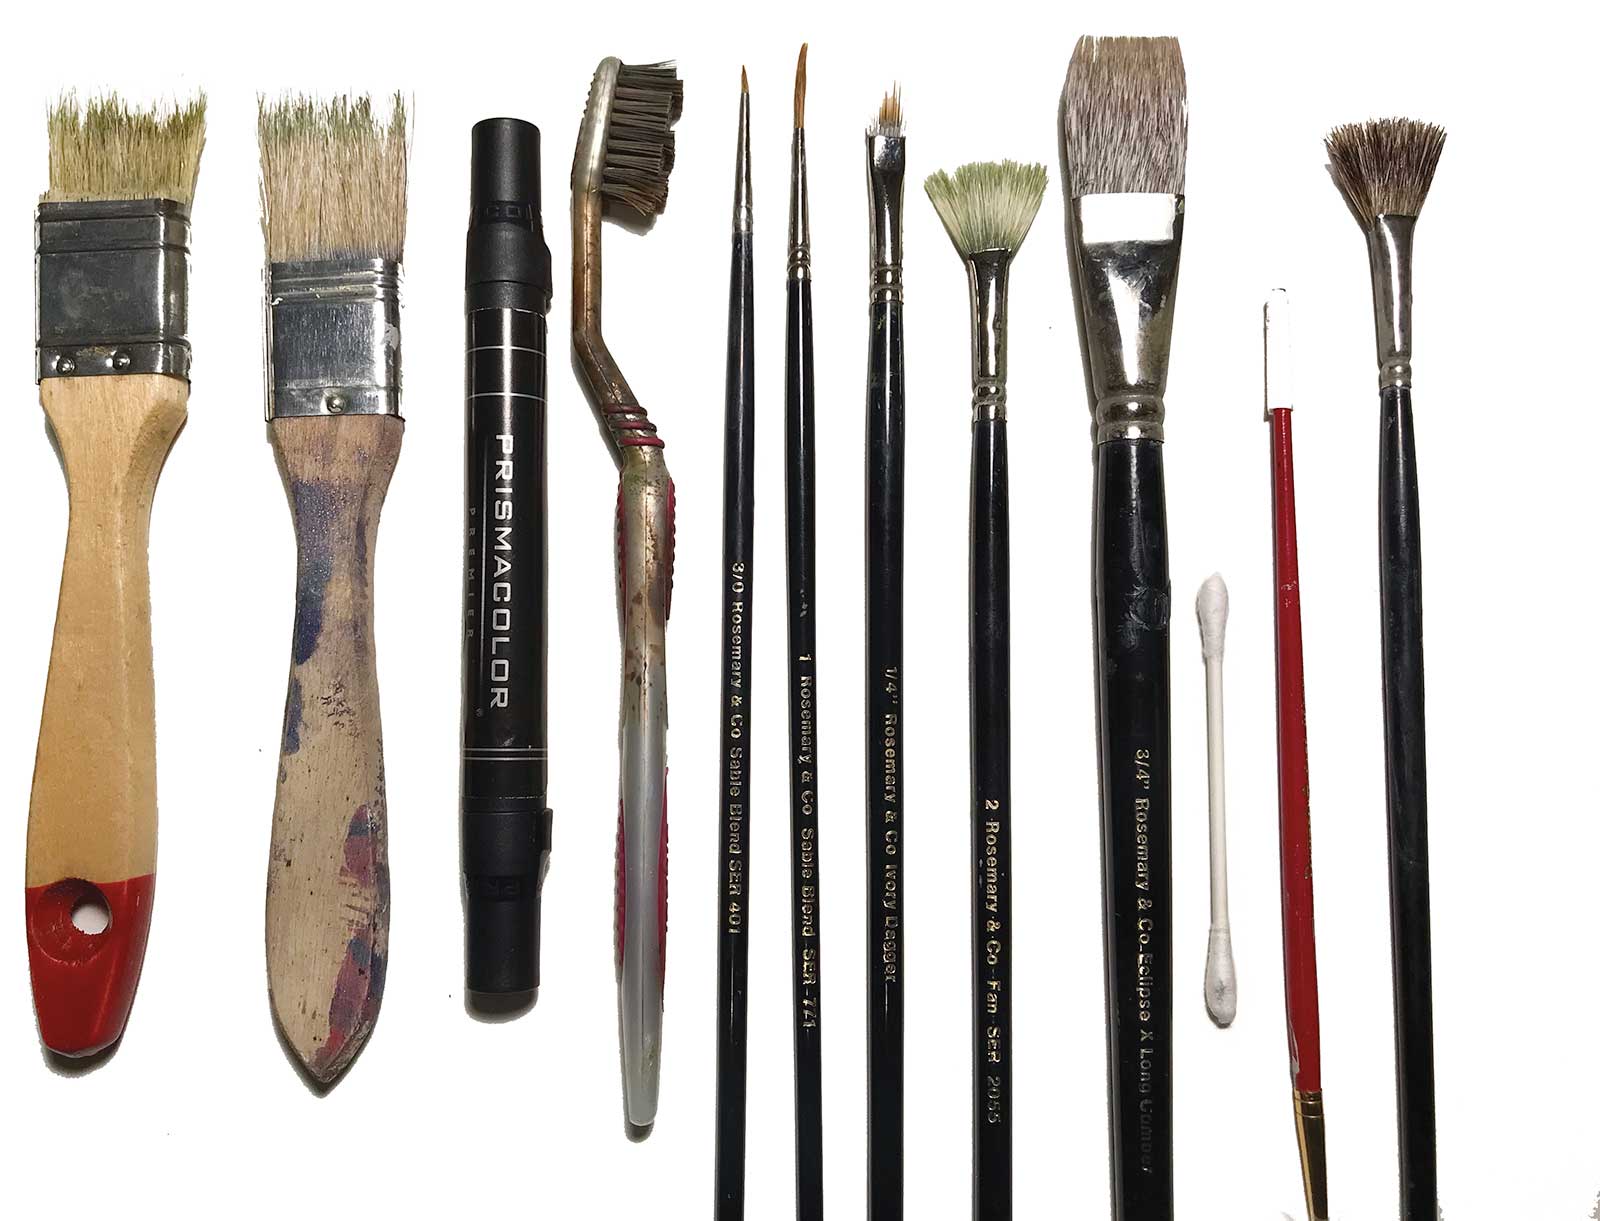
Oils
Burnt sienna, Burnt umber, Cadmium yellow light, Cerulean blue, Kings blue light, Magenta, Olive green, Sap green, Titanium white, Yellow ochre light, Ultramarine blue
Rosemary & Co. Brushes
#3/0 pointed round series 401, #1 rigger series 771, ¼” ivory dagger, synthetic, #2 fan series 2055 Chungking bristle (stiff), ¾” extra long comber , #2 badger blending brush series 105, Chip brush, Chip brush, trimmed, Cat-whisker brush (artist made)
Additional Materials
Winsor & Newton Liquin Original, Gamblin Gamsol, Primed board or canvas, 20% cool gray Prismacolor marker for initial sketch (easily covered with paint), Q-tips, Palette knife (optional)
 Stage 2
Stage 2 Rock Texture
After painting the basic rock outlines and letting it dry, I start to create the rock texture by mixing ultramarine blue and burnt umber about 50/50 and diluting it with Gamsol. Using an old toothbrush, I spatter the rocks with this dark blue-brown mixture and wipe off most spatters that fall beyond the rocks. A paper template helps direct the paint. The spatter is allowed to dry before applying the next layer.
At this stage, the spatter is way too harsh. But before toning it down with a glaze, I add more irregular texture marks using a brush and palette knife. These become the indentations and cracks in the rocks. I then add a translucent brown glaze, with more ultramarine blue on the shadow side of the rocks.
 Stage 3
 Stage 3
Stage 3 Painting the Wall
I created the dam wall in four steps. I again paint the basic outline and a light base color, then spatter the underpainting. Second, I outline individual blocks, adding indentations, cracks, and some highlights. Next, I begin to add a thin layer of brown glaze to tone down the spatter marks and ultramarine blue to simulate the gray-blue cast of granite. Fourth, highlights are added to the top edges of rocks and the lower edge of cracks and indentations. Concave areas are darkened. The final highlight is a nearly white accent line where the light bounces off the rock edge. I take advantage of paint runs and light and dark areas when shaping the rocks.
 Stage 4
Stage 4 Water Surface and Stream Bottom
Using paint followed by several layers of glaze, I create the underwater typography of rocks on the bottom of the steam. At the same time, I lay in the beginning of the sky-blue reflection on the surface with a thin blue layer of glaze. The blue color is more intense and violet lower in the painting, but is kept thin so that a hint of the orange underpainting shows through. The ¾-inch extra long comber brush is ideal for applying these thin layers of glaze.
 Stage 5
Stage 5 Sky Reflection and Rock Detail
In the final layers, I use more glaze to darken the shadows of the rocks in the mid-section and create dark violet shadows toward the bottom of the painting with a mixture of ultramarine blue and magenta where the sky reflection is the most vivid.
 Stage 6
Stage 6 Tree Foliage
The tree foliage is created in five layers. But unlike other sections where layers of translucent glaze are used to create a special effect, these highly realistic leaf clusters are created by applying successive layers of opaque paint in progressively lighter colors. The first layer is a very dark, almost black, cool green. This is allowed to dry completely. Next, the tree trunks are roughed in, followed by randomly placed leaf clusters using a dark combination of olive green and sap green. I alternate between using the corner of a stiff fan brush and a #3/0 pointed round to give a more natural and random look. This is followed by two more layers of leaf clusters, each using an increasingly lighter mixture of sap green and cadmium yellow light. Finally, it is capped off with a few near-white highlights as shown in the next stage.
 Stage 7
Stage 7 Sky Holes in Tree Foliage
Next, sky holes are added among the tree foliage, and finally, silhouetted branches are added in the sky holes with a #3/0 pointed round. I am careful to place the sky holes randomly and vary their shapes in the tree canopy.
 Stage 8
Stage 8 Water Surface Transitions
The transition line between the transparent water on the left and the sky reflection on the right is critical for making the water look real. I do this by adding crossover ripples between the two areas, with the sky reflection lapping over into the transparent area and vice versa. In addition, a light-colored line should be added to highlight the concave meniscus that occurs where the edge of the water touches the rocks.
 Stage 9
Stage 9 Waterfall
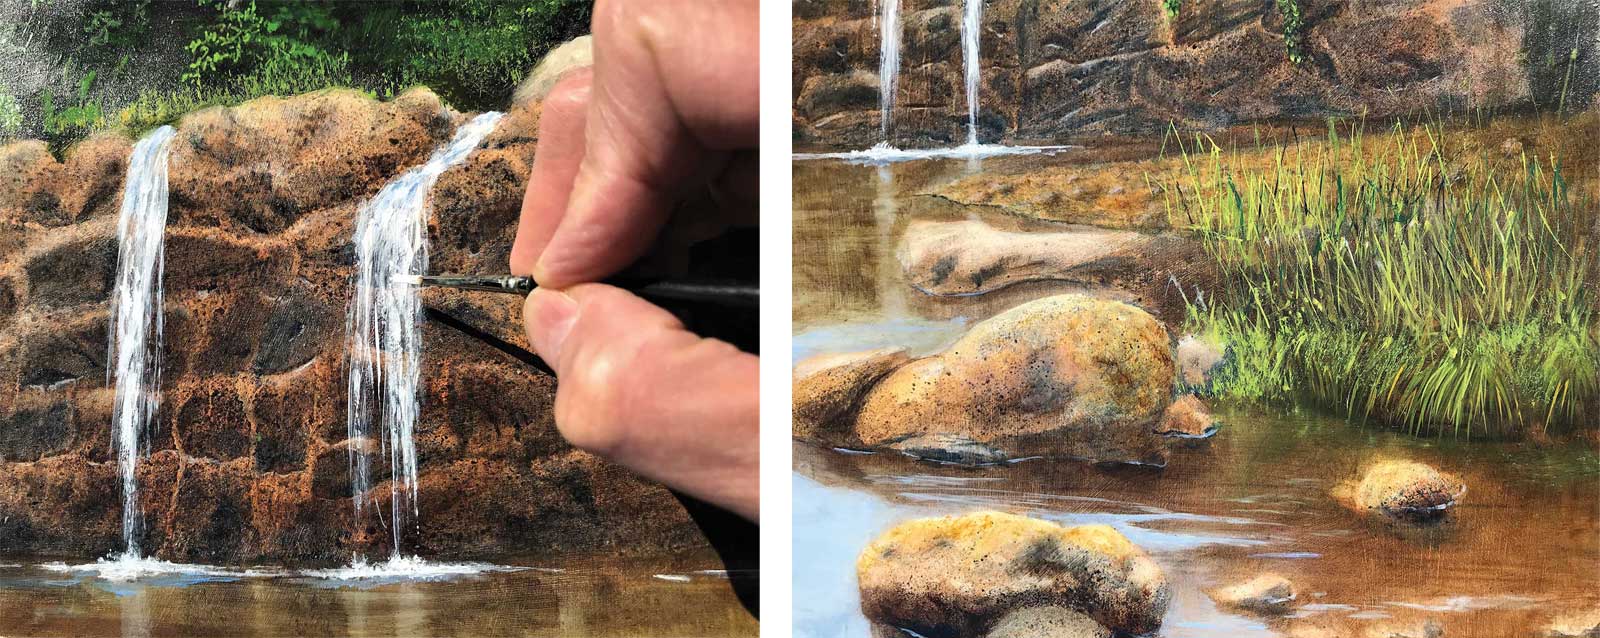
My final step is the addition of falling water and the waterfall’s subtle reflection in the still water, with just a touch of blue sky reflection where the waterfall curves downward. Grasses are added along the top of the dam and on the bank of the stream. The short grasses are made with a chip brush with most of its bristles cut out, leaving 20 or so strands. These are dipped in paint and applied by laying the brush against the canvas, rather than applied with a stroke. The tall grass stems are created using a homemade brush made from a single cat whisker (dropped naturally).
 Stage 10
Stage 10 Finished Artwork
Brassworks Waterfall, oil on panel, 24 x 36" (60 x 91 cm)
About the Artist
 David Barclay
David Barclay’s artistic style is realism. His two principal focuses are landscapes, in which water is a major visual element, and classic vehicles. Barclay began painting in 2003, and his work has been represented by galleries in California, Connecticut and Vermont. In 2018 and 2019, he was an artist-in-residence at Chateau Orquevaux in France. Barclay studied for a decade under master art restorer and artist Vitek Kruta. Barclay and his wife Lynn divide their time between Massachusetts and France.
Contact at
davidbarclay100@hotmail.com
www.davidbarclayart.com