


A change of painting support can often inspire fresh new ways of painting in watercolor (or other mediums). I decided to use a rigid plywood panel, rather than paper or glass, for a large mixed media work. A rigid panel means there is no size restriction, glass is not required, and the work can be left unframed or framed with a simple box molding. This article outlines the process of constructing such a panel.
Pellestrina, mixed media on rigid board
 Step 1
Step 1
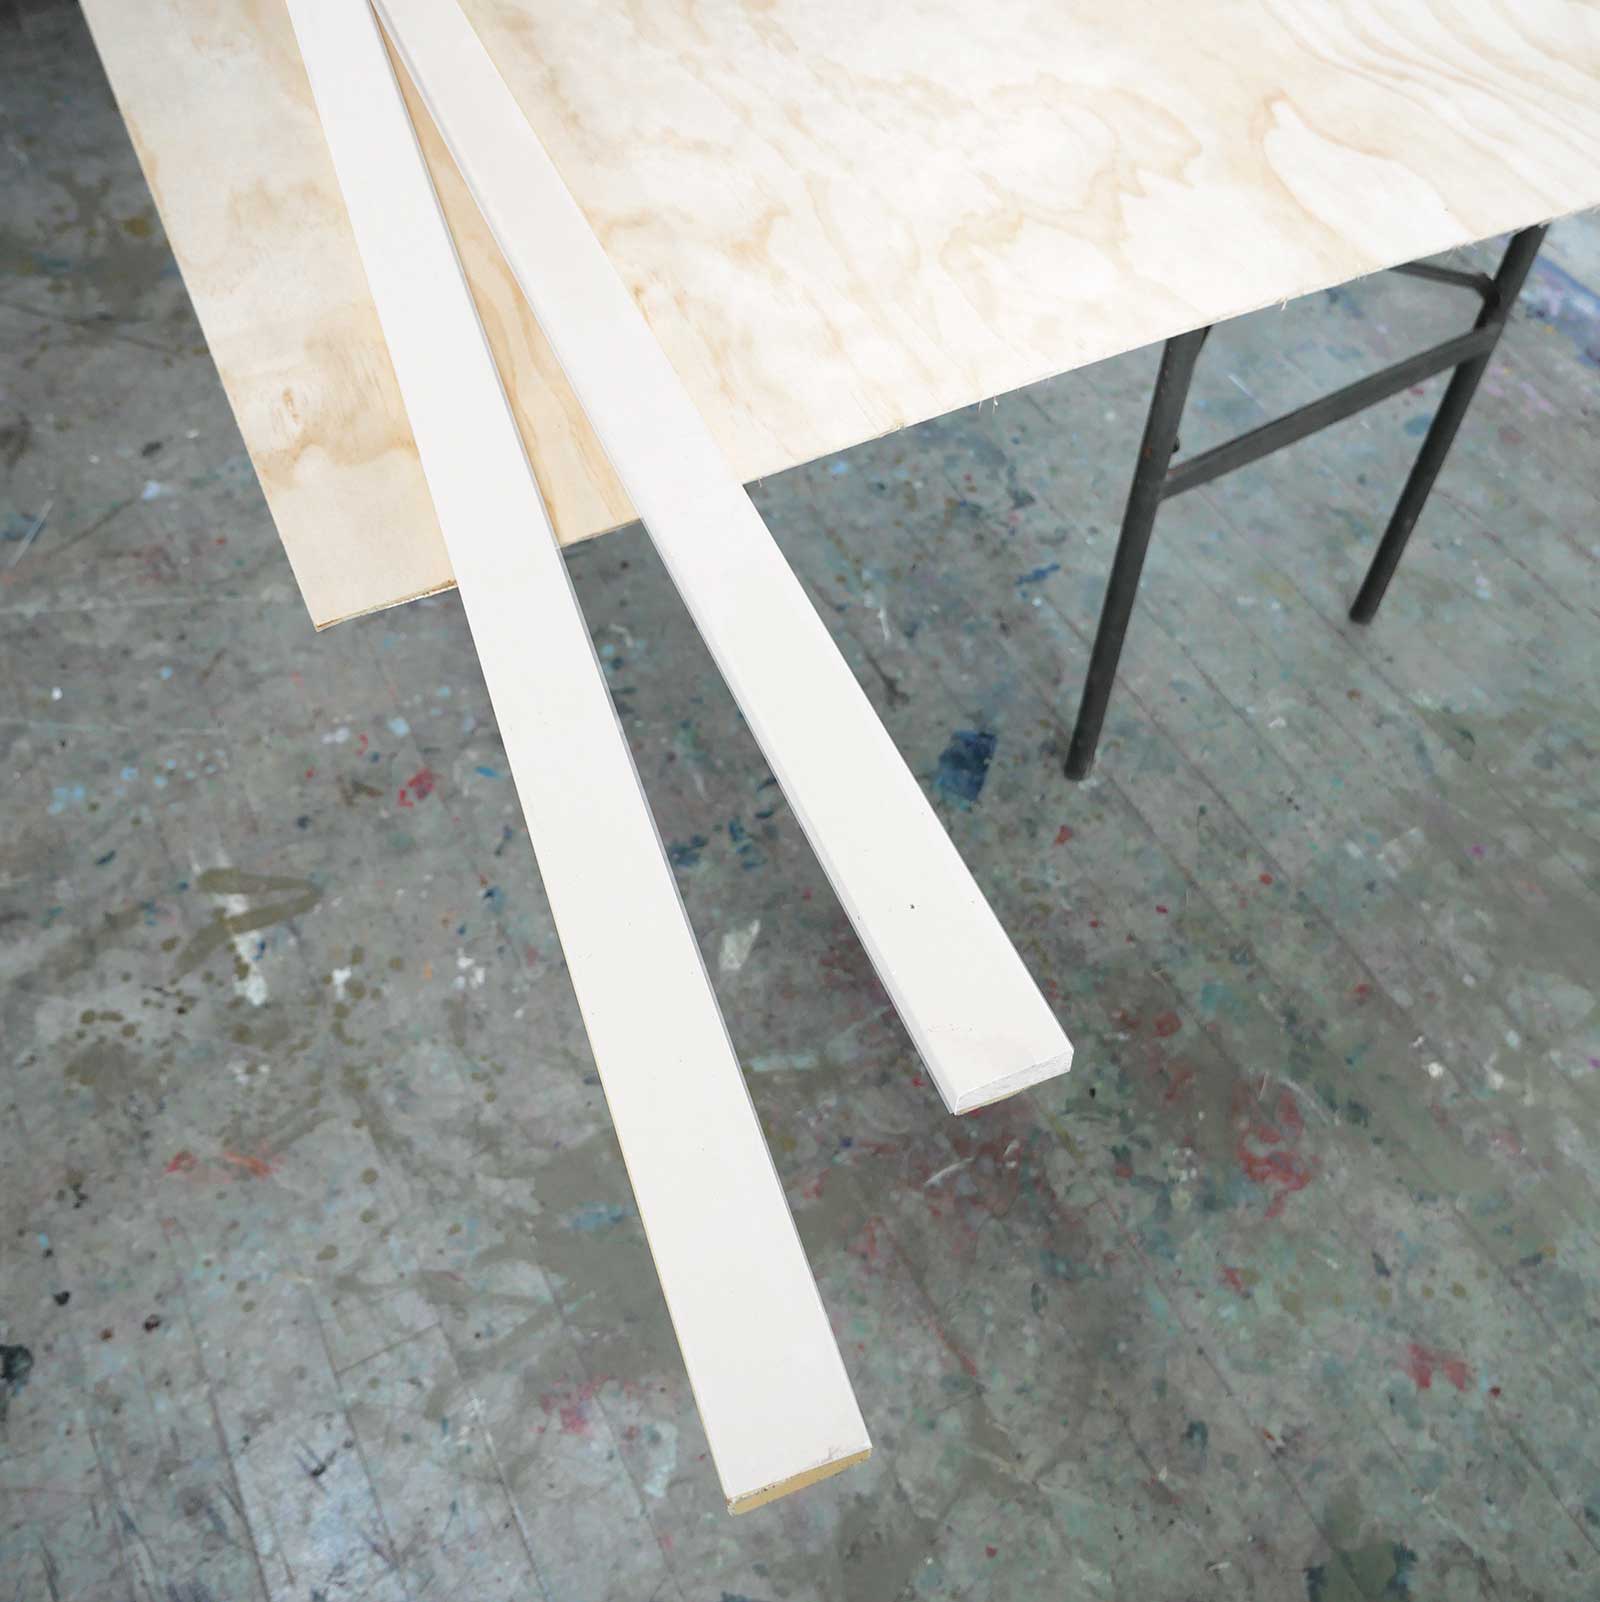
The first step is to purchase materials. I chose a thin plywood sheet with a smooth hoop pine surface on one side. I had the timber merchant cut the large sheet into two smaller sheets. I also purchased enough 18-by-40 mm dressed and primed pine to go around the panels. Other materials required:
- Wood glue (Polyurethane or PVA both work well)
- Bullet head nails 30 x 1.6 mm
- Drill bit, the same or slightly smaller than the nails
- Gesso
 Step 2
Step 2
The ply sheet was carefully measured and the pine surround was miter cut 2 mm shorter each side to allow a slight overhang of the ply sheet. If you don’t have access to a drop saw, a miter box and small tenon saw will do the same job with care and patience.
 Step 3
Step 3
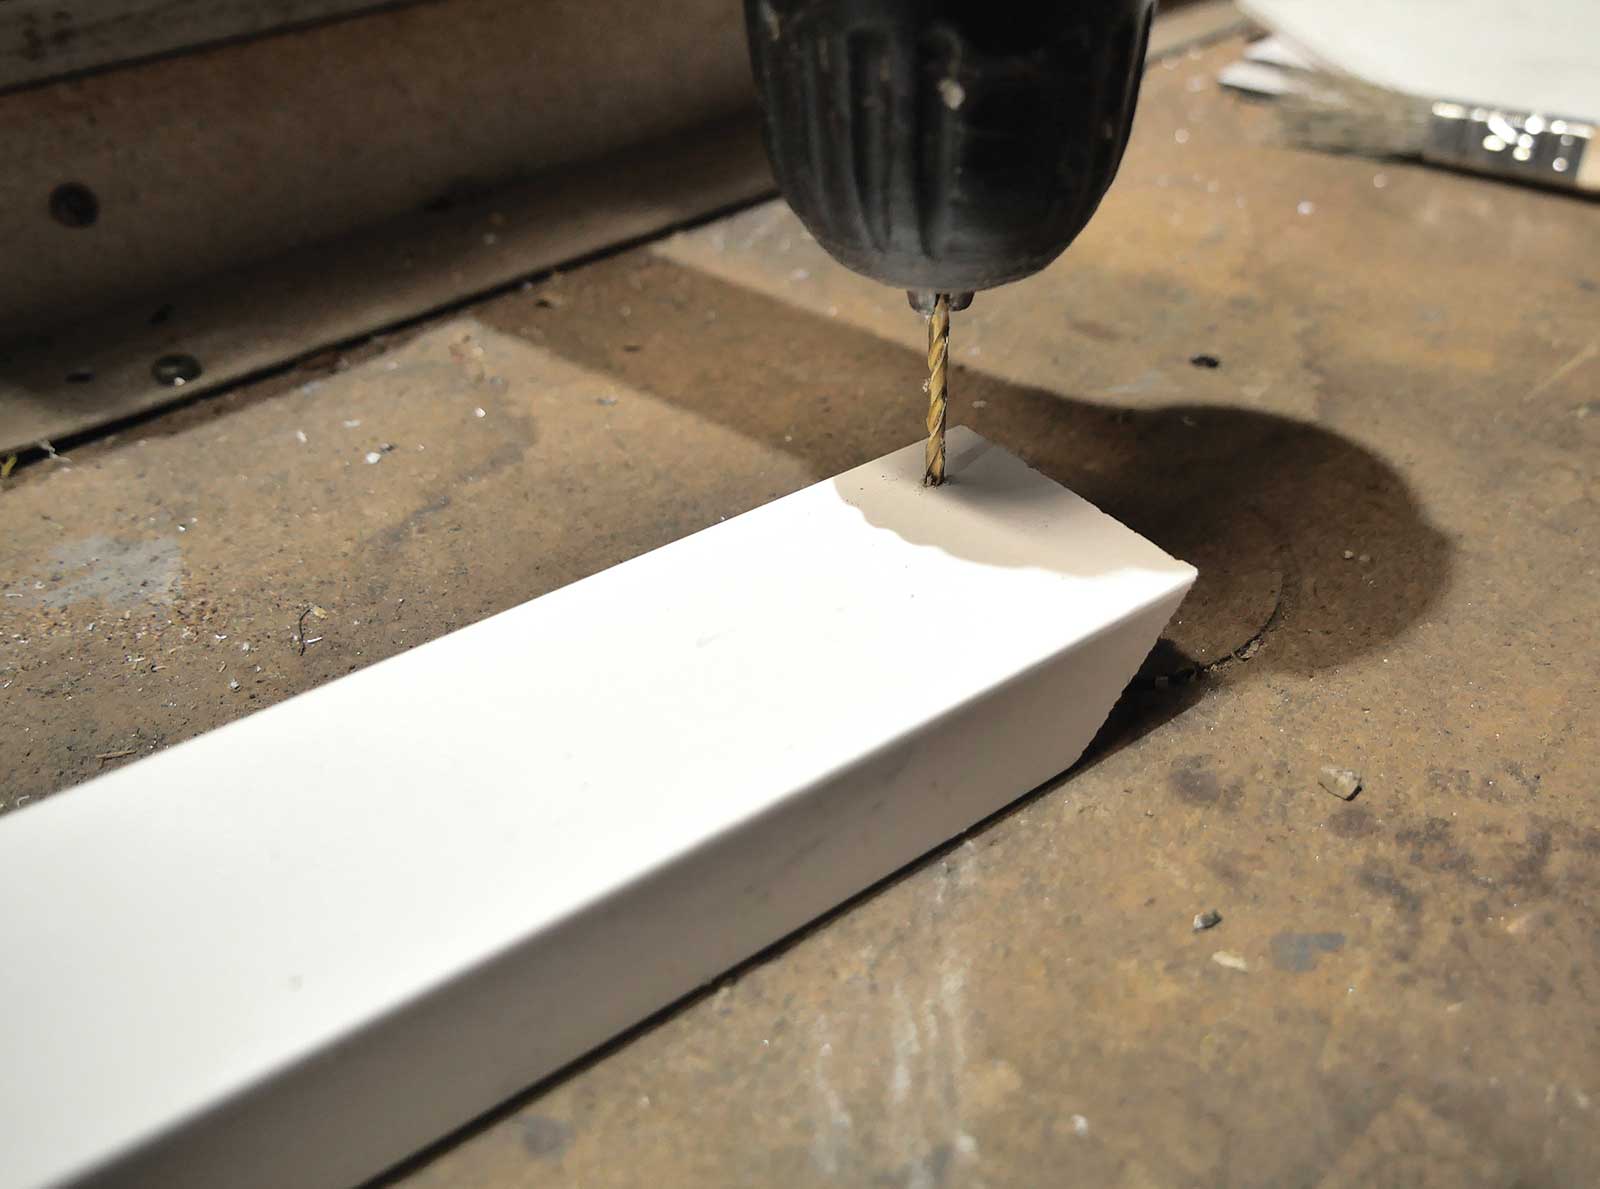
The long sides of the perimeter were drilled with holes the same diameter as the long thin nails used for assembly.
My painting will be hung horizontally, so the nail holes will be in the top and bottom (not that they should be visible). If you will be hanging your painting vertically, drill the short sides.
 Step 4
Step 4
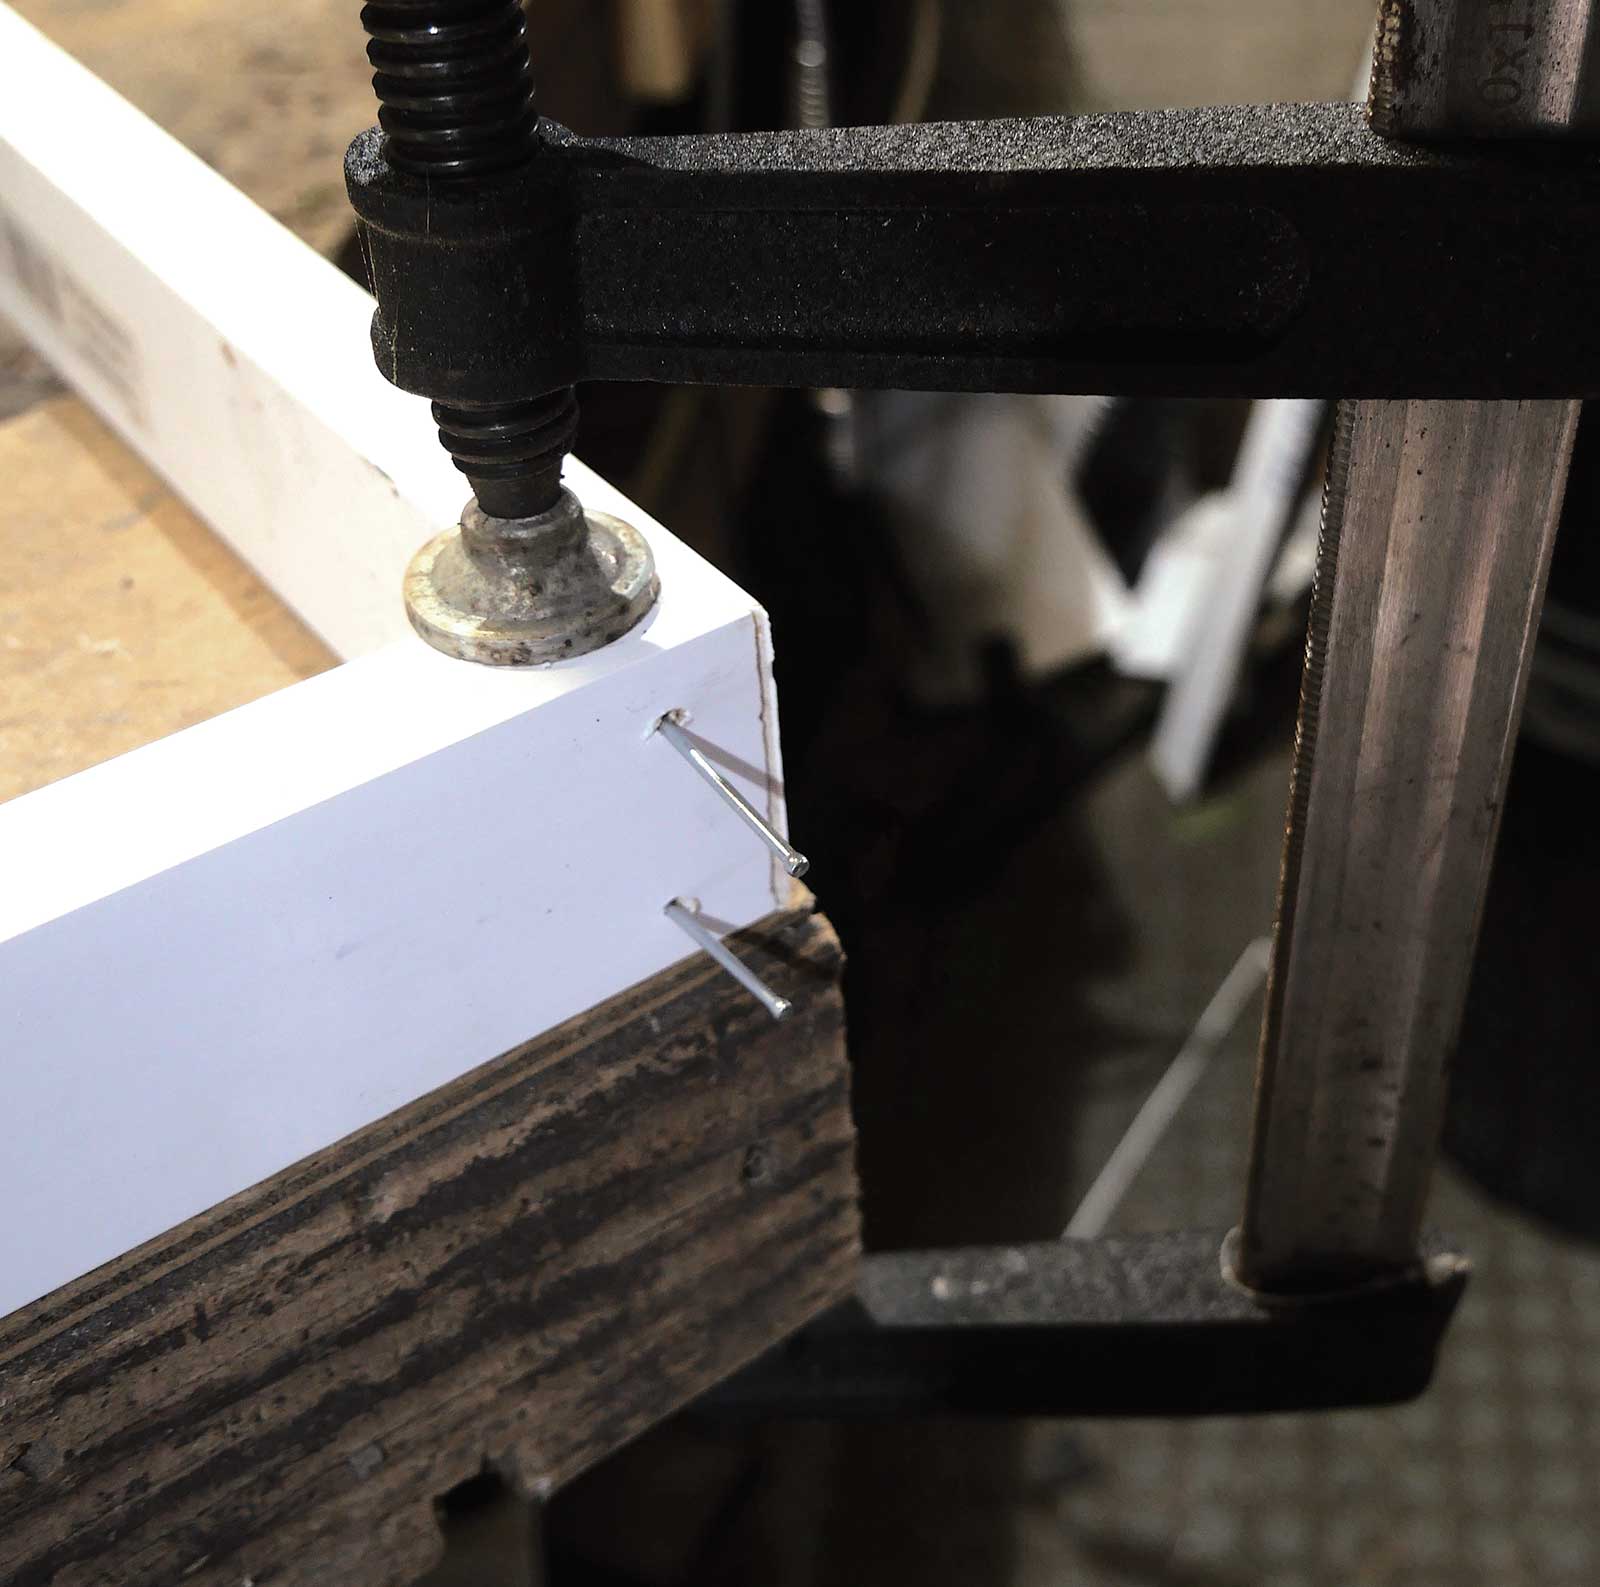
Glue was applied to the miter cuts, which were brought together, checked for square then clamped and carefully nailed.
 Step 5
Step 5
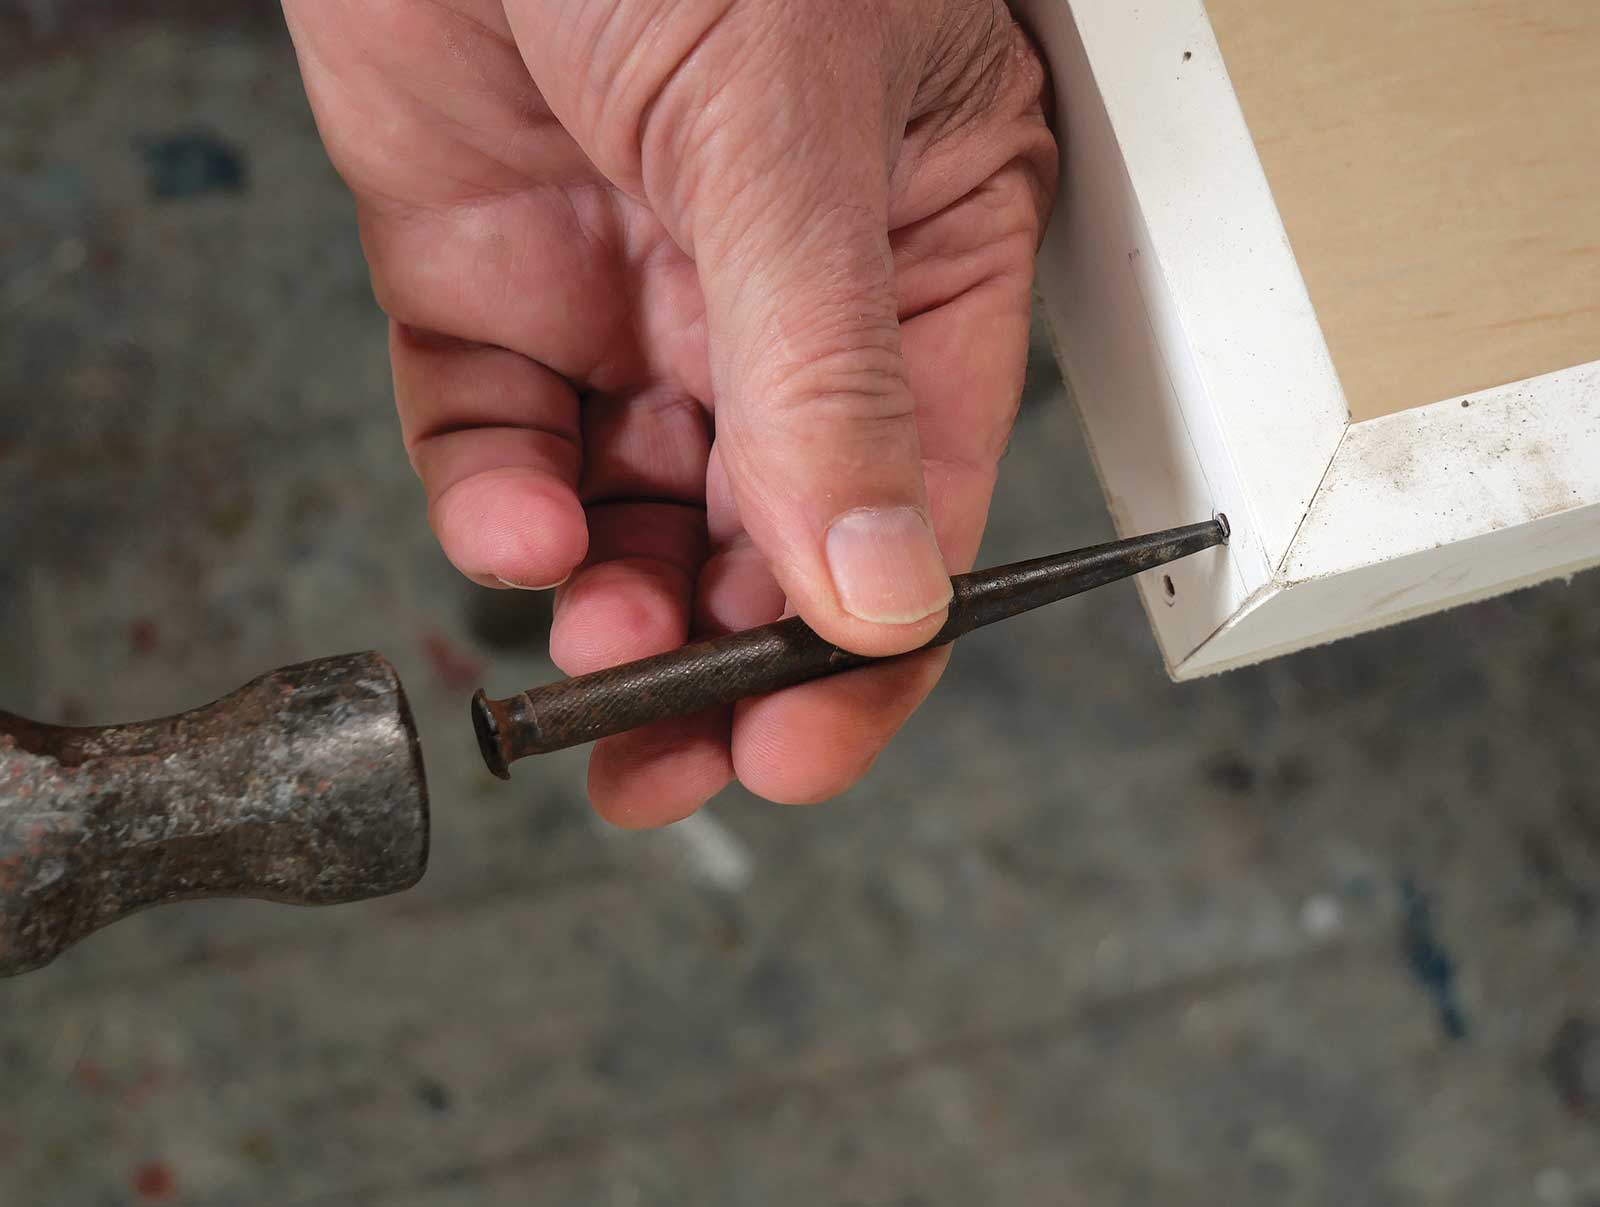
After the glue dried the nail heads were punched just below the surface.
 Step 6
Step 6
The assembled perimeter was checked against the ply sheet, then glue was applied all around the perimeter. Make sure you glue the perimeter to the back side of the ply sheet, not the face side.
Buying ply with just one face side is more economical than two face sides.
 Step 7
Step 7
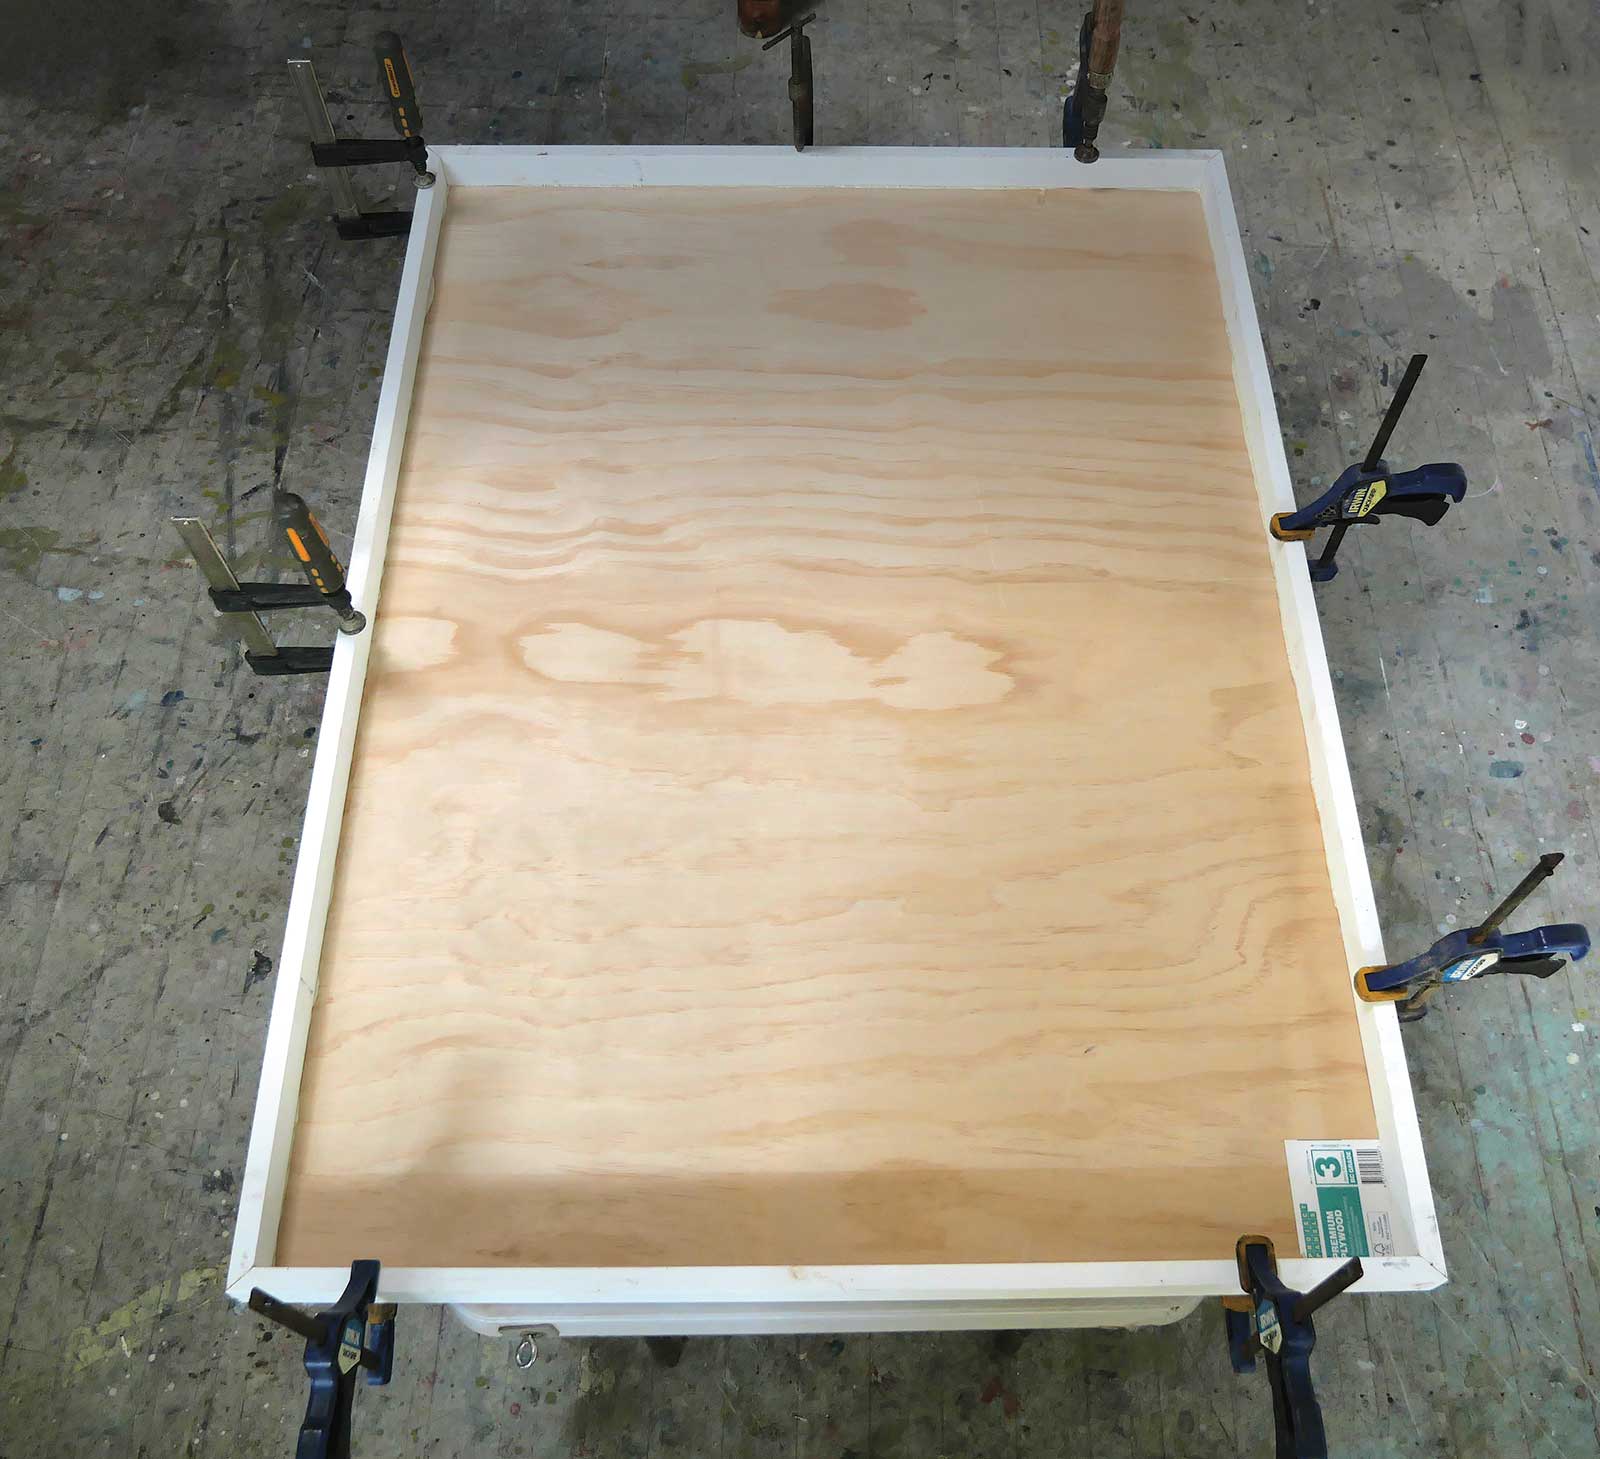
The perimeter was carefully positioned on the ply sheet to allow for a small overhang along each side. Clamps were then used to secure everything as the glue dried. If you don’t have clamps, the studio floor and a few bricks will do a similar job.
 Step 8
Step 8
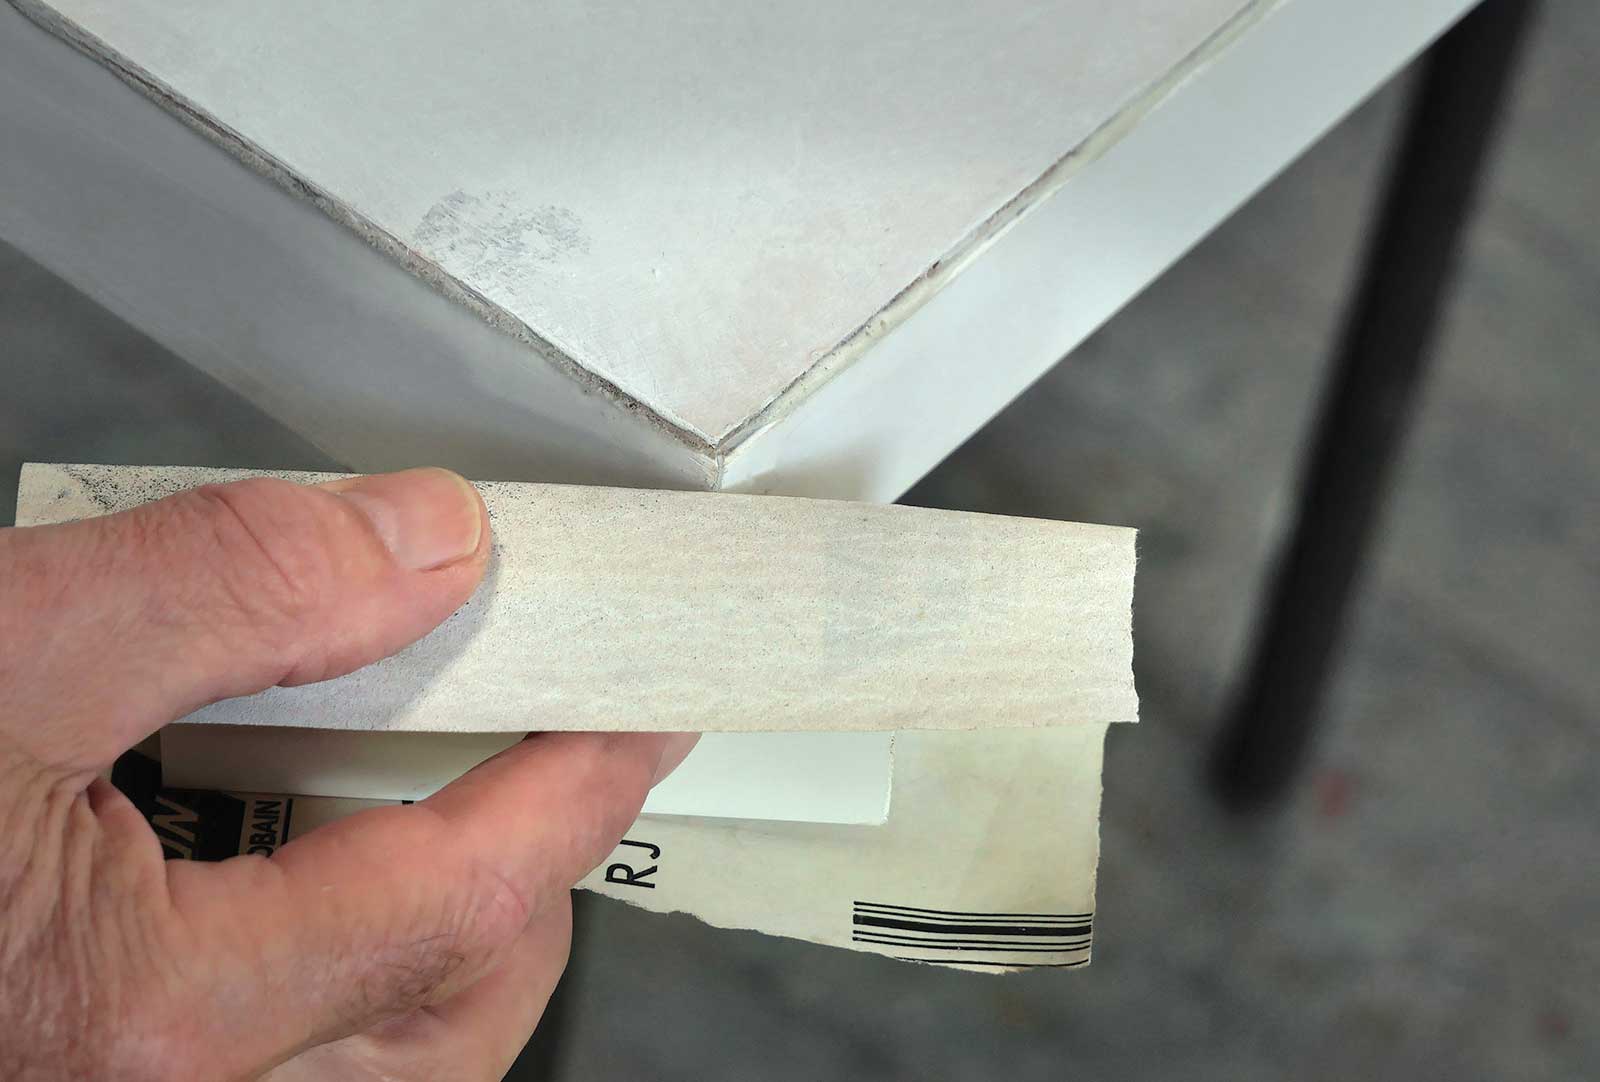
After the glue has thoroughly dried the clamps can be removed and the overhang sanded back. The punched nail holes can be filled and sanded smooth.
 Step 9
Step 9
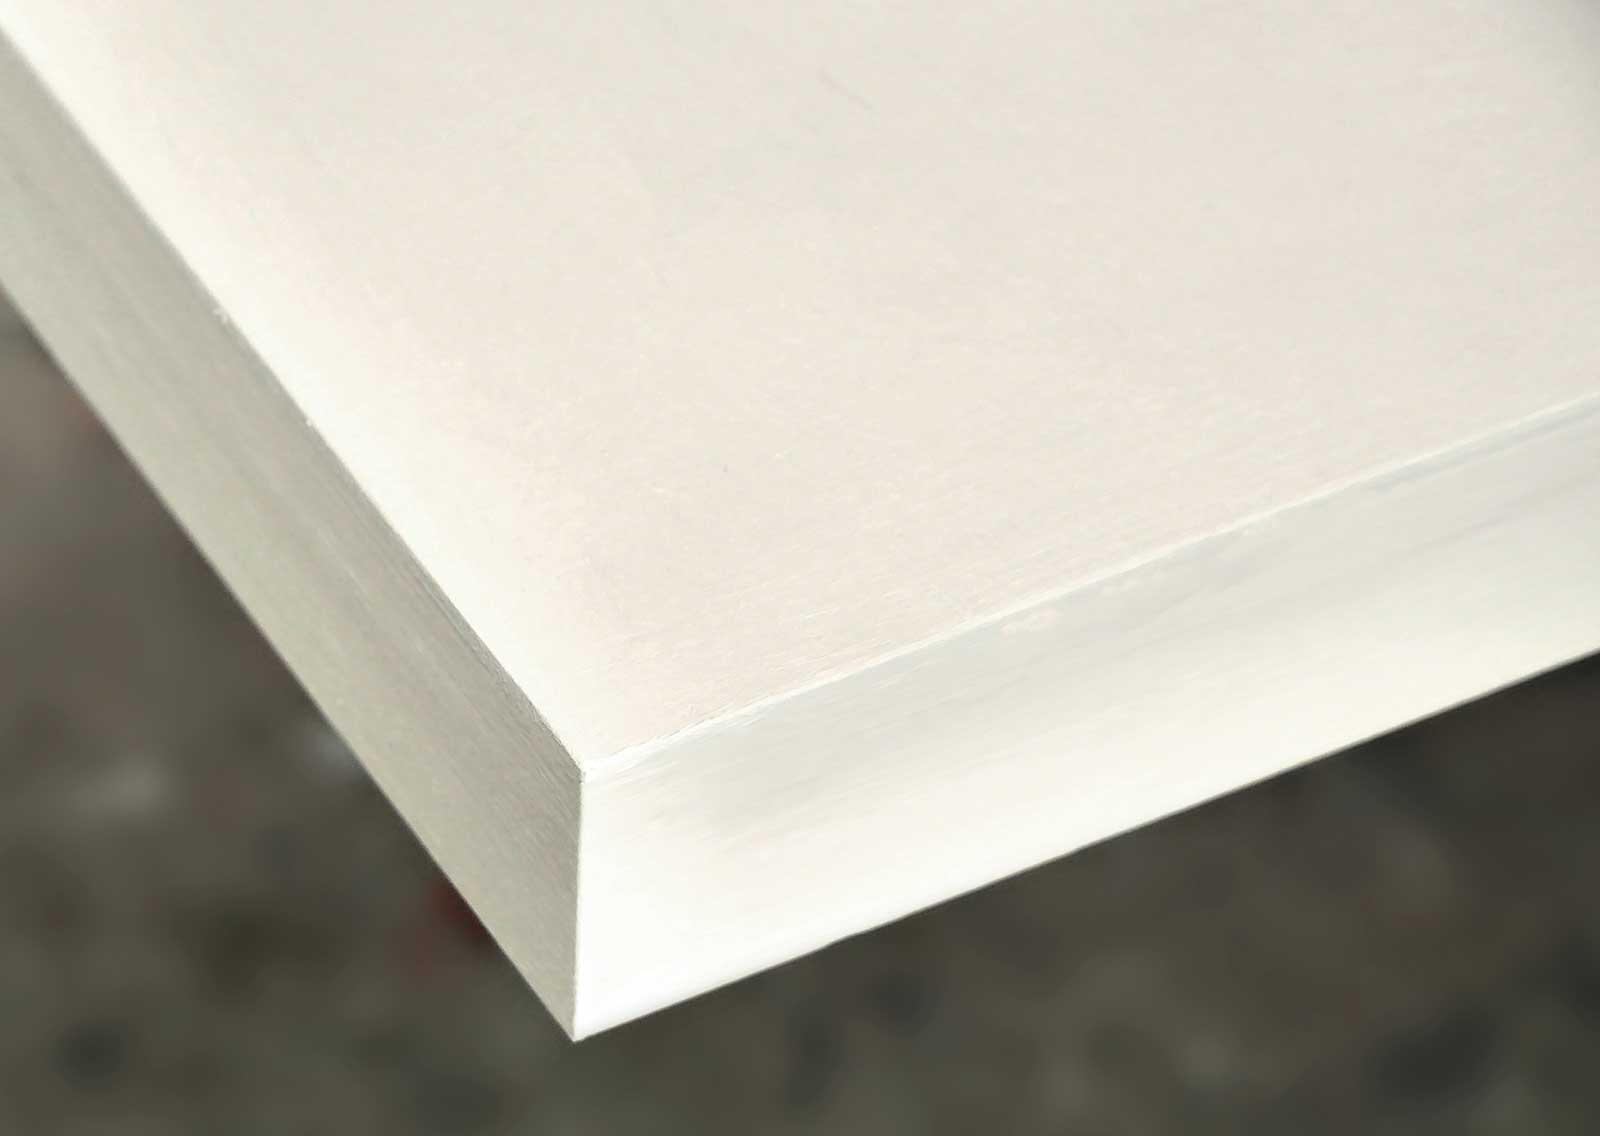
The final job is to apply several coats of gesso to the ply surface and outer perimeter.
If you want a smooth surface to paint on, thin the gesso slightly with water and sand lightly between coats.
For this painting I wanted a rough textured surface, so I scrubbed the gesso on roughly and unevenly, working the brushstrokes in all directions.
If you want to use watercolor, apply a few coats of watercolor grounds (or watercolor gesso). Allow each coat to dry for a day before applying the next coat, then leave the panel for a few days before you start your painting.
 Step 10
Step 10
Once your painting is finished, several coats of clear varnish will protect it without the need for glass. You can use a gloss or matt spray varnish (available in a pressure pack) or an acrylic varnish, which can be sprayed or brushed on.
If you are unsure about the process, try making a small panel first. Making a change from your regular painting surface is a great way to break old habits and discover new techniques. These rigid panels also allow you to work on a much larger scale.
Contact at www.johnlovett.com