



My goal as an artist is to create work that inspires people. Pieces that can stop a viewer in their tracks and imbue them with a sense of awe and emotion. Whether I have achieved this is of course subjective, and I am my own worst critic, but this is the constant driving force behind what I do. I work primarily in charcoal, pushing the medium to find a balance between abstract and realism. My subjects are usually wildlife, with my career as a biology teacher and interest in our natural world heavily influencing the work I create.
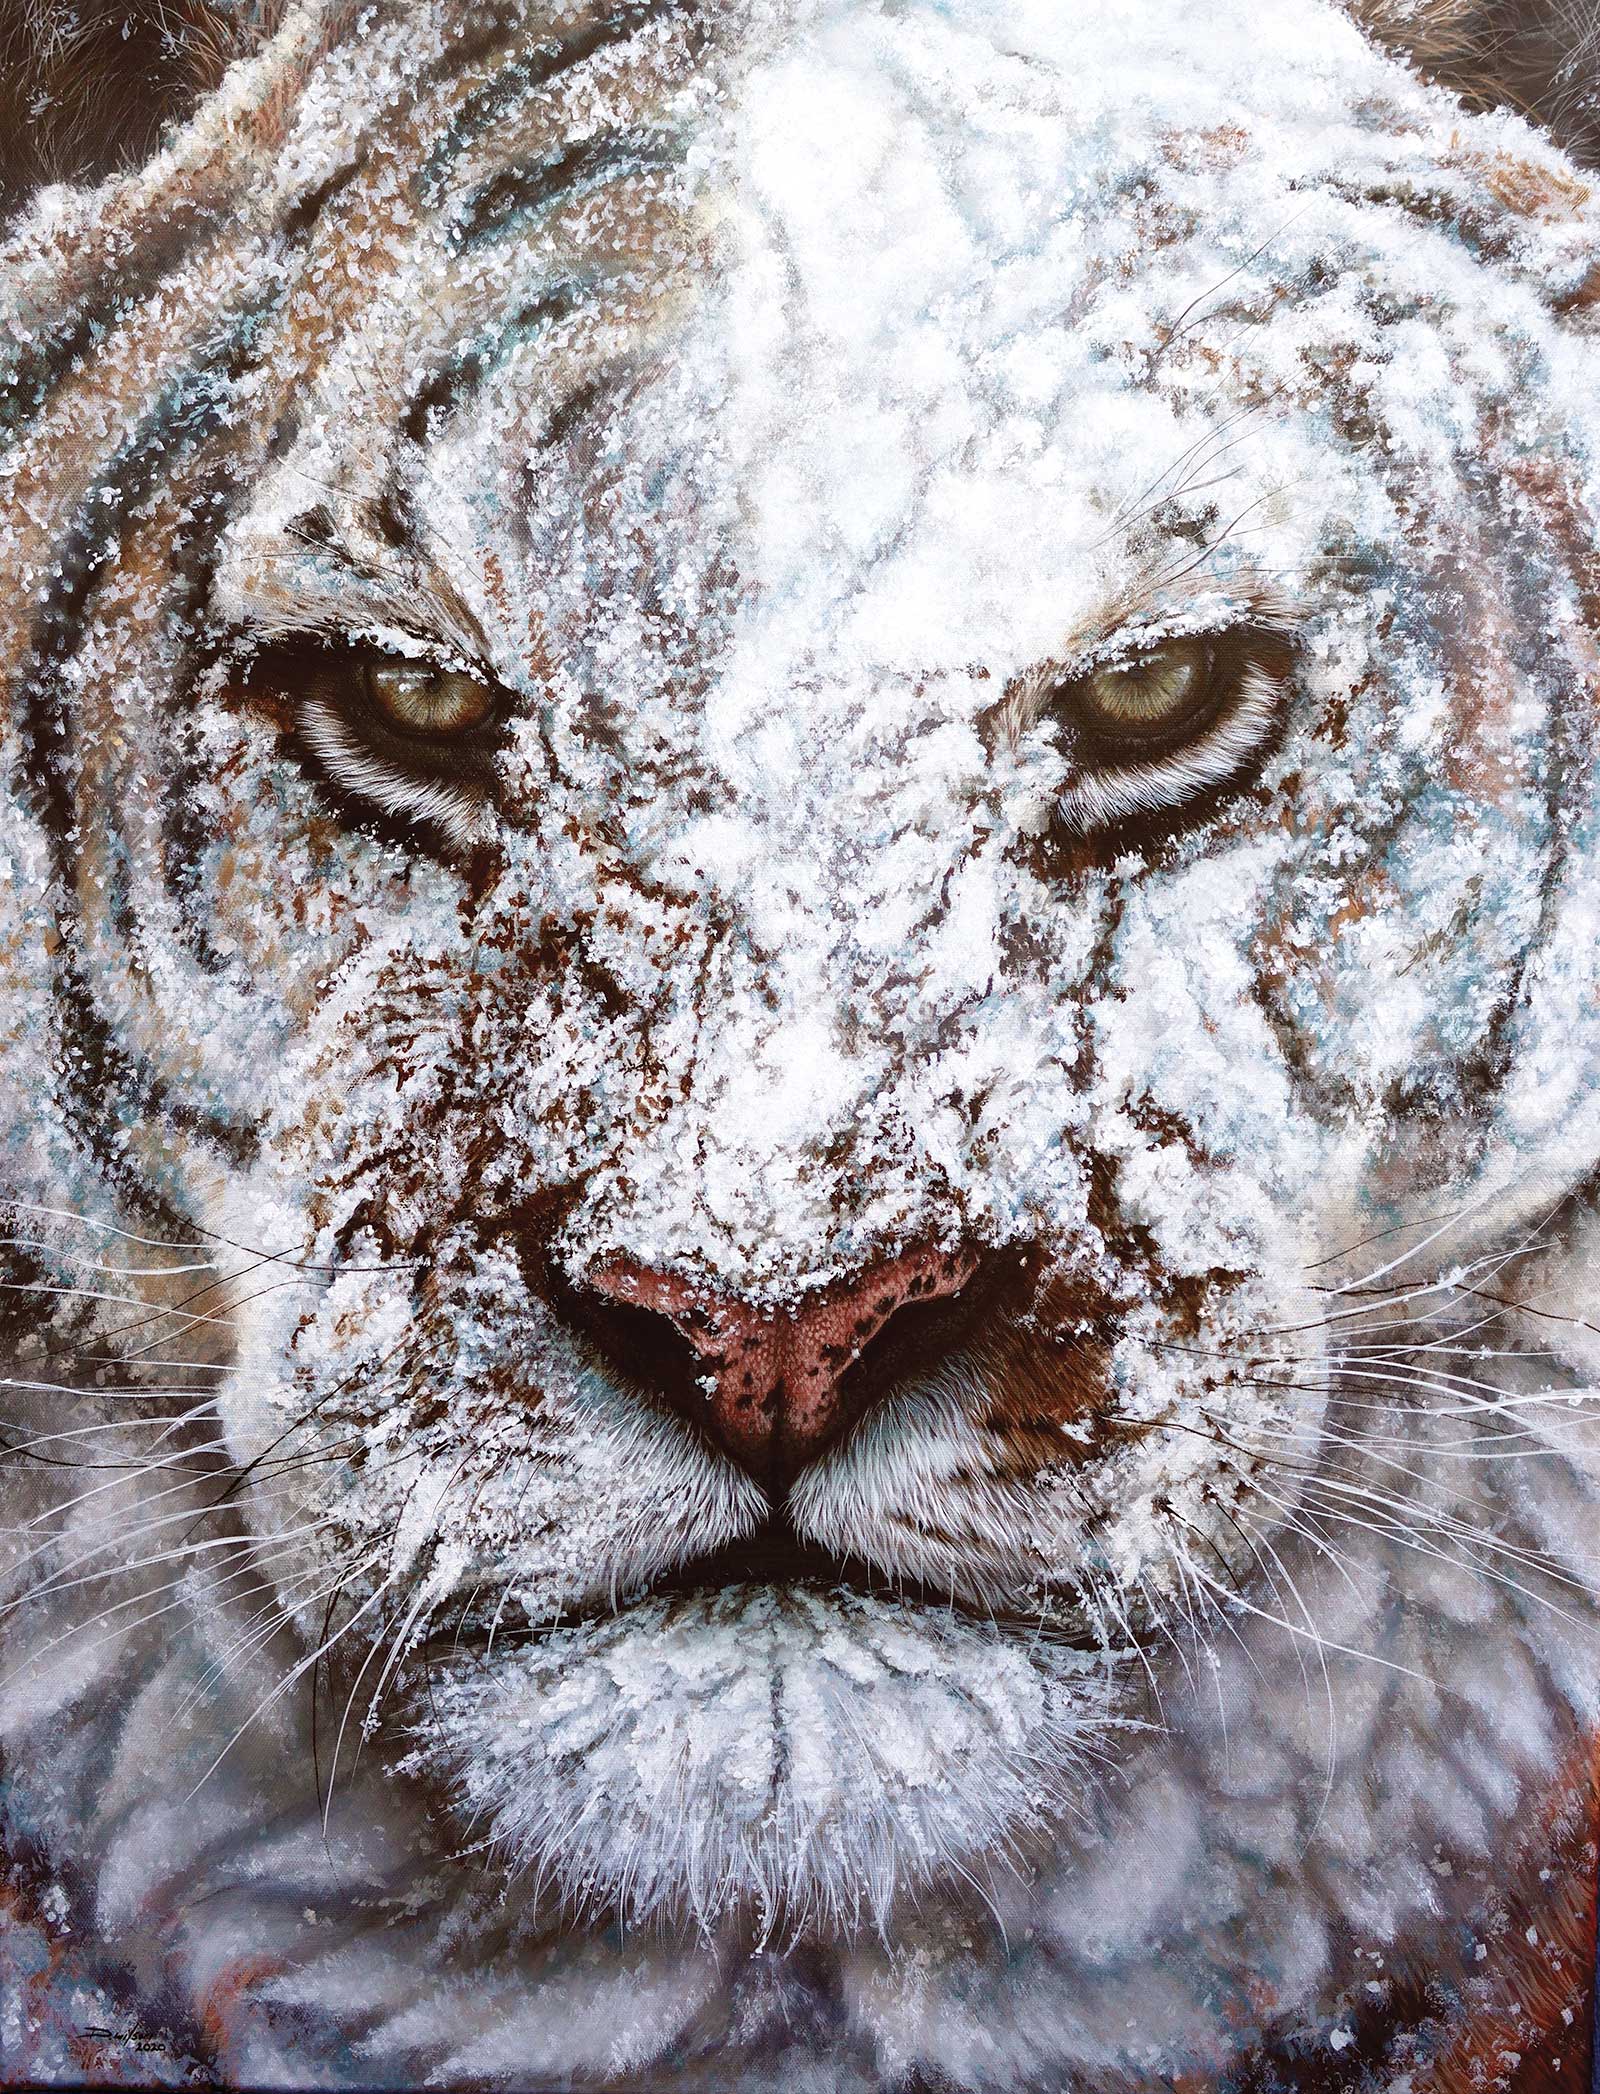
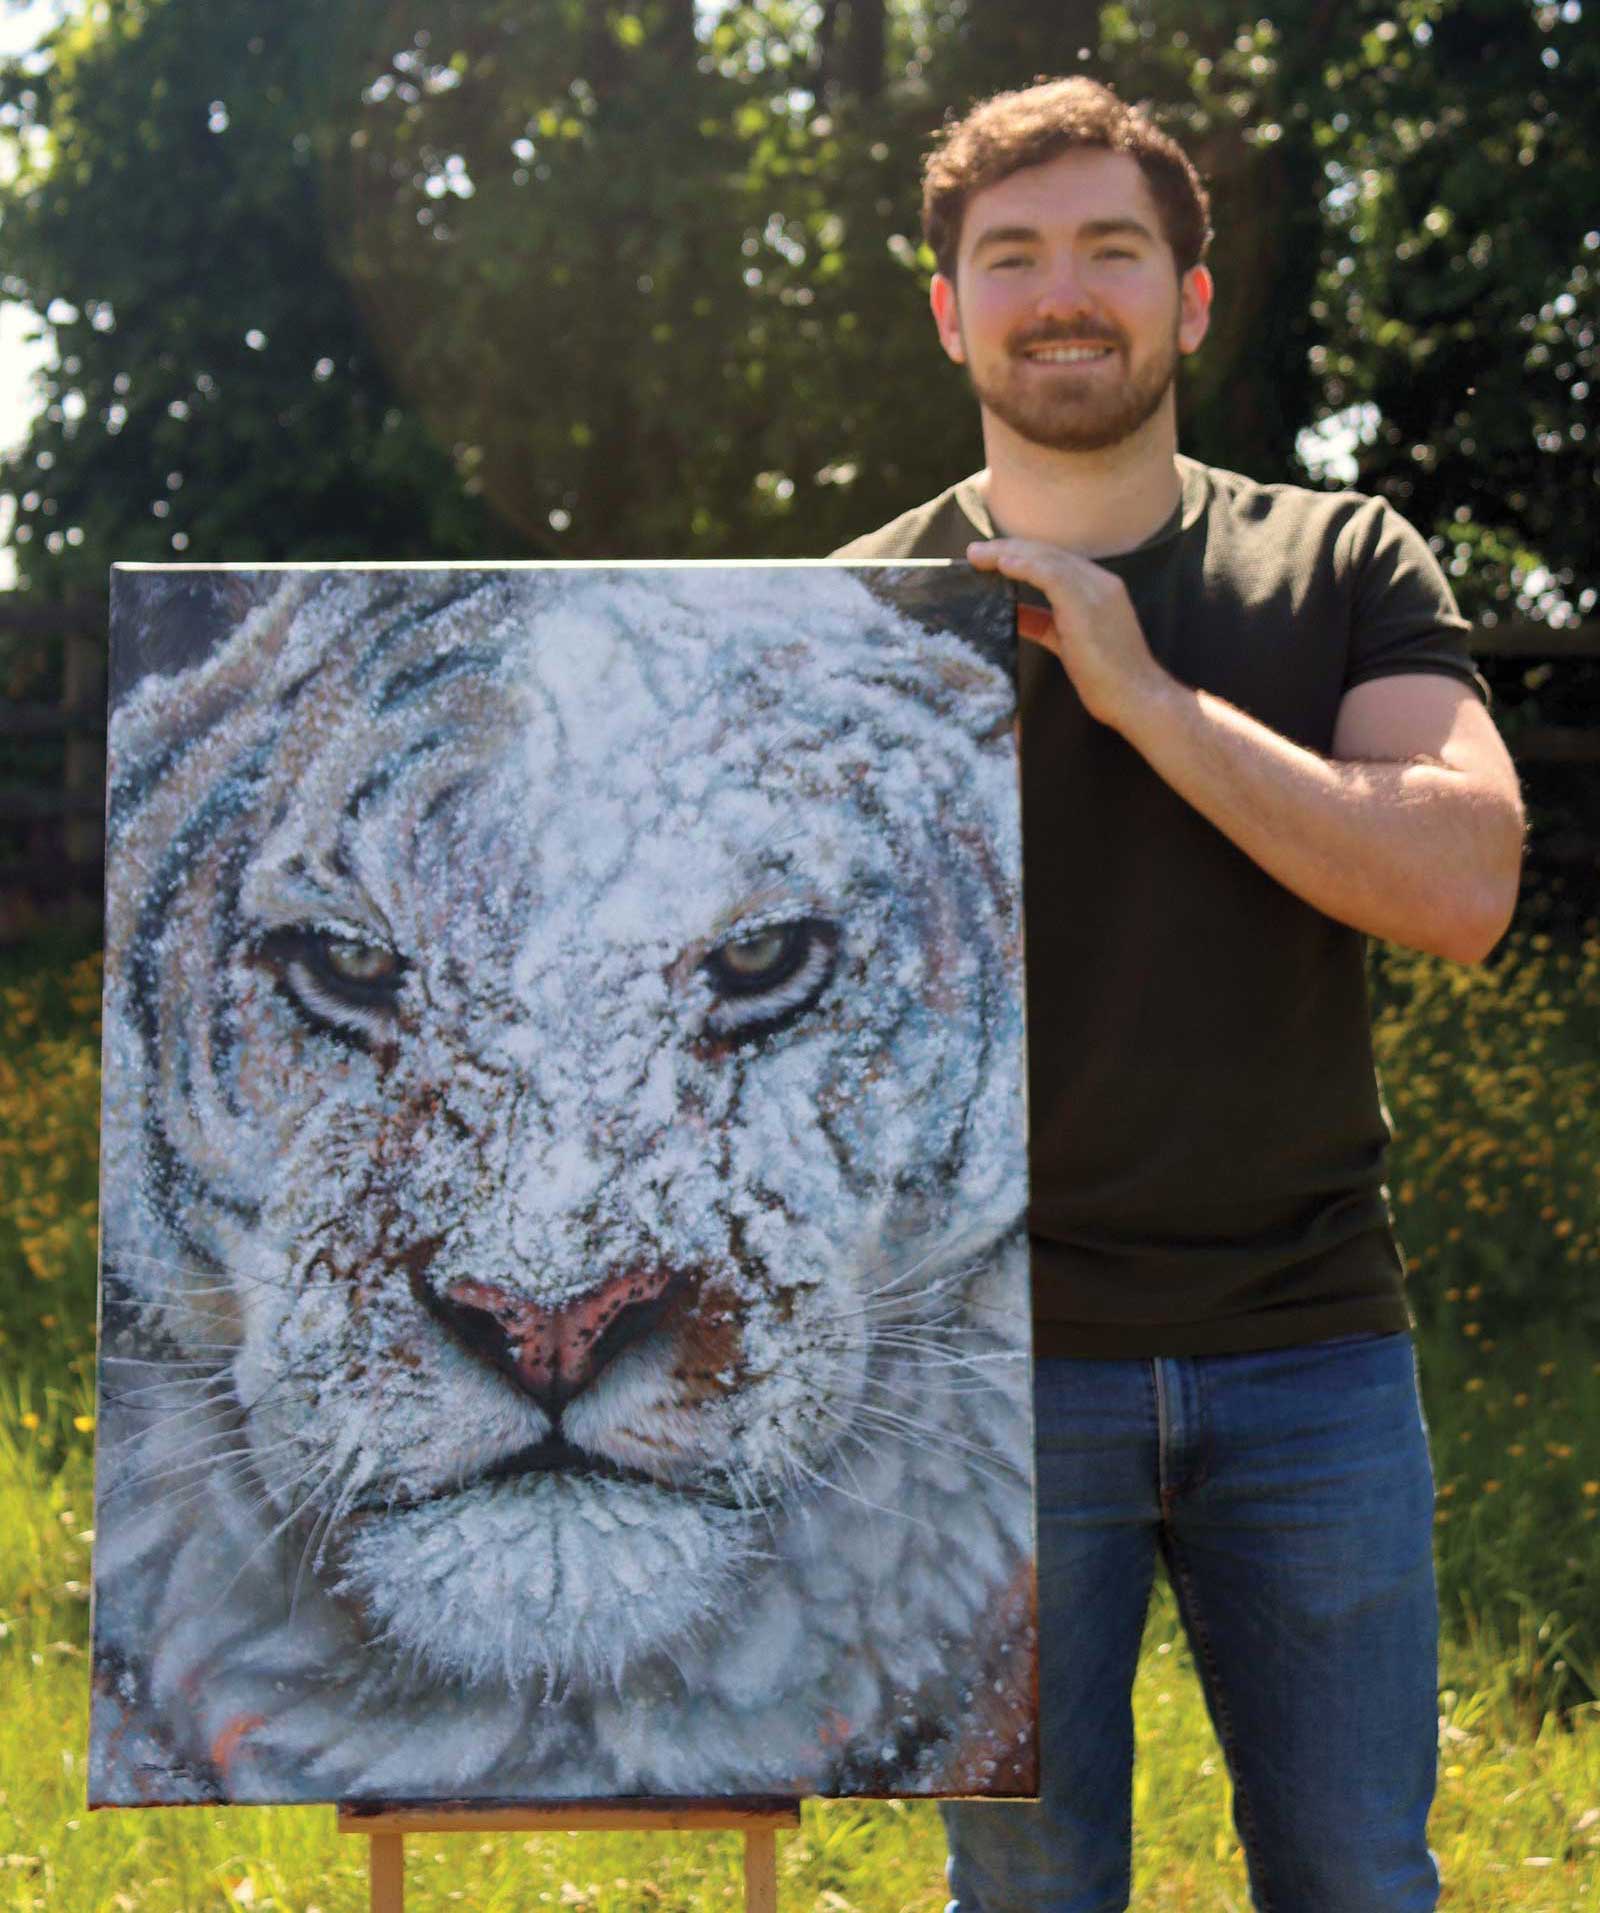
Icy Glare, acrylic on canvas, 32½ x 23½" (80 x 60 cm)
I hope that through my wildlife art I can promote awareness of the often vulnerable status of these incredible creatures. The majority of my charcoal pieces focus on the light and shadow surrounding the subject, often using vignettes in which the subject fades into the surrounding background. For me, this symbolizes how these creatures are very rapidly fading into extinction.
When it comes to creating a charcoal piece I work from reference photos, taken myself or with permission from a photographer. Choosing the right reference is critical for my process. For me the composition of a reference photo is of secondary importance to the lighting. I look for references with strong, contrasting lighting usually coming from a single direction. This is because of the monochromatic essence of charcoal. Without color it can be difficult to show the three-dimensional form of a subject. Strong lighting is required so that you can play with the balance of the dark and light tones, contrasting these areas so that you do not get a flat image. Charcoal is the perfect medium for this, as it is so malleable and can be pushed and pulled around the page in innumerable ways.
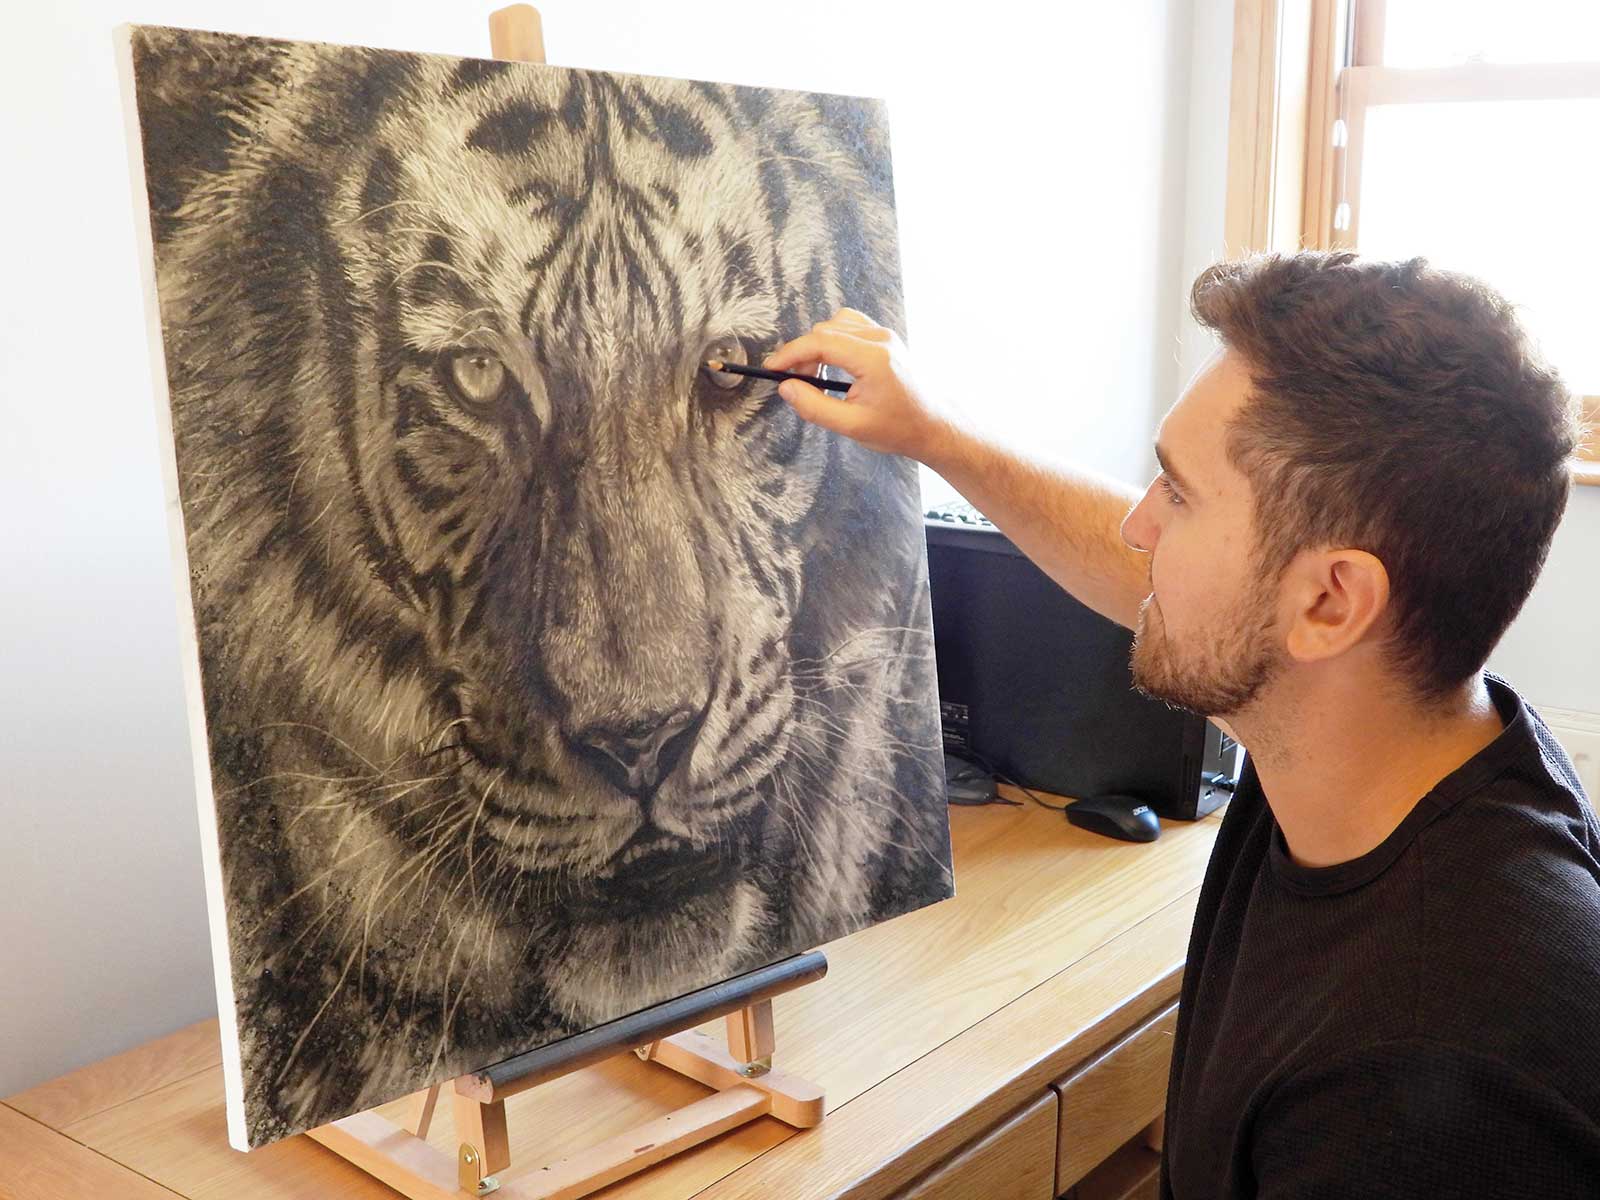
I wanted to portray the cold glare of a hunter ready to pounce. Photo reference permission from Michelle Cobble. The video of this piece can be found here:
I am torn between two feelings when I create art. I love getting into the nitty gritty details and getting lost in the process of fine, detailed and realistic fur. However I also have to fight an overwhelming urge to go big and bold with my artwork. Splashing, throwing and scraping, essentially just making one big mess! This is where the mash-up of abstract and realism come in. I could be bold and expressive to create interesting marks and shapes but I could also capture the more refined parts of the subject and add detail and form. I use variation in my mark making to add interest to a piece and pull the realistic form of my subject out from more abstract initial structures.
My work is not limited to charcoal drawings. I love to learn and create using new techniques and mediums. I experiment with mediums like acrylics, oils, pastels and graphite. I try to understand how they work individually and how techniques learned using one medium can be applied to the others.
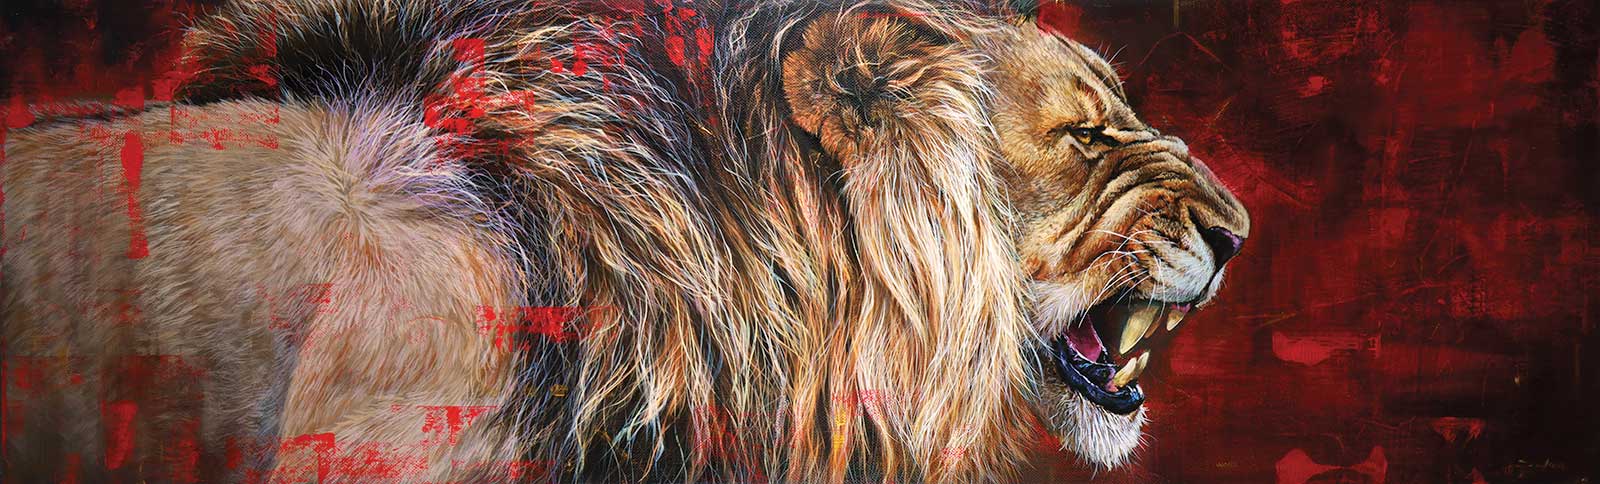
Seeing Red, acrylic on canvas, 12 x 39" (30 x 100 cm)
My paintings follow a similar ideology to my charcoal drawings. I try to create a piece that tells the story of my reference photo with a sense of immediacy and energy. I feel that adding the abstract, painterly marks adds to the image and gives the viewer something to look at that is beyond reality.
The surface I work with differs depending on the medium I use. For acrylics and charcoals I prefer a smooth surface; my drawings are completed on smooth hot-pressed watercolor paper and my acrylic paintings are done on wooden panels that I prepare myself. With oils I prefer a bit more texture and choose to paint on canvas. All my work starts in a similar way, blocking in the large abstract shapes, refining a drawing and then creating more abstract marks and structures. I continuously knock back the artwork with abstract marks and bring it back again with controlled details until I am happy with the balance between mark making and realism. Sometimes paintings are requested by collectors and more realistic styles are required. For this, I like to use acrylic paint as it allows me to work in multiple layers very quickly. My realistic acrylic painting technique relies on building up structure and form by building up many layers on top of each other.
Acrylic Demo
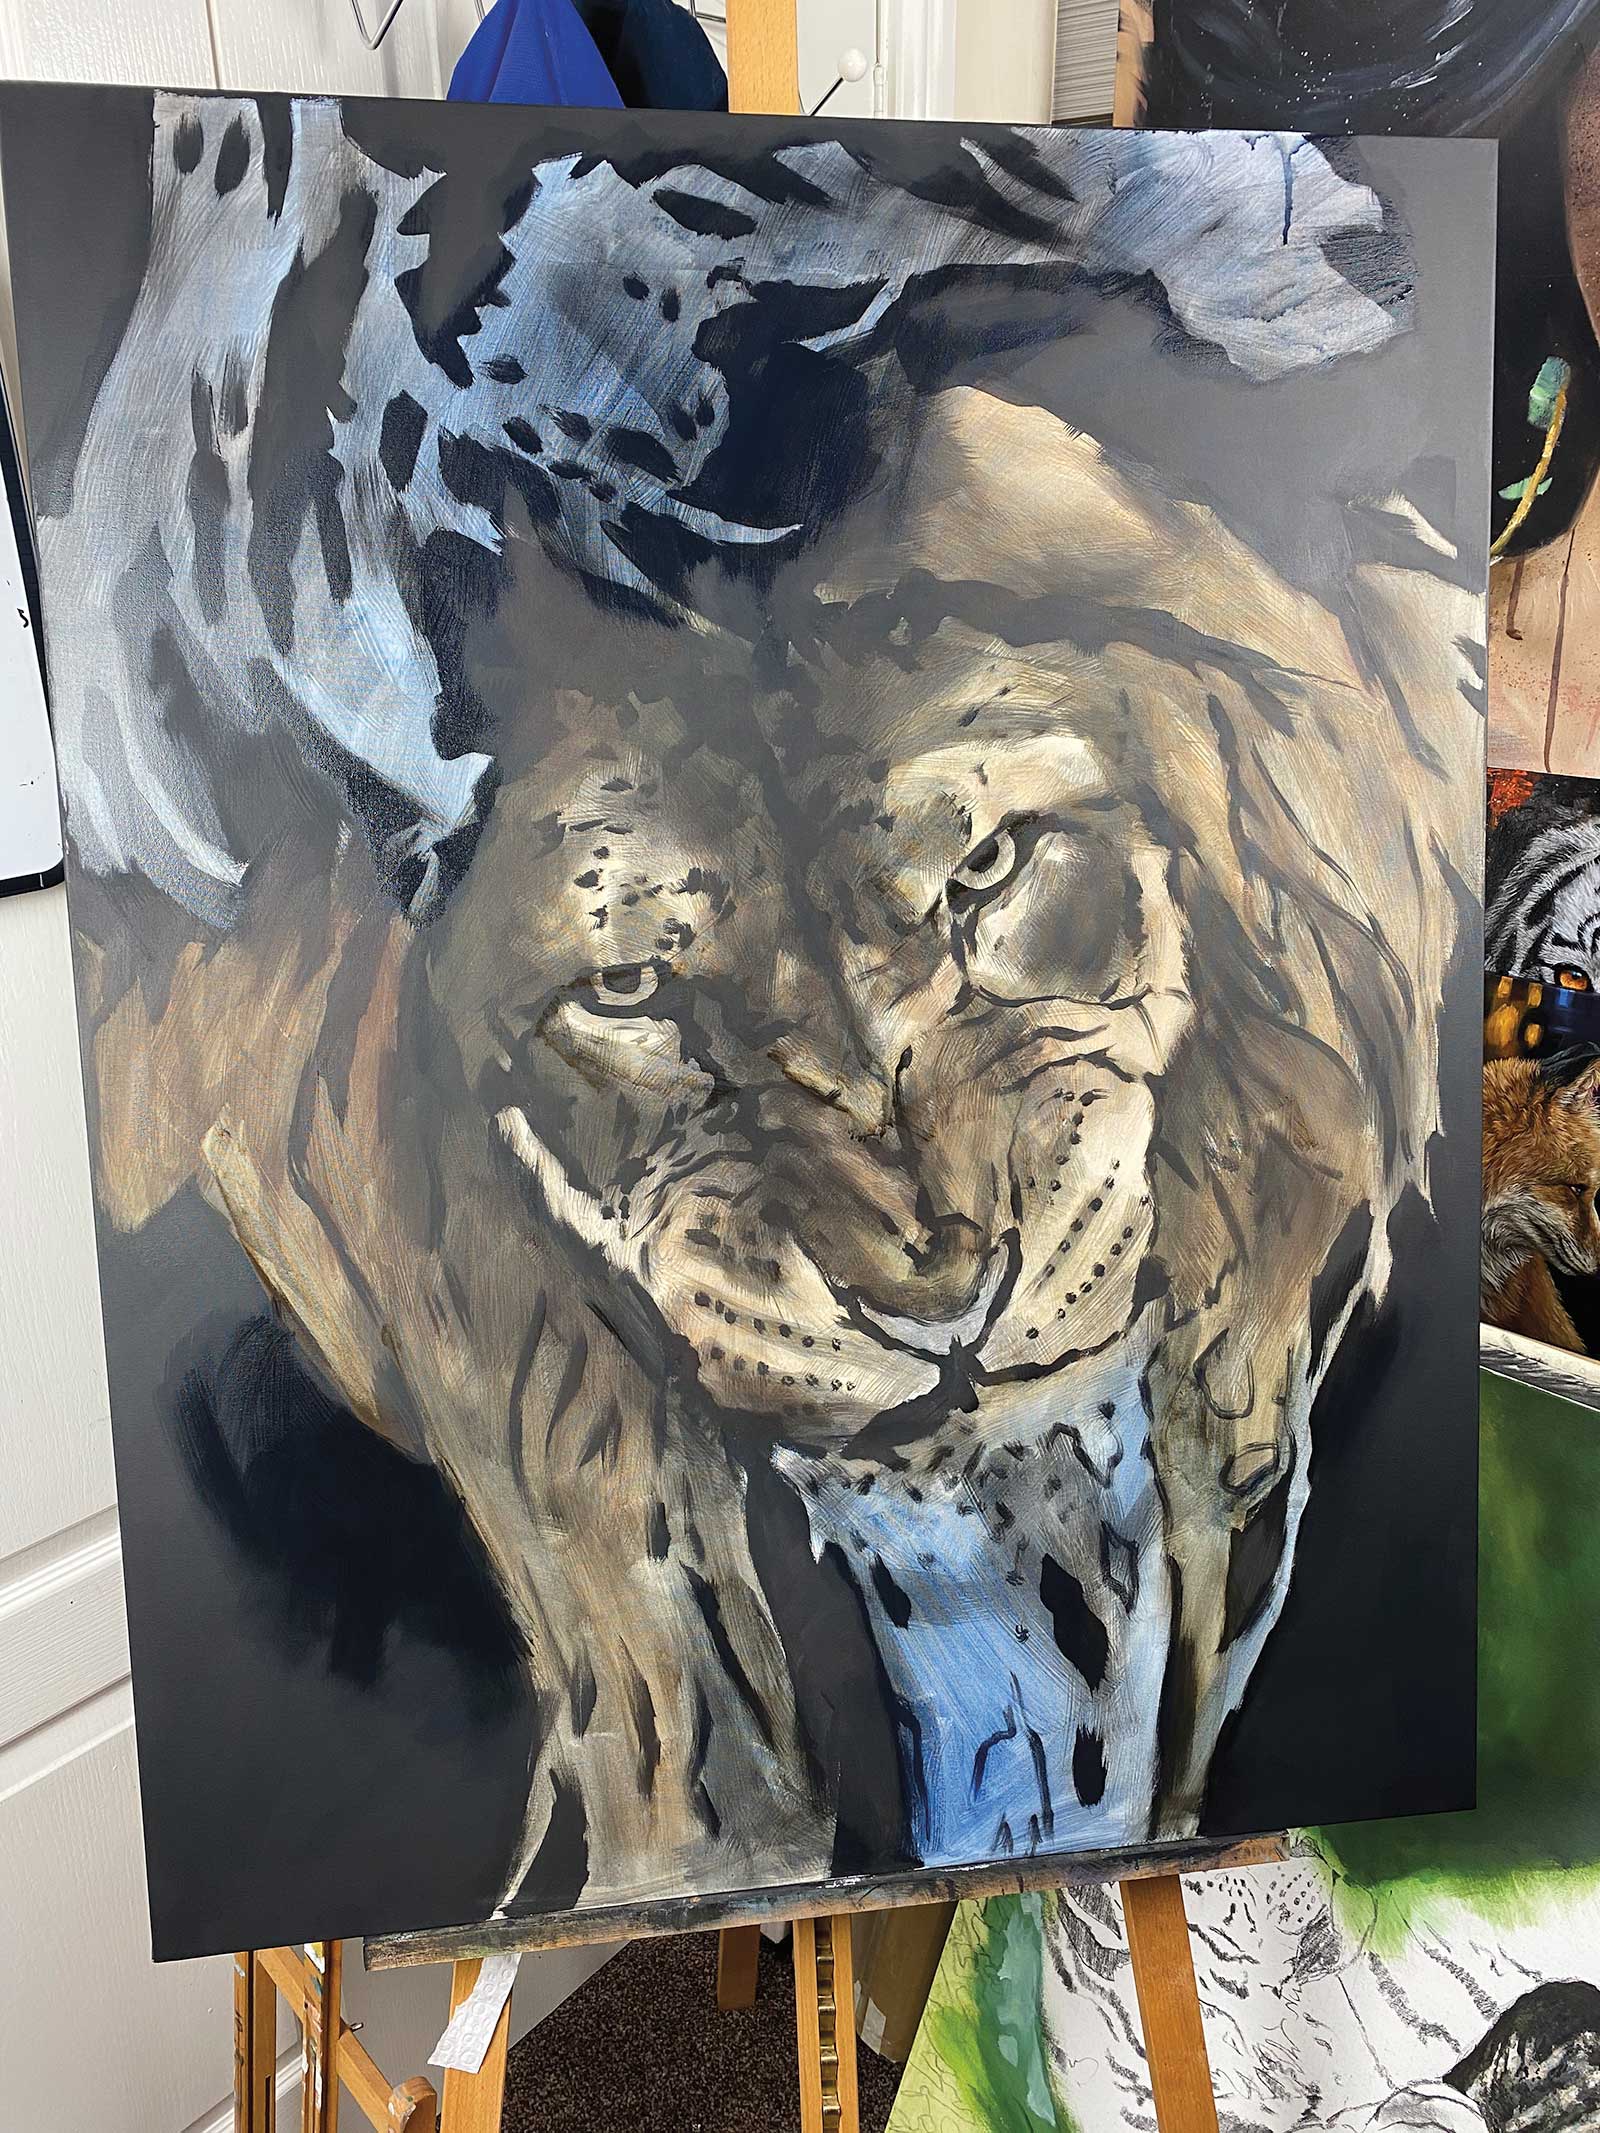 Stage 1
Stage 1 The Block In
I start all of my acrylic paintings with a simple block in. I use a large flat brush and washes of acrylic paint thinned with water to construct the basic composition. Sometimes I will pre-draw an outline using charcoal.
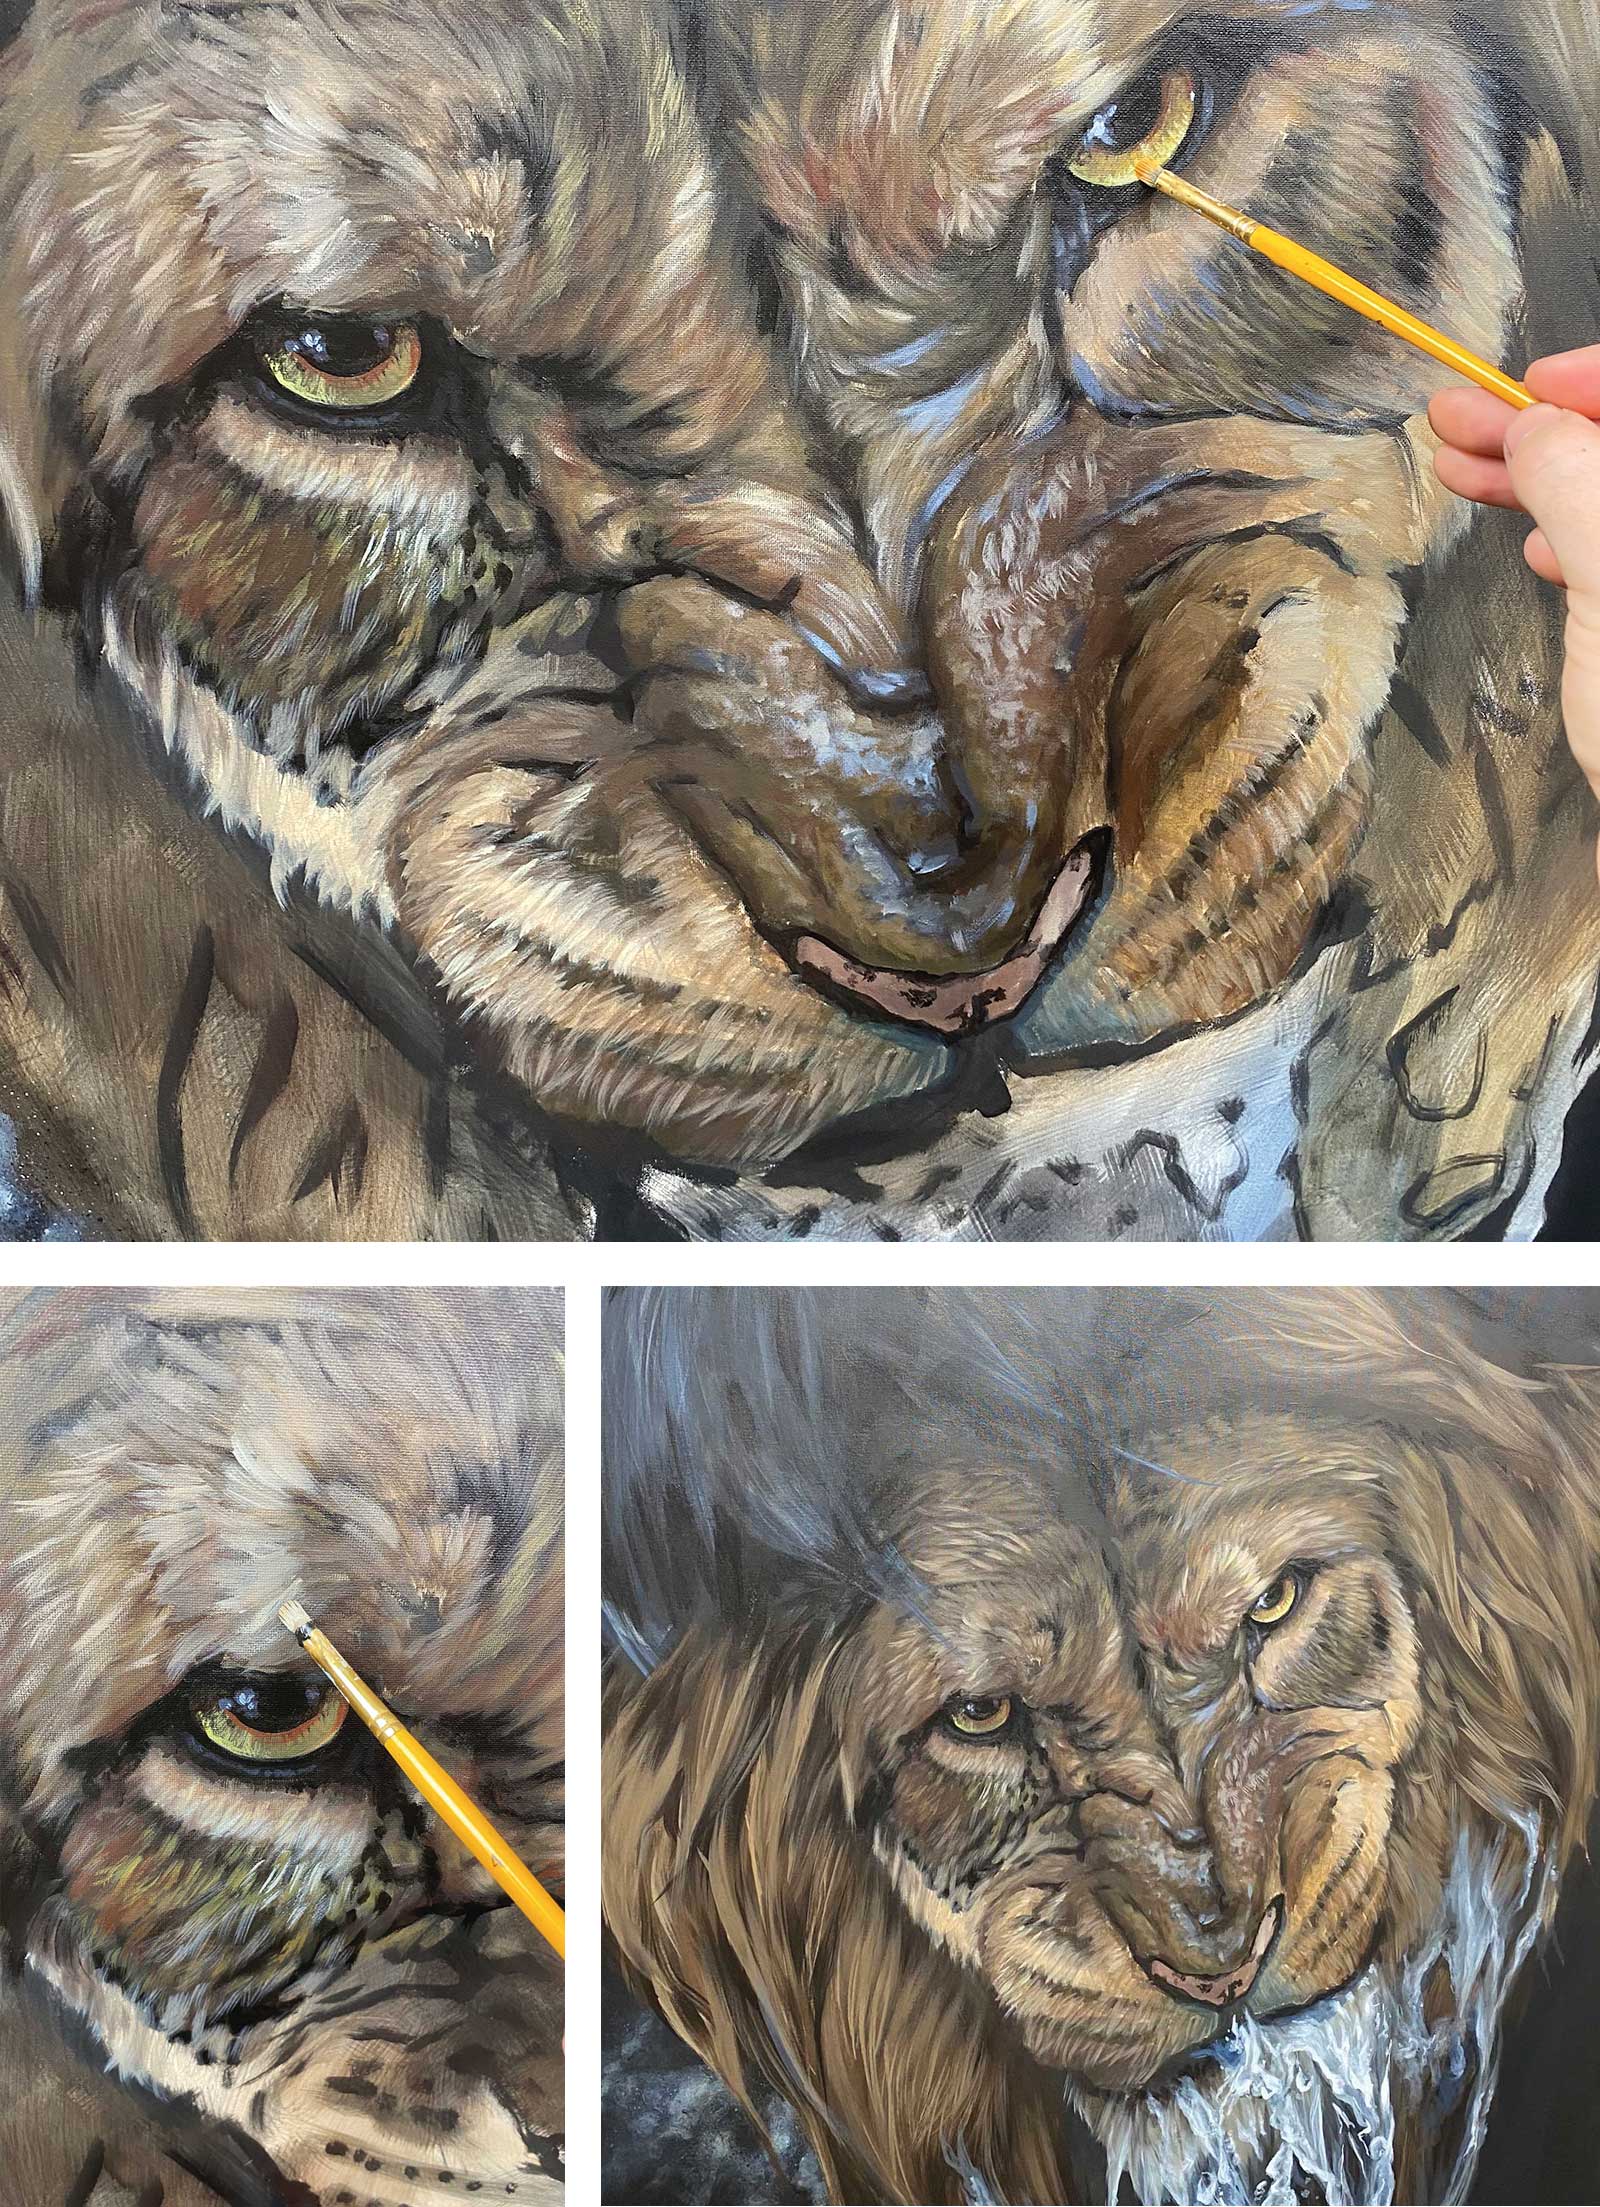 Stage 2
Stage 2 The Form
I use a medium filbert brush for the face and start to refine the features a little bit more. I like to have a solid underpainting completed before working the details over the top. This stage is just a rough guide for the fur. I work in layers, placing my darkest colors down first and working over the top with lighter layers.
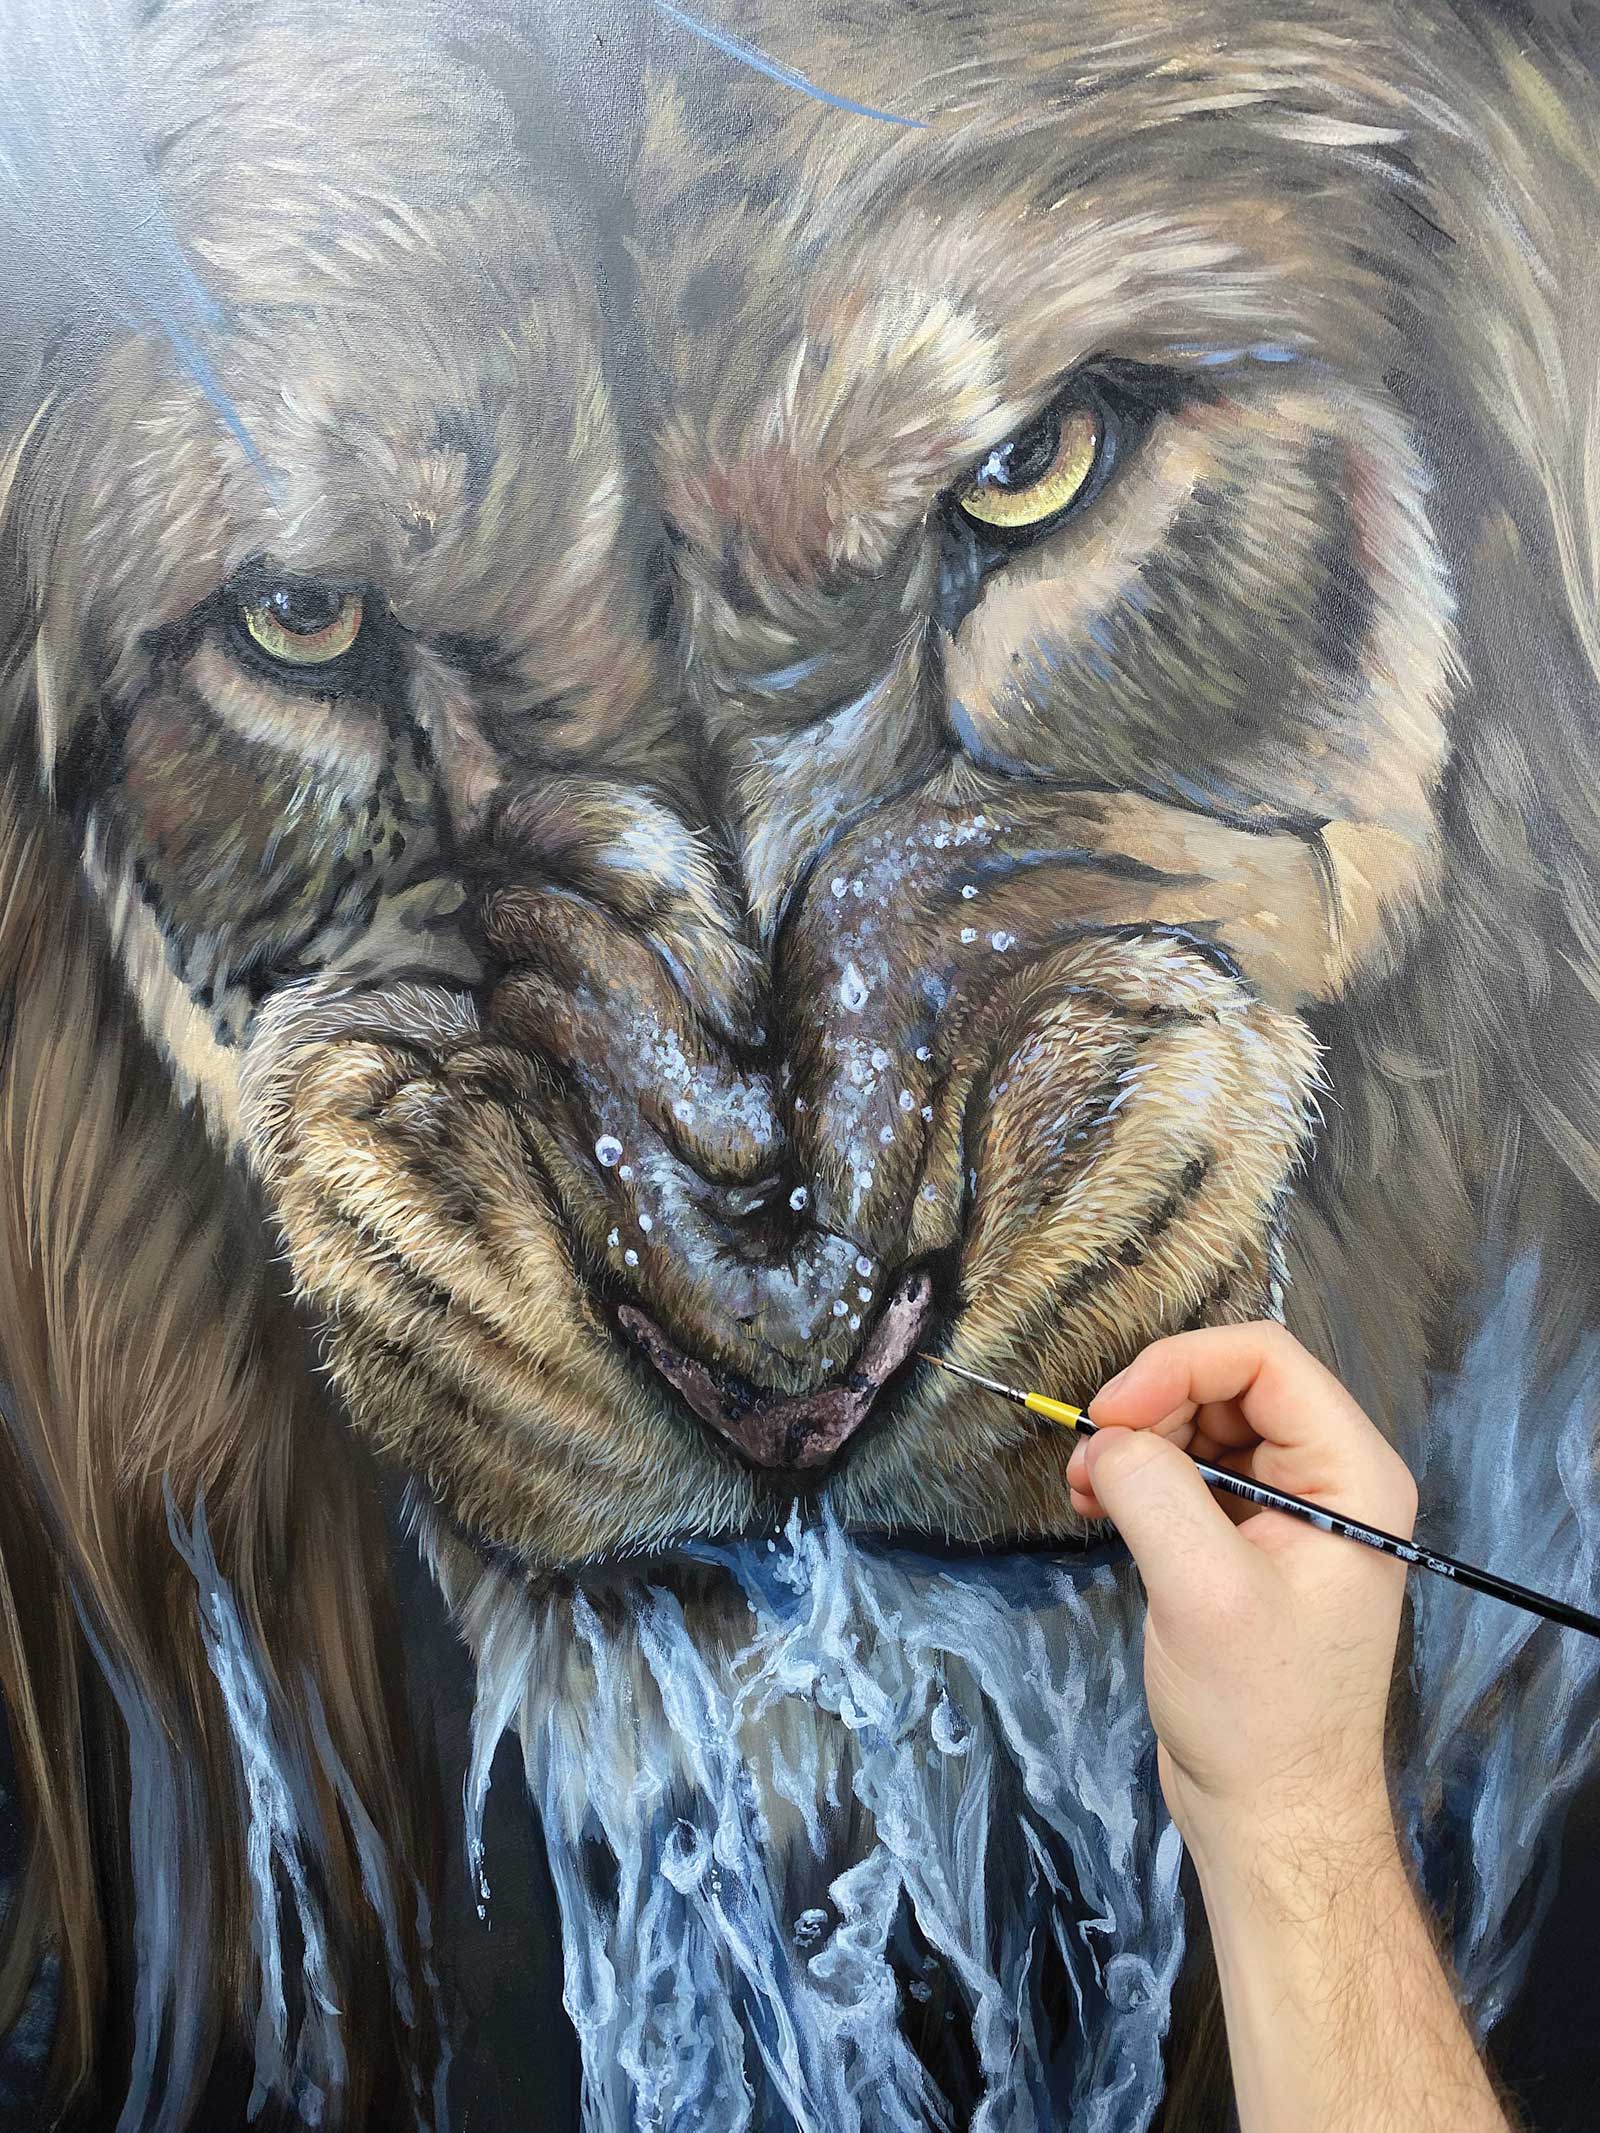 Stage 3
Stage 3 Refining
Next I refine the painting with a small detail brush. Again working in layers from dark to light. I then glaze over the final layer to adjust the colors and add shadow or emphasize highlighted areas.
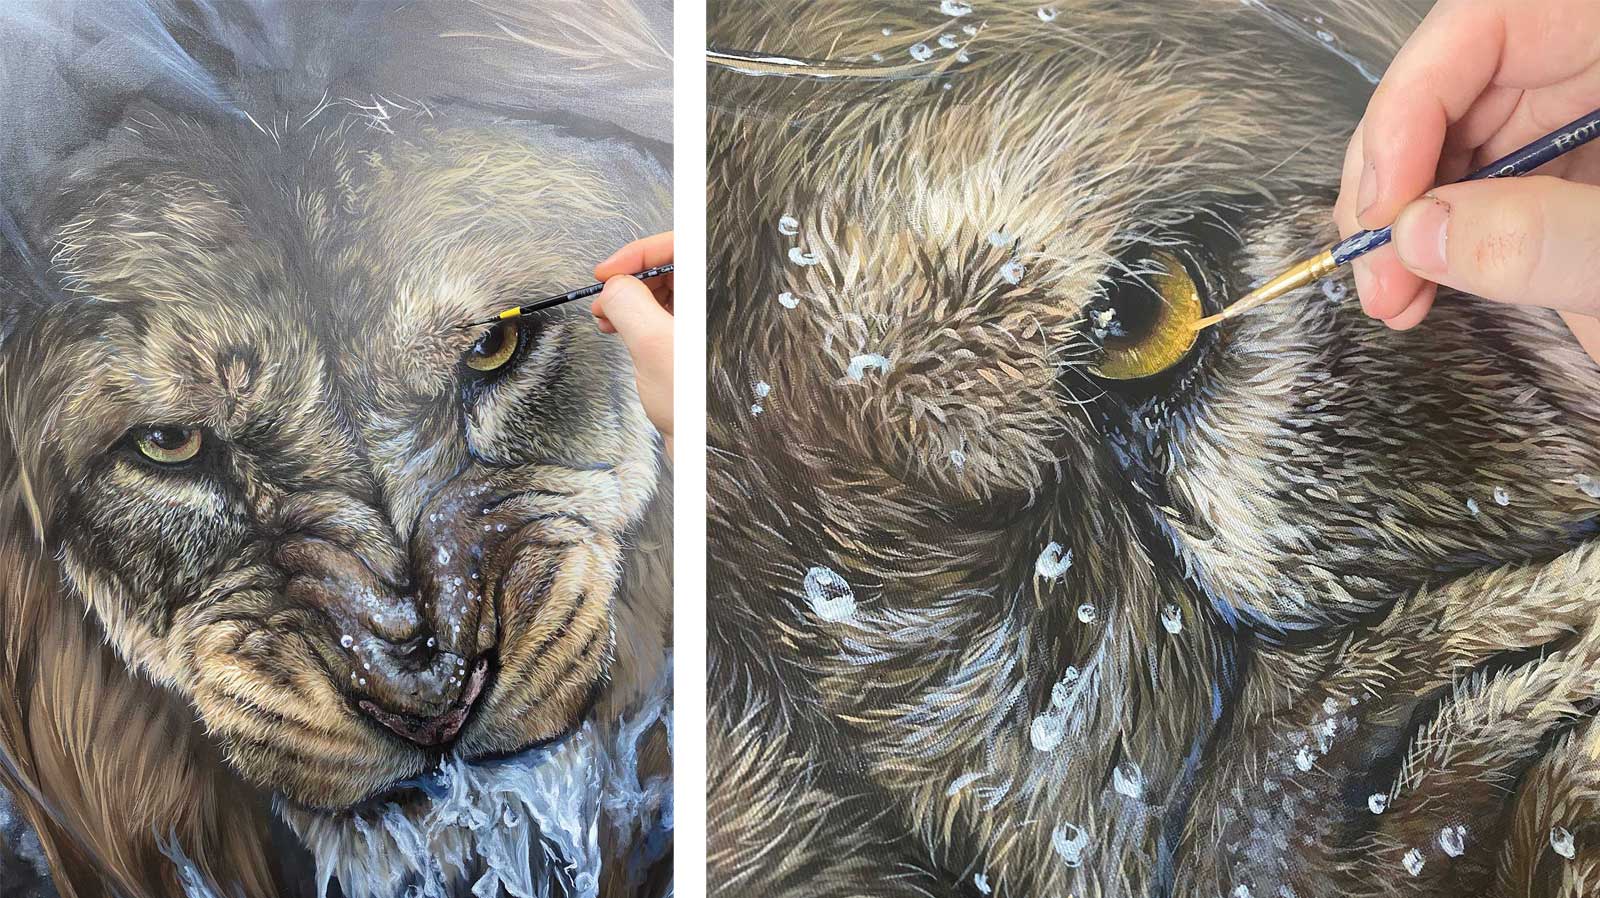 Stage 4
Stage 4 Details
At this stage I gradually work around the painting section by section trying to render the individual strands and clumps of fur. I also like to exaggerate the saturation and light in the eyes. I feel like pushing the eyes to be bright and colorful really adds a sense of light to the painting.
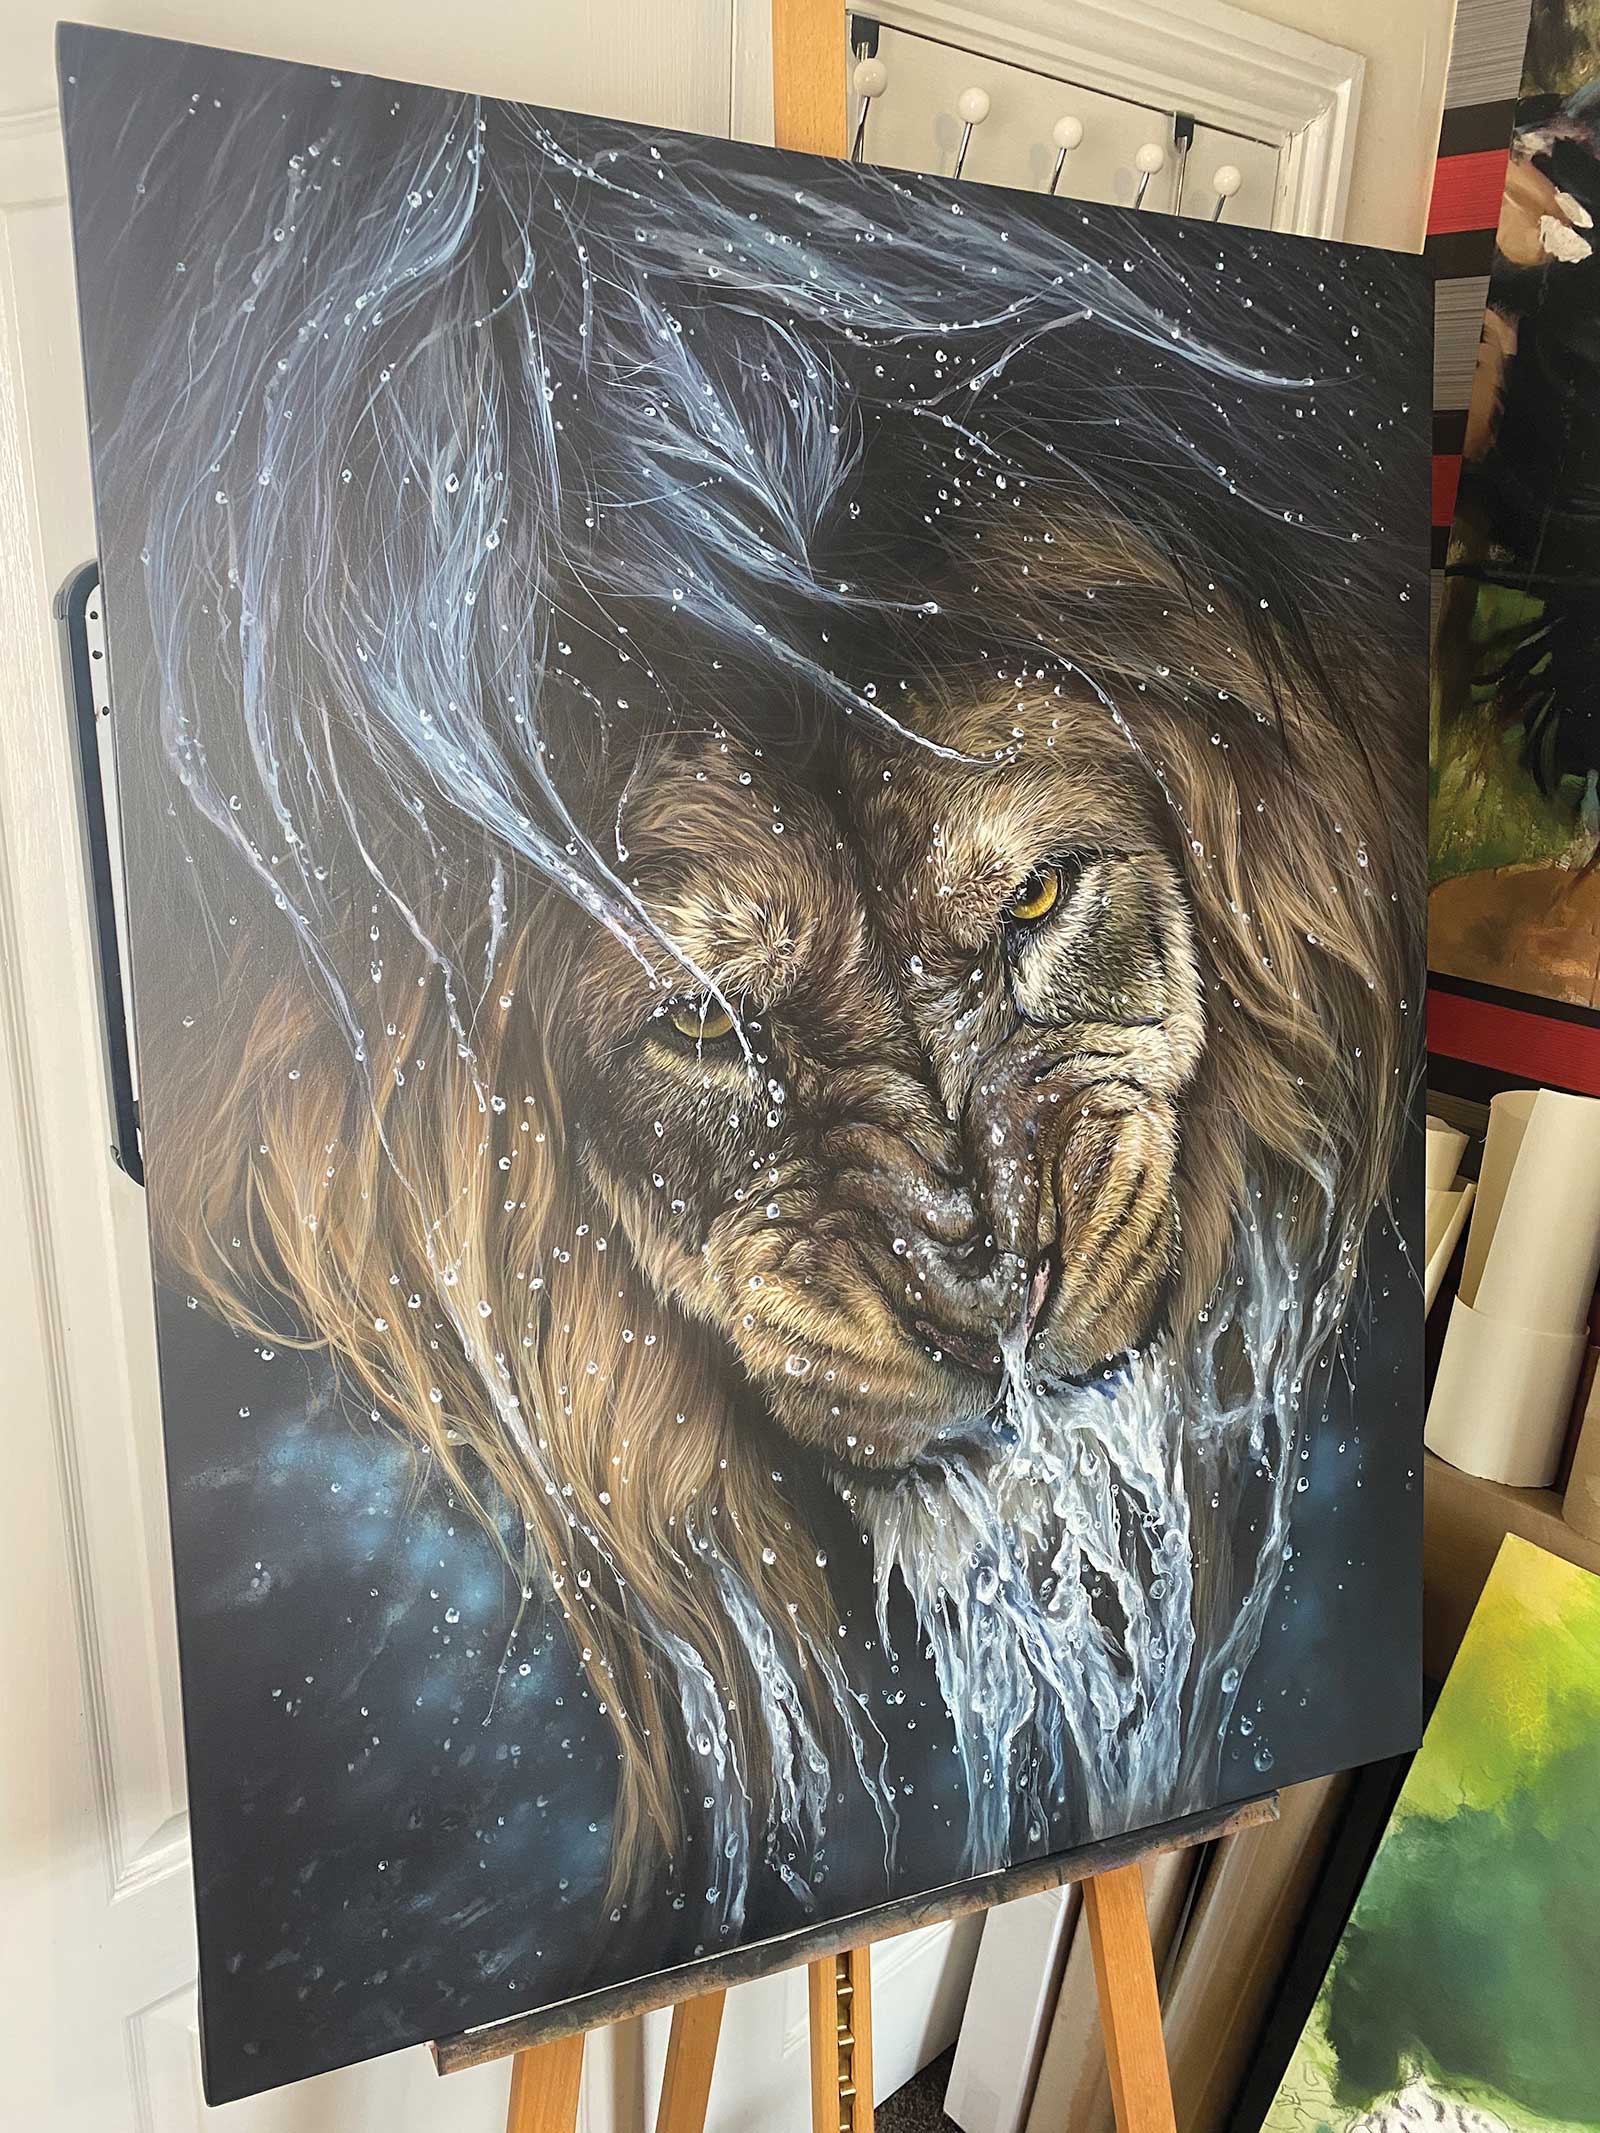 Stage 5
Stage 5 Letting it Rest
I get to a stage of completion that I am happy with then stop and step back from the painting for a few days. I make notes of improvements that need making and adjust them after about a week away from the piece.
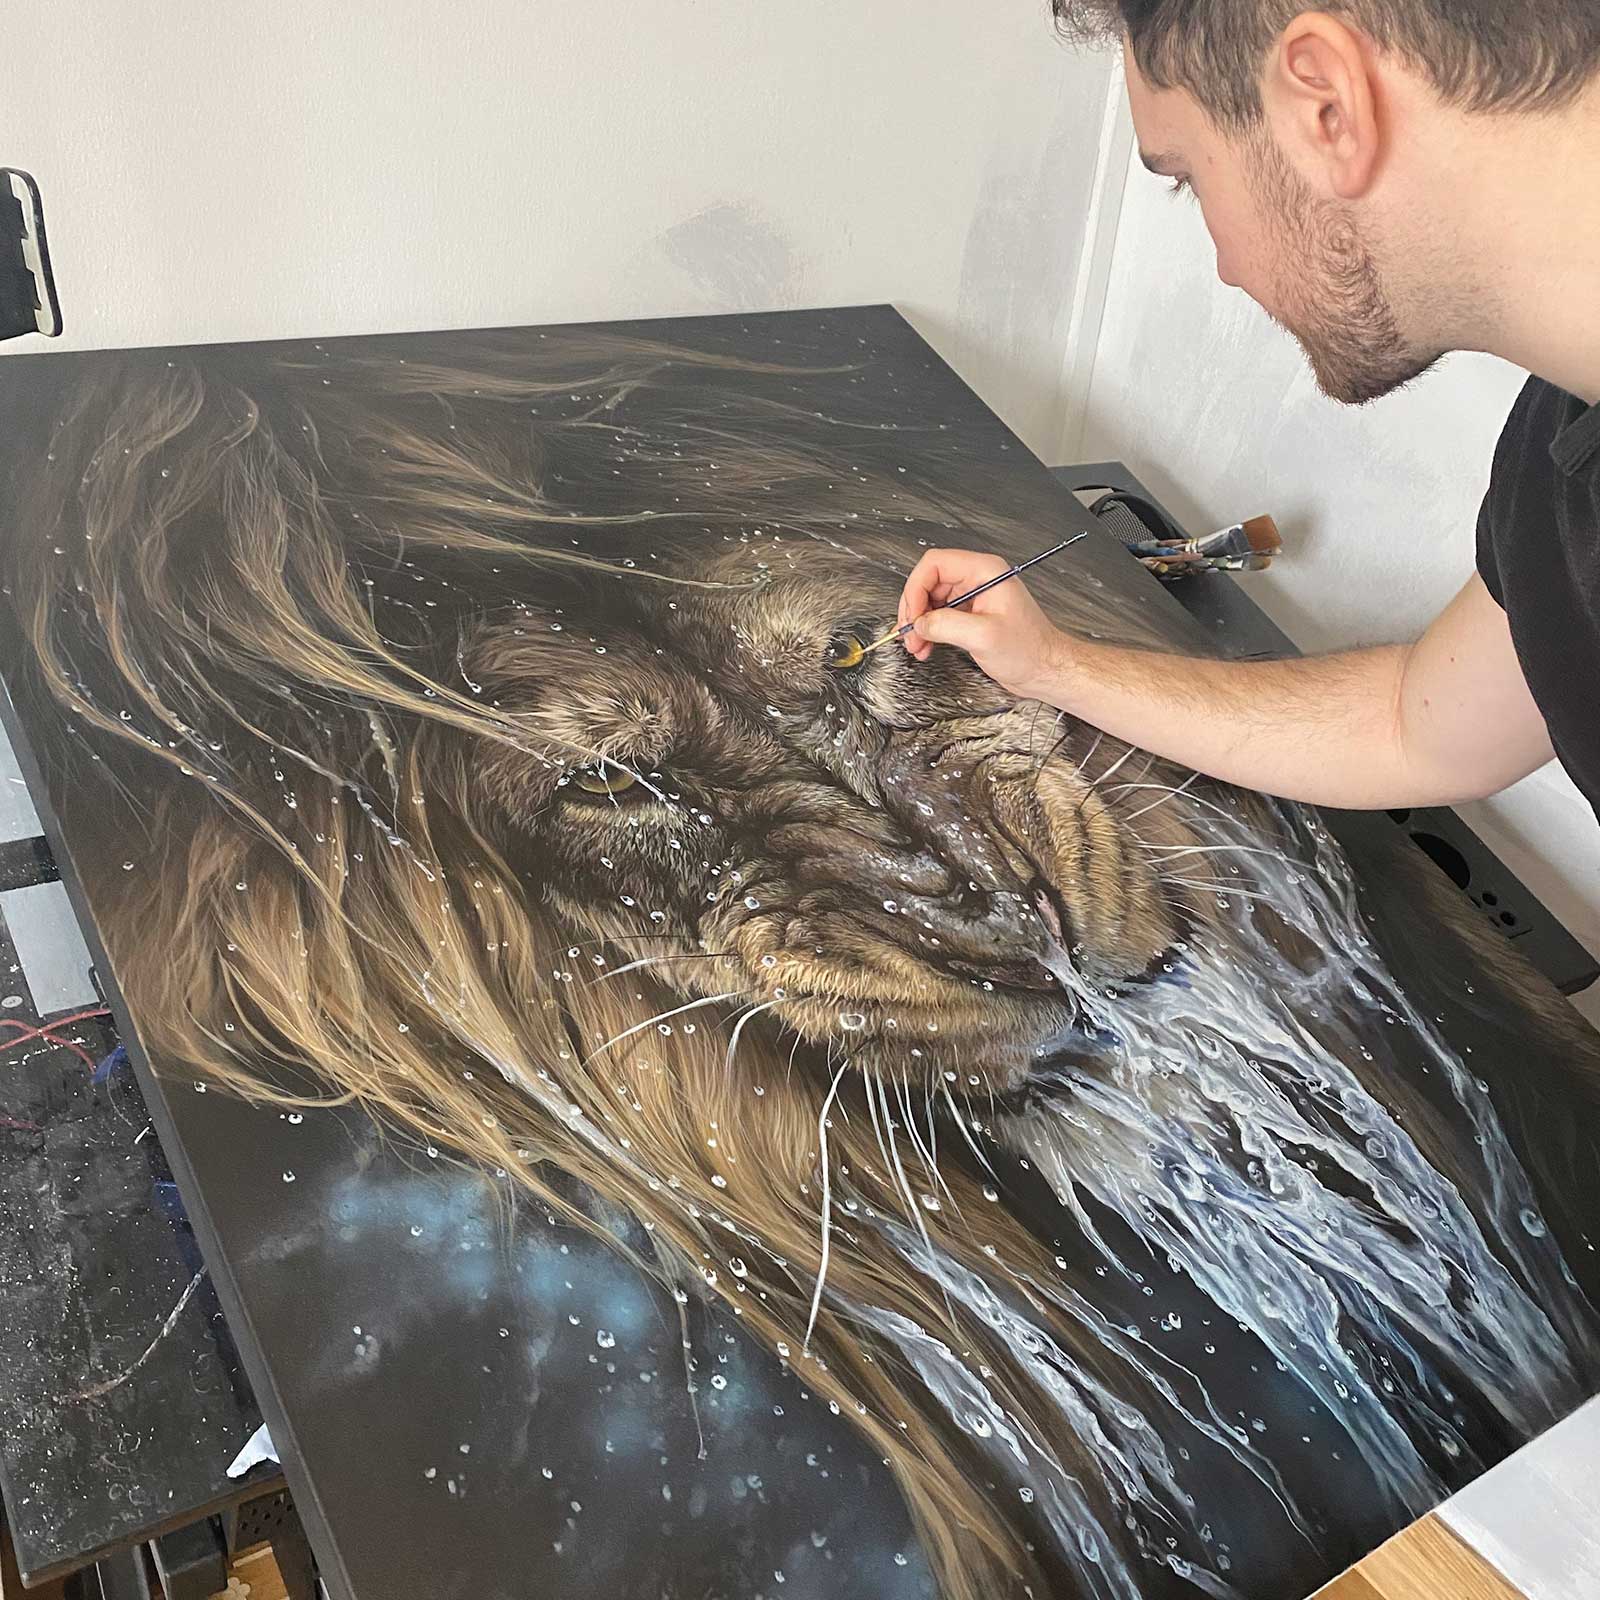 Stage 6
Stage 6 Finishing Touches
The final adjustments are usually to do with colors or form. Both of which are easily fixed with some layers of glazing. Then it’s just the final details like the highlight of the eyes and the whiskers, which I do with a sword liner brush. The reference photo for this piece was used with permission from Eric Esterle.
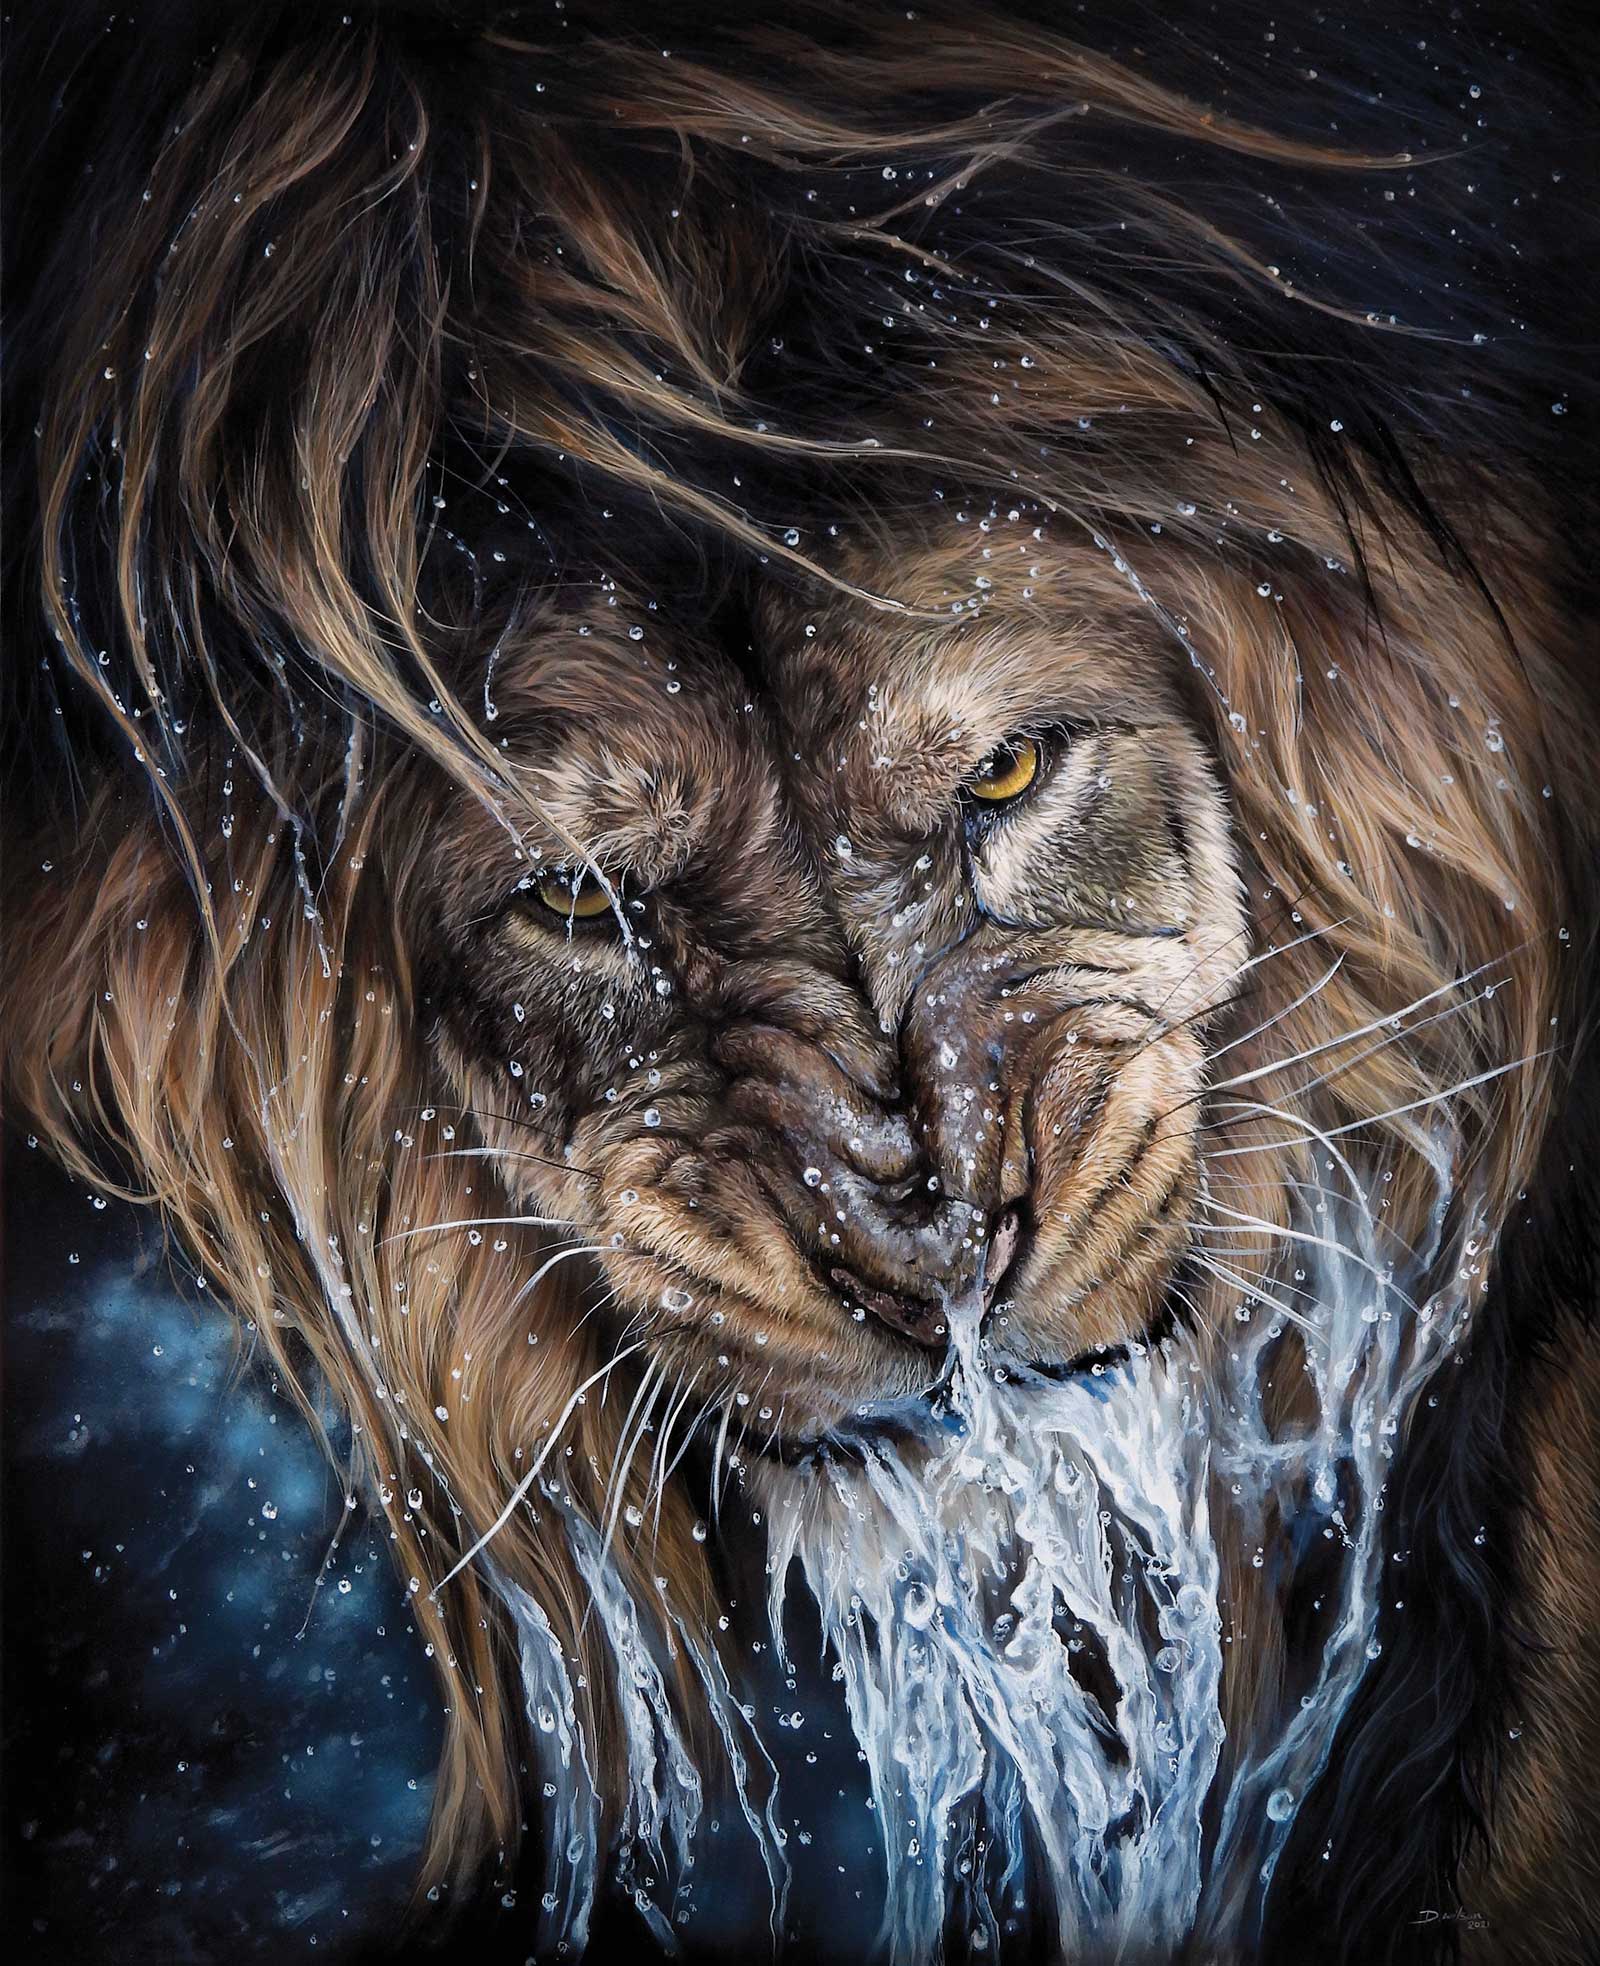 Stage 7
Stage 7 Finished Artwork
Do not disturb, acrylic on canvas, 39 x 31½" (100 x 80 cm)
See the full process video of this painting by scanning the code.
Charcoal Demo
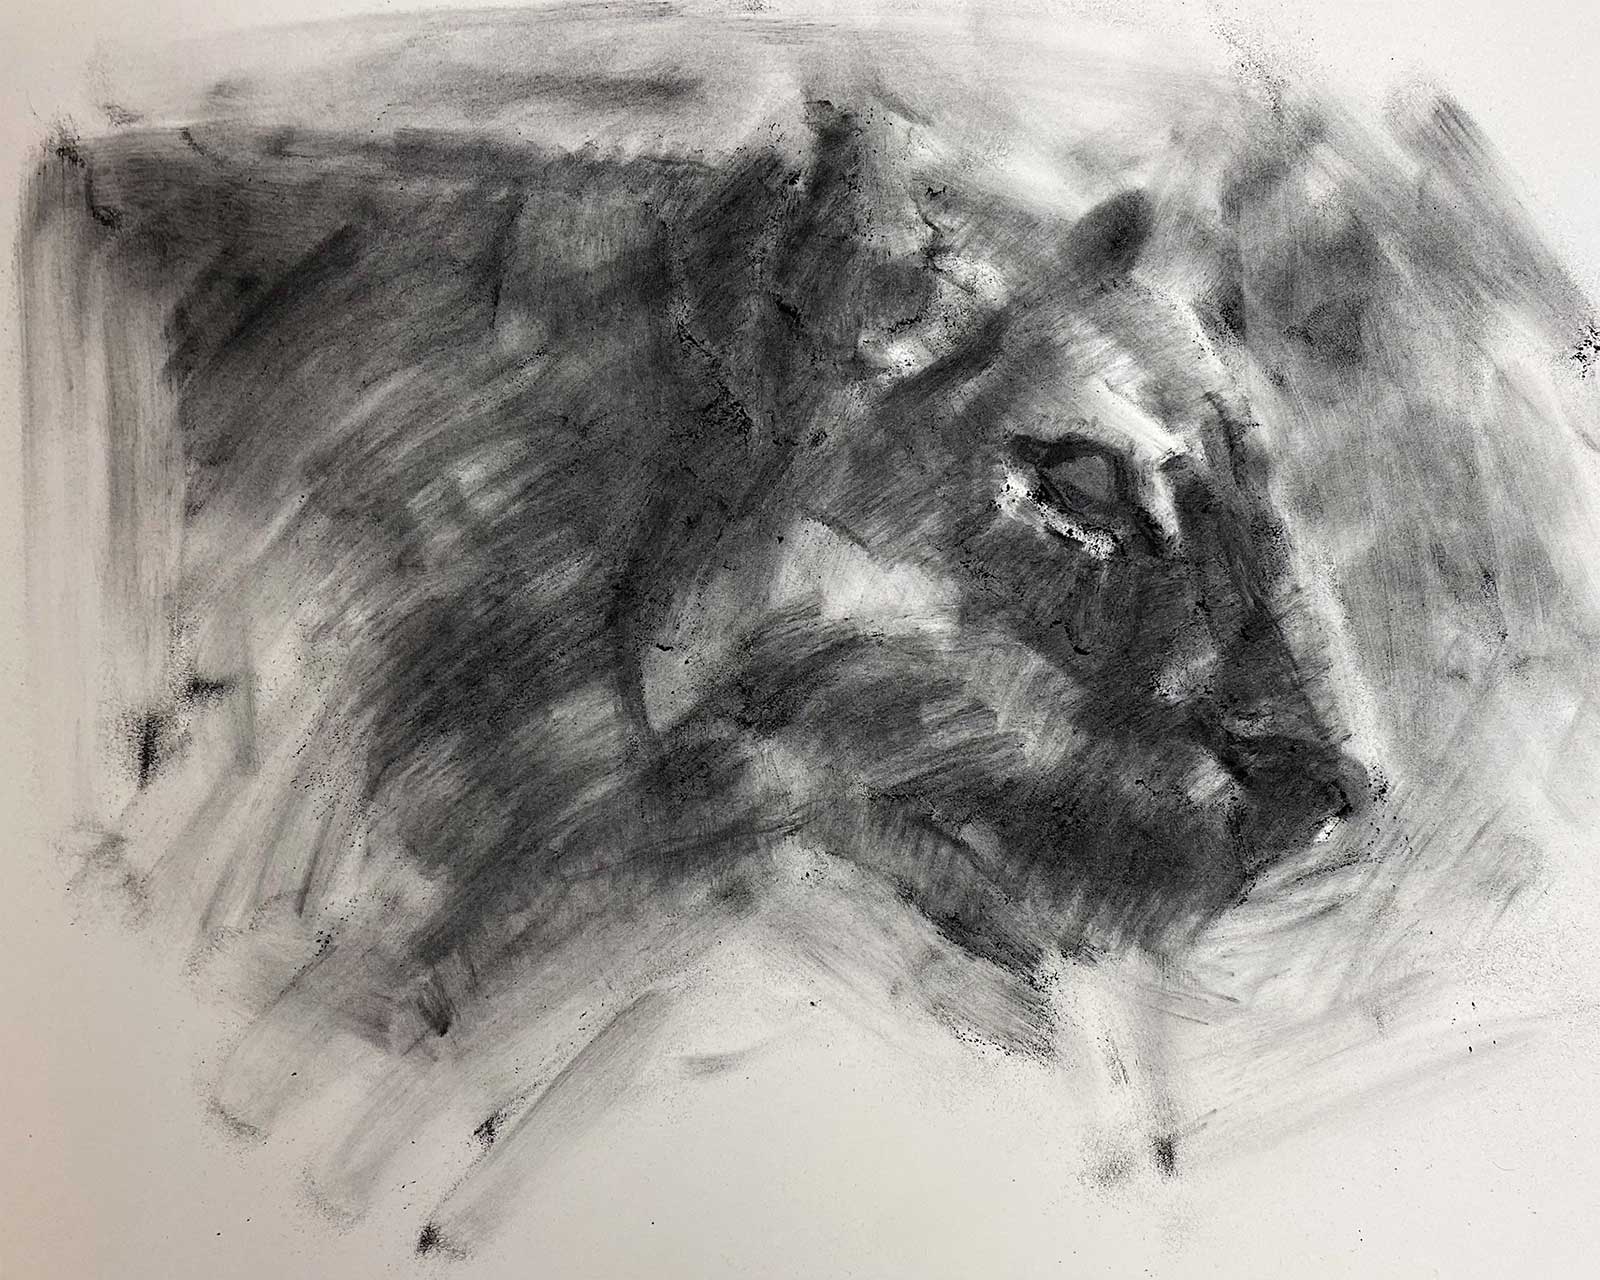
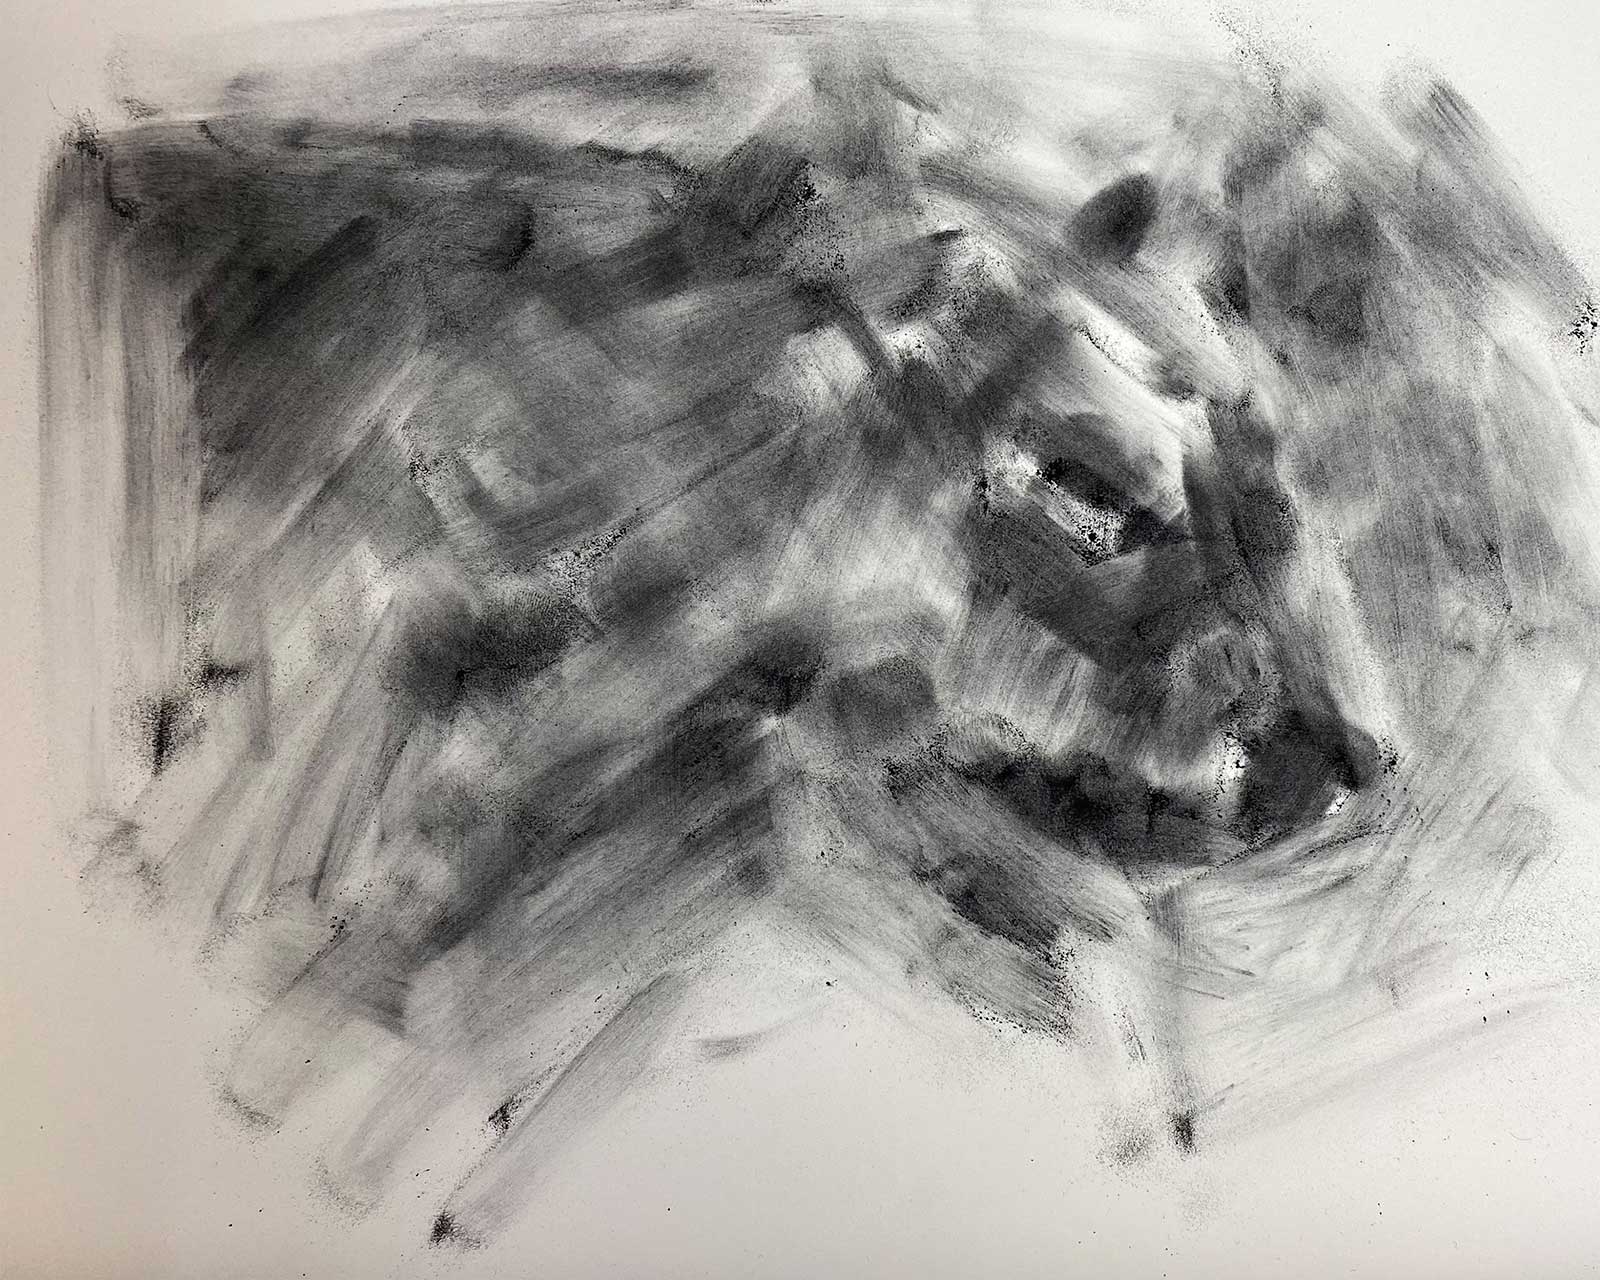 Stage 1
Stage 1 The Block In
I use a charcoal pouch and charcoal powder to block in the basic shapes and structures of the subject. I look to establish the mid tones and the areas of shadow whilst leaving the highlighted areas empty.
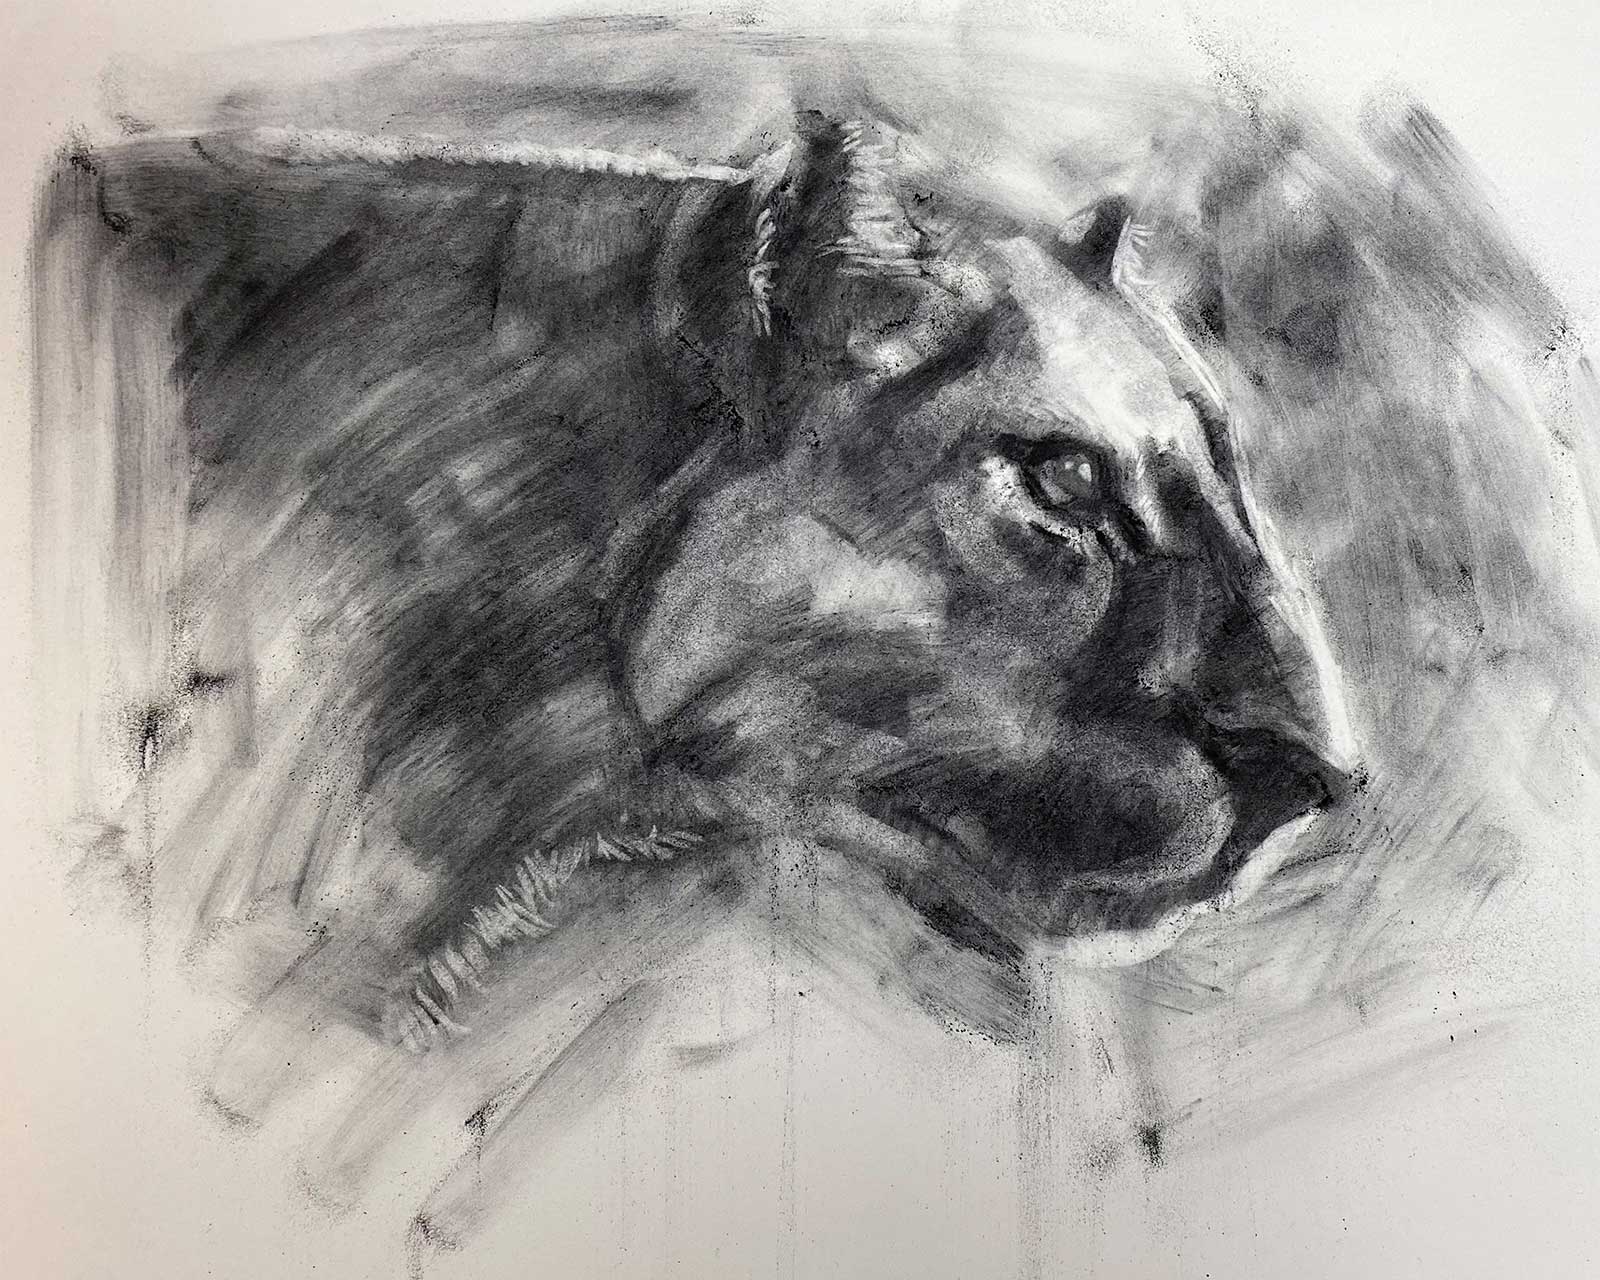
 Stage 2
Stage 2 The Drawing Stage
I use a blending stump and more charcoal powder to reinforce the drawing. I try to create more form by emphasizing the shadows and structures of the face.
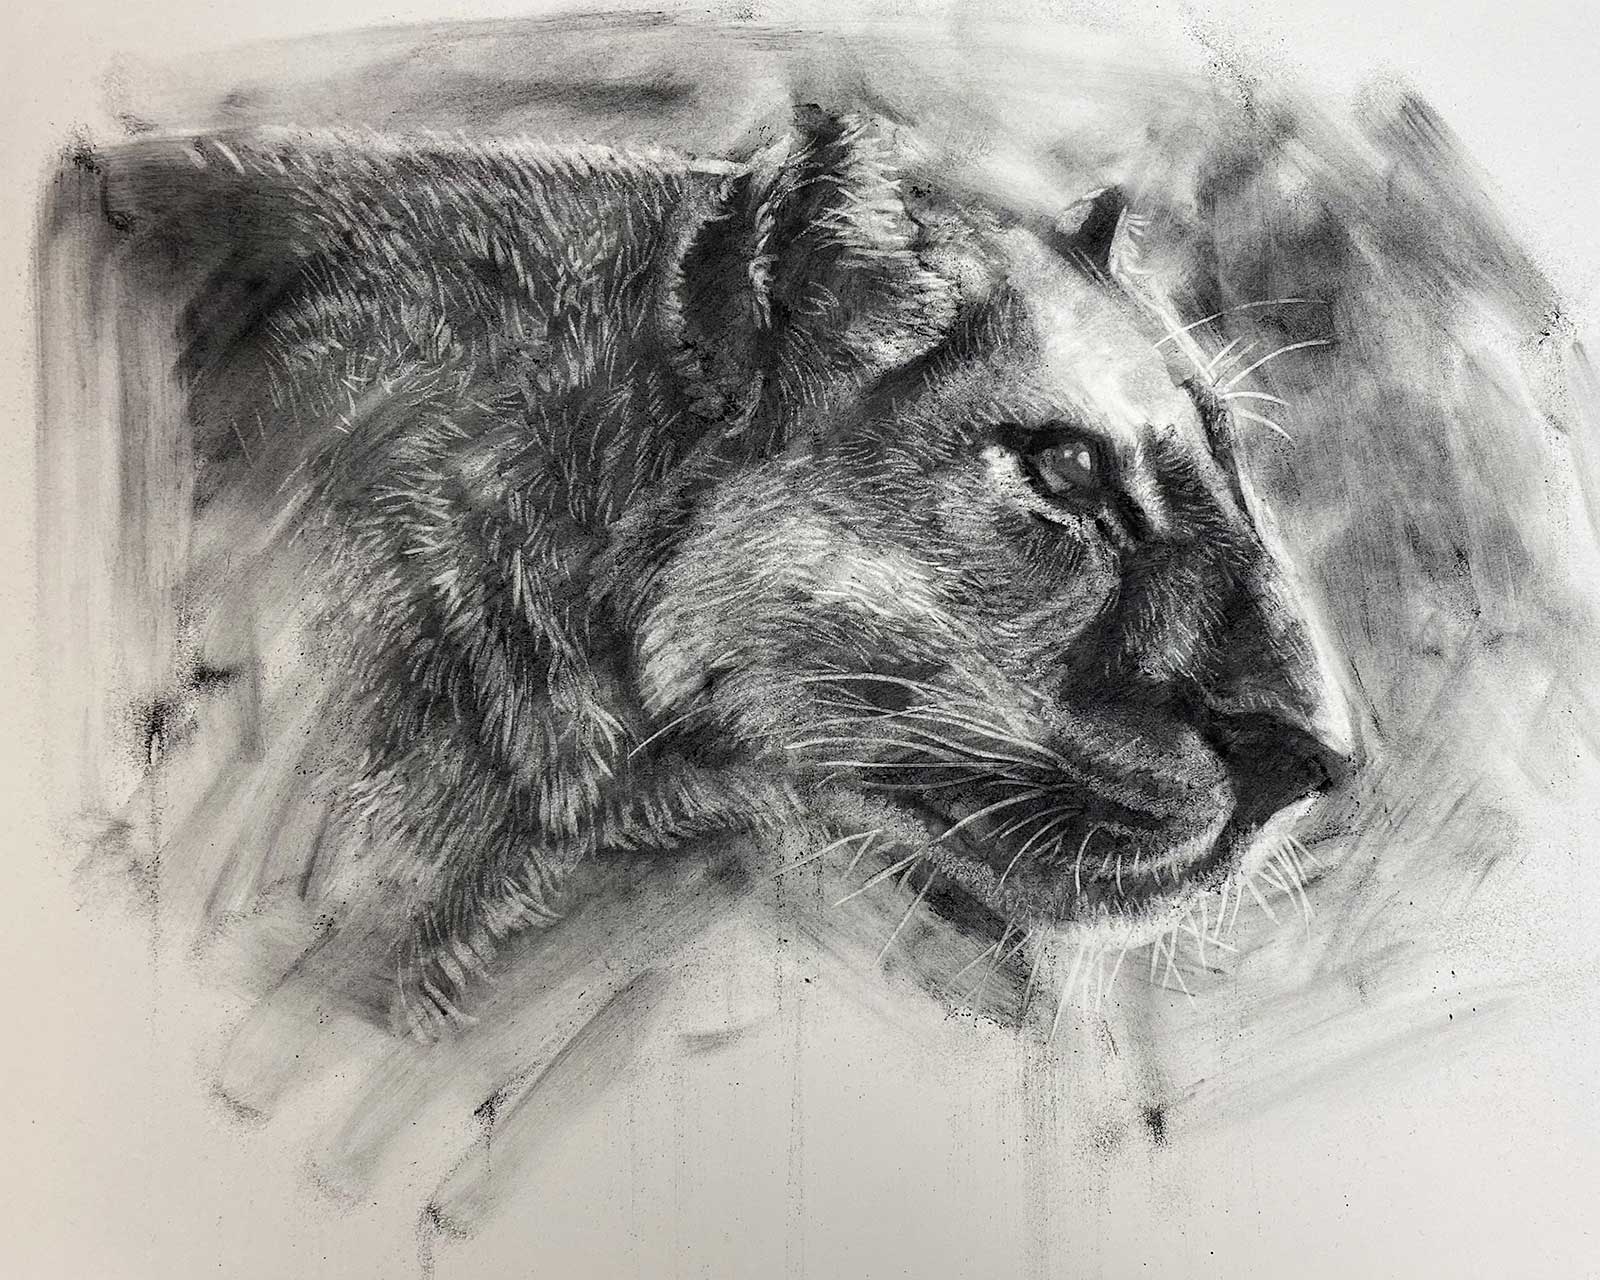
 Stage 3
Stage 3 Pulling out the Highlights
Next I use a putty eraser to establish the highlights and remove charcoal from the paper’s surface. At this point I am just looking for the larger shapes rather than focusing on the details.
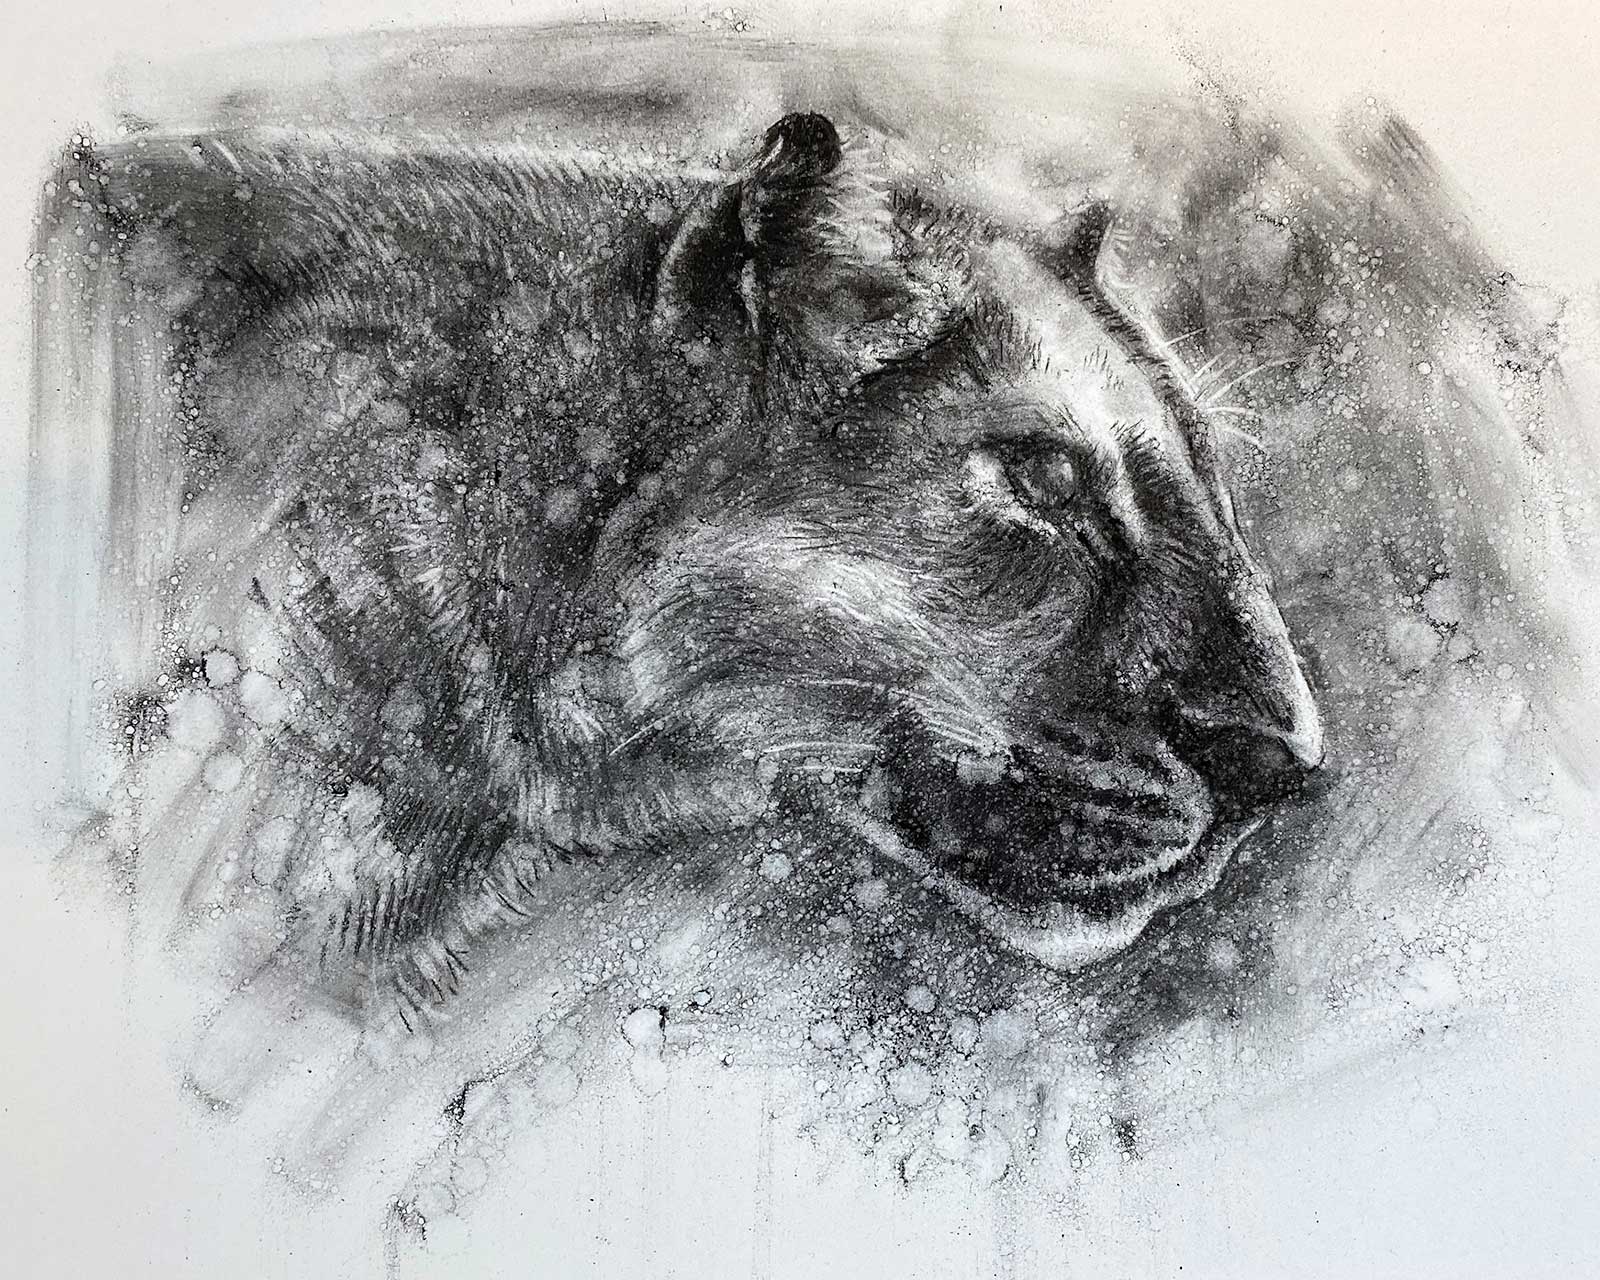
 Stage 4
Stage 4 Erasing the Details
I shape the putty eraser into a fine point and begin to remove the charcoal to add some details of the fur. I knead the eraser in my hand every few marks to keep it clean so it removes as much charcoal as possible.
 Stage 5
Stage 5 Abstract Marks
I like to add more interest to my drawings by adding abstract marks. I do this by spraying acetone over the surface of the paper. This creates abstract splashes and acts to fix the charcoal to the surface. I then seal the drawing with a fixative spray.
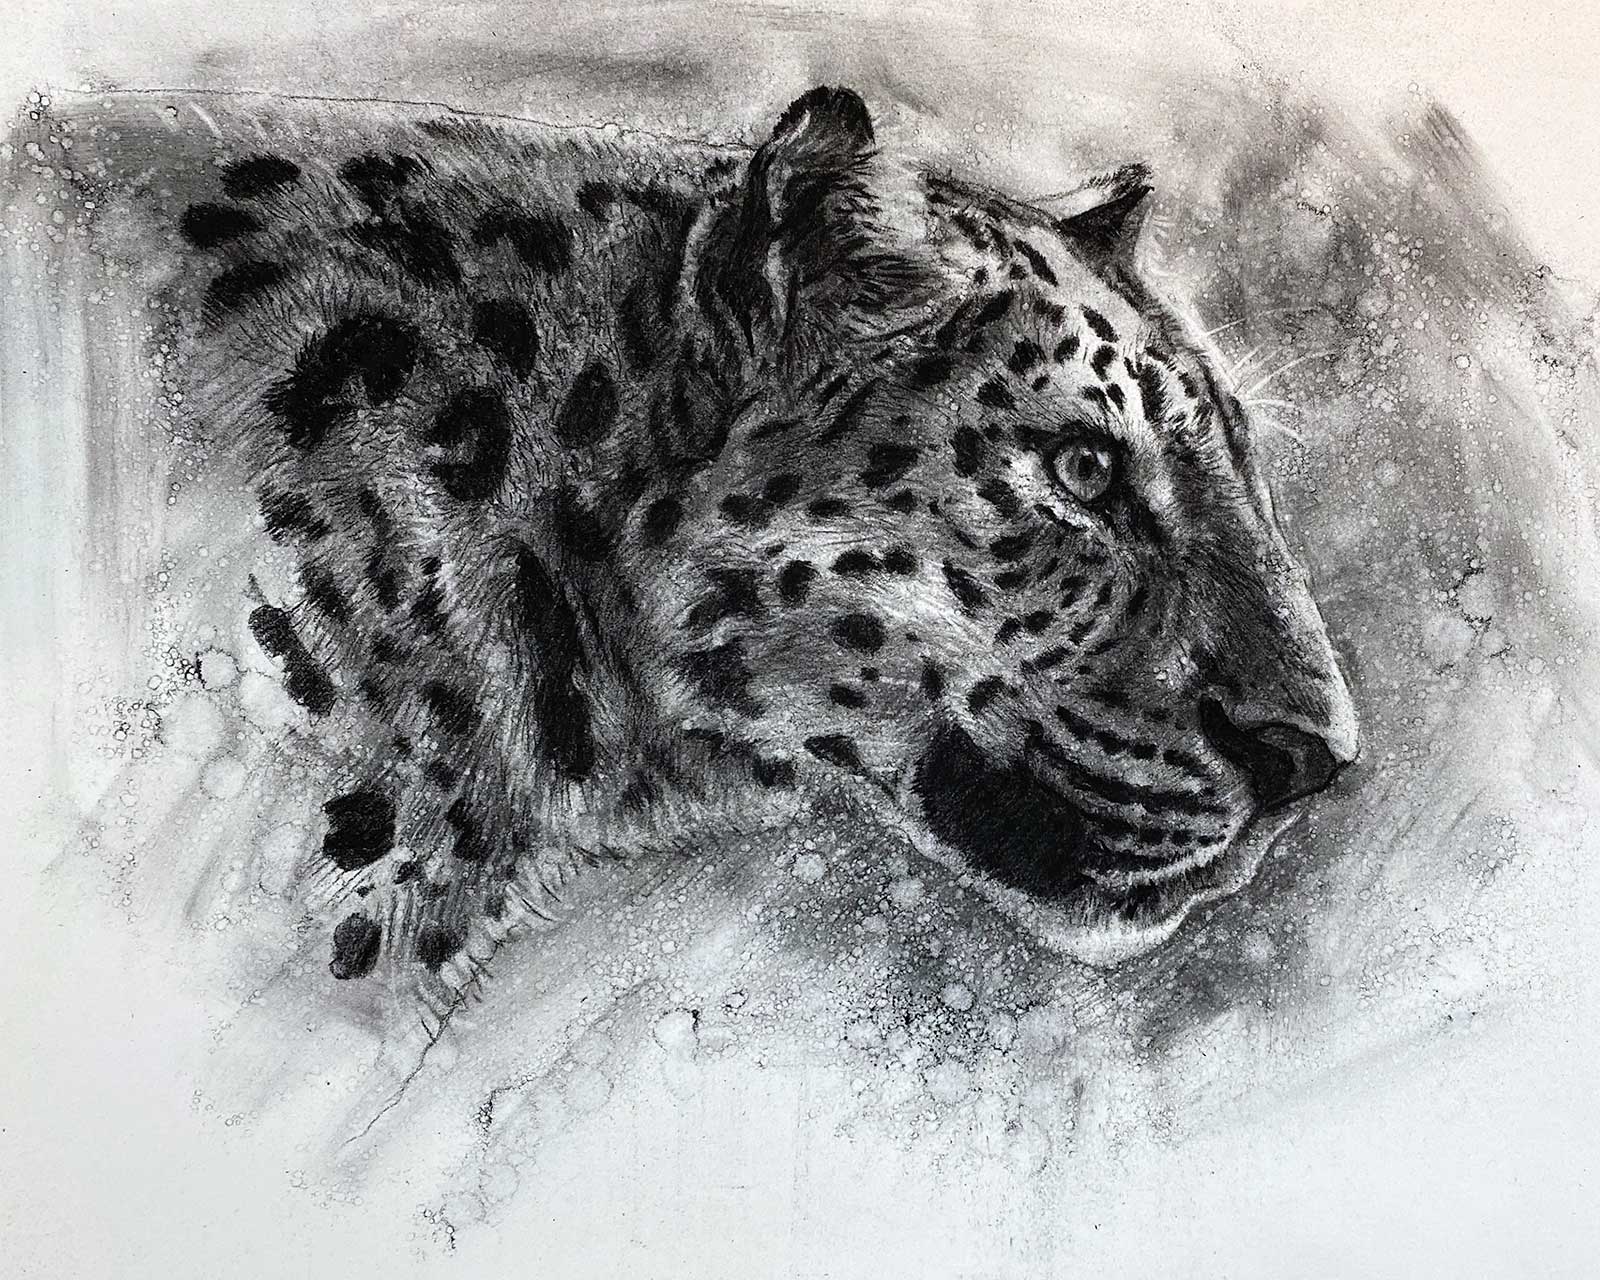 Stage 6
Stage 6 The Darkest Details
I use a charcoal pencil to add the darker details around the eyes, nose, mouth and the spots. I also add in some smaller strokes for the darker regions of fur. I will then seal the drawing again.
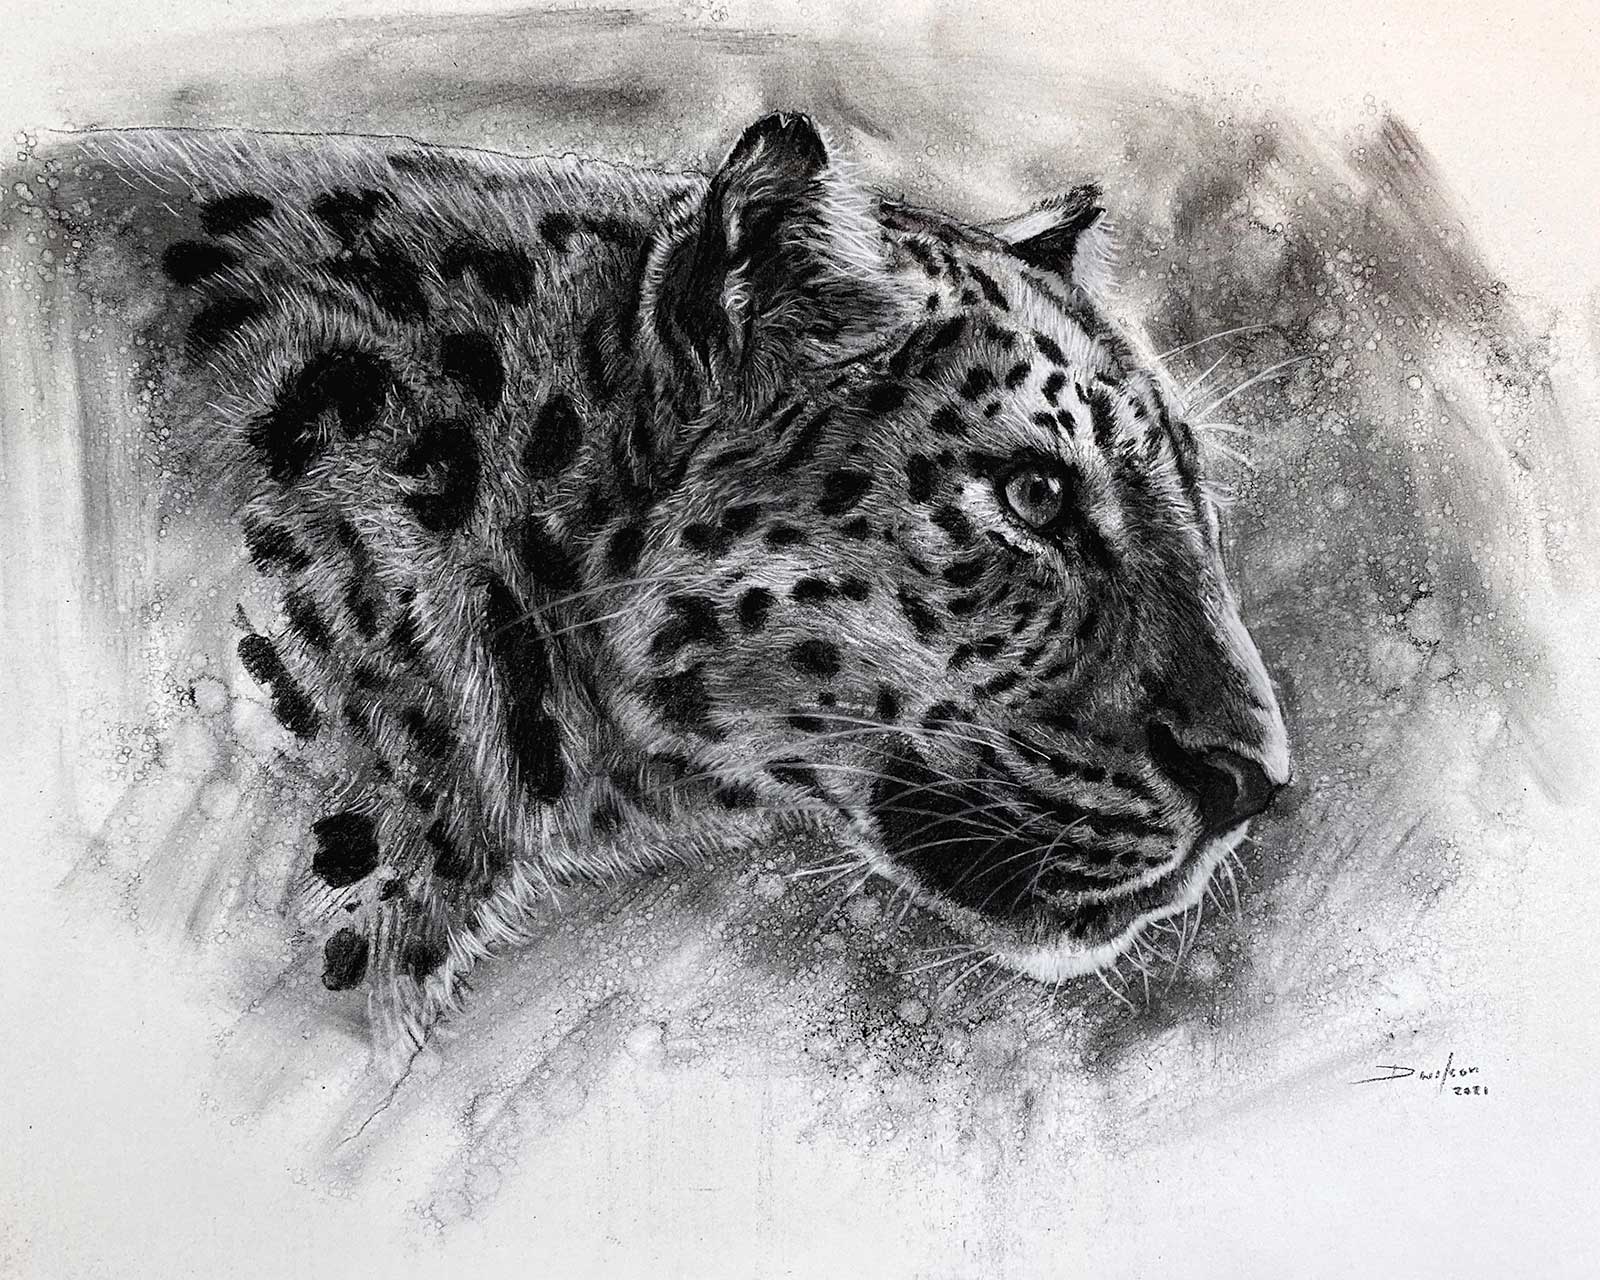 Stage 7
Stage 7 The Lightest Details
Leopard Sketch, charcoal on paper, 14 x 20" (35 x 50 cm)
The final stage is to add the lightest details. To do this I use a white pastel pencil and pick out the highlights on the fur, eyes, nose, mouth and whiskers. I find it is this final step that really brings the subject to life.