


I work with different mediums, including watercolor, acrylics, charcoal and others—but watercolor has always been my favorite. If one knows the right techniques, then there is no better medium that can create more magical expression than watercolor. Because of its transparent nature, it is considered the most difficult among all the existing painting mediums. But, trust me, acknowledging proper strategies can make you completely fall in love with this medium.
Over the years of practicing watercolor, I understood that it is all about the planning one should make before even putting the first brushstroke on paper. Since the medium is transparent and it is very unforgiving in nature, we will not get many chances to correct the mistakes. In this article, I will share some of my thoughts as to how to make a proper plan for a watercolor painting.
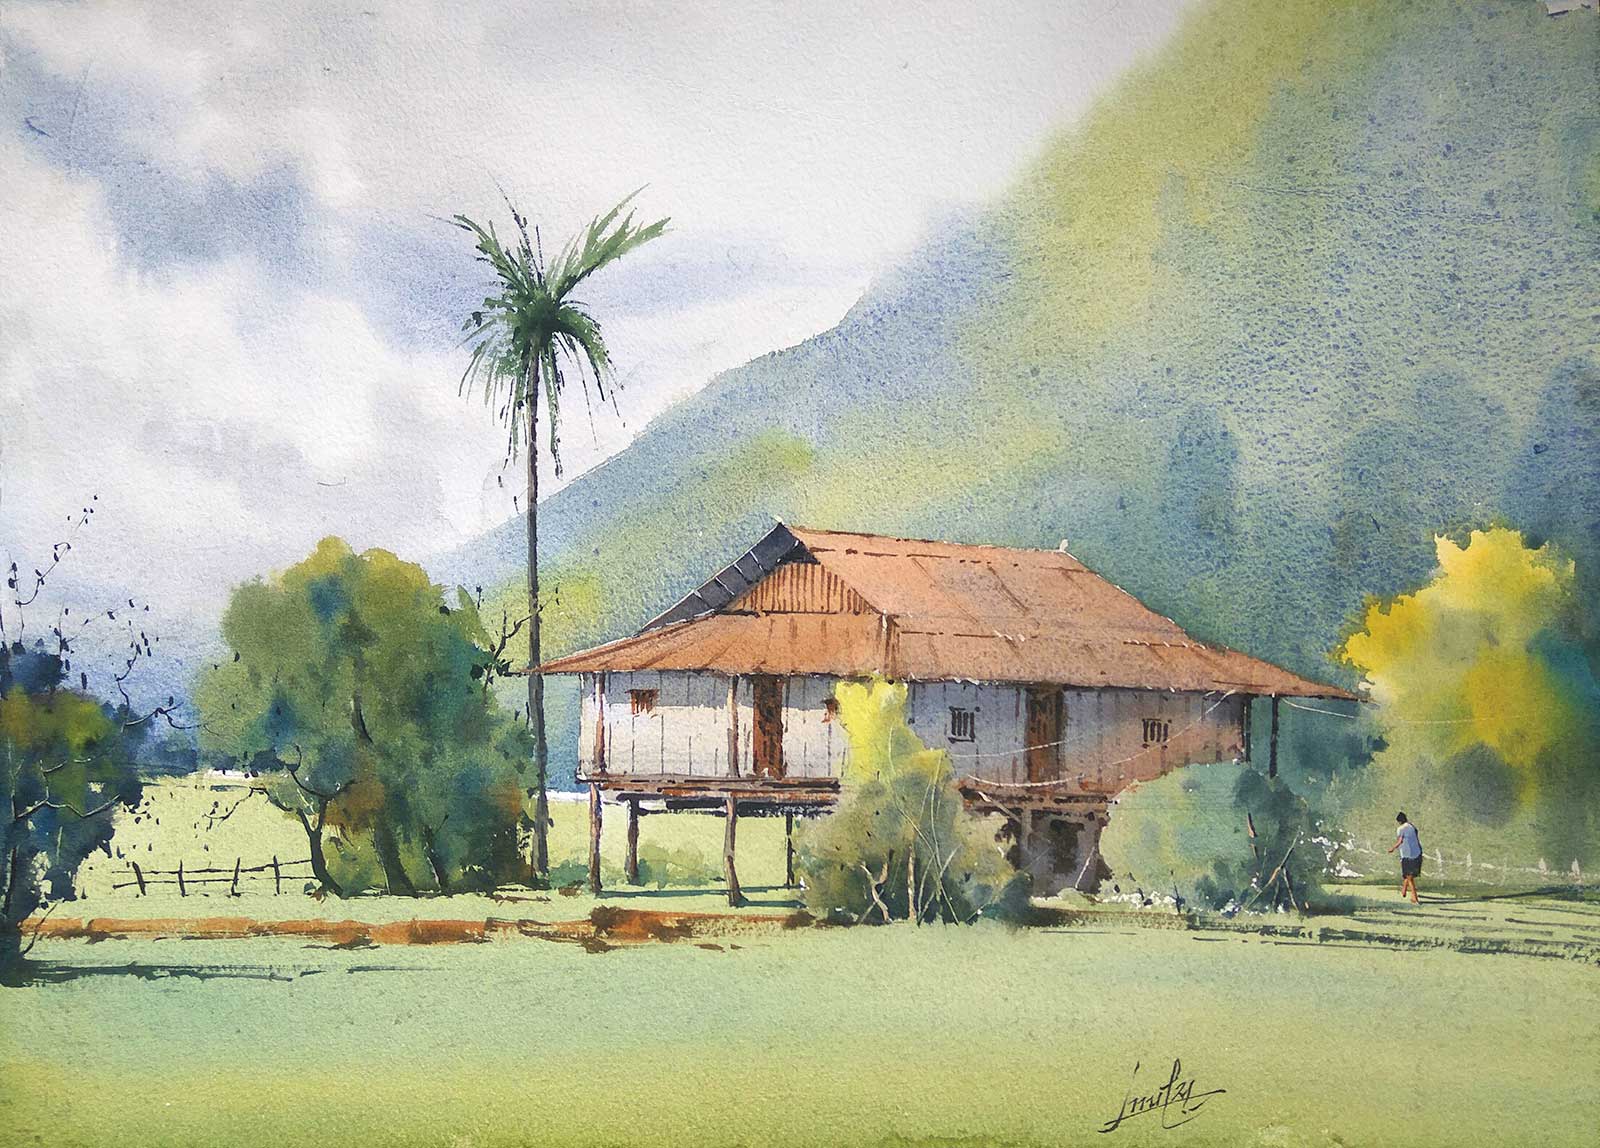
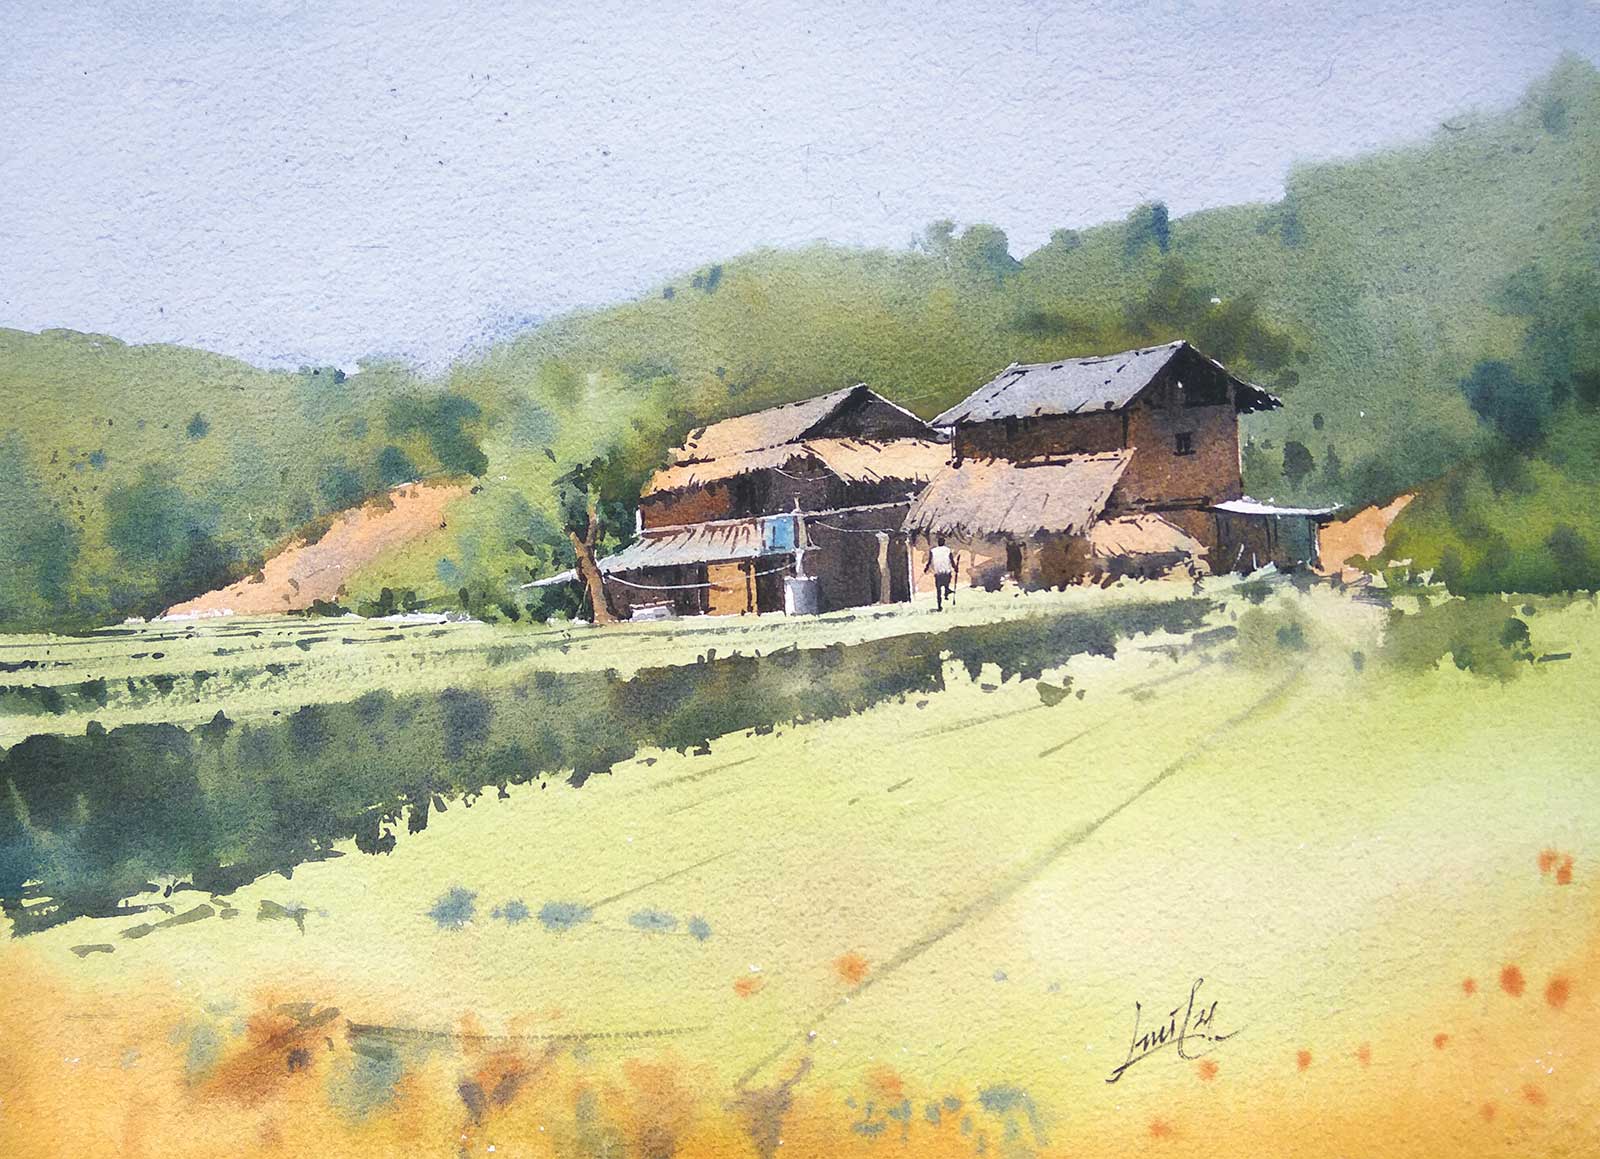 Immersed in the nature, watercolor on paper, 11 x 15" (28 x 38 cm) I belong to a small village, where people live close to the farming lands, surrounded by greenery. So easily I get attracted to painting these subjects. In this painting, I tried to keep the foreground very simple to grab the attention more in those lovely houses. The background was created with a variegated wash by balancing the tonal values and the color temperature. A small figure was painted to complete the story.
To me, planning for a watercolor painting consists of three major aspects: Identifying the elements to paint among all we see and making a rough sketch with minimal shading to have a complete idea about the subject; deciding the order of painting and getting the color puddles prepared in the palette to go for an uninterrupted wash; and understanding the stages to paint with confidence.
Let us go one by one to have a complete idea. So, when we look at any subject to paint, which may be a photograph or a scene from a live location, there will be a lot of elements, which can’t be ignored so easily. This is also true that we can’t paint all of them. In that case we should selectively look at those elements which would help us to create a beautiful painting. The selection process is completely based on individual choice, which also develops from experience. Selecting the elements can also be decided by doing a few rough sketches.
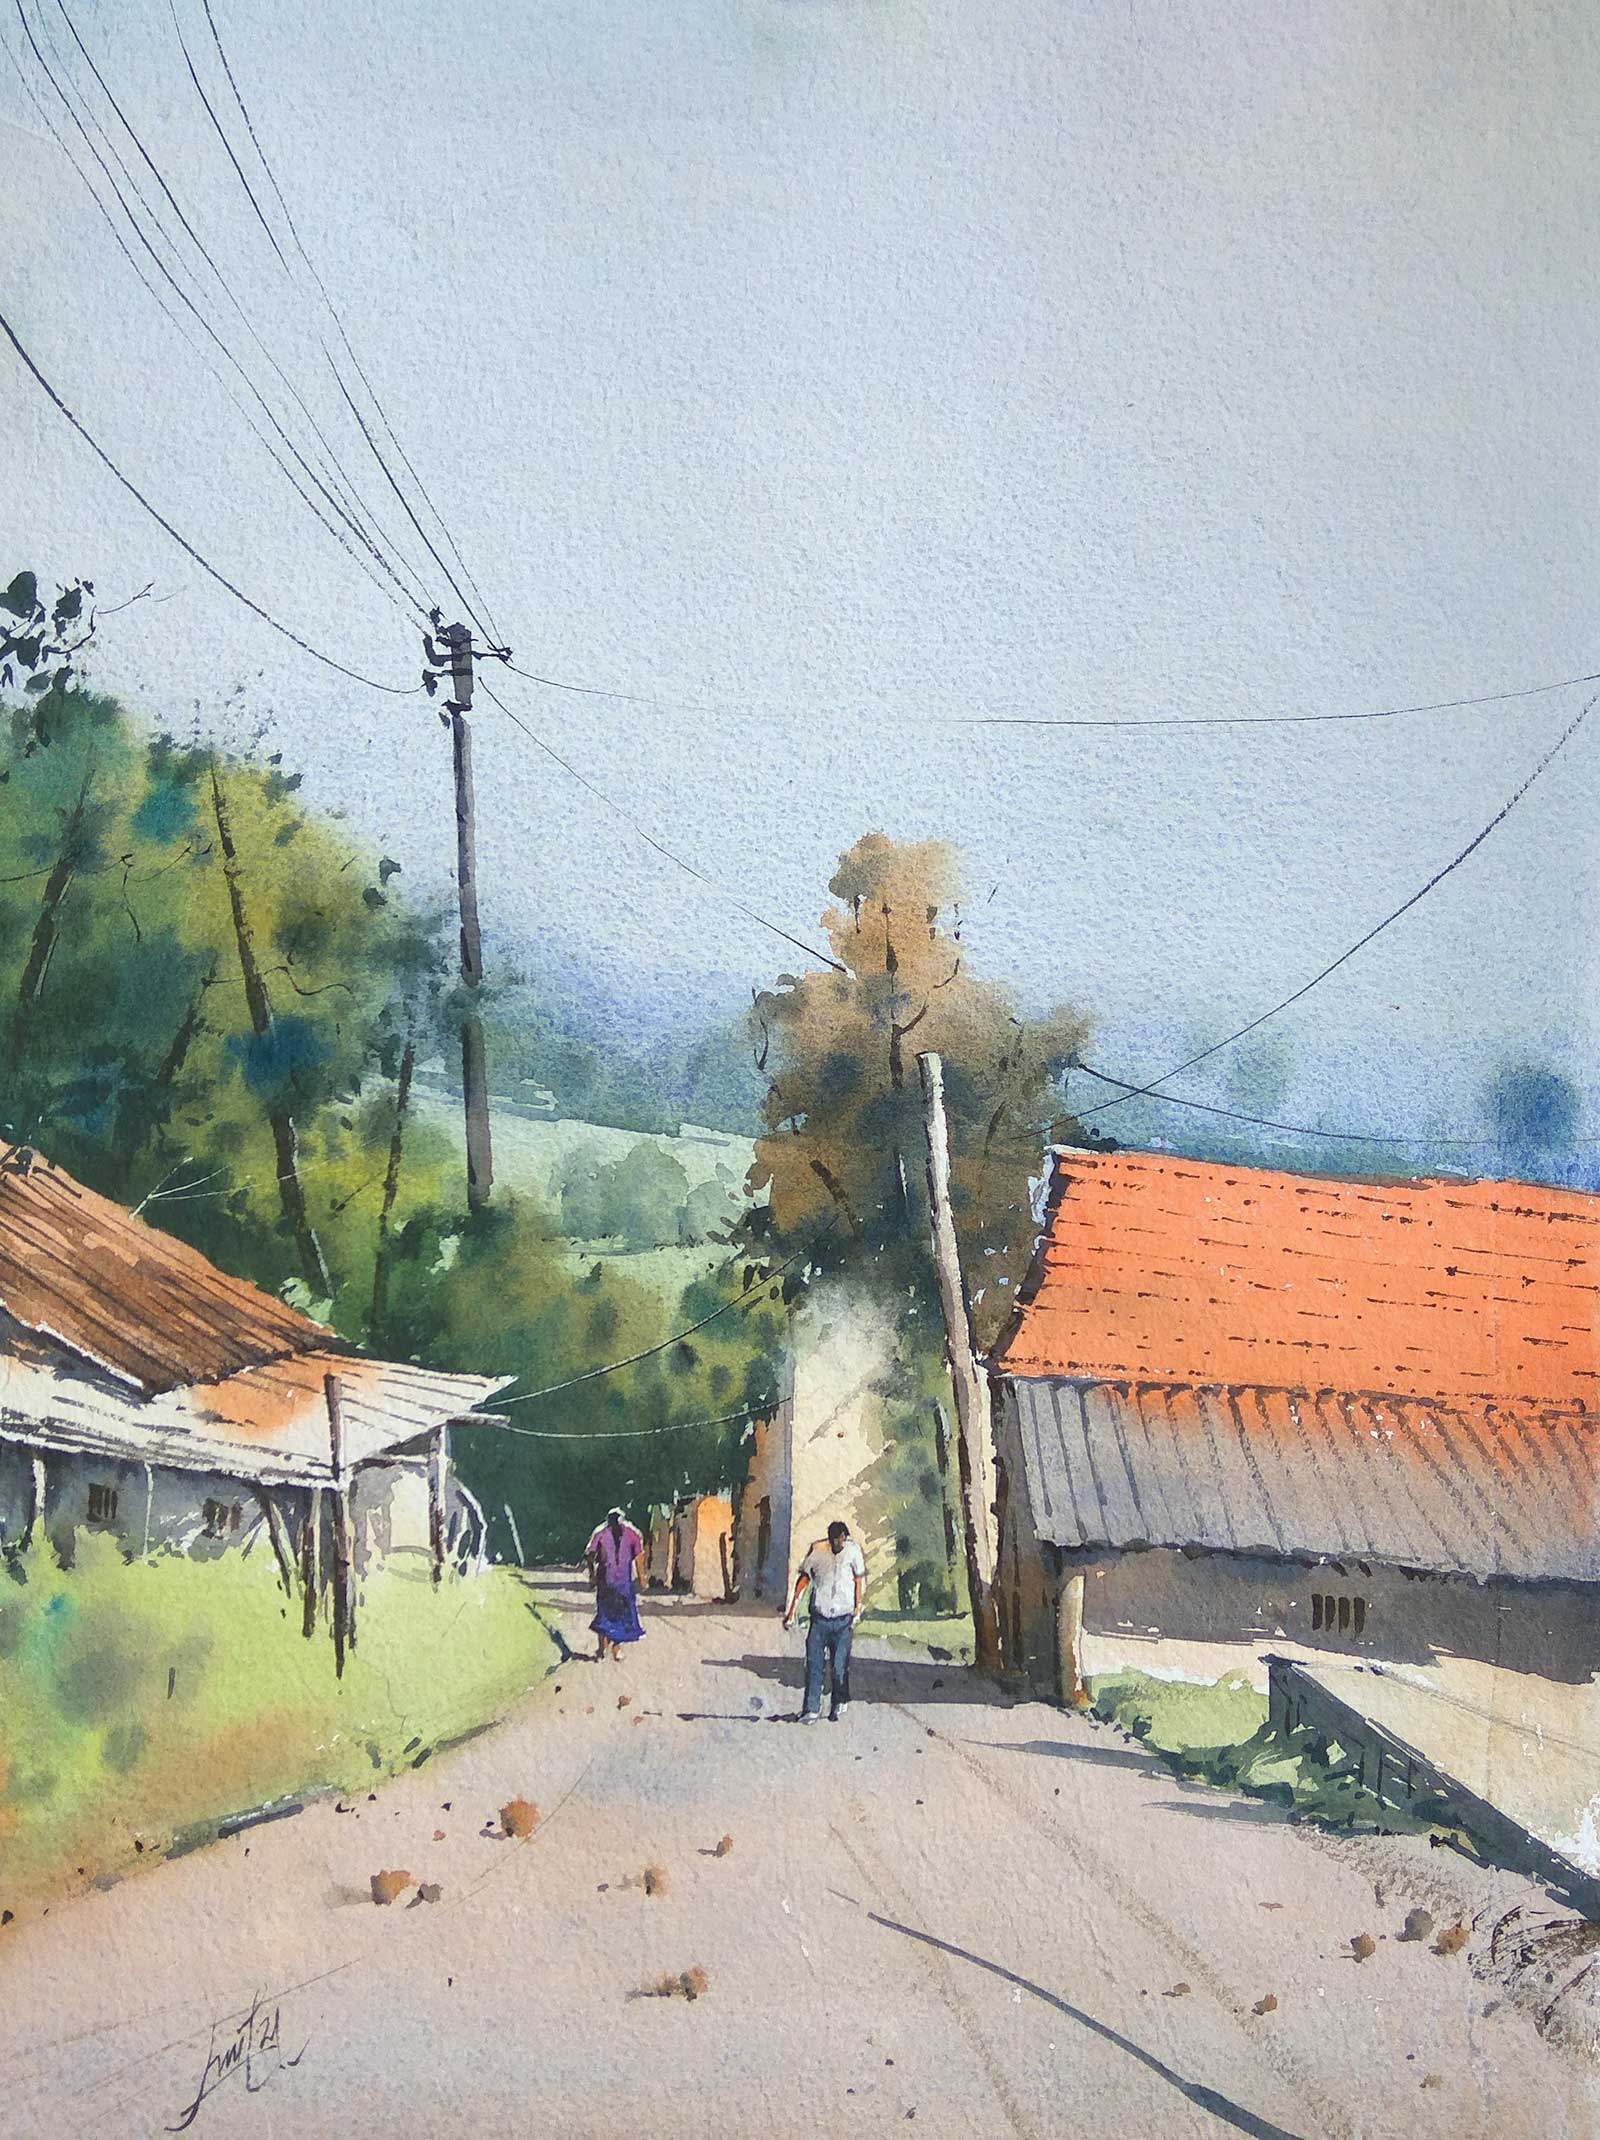
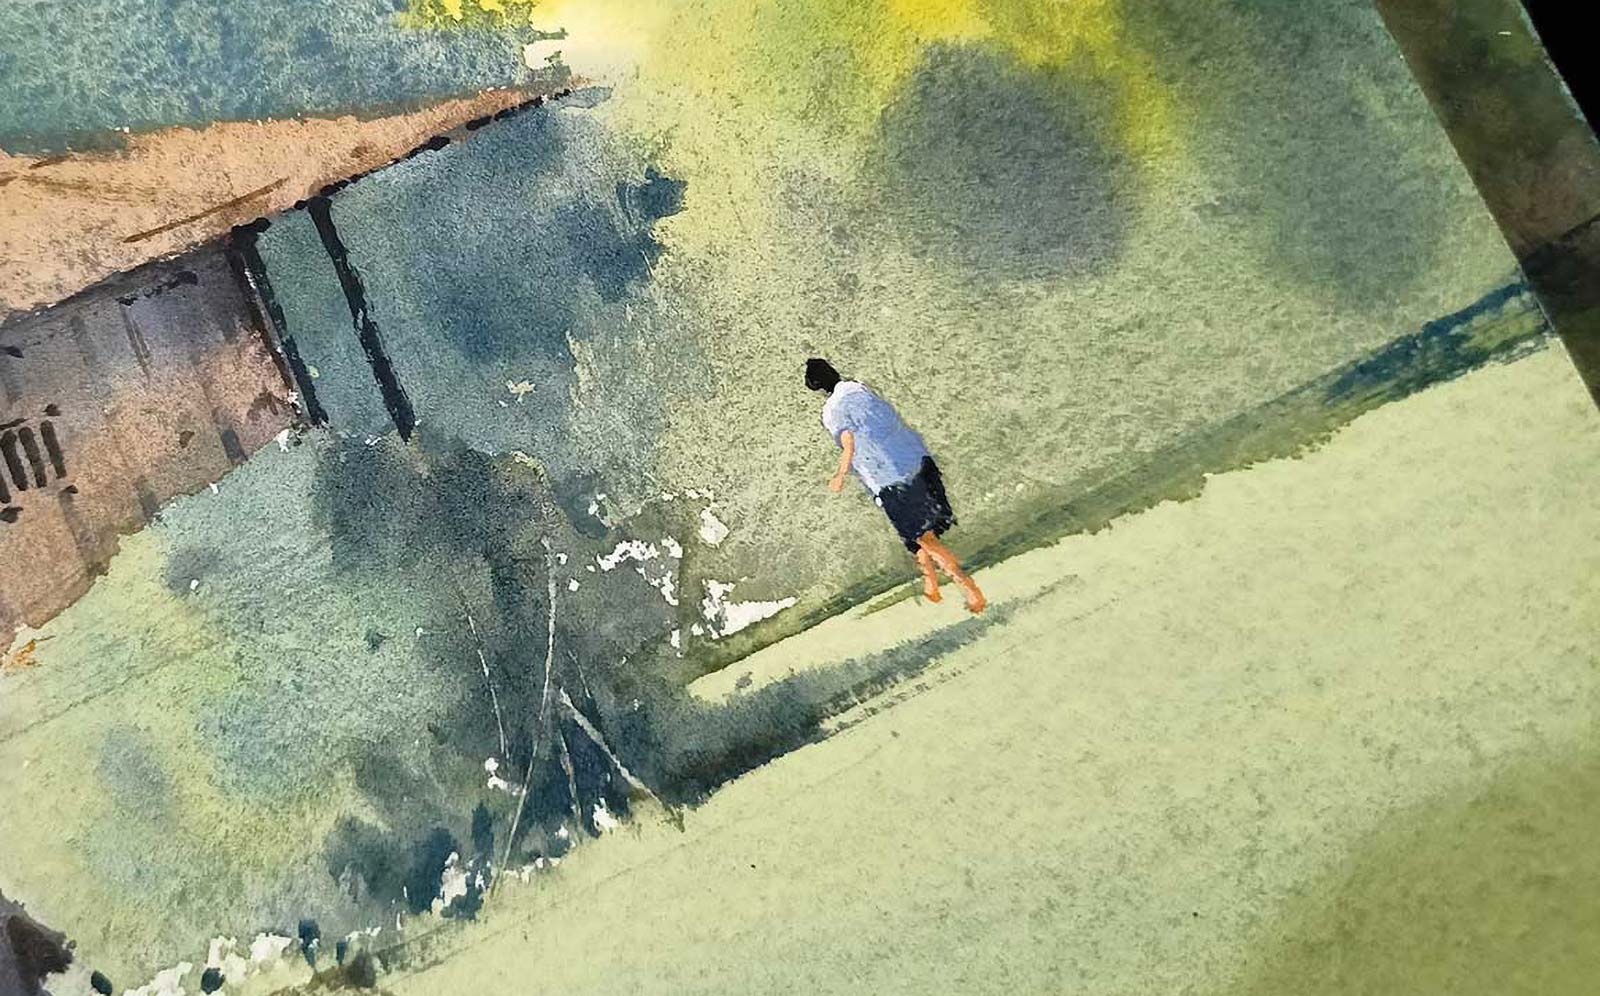
Rural life, watercolor on paper, 15 x 11" (38 x 28 cm) Painting the chaotic and unorganised shapes in watercolor is always a challenge for me and I love accepting that. In such cases, I try to simplify the subject as much as I can, because that helps me to maintain the fluency in my finished painting. I tried to keep the background very soft to grab the attention more on the middle ground and foreground. Connecting all the broken shapes together to create the mood was very satisfactory.
It’s now the time to pick up your brushes and colors to turn that white paper into magic! But before beginning this stage, did we make a proper plan on how to perform? Most of the beginners fail here. They don’t think about the order of painting the elements and how to create an illusion of details. If you go blindly and start painting the objects, you are on the way to ruining it. I believe choosing the right stage of painting is more important than choosing a particular color in the case of a watercolor painting. So, I try to make an order in my mind to complete the layers. Let’s say, I have A, B and C elements in my painting, and I plan to paint A first then B and then C for all the layers. I will also prepare all the possible color puddles in my palette before starting painting element A and so on. This preparation will not only put me on the right track, but also give me enough time to paint before the paper dries. Once this stage is done, I am ready to start.
I believe there is a lot more to understand in watercolor than just to paint. One of the major understandings is to acknowledge the right stage to paint to achieve a certain result. Let’s say we need to create a soft edged shape, so definitely we would paint on a wet surface, but we should understand the degree of wetness to get a particular shape. Keeping all these strategies in mind, the magic will begin to follow.
My Design and Composition Tactics
- I divide the subject into three main working areas—background, middle ground and foreground: If you can see them clearly in your reference, you are halfway done. Because we paint what we see, right? So, it is essential to learn how to see things better to become a better painter. In this reference, the house and all the trees and plants surrounding it are my middle ground, the background is uphill, full of greens, and finally we have the foreground, which has nothing but the grassland. These all can be decided during the rough sketches. To be honest, this task is a bit difficult for live locations but not that much for reference photographs.
- Painting the sub-elements in three main stages: In watercolor, I generally paint any subject in three different stages. I paint the colors of light in my first stage, the second stage is all about the colors of shadows and the third one involves the darkest tones. Now, these stages are the same for every element in a painting. But the process of creating them may vary.
- Painting on my mind: By looking at the subject, I try to mix my colors on a palette. I try to prepare all the necessary color puddles before starting a wash for an element. Once I get satisfied with the tones, I make one judgement about the amount that would be required. So, basically it would be painted in my mind first, then on the paper.
- Take advantage of the wet surface: Wherever possible, I try to use wet-on-wet techniques the most, or use the wet surface until it dries. That helps me to keep my painting clean and the shapes connected. But it should be kept in mind that watercolor fades out when it gets dry, so during painting on wet surfaces using the right tonal value is essential.
My Art in the Making Close to Mai Chau Valley
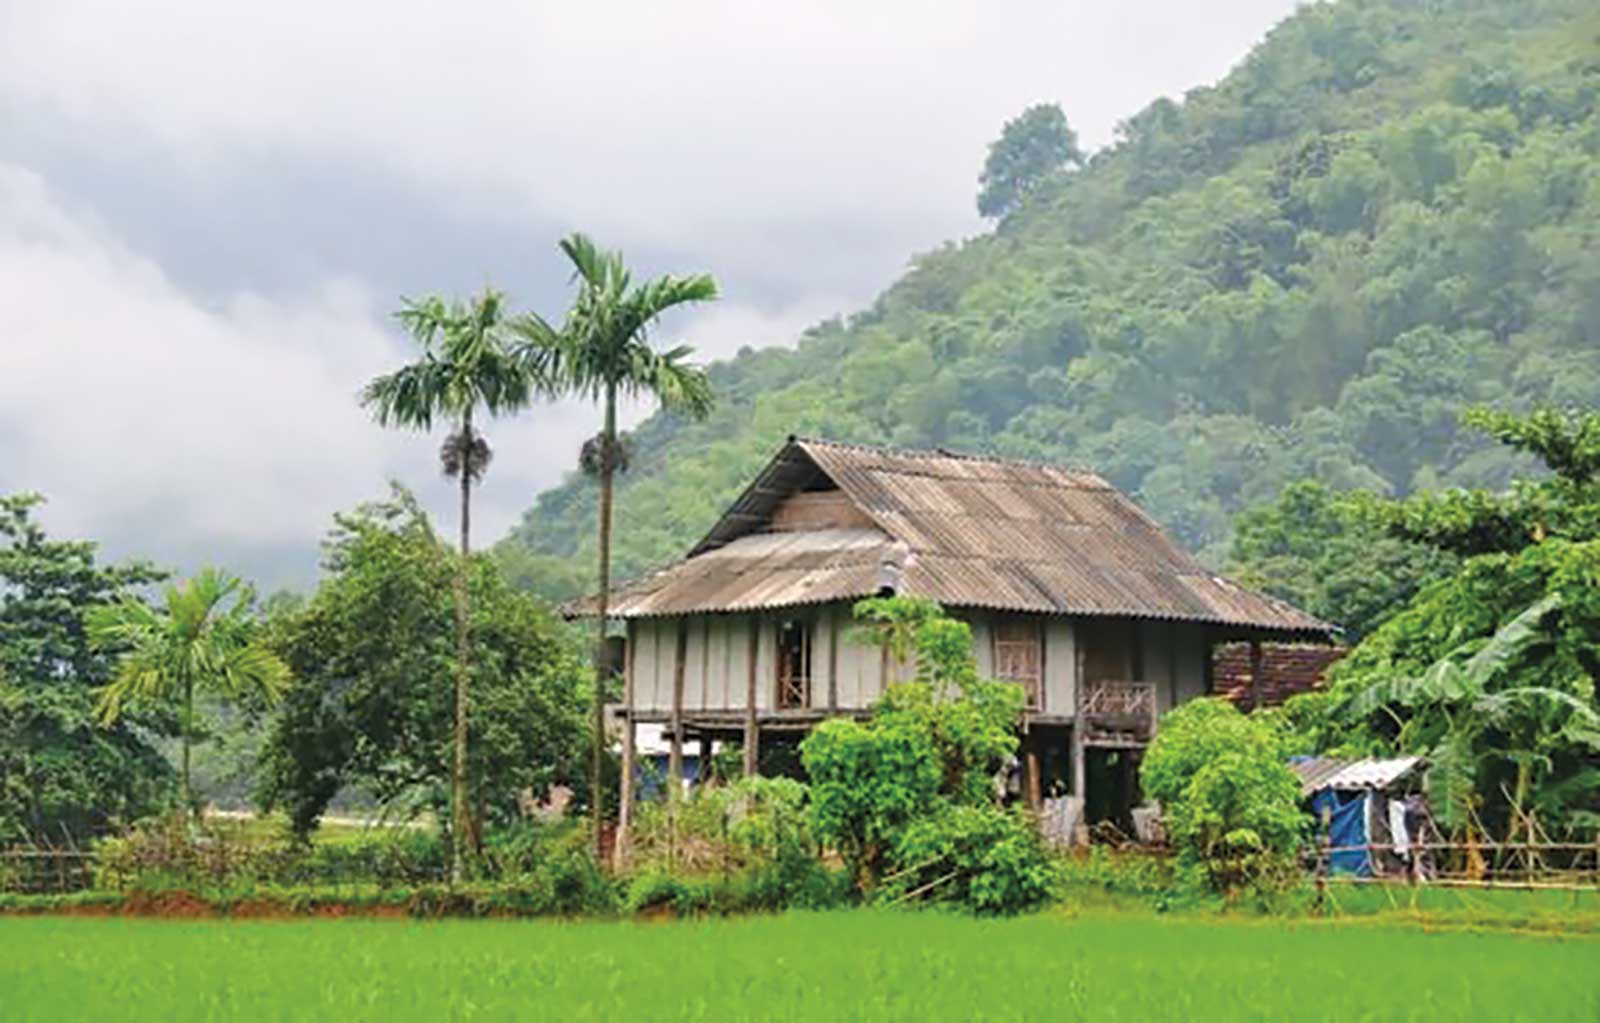 Reference Photo
I used this photograph as a reference to demonstrate my process of painting. This is a place in Vietnam. The ambience attracted me a lot; the cloudy sky, the misty background and beautiful greeneries.
WHAT THE ARTIST USED
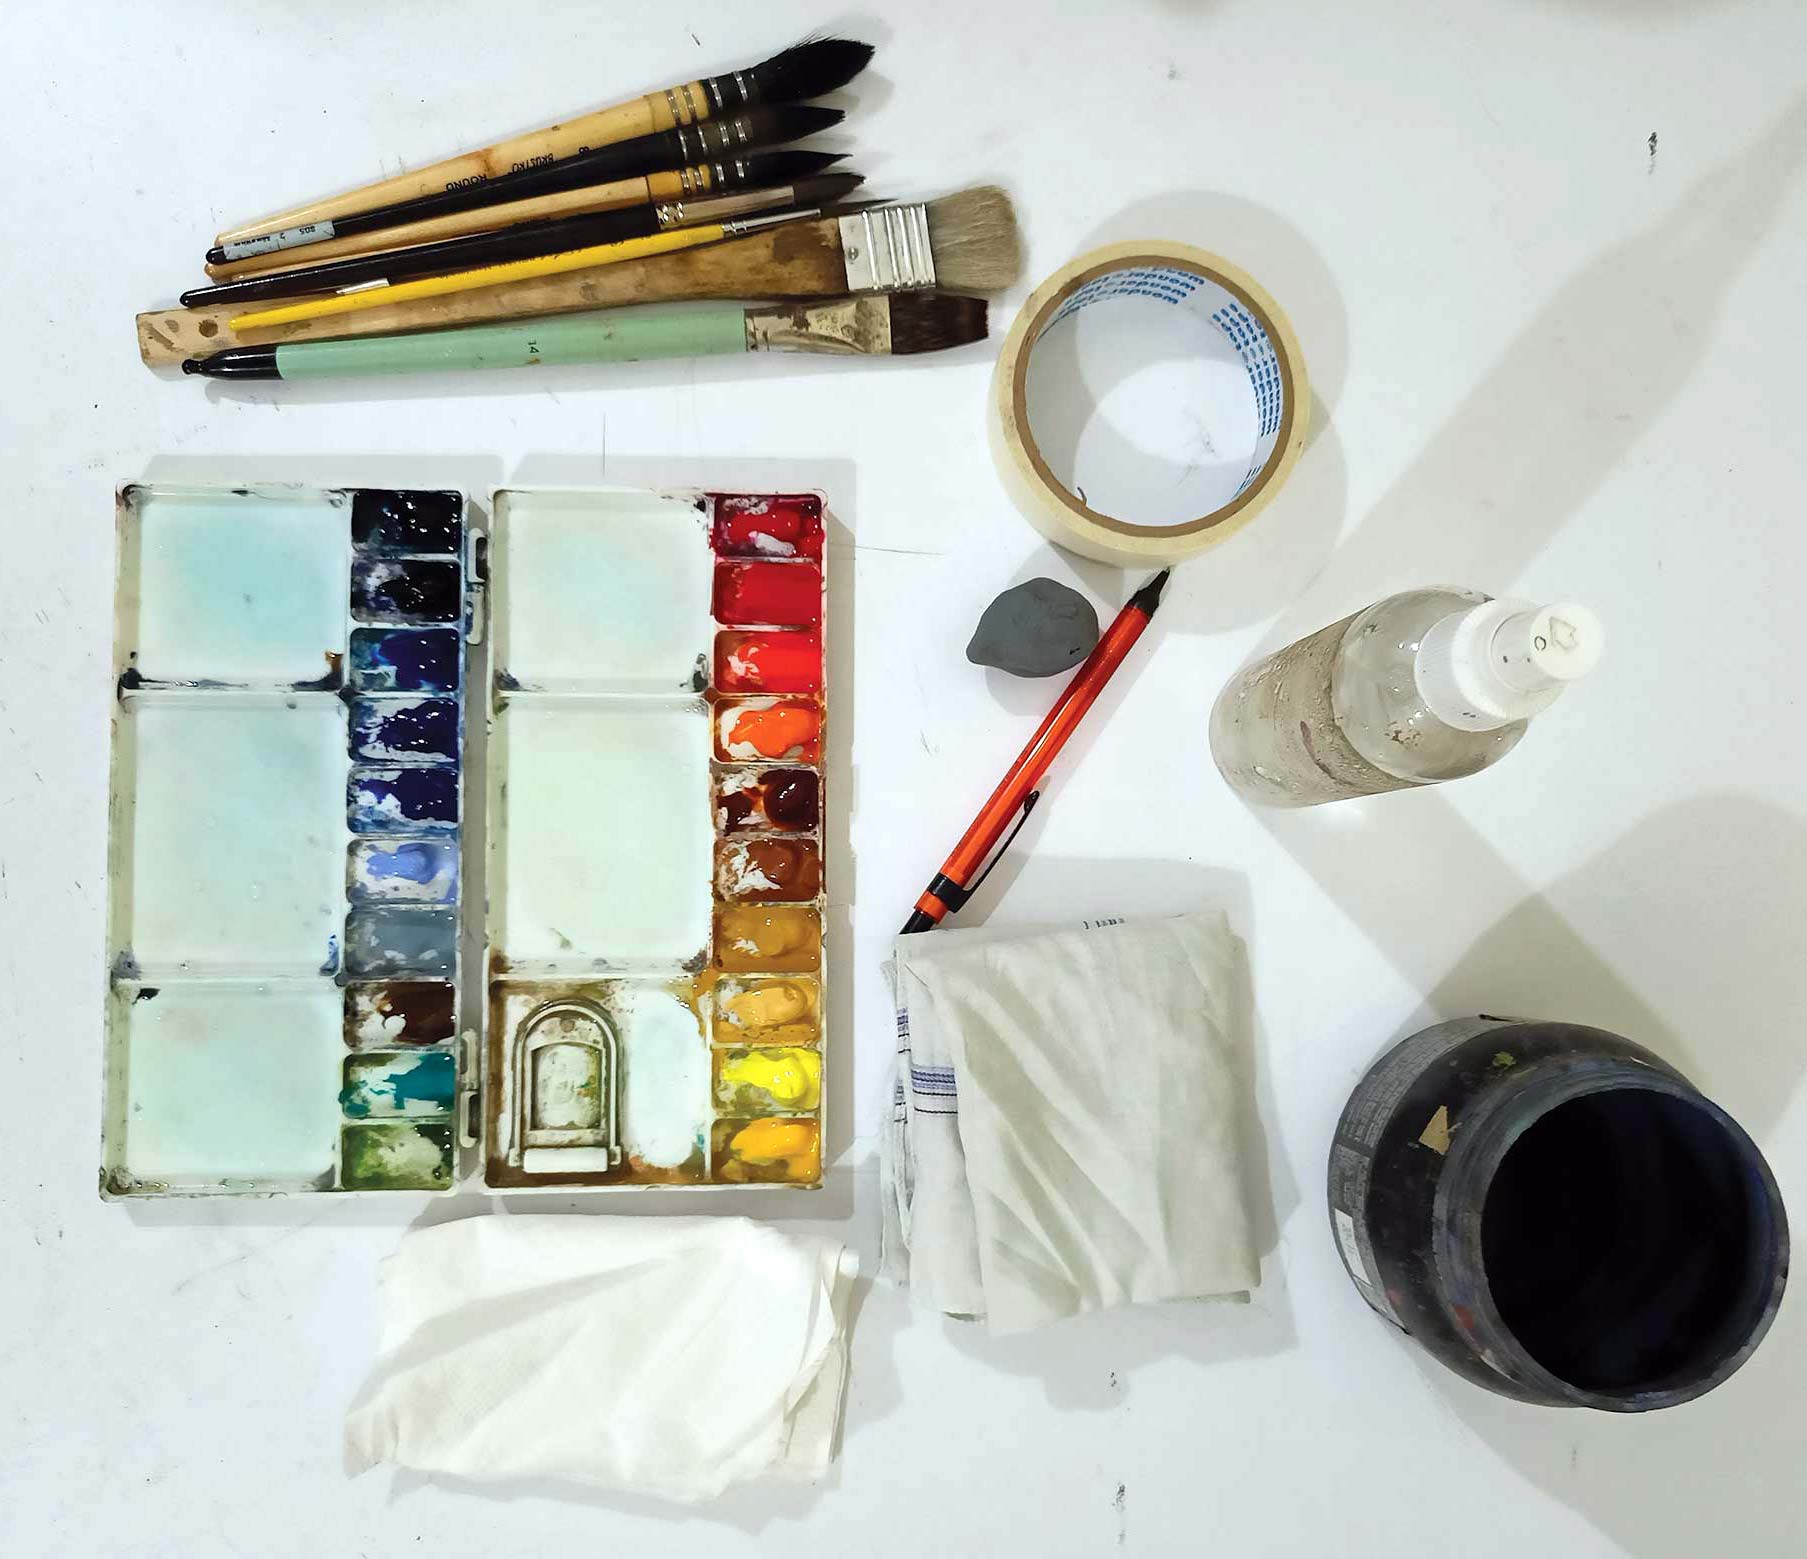
Any artist-grade watercolor works fine for me. I have a few different brands of artist’s watercolors in my collection.
Brushes
Mop brush, sizes 8, 4, 2 and 3/0 for general use. 1-inch Hake brush and no. 12 flat brush for big washes, Round 8 sable hair and no. 2 rigger for detailing
Paper
100% cotton, 270 and 400 gsm handmade rough sheet, 100% cotton, 300 gsm cold-pressed paper
Additional Supplies
Mechanical pencil with 0.7 mm B lead, Kneaded eraser, Masking tape, Water bucket, Mouth sprayer, Cloth towel, Tissue paper
 Stage 1
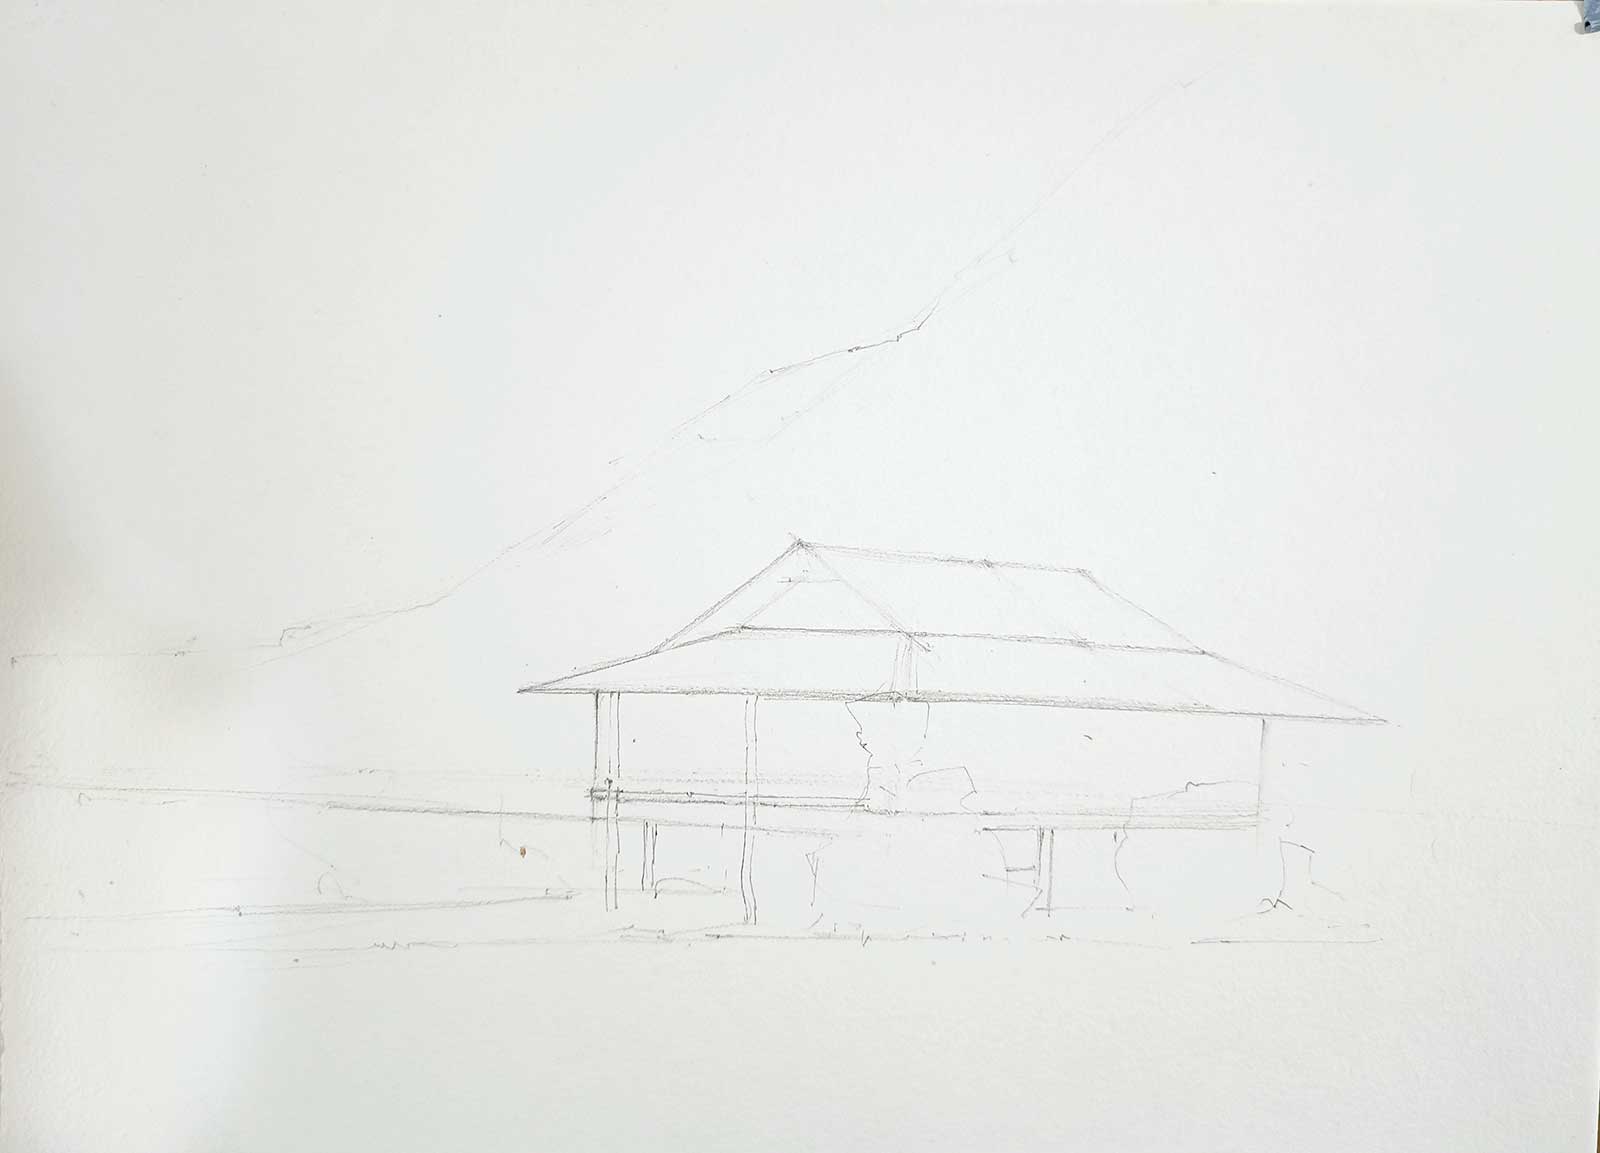
Stage 1 Pencil Sketch
I begin with a simple pencil sketch. Too much detail is not necessary. I only make outlines of the focal elements, and the rest can be managed at the coloring stage.
 Stage 2
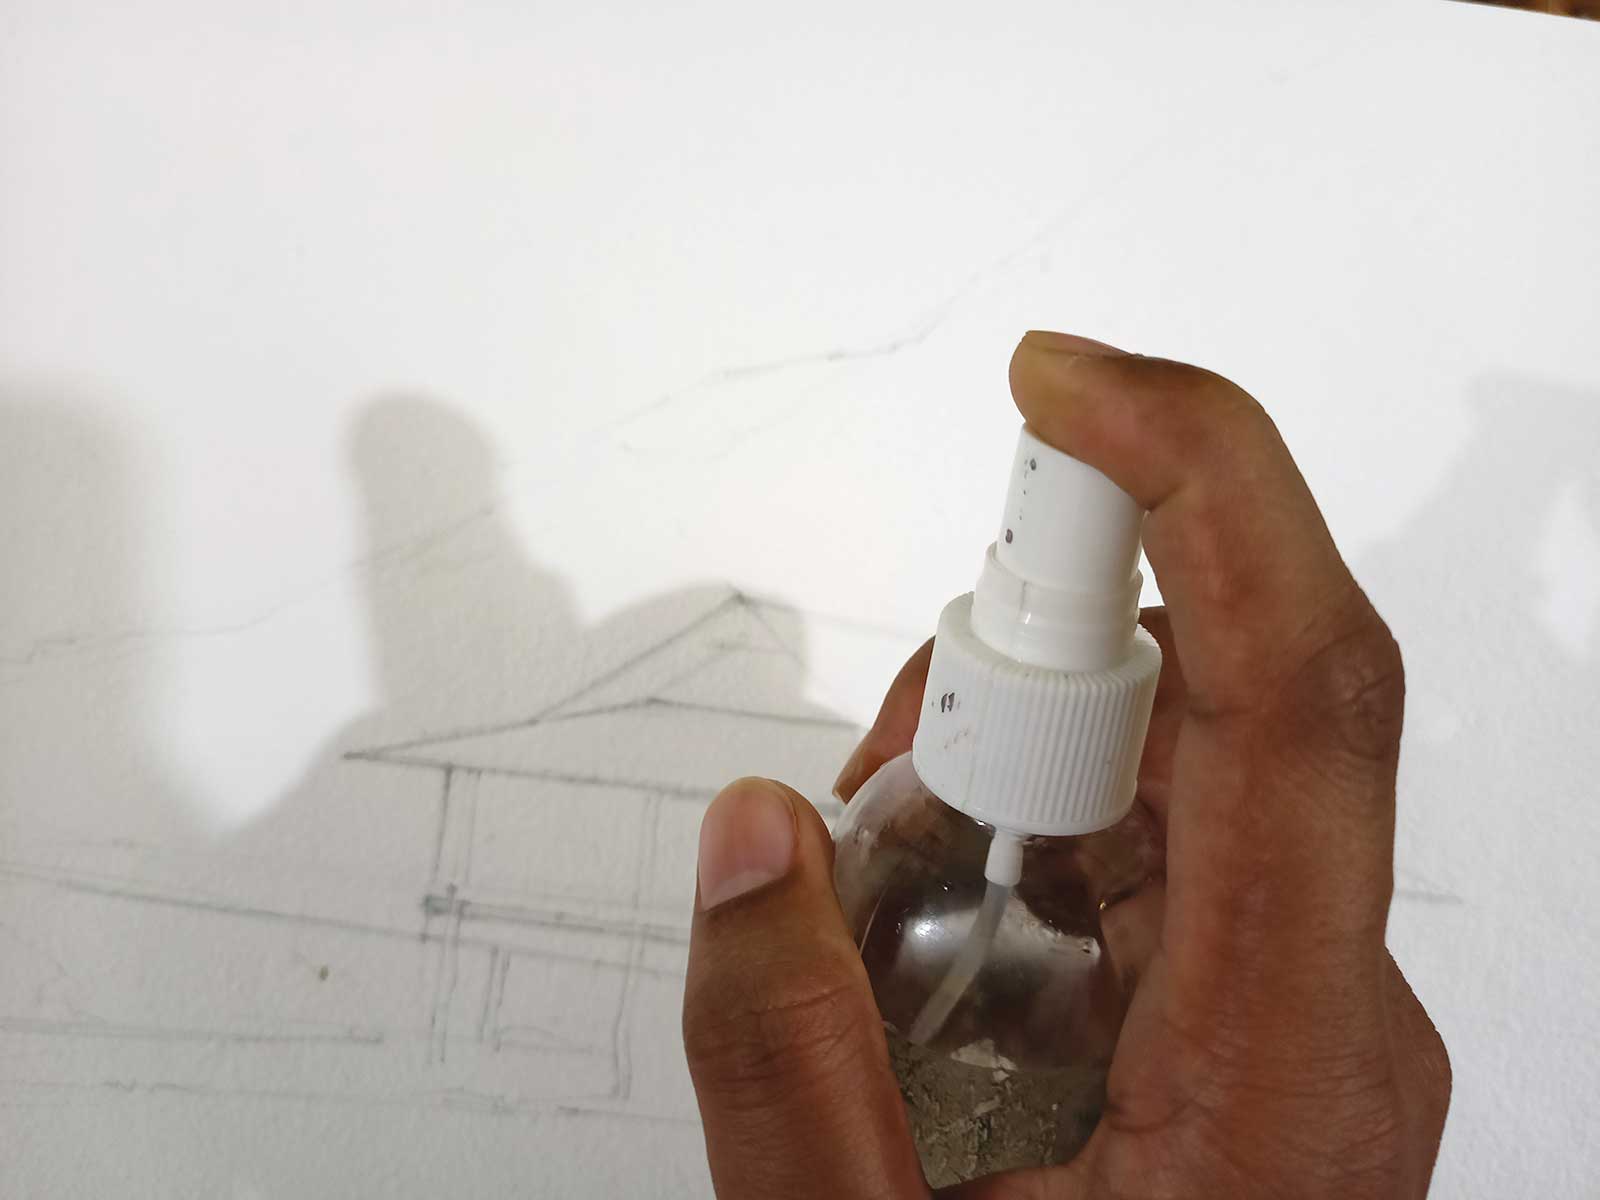
Stage 2 Wetting the Surface
I start with the cloudy sky with a wet-on-wet technique. I am using one mouth sprayer to make the painting surface wet with water. One can also efficiently use a big brush with clean water to do this.
 Stage 3
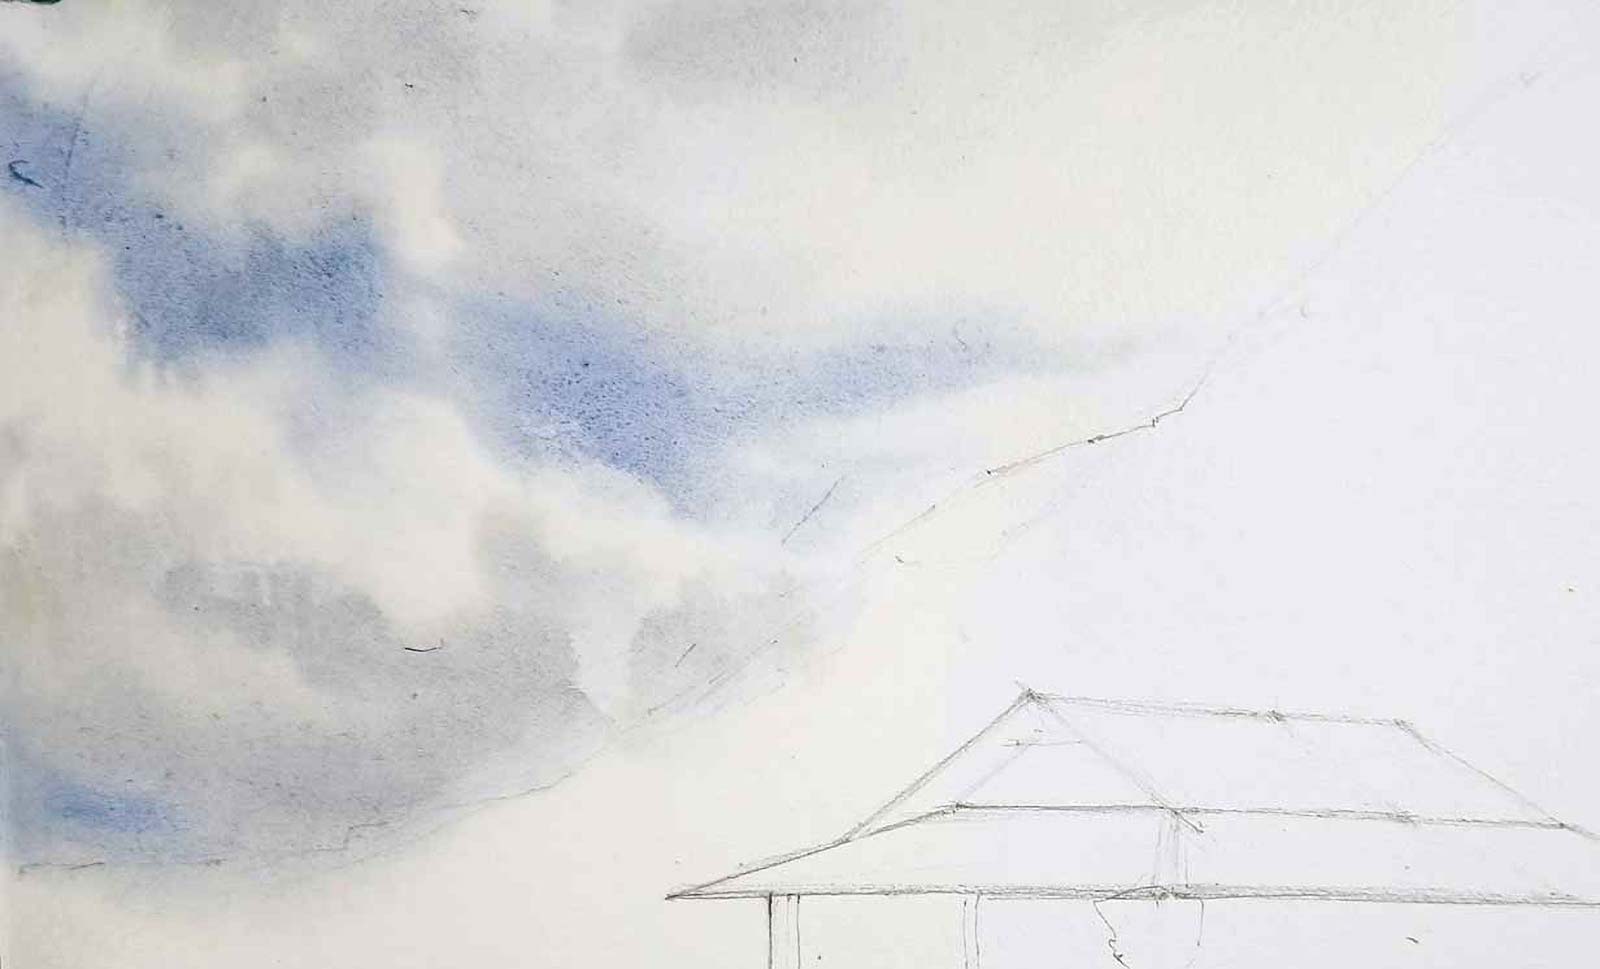
Stage 3 Painting the Clouds
On the damp paper, I paint the bluish area of sky with cobalt and ultramarine blue mixture by leaving the white paper for clouds and the shadows of the clouds with Payne’s gray.
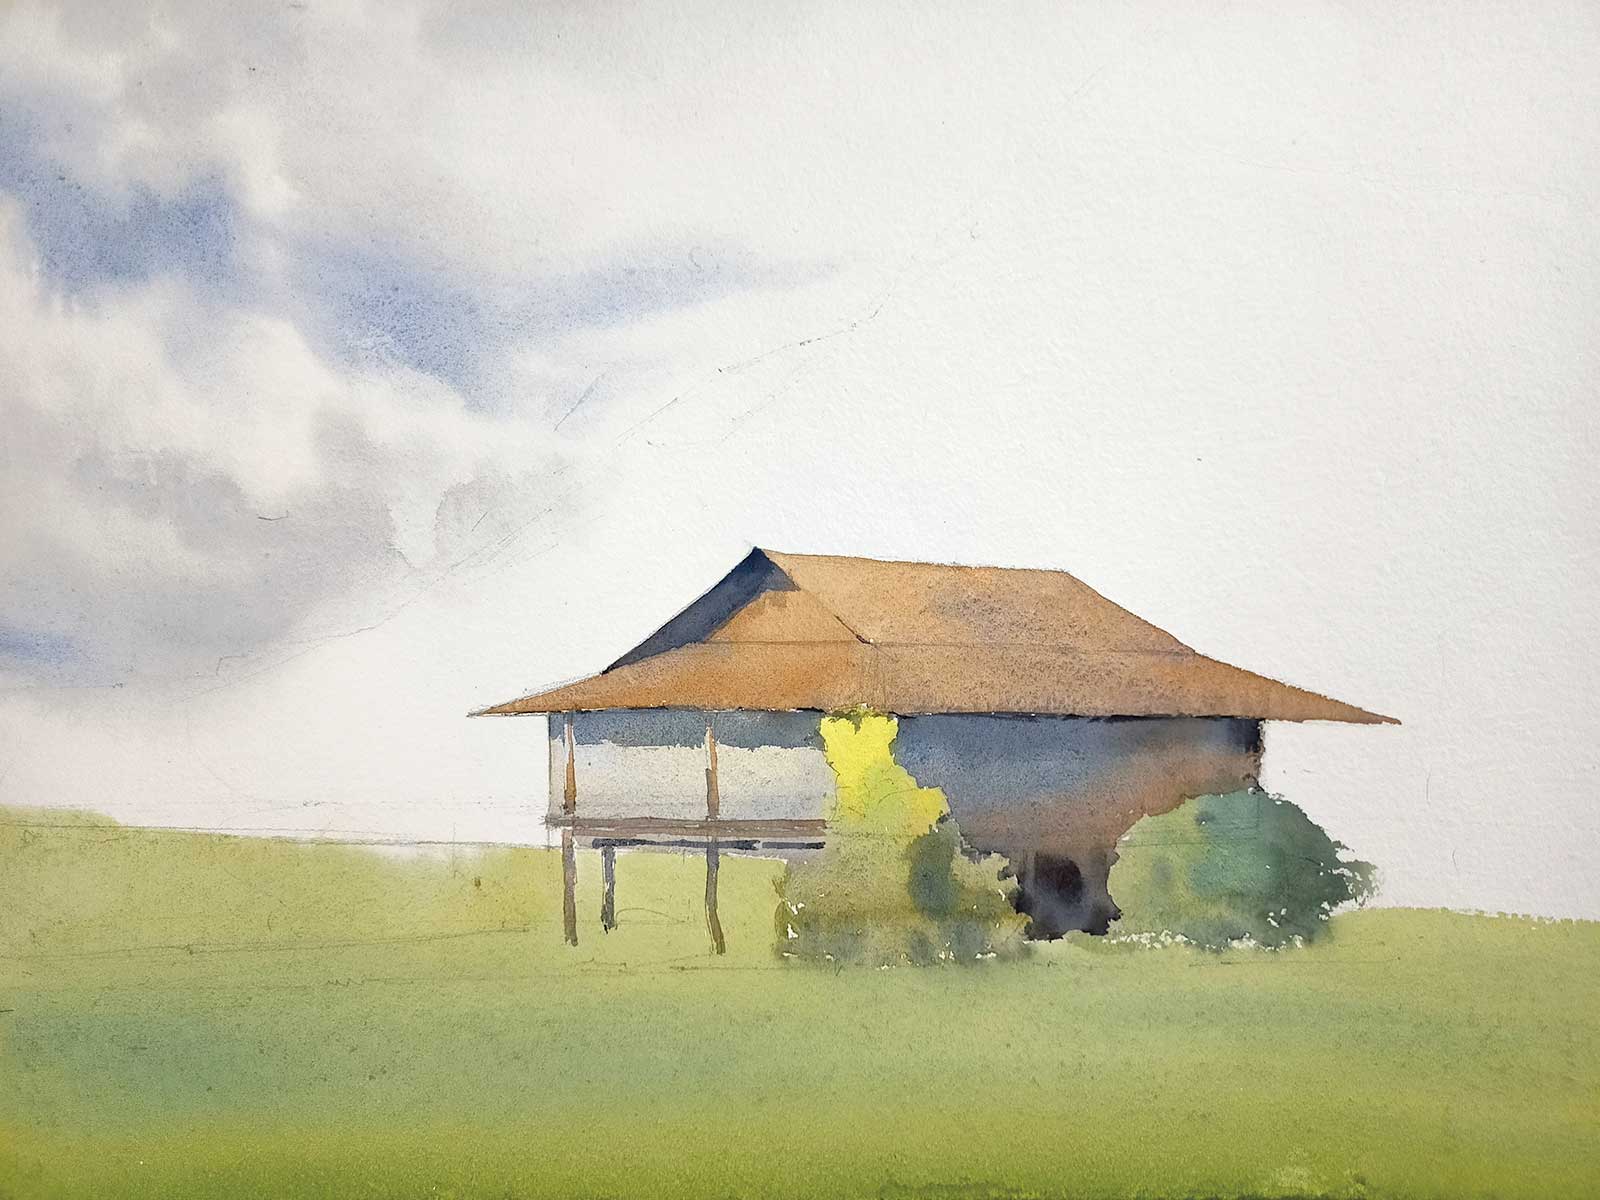
 Stage 4
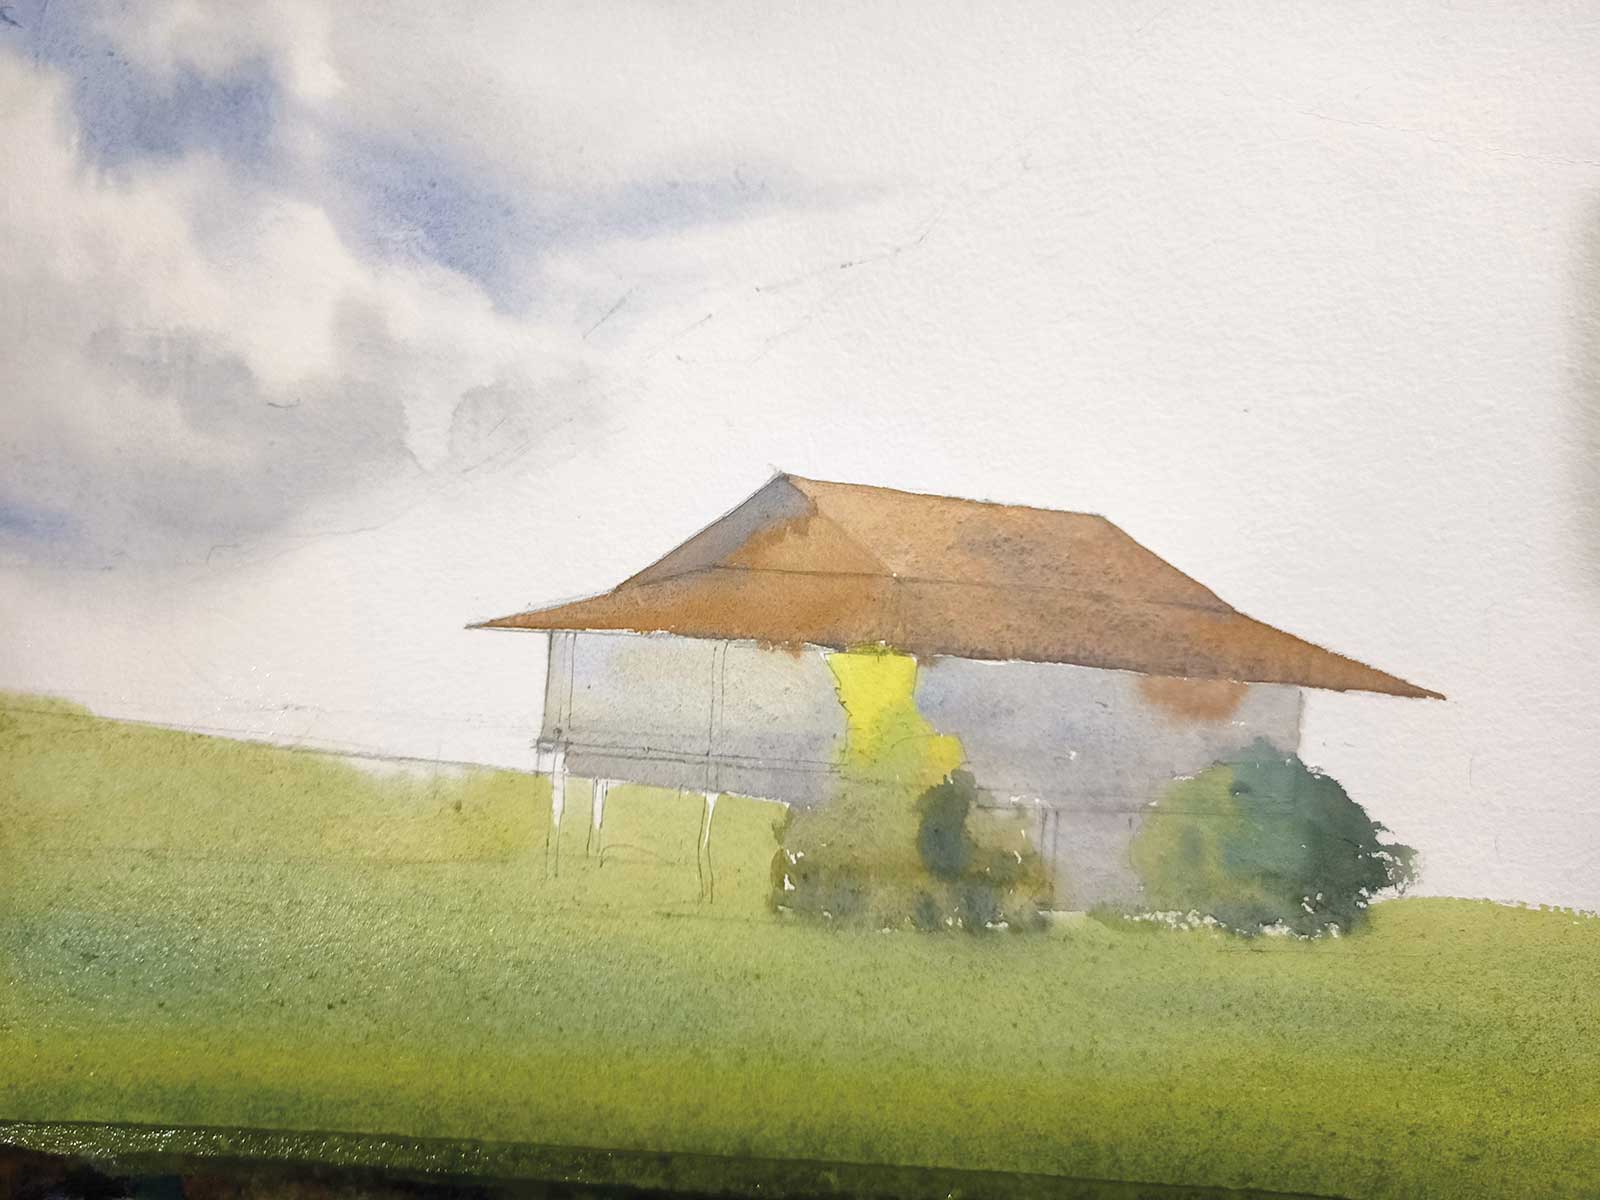
Stage 4 Painting Middle and Foreground Light
Here, I paint the middle ground and foreground elements, i.e., the house and greeneries. I prepare all the required colors before starting the wash. At this stage, achieving a smooth wash is very essential.
 Stage 5
Stage 5 Shadows
Here, I am painting the various colors of the shadows for the house.
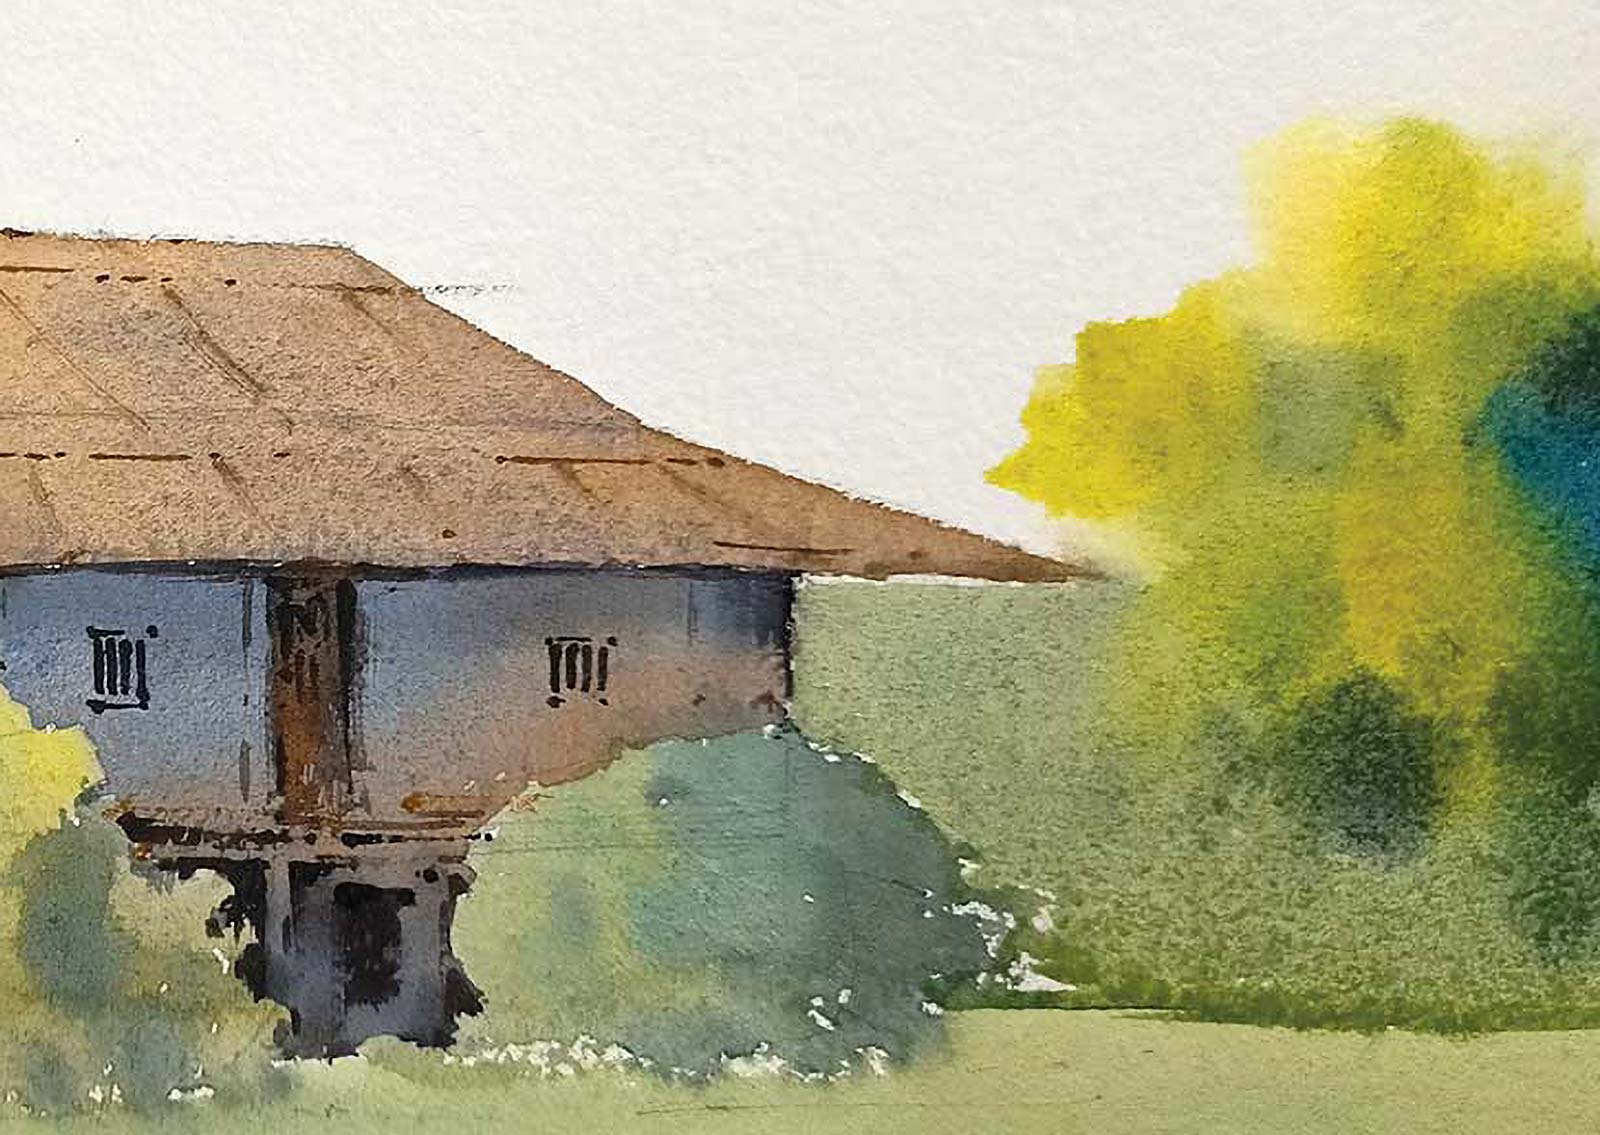
 Stage 6
Stage 6 Magical Details in the House
I mix ultramarine blue, burnt sienna and lavender to start painting the shadows. During this process, I am preserving the bright green tones to create the sense of light for the greeneries as well. In this stage I paint little details on the house, like the door, the windows and other supporting elements. These details are making the light much brighter, aren’t they? That’s why I call them magical details.
 Stage 7
Stage 7 More Middleground Shapes
I prefer to paint a few more bright greens before going for the background because having those shapes painted gives me a known path around which I should paint the background.
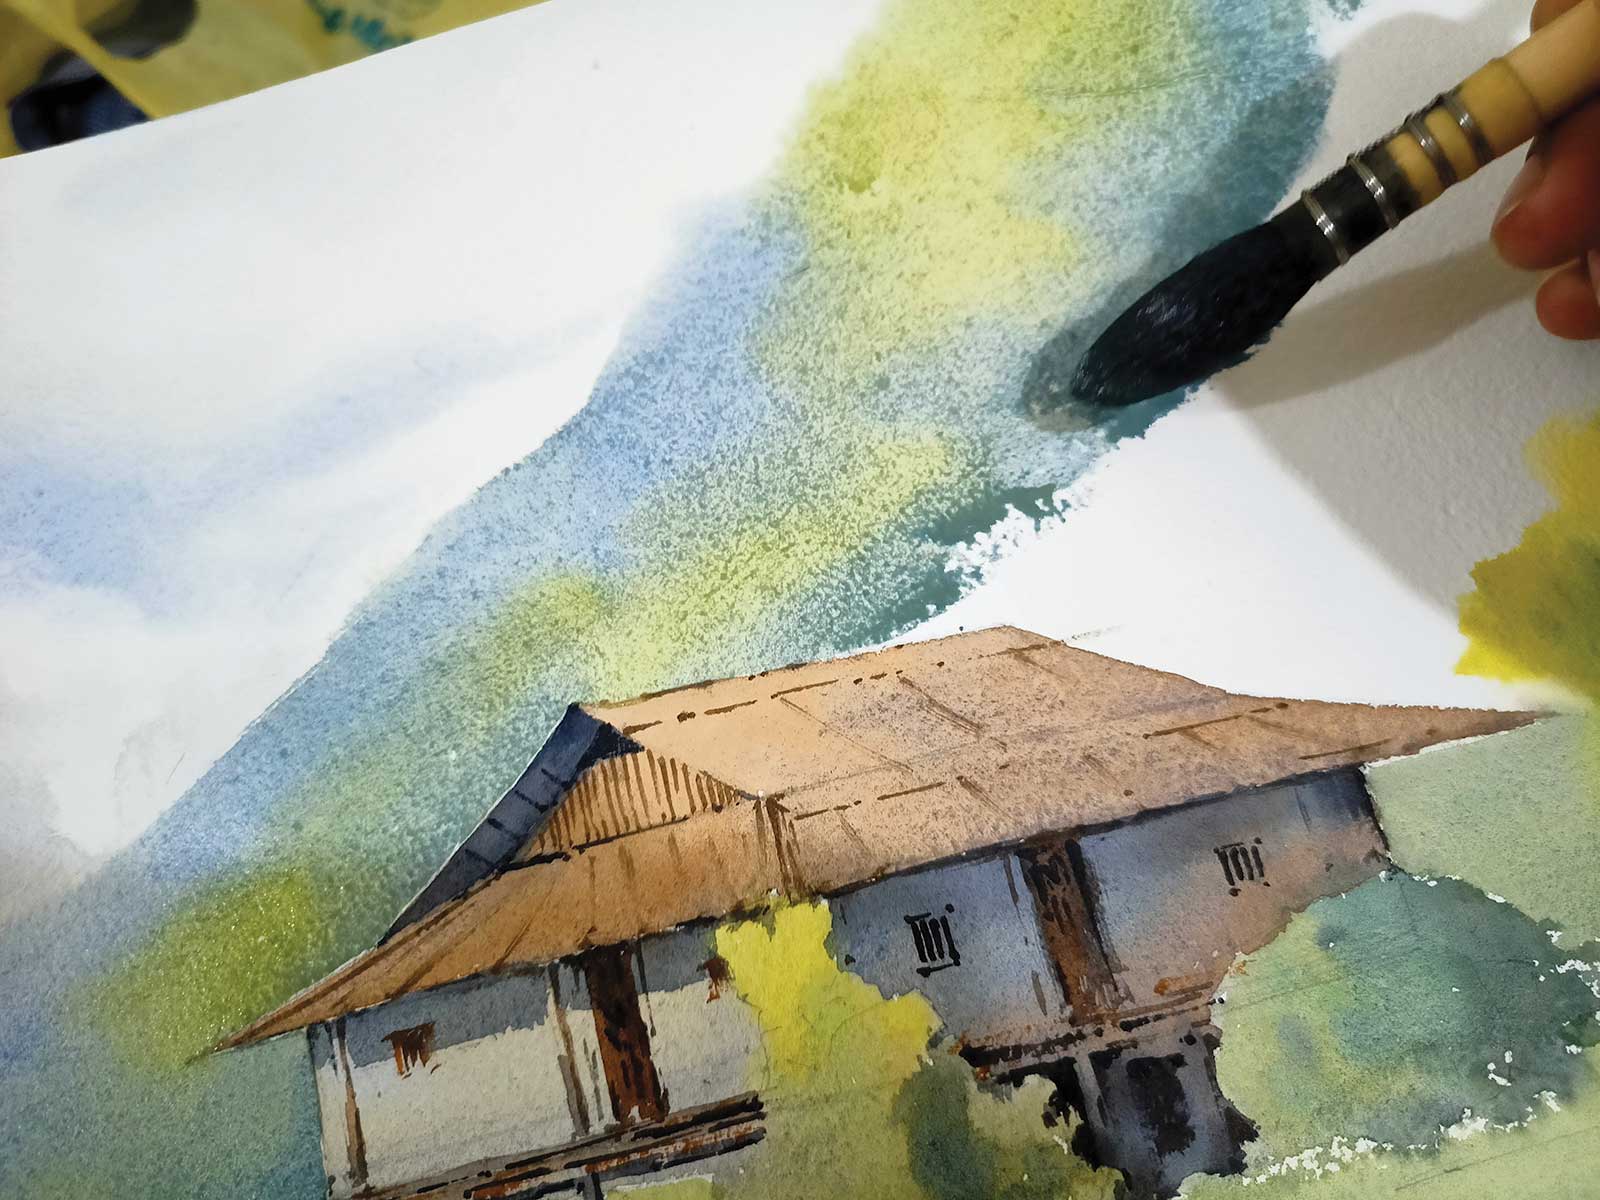 Stage 8
Stage 8 Painting the Background
In the background, I create a nice, clean variegated wash of some cool and warm green tones around the middle ground shapes. The combination of soft and hard edges gives that misty look. One can paint the background immediately after painting the clouds, then come to the middle ground and foreground in stage 4. But I find it easier to paint at this stage.
 Stage 9
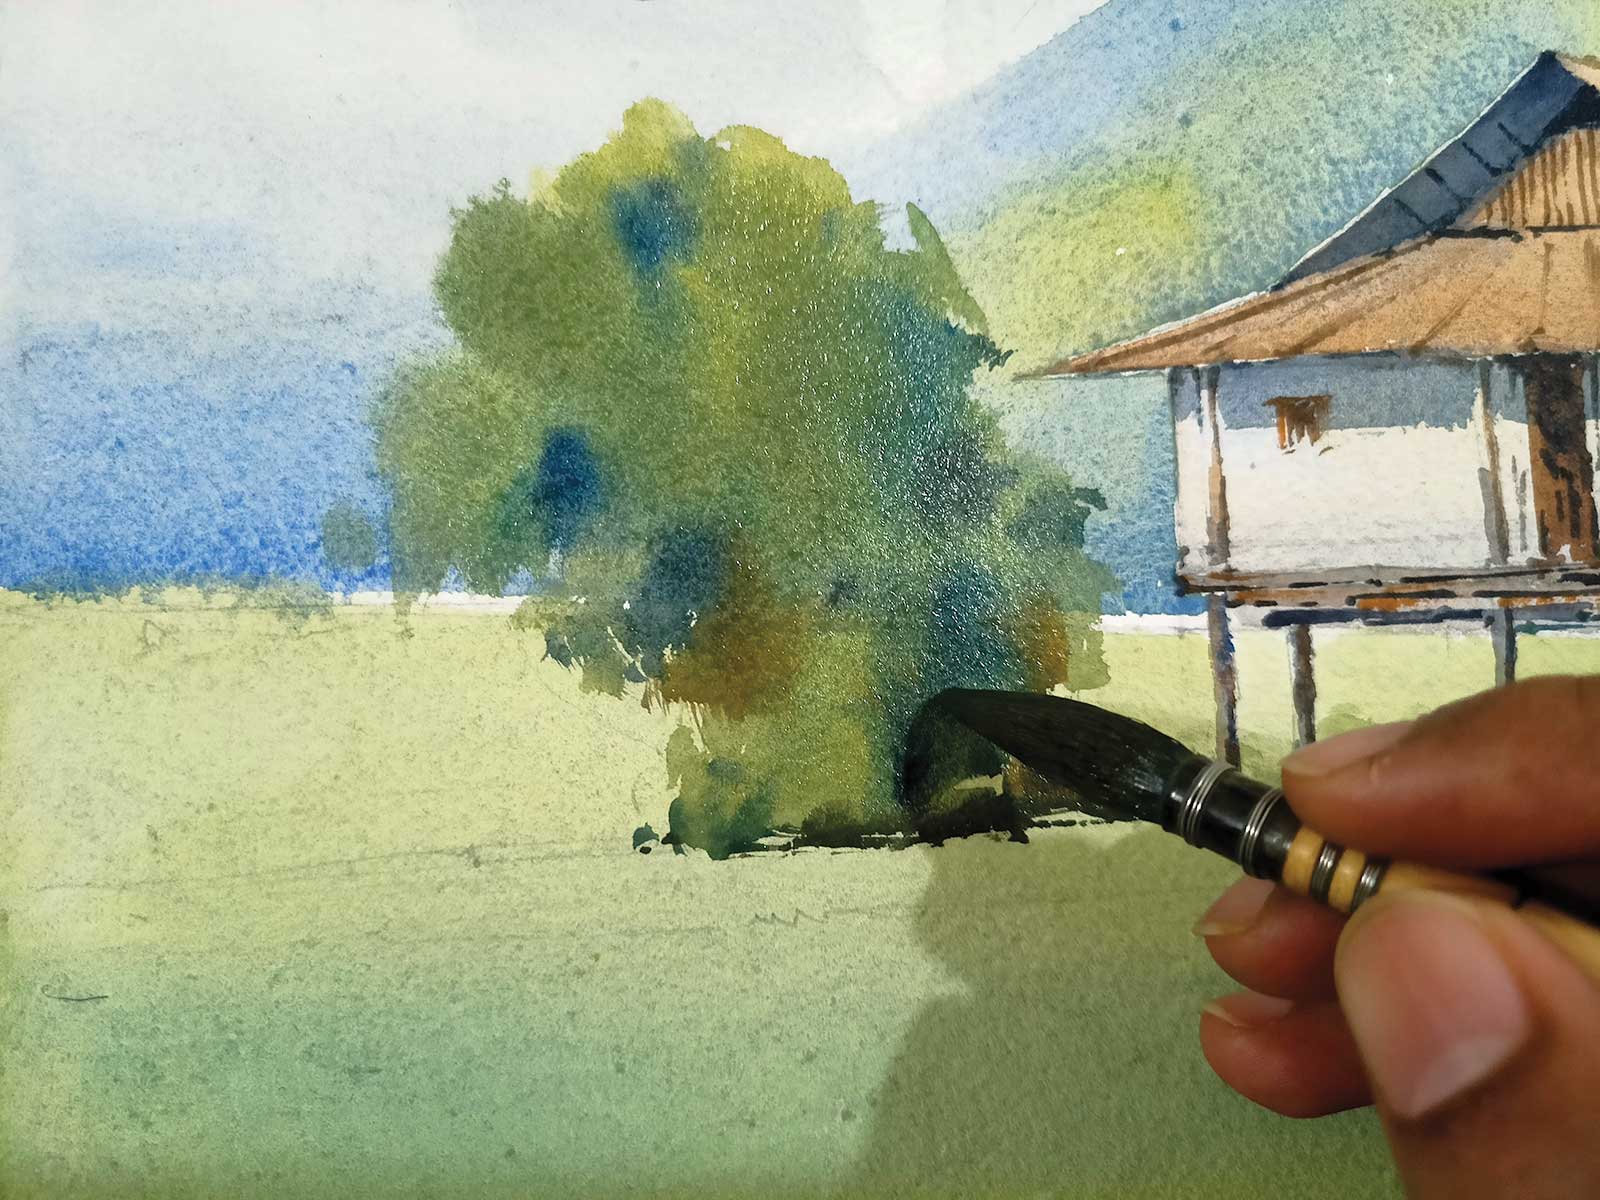
Stage 9 Creating the Trees
At this stage, I am painting these trees over the background, because those spaces in between the trees give a path for the viewers to see through, and I enjoy that view so much.
 Stage 10
Stage 10 Painting the Figure
In this stage, I paint one figure, maybe the owner of this beautiful house or a visitor. Painting figures in a landscape is a very efficient way to show the scale of the painting.
 Stage 11
Stage 11 Finished Artwork
Close to Mai Chau Valley, watercolor on paper, 11 x 15" (28 x 38 cm)
I finish the painting by putting a few more details like connecting cords, a few tree branches, some highlights with pure white and finally the signature.
About the Artist
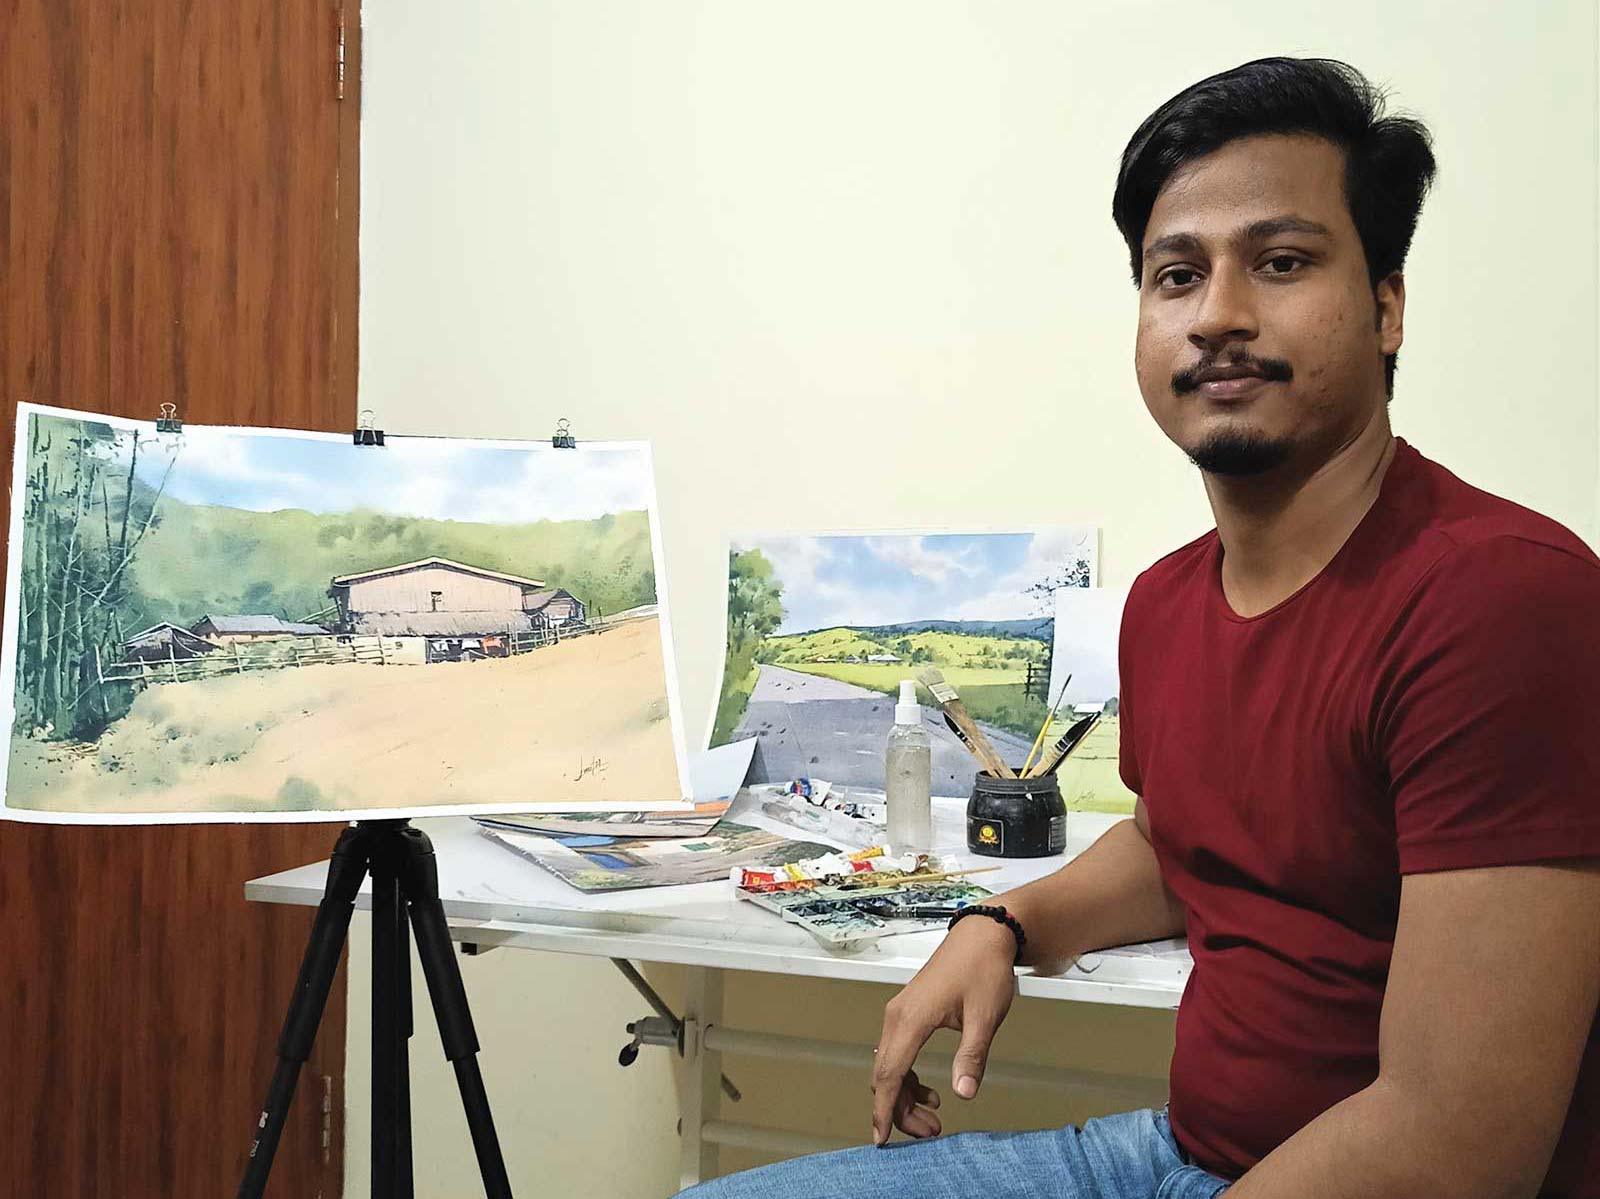 Amit Biswas
Amit Biswas is a self-taught landscape painter who primarily works with watercolor. He is also an engineer working in the private sector. Biswas was born and brought up in a small village in India. From his childhood, he was keenly interested in painting but never had the opportunity to learn more. During his career in engineering, he started doing watercolor on his own time and became completely engrossed. Since then, Biswas has kept on painting and developing his artwork and style every day. Nature has always been a very fascinating subject for the artist to paint. He enjoys plein air painting, and whenever possible, packs his bag to go out painting. Sharing his knowledge with enthusiasts through workshops or social platforms gives him great satisfaction.
Contact at
amithp.biswas@gmail.com