


In the age of social media, we’re all filmmakers. We create our own documentaries. We tell our own stories, and we assemble our own band of followers. A hired video crew could never capture our process as well as we can by ourselves. The tools at our fingertips are better and cheaper than the top professional gear from just five or ten years ago. But tools don’t make films.
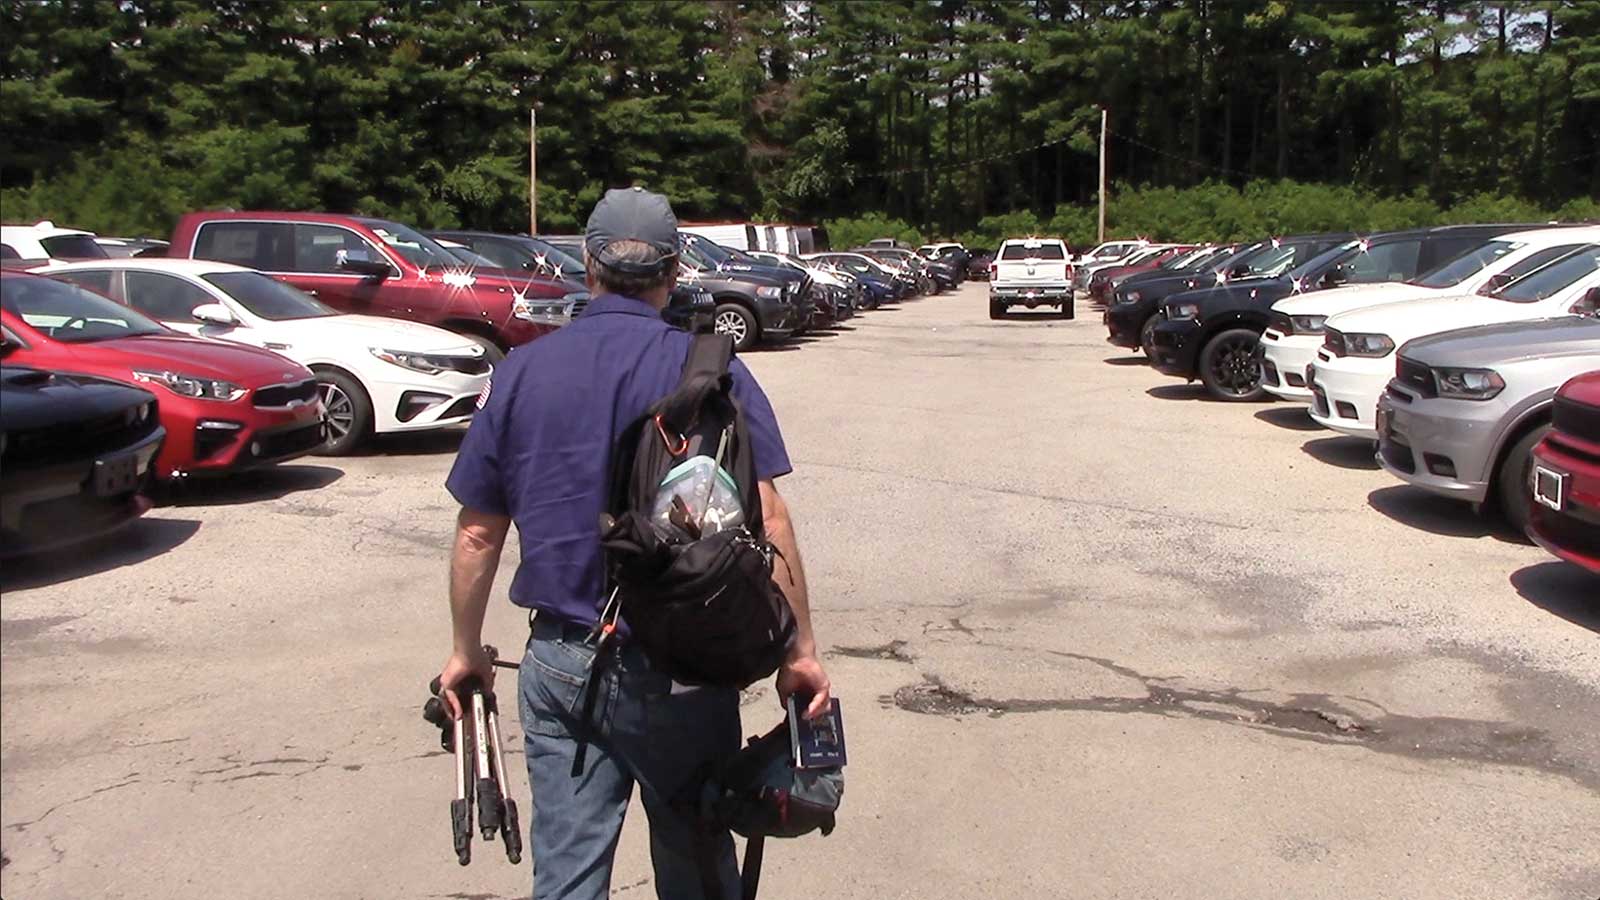
A simple walk-on shot can establish where you are and what gear you’re carrying. Watch the video: “I Sketch a Jeep with Watercolor and a Wild Idea”
These aren’t hard and fast rules for other people, but rather notes for myself. Think of them as suggestions or guidelines. Try them out and see if they help you, too.
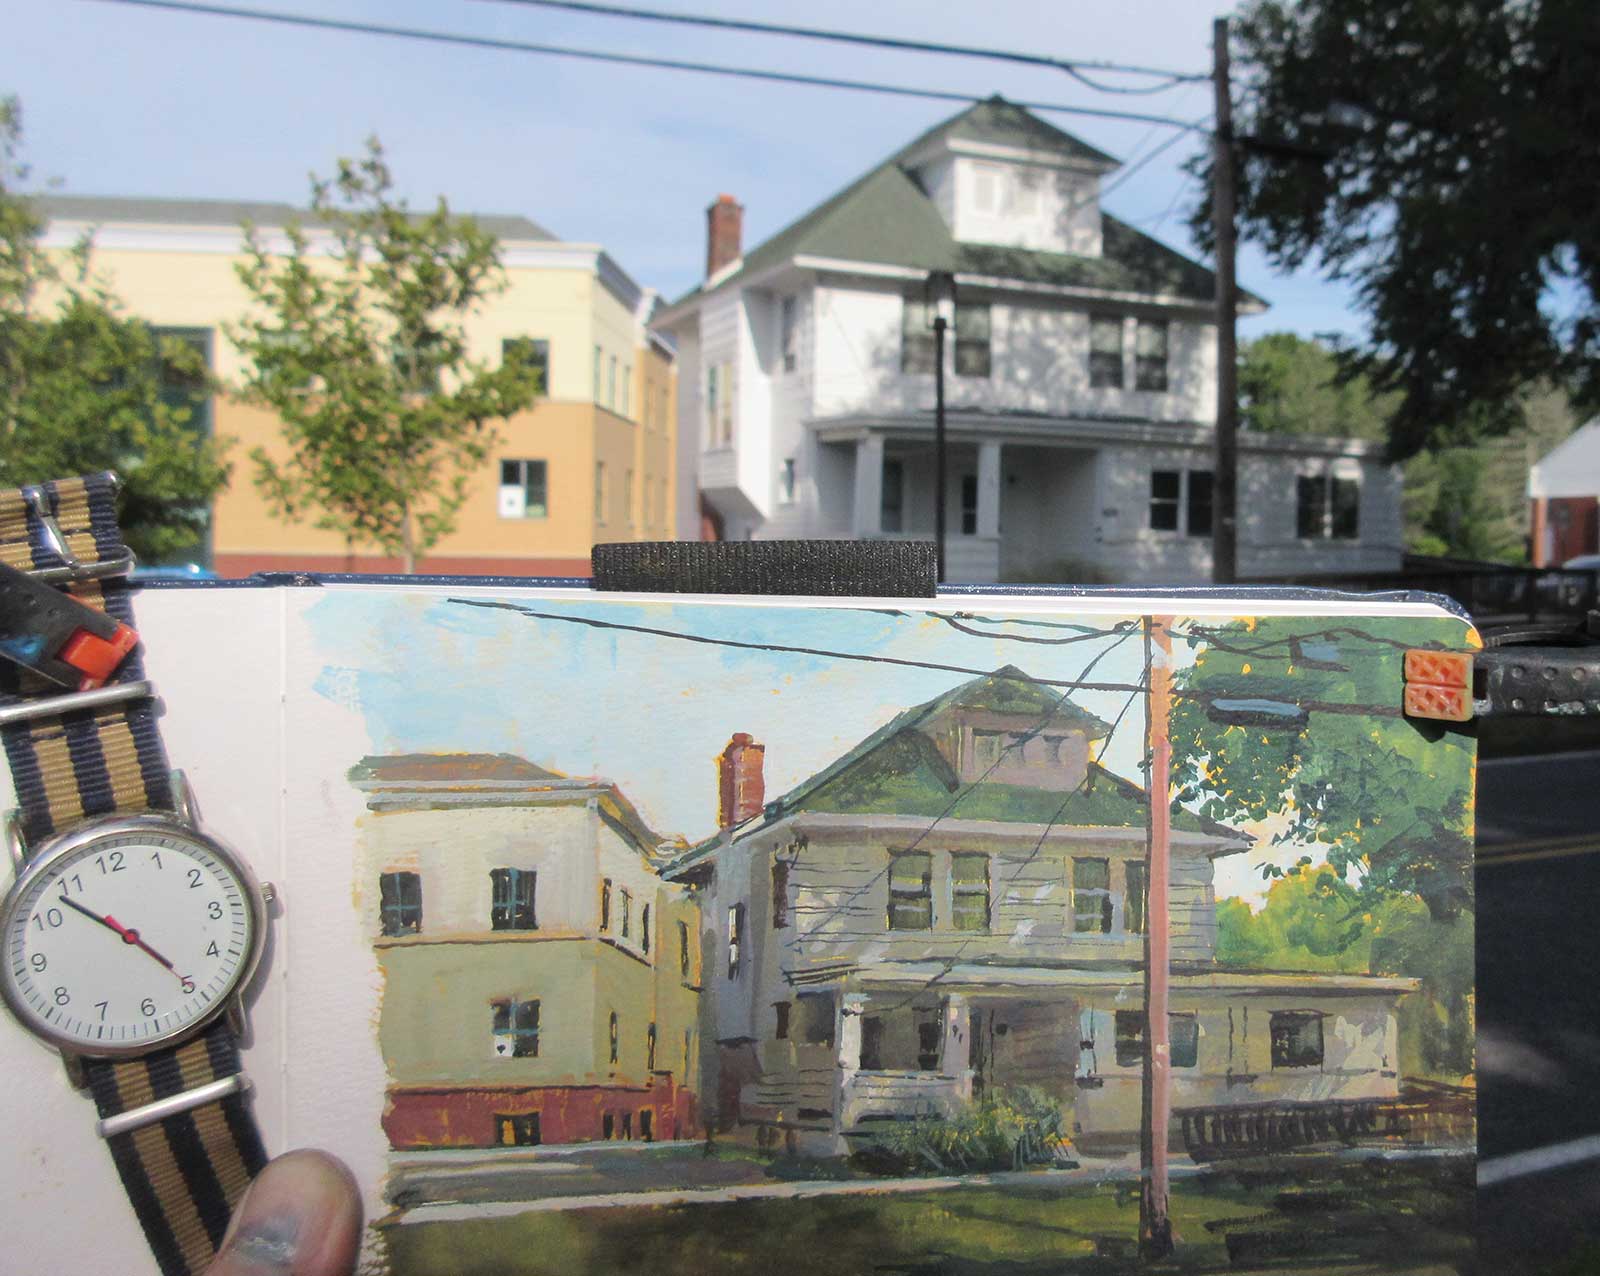
Set up some of the shots so the audience can compare the subject with your rendition of it. Watch the video: “Why Use a Yellow Underpainting?”
Starting Out
• Don’t start with titles.
• Do start with a few short clips of your best video material. Give the audience some highlights first. Give a valuable tidbit or answer a question right away. In the first few seconds try to give a feel for what people are going to see in the video. Then drop the titles—or leave them out. Ask yourself: do you really need titles? If your video is on YouTube, people already know what your video is called and who you are.
• Don’t put your ads/promotions/sponsorships/subscription requests up front.
• Do put your promotions toward the end. The rule of thumb is the title and thumbnail make people click, the first five seconds makes them stay, and the rest of the video makes them come back. If you’ve earned the viewer’s respect at the beginning, they’ll want to buy your stuff or subscribe to your channel at the end.
• Don’t force the viewer to sit through the whole video to see the finished picture that you’re painting.
• Do show at least a glimpse of the final painting either in the thumbnail or early on in the timeline.
• Don’t talk for 15 minutes, waving your hands around and explaining what you’re going to do.
• Do get straight to the point. Start right out with action related to your process: setting up your easel, choosing your motif, picking your tools, selecting your paint colors. Hit the ground running. People would rather watch you do something than see you talk about doing something.
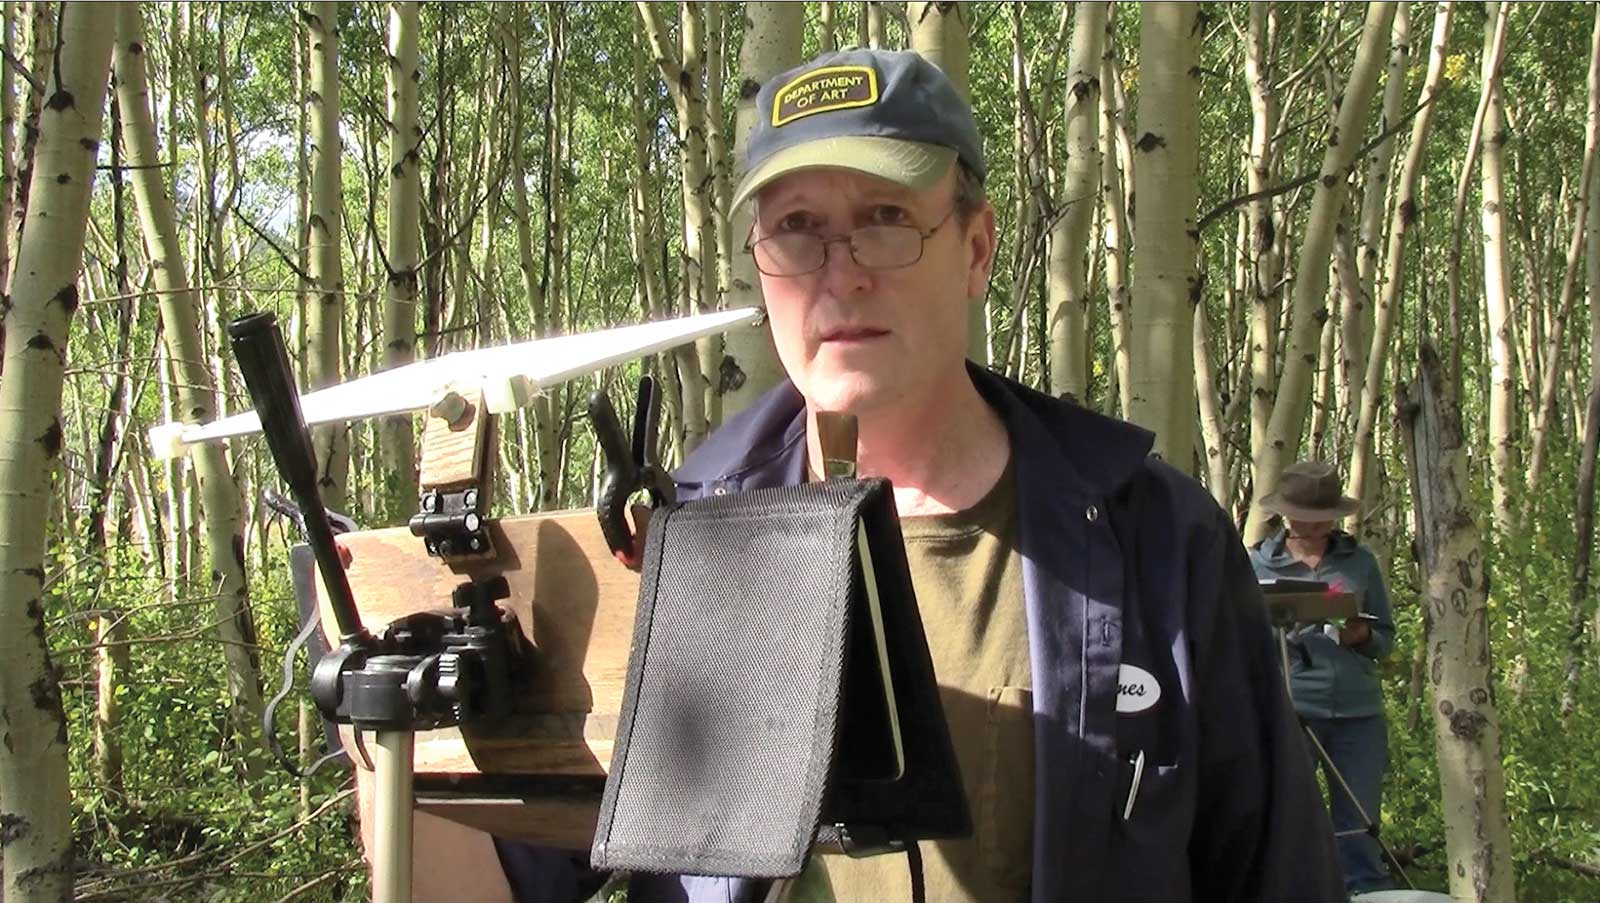
Use reverse angles to spice up your editing. Watch the video: “Why a Dead Aspen Tree Isn’t Really Dead”
Camera
• Don’t use autofocus except on a talking face.
• Do lock the focus on the surface of your work so that your hand doesn’t capture focus.
• Don’t shoot the whole video in time lapse. Time lapse can be disorienting and unreal for the viewer.
• Do include a wristwatch in the frame to let the viewer know how the time is progressing.
• Do alternate the time lapse clips with real-time clips.
• Do use natural audio captures to ground the time lapse in reality.
• Don’t pan or zoom unless you’re sure that’s the best solution.
• Do truck laterally, dolly in, or boom up. Those moves give much more depth than a pan or zoom. If you’re shooting in 4K, use a stabilizer for hand-held. If you don’t know what these terms mean, Google them.
• Don’t get too artsy. We all love the occasional focus pull, drone shot or dreamy montage, but always ask yourself how it’s advancing the story or serving the instruction.
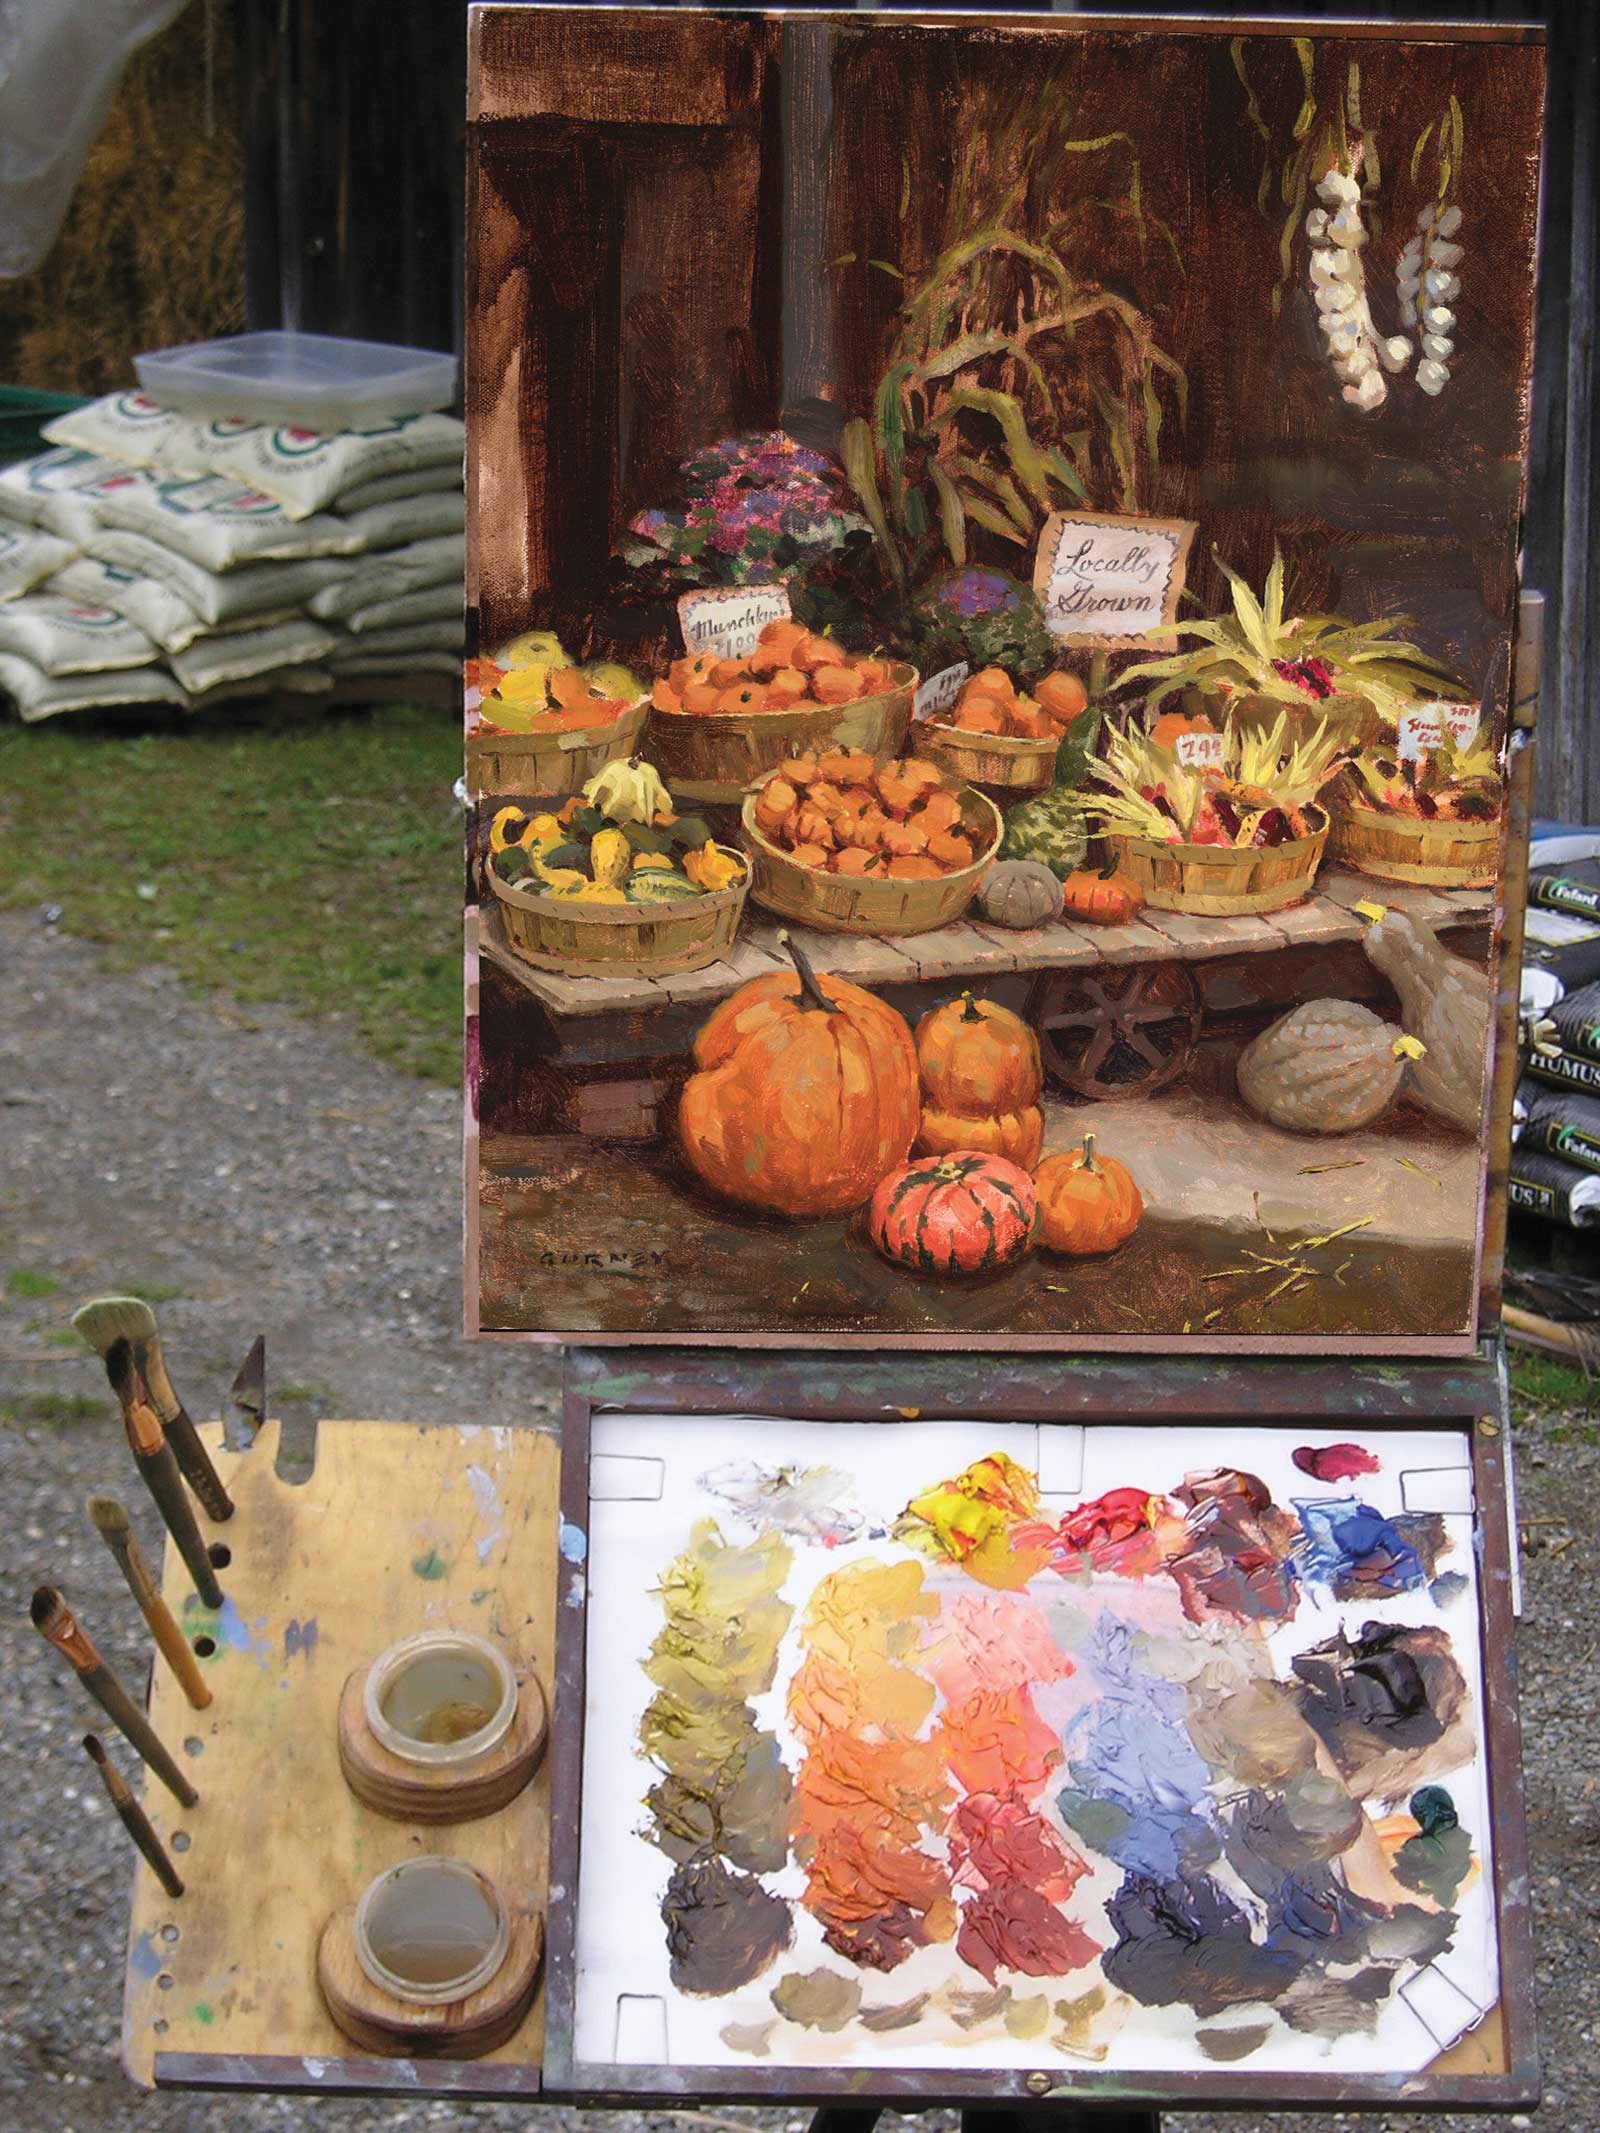
• Do show closeups. Do show your brushes or pencils. Do include a couple of reverse angles. Do show your mixing palette. You can put the palette right next to the painting on the same plane and keep it in the shot to avoid cutting.
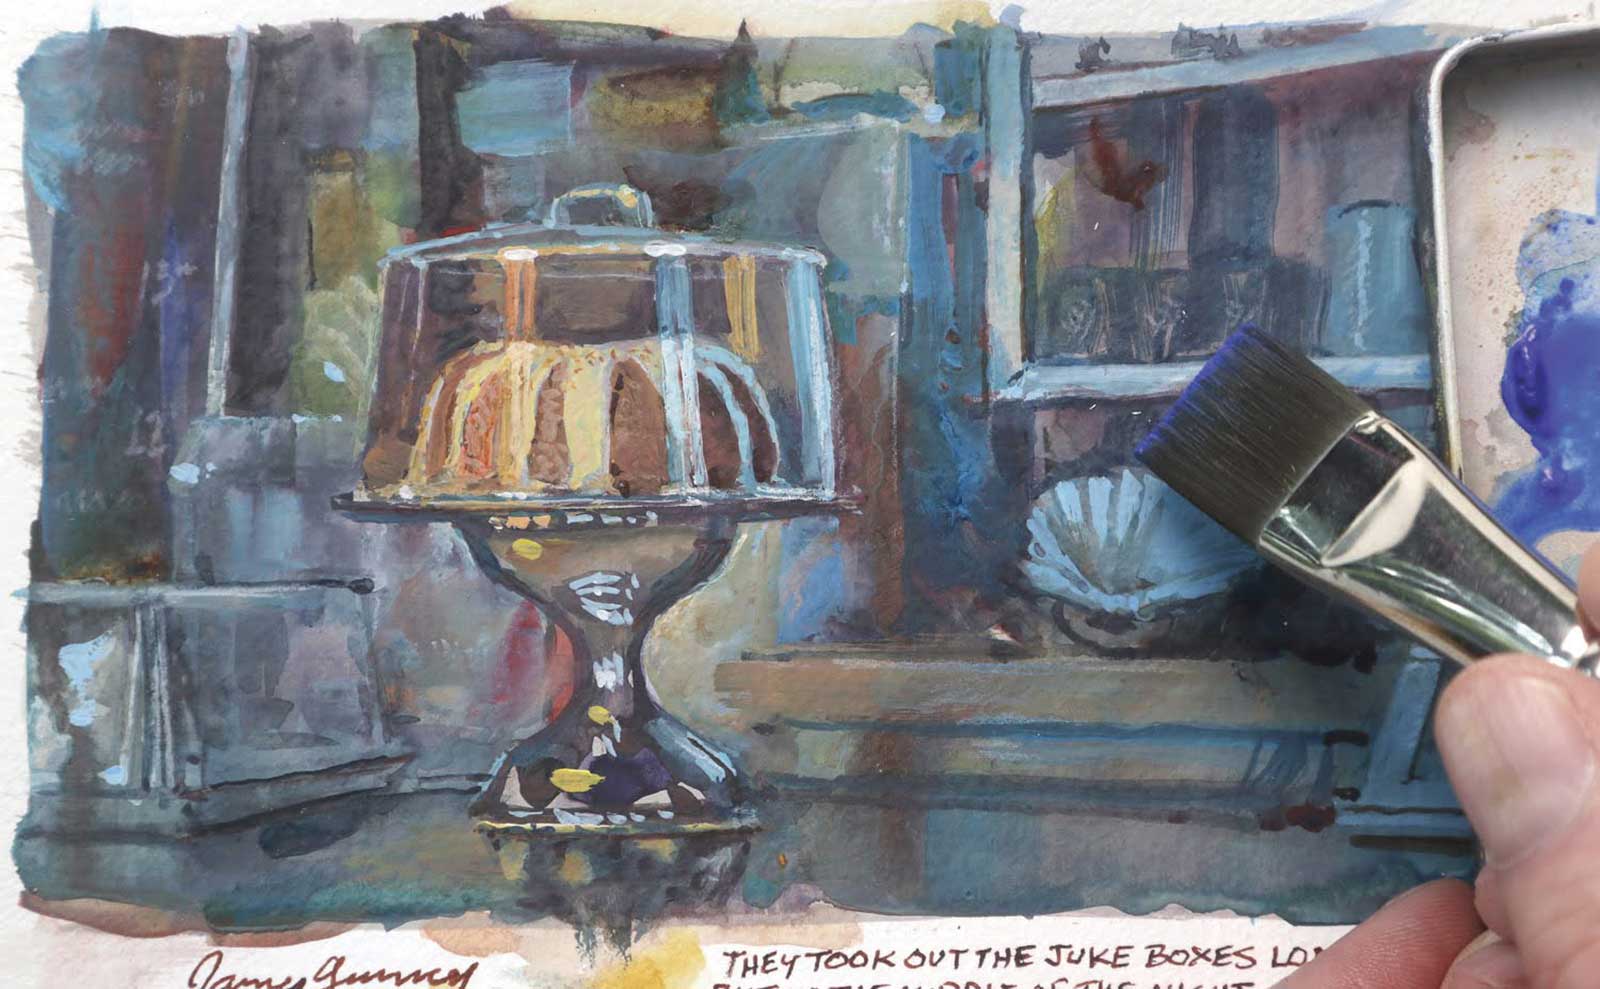
I captured a screw-up when I tried a wet blue glaze over a gouache painting. Audiences love watching disasters and recoveries. Watch the video: “Wet Glaze Over Gouache? Potential Disaster!”
Editing
• Don’t waste the viewer’s time.
• Do cut anything that doesn’t advance the story.
• Don’t hide your reference.
• Do show a short video clip of the scene you’re looking at or the photo you’re working from. To save cutting, put the subject and painting side by side in split-screen mode.
• Don’t use gimmicky transitions.
• Do use straight cuts, dissolves (to suggest time passing between similar shots) and fade-to-black (for an interruption or shift in story).
• Don’t leave out key steps, but at the other extreme, don’t be tedious.
• Do capture the key moments when you make noticeable changes. Show the steps along the way, without any large leaps. If there’s a part of the process that’s repetitive or boring, just include a representative segment of it, and then dissolve between clips of it at various stages, or speed up the playback.
• Don’t just show off and make it look easy.
• Do share your mistakes. Show how to fix them. It goes against the presenter’s instincts to switch on the camera when things screw up, but it makes for better instruction and better storytelling. As YouTube community member Travis Noble said, “Watching an expert make mistakes is the best part of an art tutorial, because you learn truly what makes the difference between an expert and beginner is not in the mistakes but how they recover from them.”
Four Kinds of Art Videos
Stay open to lucky breaks. I was painting an abandoned house when Jimmy W., who lived in the house as a boy, happened by. His story added a lot to the presentation. Watch the video: “Painting Using Secondary Colors (Orange, Purple, Green) as Primaries”
Demo
The artist demonstrates how to make a picture. A demo can be pure showmanship or it can be all about teaching. It can be long or short, it can have a voiceover or not, but it doesn’t have to present all the materials and steps, because it’s not intended for people to actually follow along.
Tutorial
The artist offers a recipe for how to do something, guiding the student to emulate their procedure. A tutorial must contain all the tools, materials and steps that make it achievable for someone else. Include explanations in the form of captions or voiceover.
Q & A
If you’re answering questions in a live-streaming format, you have to deal with them live as they come or have a moderator sift through them in advance. You can solicit questions by text or using a voice recording app like www.speakpipe.com.
Tips Video
If your video contains a lot of specific practical pointers, you can present it as “Top 10 Tips” for whatever kind of painting or drawing you’re showing. Tips videos generally have good watch time and click-through percentages, but the content has to justify the form.
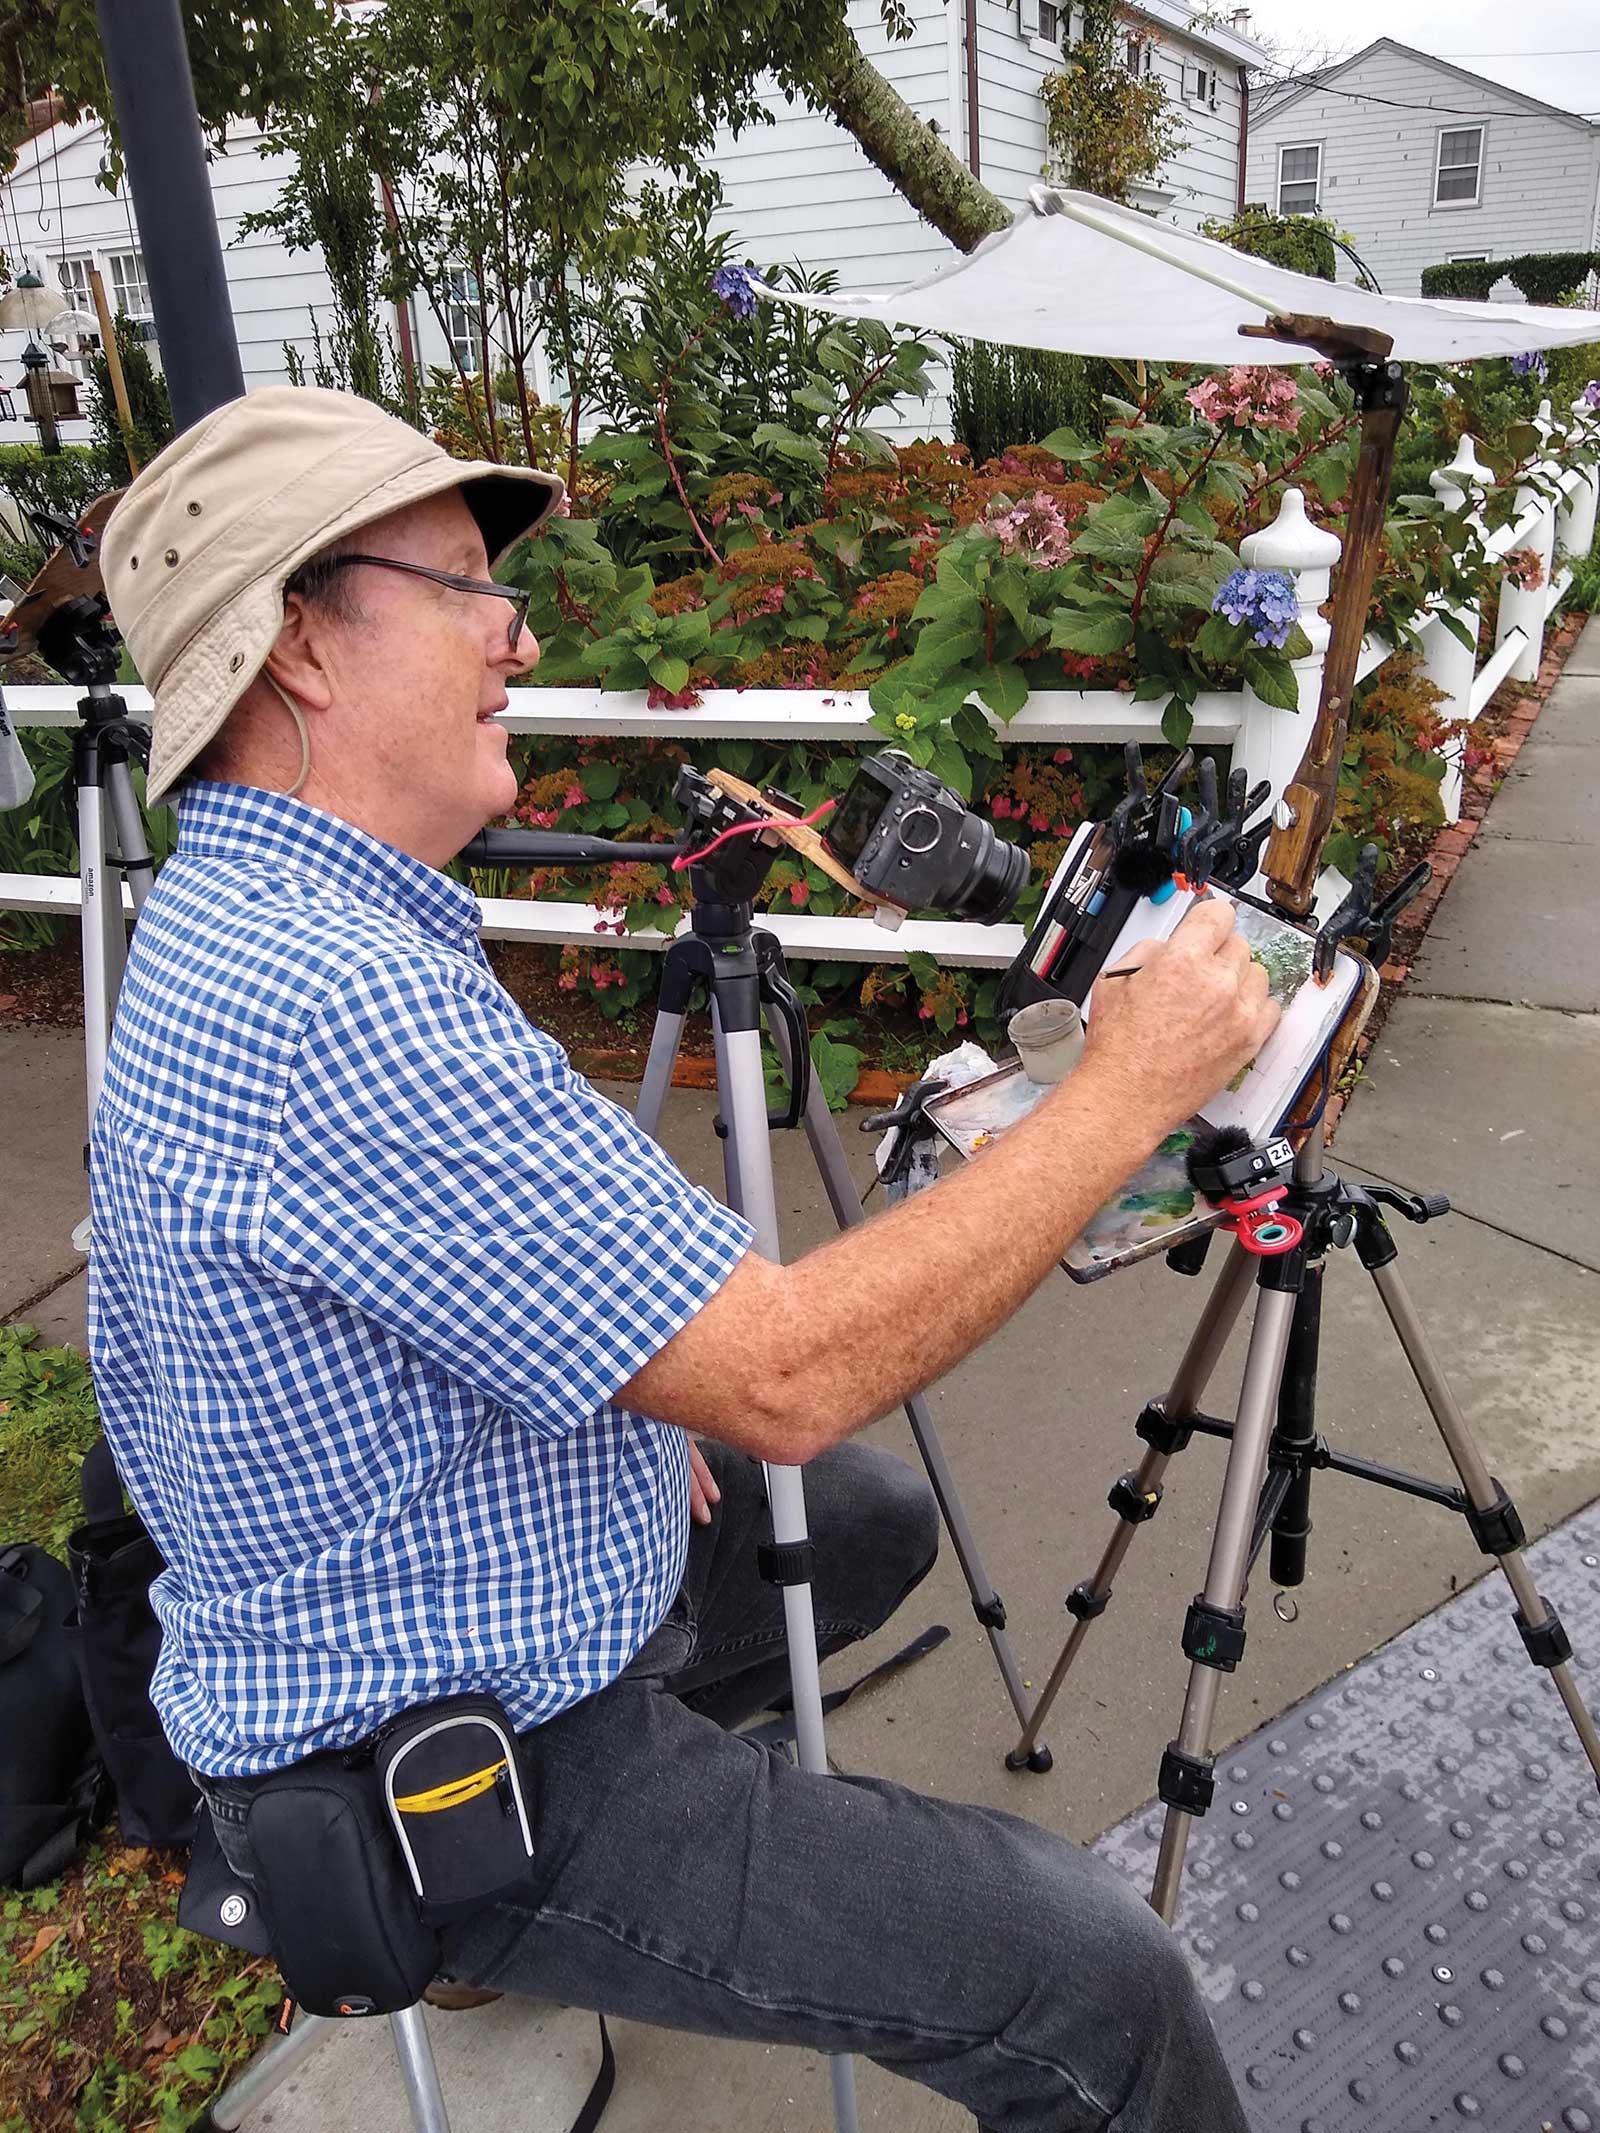
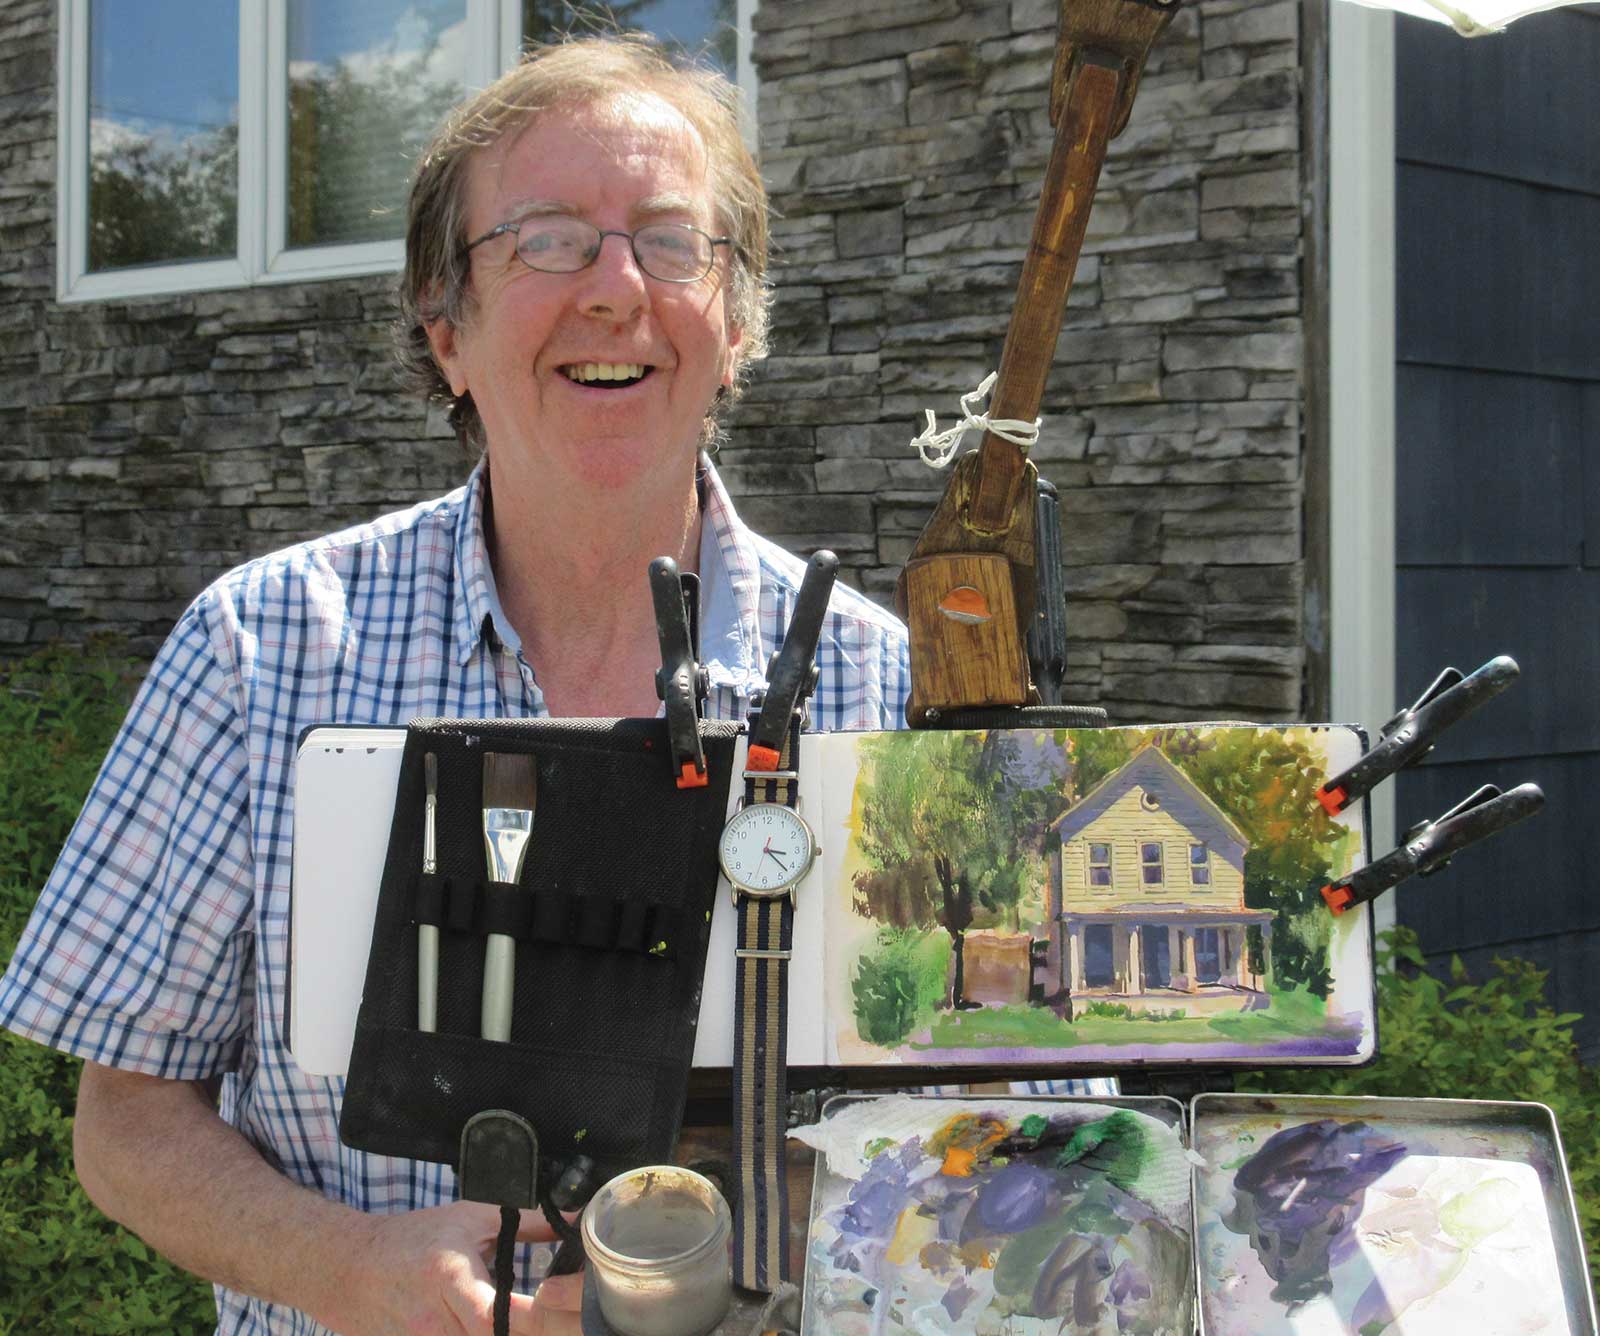
The camera is less obtrusive if it’s set up on an extension bar from the left. That way the tripod is off to the side.
Music and Audio
• Don’t use a repeating piece of background music as an audio underlay for the entire video. You may tune it out, but the rest of us may not. It’s likely to be a distracting annoyance for many viewers. There’s a good chance your own taste in music won’t match the viewer’s.
• Do use brief music cues for the beginning, titles, transitions or ending only if an emotional cue is really called for.
• Don’t play the music too loud. Don’t let the music interfere with the voice.
• Do use audio ducking to lower the sound levels when the voice comes in.
• Don’t use your camera’s built-in microphone unless you’re speaking very close to the camera.
• Do use a lav mic or a shotgun mic. Set it up close to the source.
• Don’t just edit together the clips with the audio that you happened to capture. This leads to jarring discontinuities.
• Do record ambient “room tone” audio of the background environment that’s as long as your video is likely to be.
• Do record the voice of an observer, a passerby, a model or an expert who knows about what you’re painting.
Be sure to include shots of the palette, the brushes and the subject.
Voiceover
• Don’t talk all the time.
• Do leave at least 25 to 50 percent of the audio track without talking so people can enjoy the sound of the brushes or the sound of the environment. Allow time for your ideas to sink in. You sound smarter if you talk less.
• Don’t present your voiceover in the past tense: “I finished the painting with a red glaze, and then I…”
• Do use the present tense. Film happens in the now moment: “Now I’m applying a red glaze.” You can look backward or forward in time as you proceed but always from the perspective of the present moment.
• Don’t stop painting to talk to the camera, except for a brief clip so that we know it’s you talking. As viewers, we don’t want to feel that we’re distracting you from painting. Also, beware of talking while you’re painting, unless you’re an experienced teacher. You’re likely to repeat yourself, say the wrong thing or just fill time with meaninglessness.
• Do record voiceover later, when you can really concentrate.
And Finally
• Don’t hesitate to break any of these rules if you can come up with a better way to make a video.
• Do try to see your video from the point of view of your audience. Pay close attention to comments and analytics on social media. Have fun and experiment.—