


Watercolor is a charming way of blending colors to create undeniably romantic paintings. Each stroke of paint is delicately brushed to create textures and layers that bring a painting to life. I’m constantly finding myself enchanted by the swirling colors, opaque pigments, transparent layers and true magic of every stroke. I work primarily with two mediums—watercolor and oils. With both mediums I have found a passion in creating hyperrealistic art. I love focusing on the tiniest of details as I bring something to life.
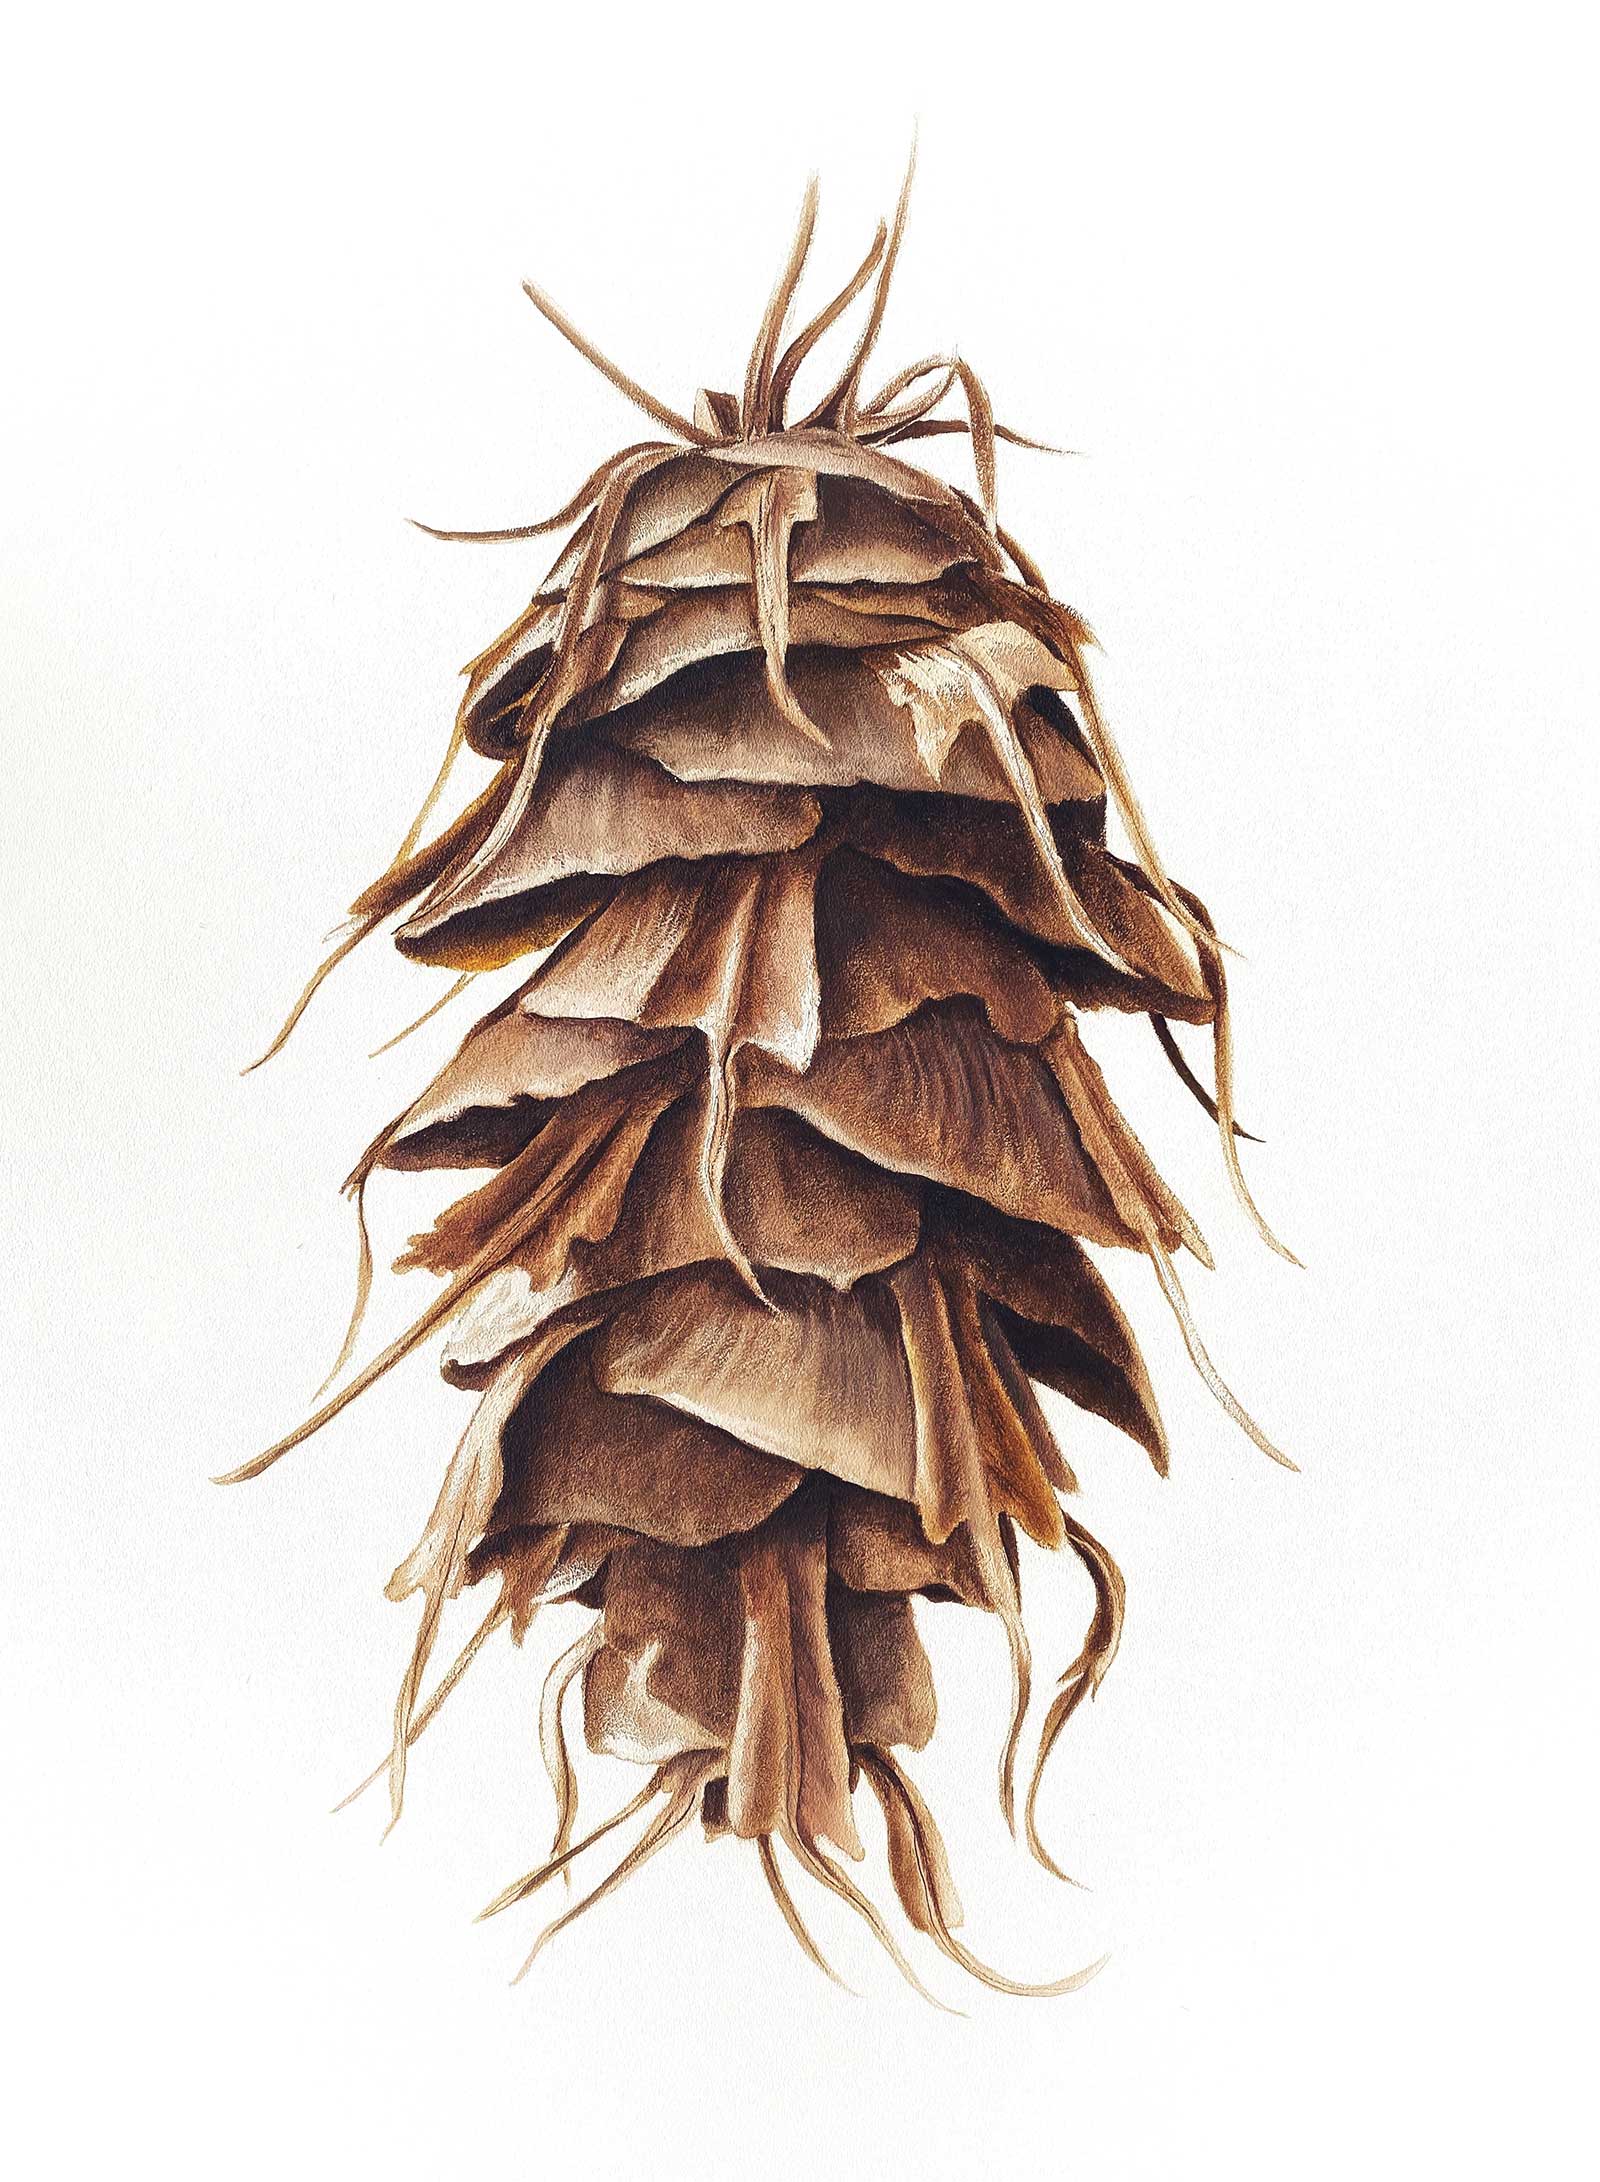 Grand Pinecone, oil, 23 x 15” (58 x 38 cm) This enlarged version of a pinecone is painted to show the beauty of small nature’s treasures found in the woods.
Whenever I have time to go out in nature I’m constantly looking for new references for future paintings. The subject can be anything from grand and majestic flowers to the smallest forest berries. However, I find it even more interesting to paint something small and then enlarge it, or capture something with tiny flaws. It really helps make painting more realistic and natural.
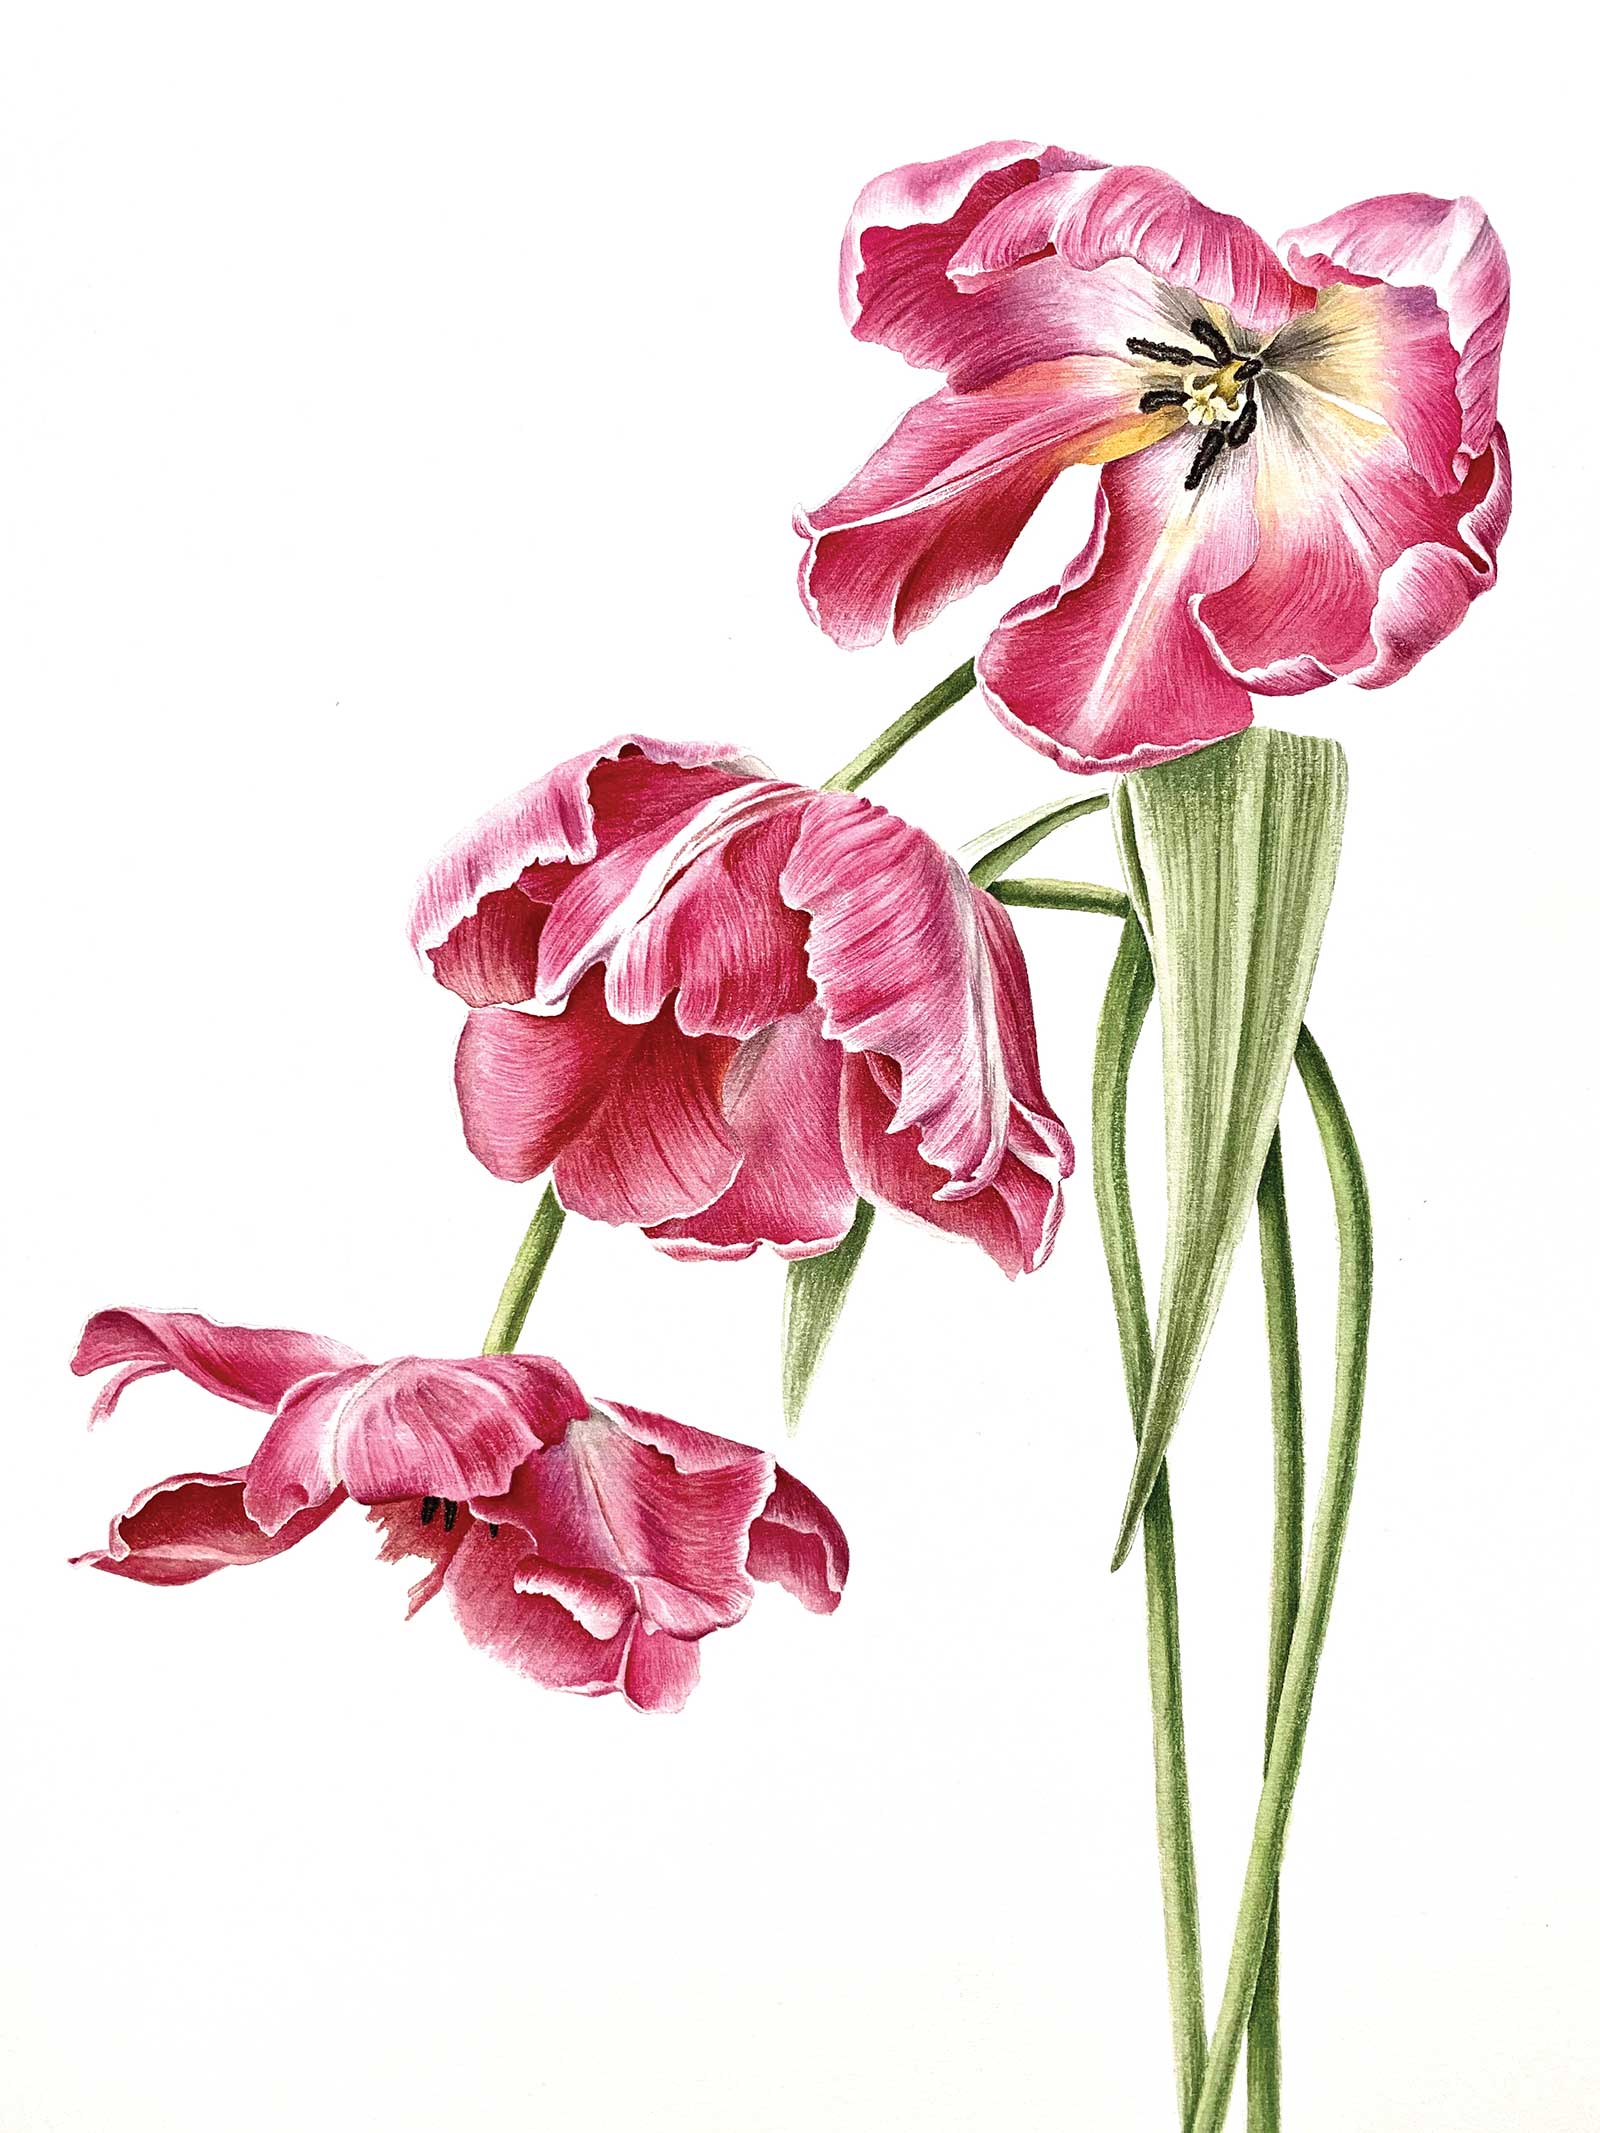
Flying Tulips, watercolor, 17 x 13” (43 x 33 cm) This composition was made by applying “Golden Ratio” proportions. Parrot tulips are beautiful from every angle you look, and I wanted to capture that in this painting.
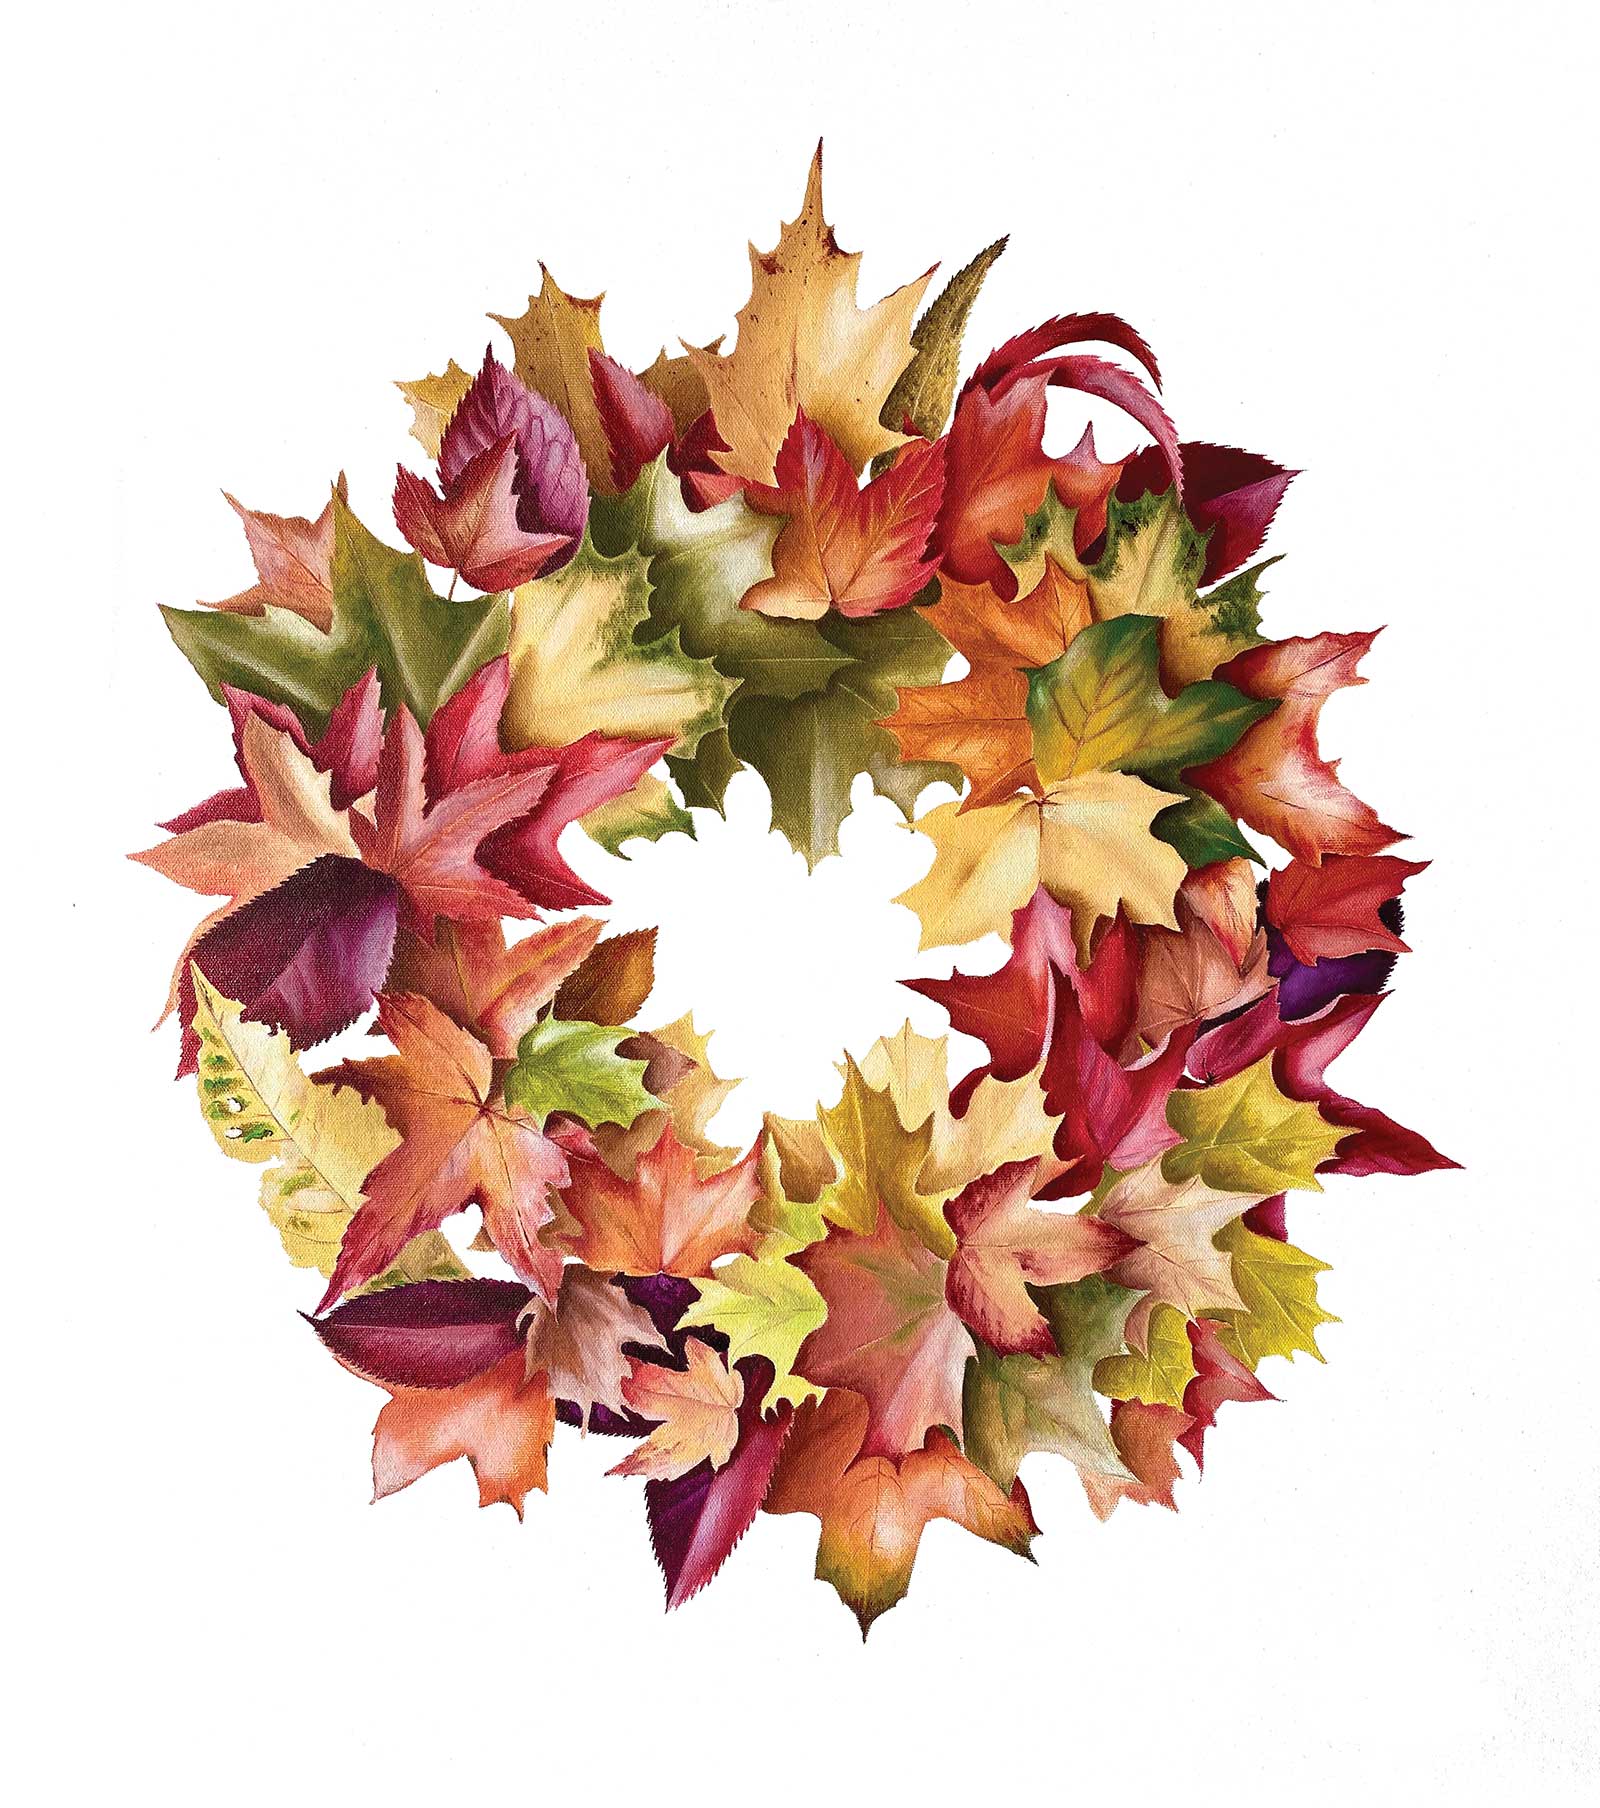
Autumn Twisted, oil, 23 x 23” (58 x 58 cm) This is an autumn wreath of fallen leaves—the circle of nature’s weather cycle is coming to an end. And the end of this yearly cycle is celebrated in beautiful colors.
The technique that I’m using in my watercolor painting is a mix of wet-on-wet painting and a drybrush technique. The first layer is applied wet-on-wet, and while the surface is still wet I can add more colors to darker parts of the painting surface, or wipe out color from places like veins or lighter parts of the painting area. After establishing light and dark areas, cool and warm tones, I start to build layers of color to create realistic forms on a flat surface. I apply many layers of transparent watercolors with fine brushstrokes, and in between layers, smoothing them out with a round simple synthetic brush.
I want to empower artists to be confident in their brushstrokes, to be excited with their artwork, and to find an appreciation for every little detail. Even in the smallest nature pieces we can find a masterpiece.
My Art in the Making Dahlia Diva
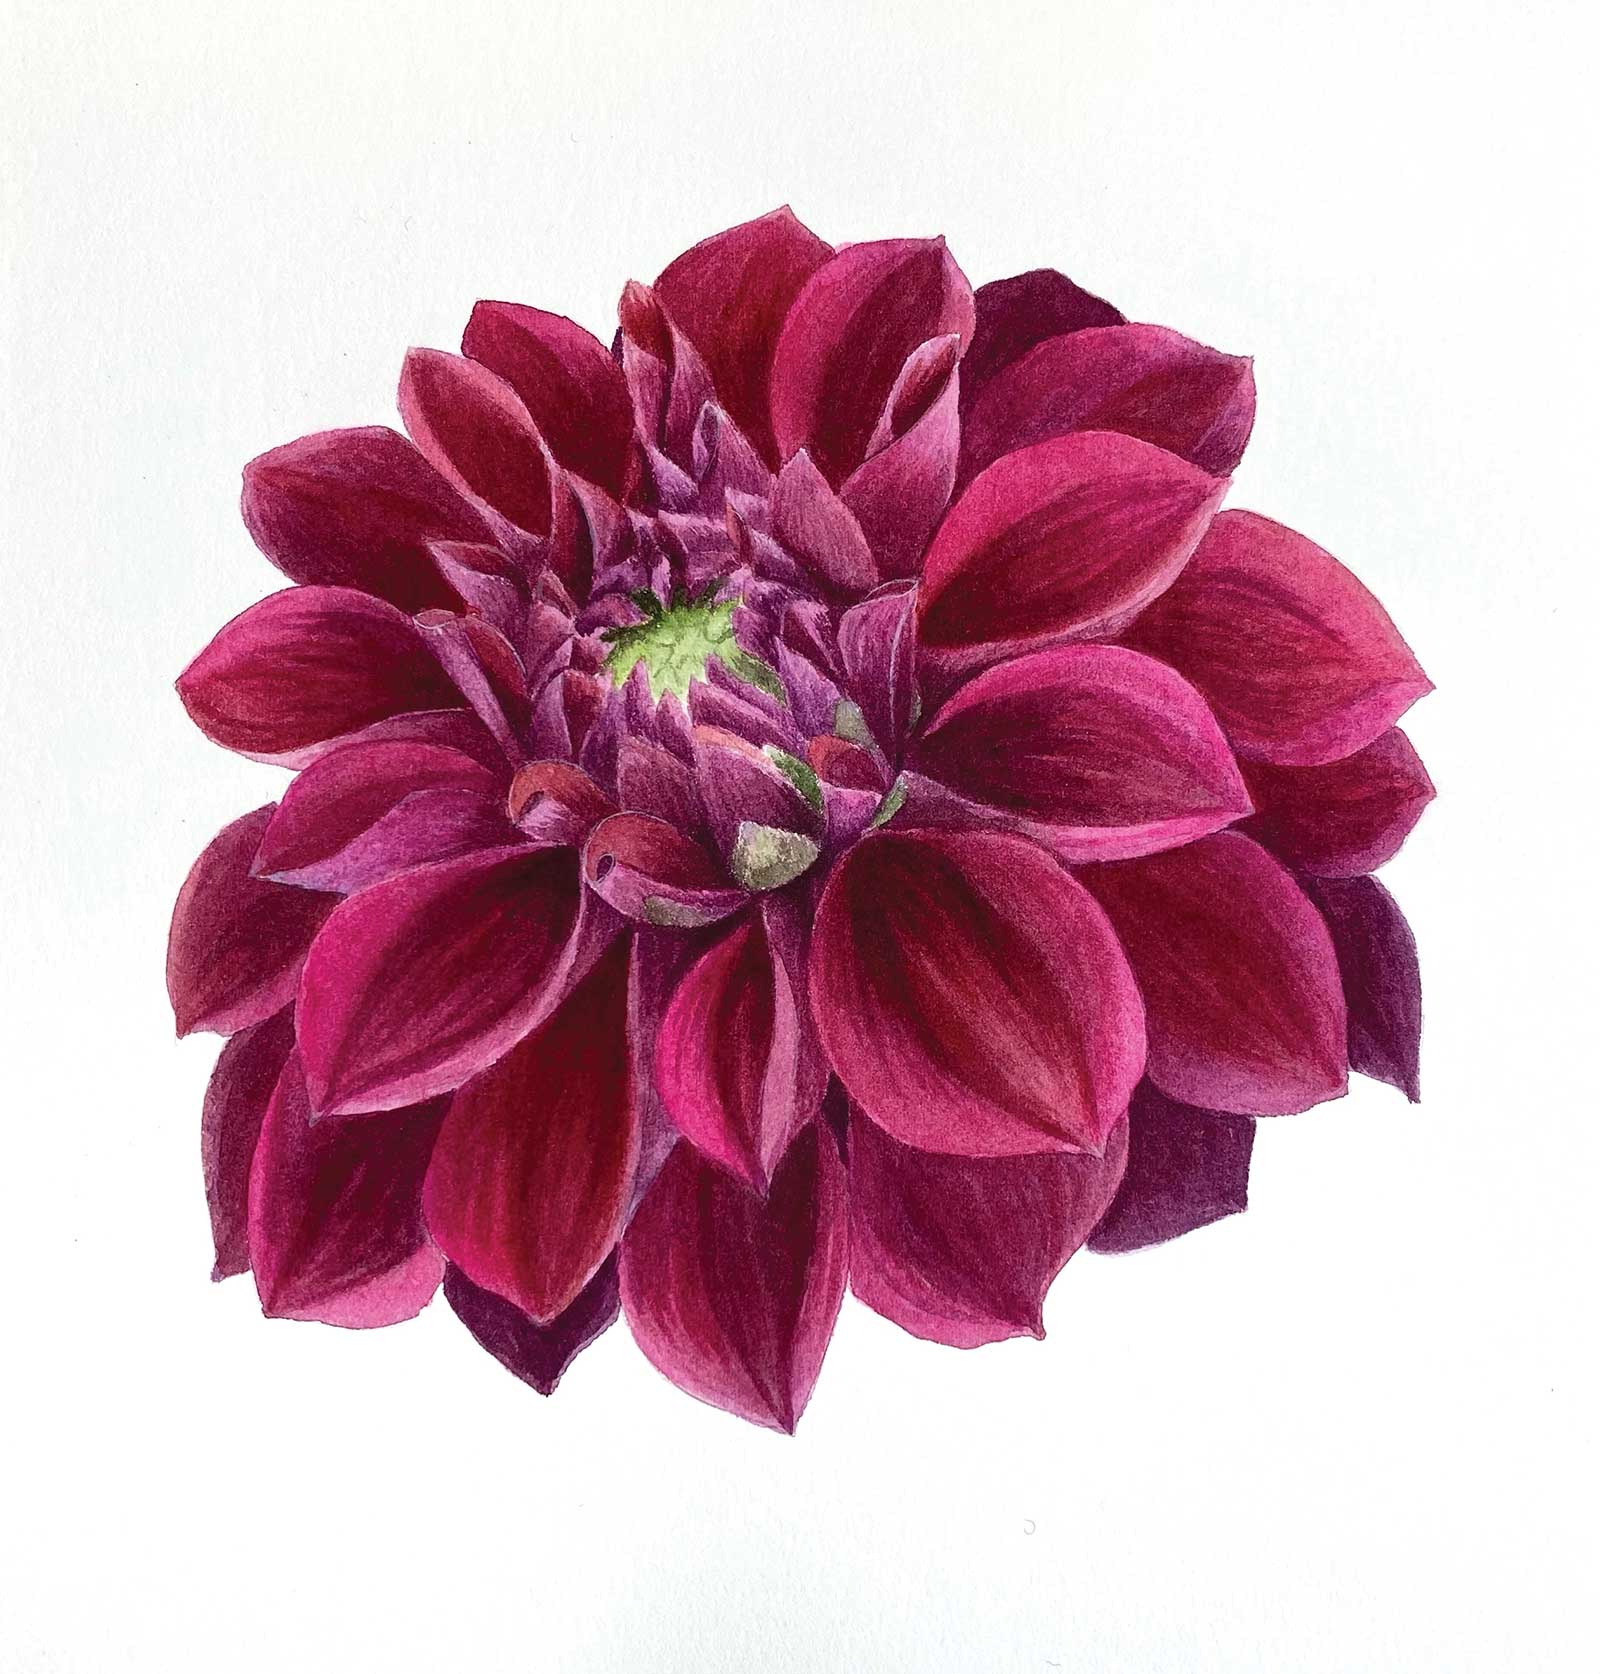
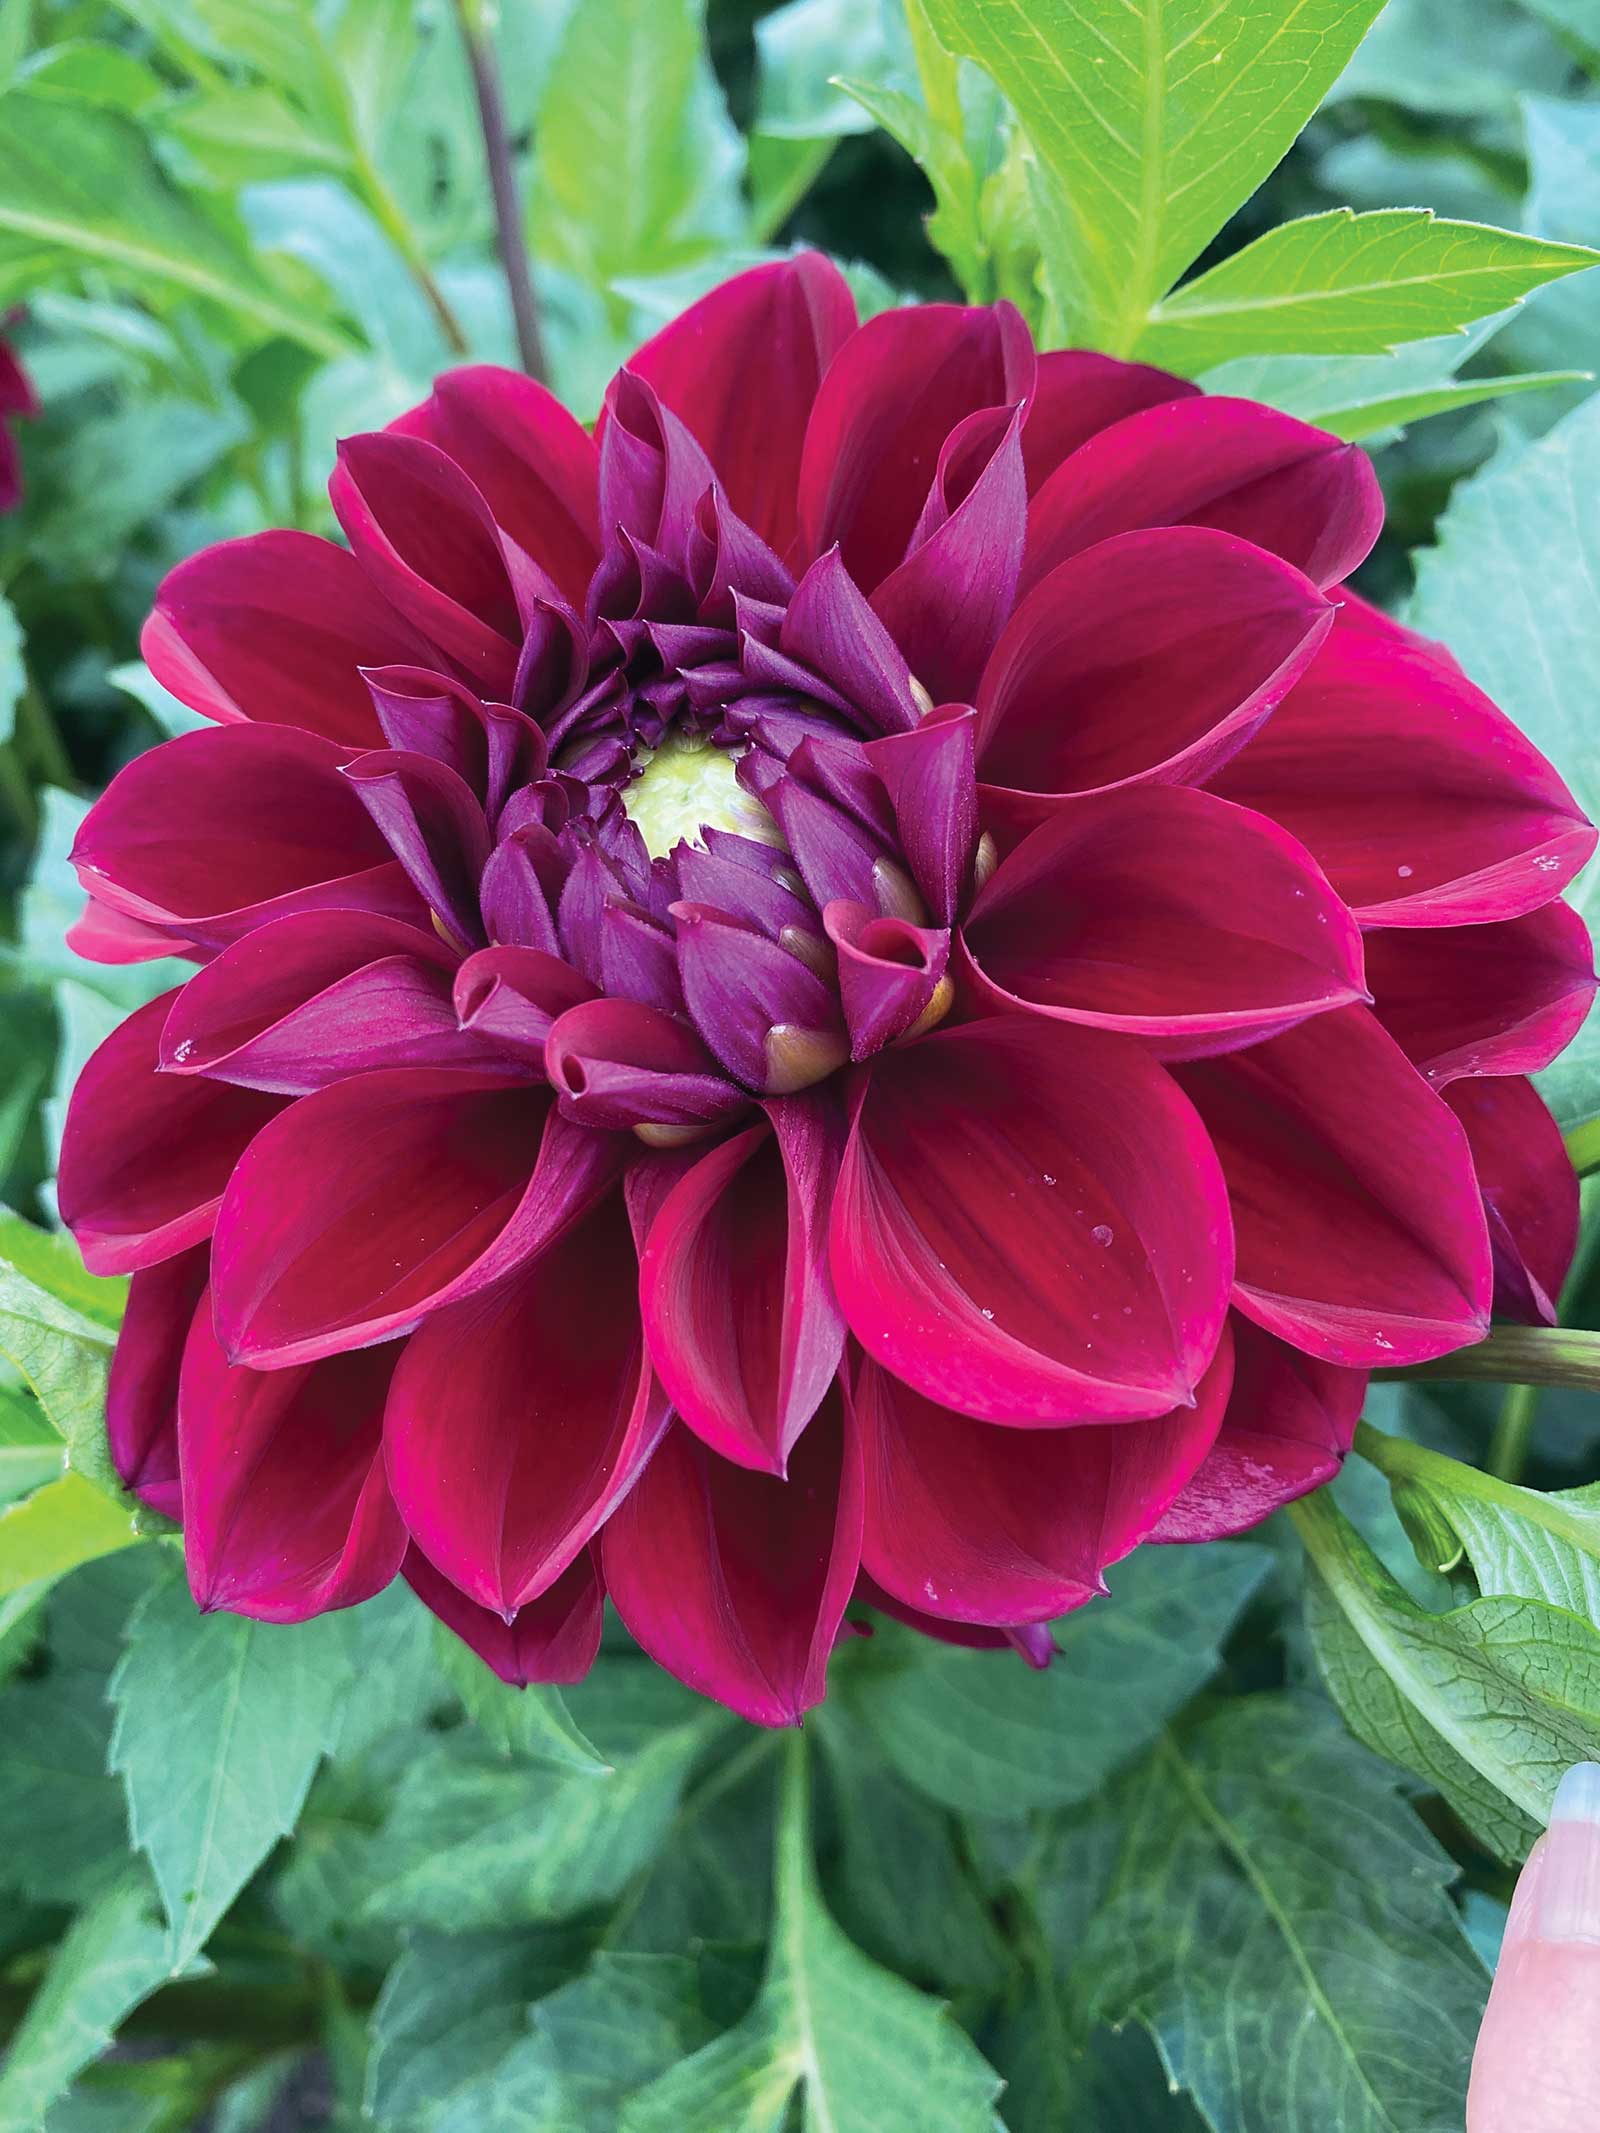 Reference photo
Reference Photo
Mostly working from my own photo references, I carefully pick the subject for a painting. I try to catch the perfect lighting, not in too bright sunlight and not too dark in the shadows. I always take photos with the light source coming from the left side.
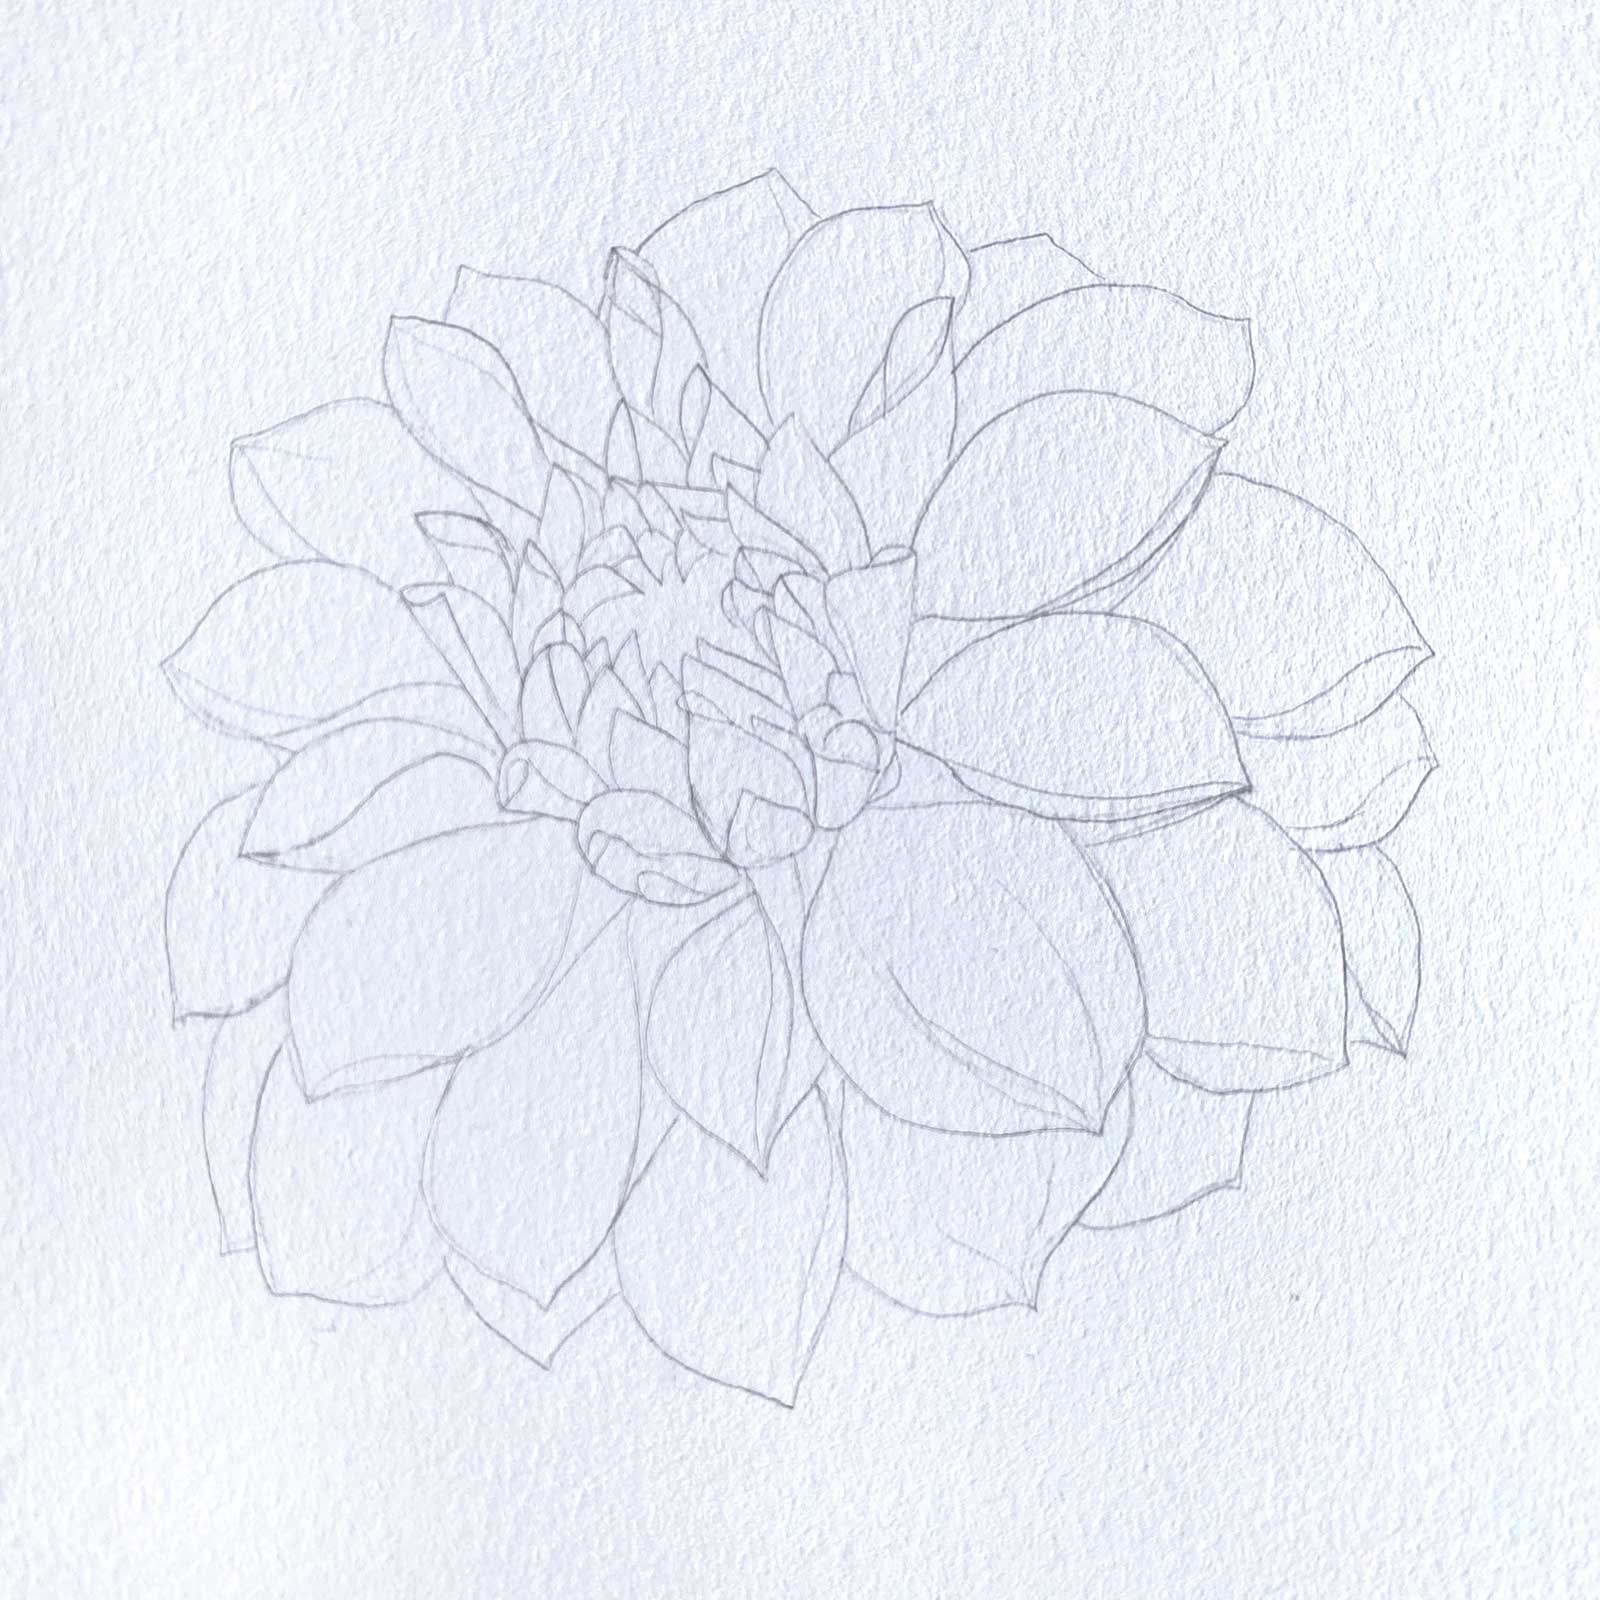 Stage 1
Stage 1 Sketch
I begin by drawing a sketch on thin paper, making corrections as needed. I apply graphite to the other side of the paper with a graphite stick, place my sketch on a painting paper and trace outlines of the subject.
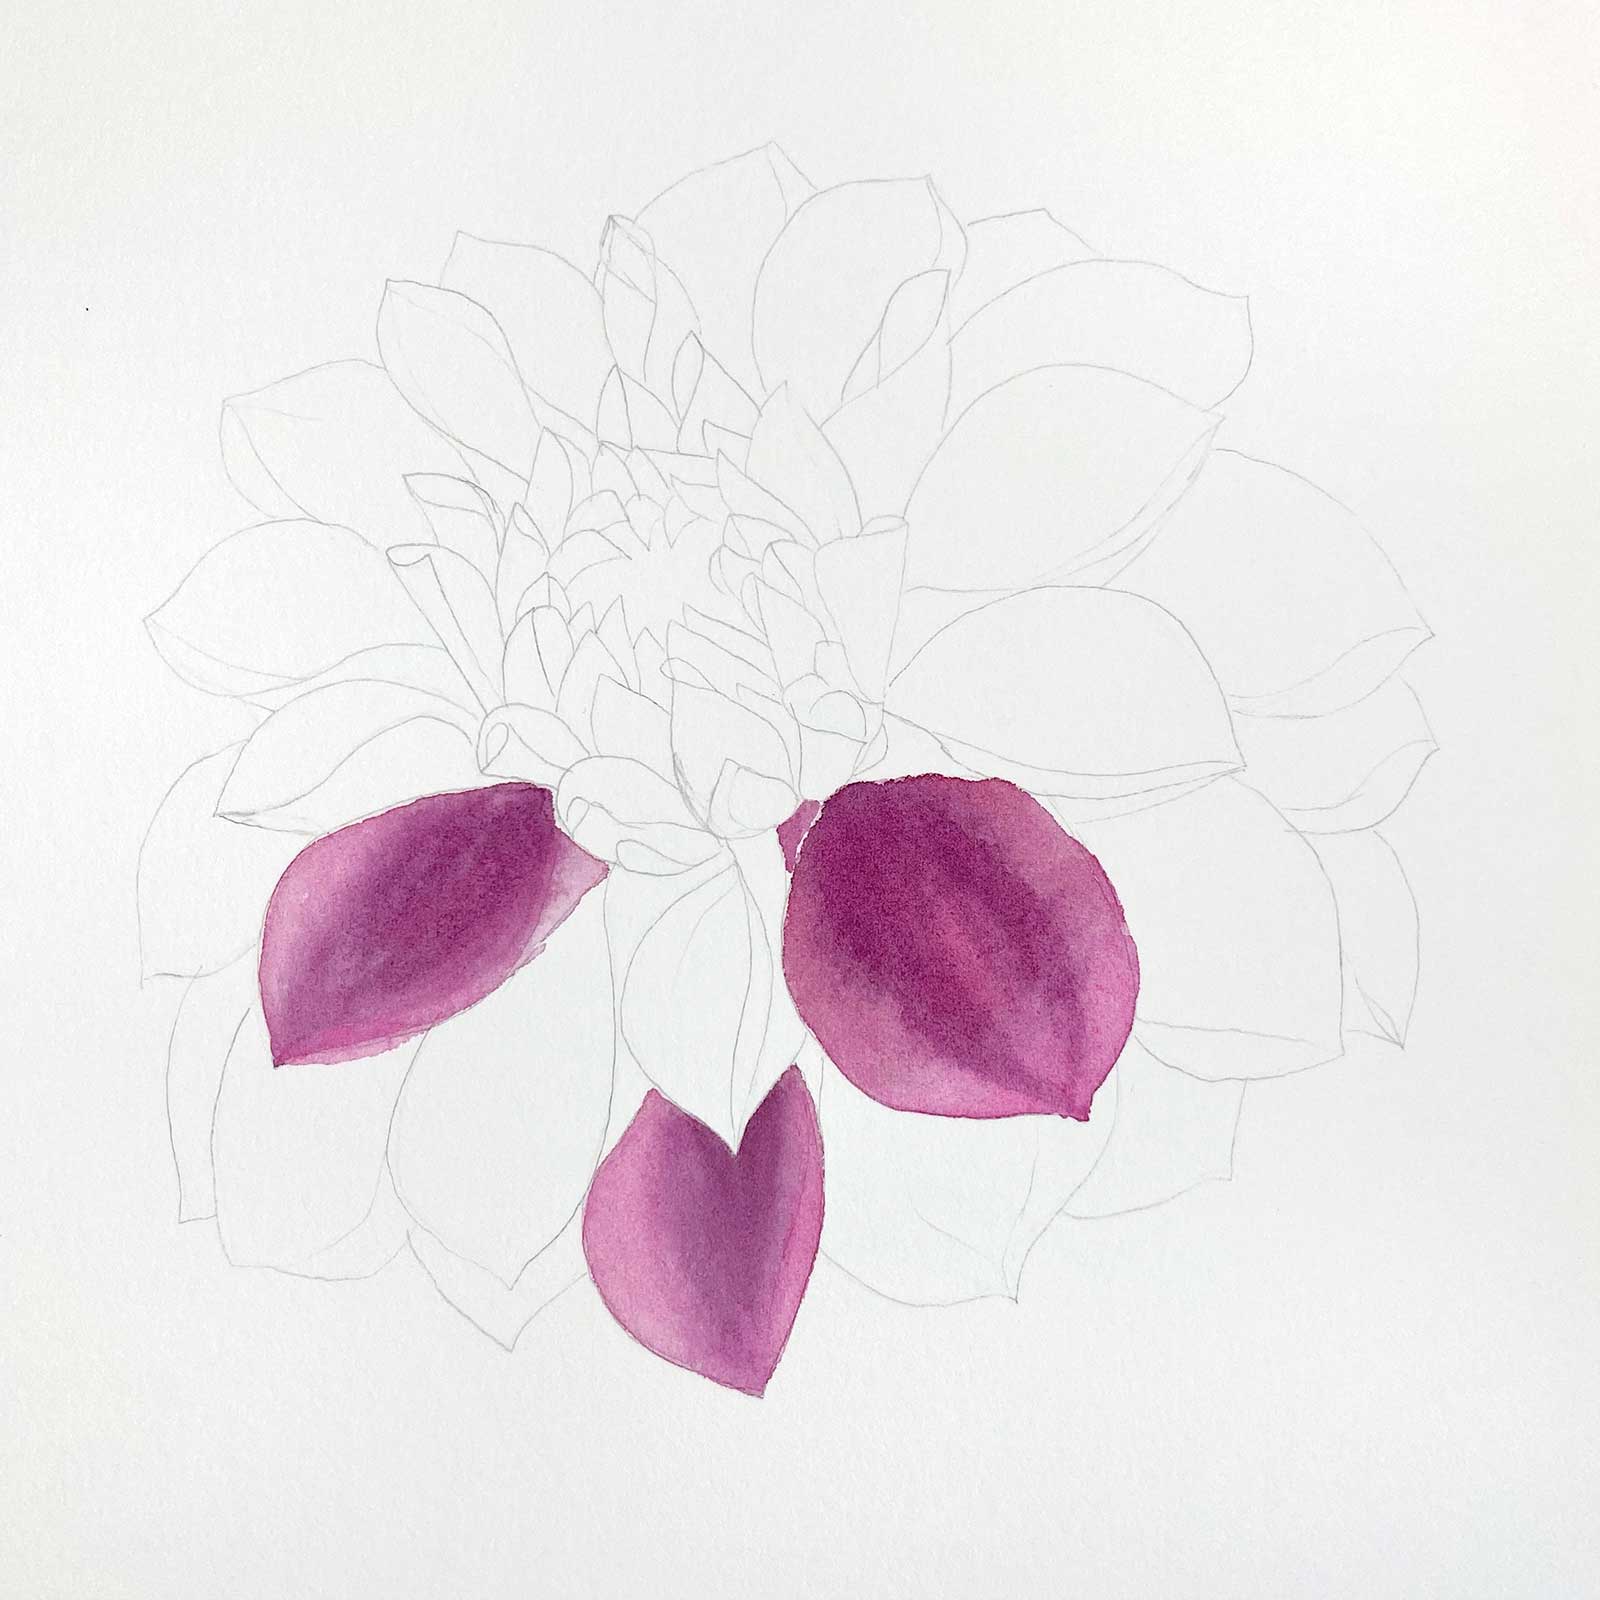 Stage 2
Stage 2 Mixing Colors
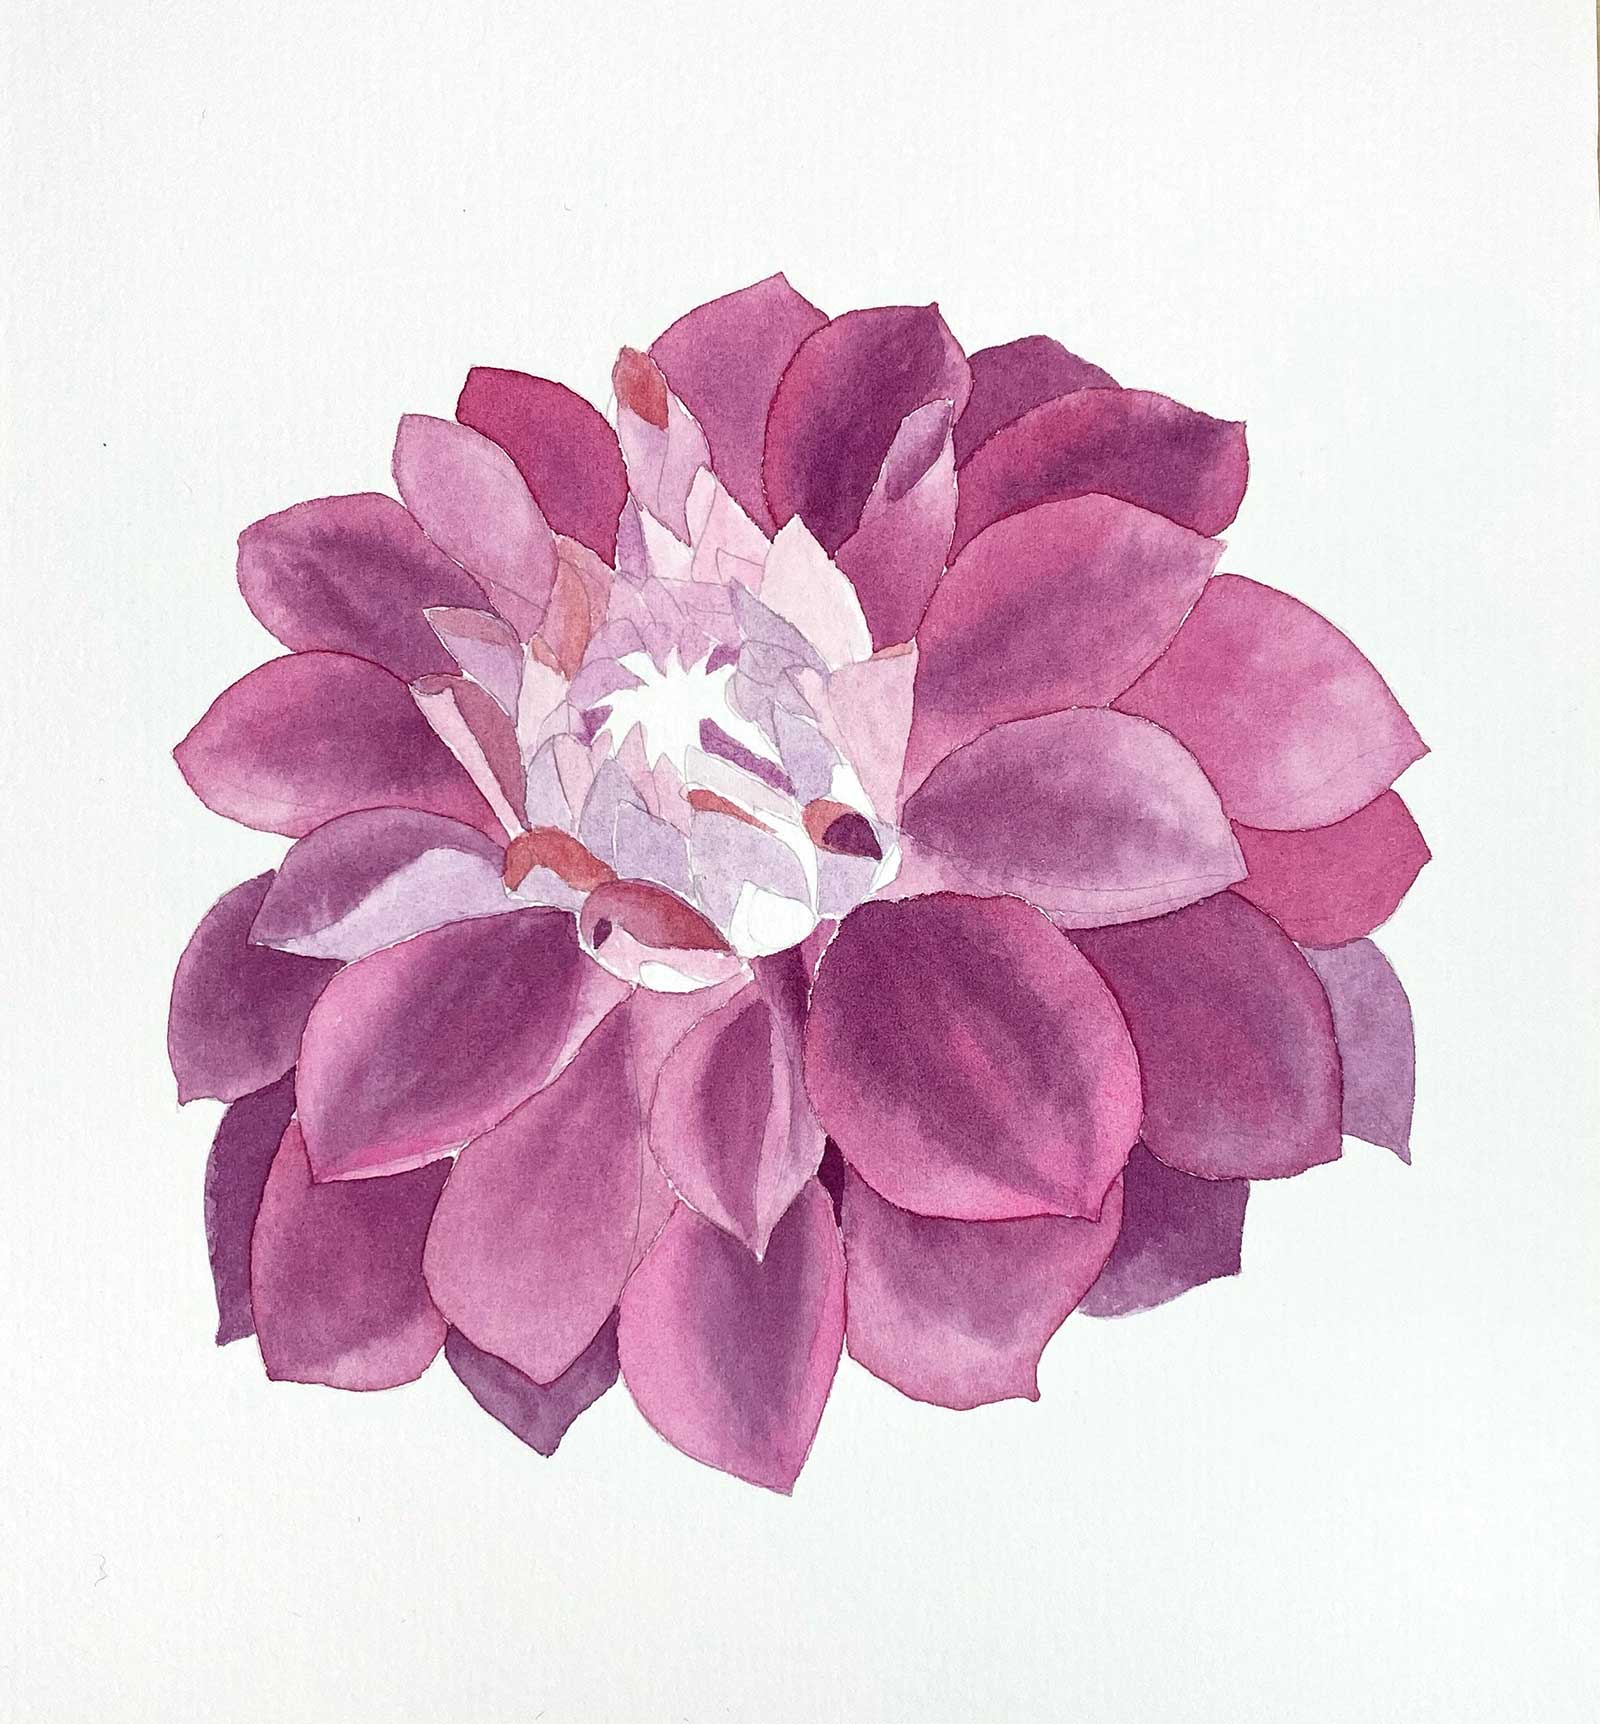
Next, I mix red violet pigment with alizarin crimson. I apply water to one petal and a watery layer of color mix to the petal, painting one petal at a time.
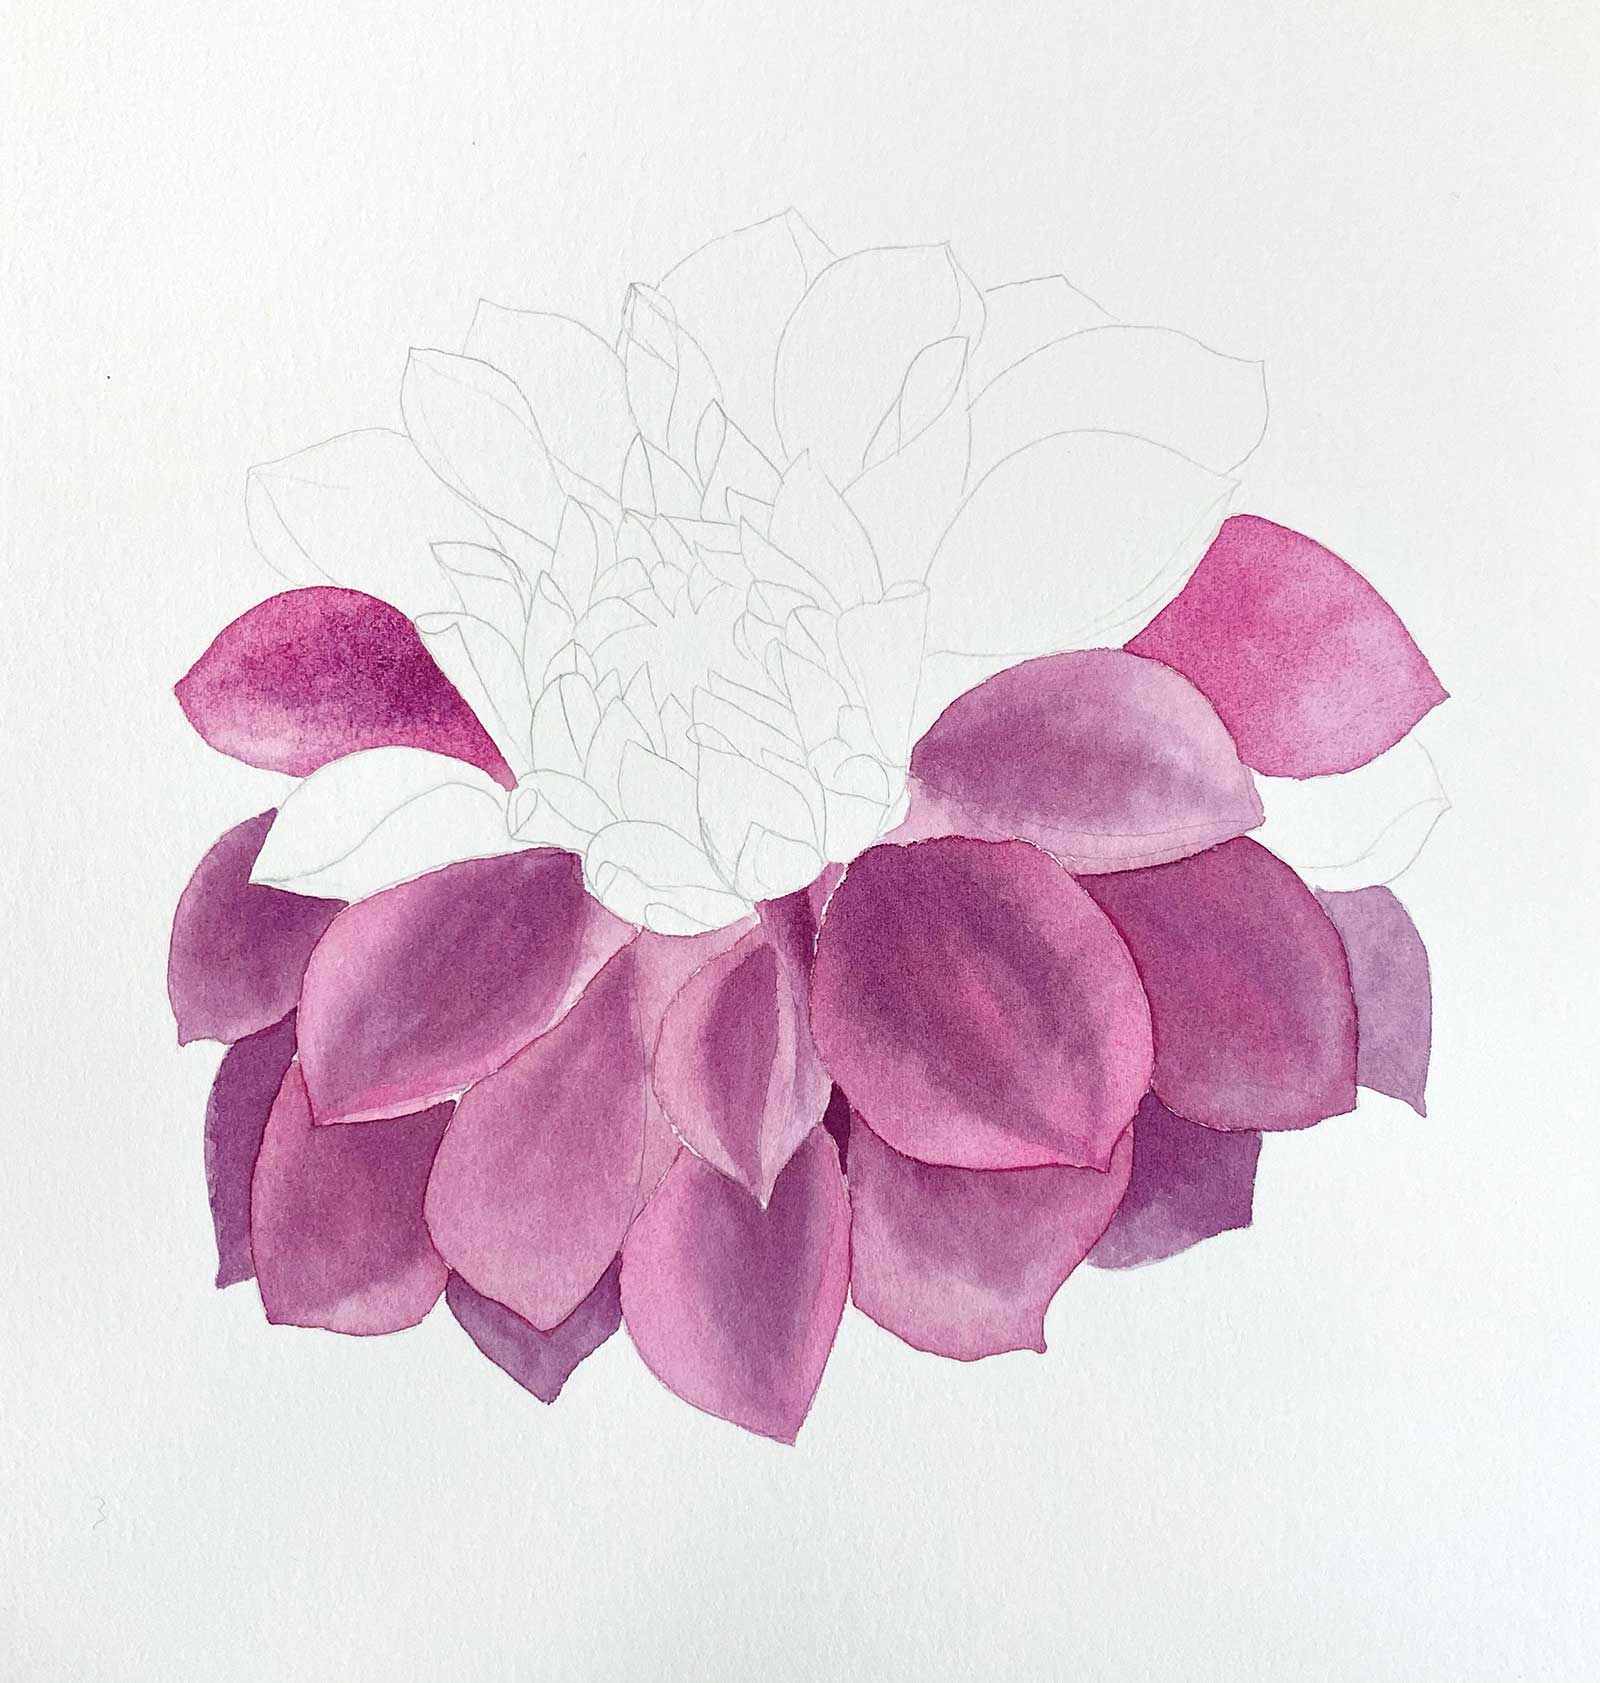 Stage 3
Stage 3 Applying More Water and Pigment
Here, I’m doing the same process of applying water and the color mix layer to all petals. I’m looking at my reference and noticing changes in tonal values—which petals are darker and which are exposed to light.
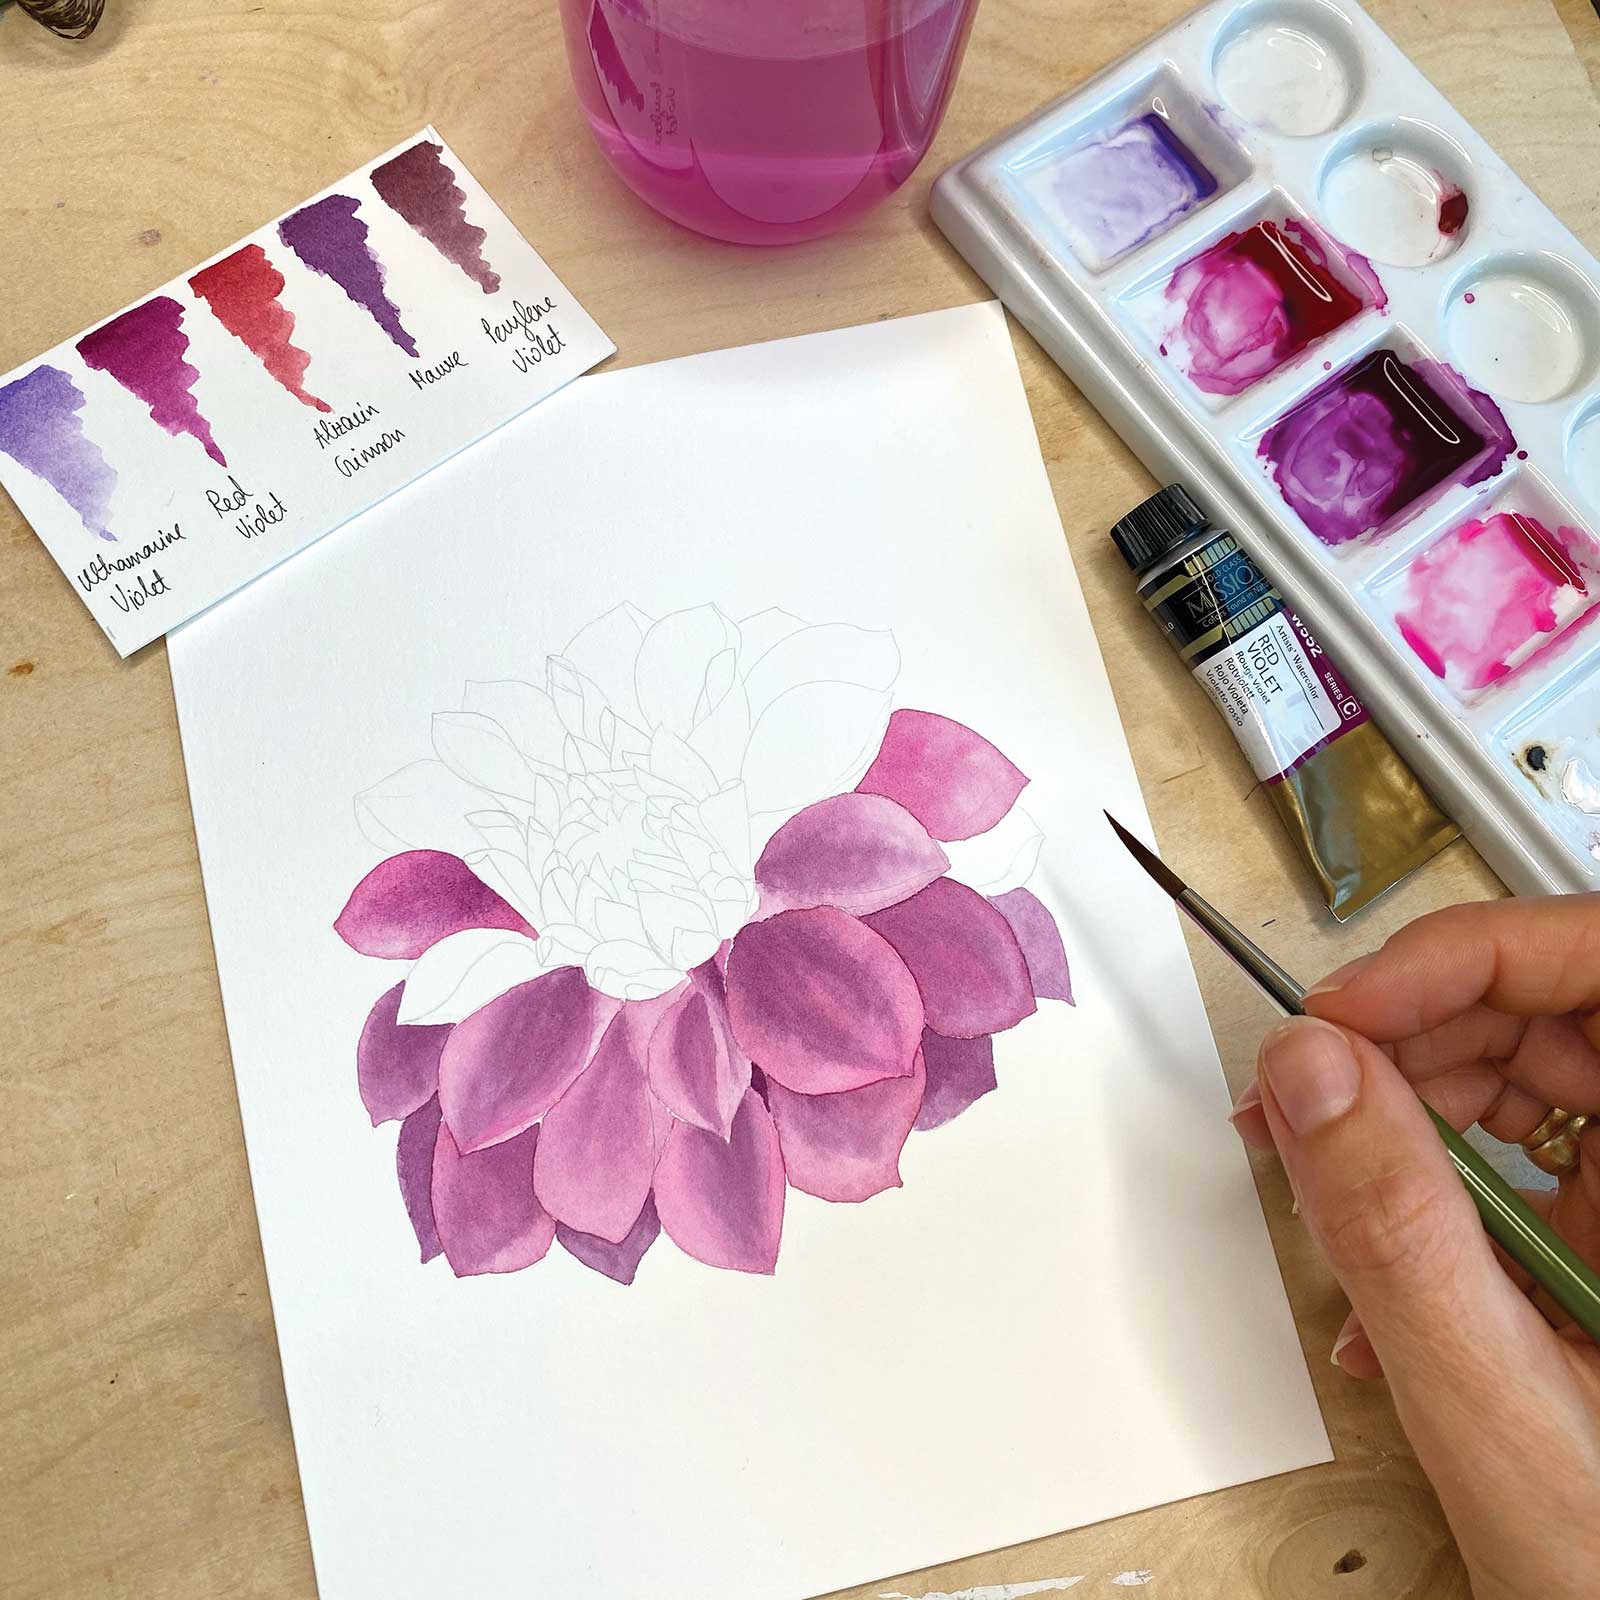 Stage 4
Stage 4 Fine Brushstrokes
Working with a fine tip synthetic brush, I’m working carefully with the edges and making fine brushstrokes. Be careful with light areas—the paper itself is white and should be left unpainted or painted with a very transparent layer.
 Stage 5
Stage 5 Let First Layer Dry
After the first layer is applied, the paper needs to get completely dry before moving on to the next layer.
 Stage 6
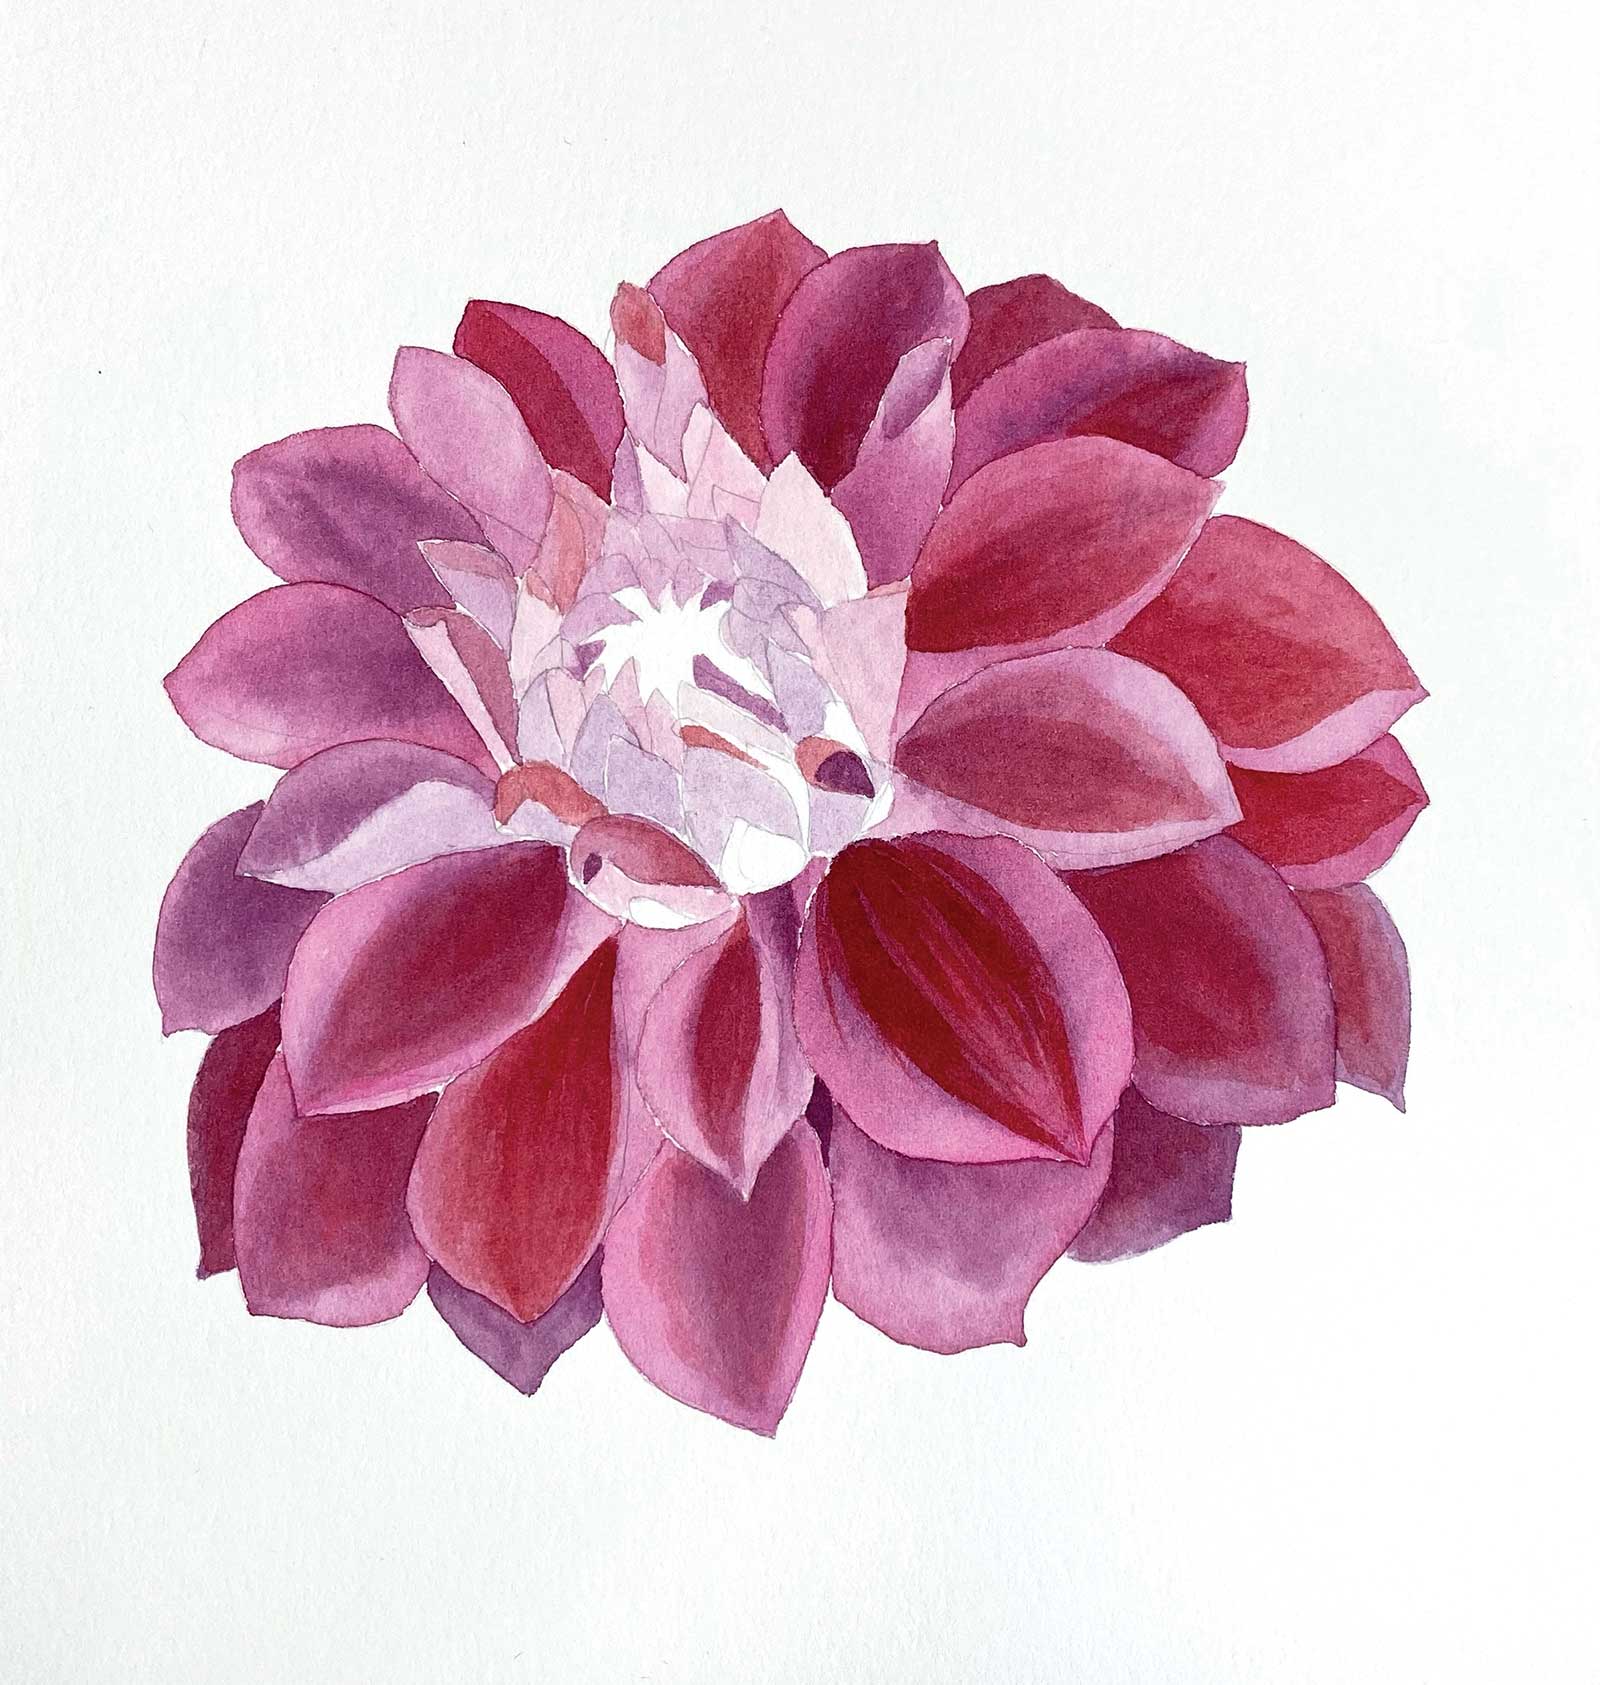
Stage 6 Adding Alizarin Crimson
Here, I’m adding alizarin crimson brushstrokes to the middle part of the petals. There are red tones visible in the middle of the petals.
 Stage 7
Stage 7 Edges of the Petals
A watery layer of opera rose pigment is applied to the edges of the petals with a round synthetic brush for smooth, wide brushstrokes.
 Stage 8
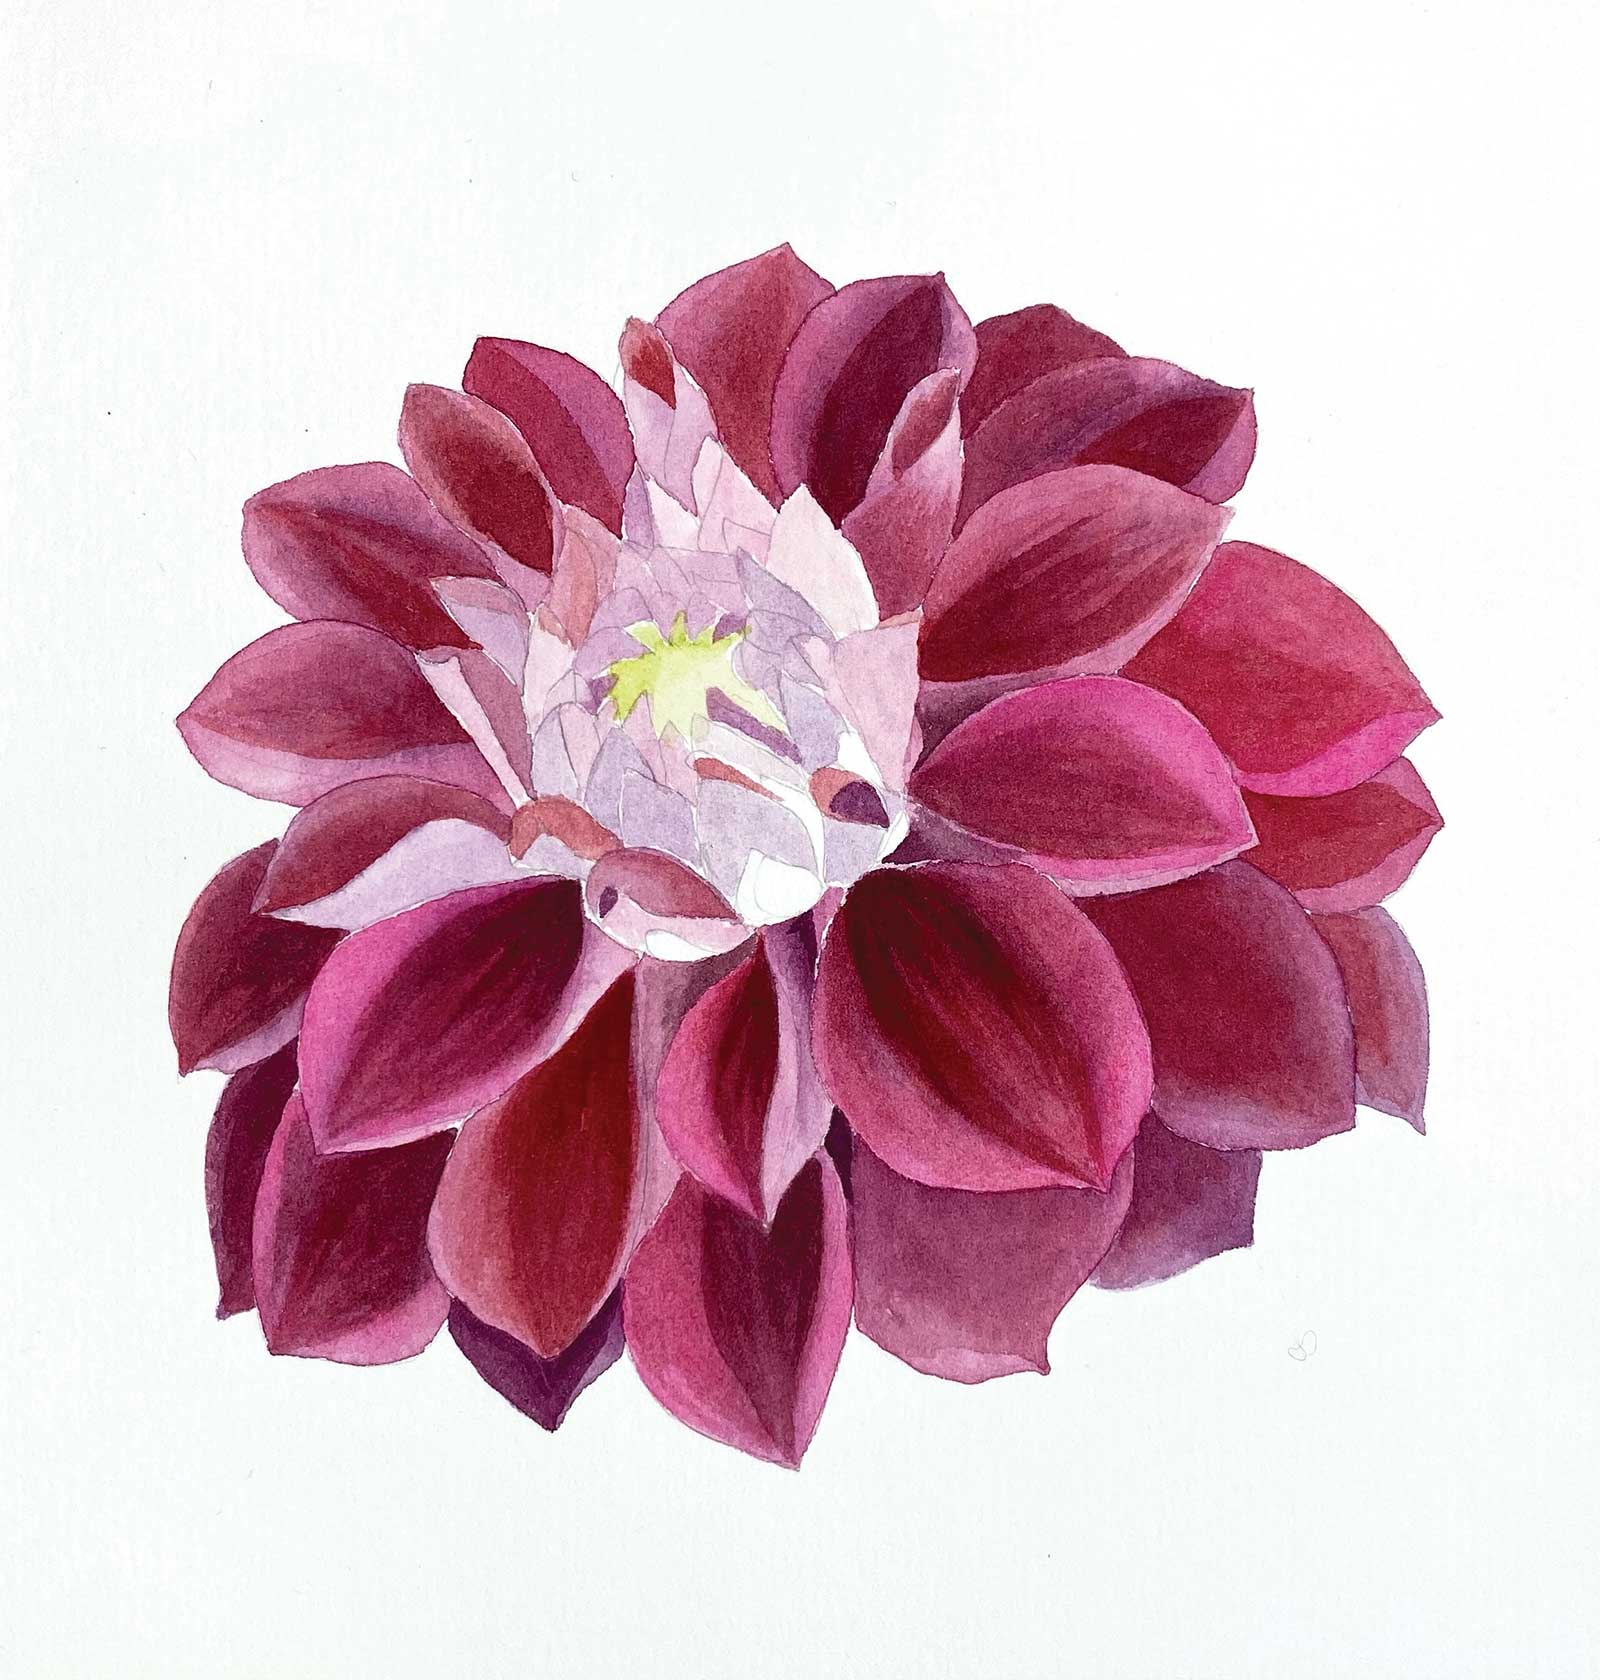
Stage 8 More Color, Thin Brushtrokes
A mix of lemon yellow and sap green is applied to middle part of dahlia flower. Using a very small brush with a fine tip, I’m working with the tip of the brush and applying thin brushstrokes to smaller petals.
 Stage 9
Stage 9 Repeating the Process
I’m now repeating the process of applying watercolors to all petals separately. This painting is a test of patience, but the result is worth the work!
 Stage 10
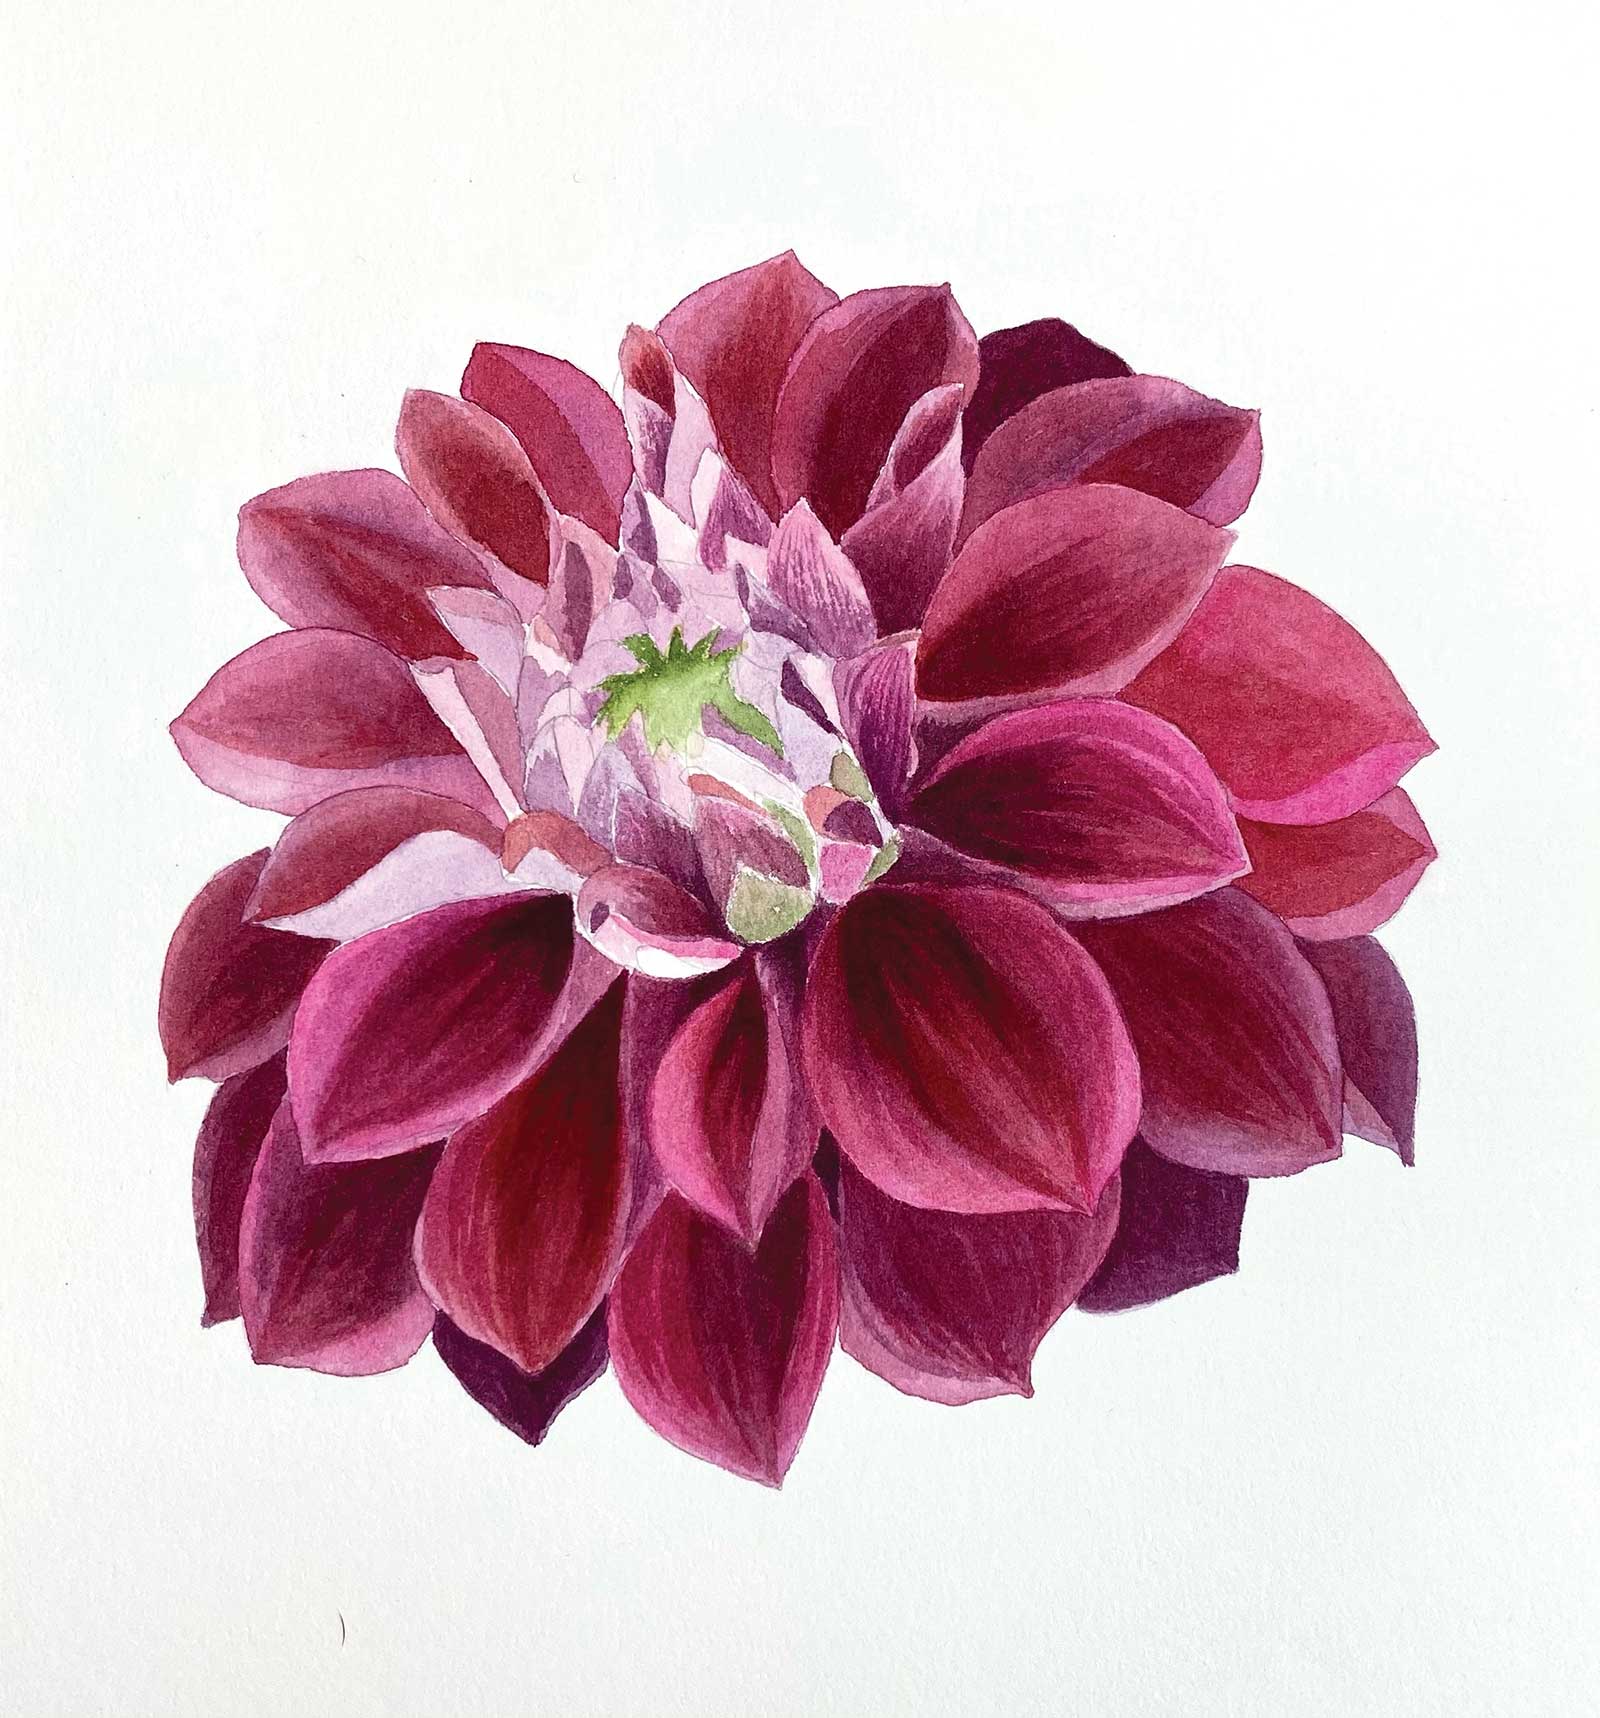
Stage 10 Shadows and Depth
Toward the end, I apply the color mixes more intensely to darker areas and clean up the edges of the petals. By intensifying the shadow part of one petal we are correcting the edge of the next petal.
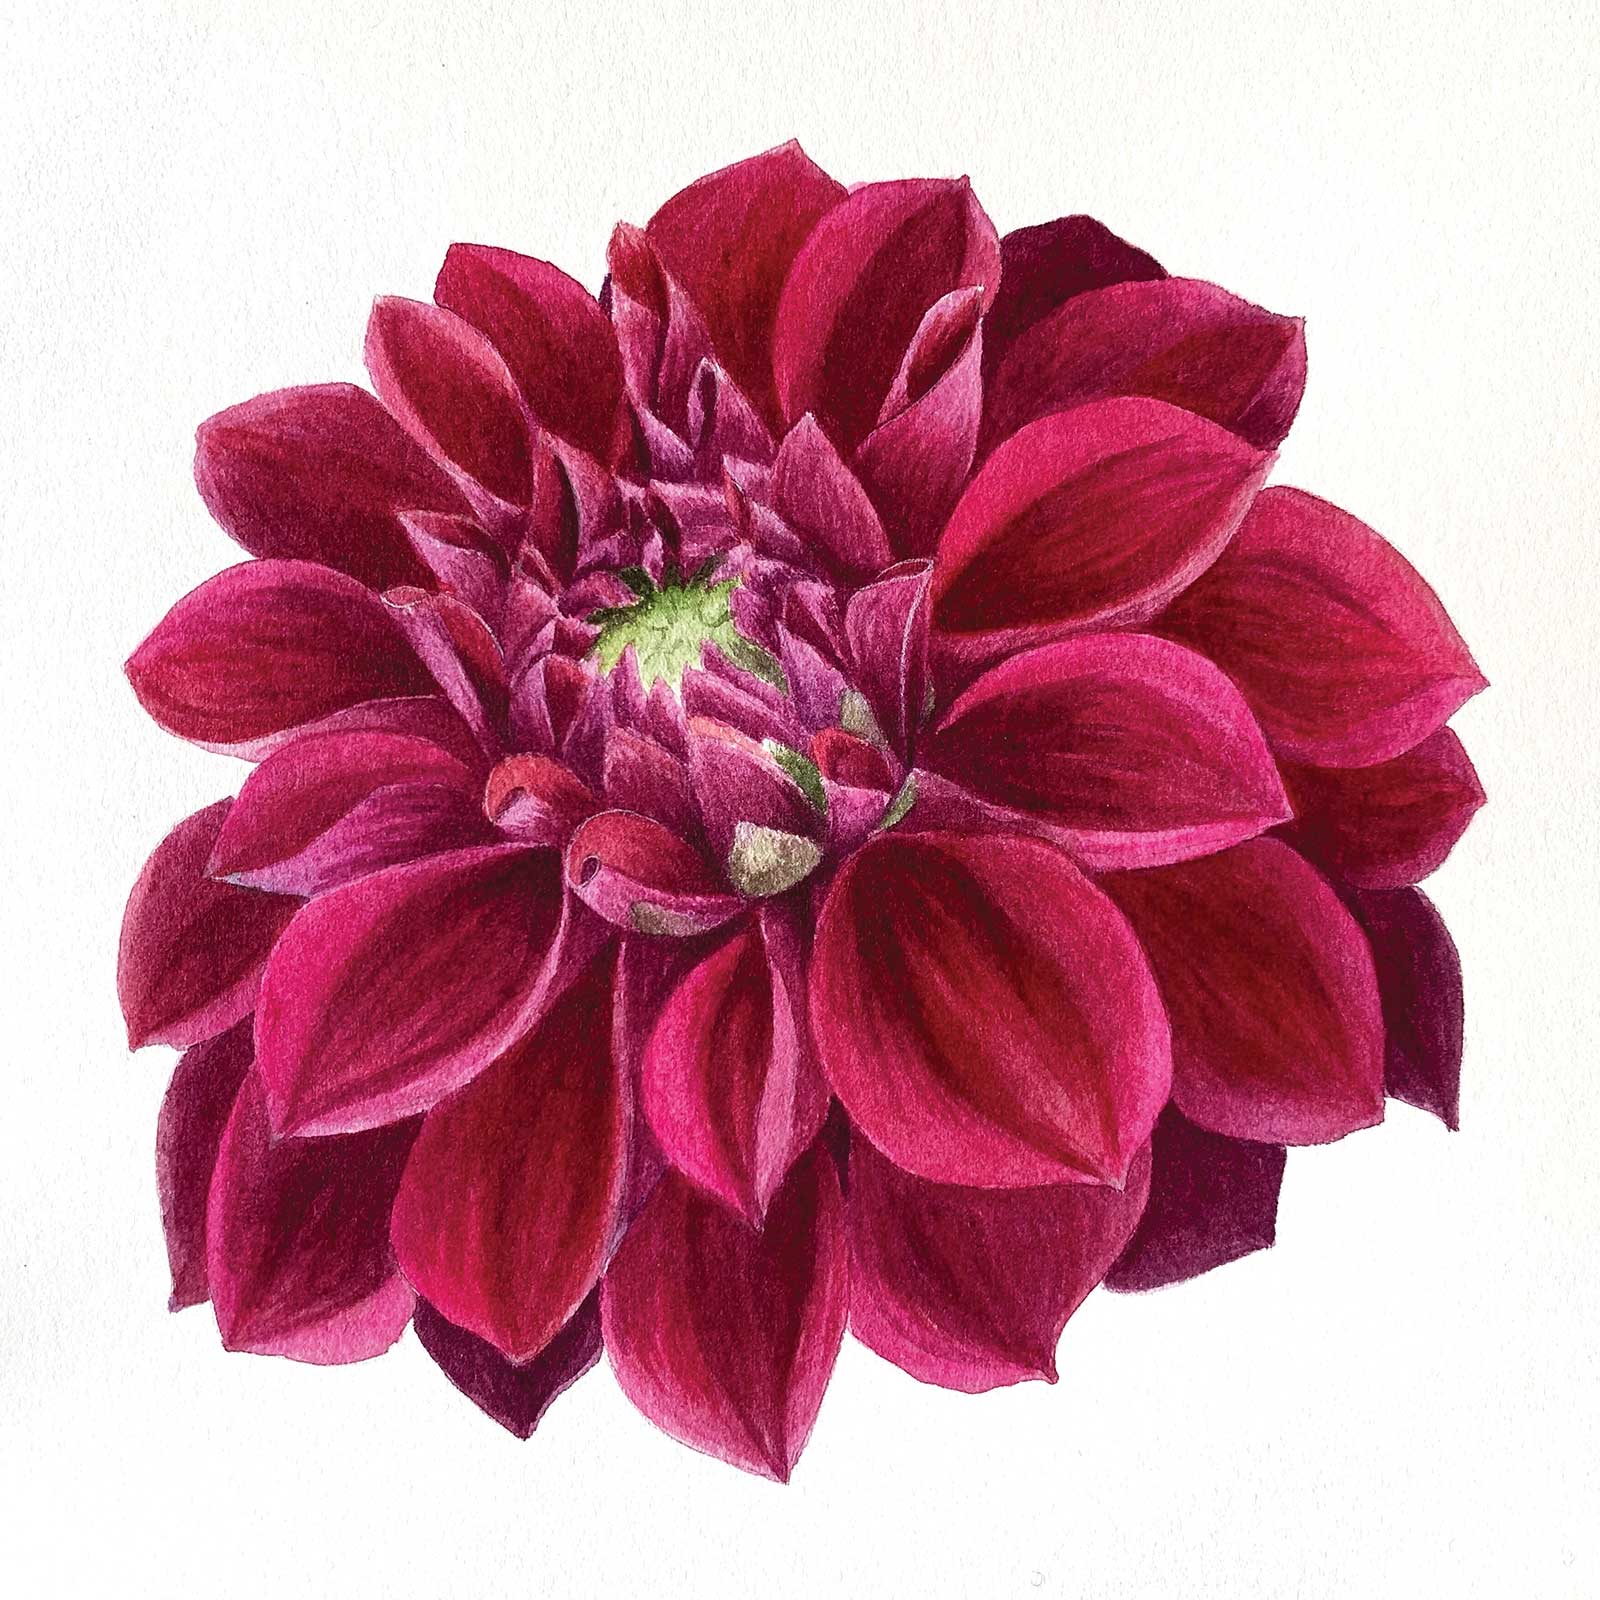 Stage 11
Stage 11 Finished Artwork
Dahlia Diva, watercolor, 8 x 6" (20 x 15 cm)
To finish this dahlia flower head, I’m going over it with watery layers of opera rose pigment with a simple round synthetic brush. Then, I smooth the brushstrokes beneath and add a pink glow.
About the Artist
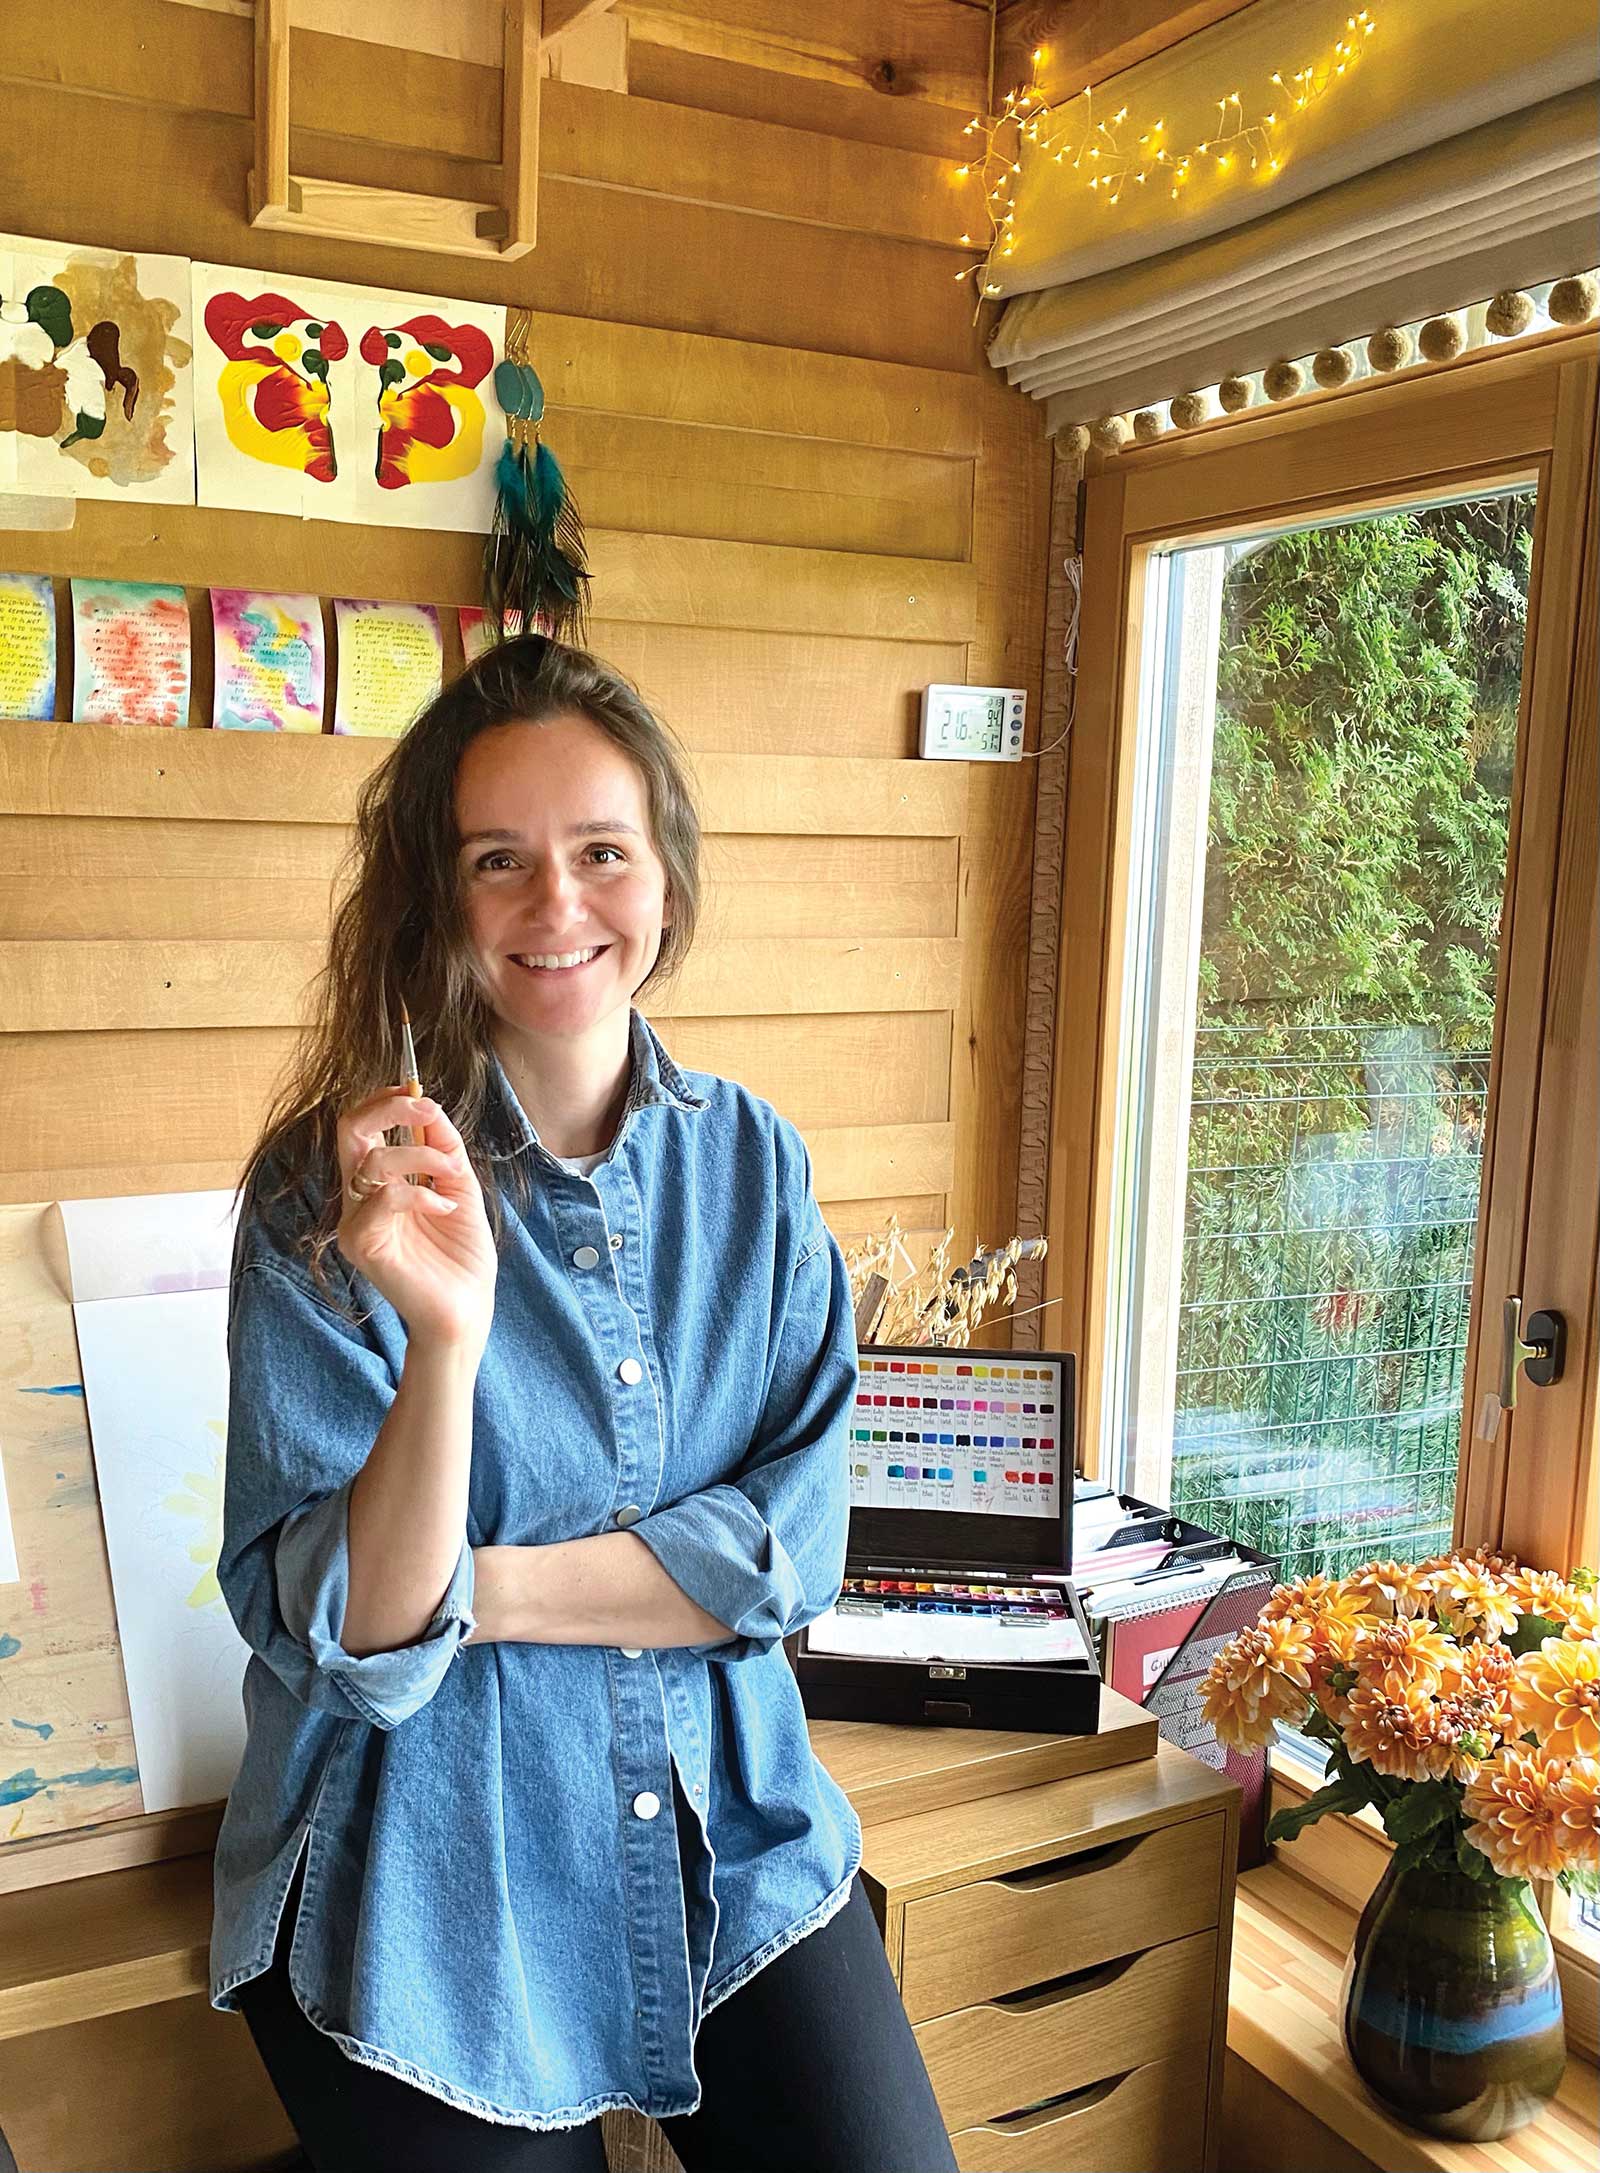 Kristine Rapohina
Realistic painting of nature’s treasures is Kristine Rapohina’s passion and daily creative process. She attended the Society of Botanical Artists London Diploma Course, finishing with distinction, and now works as a full-time artist from her art studio in Latvia. She has taken part in numerous art exhibitions in Moscow, St.Petersburg, London and Latvia. Now concentrating more on mastering her skill as a realistic painter and art tutor, Rapohina is taking commissions for realistic oil paintings and watercolor botanical paintings. The artist loves building a community of art lovers around the world through social media, sharing and inspiring others to learn watercolor painting and enjoy the process of art. Receiving love and support from the art community around the world motivates her to create more, to evolve as an artist and to share along the way what she has learned.
Contact at
art@kristineart.com
www.kristineart.com