


Like a glissando in music, a gradient is where one color note smoothly transitions into another. The shift can occur in hue, value, chroma or all three at once. Gradients don’t just happen. They take planning. Anyone can paint a flat patch of color. But if you want to make your colors shift, you’ll need to reach deeper into your bag of tricks.
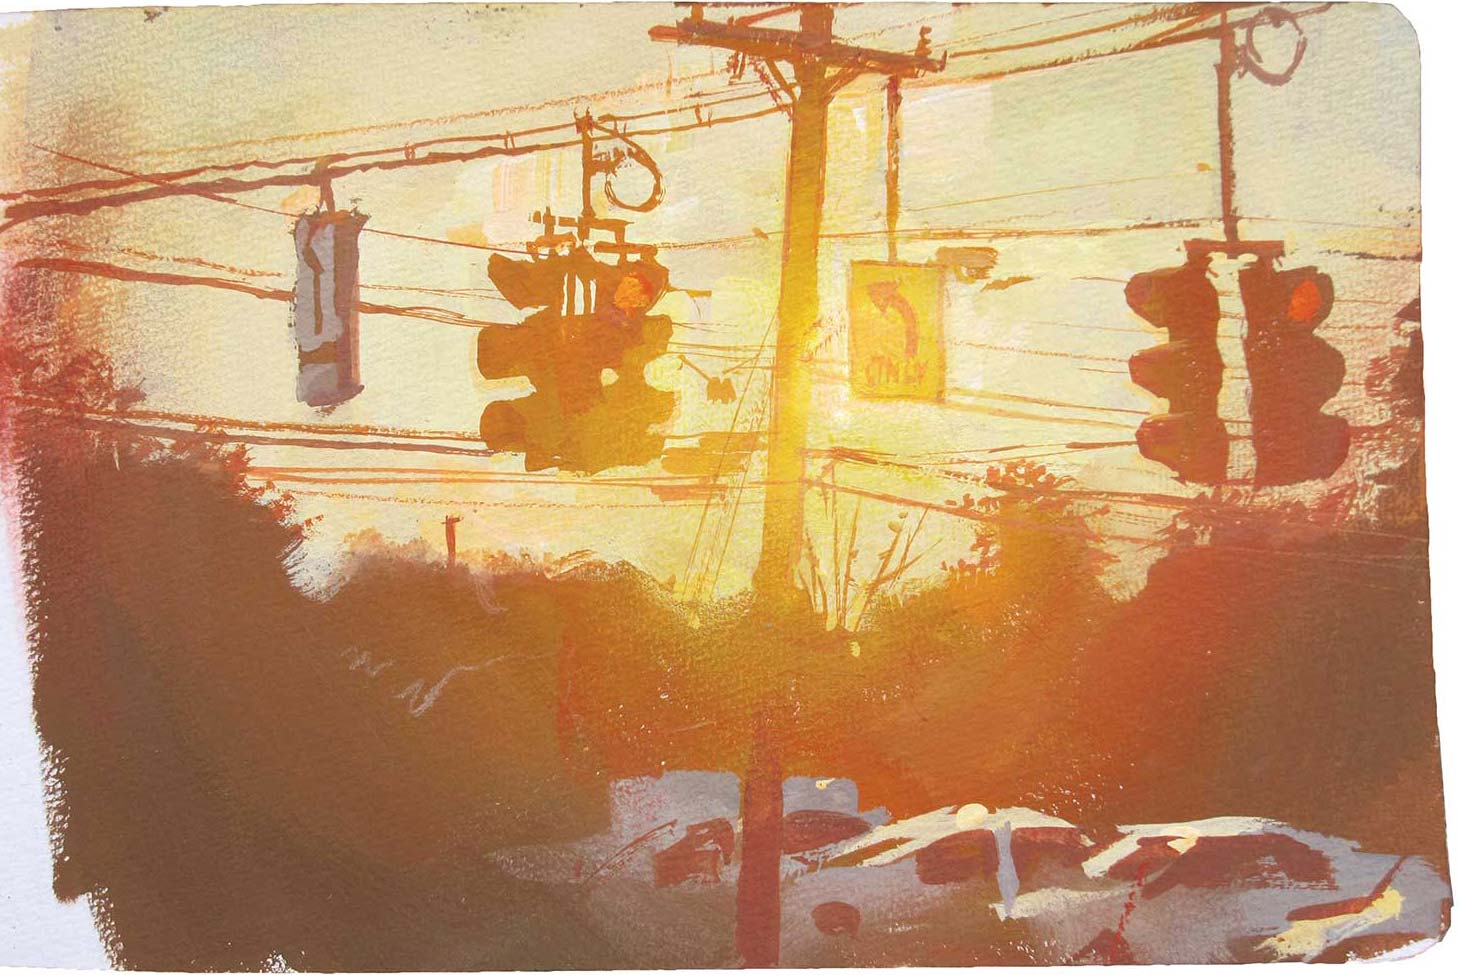 Traffic Lights, casein and gouache, 5 x 8" (12 x 20 cm) A lens flare is an effect that uses gradients of opaque paints to give an otherwise ordinary scene a feeling of magic. In this example of a set of traffic lights, there are two systems of gradients: one in the sky and the other in the forms that are in front of the sky.
The term “gradients” is familiar to digital artists. Traditional artists might know them as gradations. In watercolor, they have also been called a graded wash or a graduated wash.
There are a lot of methods for achieving gradients. With oils you typically need to pre-mix representative batches of the colors, apply them in a sequence of steps, and then blend the transitions. With water media, you have to execute them quickly before the paint sets up.
How to Paint a Watercolor Gradient
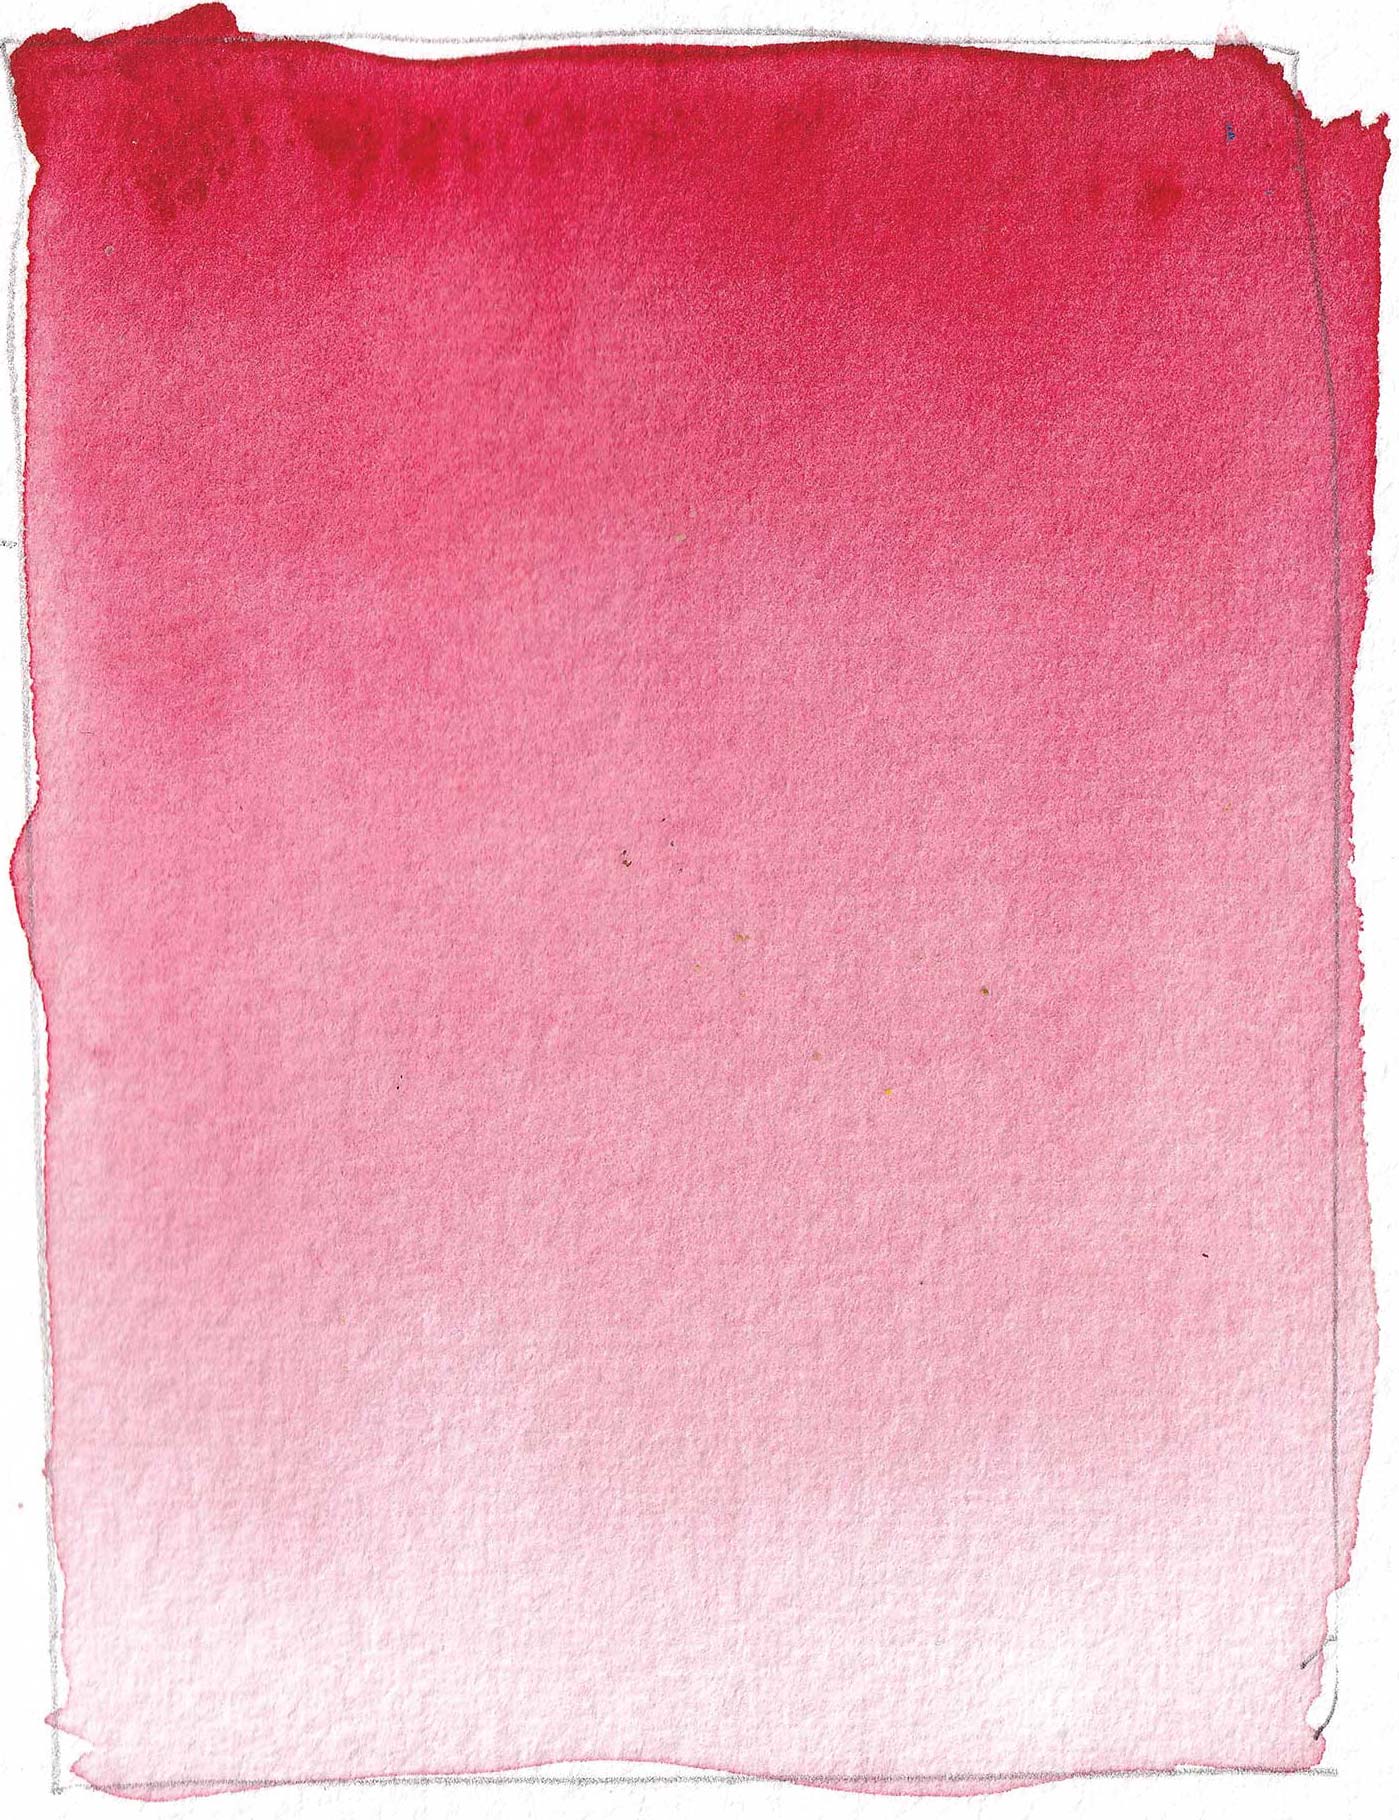
Materials: Heavyweight watercolor paper, rag, large round watercolor brush, pencil, palette or mixing surface, water cup and pigment. I’m using Scarlet Lake in this example.
- Dampen the entire surface with water without pooling. Tilt it to even it out.
- Load the brush with paint and start at the top. Pigment should travel.
- Add water to dilute the mixture while removing excess liquid from the brush with a rag.
- Tilt the board to get pigment to flow in the direction you want.
- Remove excess buildup of water on the paper with a thirsty brush to avoid backruns.
- Try it with various pigments to see what they do.
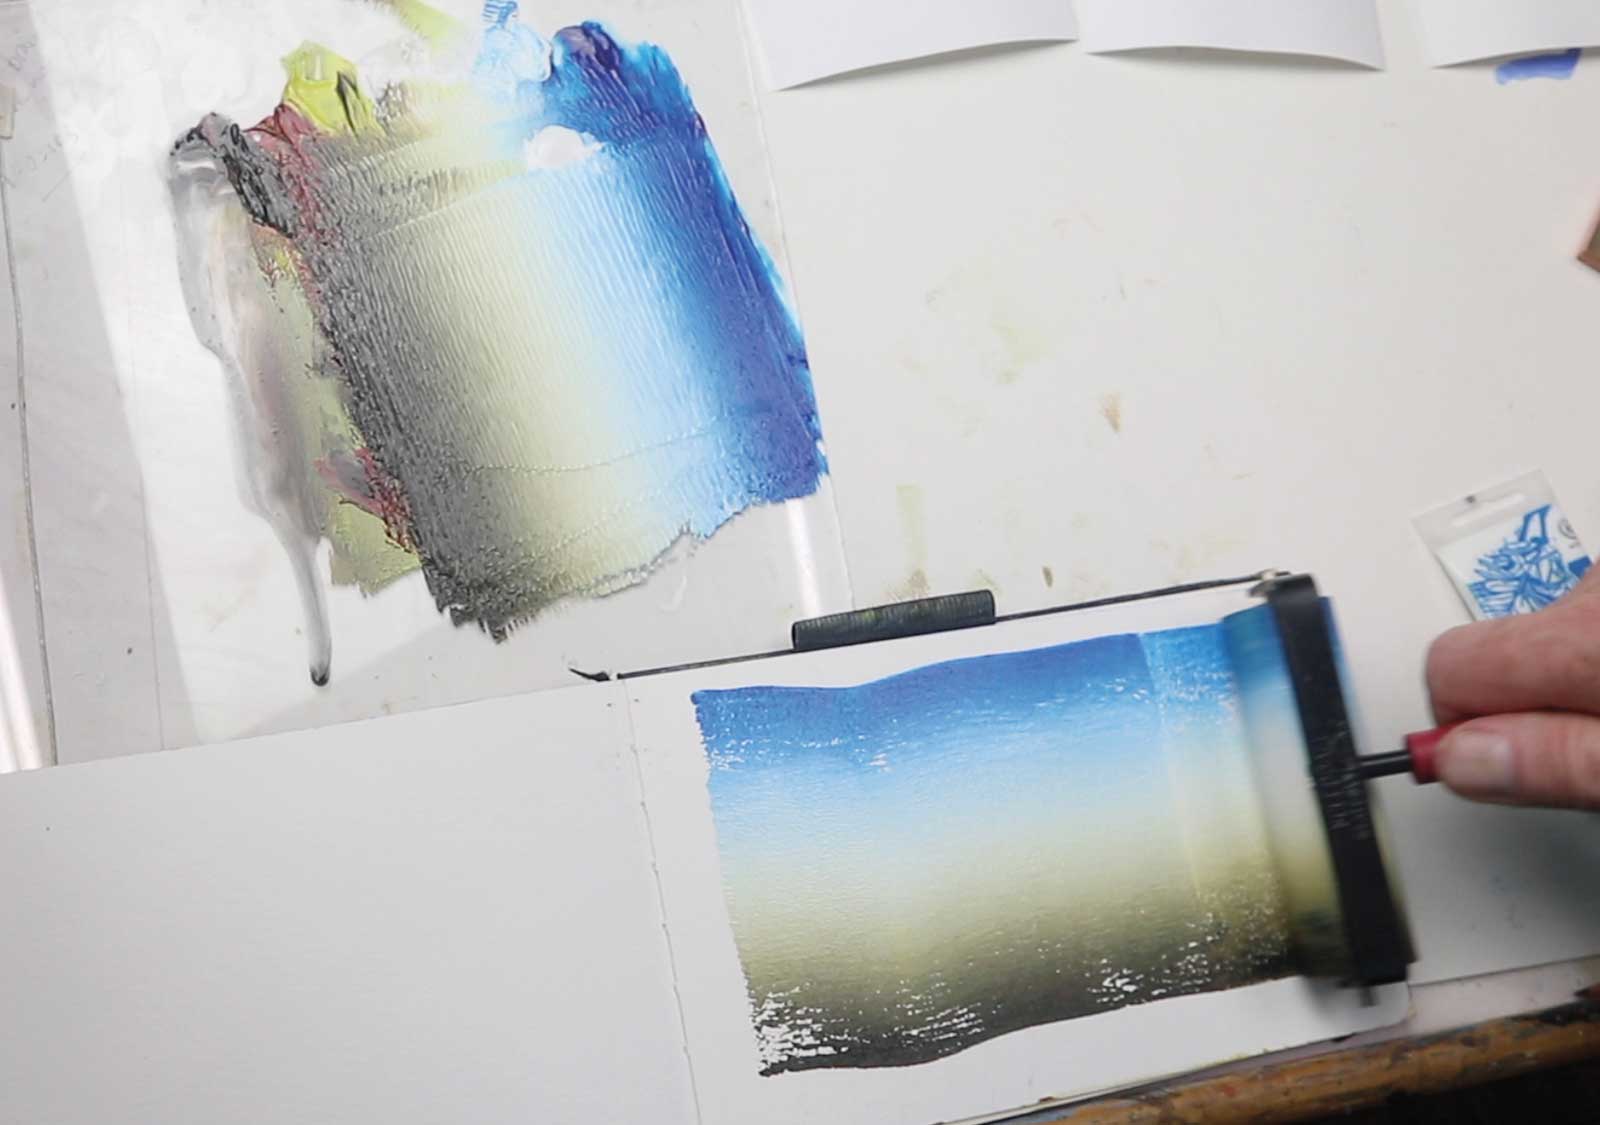
How to Paint a Brayer Gradient
- Use two or three colors of water-based block printing ink laid out on a sheet of glass spaced where you want them in the final color gradient.
- The block painting ink has the right sticky consistency, but it’s very soluble in water after it’s dried, so you need to mix in some acrylic paint to get the paint layer to seal when it dries.
- The purpose is to prime a page of a sketchbook or a smooth panel for overpainting in gouache.
- The surface that you’re priming with this gradient should be fairly smooth. If the paper is too rough there will be white gaps not covered by the paint.
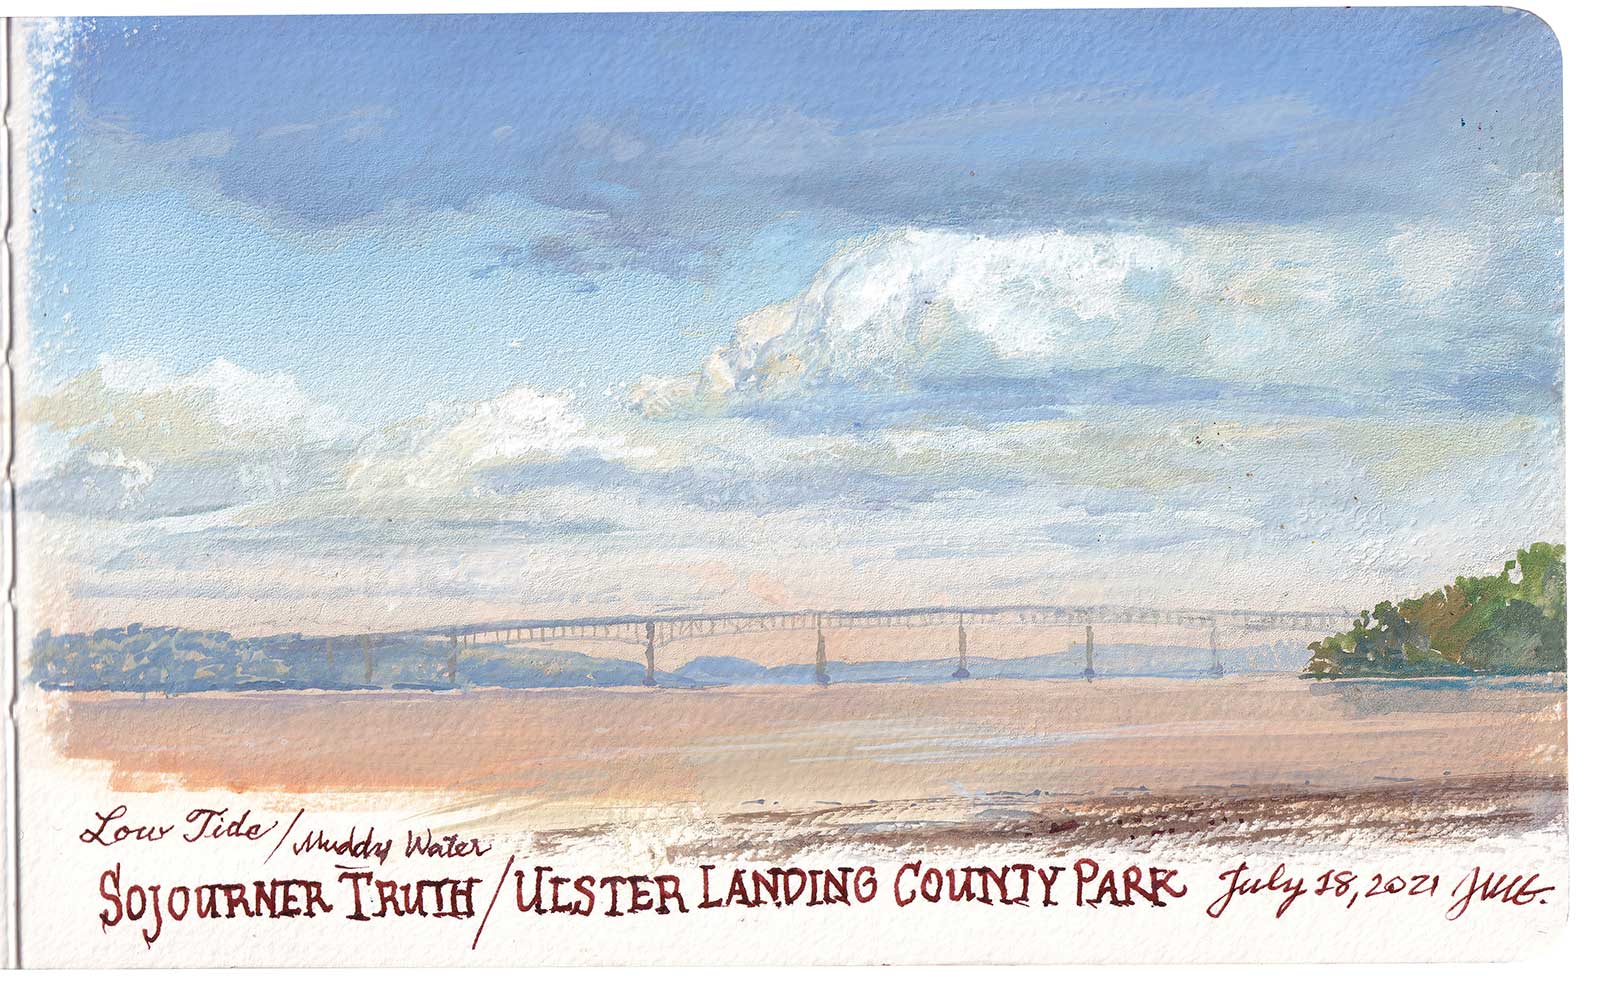
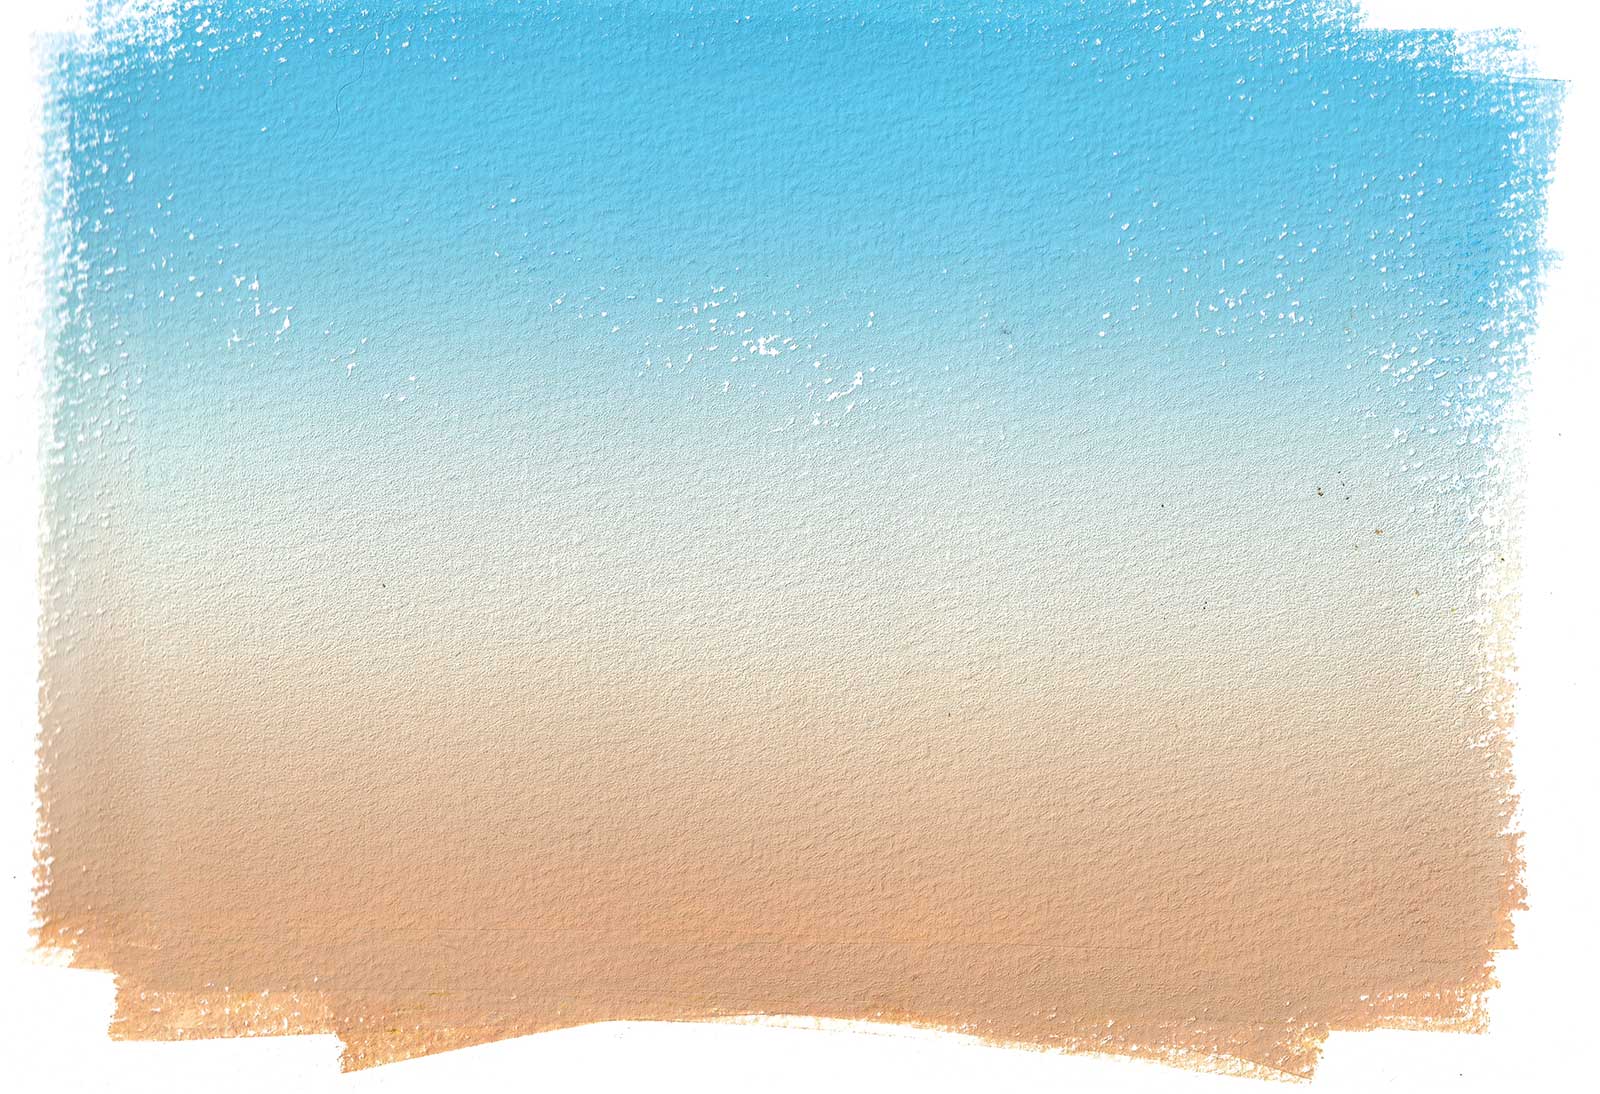
Ulster Landing, acrylic and gouache, 5 x 8" (12 x 20 cm) Gradients always appear in cloudless skies. Typically the colors change from a deep blue at the top of the sky through lighter blues further down, to a tan, gray or rosy color along the horizon. In this plein air study, I primed the surface with the sky gradient in advance of the plein air session, and added the clouds and the far shore over it.
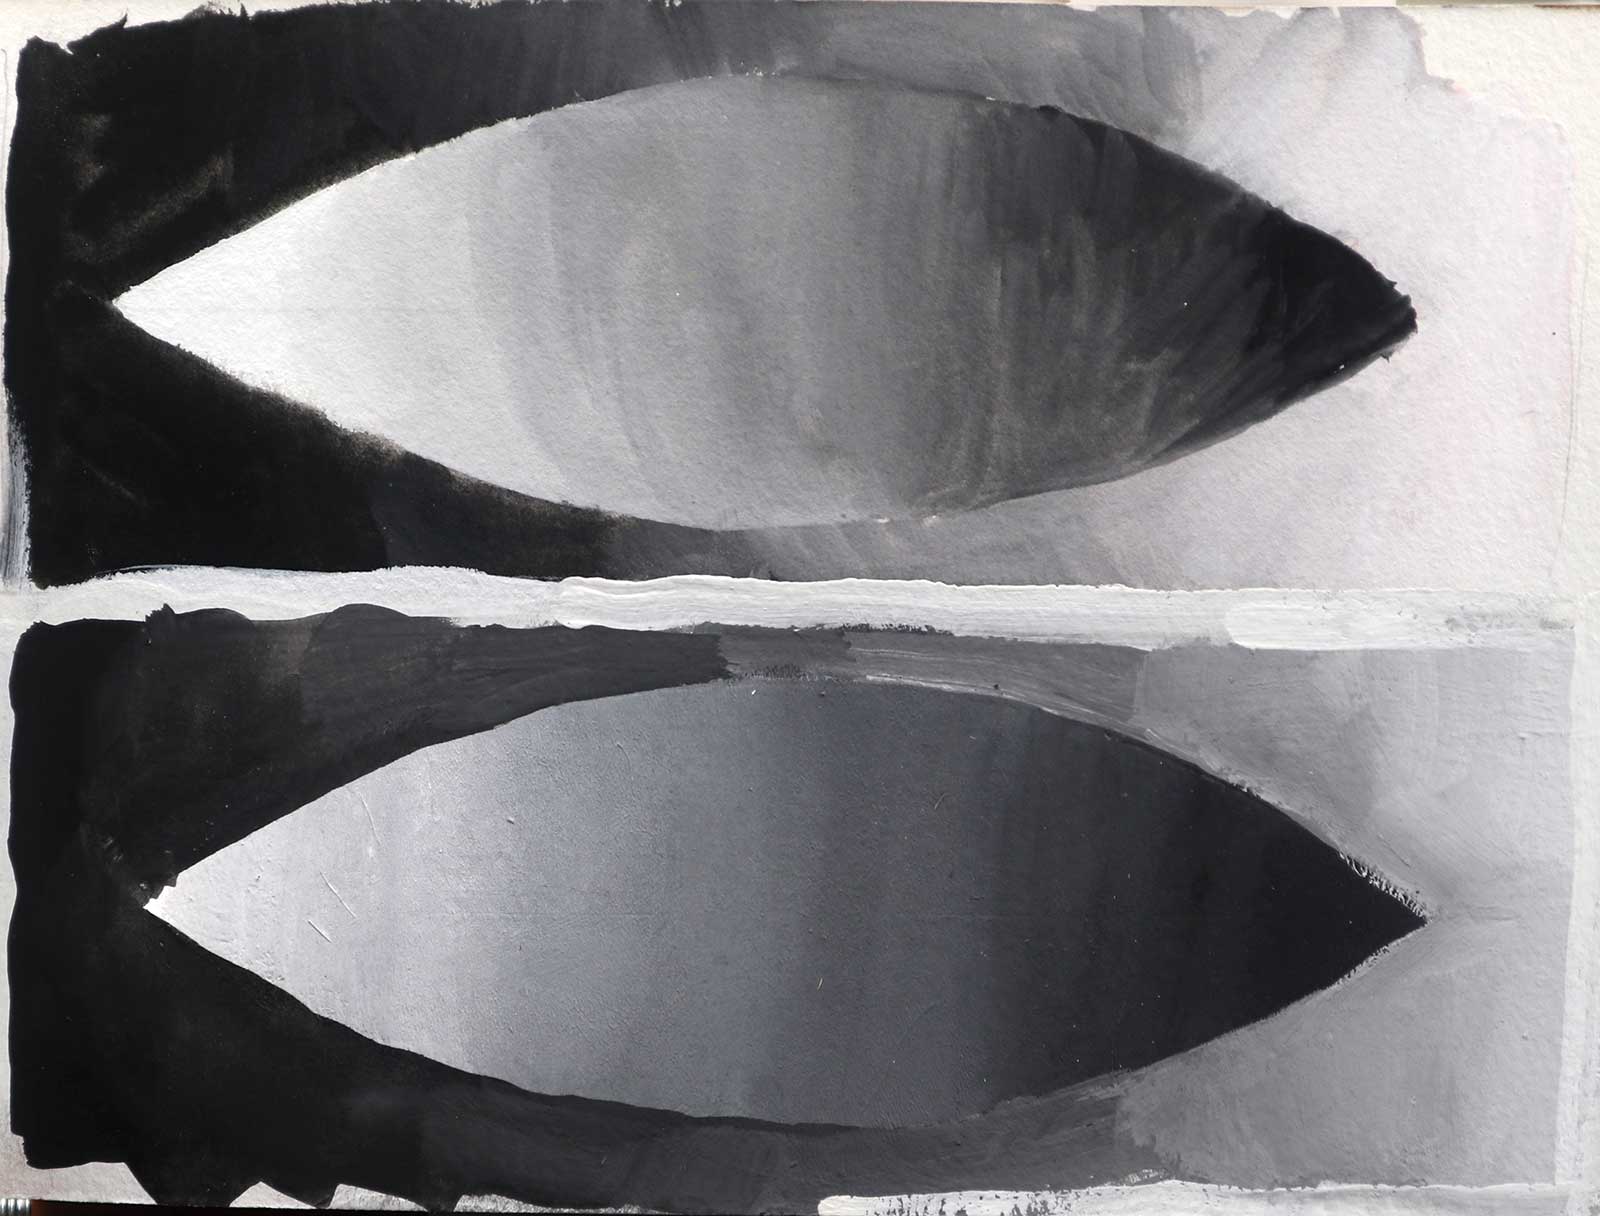
How to Paint a CrissCross Diagram
Materials: Pencil, compass or dinner plate (about 10½ inches in diameter), brush, ivory black and titanium white gouache, water vessel, rag and ruler.
- Using a ruler, or freehand, draw two horizontal rectangles separated by a white margin.
- Make two leaf shapes freehand or using a compass or a plate, to make the shape.
- Each leaf shape gradually transitions from light on the left to dark on the right, but they’re produced very differently.
- The top one is a brushed gradient, starting with the background and painting the leaf shape second.
- The background gradient travels in the opposite direction, creating a crisscross effect.
- Before you start painting, lightly dampen the paper with clean water to make it receptive.
- Change the mixture of black and white paint as you move across an area.
- Remember what’s in the brush at a given time.
- Use a clean brush if you need pure white or pure black.
- The bottom one starts with a stippled leaf shape painted first, with the background painted second, cutting the edge of the shape from the outside in.

How to Paint a Stipple Gradient
Materials: At least two brushes (badger blender and a soft round brush).
- Dampen the surface first.
- Loosely and thickly brush in the stripes of colors.
- Rapidly tap the surface where the two colors meet with a dry badger hair blender or other flat tipped soft brush.
- The brush will carry little dots randomly around to blend the areas.
- For large, smooth gradients, use a separate blender brush for each transition.
- A stipple gradient is easier in oil than it is in gouache, acrylic or casein because oil dries much more gradually, allowing more working time.
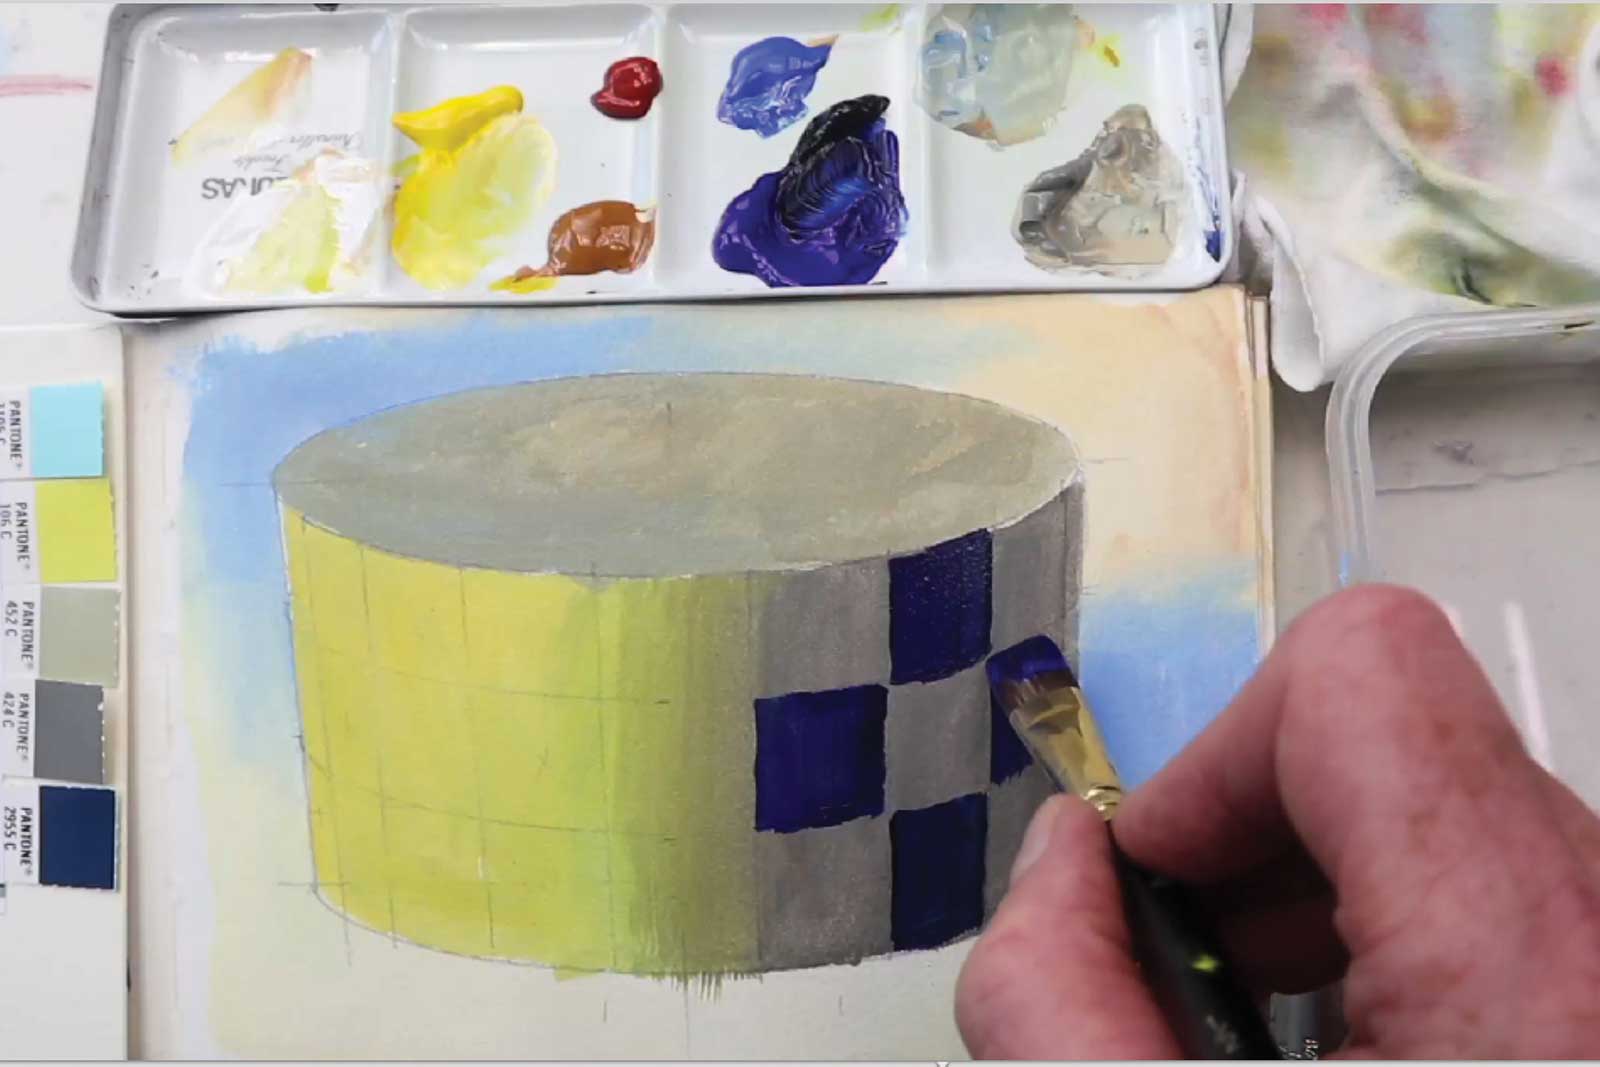
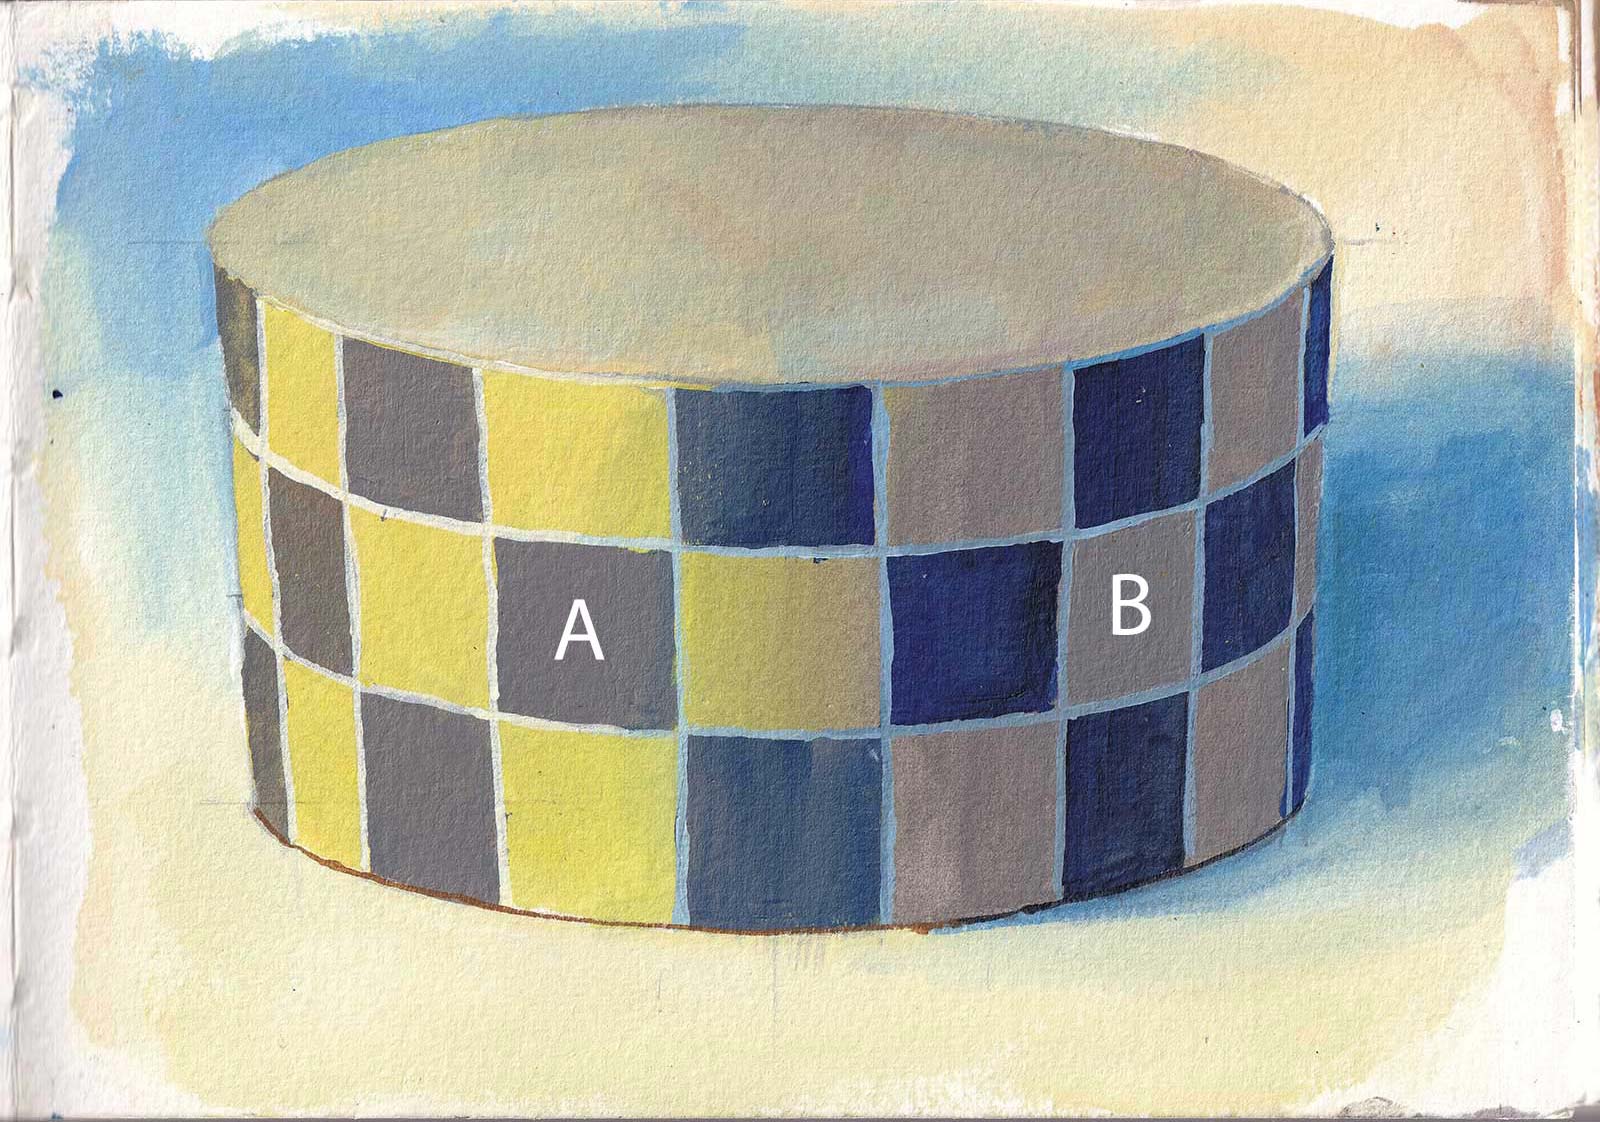
Checkerboard Cylinder, acrylic on watercolor paper, 5 x 8" (12 x 20 cm). Square A and square B are the same paint color.
How to Paint the Checkerboard Cylinder Illusion
Colors of liquid acrylic used: cobalt blue, ultramarine blue, cadmium yellow medium, raw sienna, red oxide, quinacridone red, ivory black, titanium white and neutral gray (about equal to Pantone 424C)
- Draw the cylinder first with pencil on watercolor paper.
- Paint the gradients for the light tones first.
- While painting the cylinder, paint the background tones and cast shadow, too.
- When those passages are dry, paint the darker squares.
- The cylinder appears to be lit from the left with warm light and cool shadows.
- The light yellow squares become darker and cooler as they transition to the shadow side, becoming a neutral gray.
- The dark squares in that shadow side get warmer and lighter as they transition to the light side.
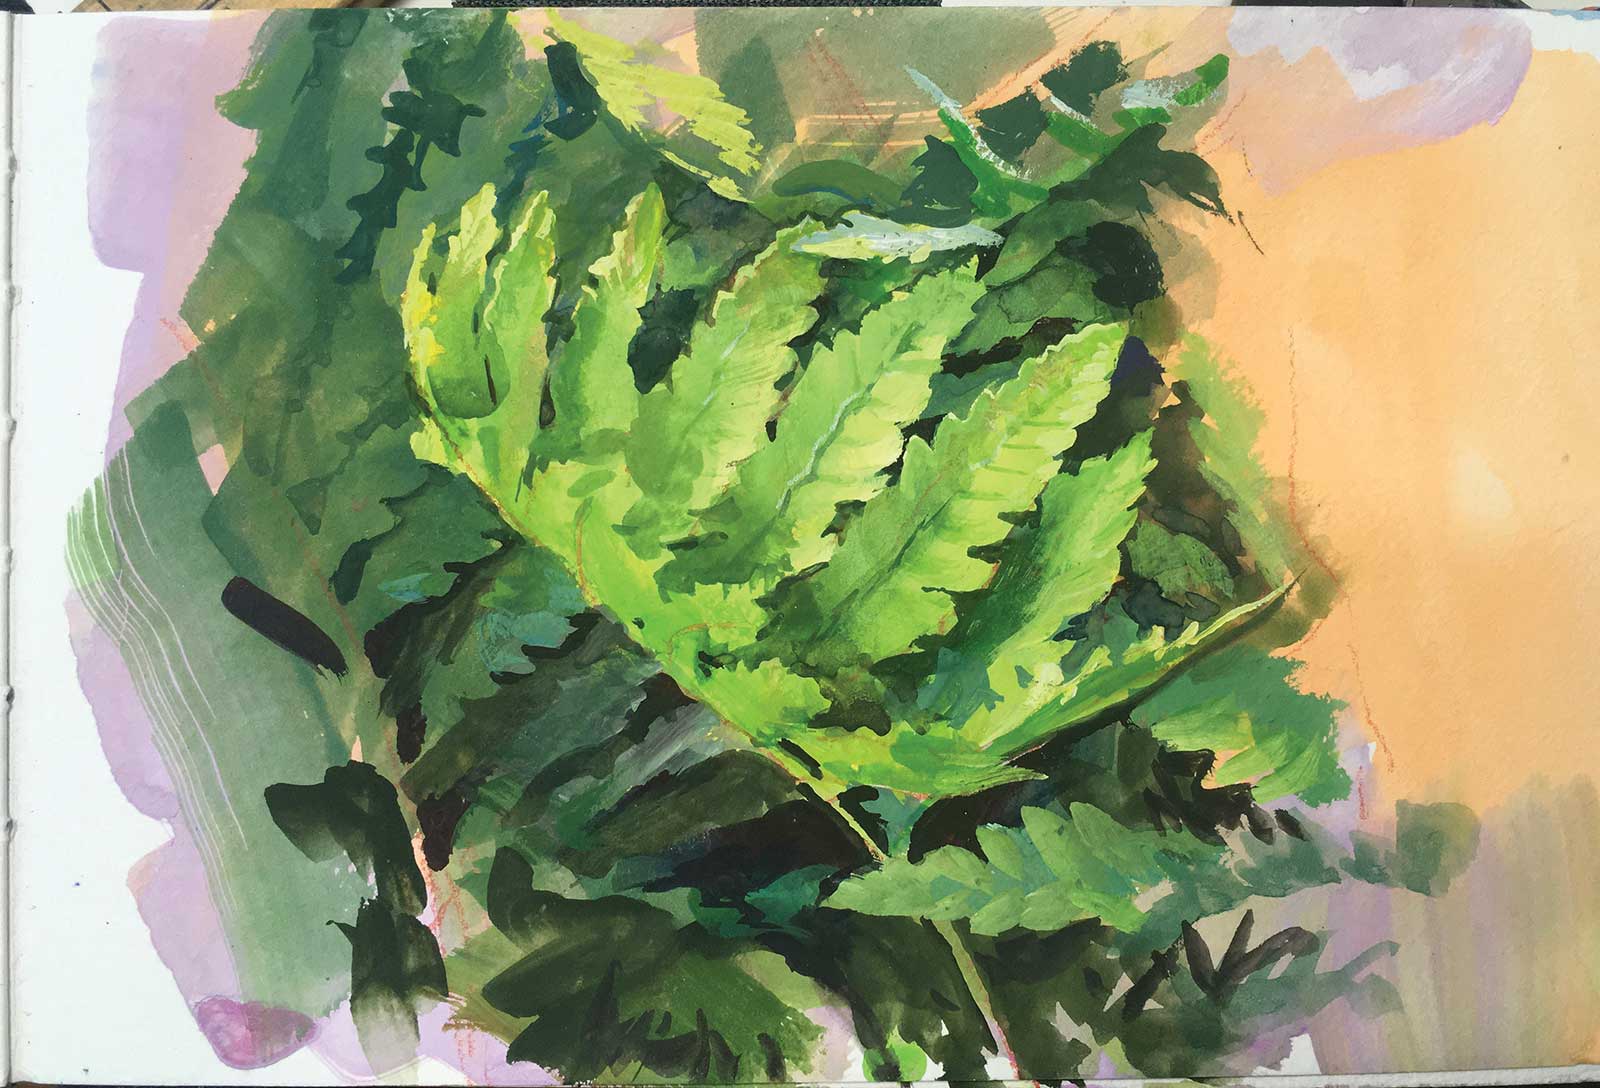
Study of Sensitive Fern, gouache, 5 x 8" (12 x 20 cm)
These densely crowded fern fronds on an overcast day were a good motif for studying soft gradients of light and shadow in nature. The local color was fairly uniform on the frond surface. As a result, the changes in value were the result of variations in the angle of the surface in relation to the sky and the degree to which they were overshadowed or occluded by fronds above them.
About the Artist
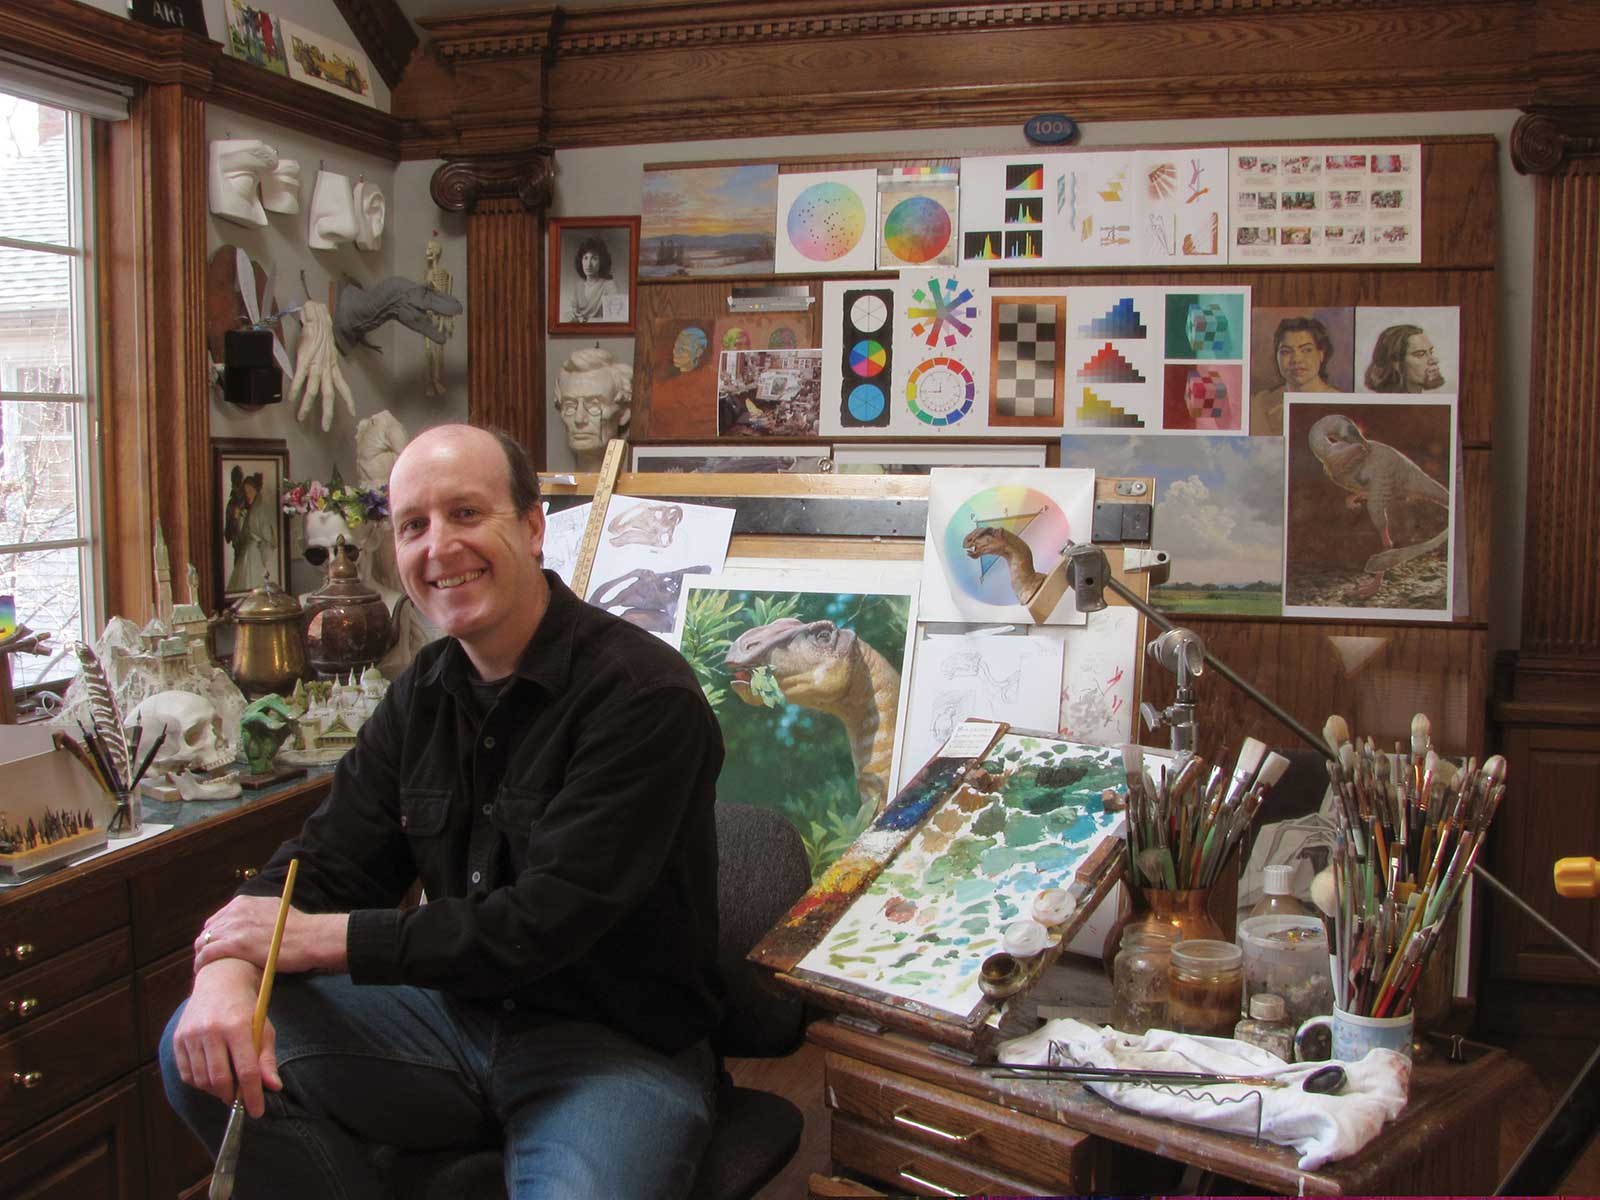 James Gurney
James Gurney is the author of Color and Light: A Guide for the Realist Painter and Dinotopia: A Land Apart from Time.
James Gurney’s newest video tutorial from Gumroad is called Gradients: Color, Form, Illusion. It includes the making of all the art that appears in this article. Todd Casey, author of The Art of Still Life, says, “This is a must have video for anyone interested in color, form, and the illusion of depth in a painting.”
Contact at
gurneyjourney.blogspot.com