


I am an artist who is lucky to live in beautiful Northern Ontario, Canada. It’s a place of windswept trees, lakes, white mountains and pink rock shorelines and wildlife. These influences have shaped my artistic style. I have only started taking art seriously in the last 10 years. I’ve progressed from the occasional sketch and painting to developing series of paintings for solo art shows and artwork for juried art competitions.
It is just amazing to sit and paint on the shorelines of Lake Superior while watching a red sky sunset and listening to the waves crashing on the rocky shoreline. It is an experience to stand on one of the lakeshores of Killarney Provincial Park during a foggy, misty morning. You can just imagine one of the artists from the Group of Seven, standing there with paintbrush in hand, capturing a minute in time on canvas. These are the feelings and experiences that I like to capture in each of my paintings and life.
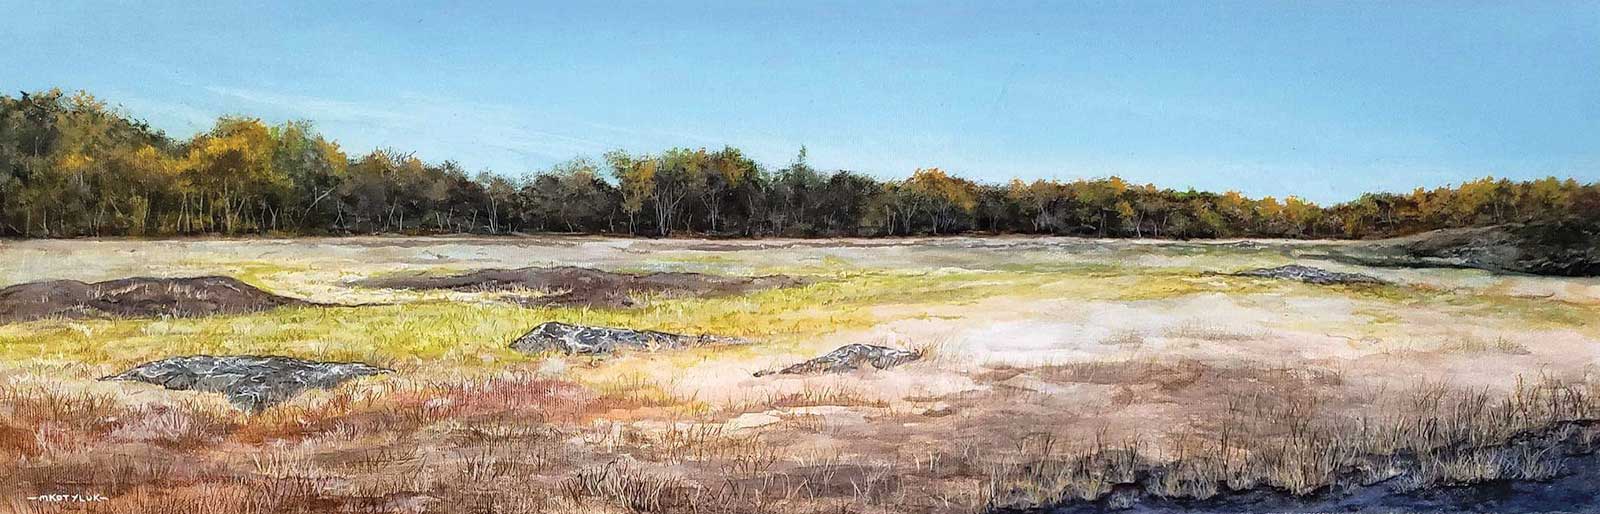
Marshland in the Fall, acrylic on canvas, 8 x 24" (20 x 60 cm) I work on the trains for a mining company. In early spring, there was a fire at this location. Now in the fall, the colors from the new growth were absolutely beautiful.
My painting process begins by adventuring outside on long wilderness hikes or canoe trips. During these times, I may do some plein air paintings. However, the bulk of my time is spent taking reference photos that I can later use as future art projects. I never plan a painting—you just can’t with so much natural beauty to explore.
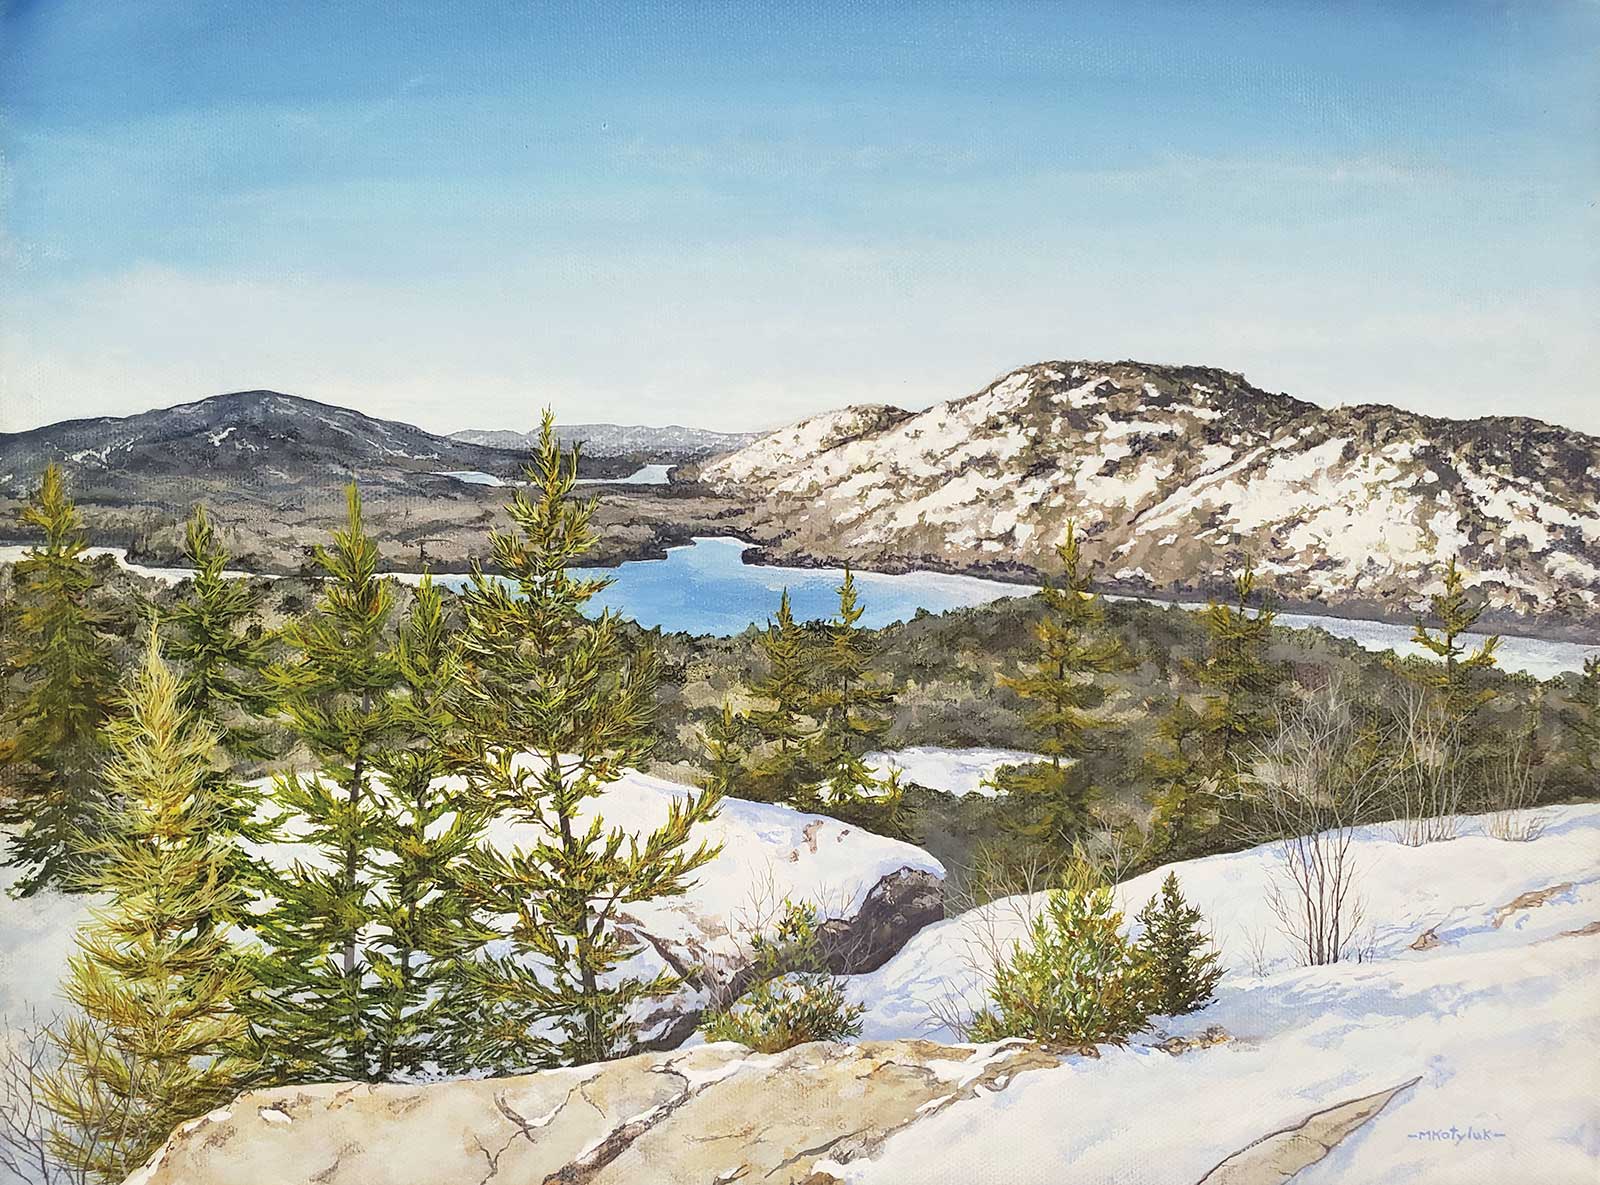
Early Winter, acrylic on canvas, 12 x 16" (30 x 40 cm) This panoramic view can be seen on top of the La Cloche Mountains and overlooks Killarney and O.S.A. Lake. I just had to paint this scene! This area was saved from logging in the 1960s by Canadian Group of Seven artist A.Y. Jackson. Because of his actions, we now have Killarney Provincial Park.
Technical Process
In my studio, I’ll go through all of my reference photos in order to select a new project. Next, I pick the right canvas size and shape for the painting. This will impact the outcome of my painting. Most of the time, I use gallery canvas so that I can continue to paint the landscape on the sides of the canvas. I feel that this style gives me a unique look to the painting on the wall. In addition, the finished canvas will not need to be framed, thus keeping the cost down for both the buyer and myself.
I normally start my landscape painting with a wash of gesso mixed with my sky or background color in order to paint the entire canvas. This gives a full saturation of the background color and does not allow the white gesso color to bleed through. I then use my mud colors to compose the subject or landscape. This is a fast, loose painting process prior to building up the finer layers of paint. Here, I use my 1⁄4-inch dagger brush. This is also the best time to modify the perspective from the reference photo in order to make it more appealing to the eye.
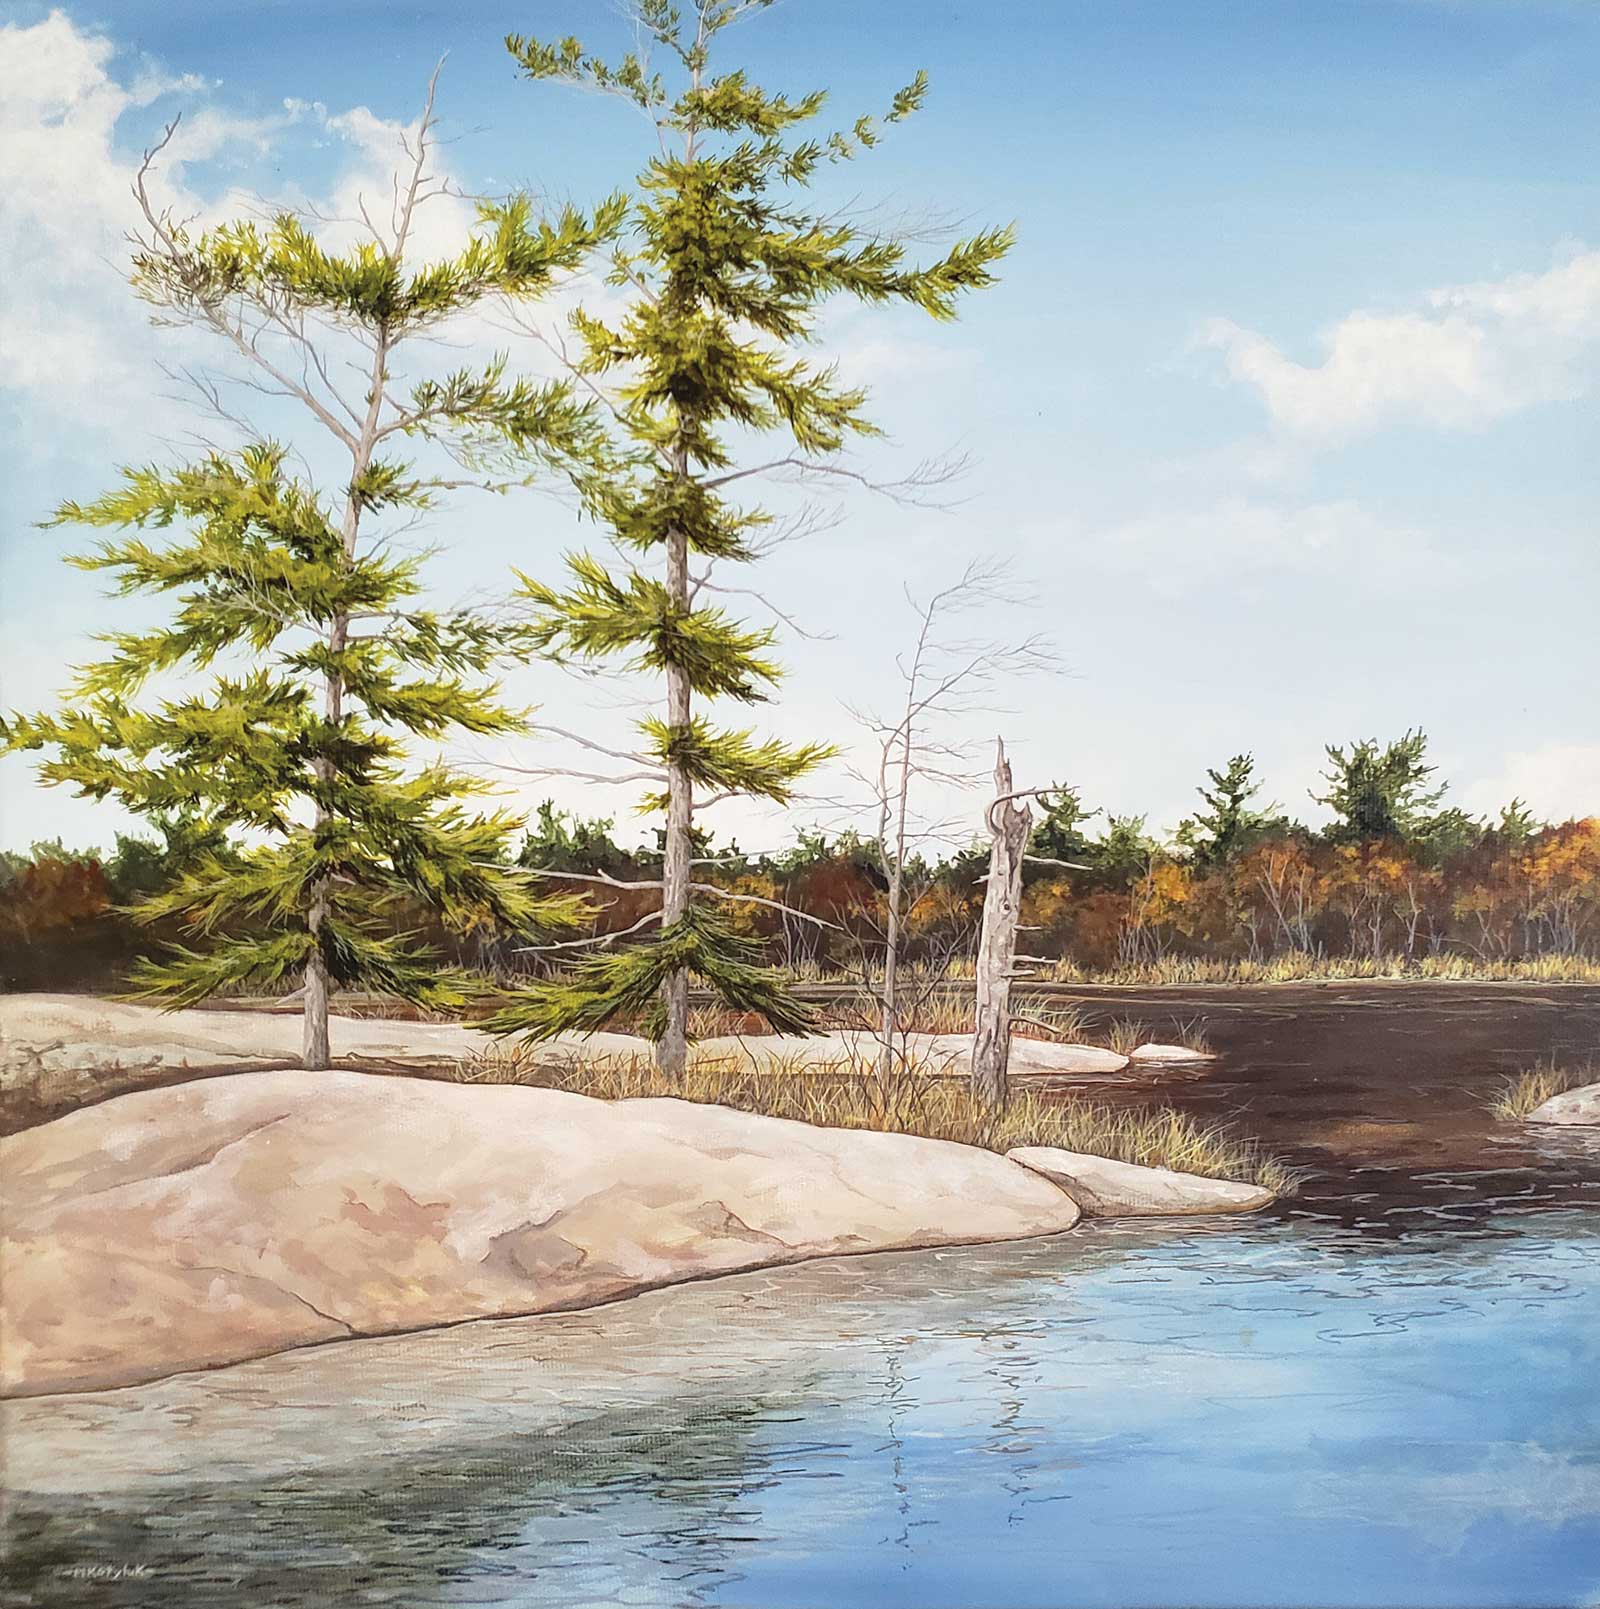
Outcrop, acrylic on canvas, 14 x 14" (35 x 35 cm) Here, I was inspired by the striking different colors of this scene, located in Killarney. It has windswept pines, a pink granite shoreline and a brown/blue waterway.
I always start to work with the background. As I proceed to the foreground of the painting, I will use more intense colors and add finer details. This is where I use my smaller brushes such as my 10/0 liner brush. I never premix my colors. Instead, I mix on the go on the palette. I’m not bothered if other colors bleed or mix in with the colors that I am using. This technique gives each brushstroke its own unique color. As Bob Ross said, it’s OK to get “happy little accidents.”
My Art in the Making Shimmering Rocks
This moment was captured by the Old Mill in Kagawong, Manitoulin Island. On this particular day, the water was still and the sunrays were reflecting off the rocks in the water.
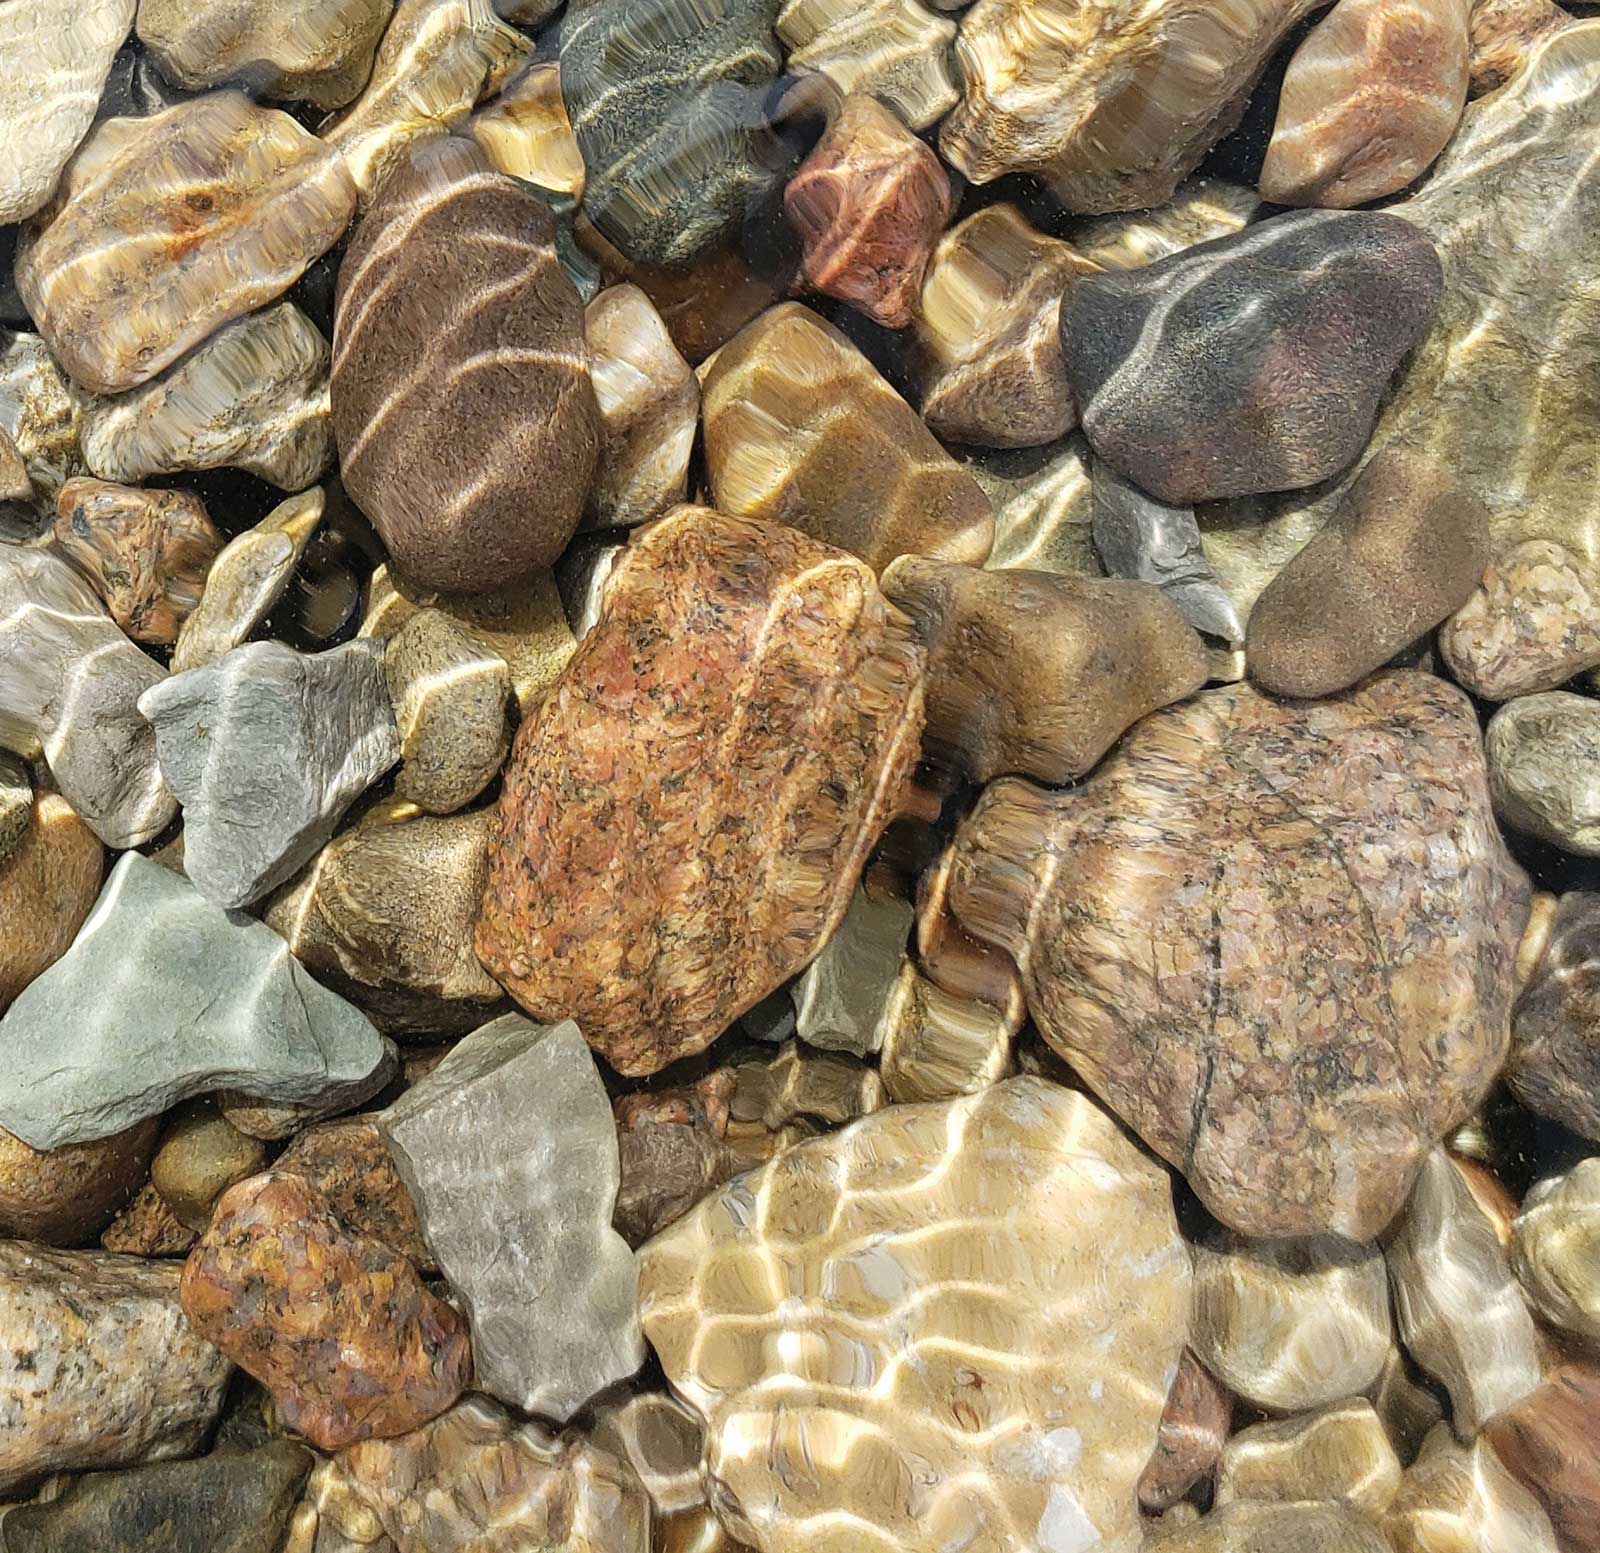
Reference Photo
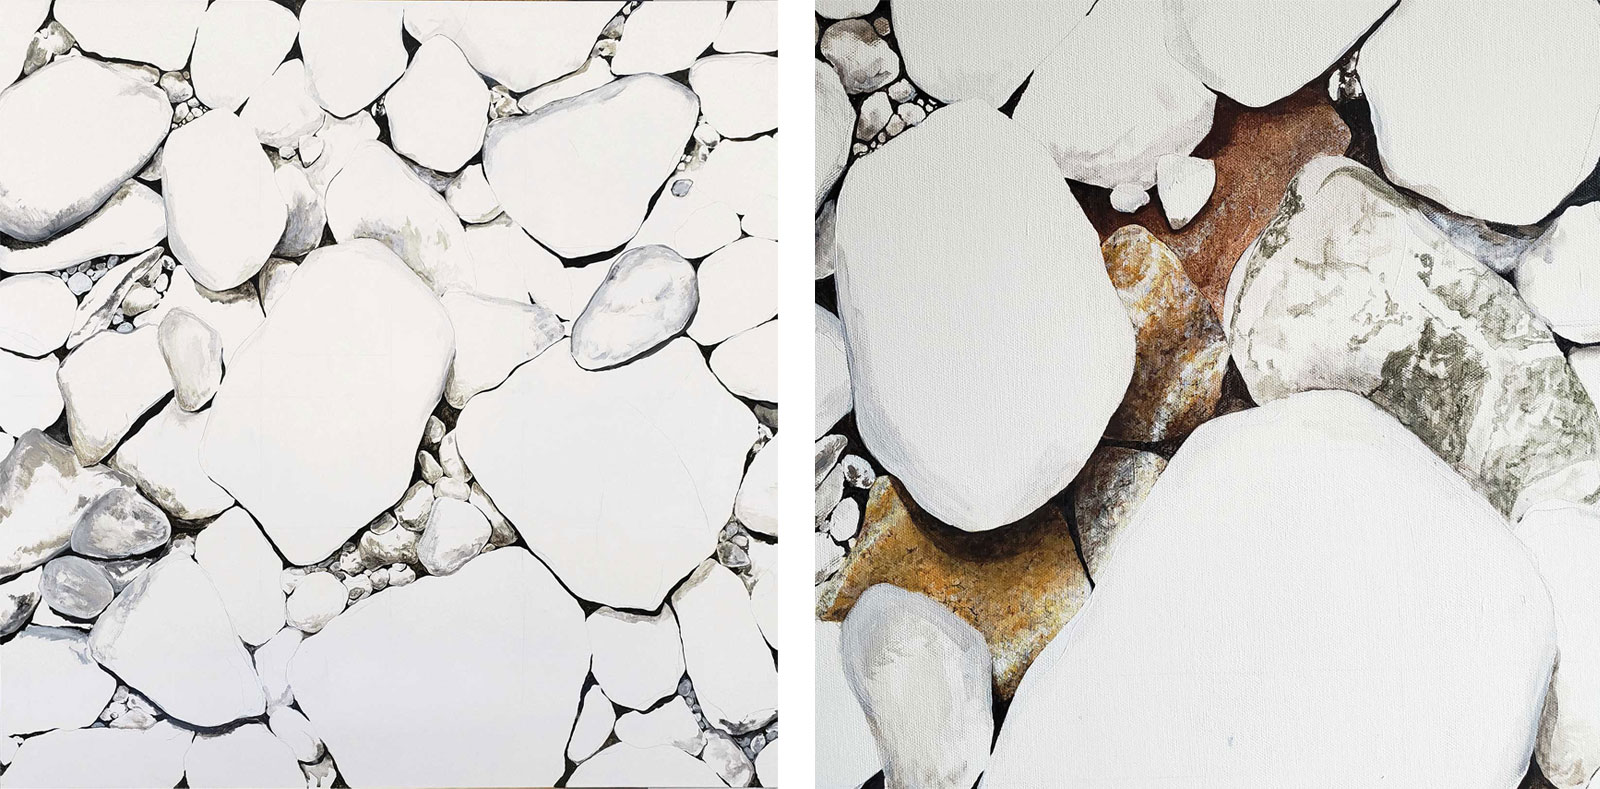 Stage 1
Stage 1 Prep and Composition of the Painting
First, I prepped this 36-by-36-inch gallery canvas with three layers of gesso. I then sanded between each coat of gesso in order to get a smooth painting surface to work on. I did a rough pencil sketch to see the layout of the rocks. I used what I call my mud colors (raw umber, Payne’s gray, bone black and titanium white) to block in the basic shape and shadows of the rocks. At this point, I will not touch the painting for a couple of days. The canvas will be set up in my house to study the composition and make changes if needed.
 Stage 2
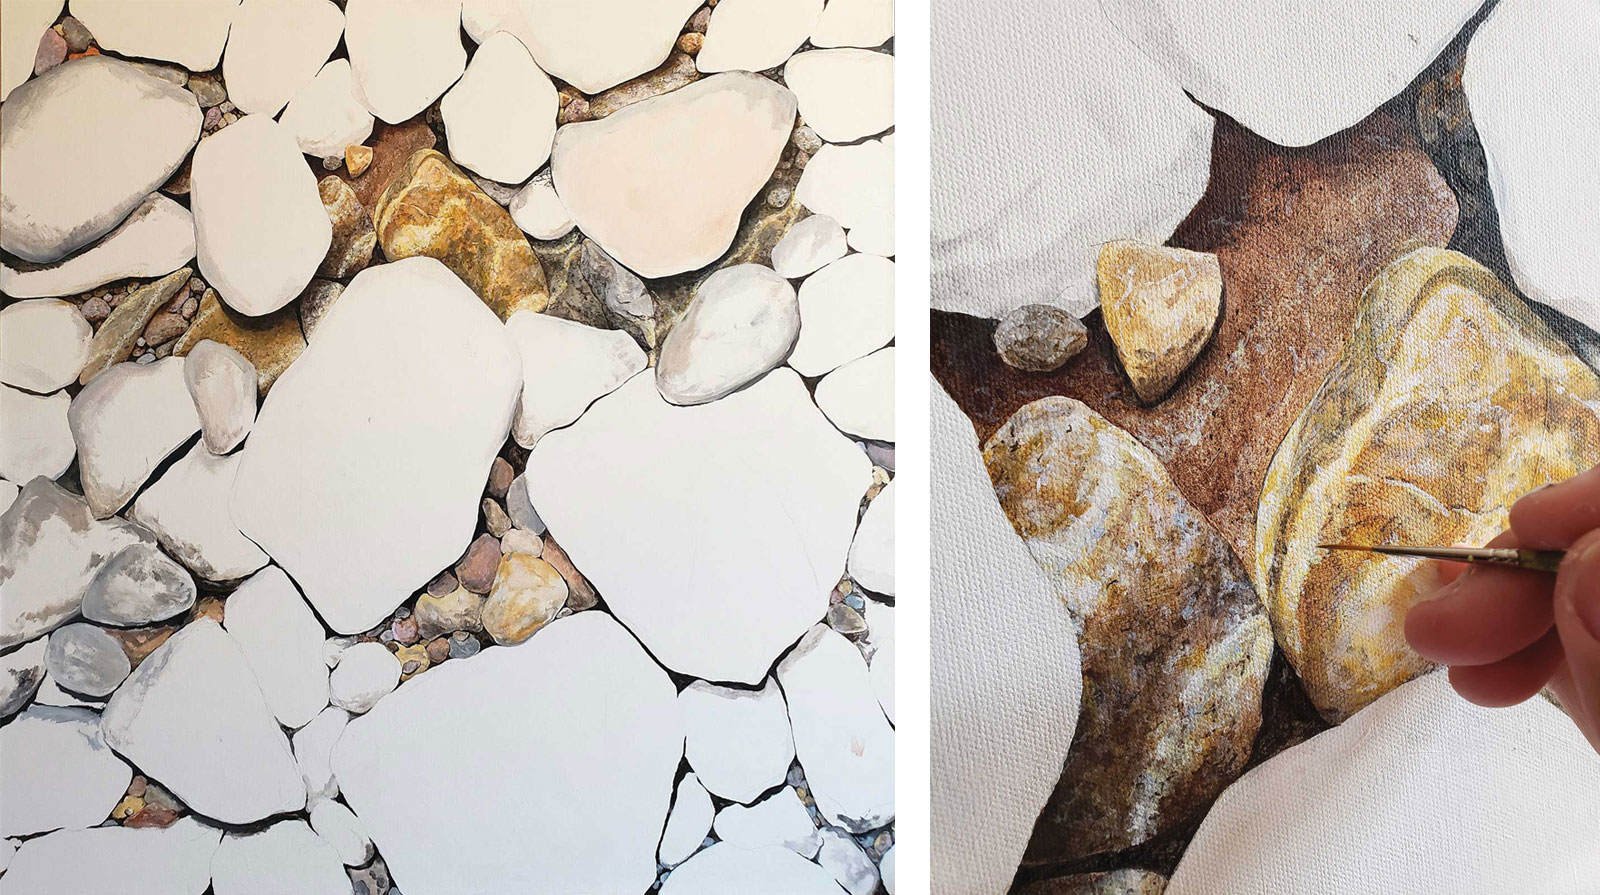
Stage 2 Background Rocks
I first concentrated on the rocks that will be in the deepest areas in the water. This will be my guide for the shading throughout the painting.
 Stage 3
Stage 3 Mid-Ground Rocks
In this particular project, I have taken a different approach. In my landscape paintings, I usually paint the entire canvas in my sky color. Instead, I treated each stone as an individual painting. I selected different block of colors for each stone and worked up to a semi-finished state. Even here, I am not afraid to change the shape or size of a rock in order to make the painting more appealing to the eye.
 Stage 4
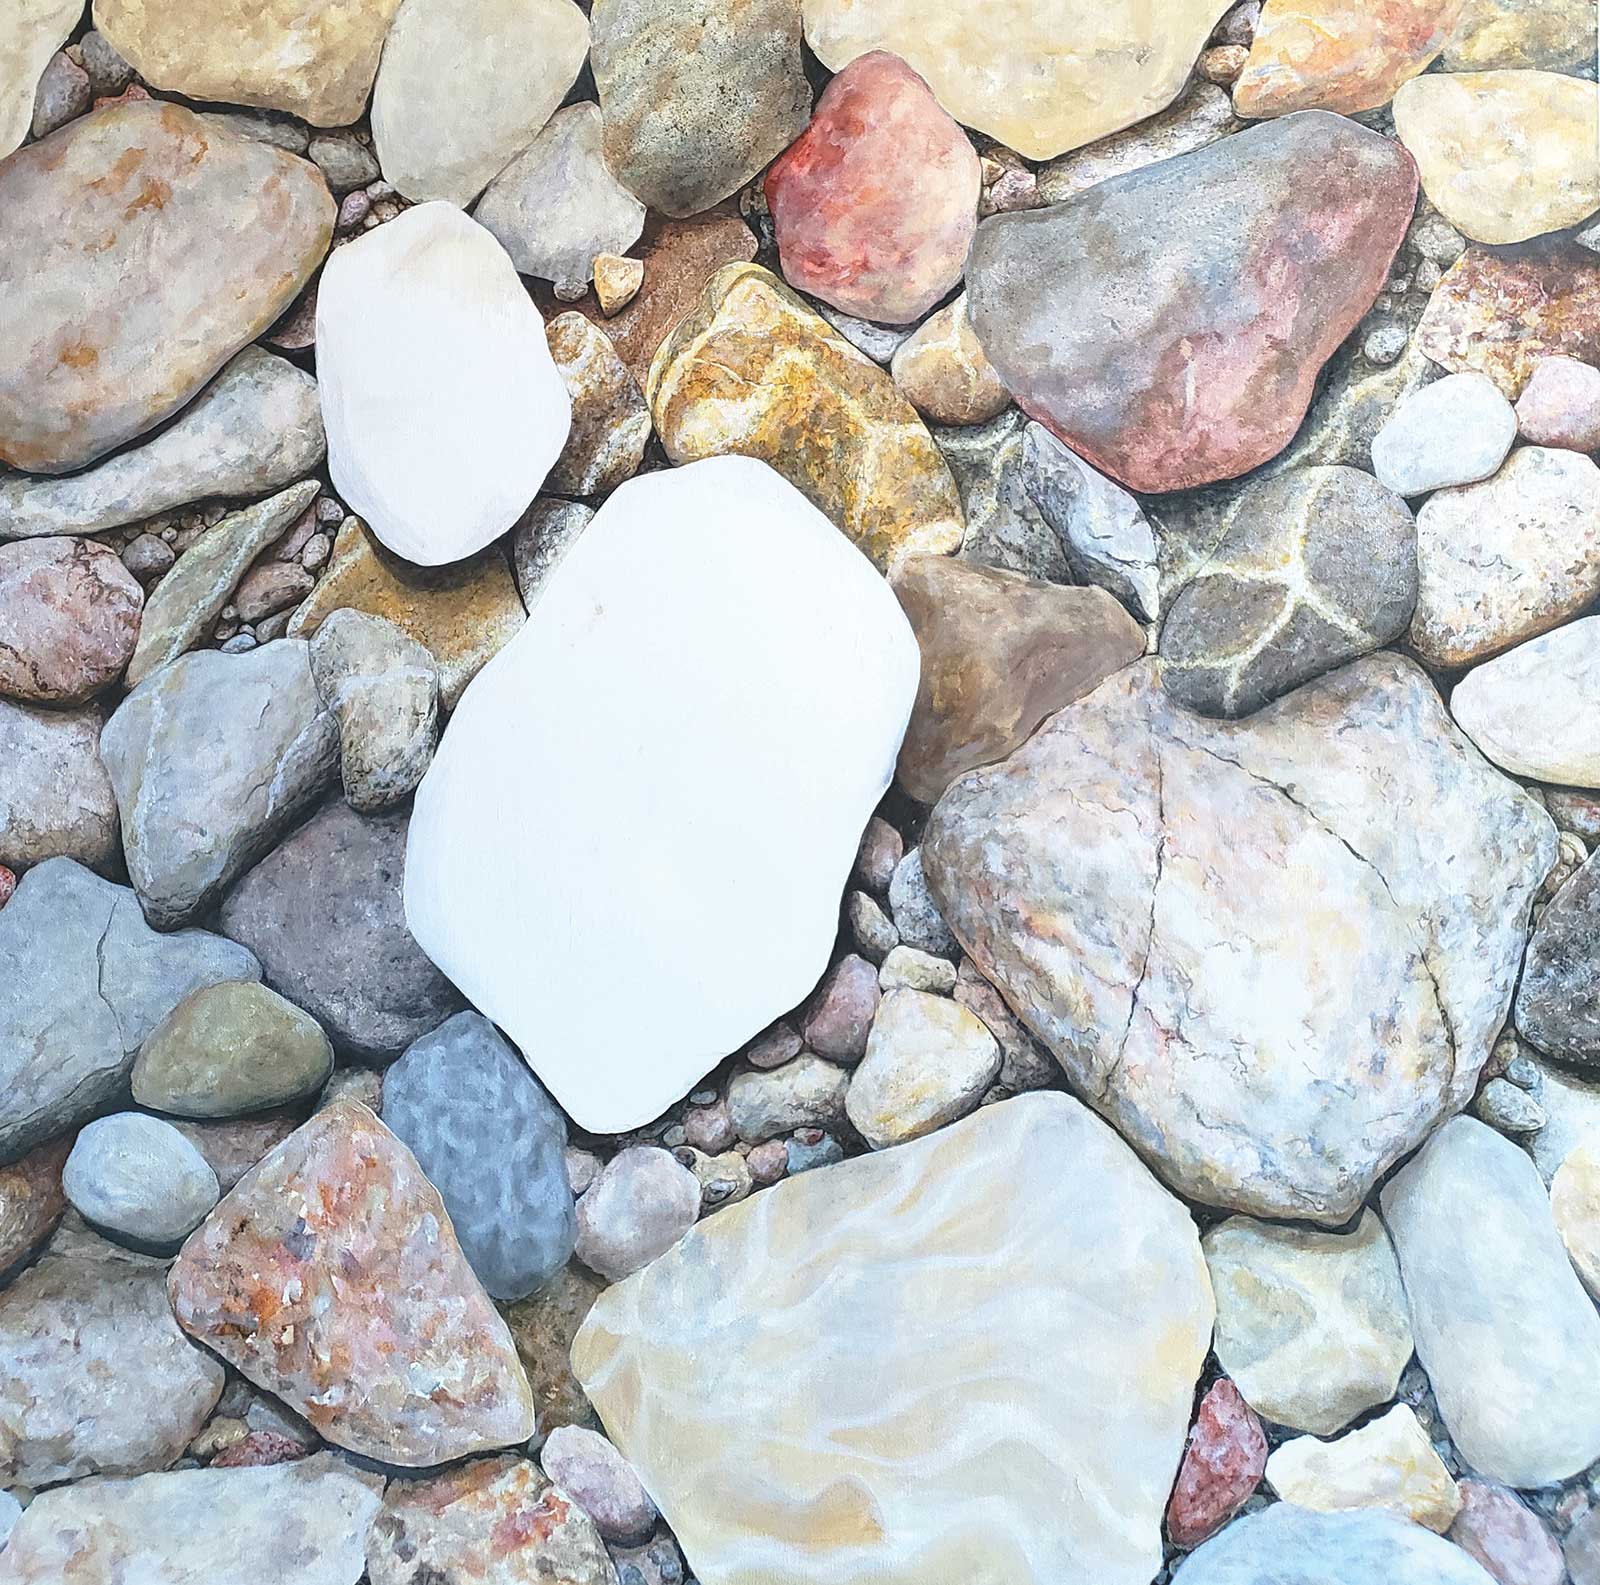
Stage 4 Foreground Rocks
Just like the mid-ground rocks, each foreground stone was treated as an individual painting. Once the foreground rocks were complete, I could see areas that needed more depth by adding shadows. Throughout the entire process, I took some time off from the painting in order to work on another one or two pieces. Meanwhile, I had placed the painting somewhere in my house, where I could see it each day. This gave me the time to study the composition and make changes if need be.
 Stage 5
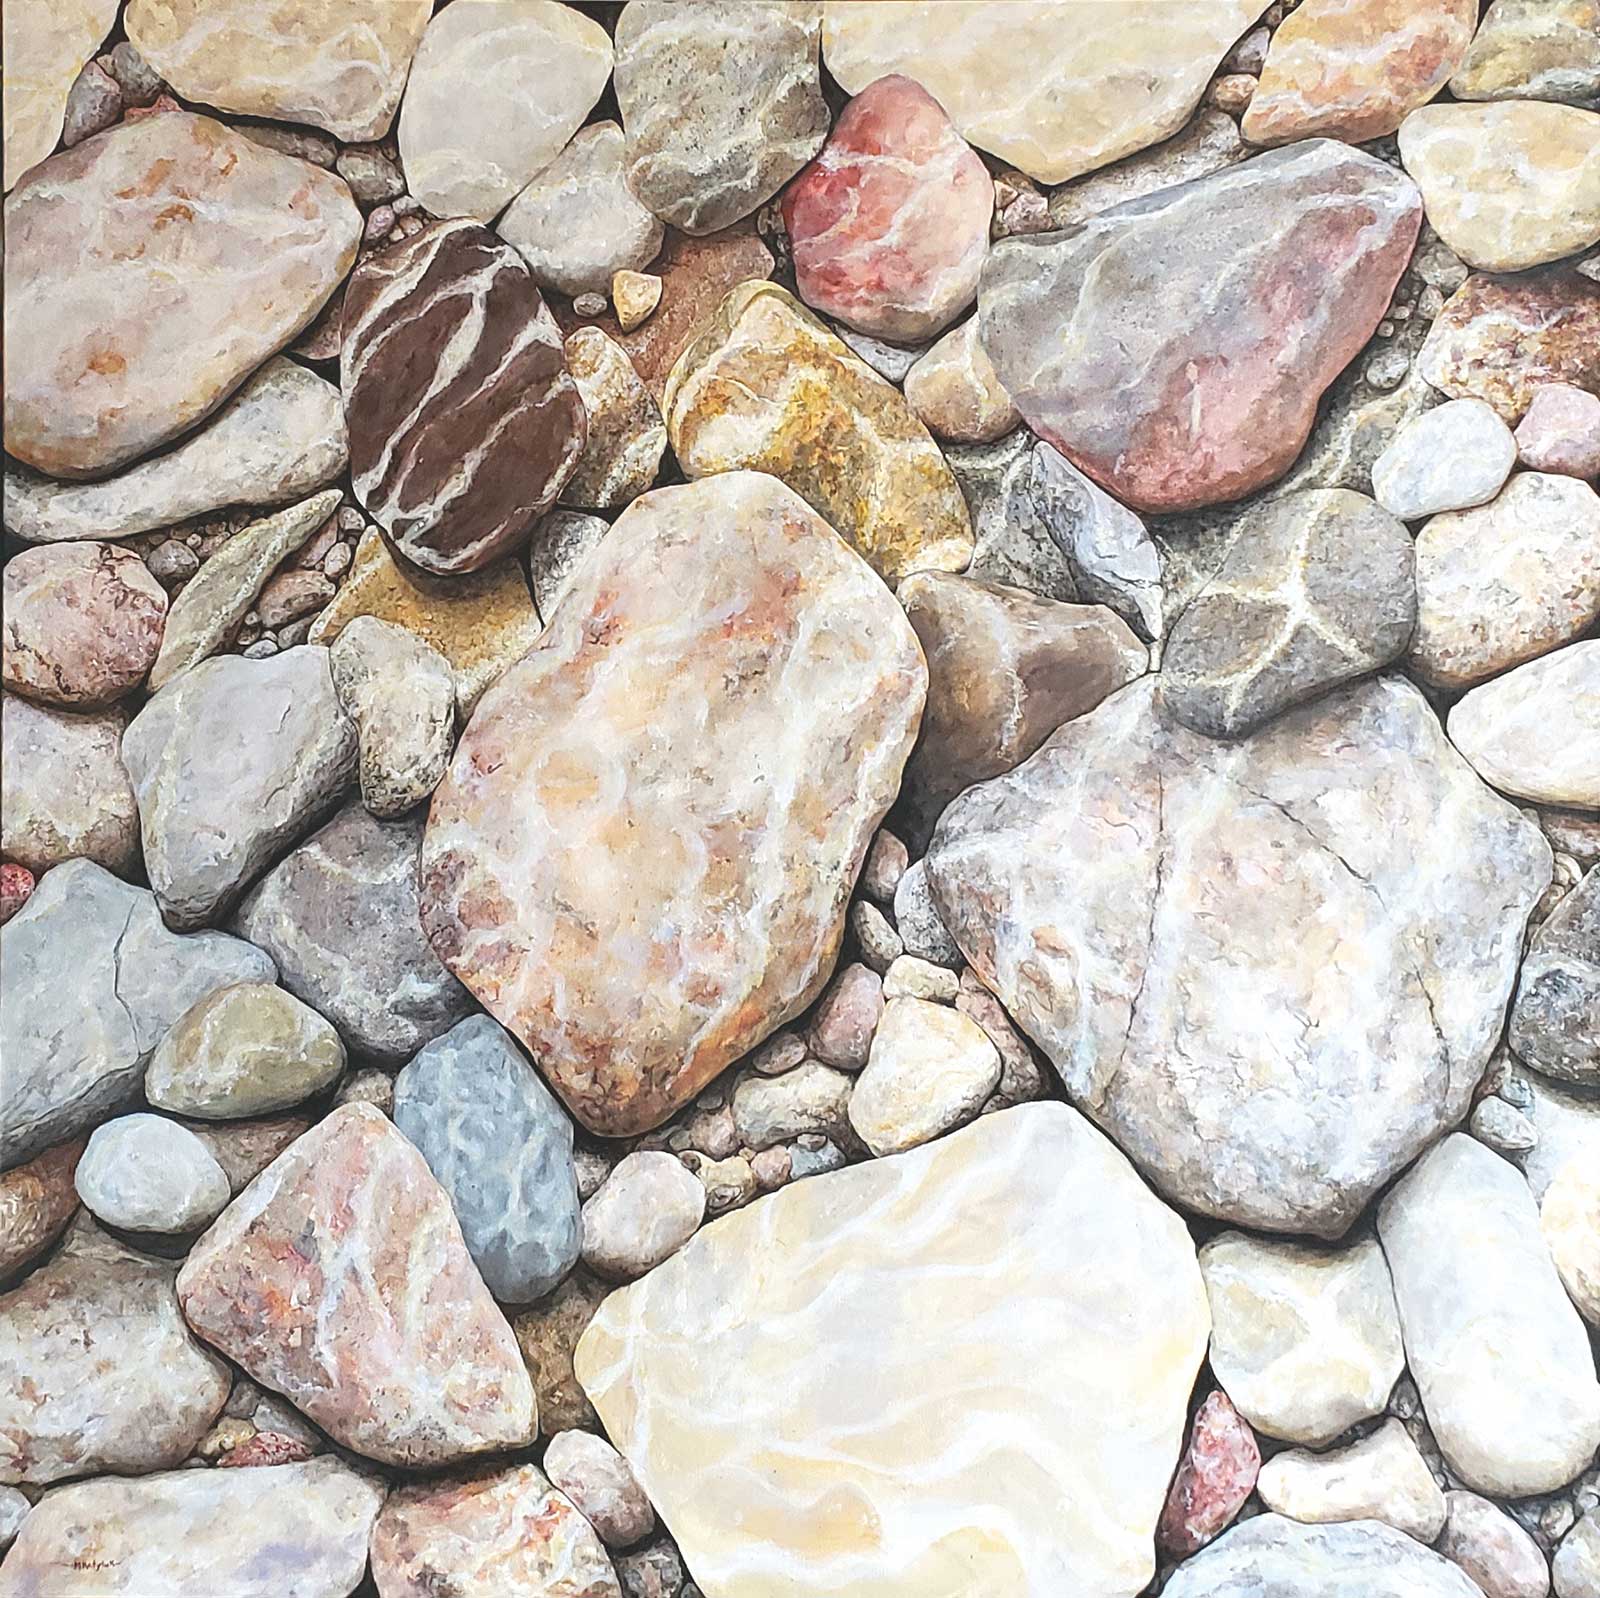
Stage 5 The Finishing Details
Shimmering Rocks, acrylic on canvas, 36 x 36" (91 x 91 cm)
At this final stage, I added streaming light rays to the rocks in order to give the illusion that they are under water. I stepped back and added small final touch-ups to the painting. For myself, a painting is never completely finished until it leaves my hands. It is common for me to go back months later and add a drop of paint to the canvas.—
A Sidebar Title Example
Born and raised in Sudbury, Ontario, Canada, Martin Kotyluk has been inspired by the vastly diverse landscape of Northern Ontario. He is a big outdoor adventure person and is often accompanied by his wife. Kotyluk collects reference photos of his journeys that he can later use for future works. Within the last five years, he has received recognition and has won several awards with the La Cloche Art Show, International Artist and the Northern Ontario Artist Association. In the latter, Kotyluk had his fifth successful entry and now has the right to add the title NOAA after his name.
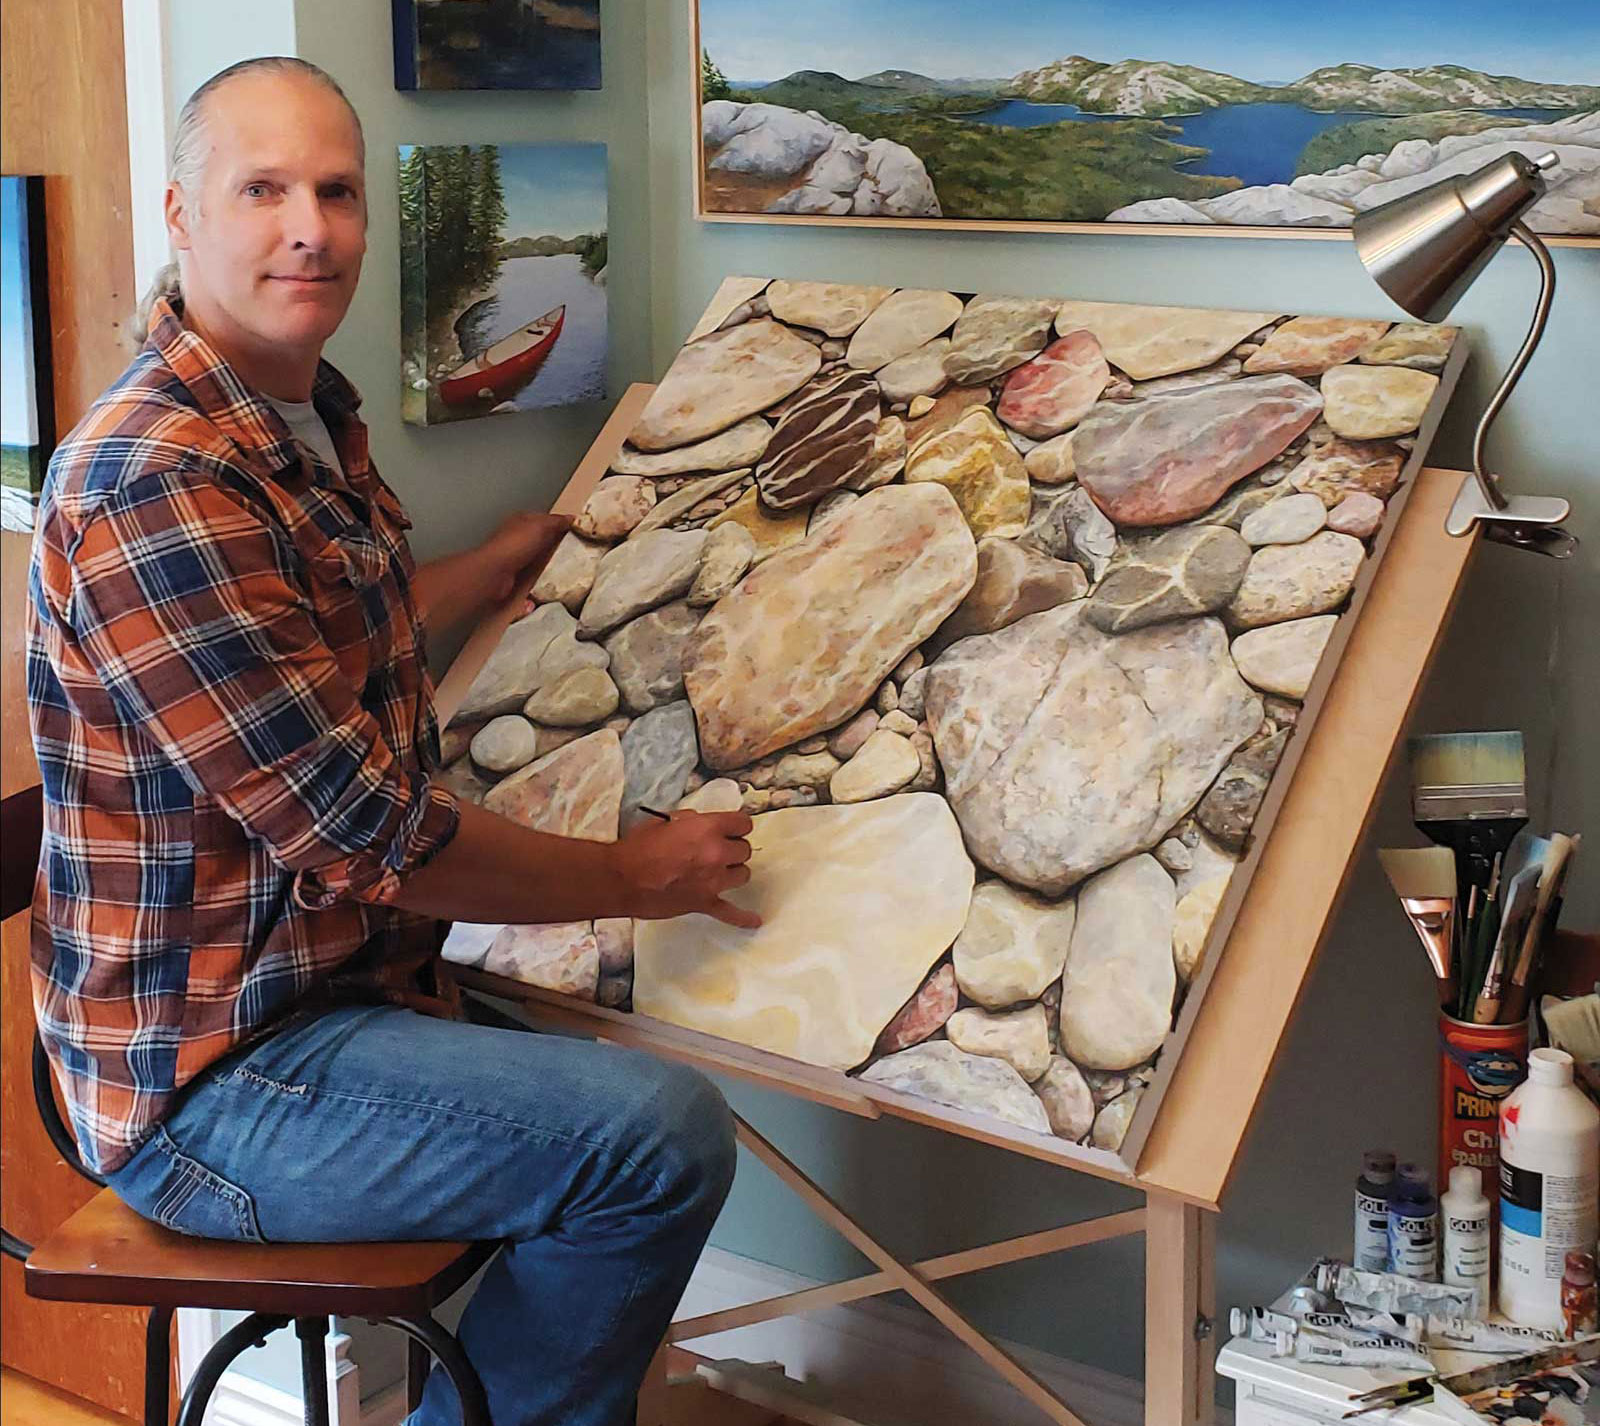 Martin Kotyluk in his studio
Contact at
martinfineart@hotmail.com