



Water is the basic element that defines watercolors as a medium, and understanding how we can preserve it, release it or limit its movement is key to controlling how we make our marks. There are two basic variables we need to pay attention to—the viscosity of the paint we mix up on our palette, and the wetness of the surface of the paper as it receives each brushstroke. How these two mixtures interact creates a vast (and compelling!) set of results. Add in the details of the brush, and we have almost all the effects we can get out of watercolors.
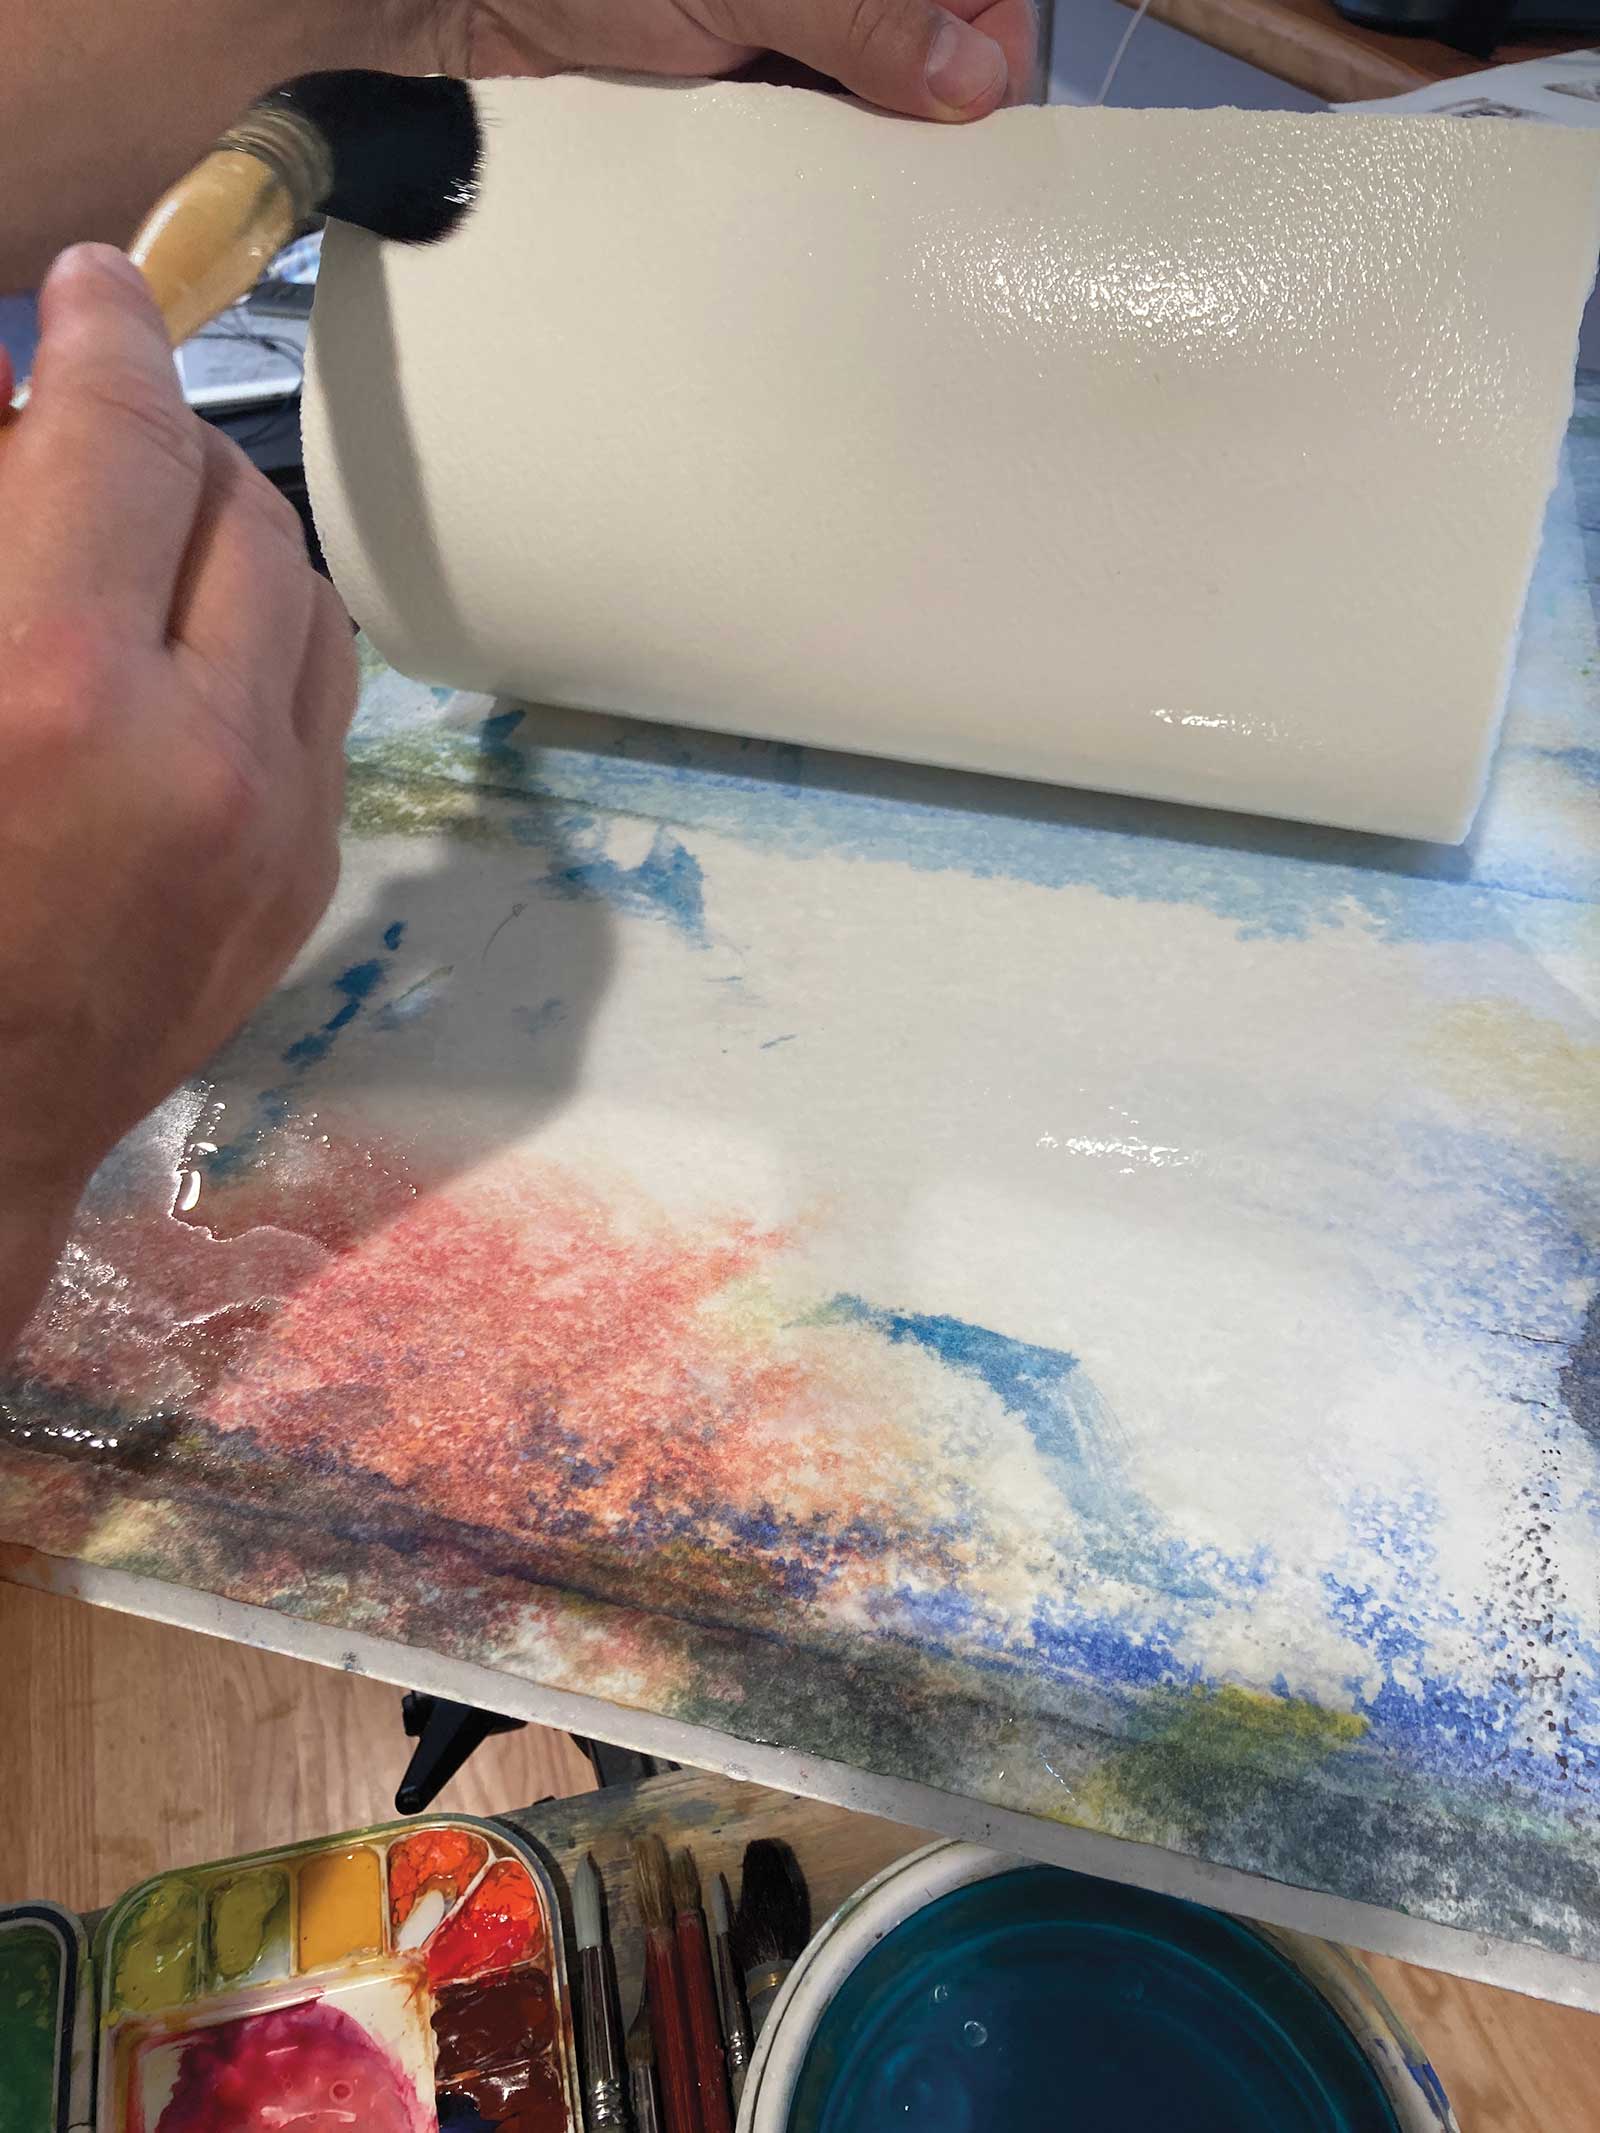
I generally wet the back of my paper because it slows down the drying process, but the surface remains dry!
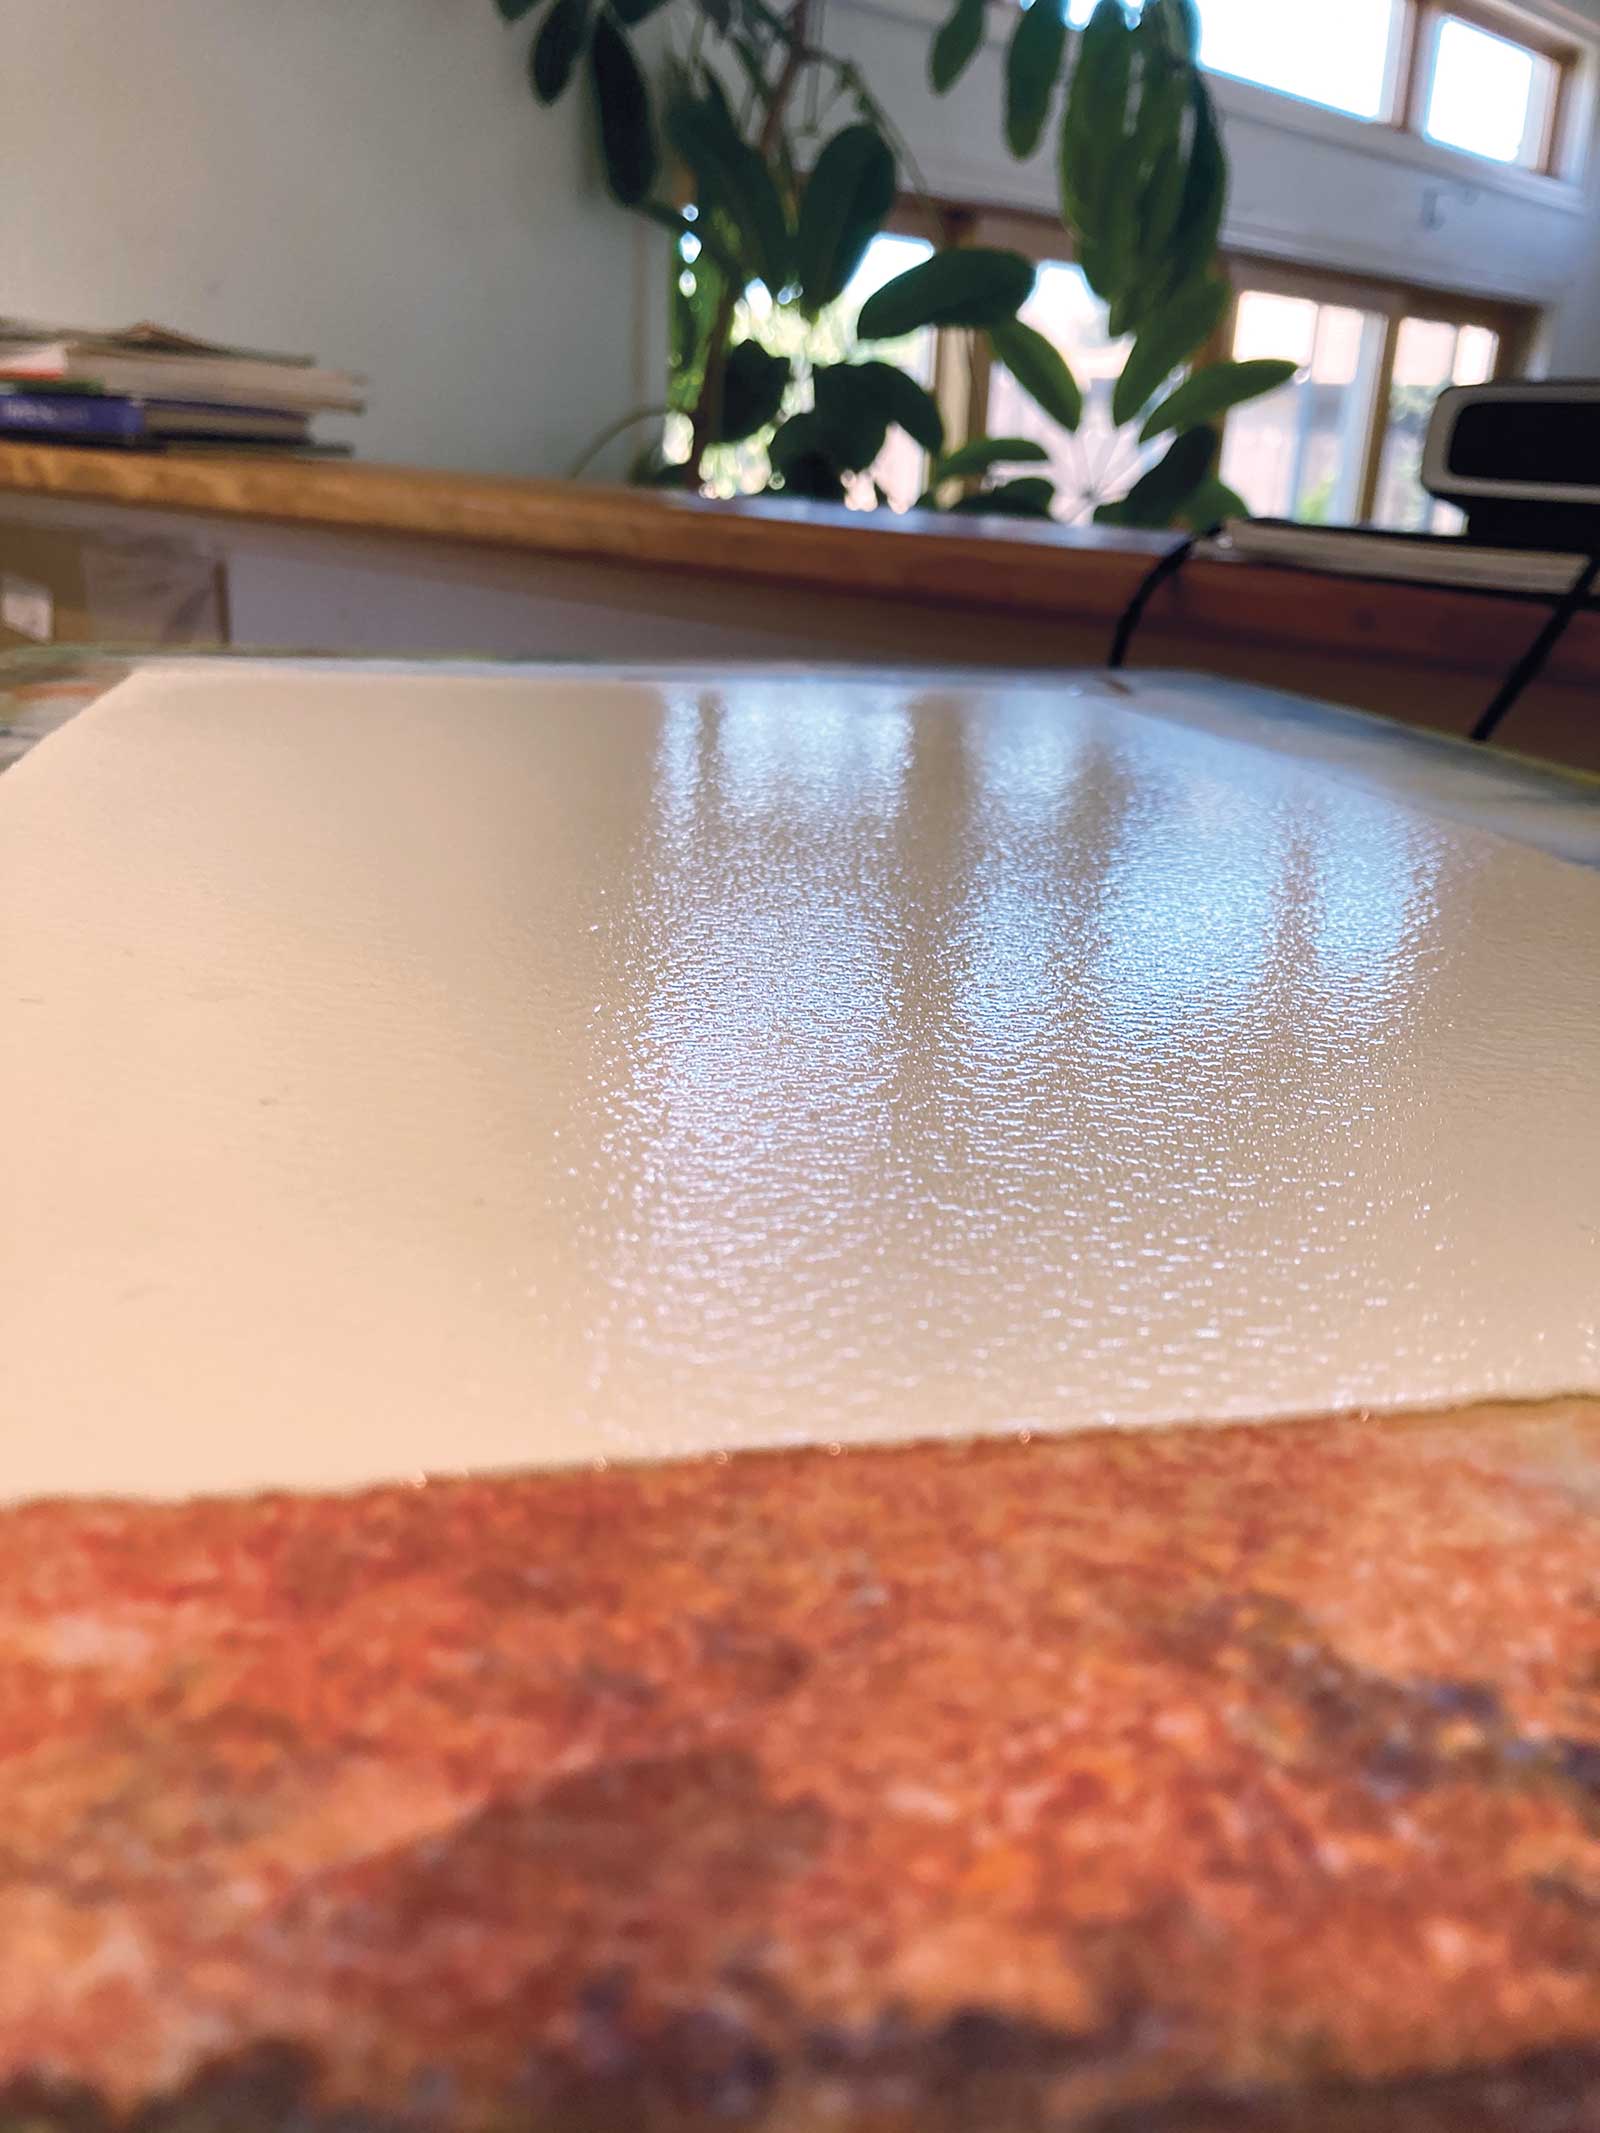
I am often looking at my paper from the side to see how the light bounces off the surface, or touching it with the back of my fingers. This helps me determine the stage of wetness it’s at.
Let’s start with the paper. After our first strokes, it’s helpful to recognize that the paper’s surface immediately starts the process of drying. There are four basic stages: when your paper is very wet, with the water riding like a lens on the surface, when it’s shiny but flat, when it’s damp and matte, and when it’s dry but cool to the touch. As long as the paint on the paper is wet, it’s active. That means your previous still-wet brushstrokes are affected by new ones, and vice versa.
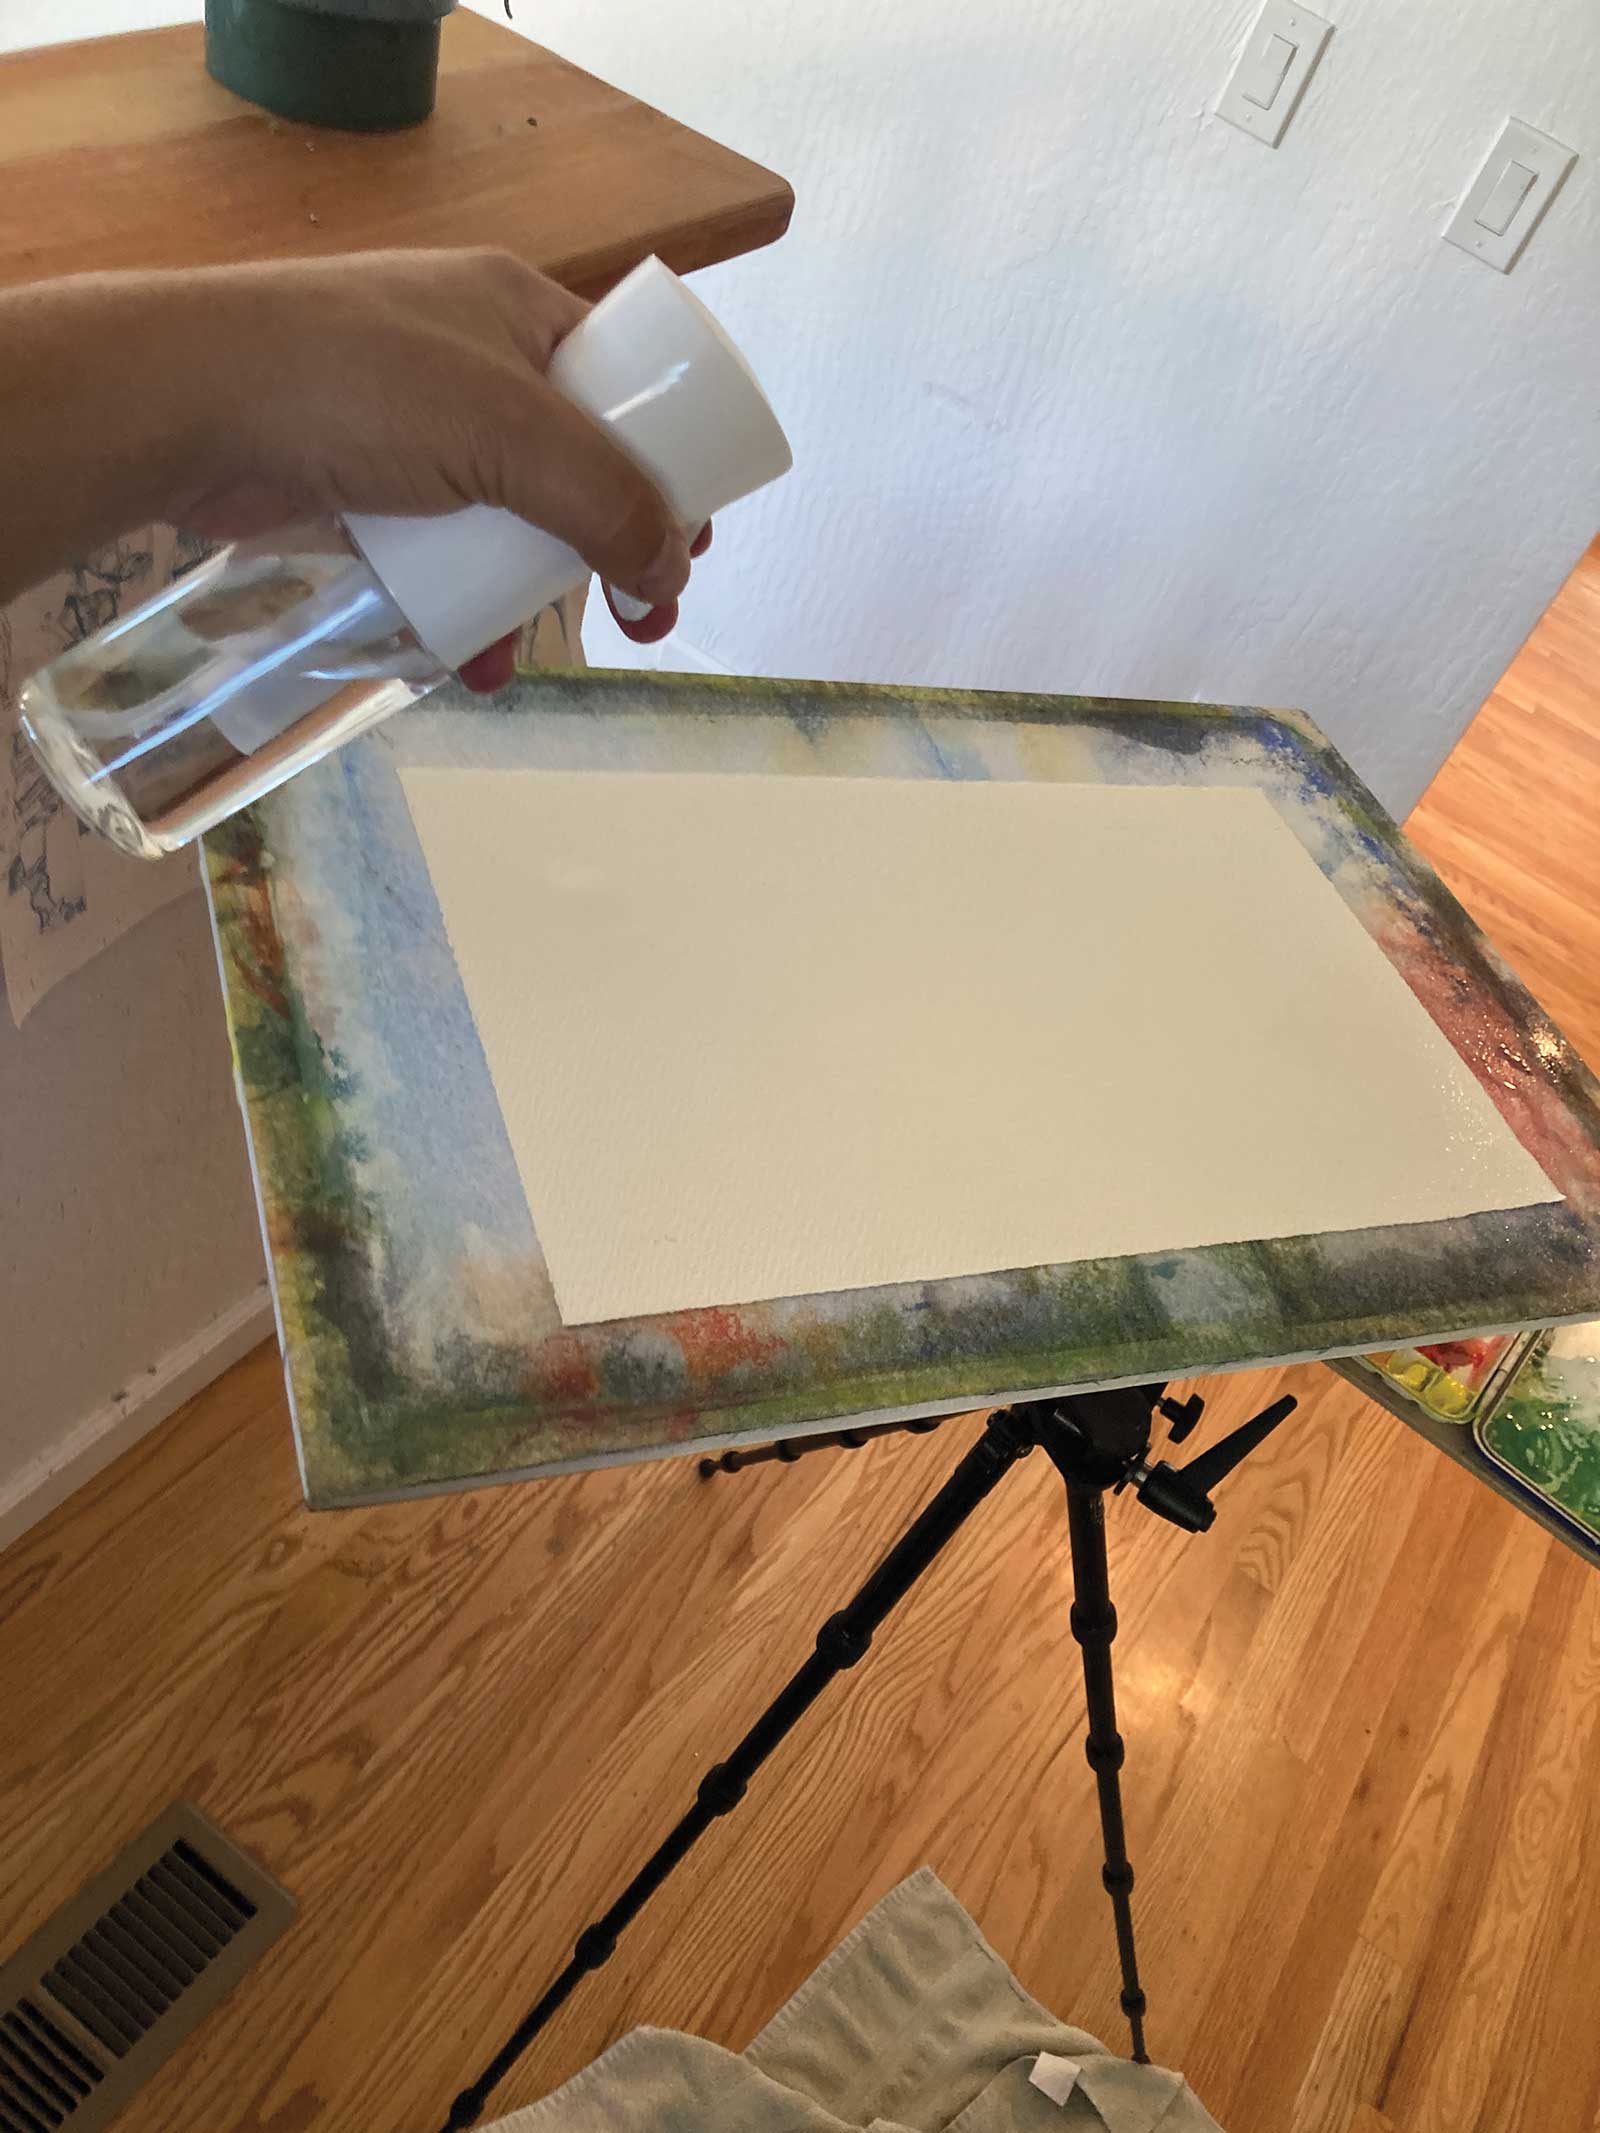
Gently dusting an area of your painting, back and forth, with a soft application of mist (from 12 to 24 inches away) will breathe a bit of life back in to a “damp” area. It takes practice to learn.
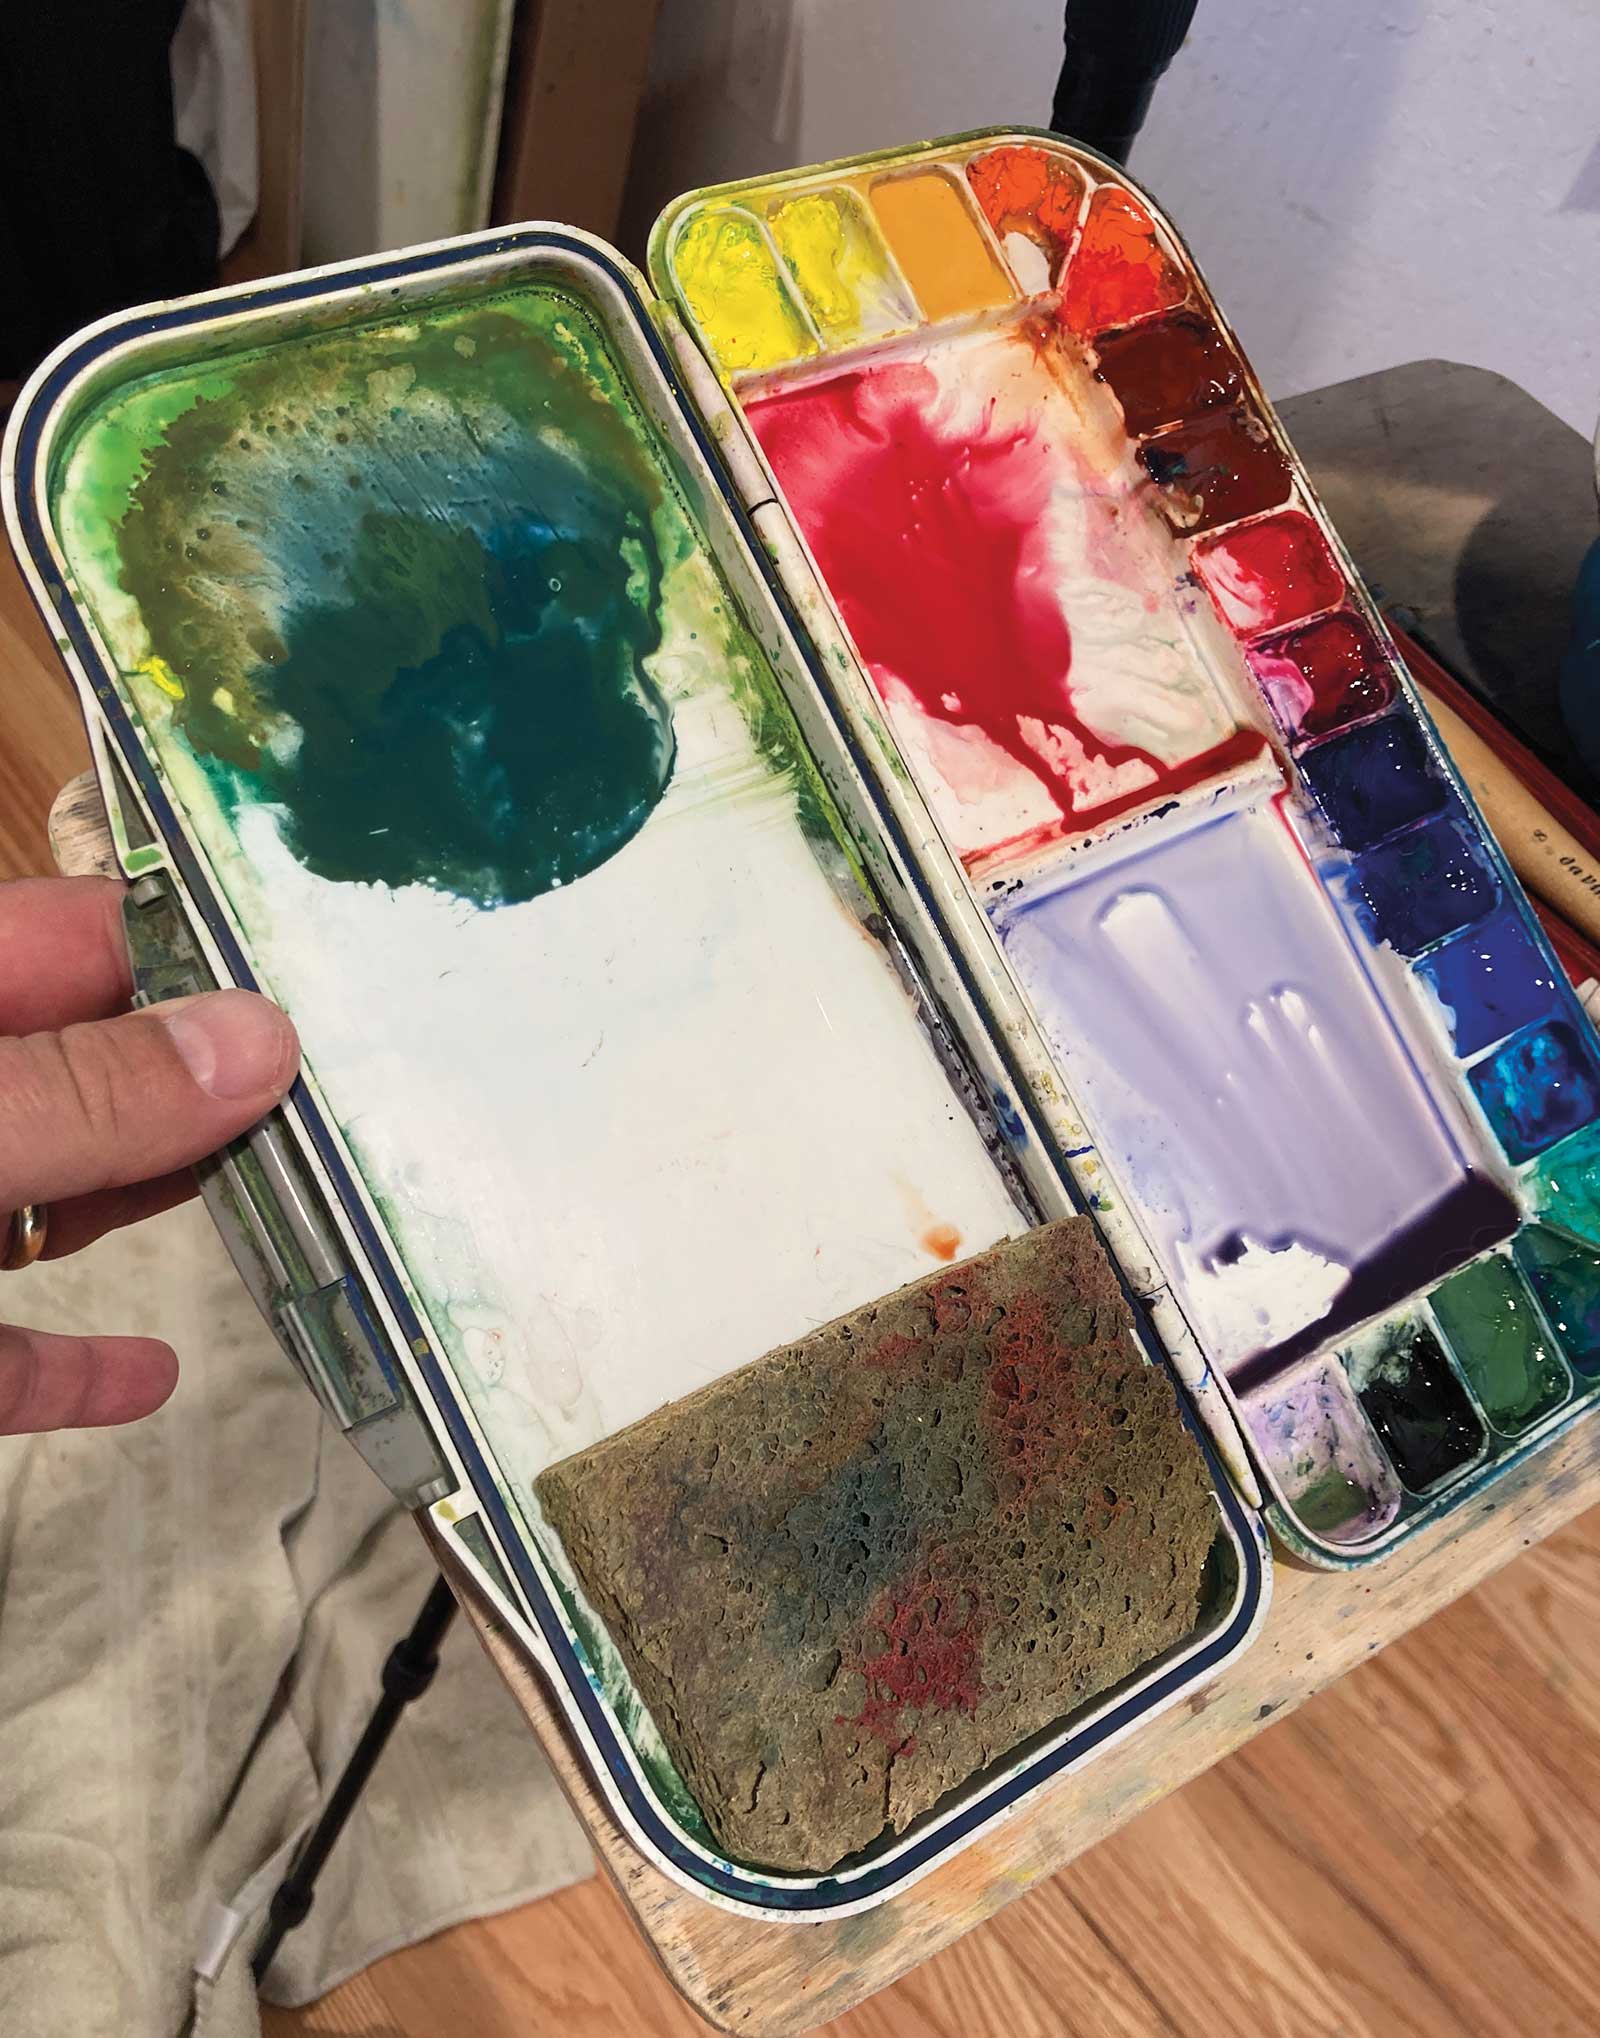
Here my palette is tilted. Note how some mixtures run or pool up, and some don’t. One mixture is creamy (top left), one opaque and milky (top right), one see-through and like tea (bottom right).
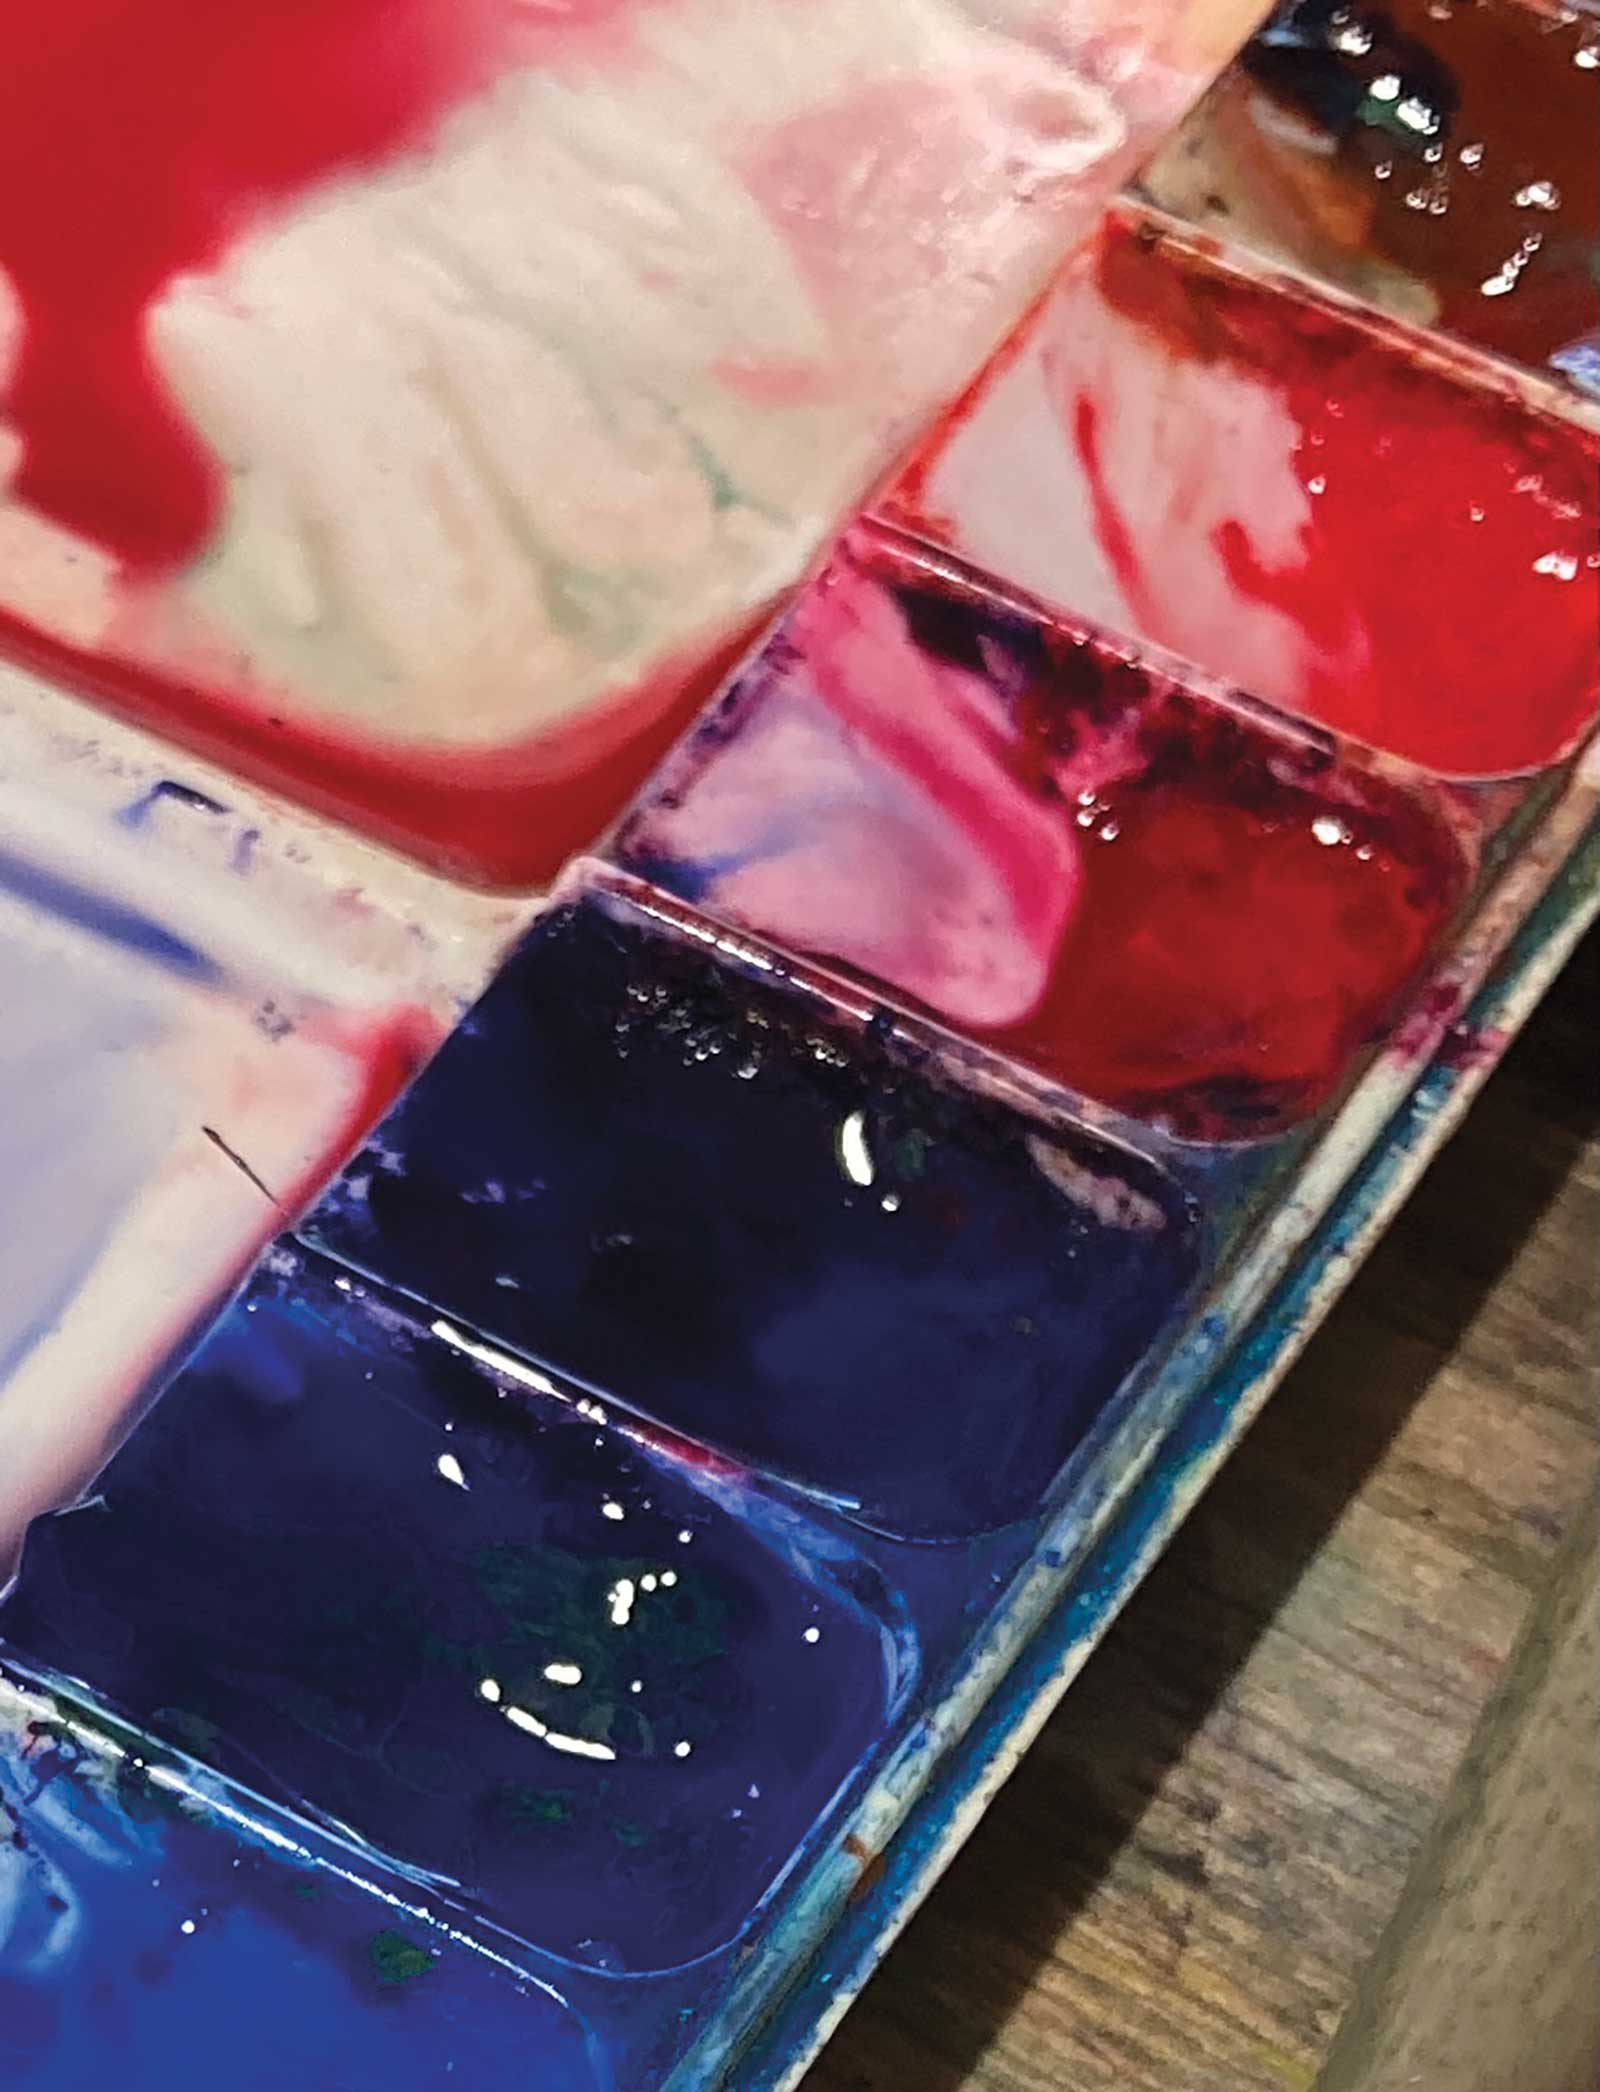
It’s very hard to get rich, creamy mixtures if the paint in your palette is dry and brittle. Wet, juicy paint is important. Pre-mist them if necessary or use fresh paint.
The second half of the equation is the viscosity of the paint-mixture on your palette. We’ll note four stages out of an infinite range. Out of the tube it starts thick, like honey, but it can be slowly diluted, from a barely moistened creamy consistency that doesn’t move on the palette, to a mobile but still-opaque milky thickness, to finally a runny, tea-like wash that pools up. Different paint mixtures interact with the wetness of the paper in different ways.
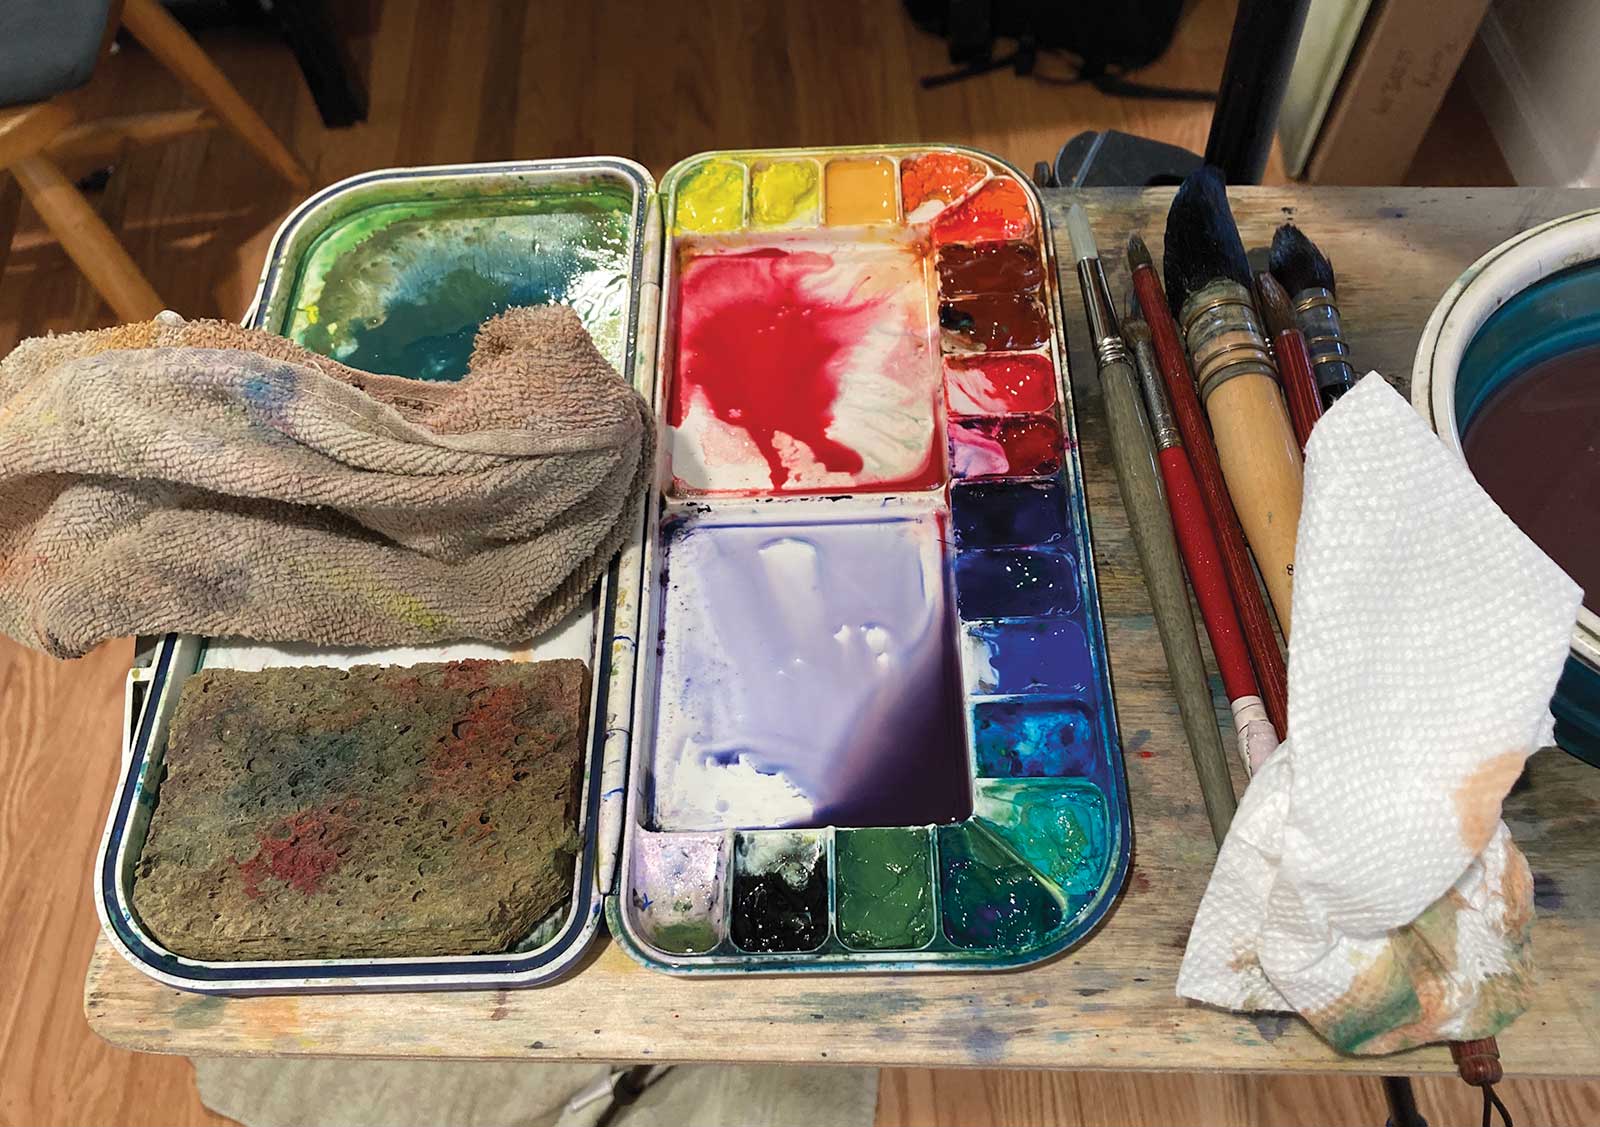
I always paint with a sponge on my palette and a cotton rag (which I keep on my shoulder) for daubing off my brush, plus a tissue for follow-up water control on the paper’s surface.
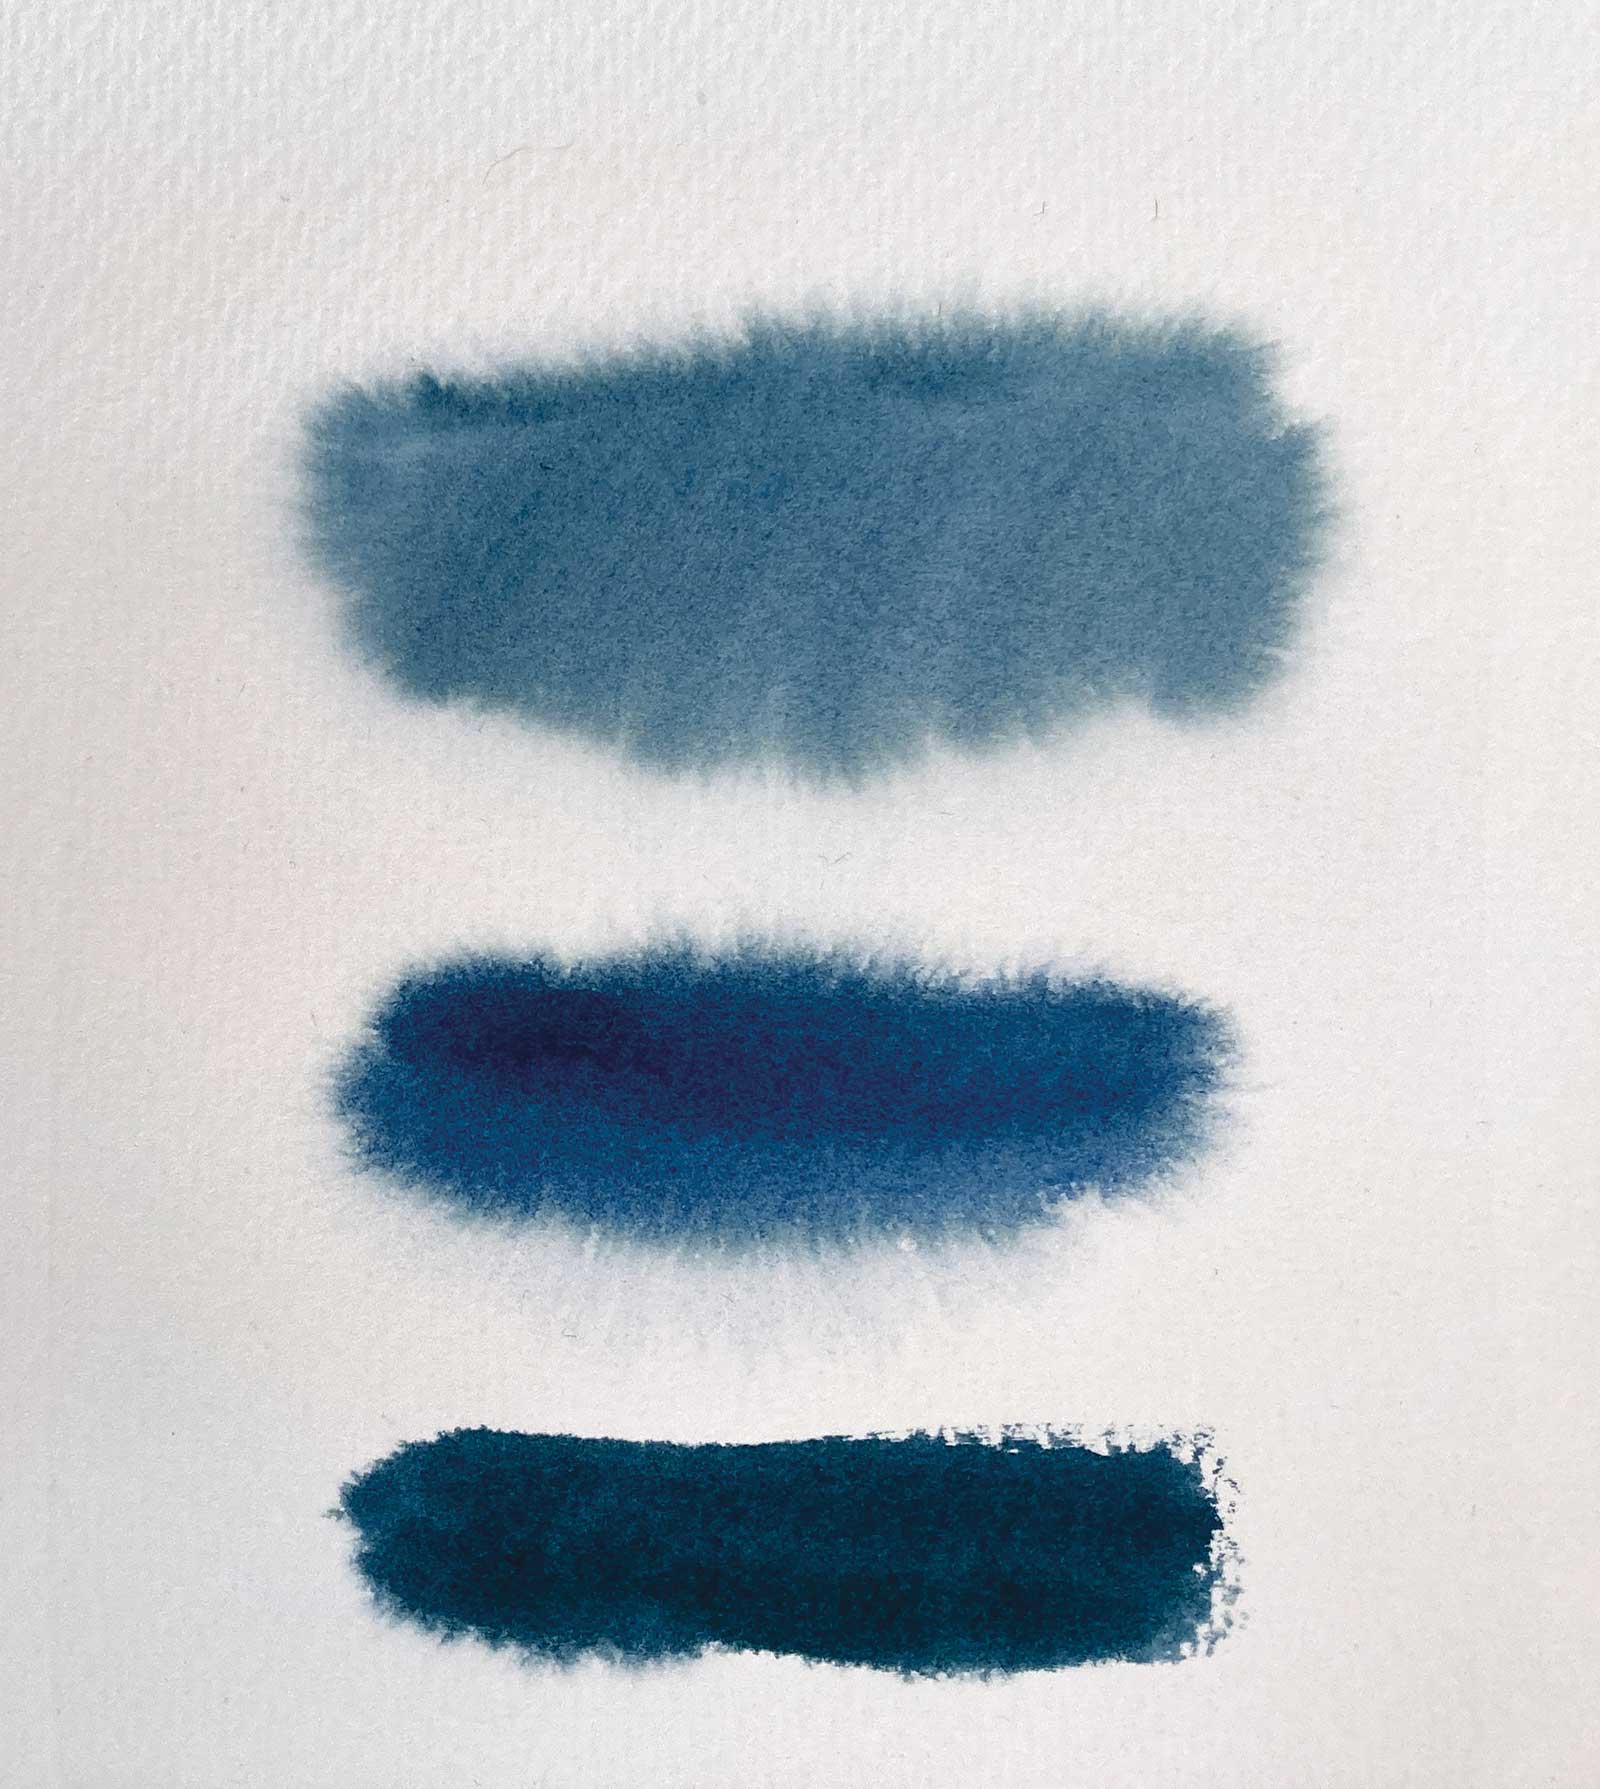
Note how the same paint mixture, applied at three different times, disperses differently as the paper dries. On top, the stroke was made when the paper was shiny, whereas the paper was only damp when the third and final stroke was made.
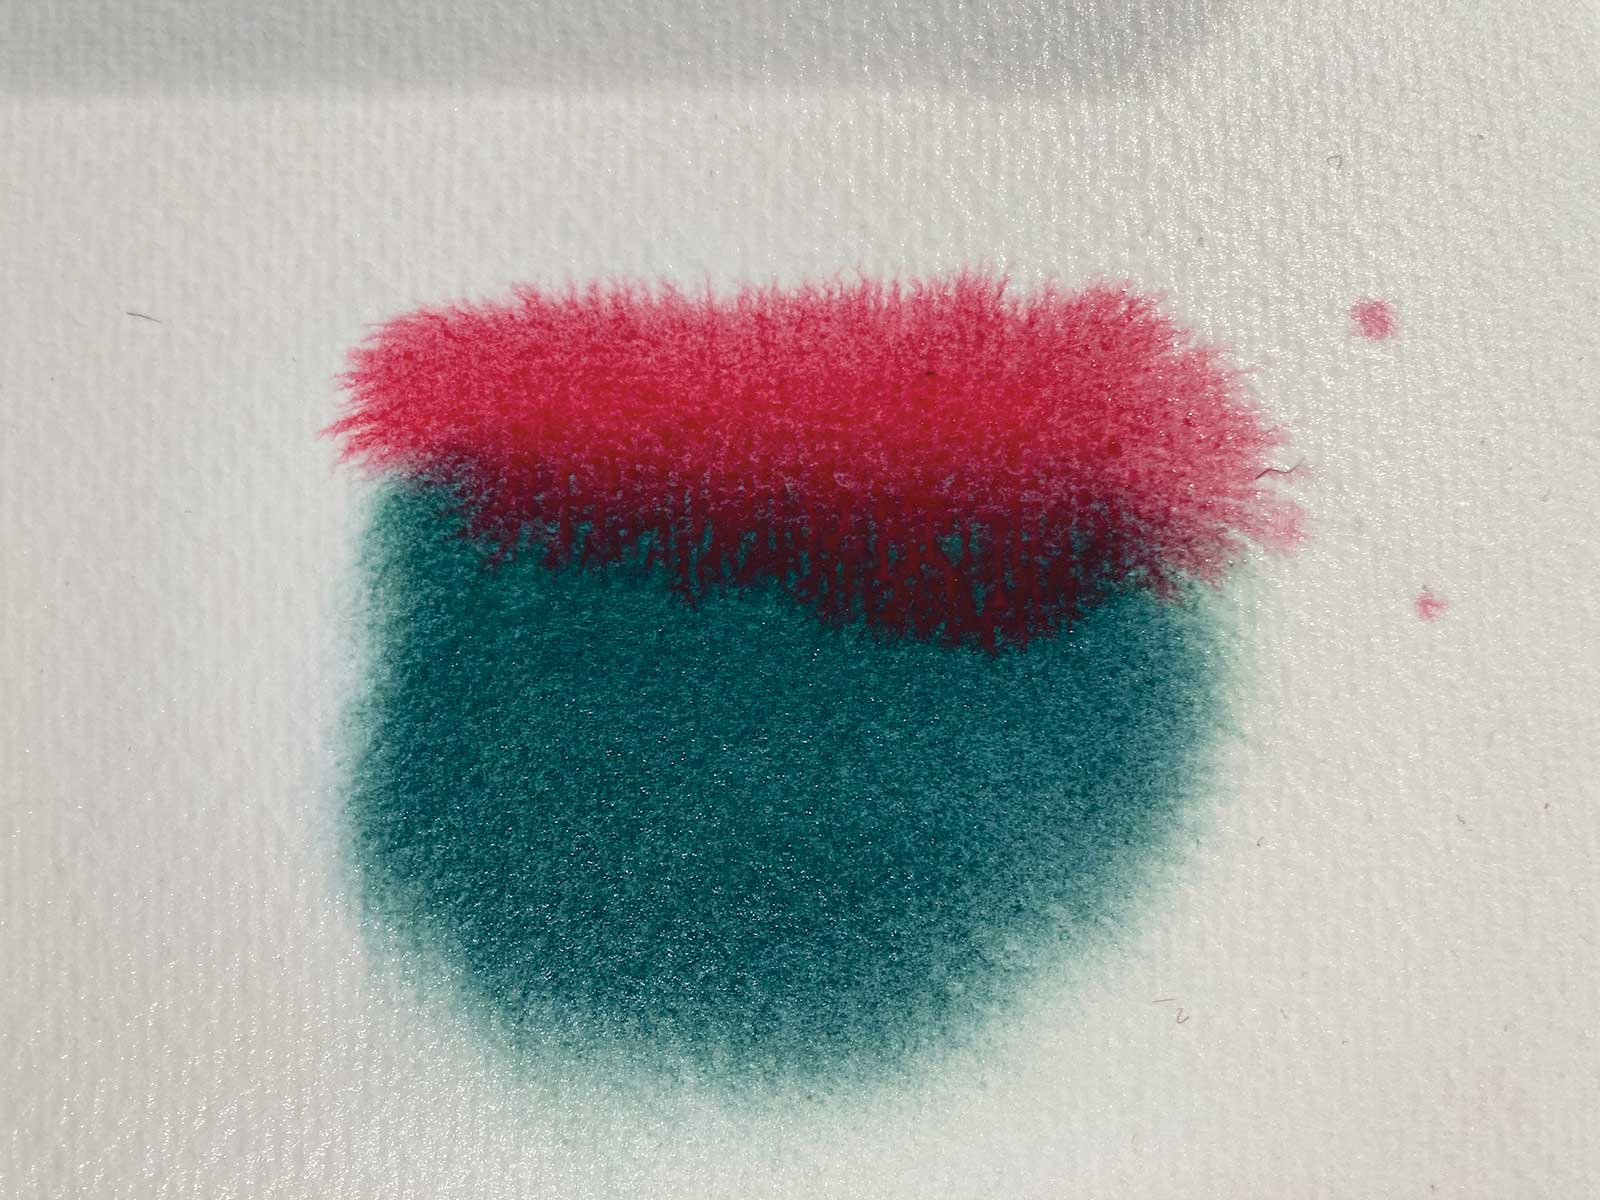
Apply a diluted “tea” above a thicker “creamy” area, and watch as it runs down into it. The different dilutions interact.
Finally, there’s the brush. For watercolors, you need to think of your brush as both a mark-making tool and a water delivery system. Brushes that are small or synthetic (or both) hold less water, and brushes that are big or have natural fibers can hold lots and lots of water. If you want to do a big wet wash, you should pick up a big squirrel mop. If you want to do controlled wet-into-wet work, you should pick up a smaller synthetic that judiciously releases only a small amount of water. The important part is not to get locked in to using only one size or type of brush for too long, but instead to switch as needed.
Paper moisture, paint dilution and brush type—how these three things interact is where the magic happens. The permutations are vast.
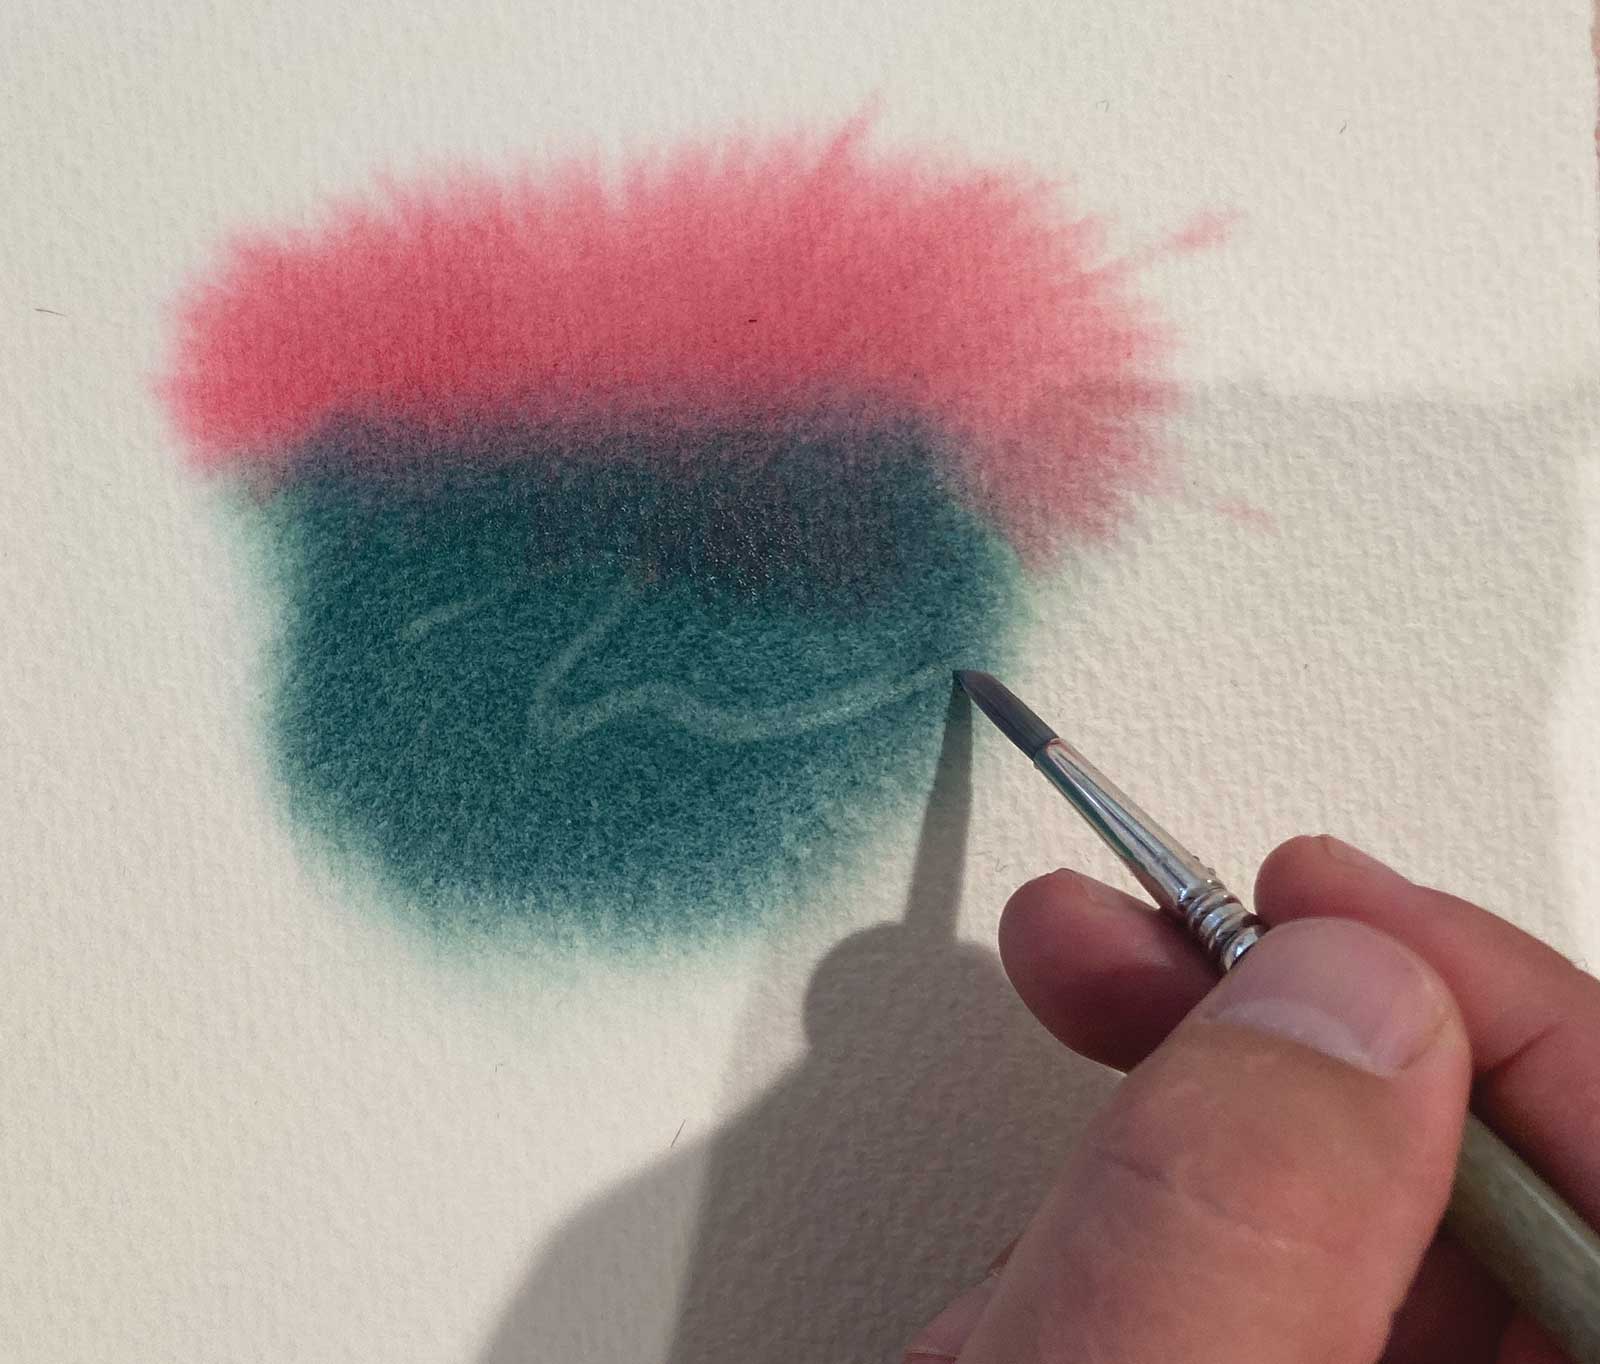
You can also paint with water. Use a small brush when the paper is damp, and let the water push the pigment away.
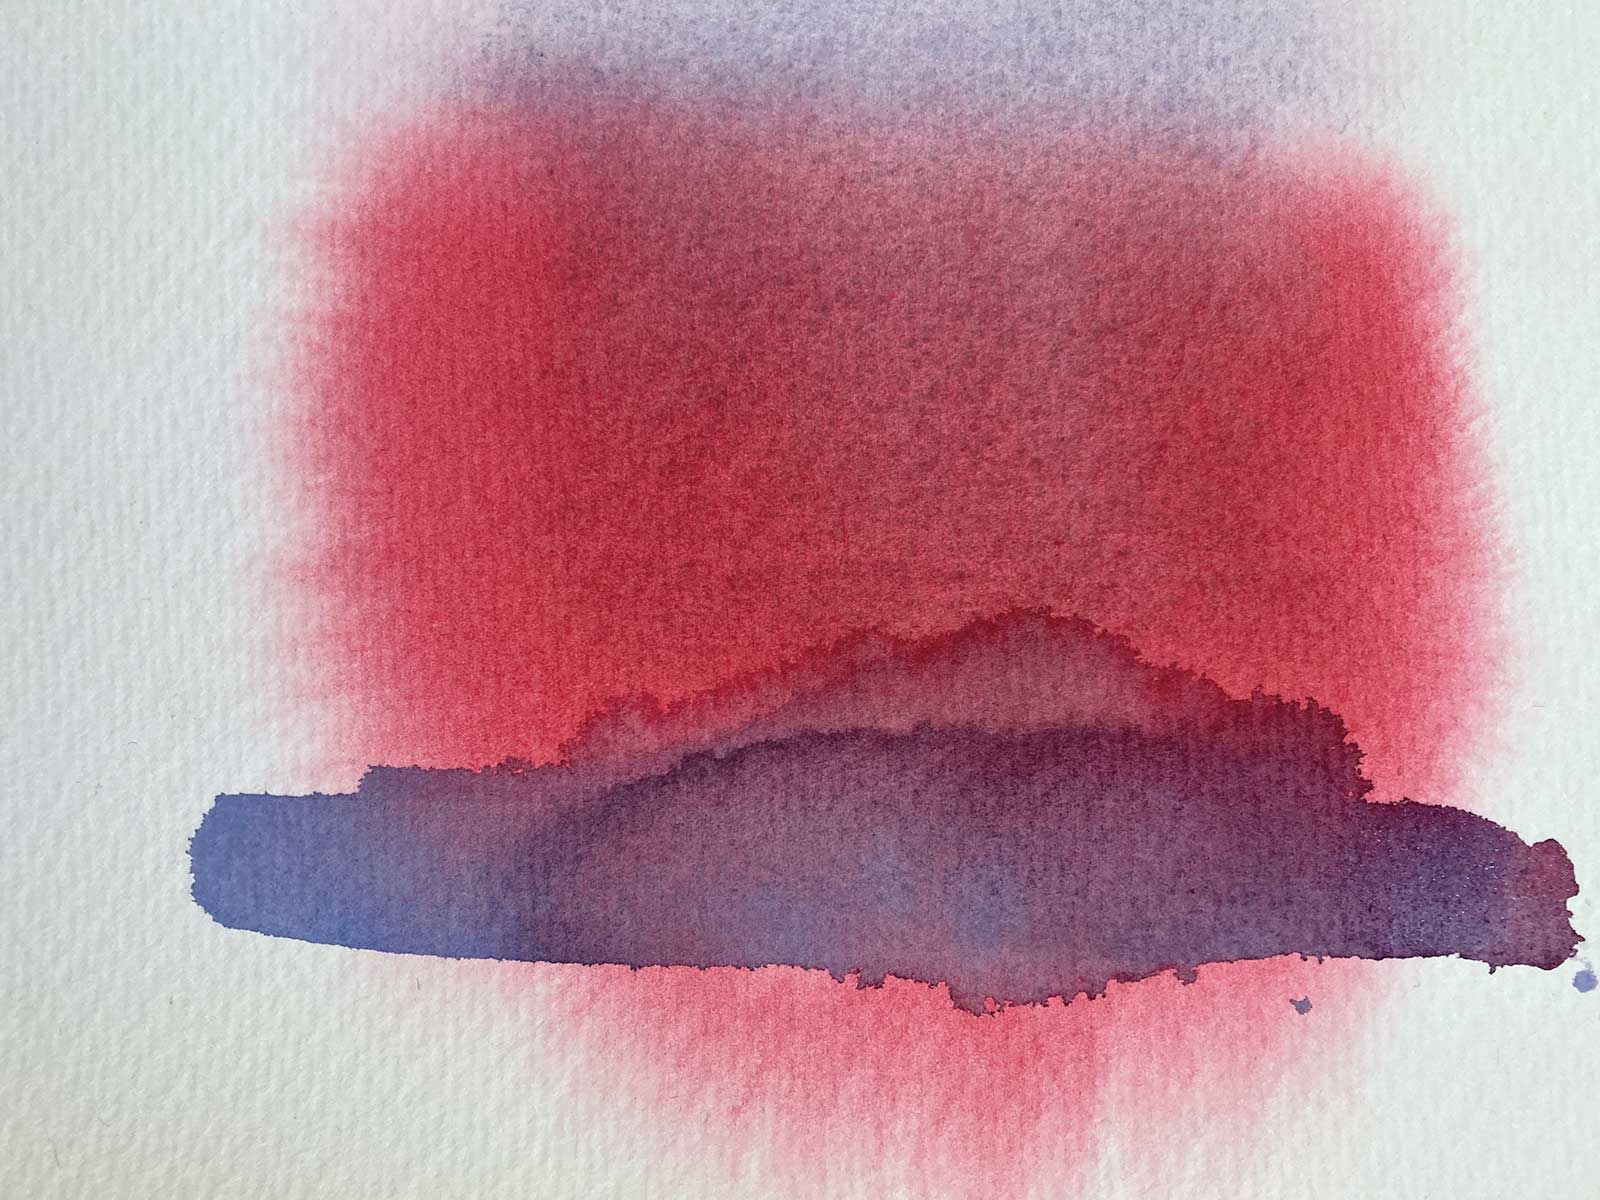
Drop an application of “milk” or “tea” into an almost dry, cool-to-the-touch paper and deliberately get a blossom.
A great way to educate yourself is to deliberately experiment with different relationships. Mix up a single consistency (honey, cream, milk or tea) and patiently try making brushstrokes as the wet paper dries. Change your brush type (to a synthetic or a mop) or size and see what happens. Tilt your board slightly (so the top dries faster) or paint flat (which makes everything dry slower). Free experimentation that is kept separate from dedicated painting is essential to learning new skills. There is no substitute for getting mileage on your brush. —