



“Flowers in my head!” That was my first nickname on Instagram, and it 100 percent reflects my inner world. I have been obsessed by the delicacy of petals—the play of colors, intricacy of light and shadows—I love everything about flowers.
Every spring I start my flower hunting. My garden is the biggest inspiration for me, and when it is not enough (and usually it is not) I reach neighboring green markets searching for muse there. I love painting from my own pictures, and I take dozens of them. When I choose my next subject I always look for some sophistication and even imperfection, some play of light or interesting angle that captures my eye. Once a choice is made I do some adjustments on the picture itself to bring it closer to how I imagine my future work will look. I also do some sketching and try various mixtures and color matching.
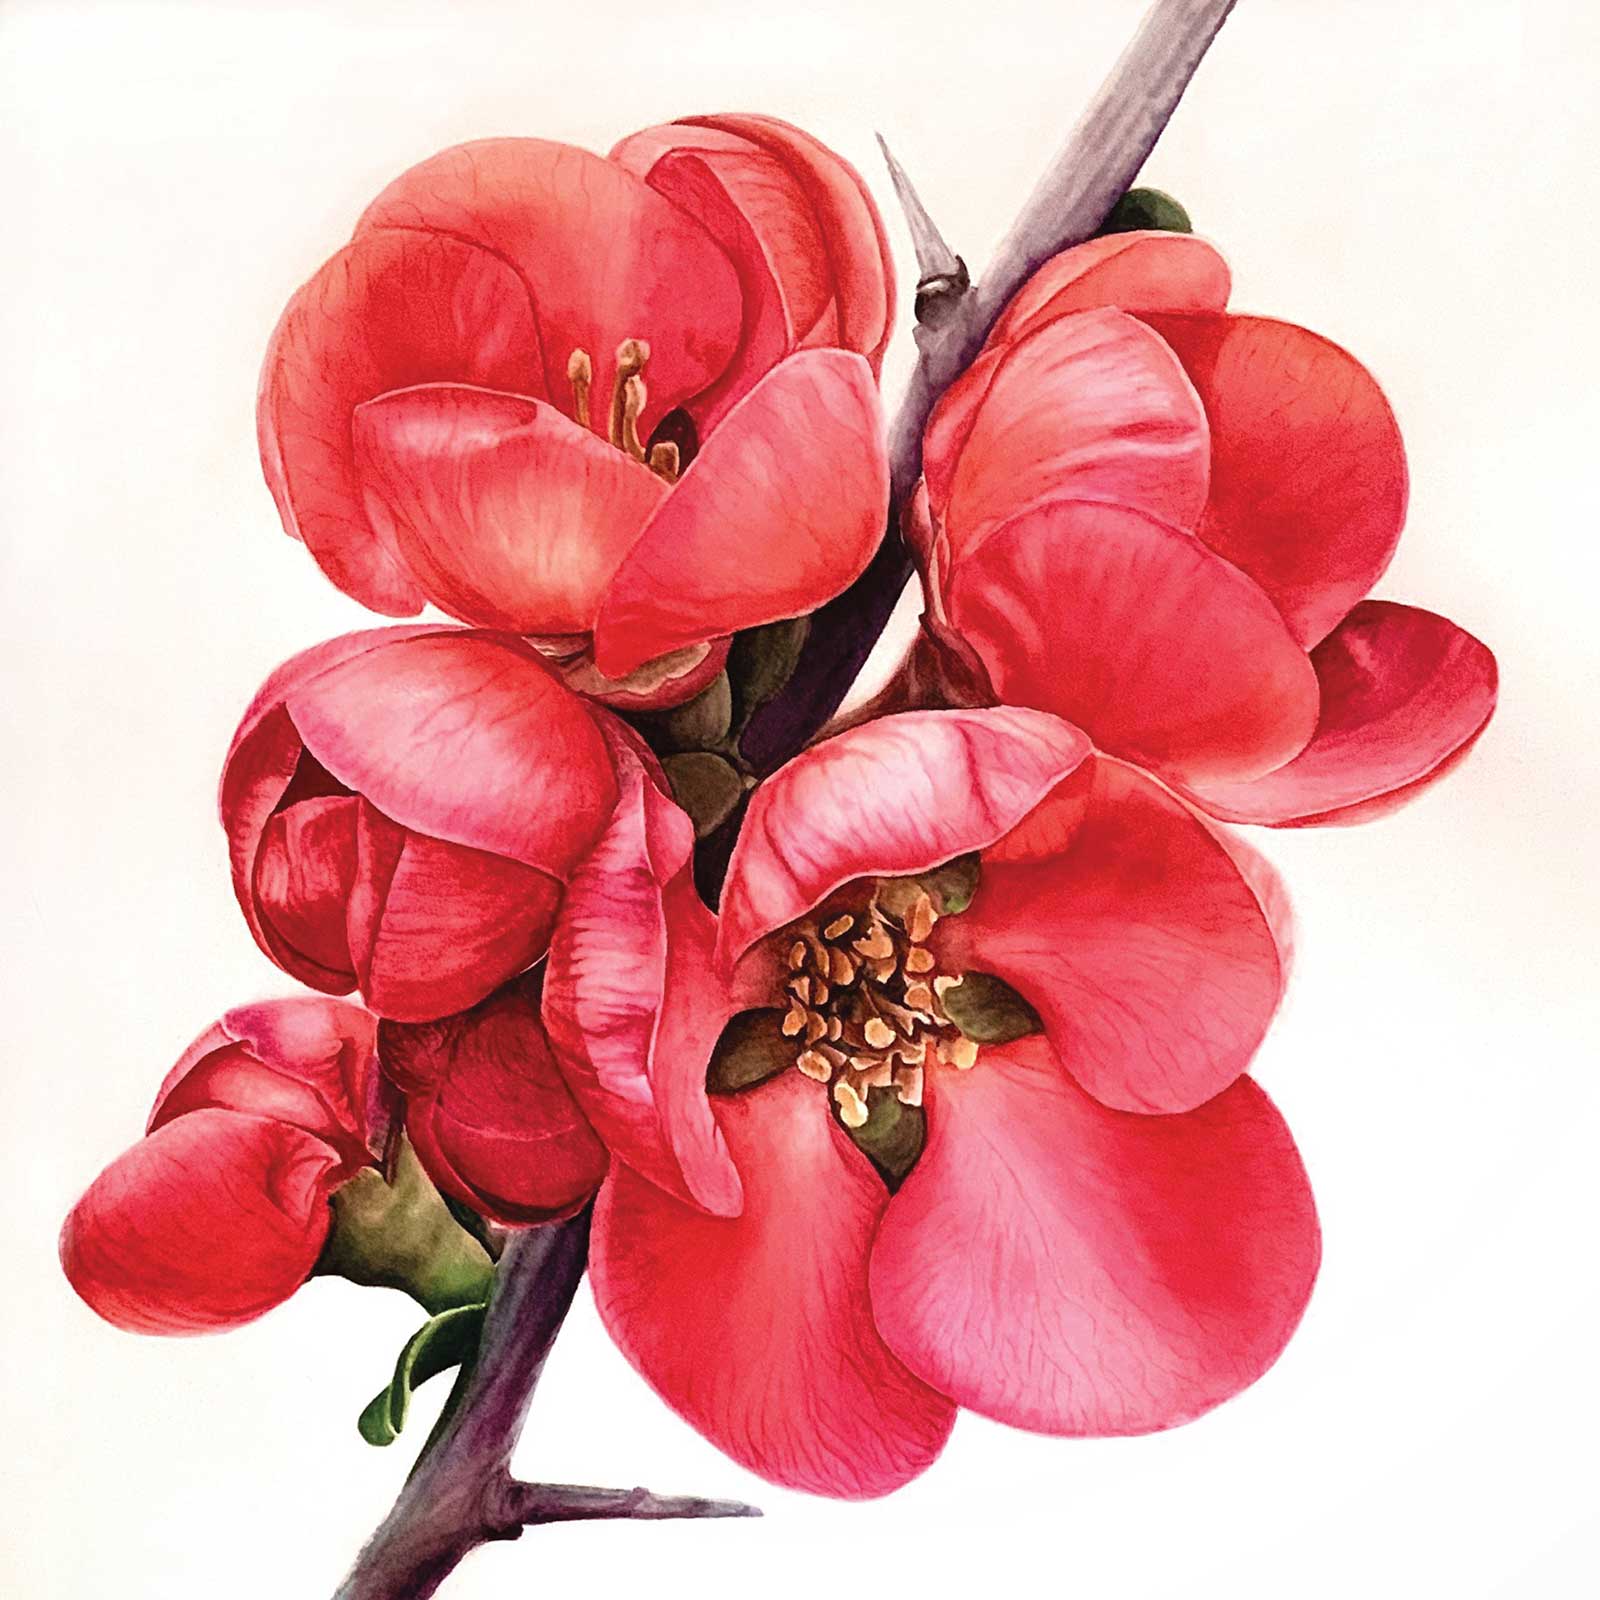
Chaenomeles japonica, watercolor, 14 x 14" (35 x 35 cm) I captured this amazing bunch of chaenomeles in my garden. I was attracted by the beautiful rounded shape and bright colors of petals.
As I am working in the multilayering technique, the first thing I do is divide my object into layers. I start painting with lighter tones, gradually enhancing color. I tend to work from the upper left corner so I do not smudge paint accidentally. Depending on the composition I may paint all over the painting gradually or work on each section separately.
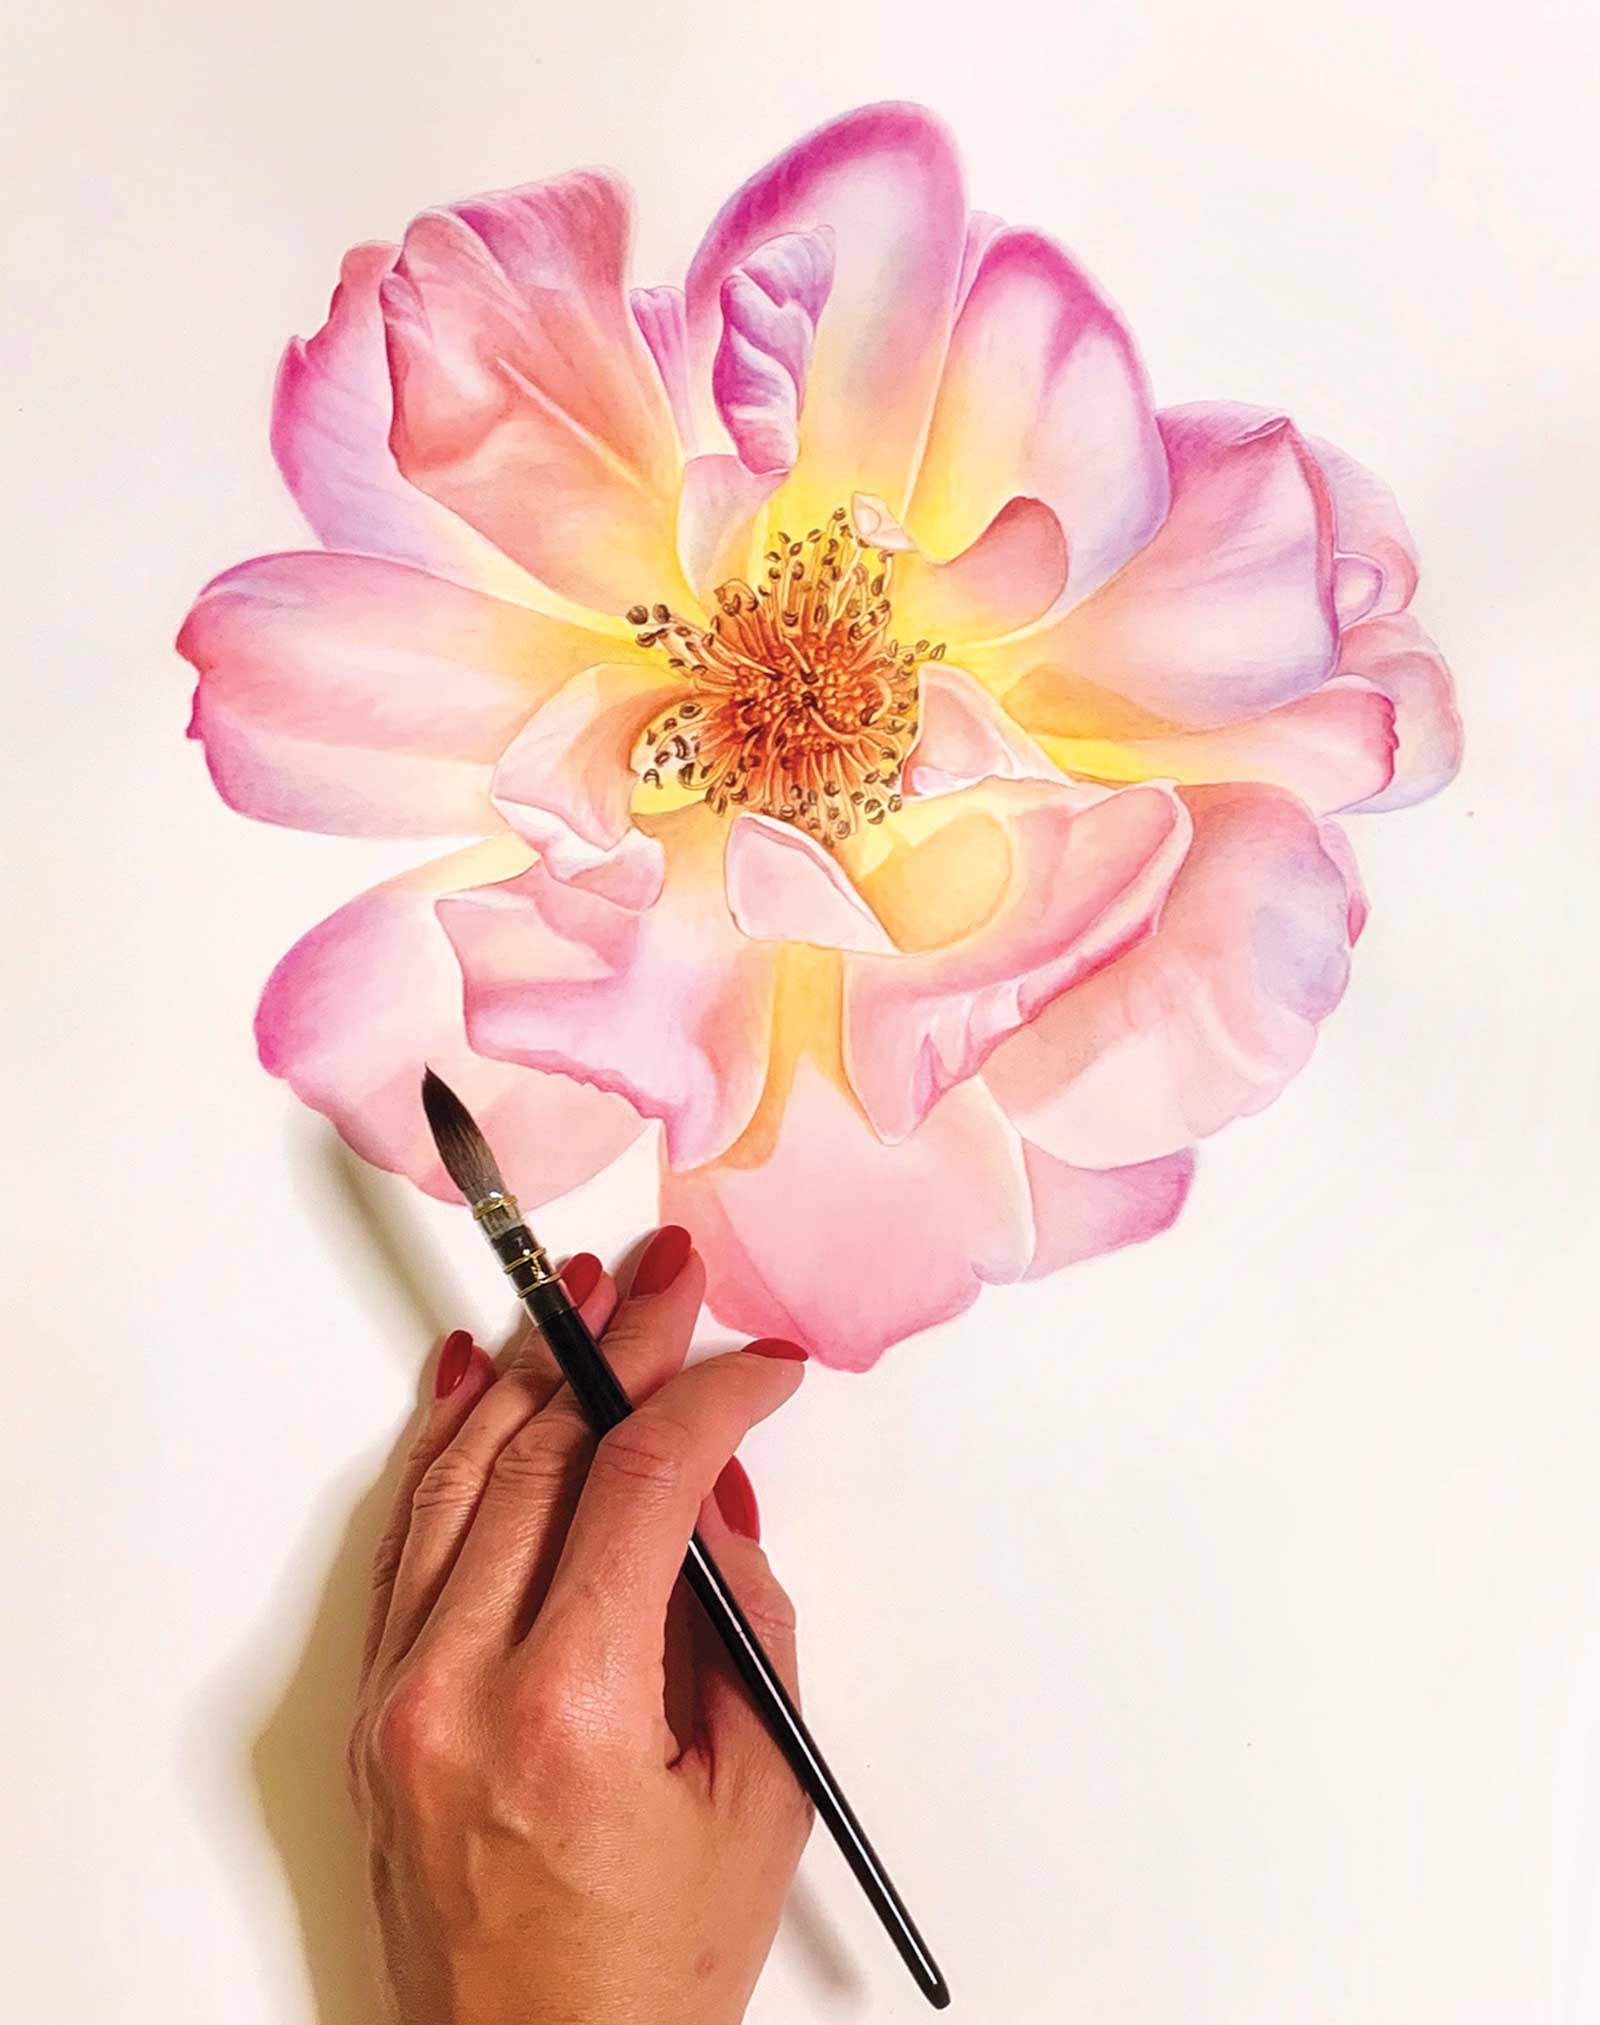
Rainbow Rose, watercolor, 12 x 12" (30 x 30 cm) I made a picture of this rose just against the light so its petals obtained an interesting airy effect.
I prefer daylight for my painting session, but with two kids it is not always possible. So I use a lamp with light adjustments to make sure my colors are right. I use mostly round synthetic and natural brushes in sizes 00 and 01 with a thin tip, which is perfect for small details. I also may use a size 5 to moisten my paper. Most of the time I start working with wet-in-wet technique. At a later stage I use dry brushing for details and color enhancement.
My favorite paper is a smooth cotton hot-pressed, no less than 300 mg. It allows me to put as many layers as I want and does not get spoiled when I do some lifting or rubbing. I love that magical process of a white paper turning into a flower bloom. And I am so happy to be part of it!
My Strategies
• Observation is essential. Take your time looking for objects around you to capture. Sometimes it can even be some unexpected object that will turn into a masterpiece later.
• Have your camera ready. Take as many pictures as necessary to catch all the little yet important details.
• Experiment with light. Use different sources of light for your pictures to capture the subject at its best manifestation.
• Do sketching and color matching before you start working on a painting. Thus you will avoid mistakes and color imbalance.
• Study your paints. It is important to squeeze all you can from even a limited palette. Take your time and play with your paints, mixing them in all possible ways.
• Search for inspiration. Do look at other artists’ works that inspire you, visit exhibitions, attend workshops.
My Art in the Making Pelargonium flower
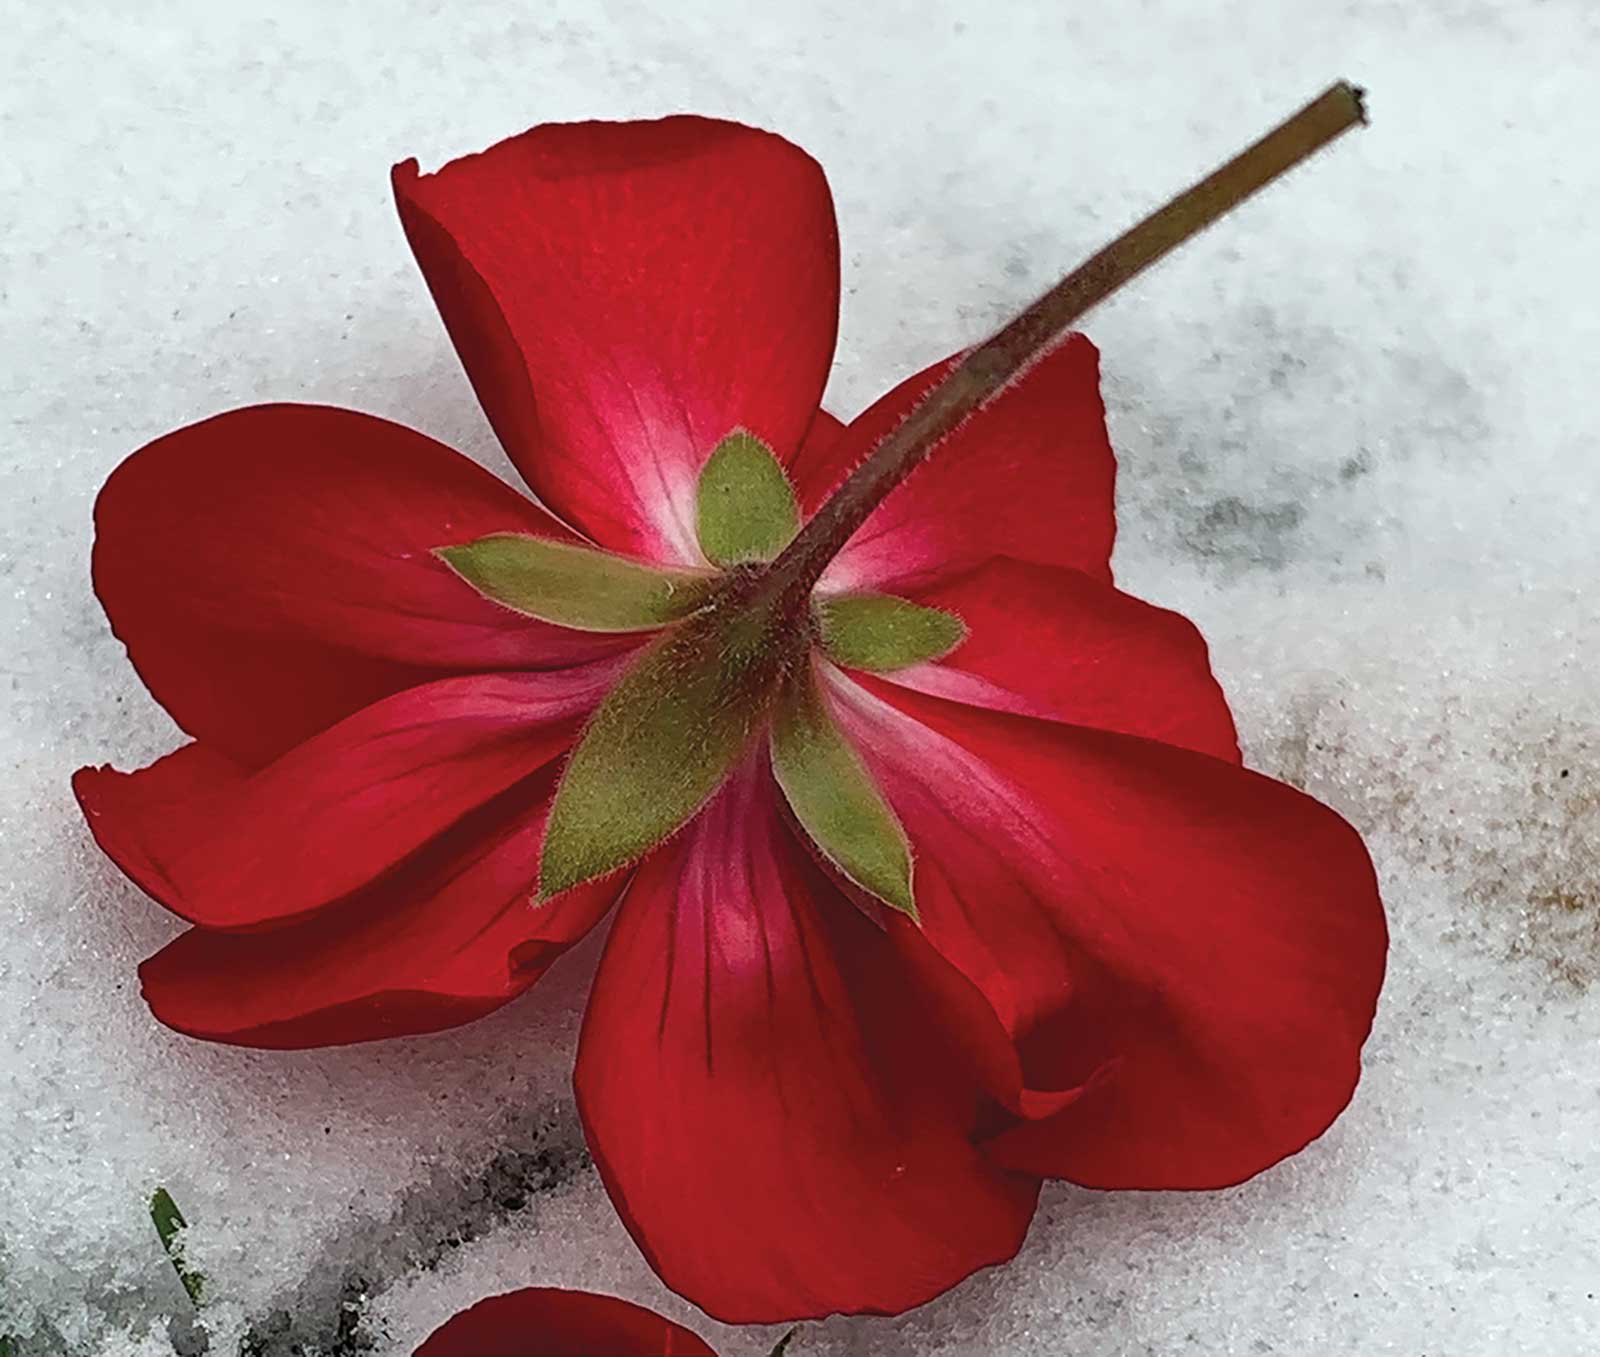
Reference Photo
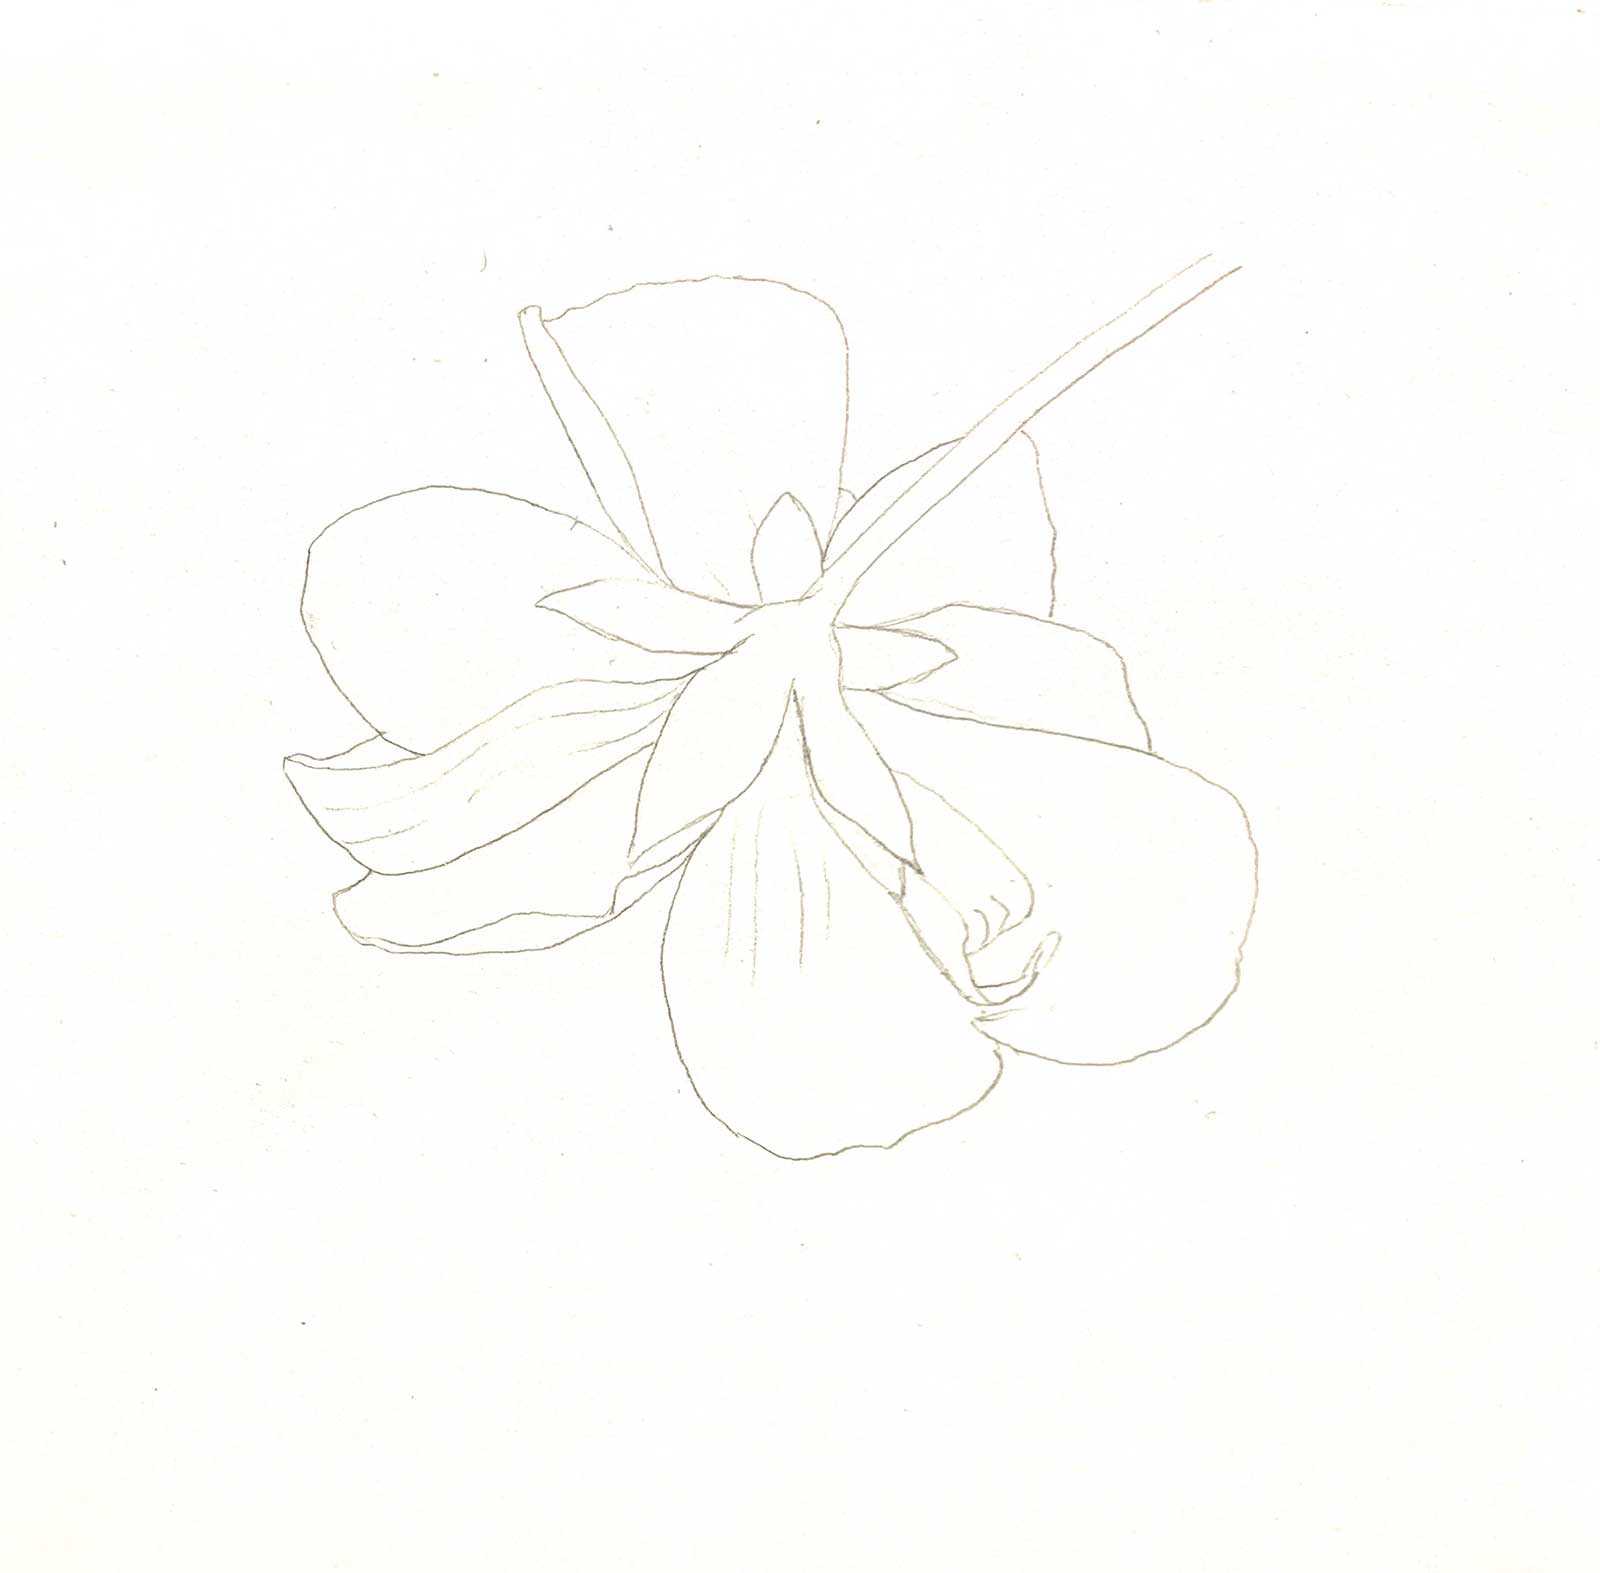 Stage 1
Stage 1 Pencil Drawing
I use a mechanical pencil for my initial drawing. Here I am trying to capture and depict as many details as possible. I may also use a kneaded eraser to soften hard lines.
 Stage 2
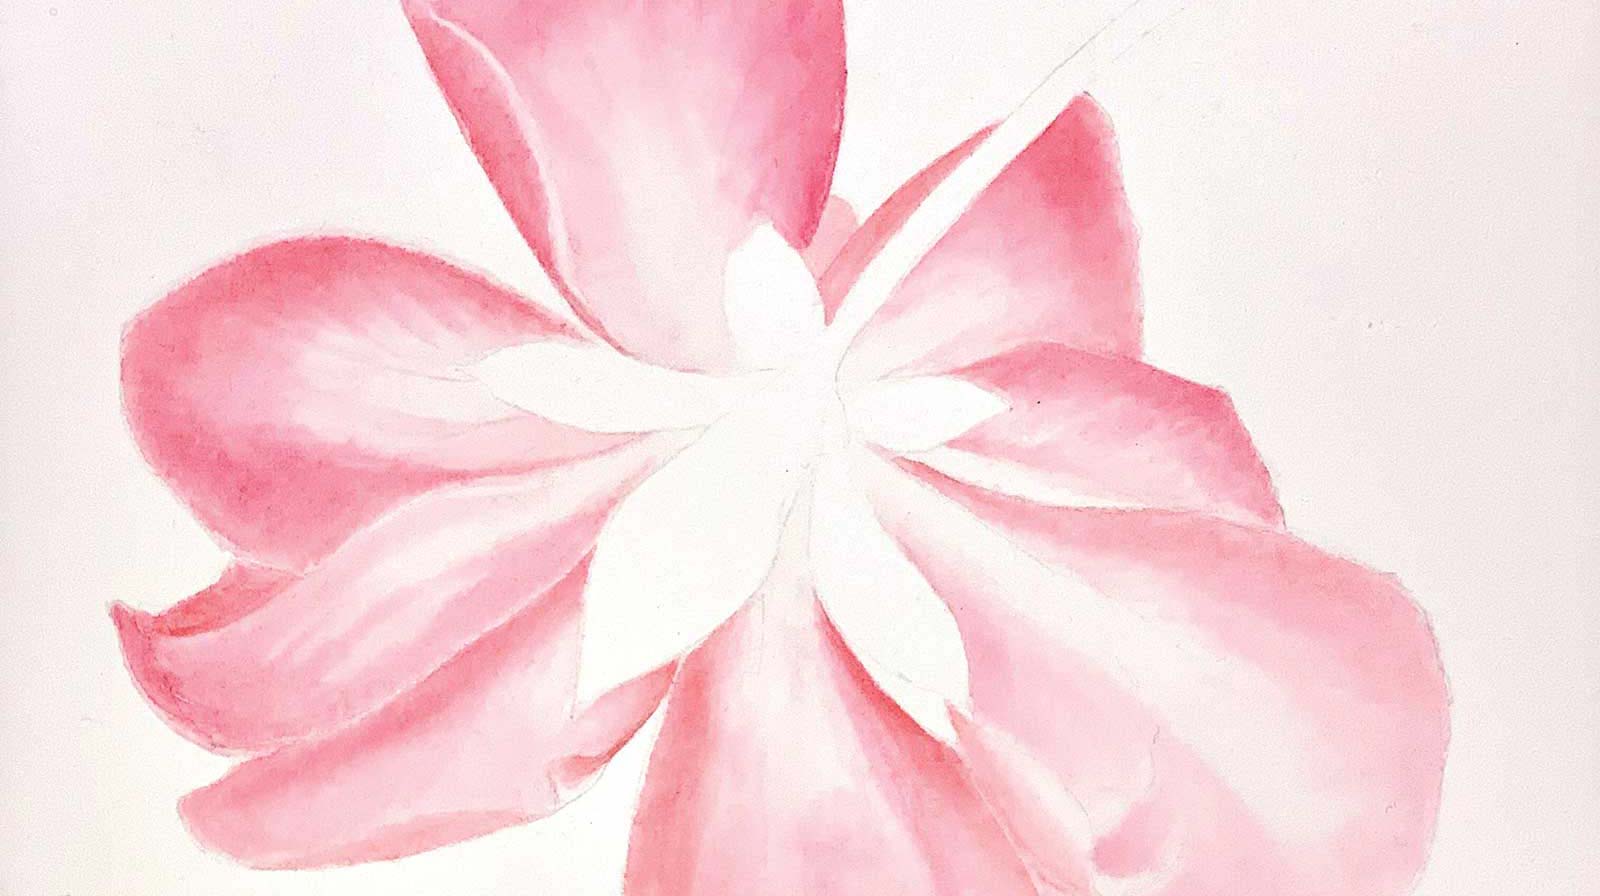
Stage 2 First Layers
Here I am doing first layers wet-in-wet using quinacridone red. It is very important to leave intact highlights where necessary. If you do cover them accidentally you can wipe them with the help of a clean towel-dried brush.
 Stage 3
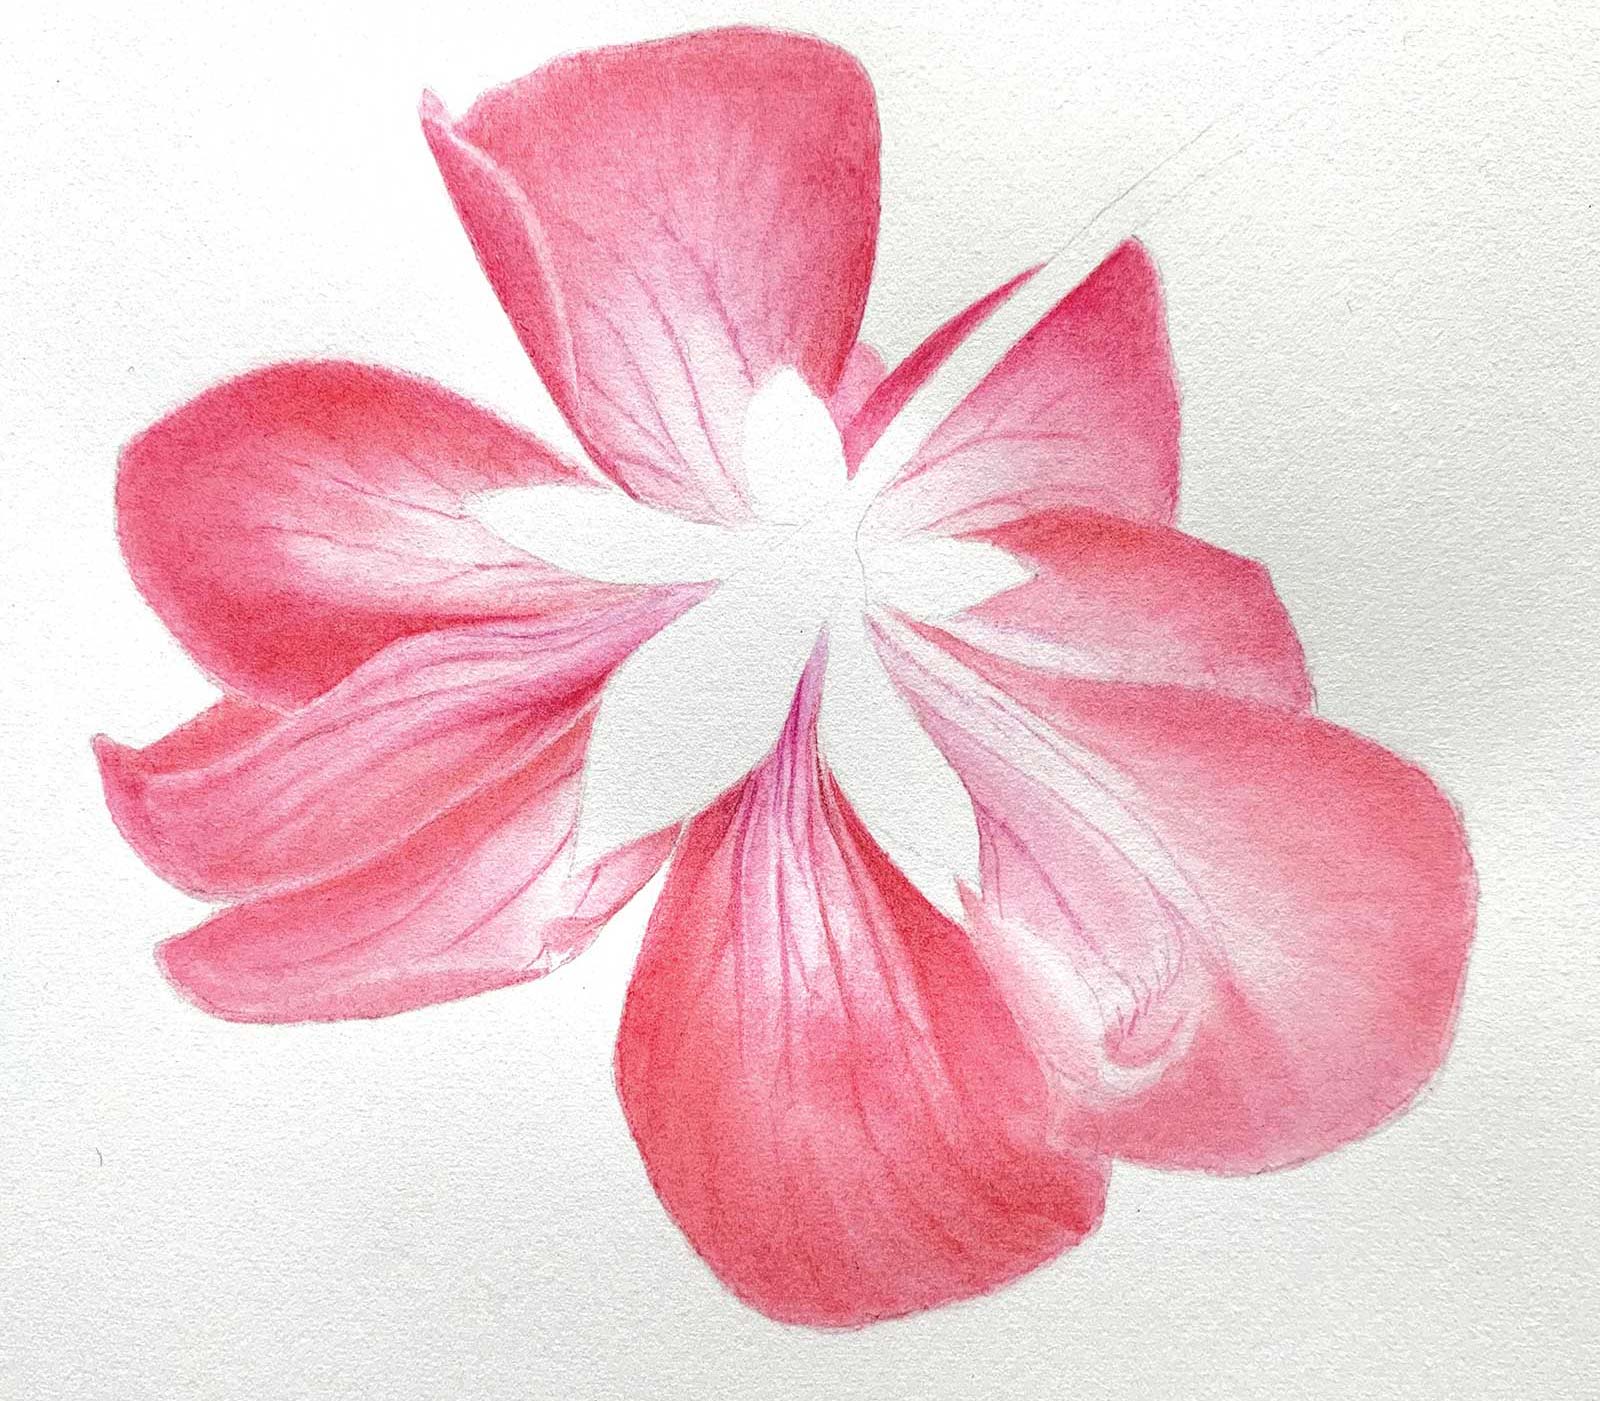
Stage 3 Color Enhancement
At this stage I am continuing layering using quinacridone red and quinacridone rose. Also, I’ve started outlining veins.
 Stage 4
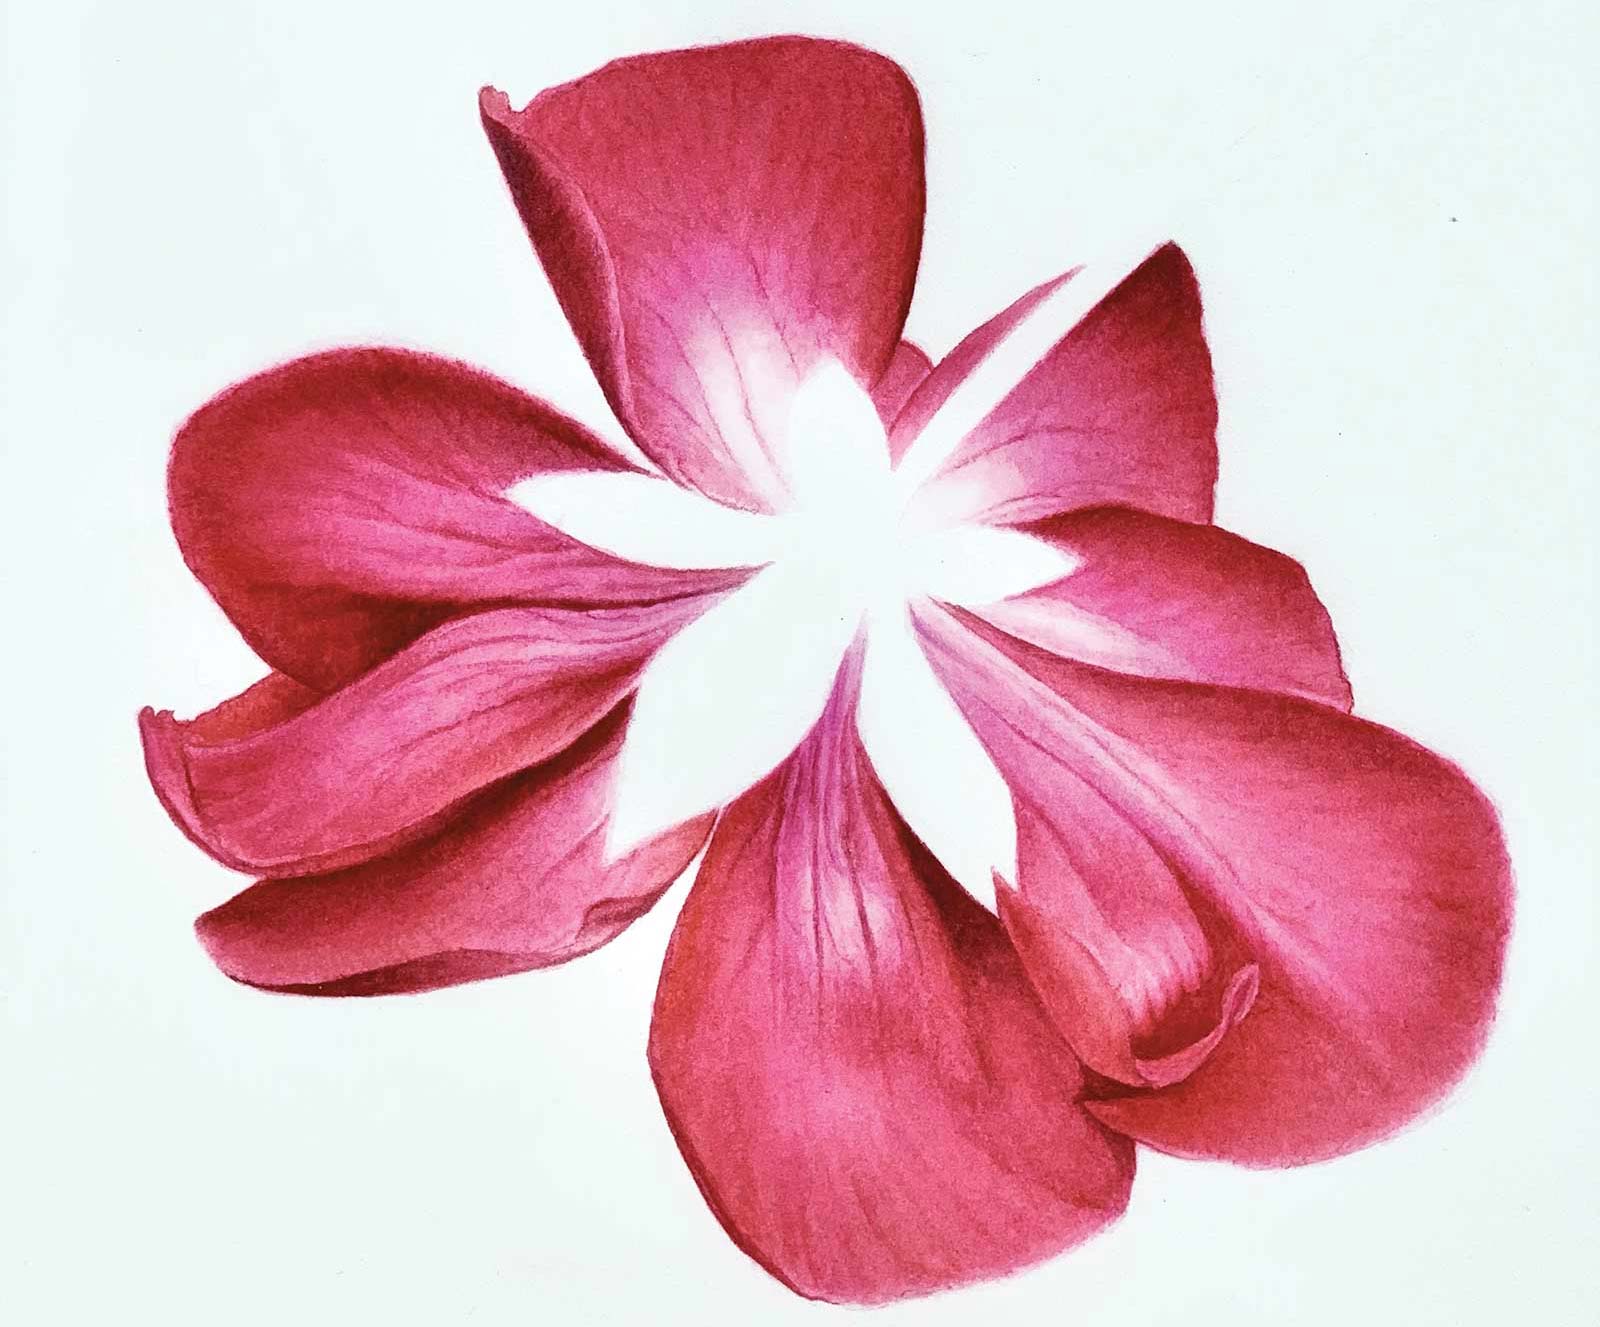
Stage 4 Working on Shadows and Highlights
Now it is time to enhance shadow areas. I used opera rose for highlights and mixtures with emerald green for shadows.
 Stage 5
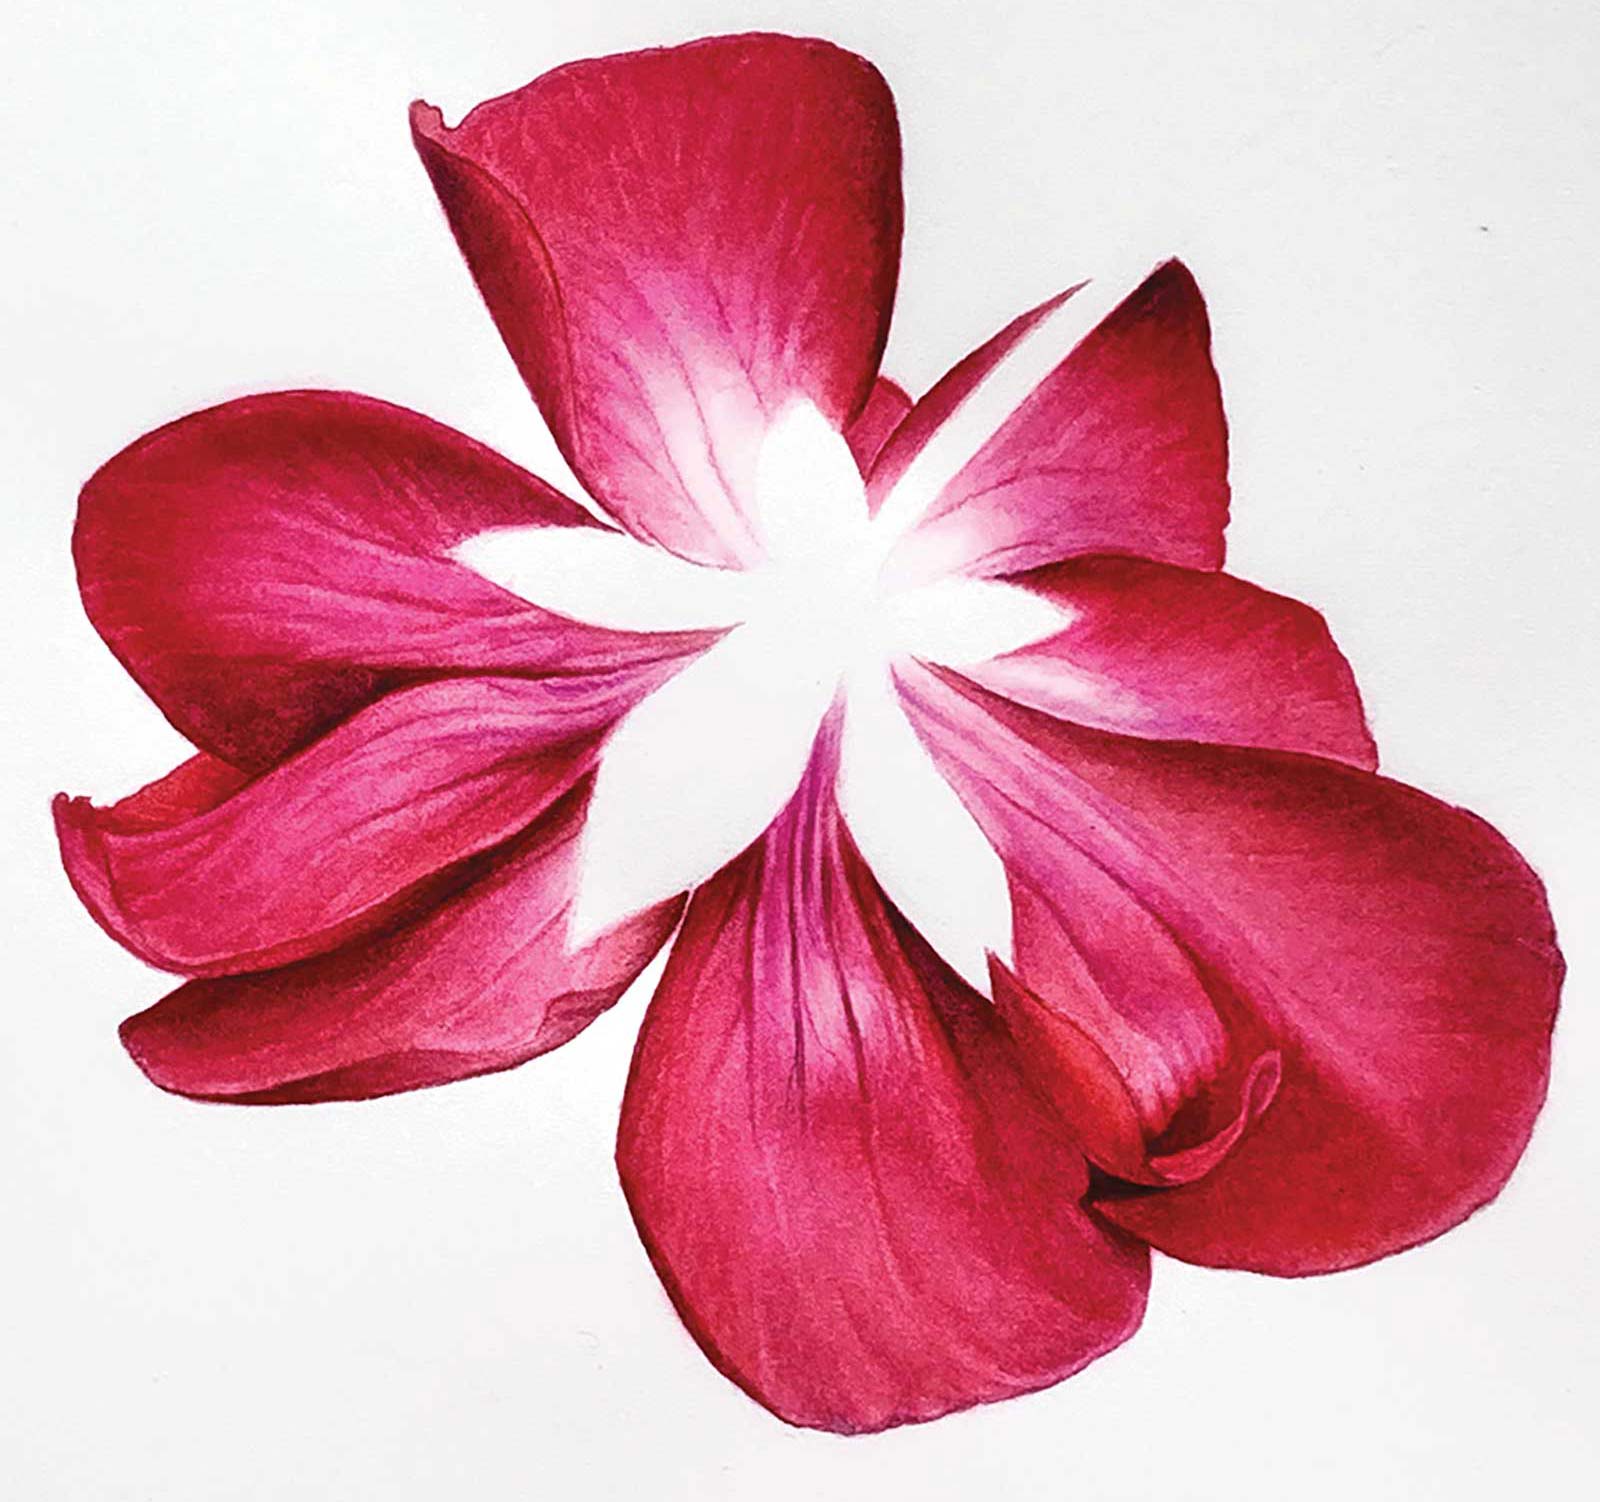
Stage 5 Color Enrichment
Here I am continuing layering and deepening colors overall. I’m also adding some scarlet to warmer areas.
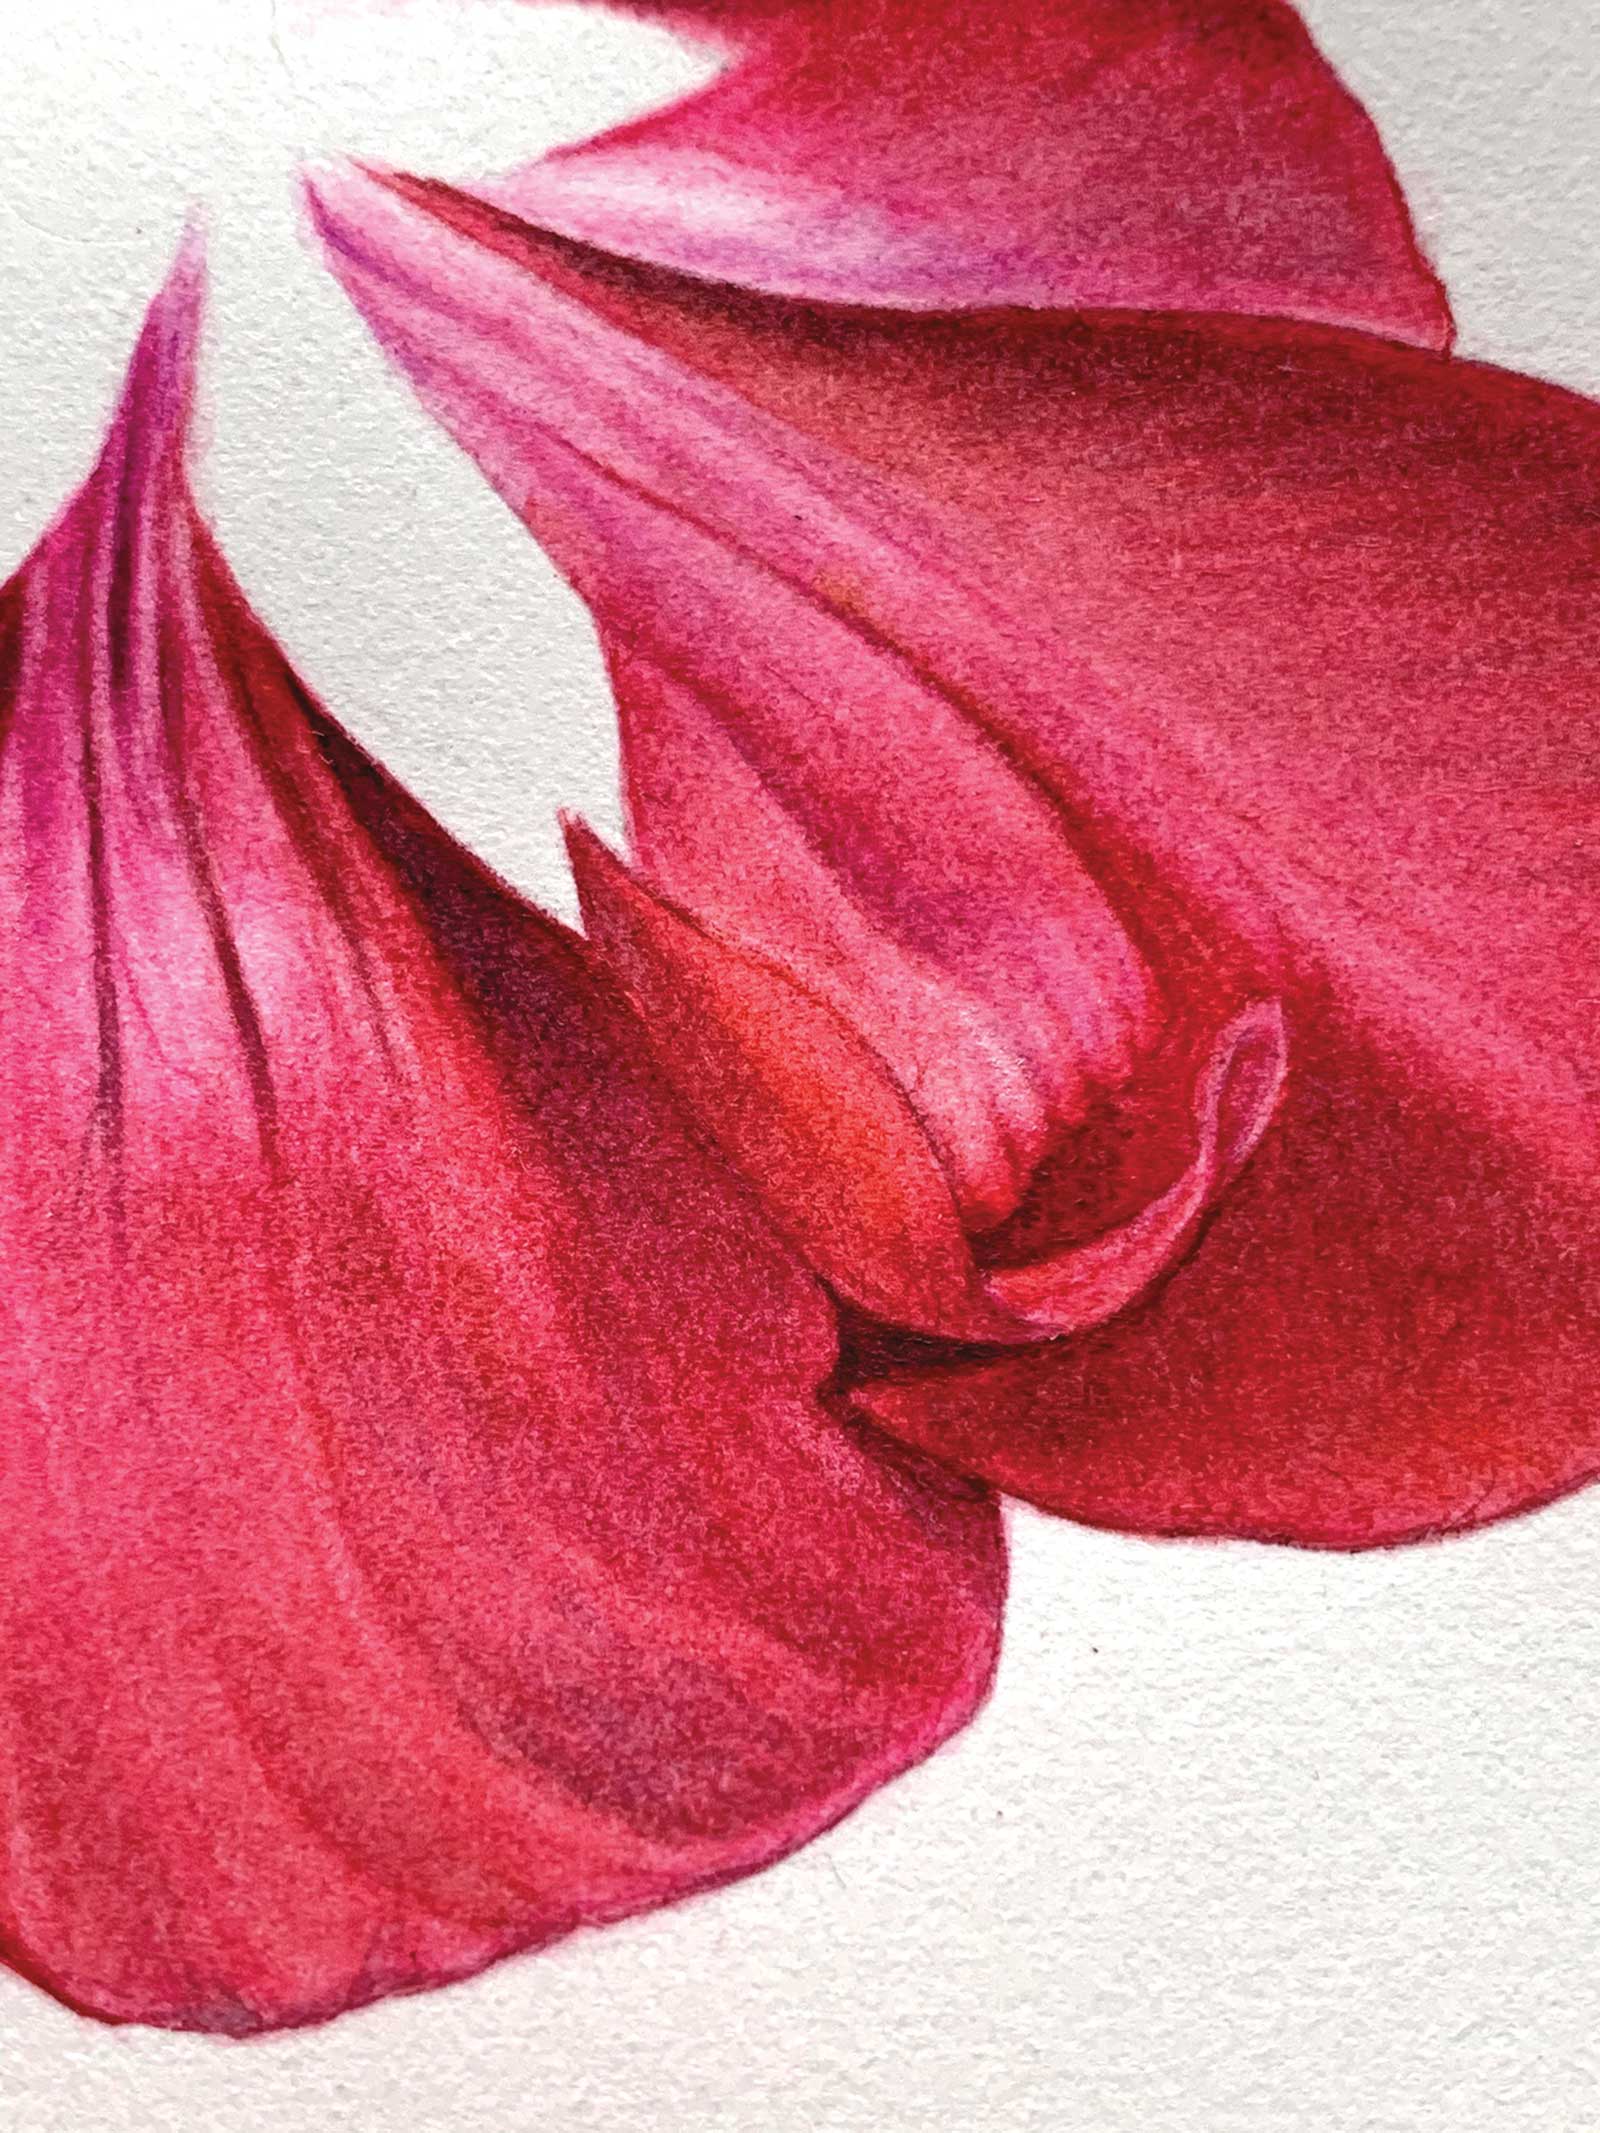 Stage 6
Stage 6 Attention to Details
This is my favorite part—working out details using a 00-size brush. Enhancing and deepening shadows.
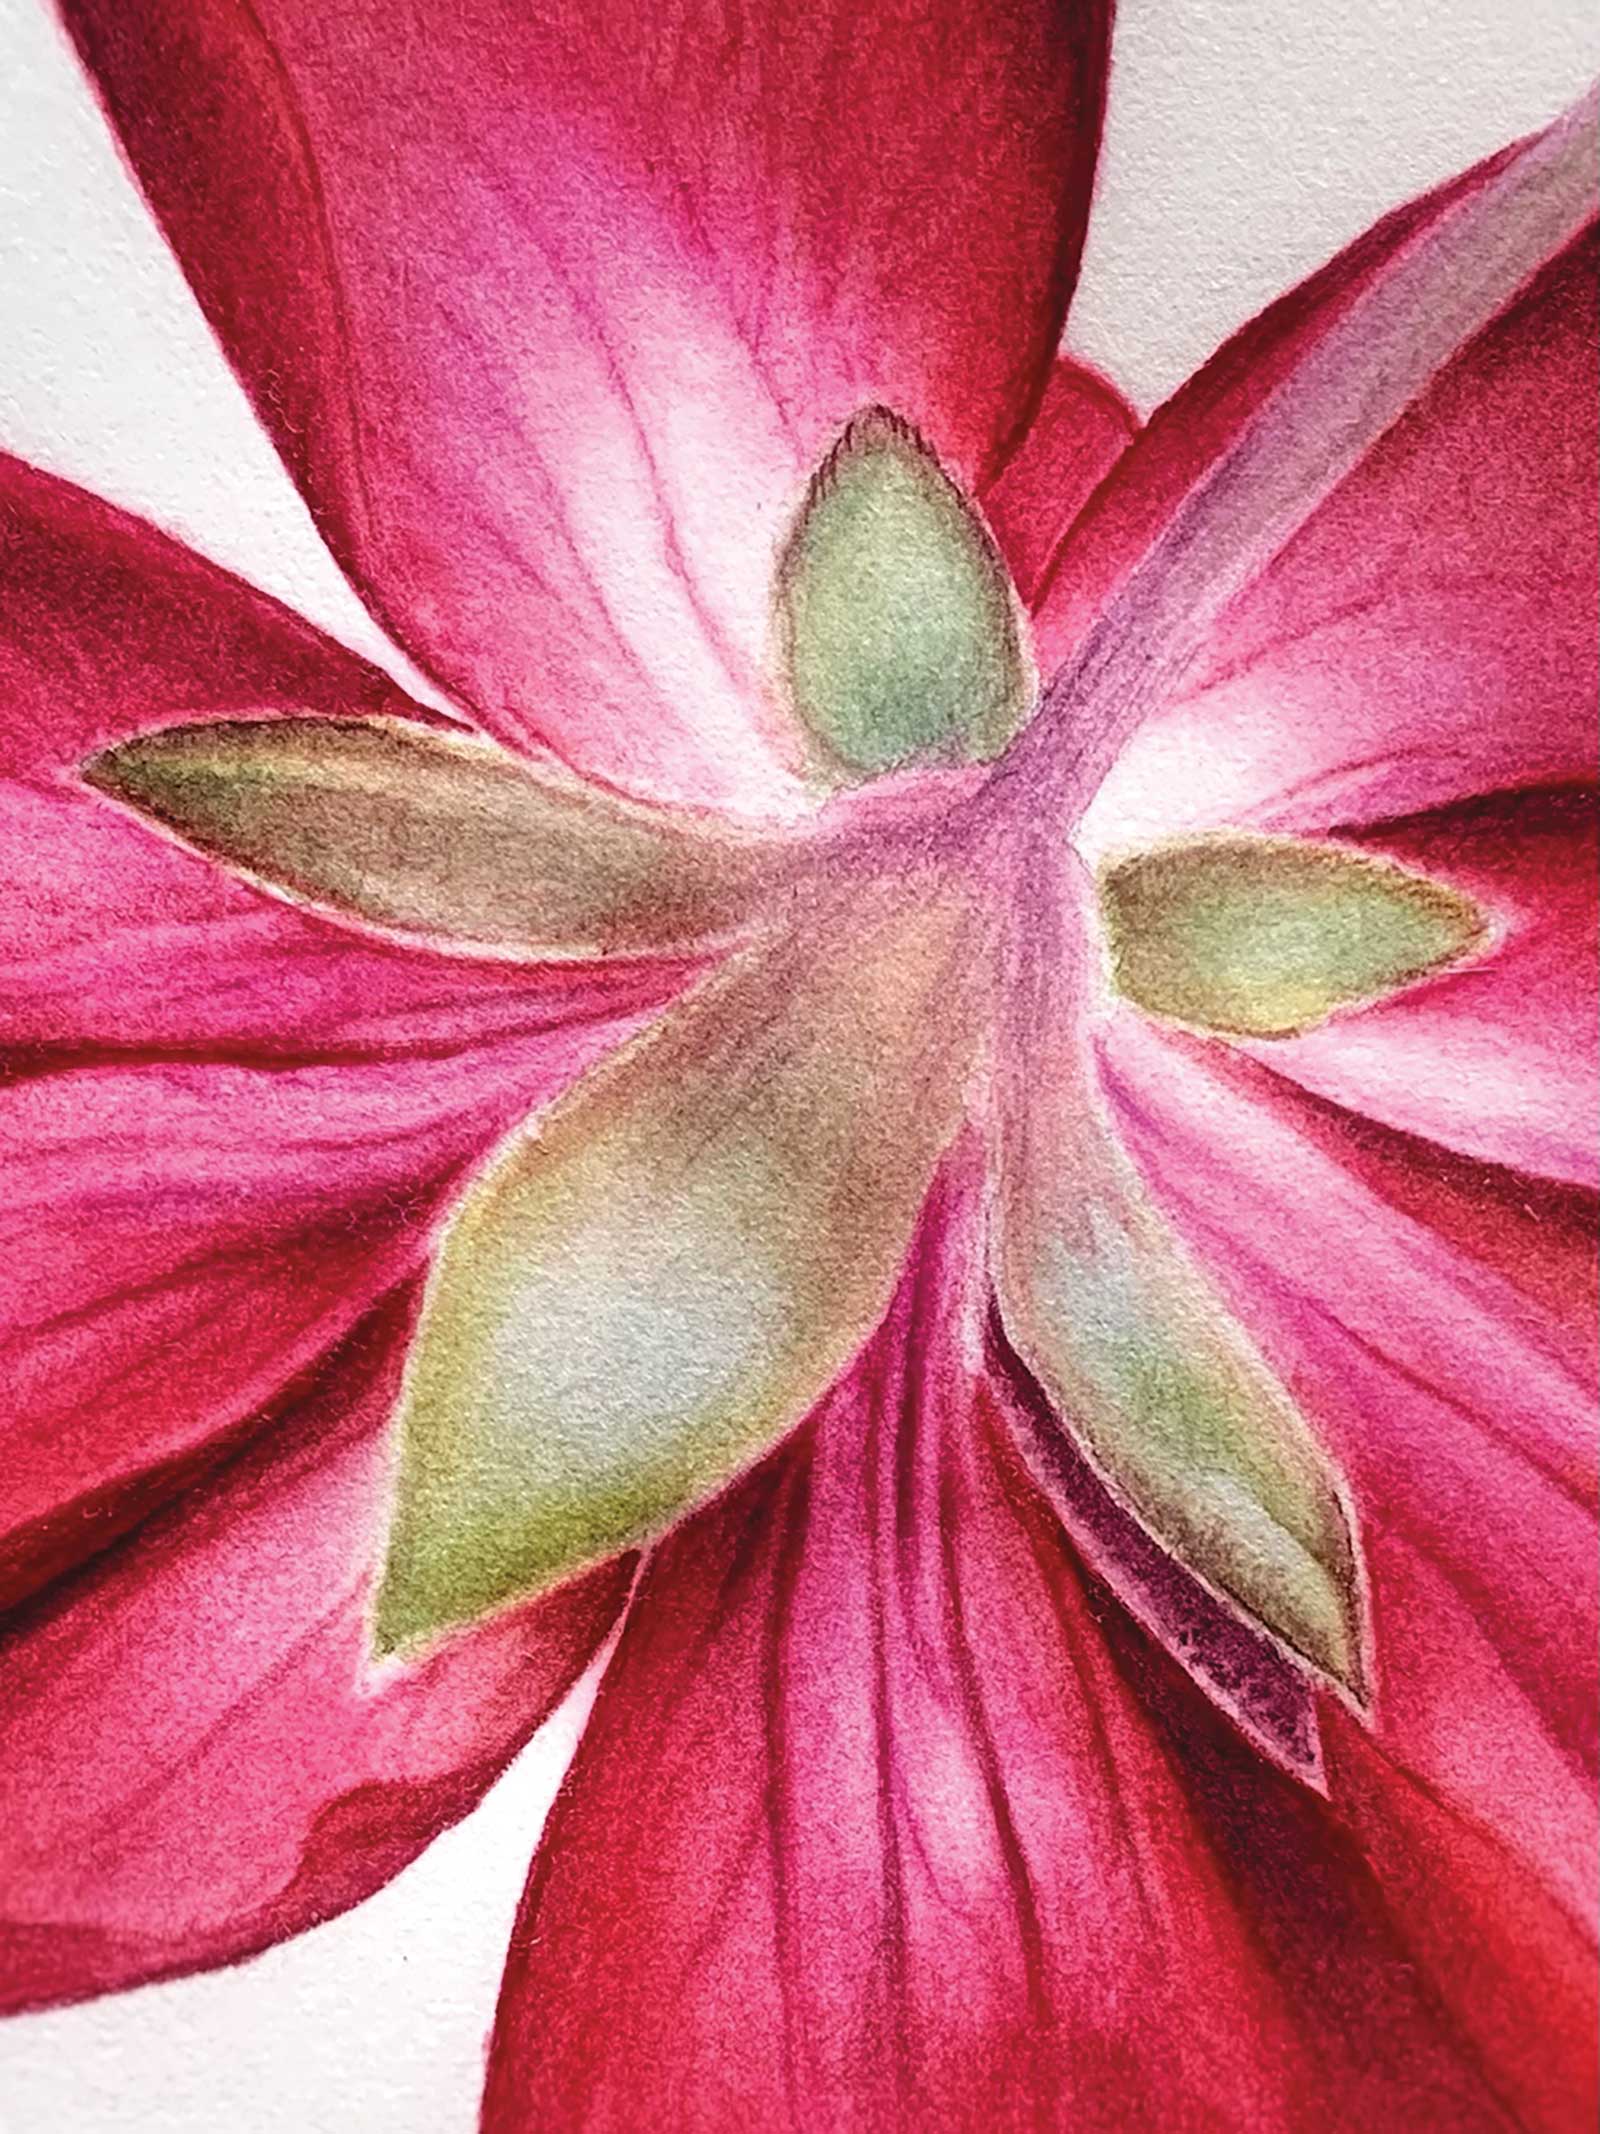 Stage 7
Stage 7 Painting Stem, Receptacle and Sepals
Now it is time to work on the stem, receptacle and sepals. I’m using cobalt blue, sap green, and olive green for receptacle and sepals. And mixtures of violet for the stem.
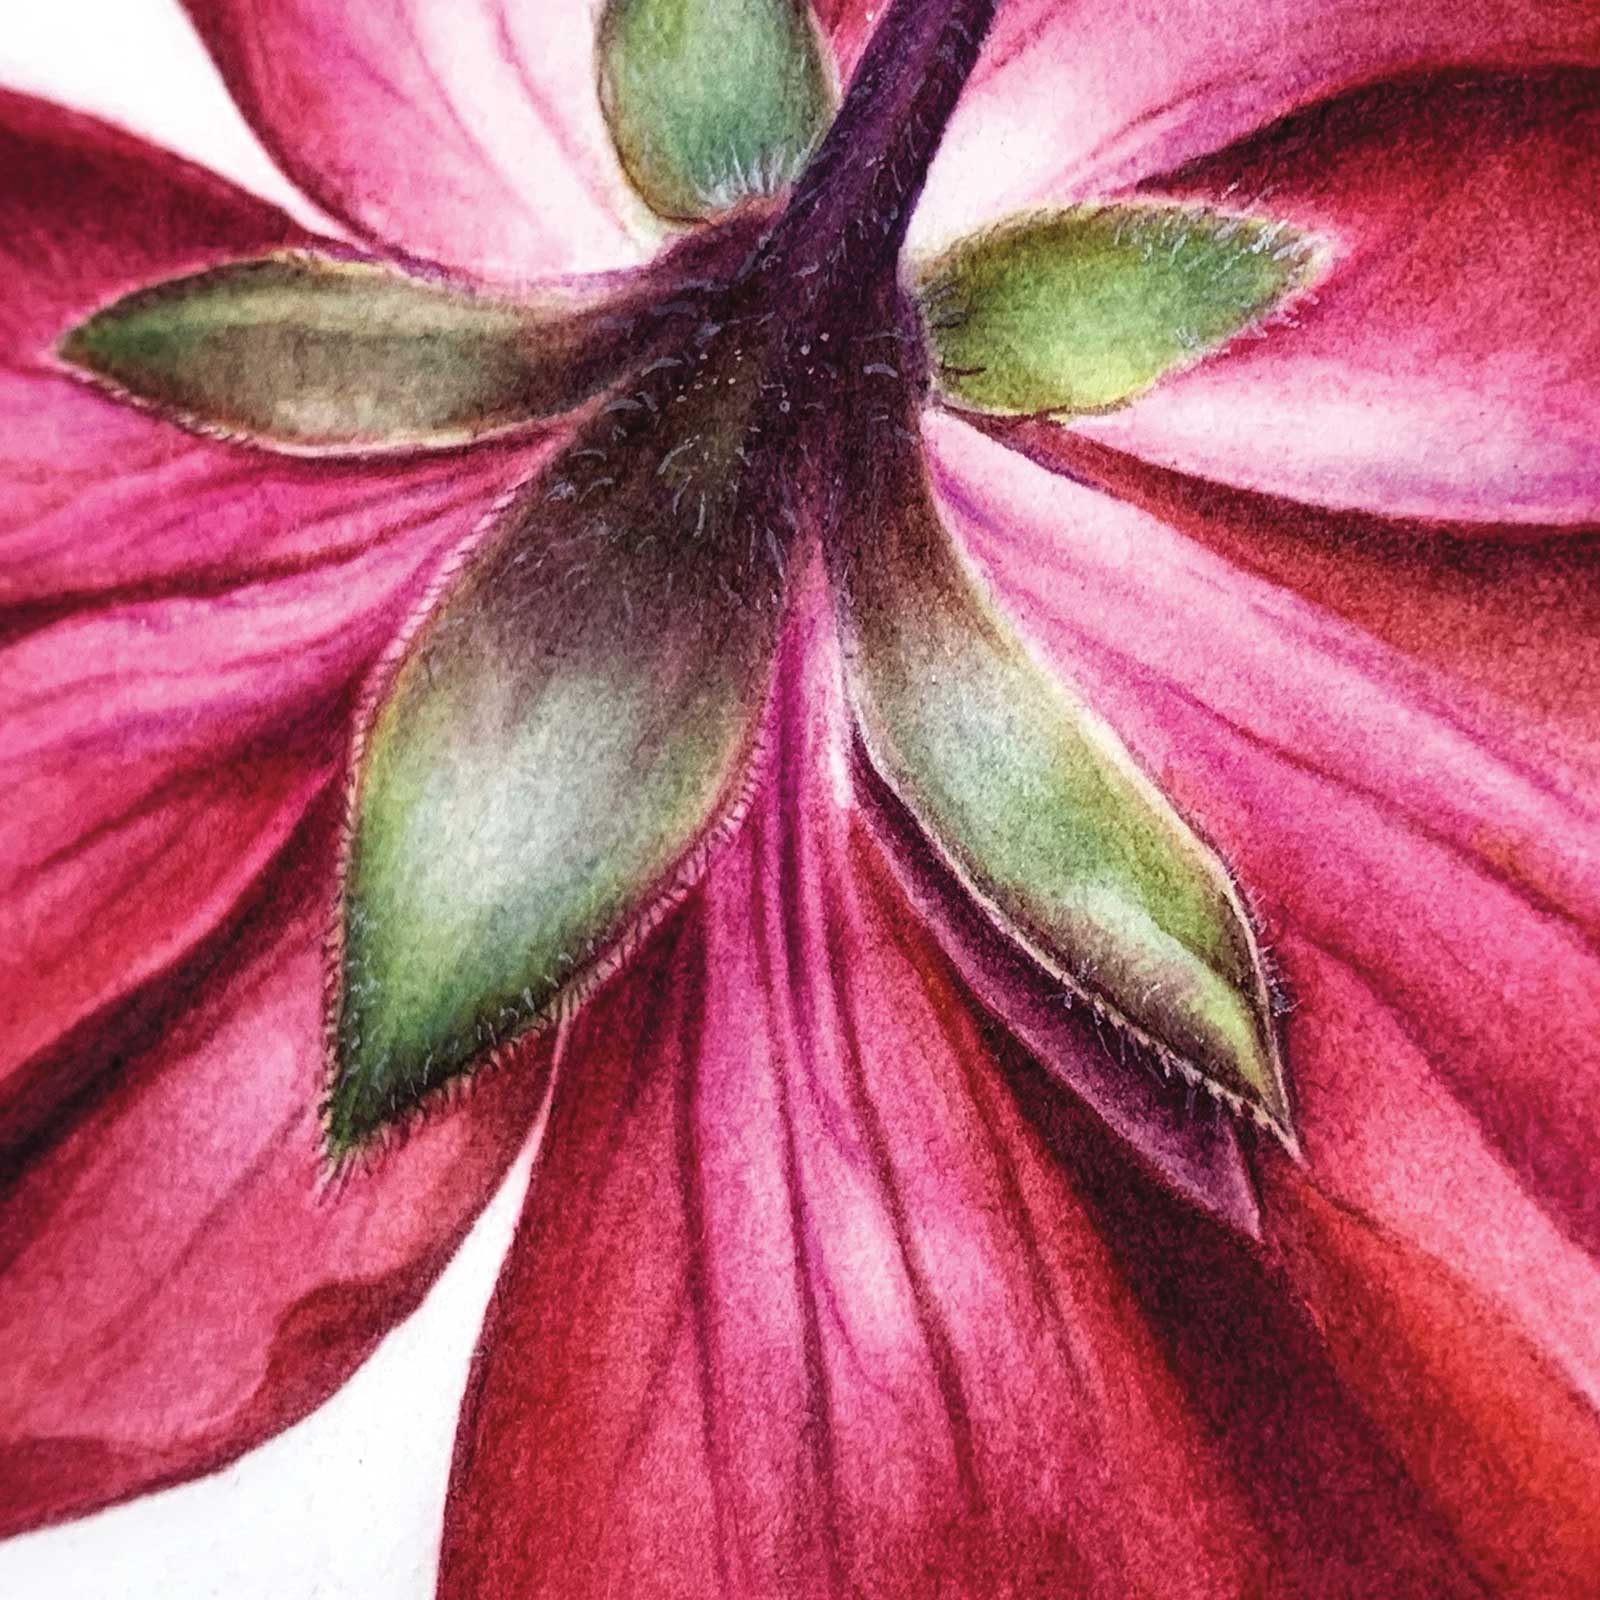 Stage 8
Stage 8 Tiny Details Matter
At this stage I paid extra attention to detailing. I used darker mixtures and white gouache for the tiny hairs.
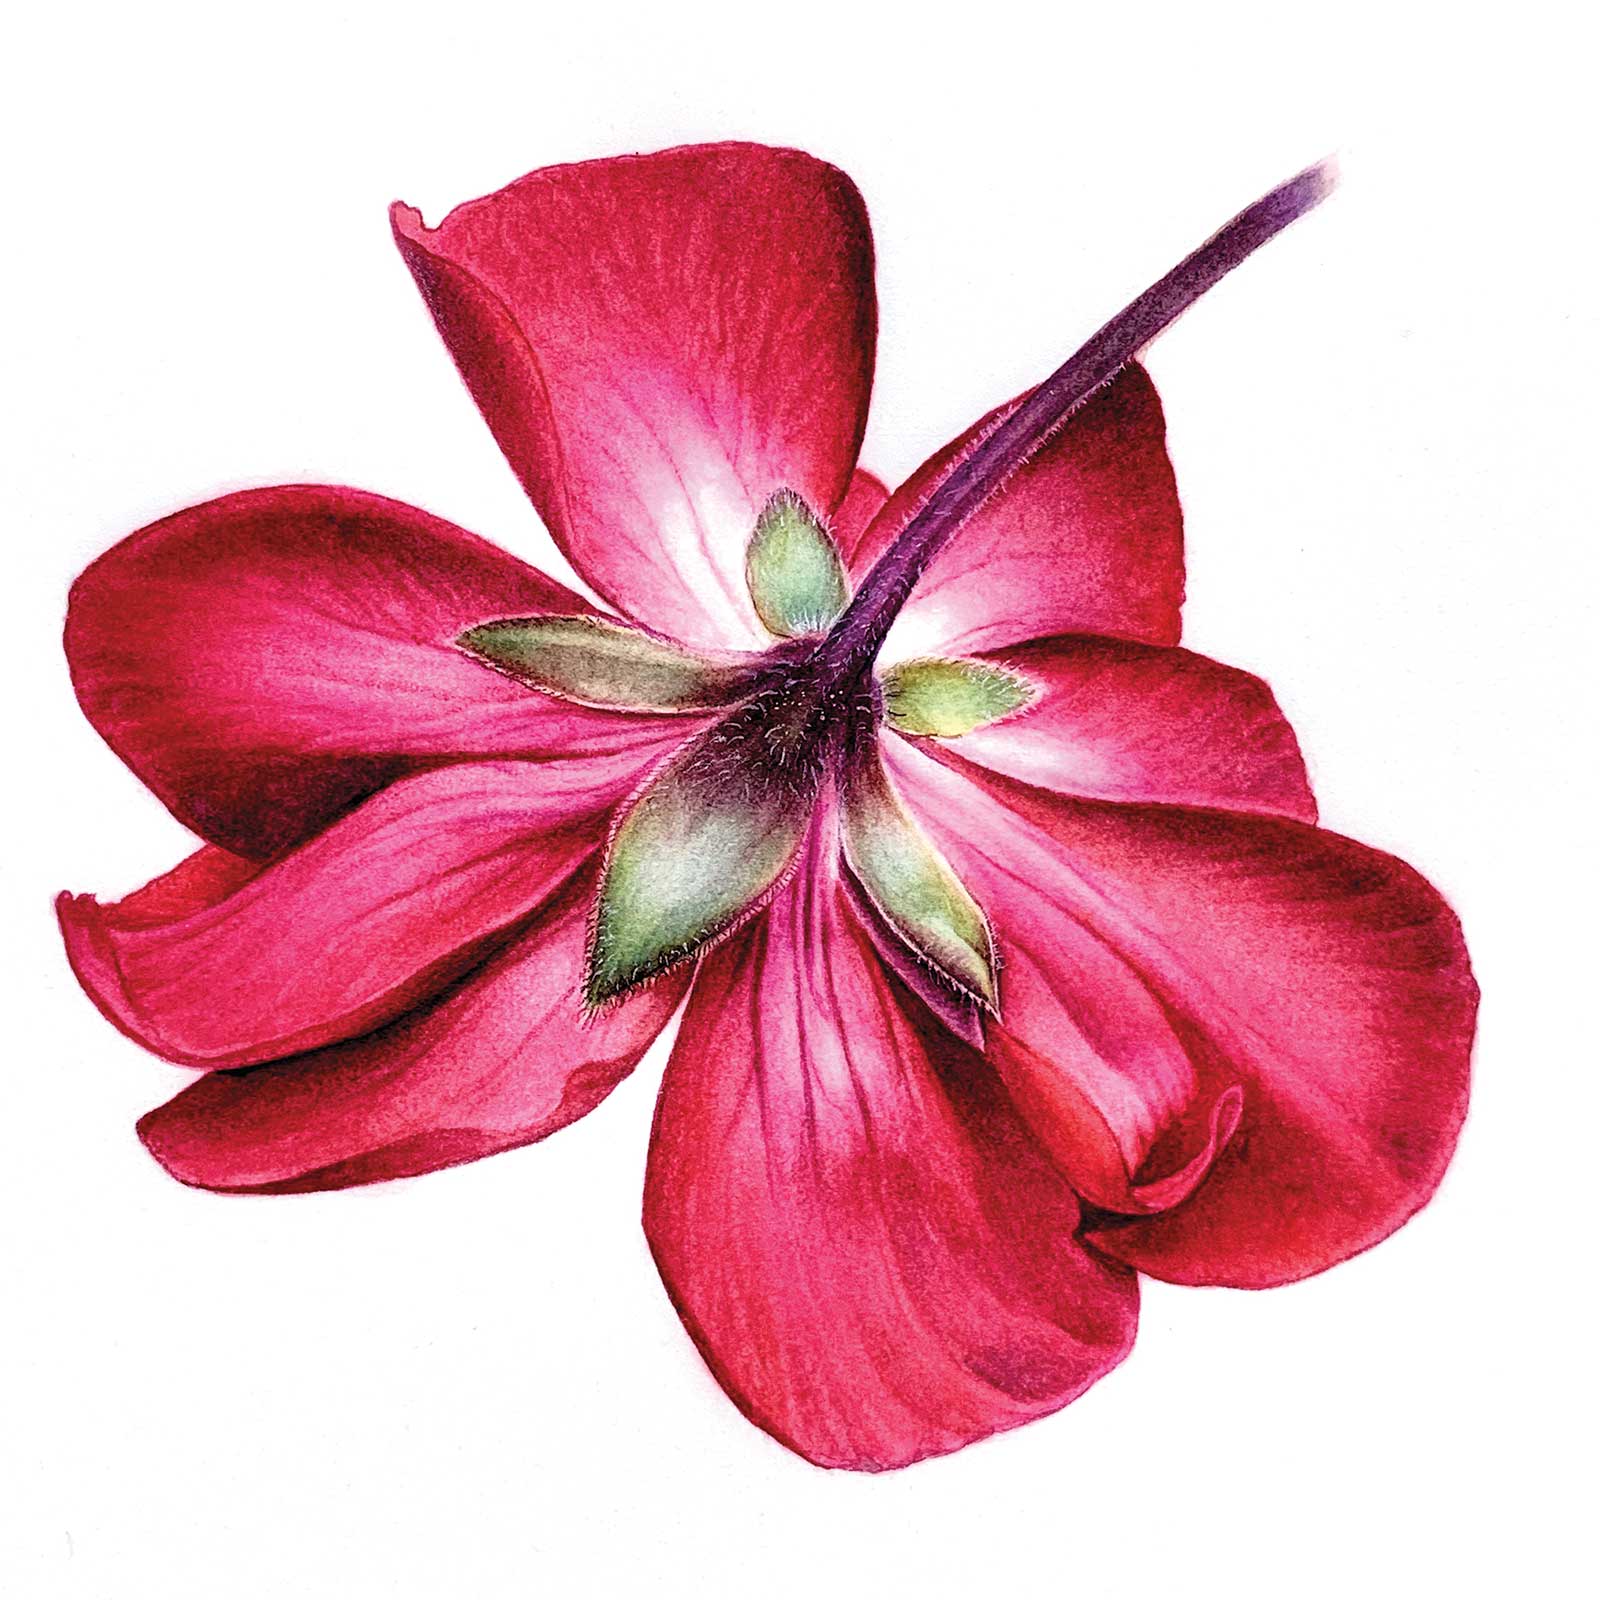 Stage 9
Stage 9 Finished Artwork
Pelargonium flower, watercolor, 7½ x 6" (19 x 16 cm)
About the Artist
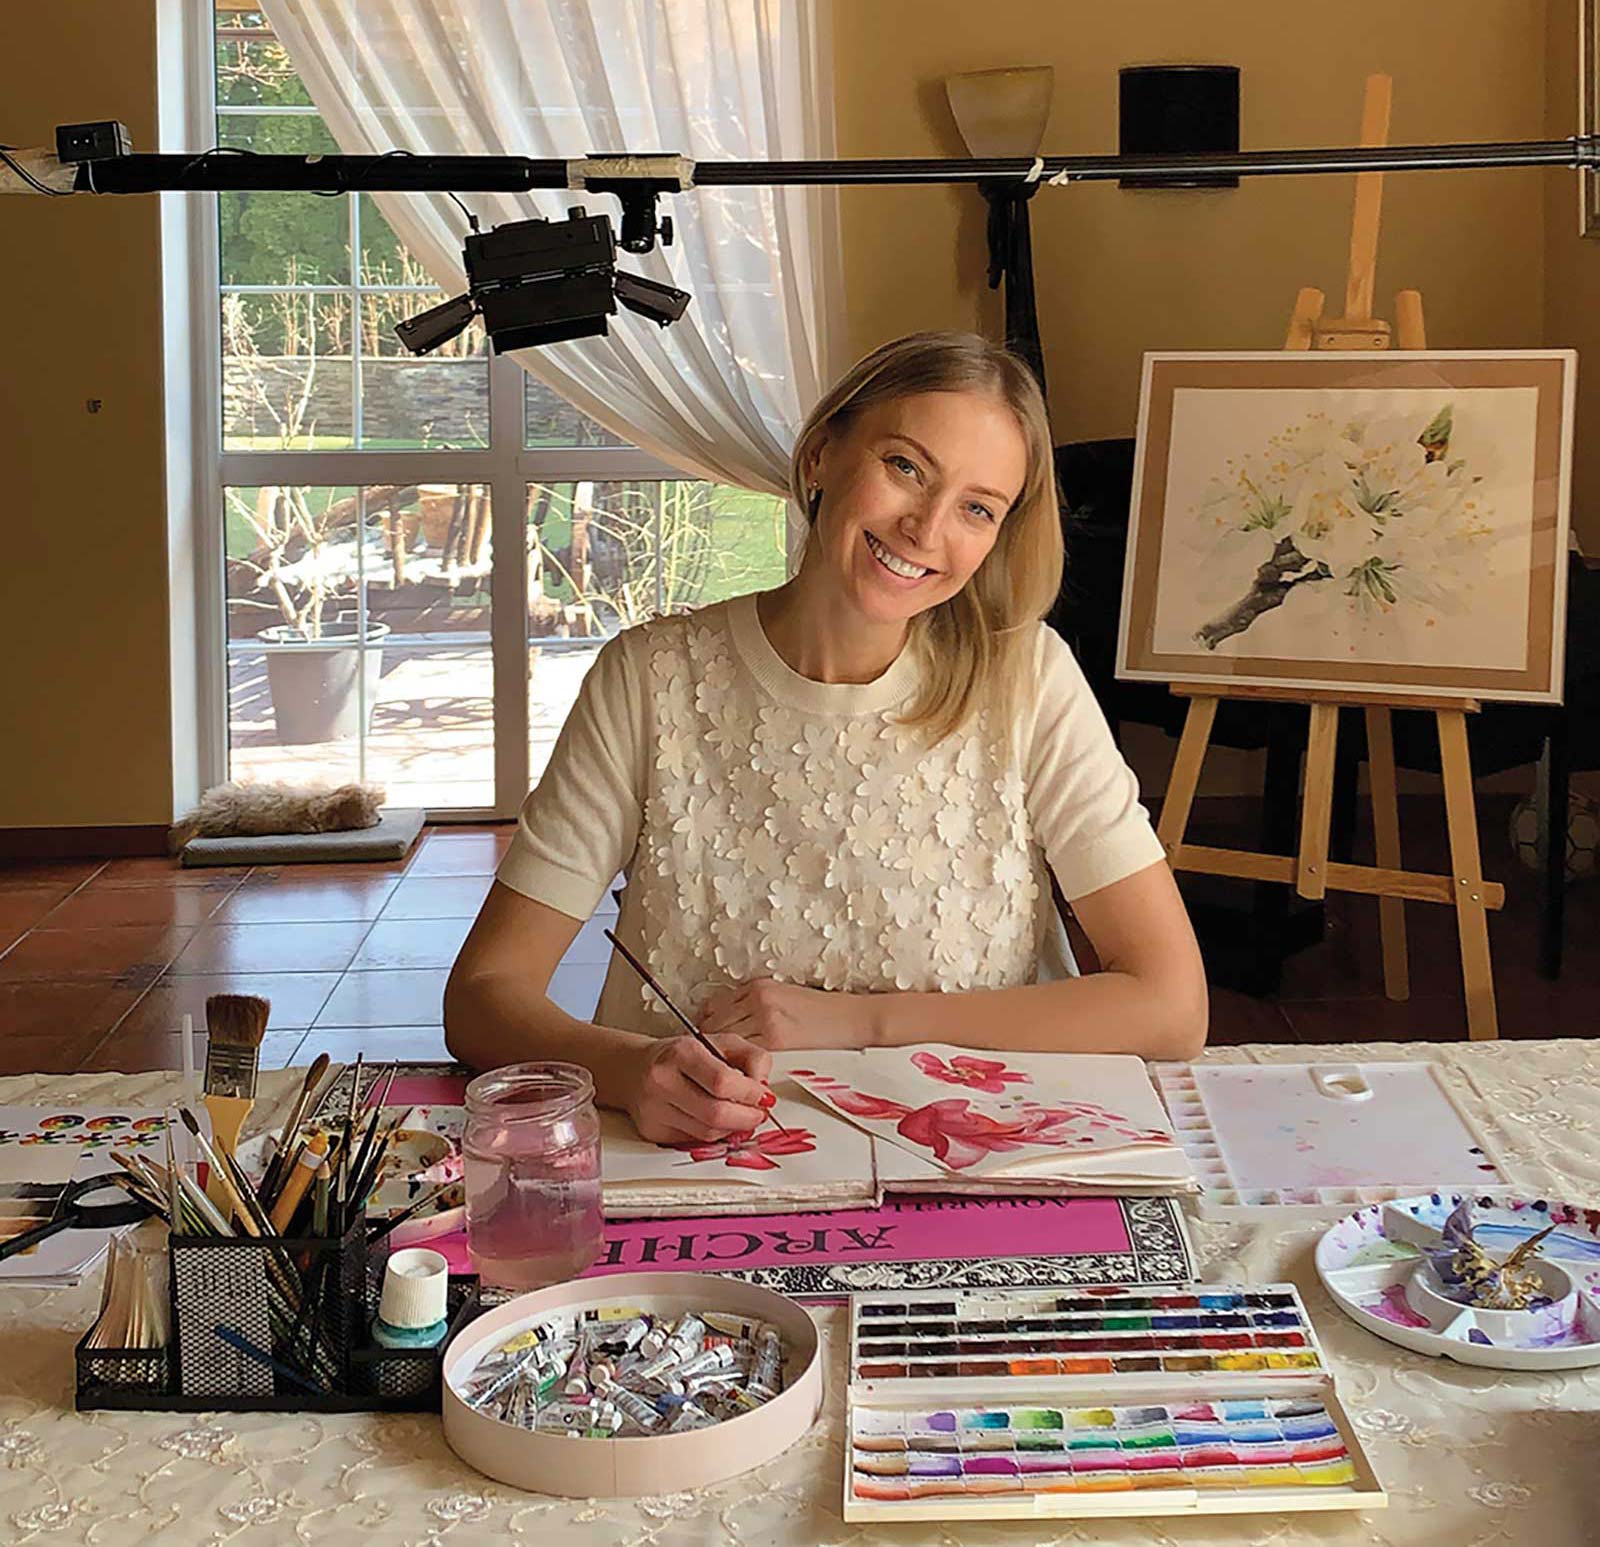 Tanya TuluzakovaPainting and flowers have been Tanya Tuluzakova’s passion since childhood, spending time in her grandmother’s garden cutting flowers and painting them. While she received a university degree in philology, her love for painting flowers followed her relentlessly. Eventually, she dove into the amazing watercolor world of botanical art, which the artist says was “love at first sight.”
Tuluzakova is a self-taught artist, but after just one year she was honored by being able to participate in the annual Botanical Art Exhibition in Kiev, Ukraine. Her works have been featured in Botanical Art Magazine and printed on postcards. Now she is working on a range of projects for cosmetic companies and fashion. Her next goal is starting her own online classes for botanical art.
Contact at
tantuluza@yahoo.com