


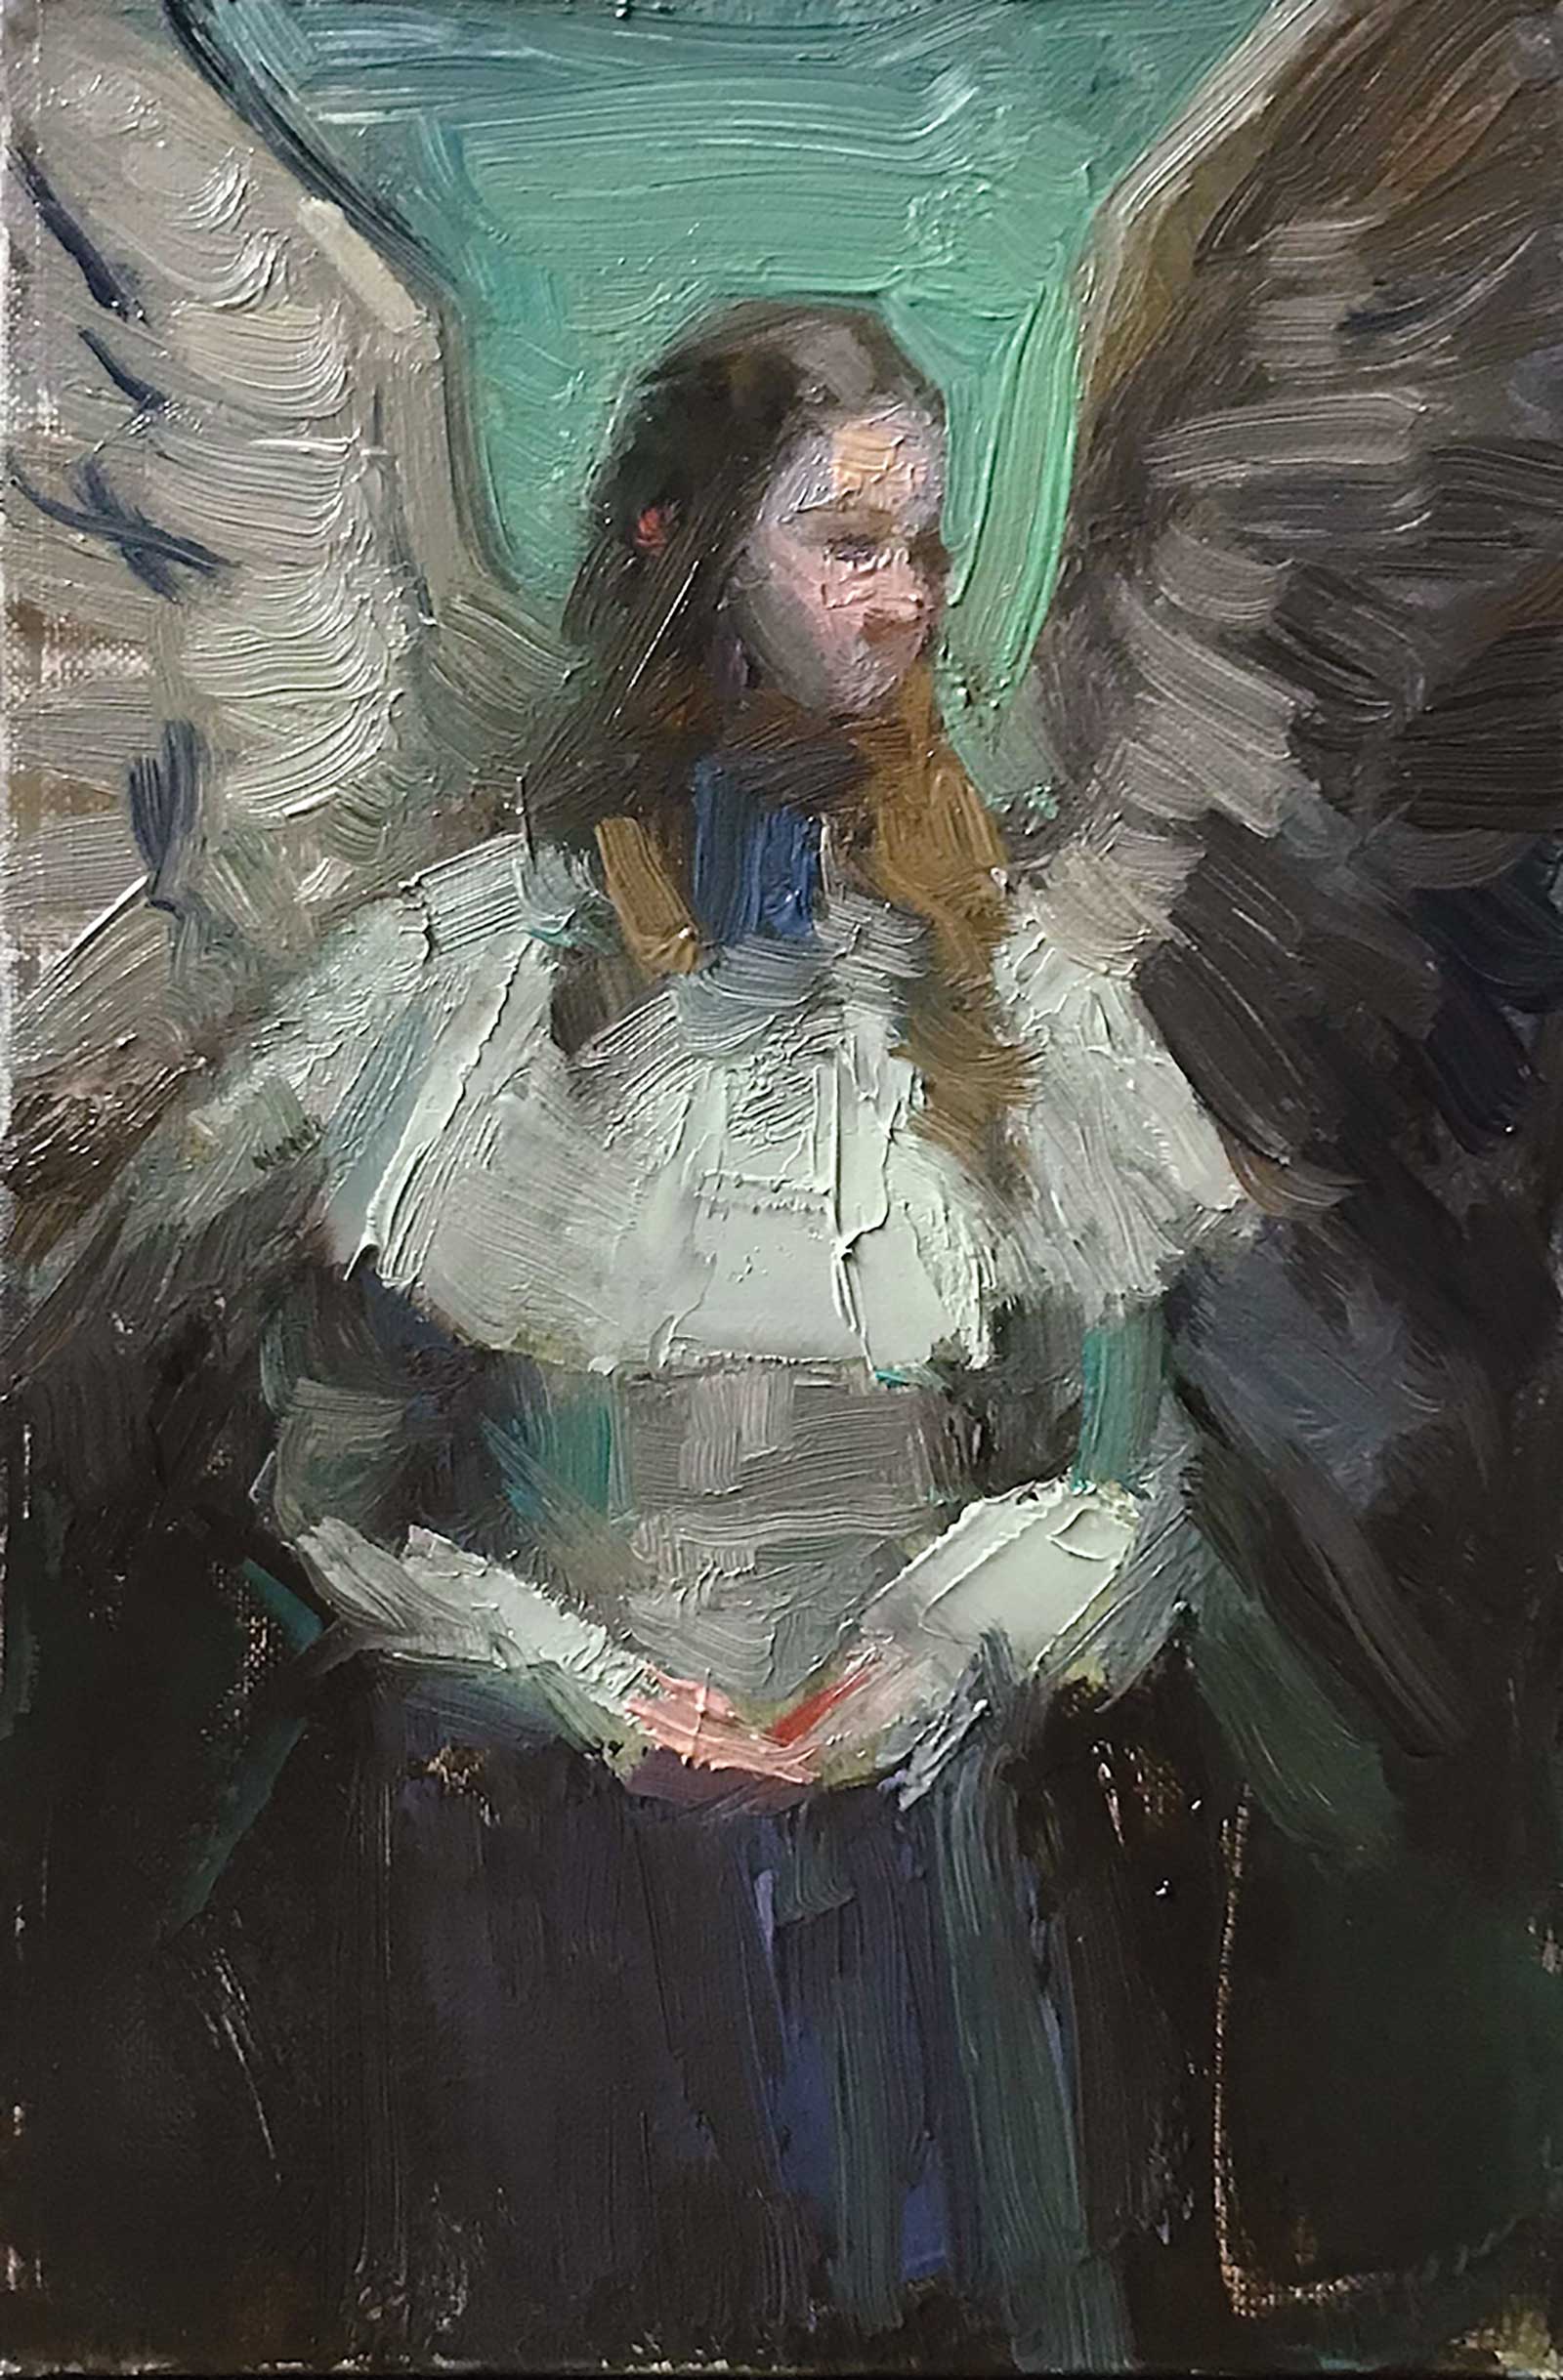
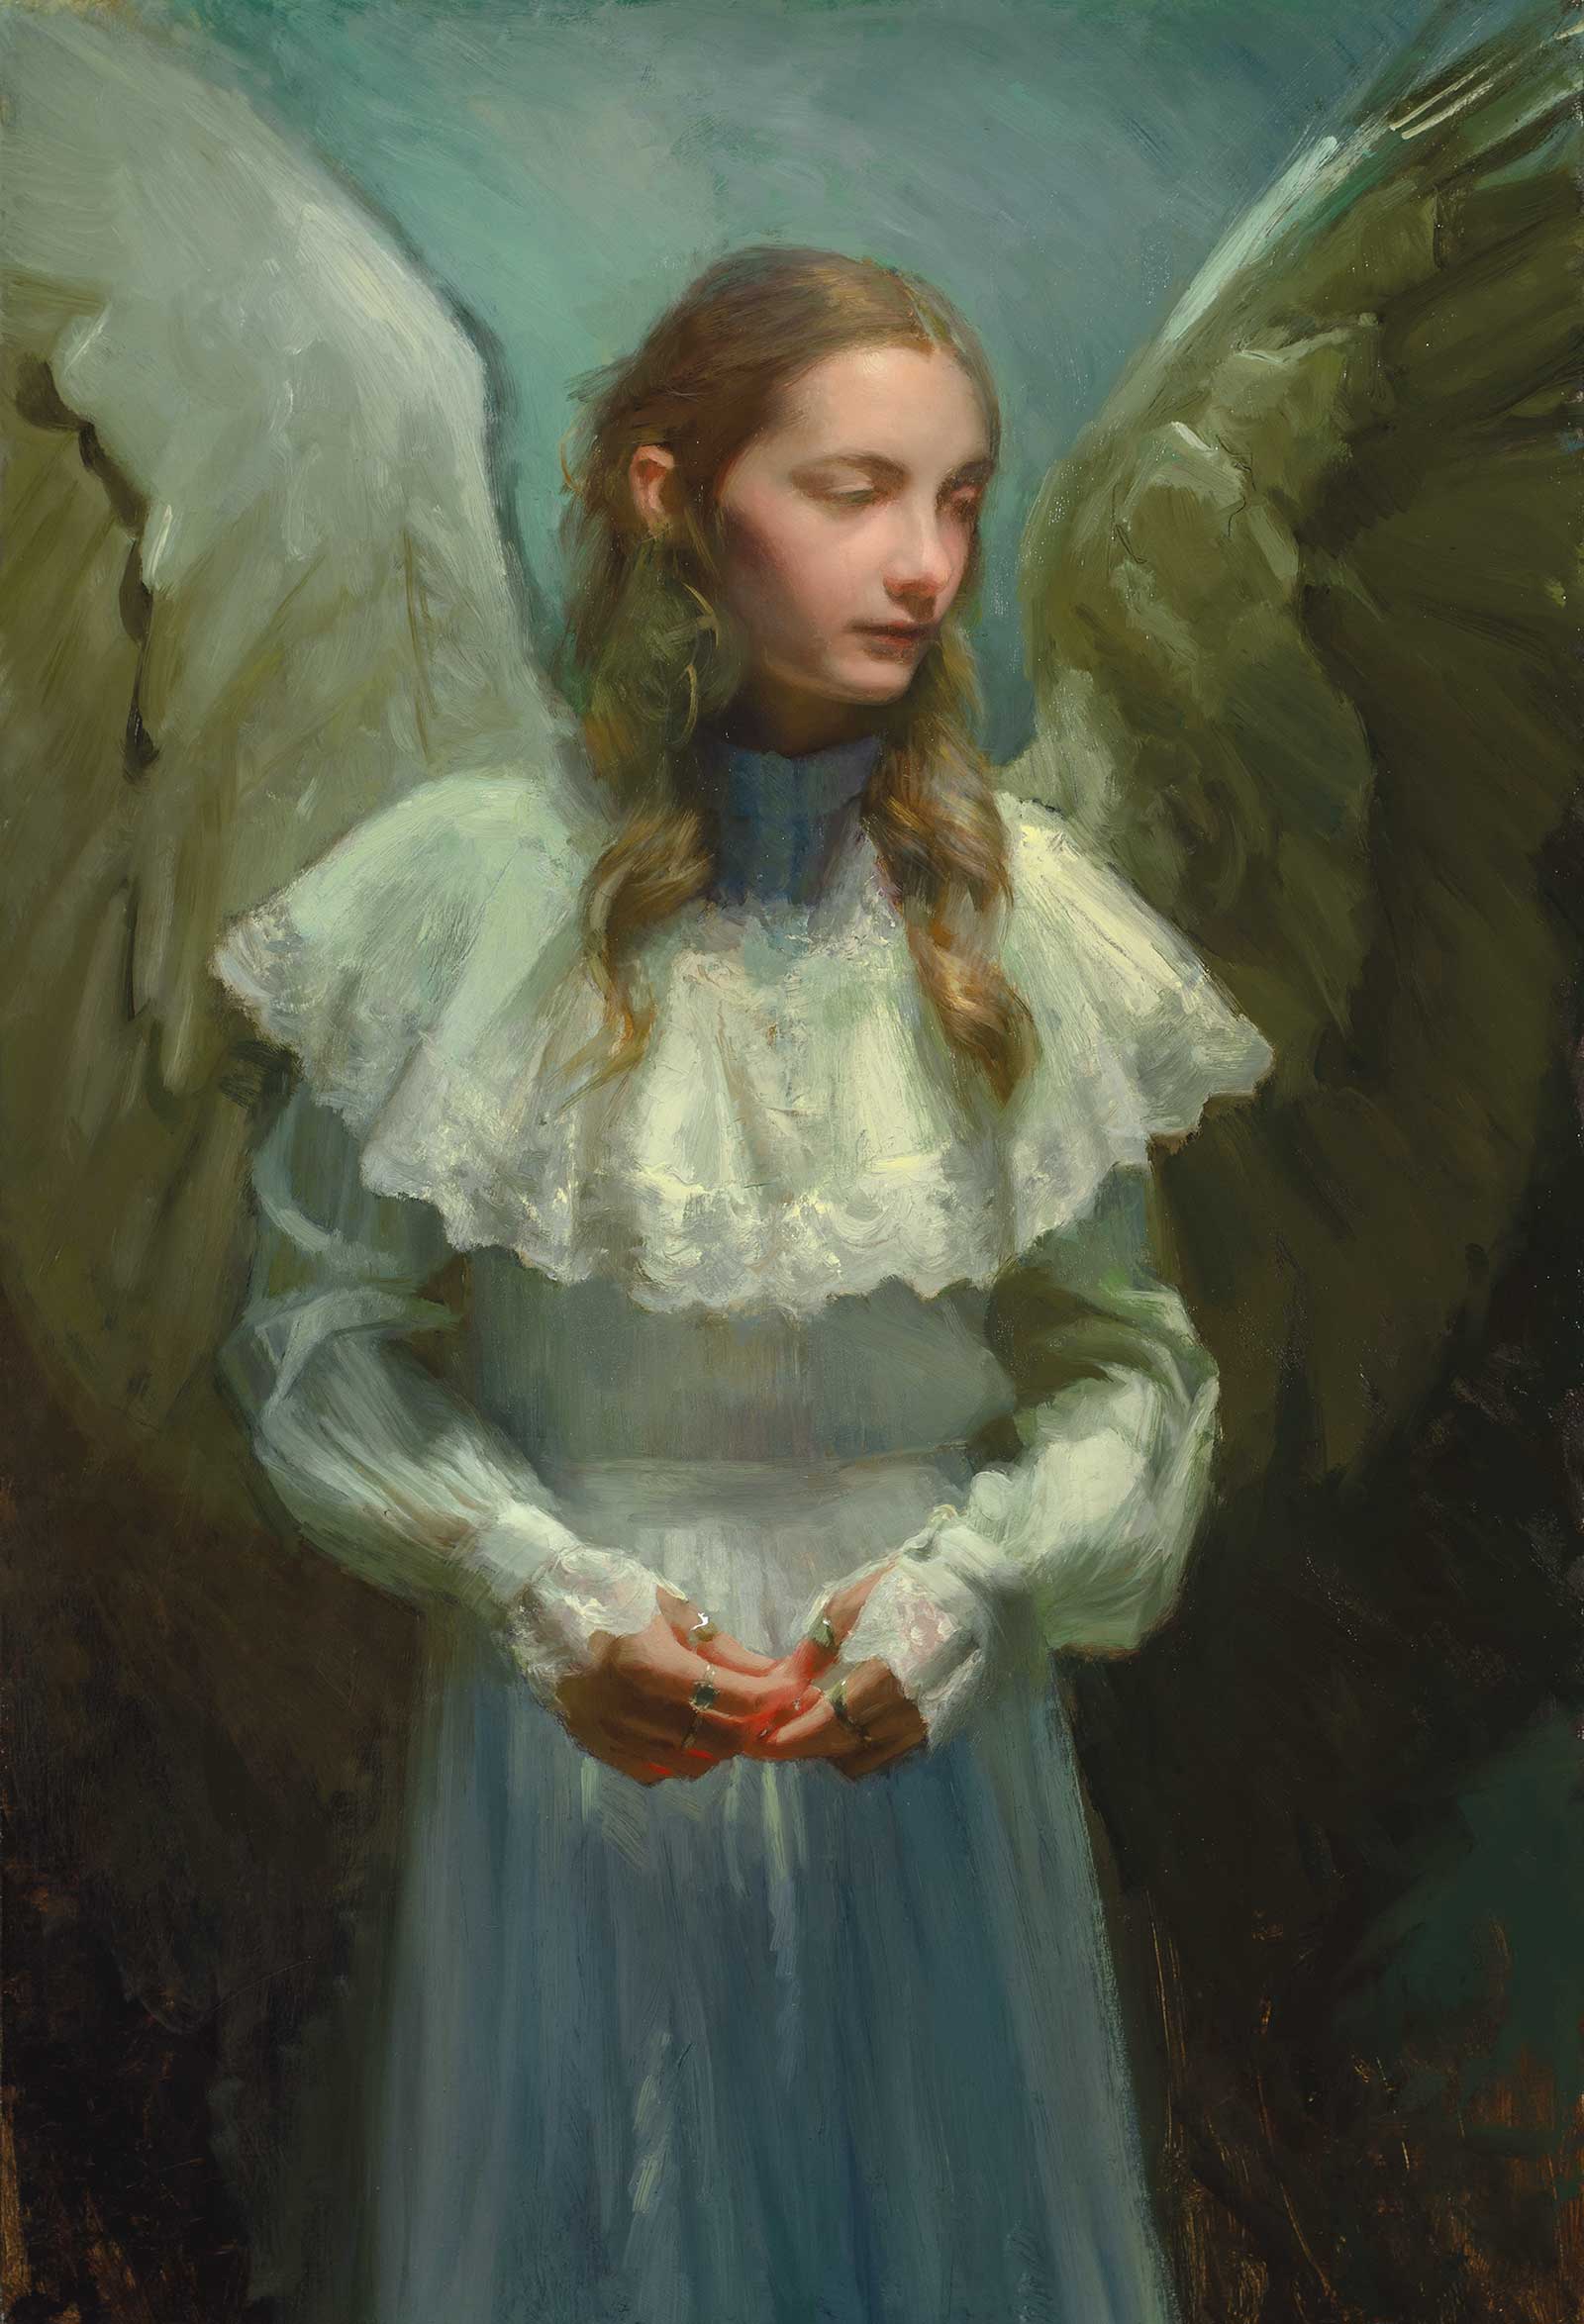
The inspiration for this new painting that I am working on for my solo show in December with Arcadia Contemporary is from the work of 19th-century artist, Abbott Handerson Thayer. I have painted winged figures before, and I originally started adding the wings to my figurative portraits to enhance the background designs.
 Stage 1
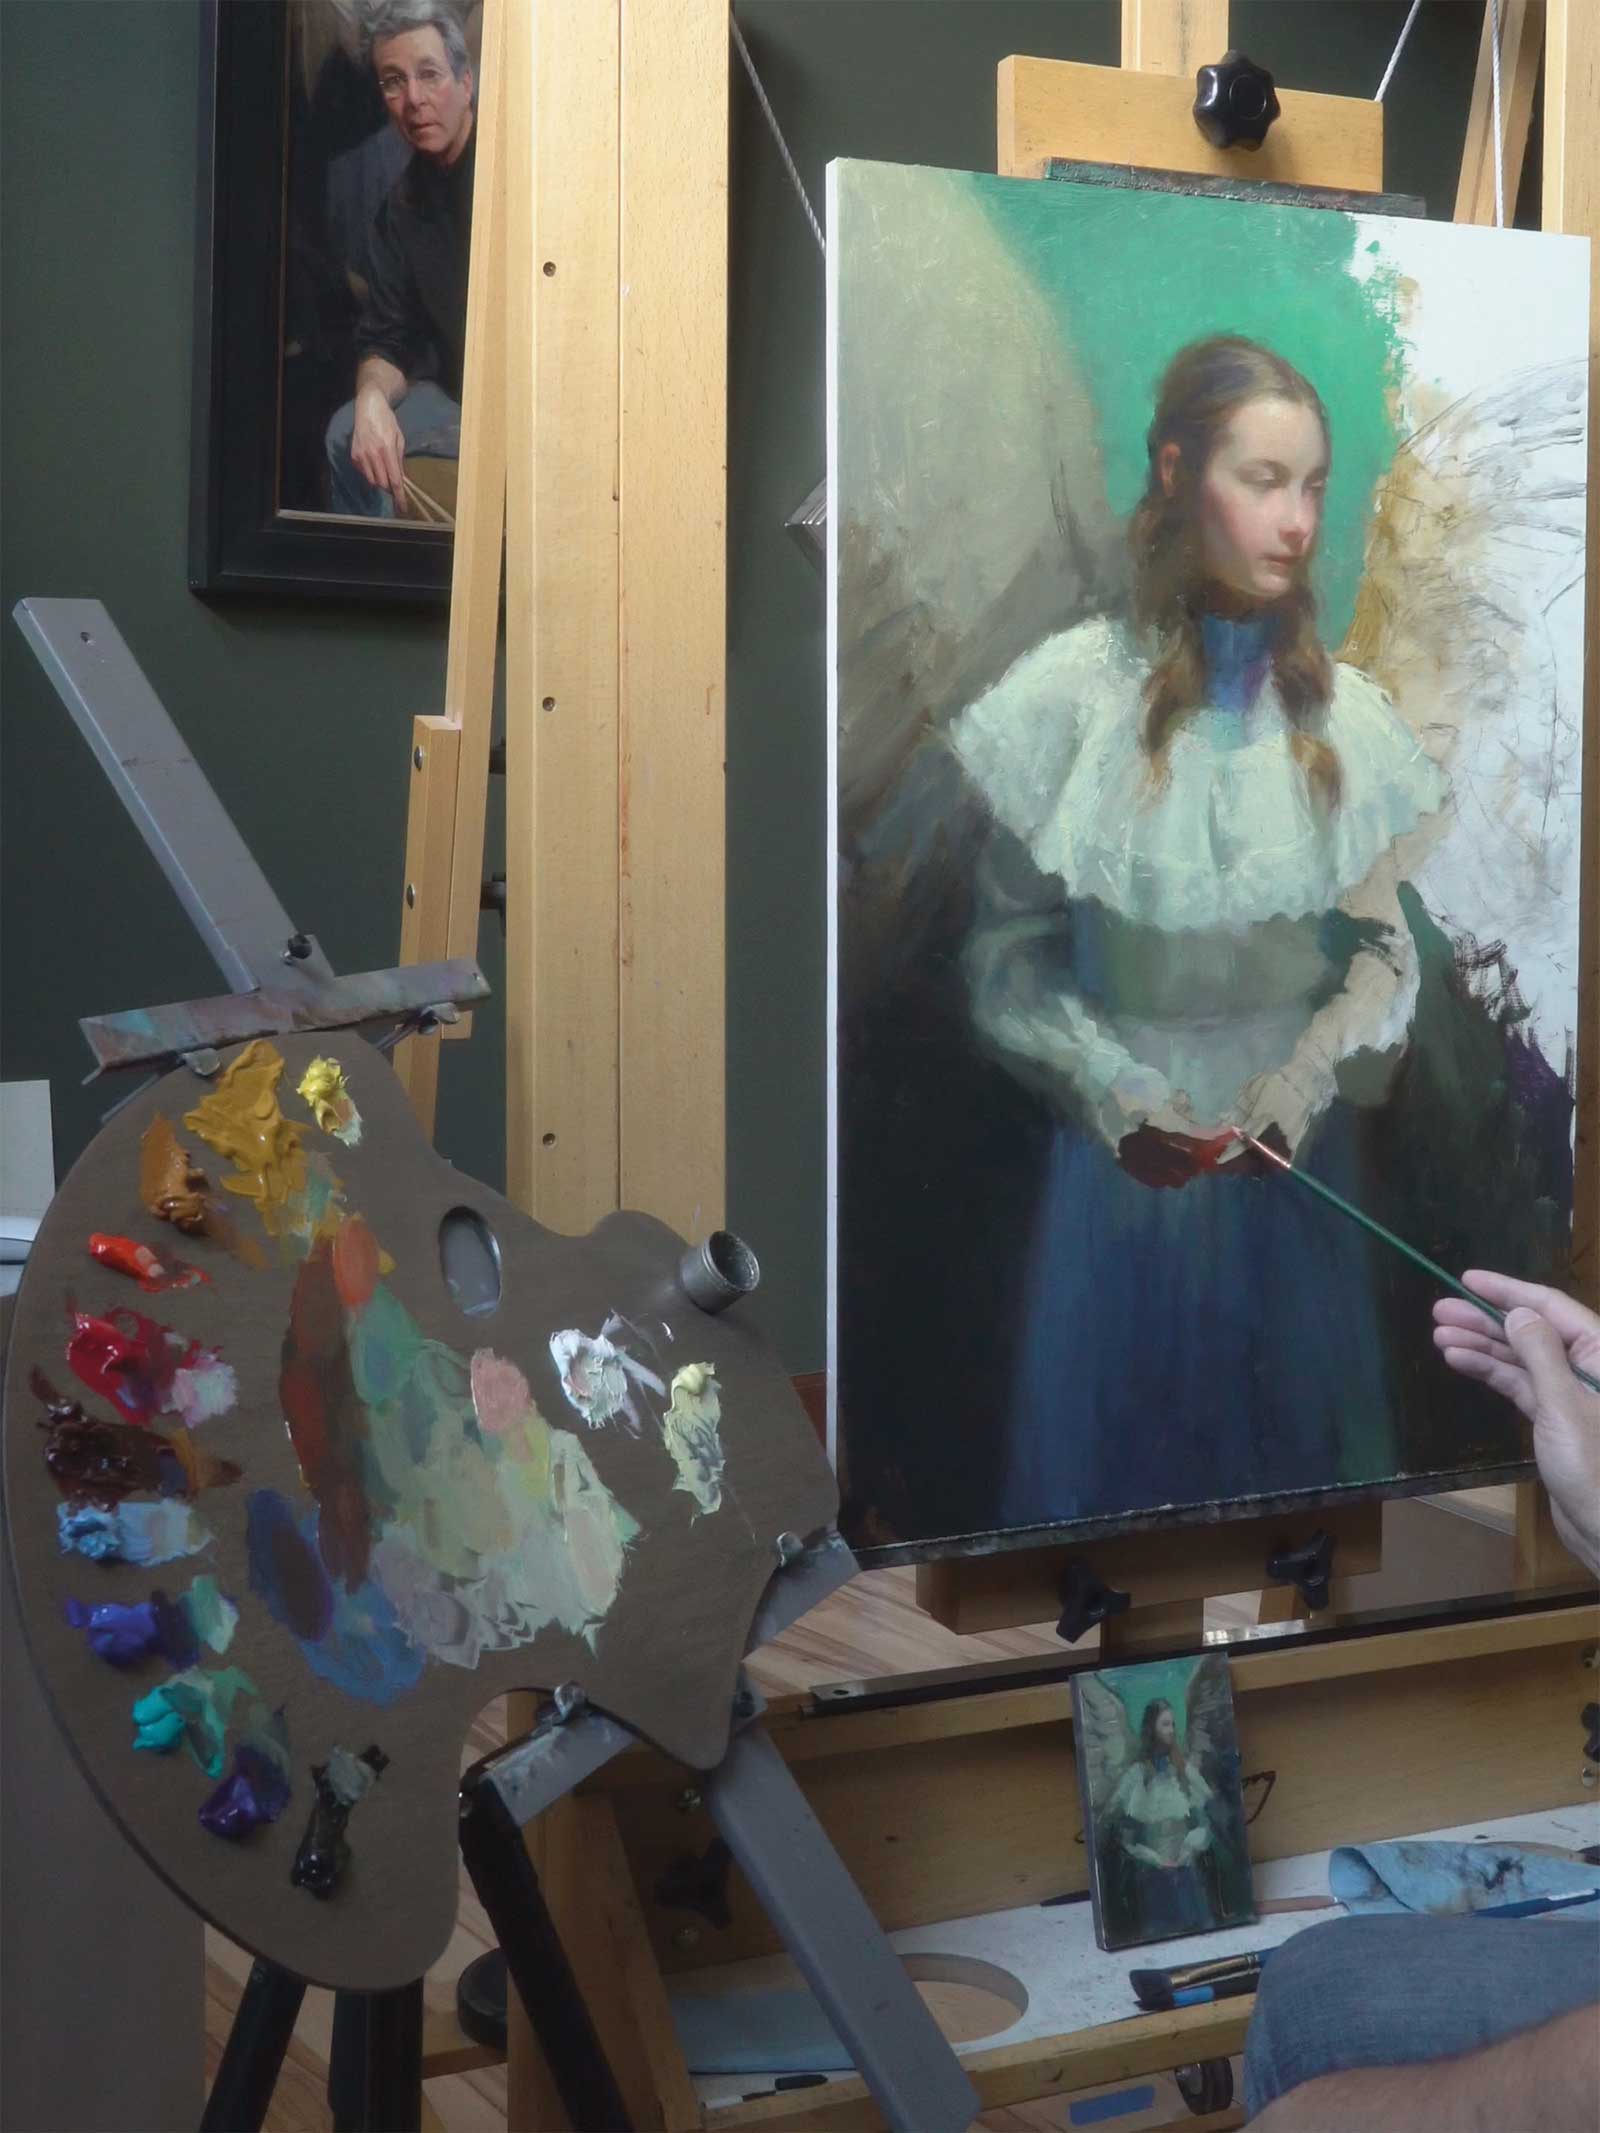
Stage 1 Once I have the reference I need, I spend a good amount of time working on my reference digitally. I try to have all the problems I will face in the process of painting (design, composition, color, etc.) solved before I put brush to canvas. In addition, I create a color study (pictured here) which helps me envision how the final painting will look and feel. I keep the color study small, so I do not have to spend much time on it. I find myself constantly referring to my study while painting to check that the overall values and colors are correct to my original concept.
 Stage 2
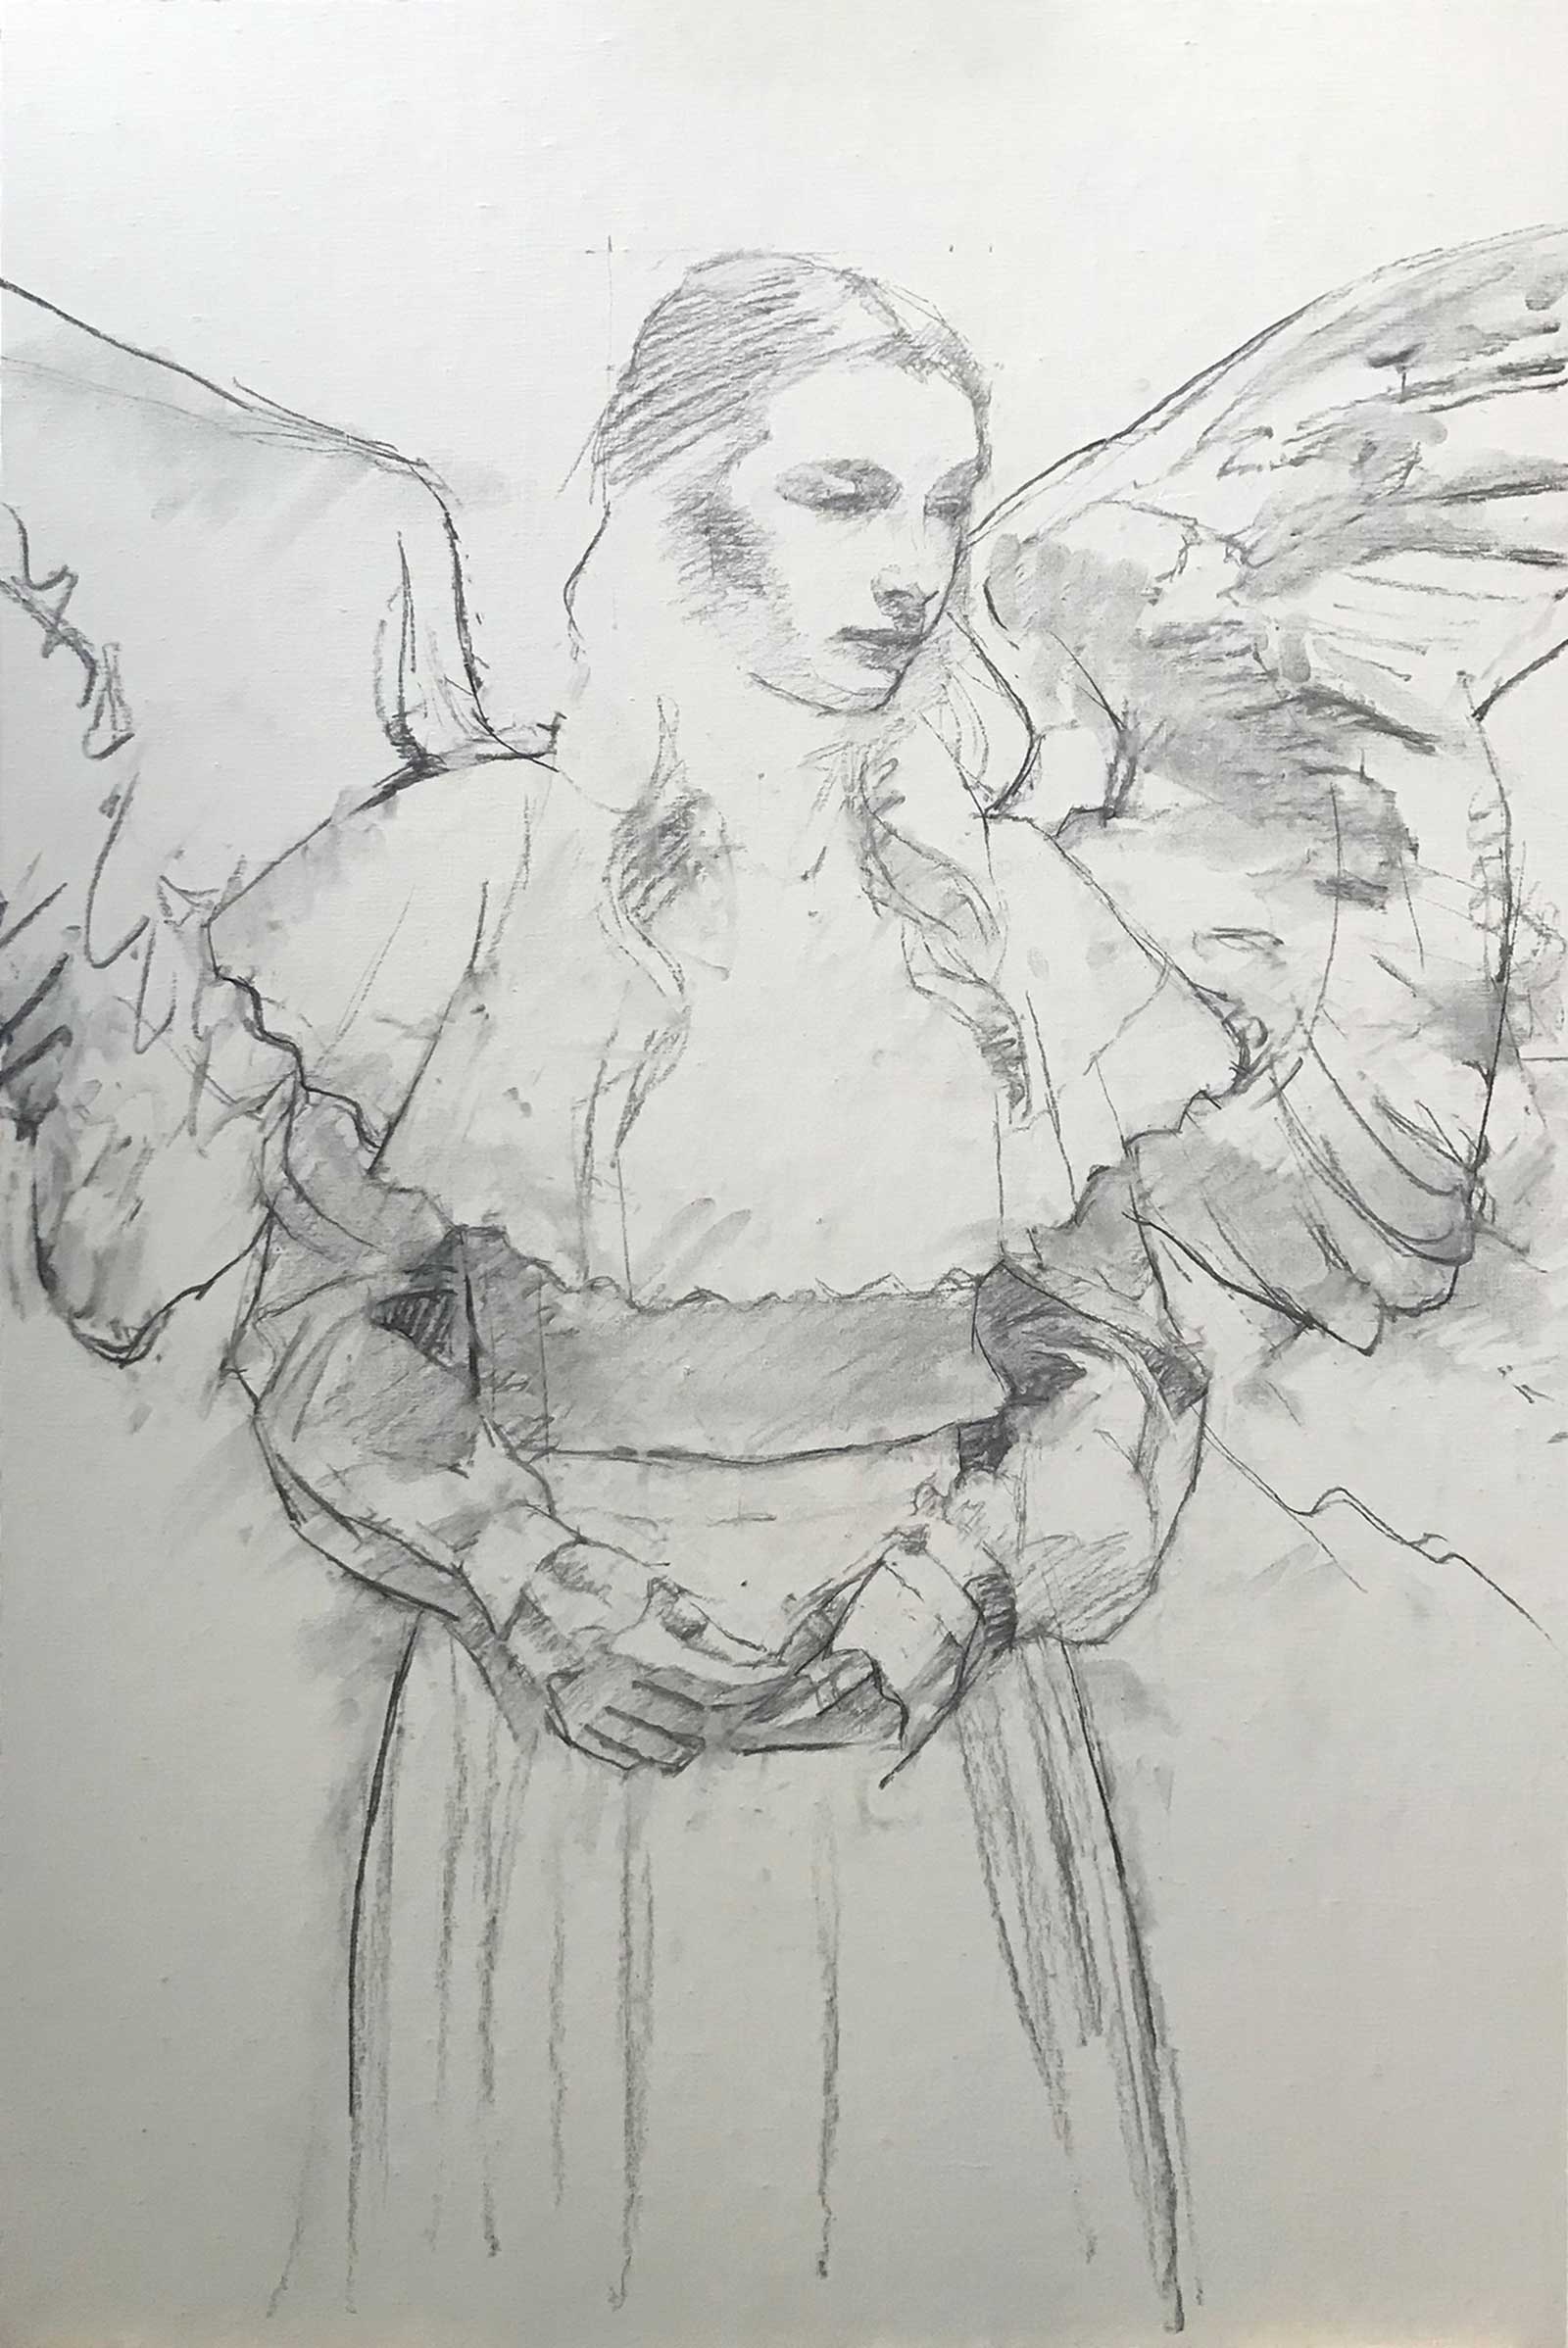
Stage 2 Using vine charcoal, I create a drawing directly on the canvas. I measure out placement of key elements, such as the head, and draw them carefully. I try to keep the drawing simple and light, just working on proportions and composition placement. I seal the sketch with a very light coat of fixative and go back over the entire canvas with a kneaded eraser to help remove the fixative and open up the surface to bond with the paint.
 Stage 3
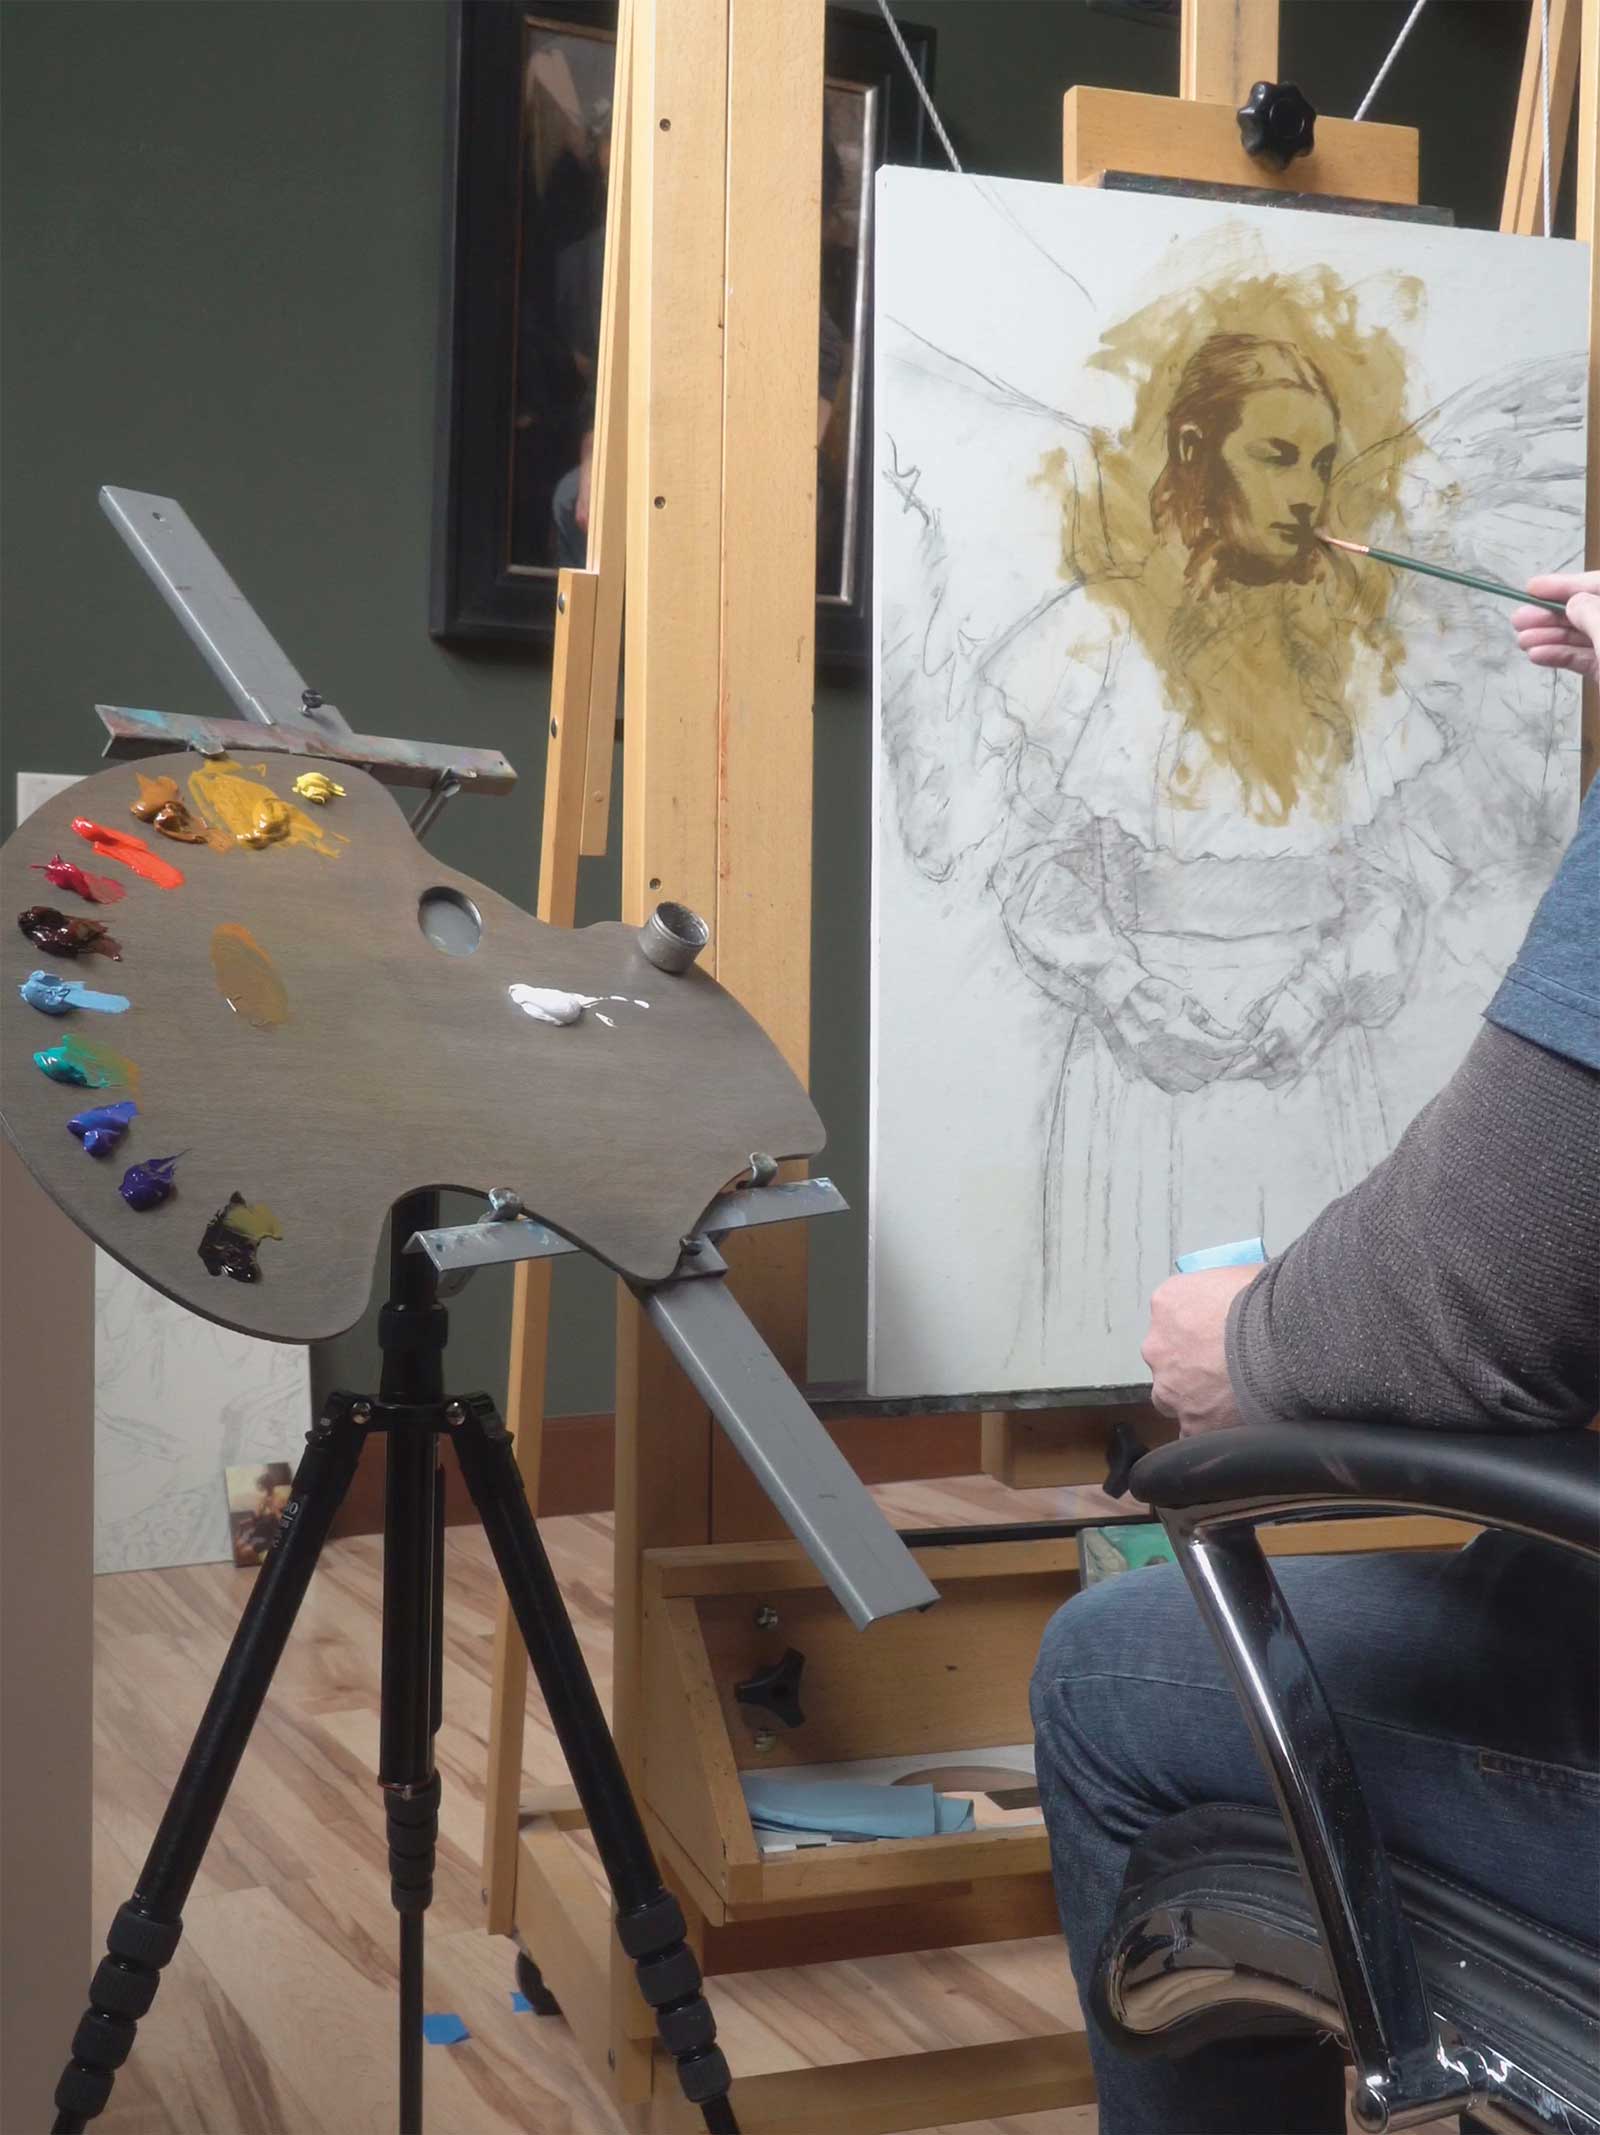
Stage 3 My palette of colors consists of light, mid and dark primaries. In this painting, the colors I am using are flake white, genuine Naples yellow light, yellow ochre, raw sienna, cadmium red light, ruby red, transparent red oxide, bice, cobalt blue, cobalt teal, ultramarine blue and ivory black. The brushes I am using are mainly filbert hog bristles. I like how the bristle brush forces me to use a lot of paint. I started with the head since it is the most important part of the painting. I lay down a wash of neutral tone to get rid of the white of the canvas. Then I mix an average shadow color to place the dark shapes, thinking mass over line. This helps me remember the general areas of dark and to keep them separate from the lights while I am working on transitions.
 Stage 4
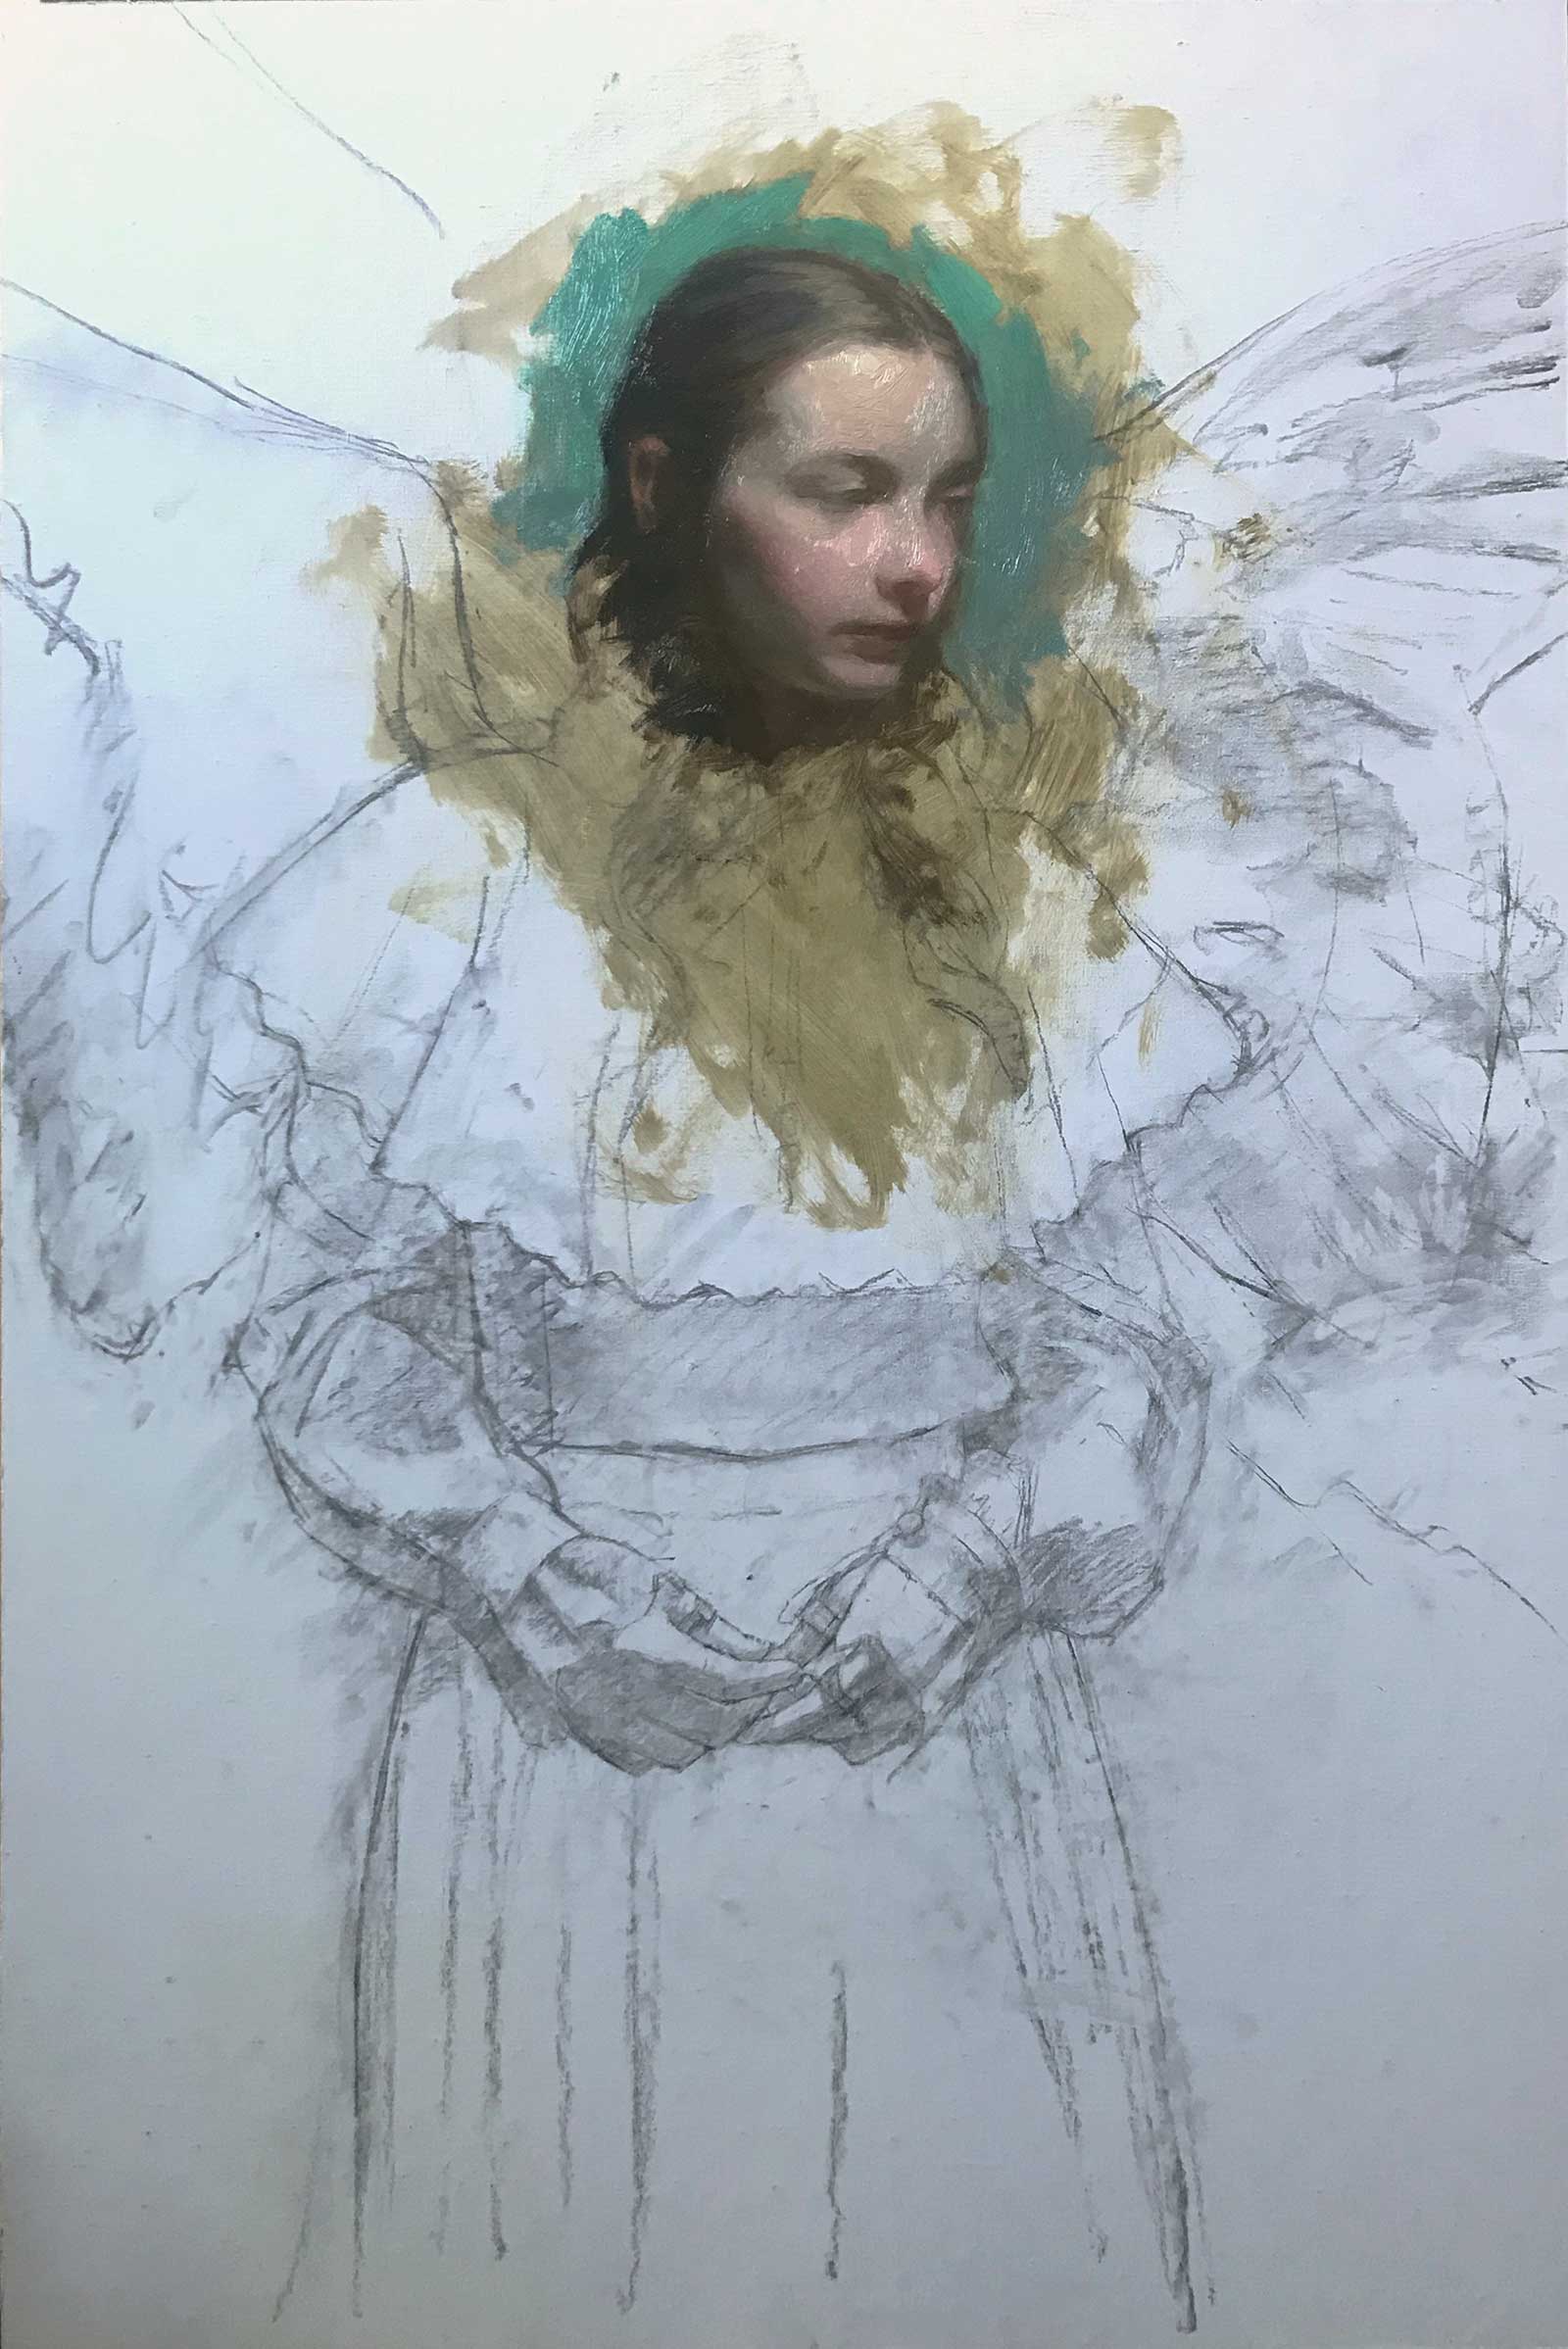
Stage 4 I take the portrait head to an almost finished stage before moving on. I then work out from the portrait, blocking in large shapes of color and value, being careful to stay true to the drawing. I am using a variety of tools to put the paint on the surface, including using a palette knife to create interesting marks and soften edges.
 Stage 5
Stage 5 I approach the hands the same way I paint the head, starting with the shadow shapes and separating the overall dark values from the lights. I am always thinking in mass, looking for how shapes start or stop visually over where the form actually begins or ends.
 Stage 6
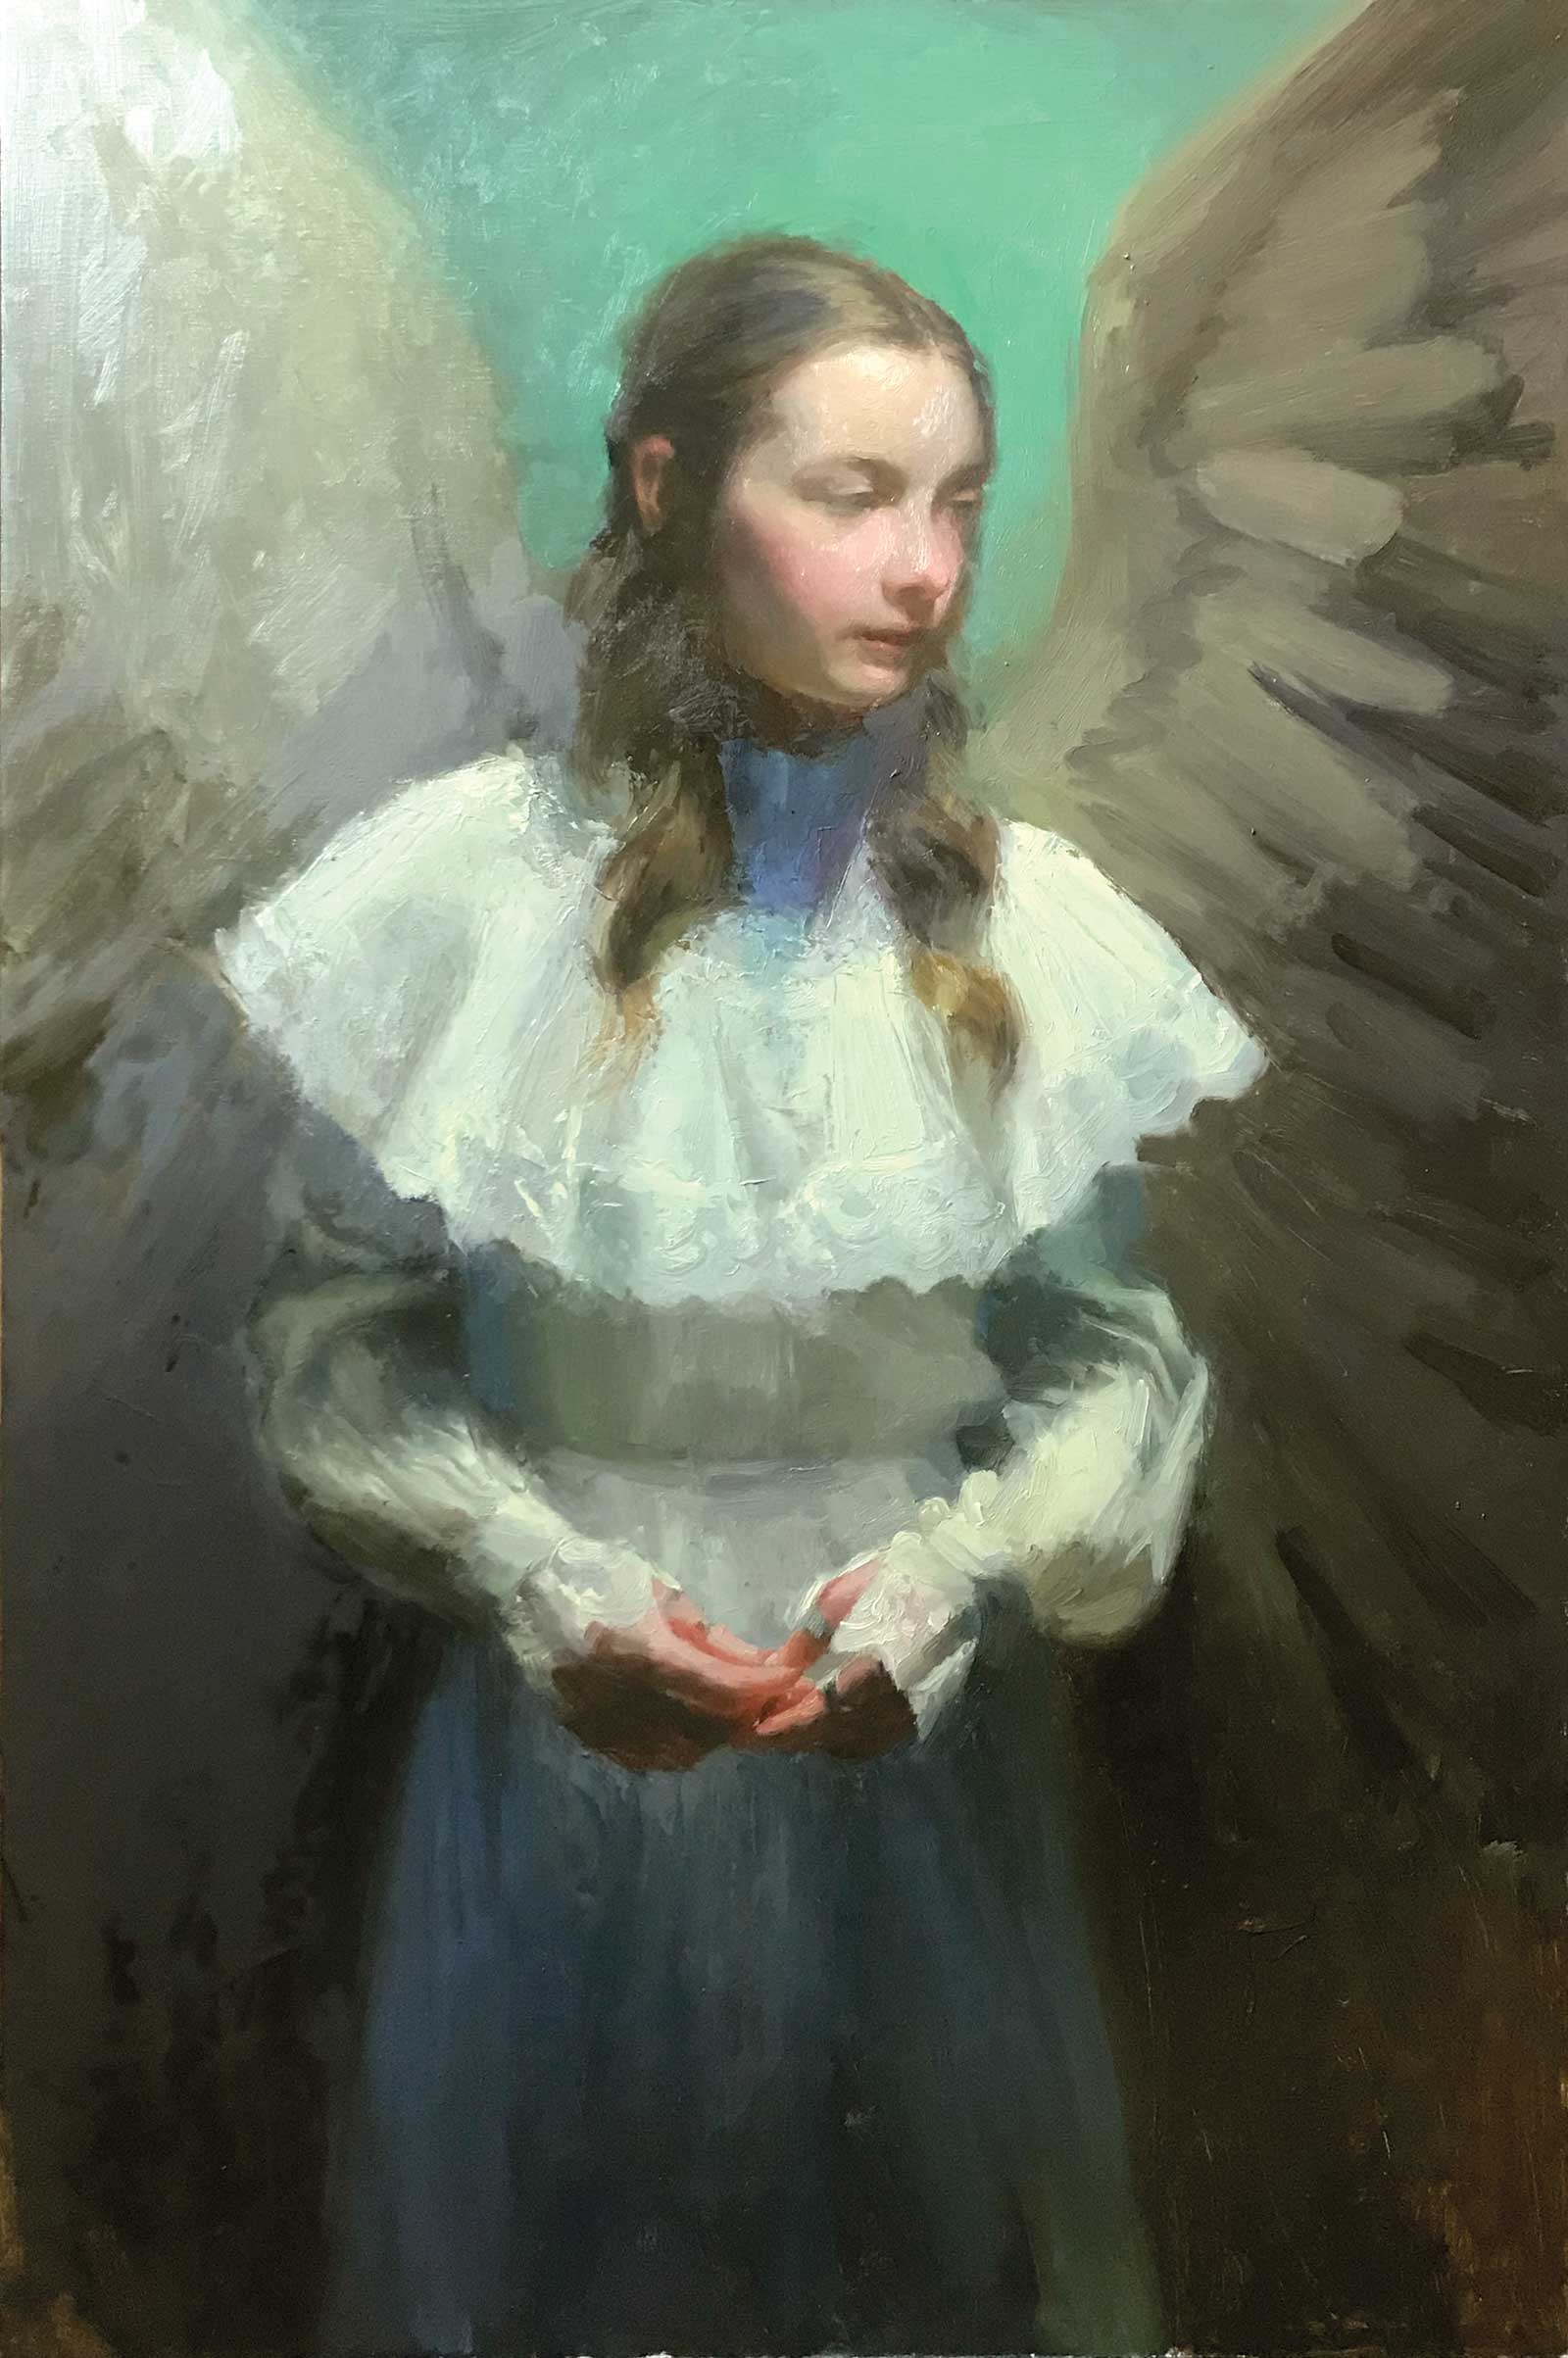
Stage 6 I keep working broadly, trying to not focus on small forms or details yet. Once the entire canvas is covered, it is easier for me to see the impression of my desired light effect.
 Stage 7
Stage 7 The Finished Portrait I go back over the canvas, correcting errors in drawing, color, or both. I am also simplifying or editing areas that have either too much contrast or take too much attention from where I want the viewer to look.
About the Artist
Casey Childs is a Utah-based artist who earned his BA degree at Brigham Young University and was a graphic designer for 10 years. After an apprenticeship alongside William Whitaker, he now paints full-time in his north-lit studio designed after those of the Old Masters. Childs filmed this step-by-step in his studio. If you would like to see the time-lapse of this painting in its entirety, including the finished piece, visit www.sentientacademy.com. —