


I am deeply drawn to the dramatic landscapes of the Pacific Northwest, and capturing the ethereal beauty of that moody scenery has become a deep passion of mine. I could get lost for hours watching the mist roll across the mountainsides while trying to understand the shapes, movement and subtle intricacies of the ever-changing landscape in front of me. When you really take pause and begin deconstructing the natural world around you, it is incredible to see how interwoven every little thing is with one another. Often we don’t give ourselves the time to truly connect with what it is that we are hoping to paint to life, and rushing that process is when that extra little bit of magic gets lost within your brushstrokes.
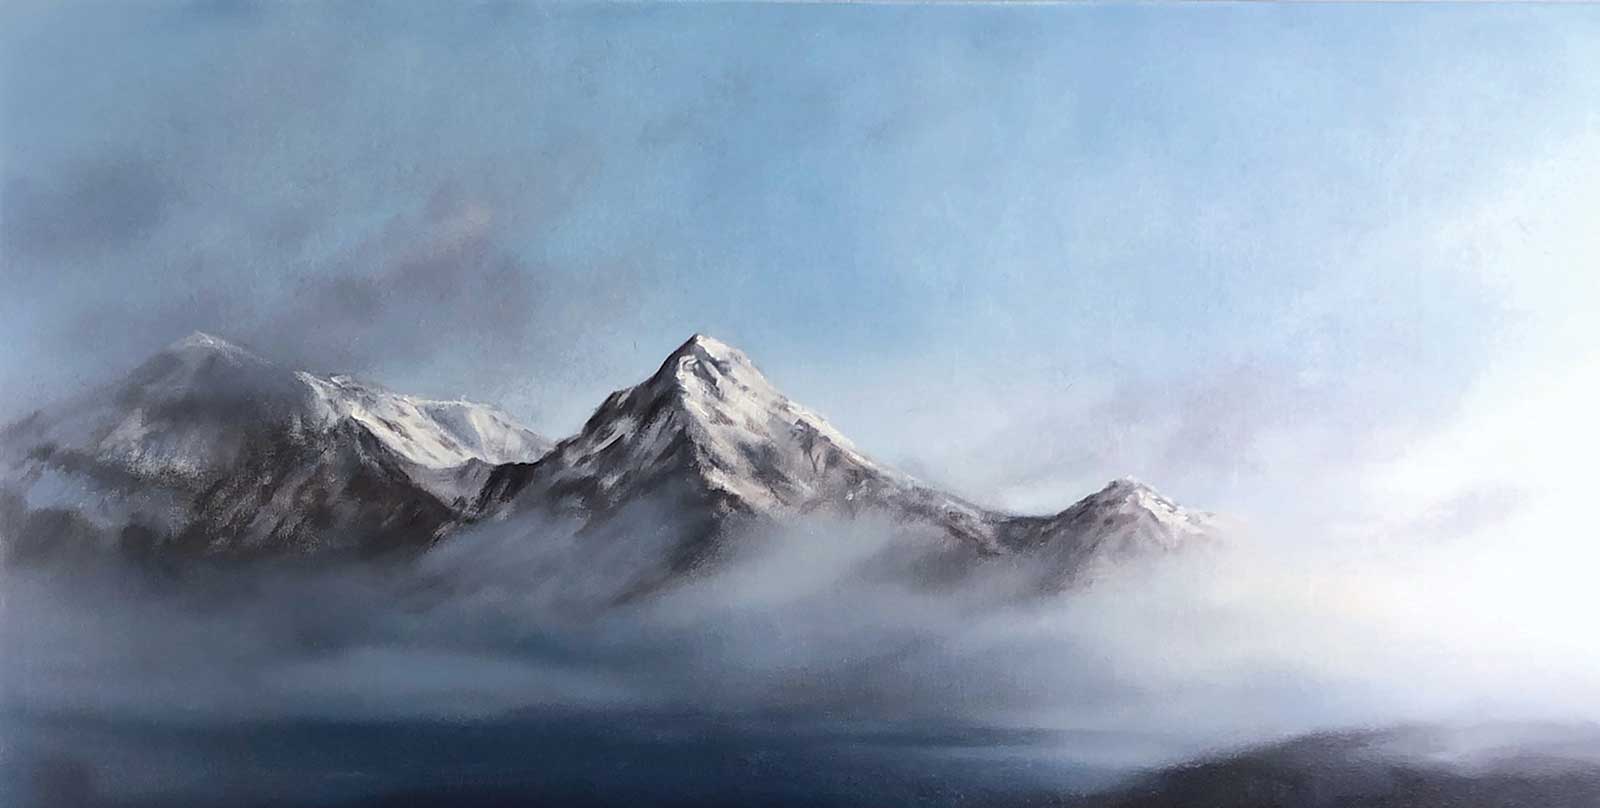 Such Great Heights, oil on canvas, 24 x 44" (60 x 111 cm) Capturing the magnificent splendor of mountain ranges as they greet the soft morning light has become a deep passion of mine.
 I began my creative journey 12 years ago and I have been teaching myself the exciting yet challenging world of self-expression ever since. I am a mother to two young boys, and while they sleep every night I can be found sitting in front of my easel lost in the tranquil bliss of translating the world around me into brushstrokes on canvas. Having no formal training, this path that I have taken has involved some incredibly steep learning curves, but one of the most wonderful aspects of being completely self-taught is that there are no external forces telling me which direction I should or not should not go with my work. Every step that I have taken has come from a place that felt right within my soul, and I truly believe that this freedom to explore has been the greatest gift that I could have given myself as an artist.
I found the courage to dive into oil painting seven years ago after only having worked with acrylics up until that point. I had reached an area of frustration with acrylics because I wanted to be able to play around with the movement within my landscapes much longer than what their drying time allowed. I felt limited in my ability to grow further within my craft, and so began the painfully slow task of understanding and getting comfortable with an entirely new medium. It didn’t take long for me to realize that the switch over to oil paint was the absolute best thing that I could have done for my art. My landscapes began taking on whole new levels of depth and movement, and the ability to push and pull the different layers into one another without the constraint of drying time looming overhead, was such a liberating feeling.
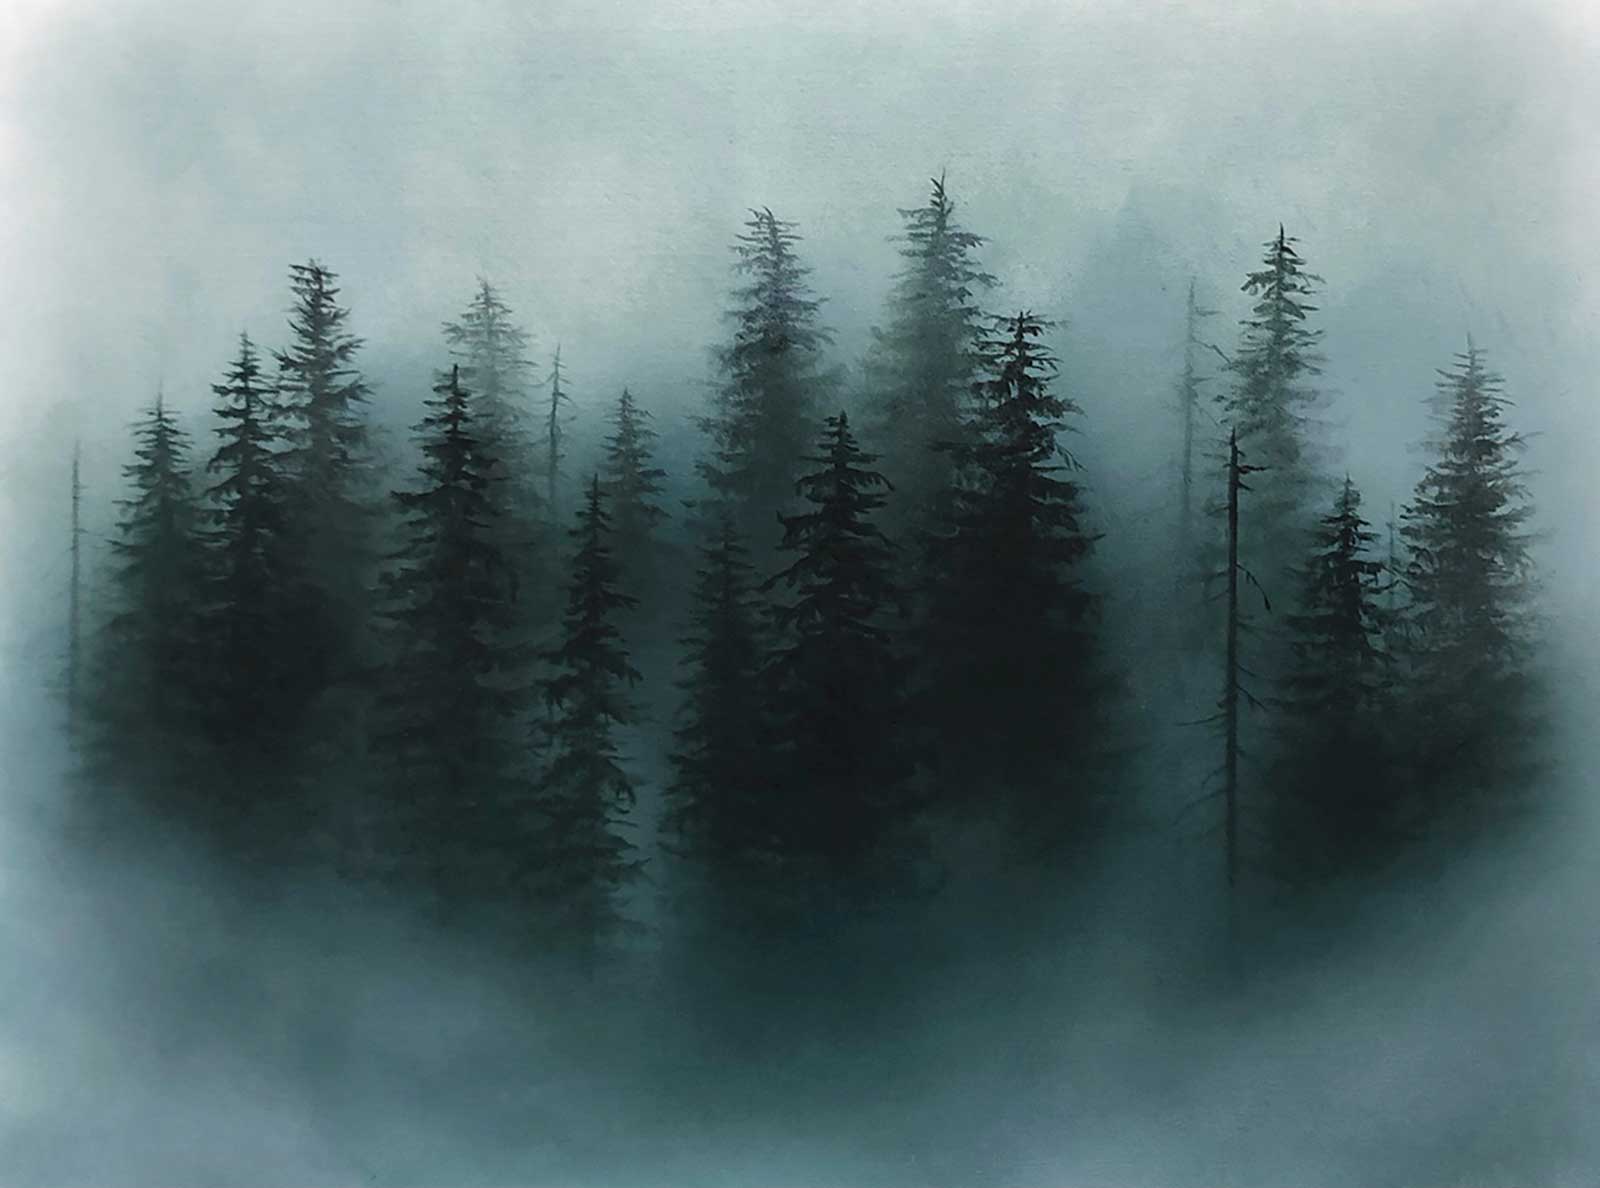 Sanctuary, oil on canvas, 30 x 40" (76 x 101 cm) I find indescribable beauty and comfort within certain color combinations. This dreamy mix of prussian green, indigo and prussian blue is one that I will always be drawn to.
Oil painting has become an extension of my very being, and so too has the need to capture the peaceful and serene moments that I have witnessed while out exploring the world with my family. I have always been drawn to colors that soothe the soul and scenery that forces you to stop for a moment and truly appreciate the simple splendor that it holds within it. I have worked hard to simplify my techniques in order to achieve these feelings of stillness, and over the past year I have found immense joy in being able to share everything that I have learned with art students from all over the world. I believe that my journey can help so many others get started on their own path, so I have been creating tutorials in hopes that they might inspire others to begin chasing their creative dreams into reality.
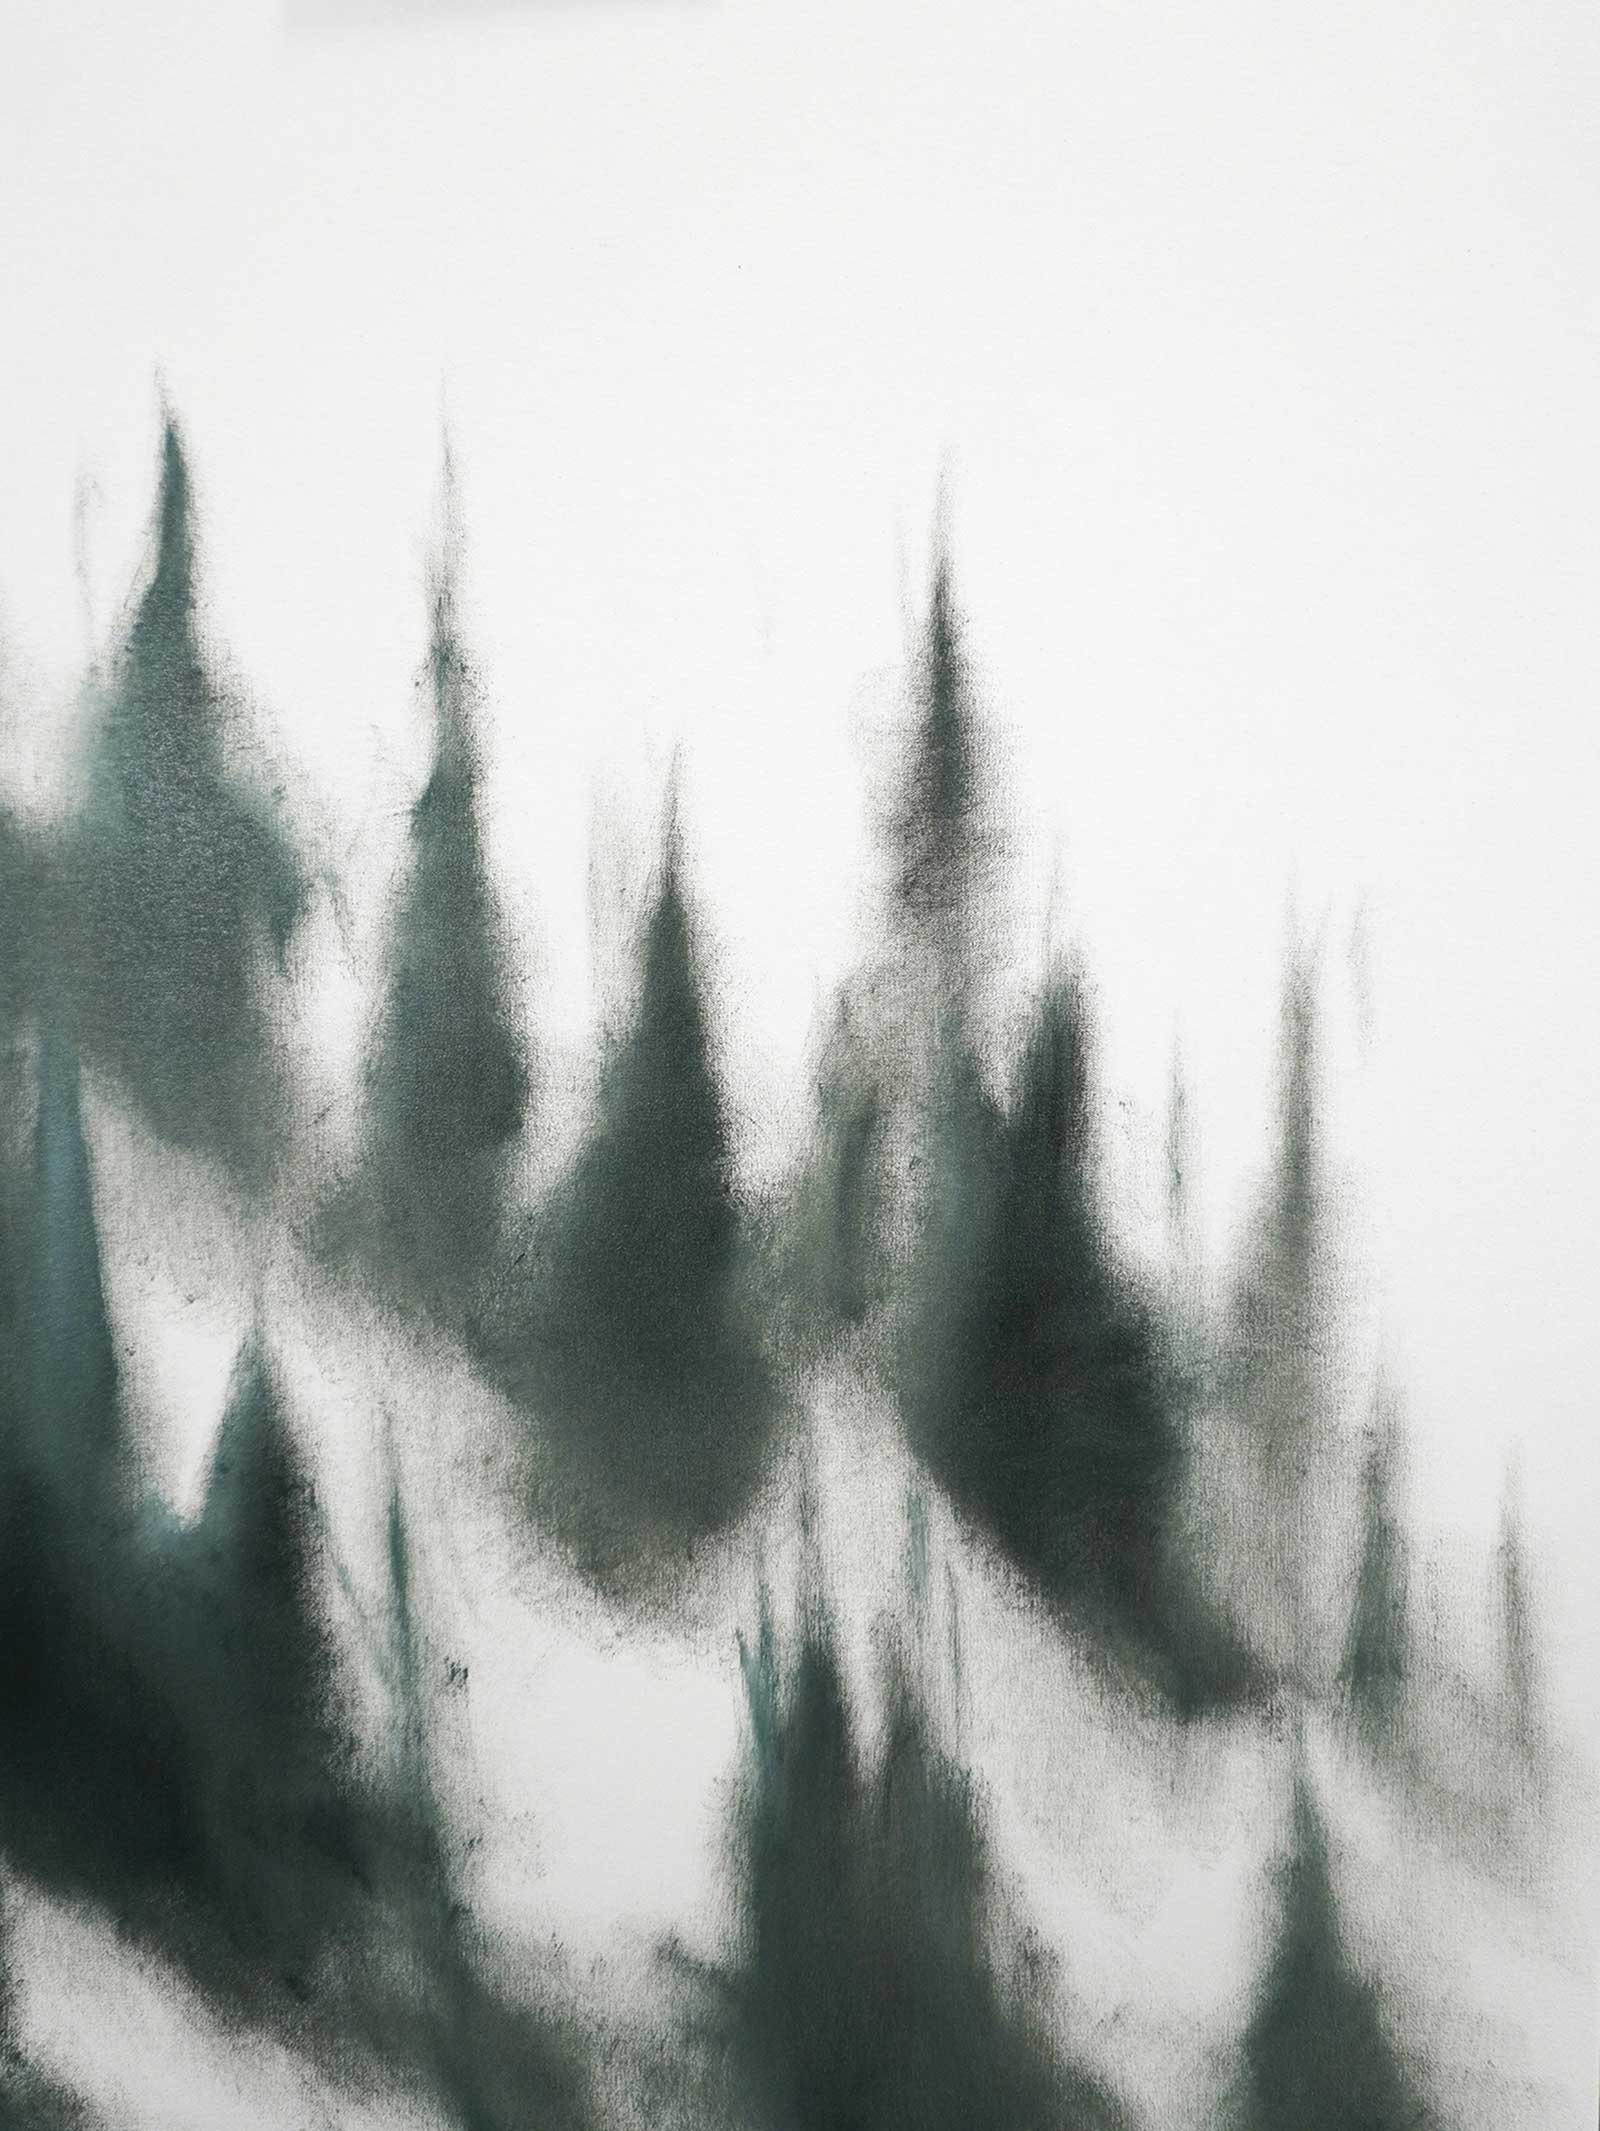
My most requested tutorials are for my signature misty forest paintings, so I thought that I would create a special demonstration just for this publication. I tend to create these scenes solely from my imagination so although there is not a photograph to work from, you can use the finished painting as your point of reference. I also keep my supply list as simple as possible and try to only use between four and six colors for each piece. A huge worry amongst many of my students was that the cost of getting started with oil painting would be far too great, so I have made it my mission to create classes that keep the costs to a bare minimum while still enabling everyone to create beautiful realistic works of art.
My Art in the Making Morning Stillness
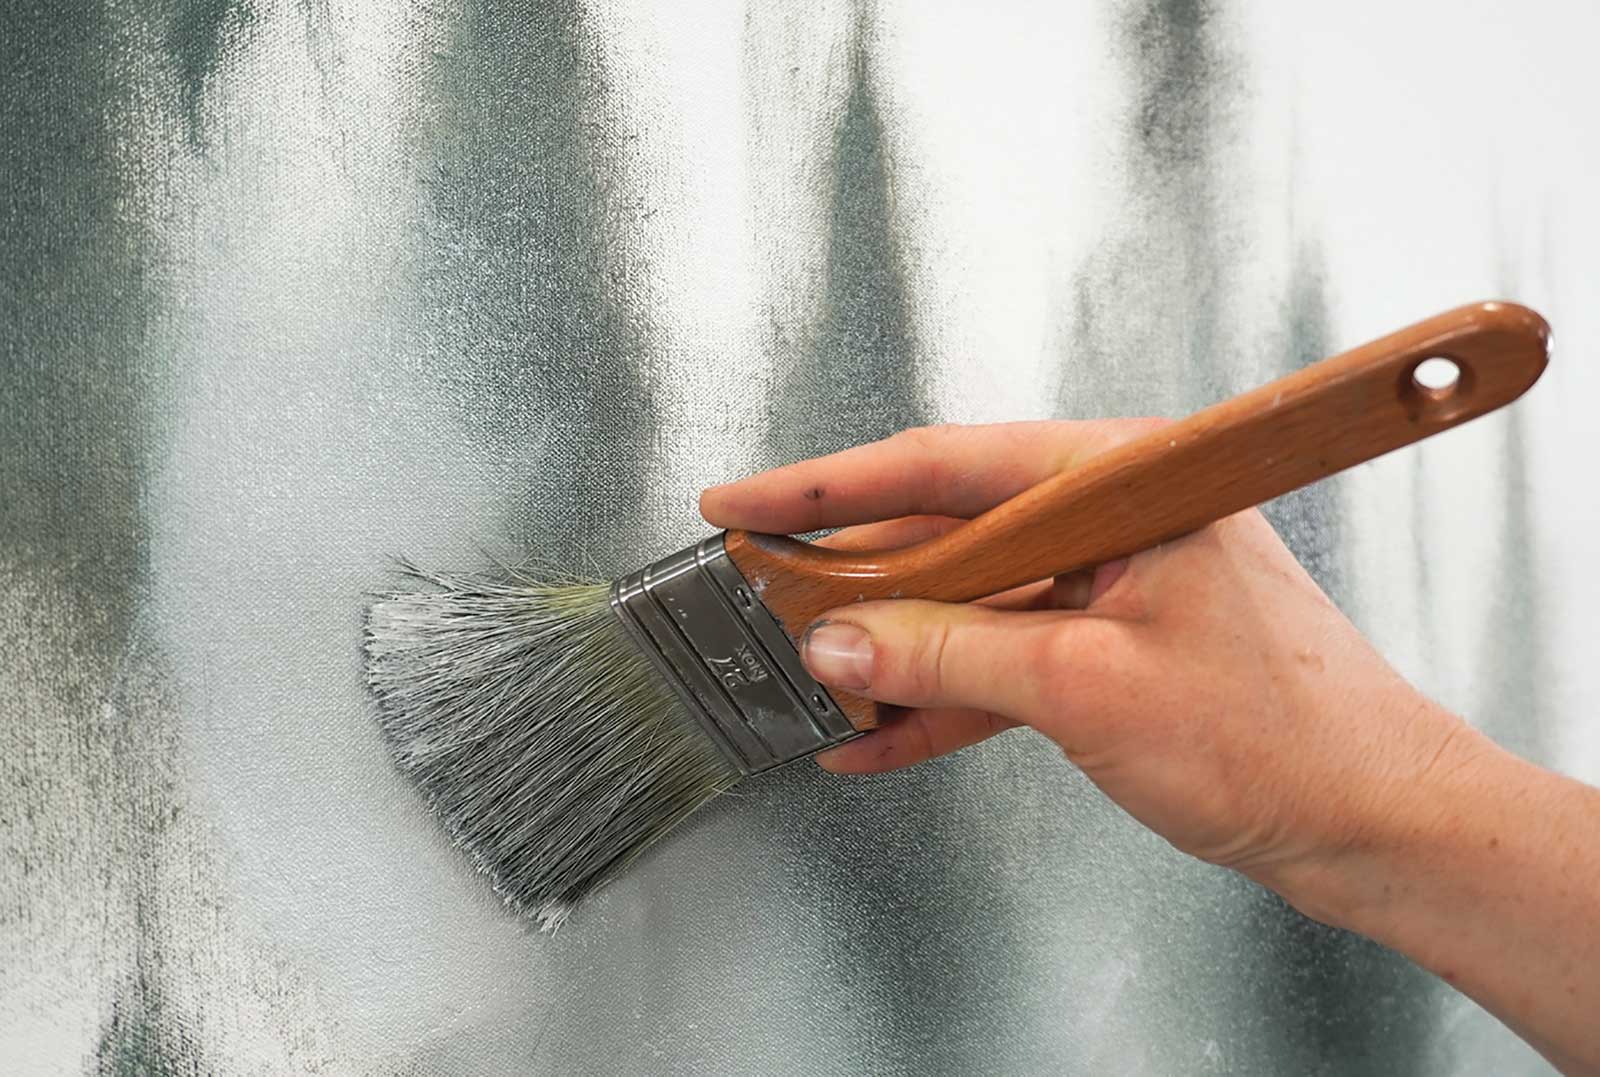
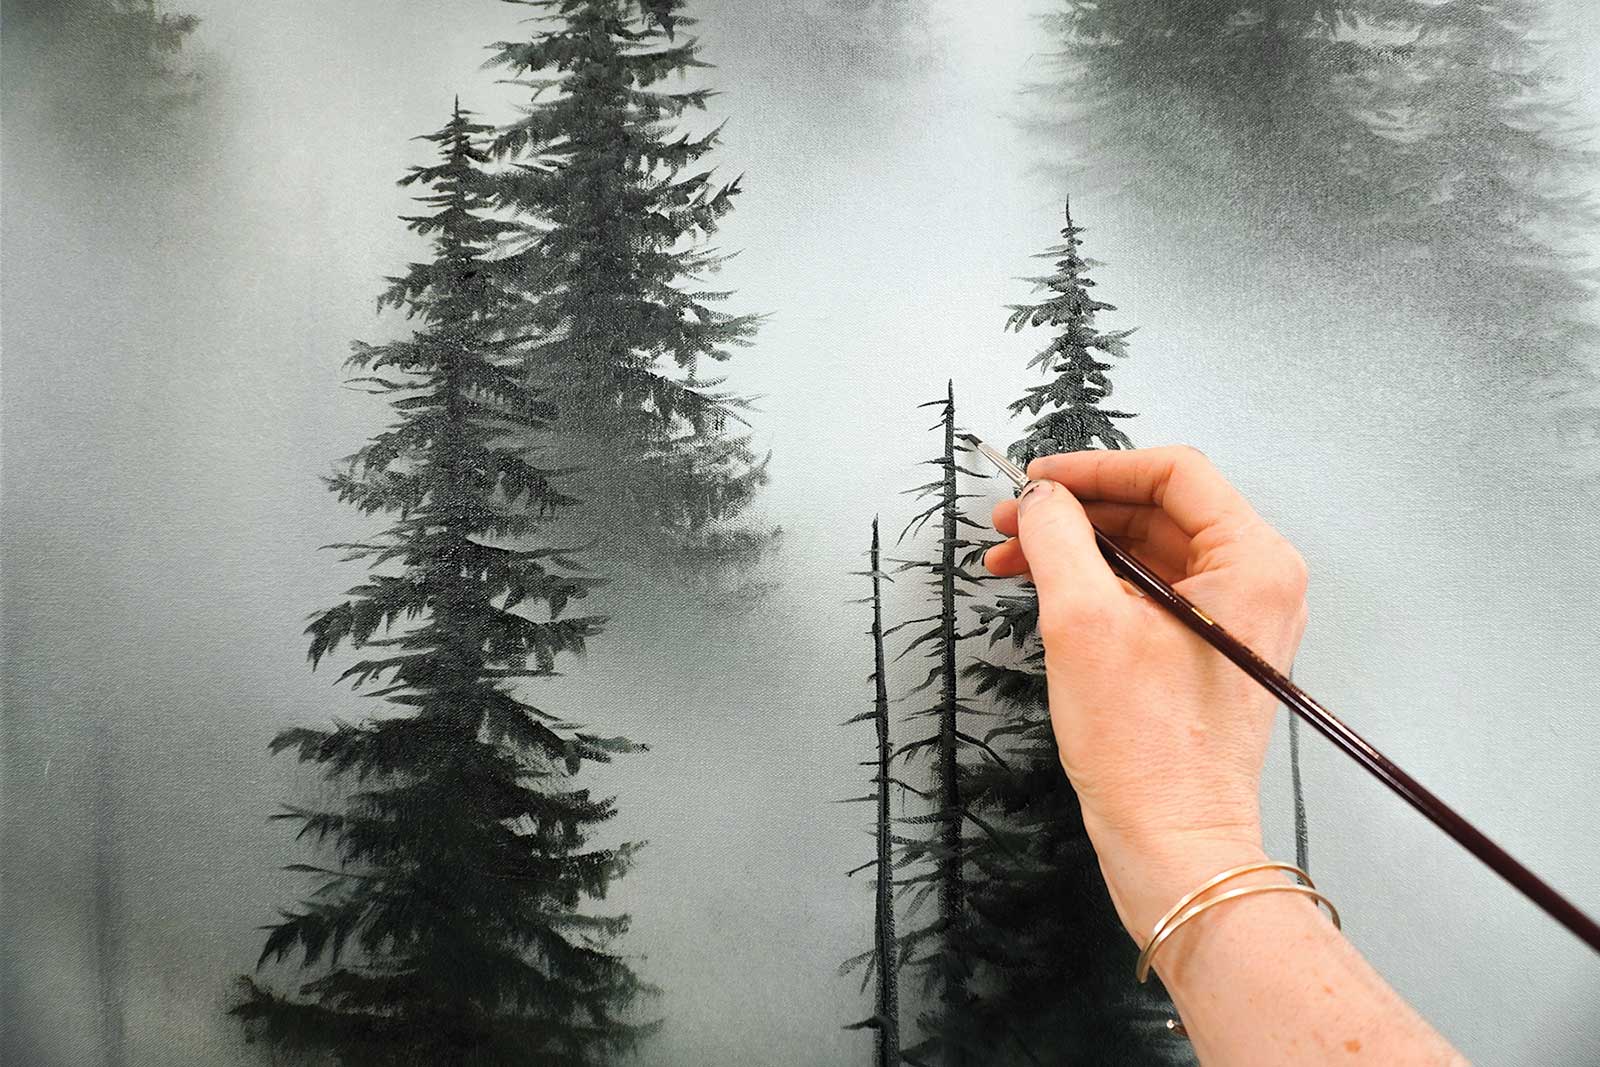
In this demonstration I will walk you through the techniques that I used to create this realistic misty scene. I paint wet-on-wet, but this can also be broken down into different sessions if you allow each layer to fully dry in between. I mix small amounts of Liquin Light Gel into my paint as I go to accelerate the drying time and make the paint blend easier across the canvas. Walnut oil and linseed oil are also great natural medium alternatives if you are sensitive to odors. If you are unable to find the exact colors that I listed, you can swap in anything that is similar and still get lovely results. The techniques that I use tend to leave lots of bristles behind on the canvas after blending. Just wait until your painting fully dries and they will easily fall off by gently rubbing your fingers across them.
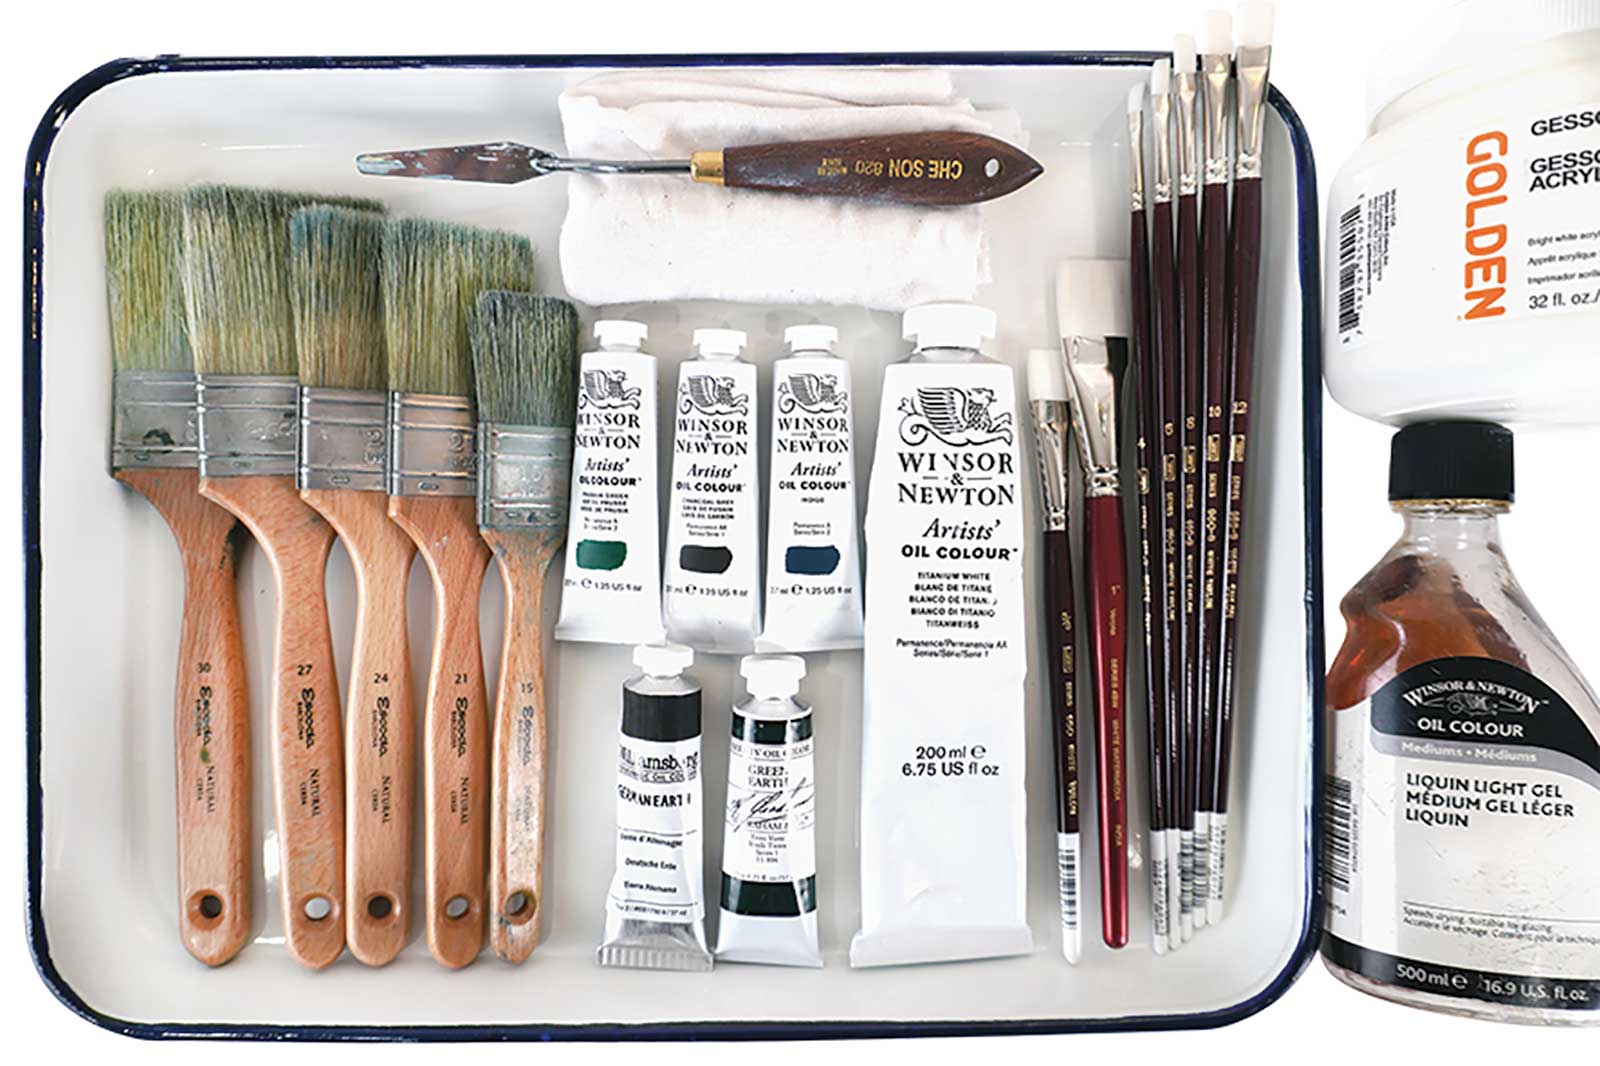
WHAT THE ARTIST USED
WHAT THE ARTIST USED
Oil
Titanium white, Indigo, German earth, Green earth, Prussian green, Charcoal gray
Brushes
Escoda brushes in sizes 30, 27, 24, 21, 15 (any thickness), Filbert brushes in sizes 4,6,8,10,12, ¾" and 1"
Medium
Liquin Light Gel
Canvas
30 x 40" primed
Additional Materials
Gesso for canvas prep, Painting rags, Palette knife, Palette, Odorless solvent for cleaning
 Stage 1
Stage 1 General Layout
With a large brush, block in the general layout using equal parts green earth, charcoal gray, german earth and a little indigo. Adding a bit of medium to your paint will allow it to blend easier.
 Stage 2
Stage 2 Blend White into Dark
With the same brush mix a little medium into the white and cover the rest of your canvas. Then use that same brush to blend the white into the darker areas that you roughed in.
 Stage 3
Stage 3 Thin, Base Layer
Make sure that you do not use a lot of paint on this base layer. You should only use enough to just cover the surface, and it should take a bit of work to spread it across the canvas thinly.
 Stage 4
Stage 4 Deep, Middle Layer
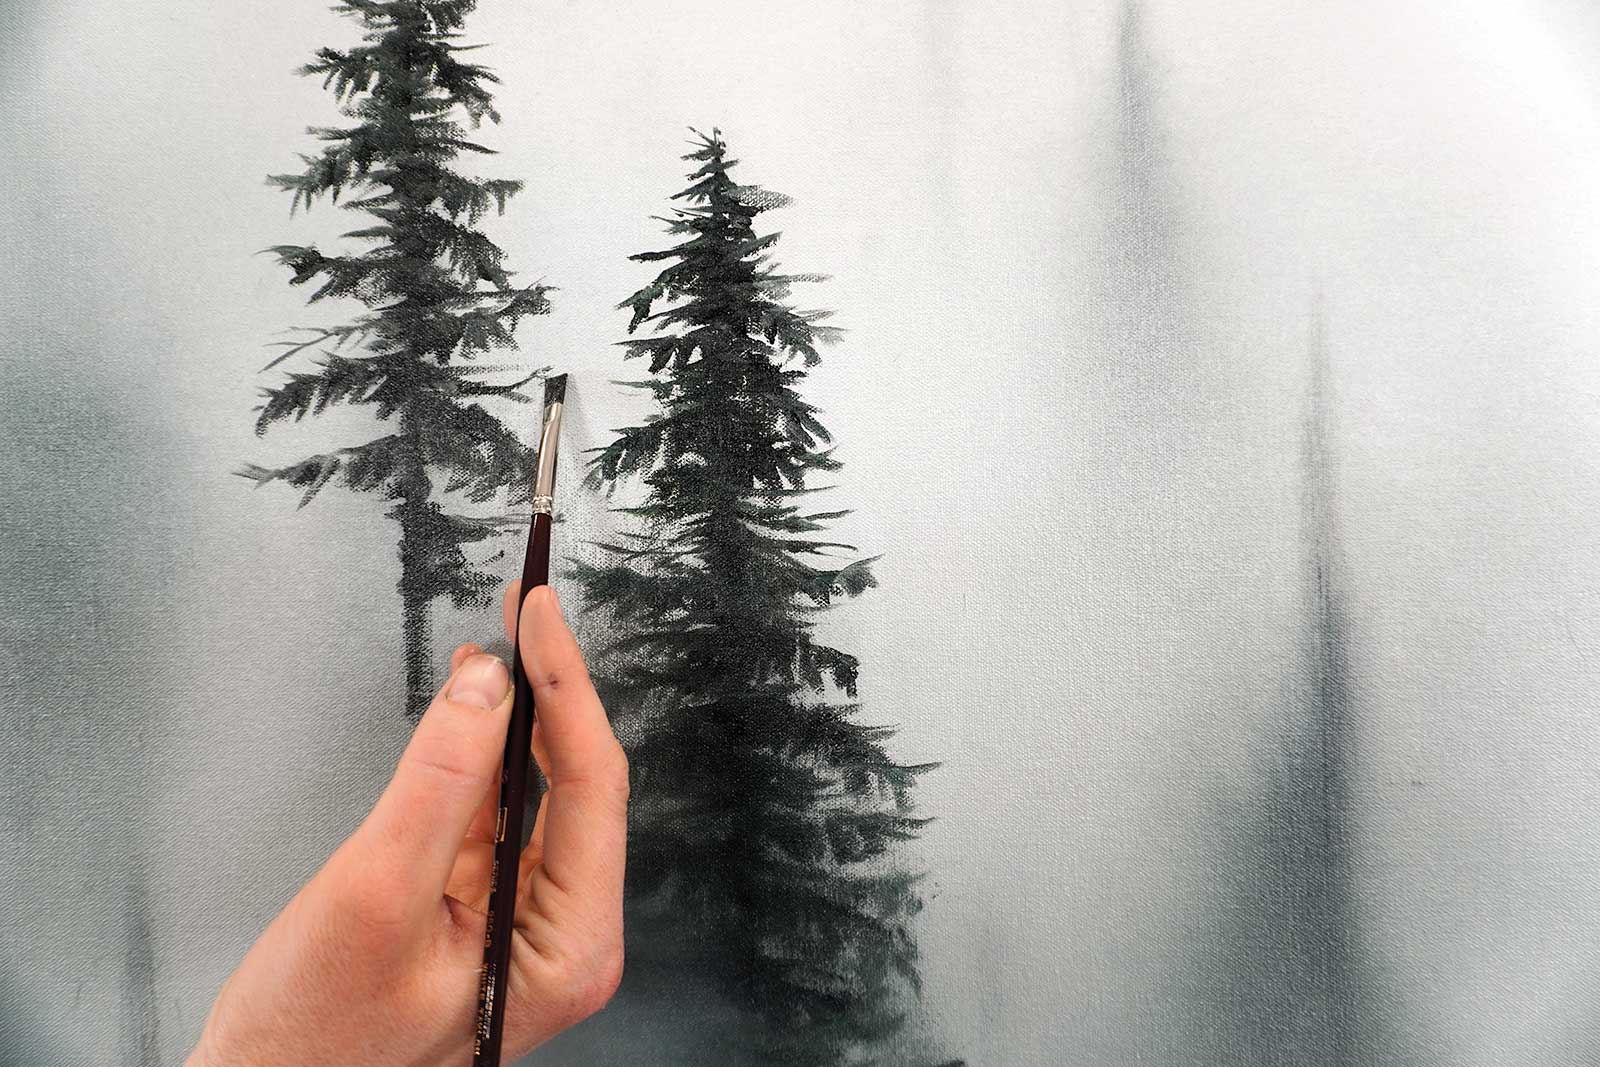
With a smaller brush, start building the middle layer of trees. Use all of the greens, german earth and indigo to find a nice deep color. Do not use any medium.
 Stage 5
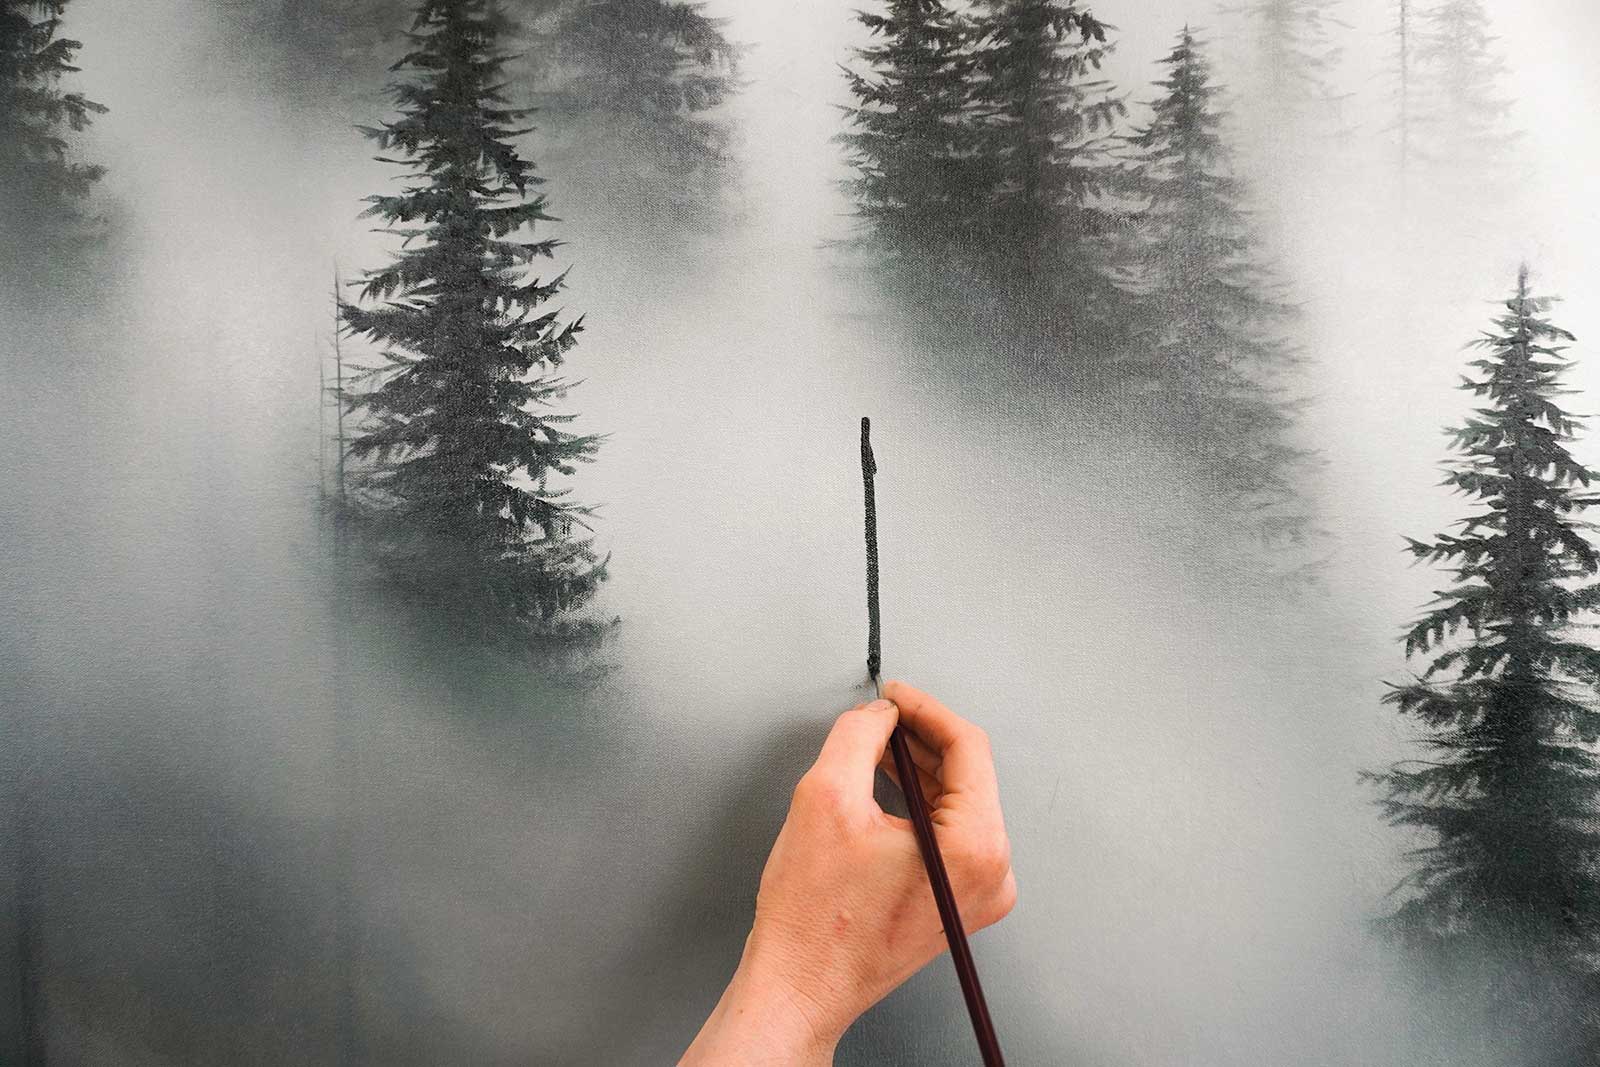
Stage 5 Creating Depth
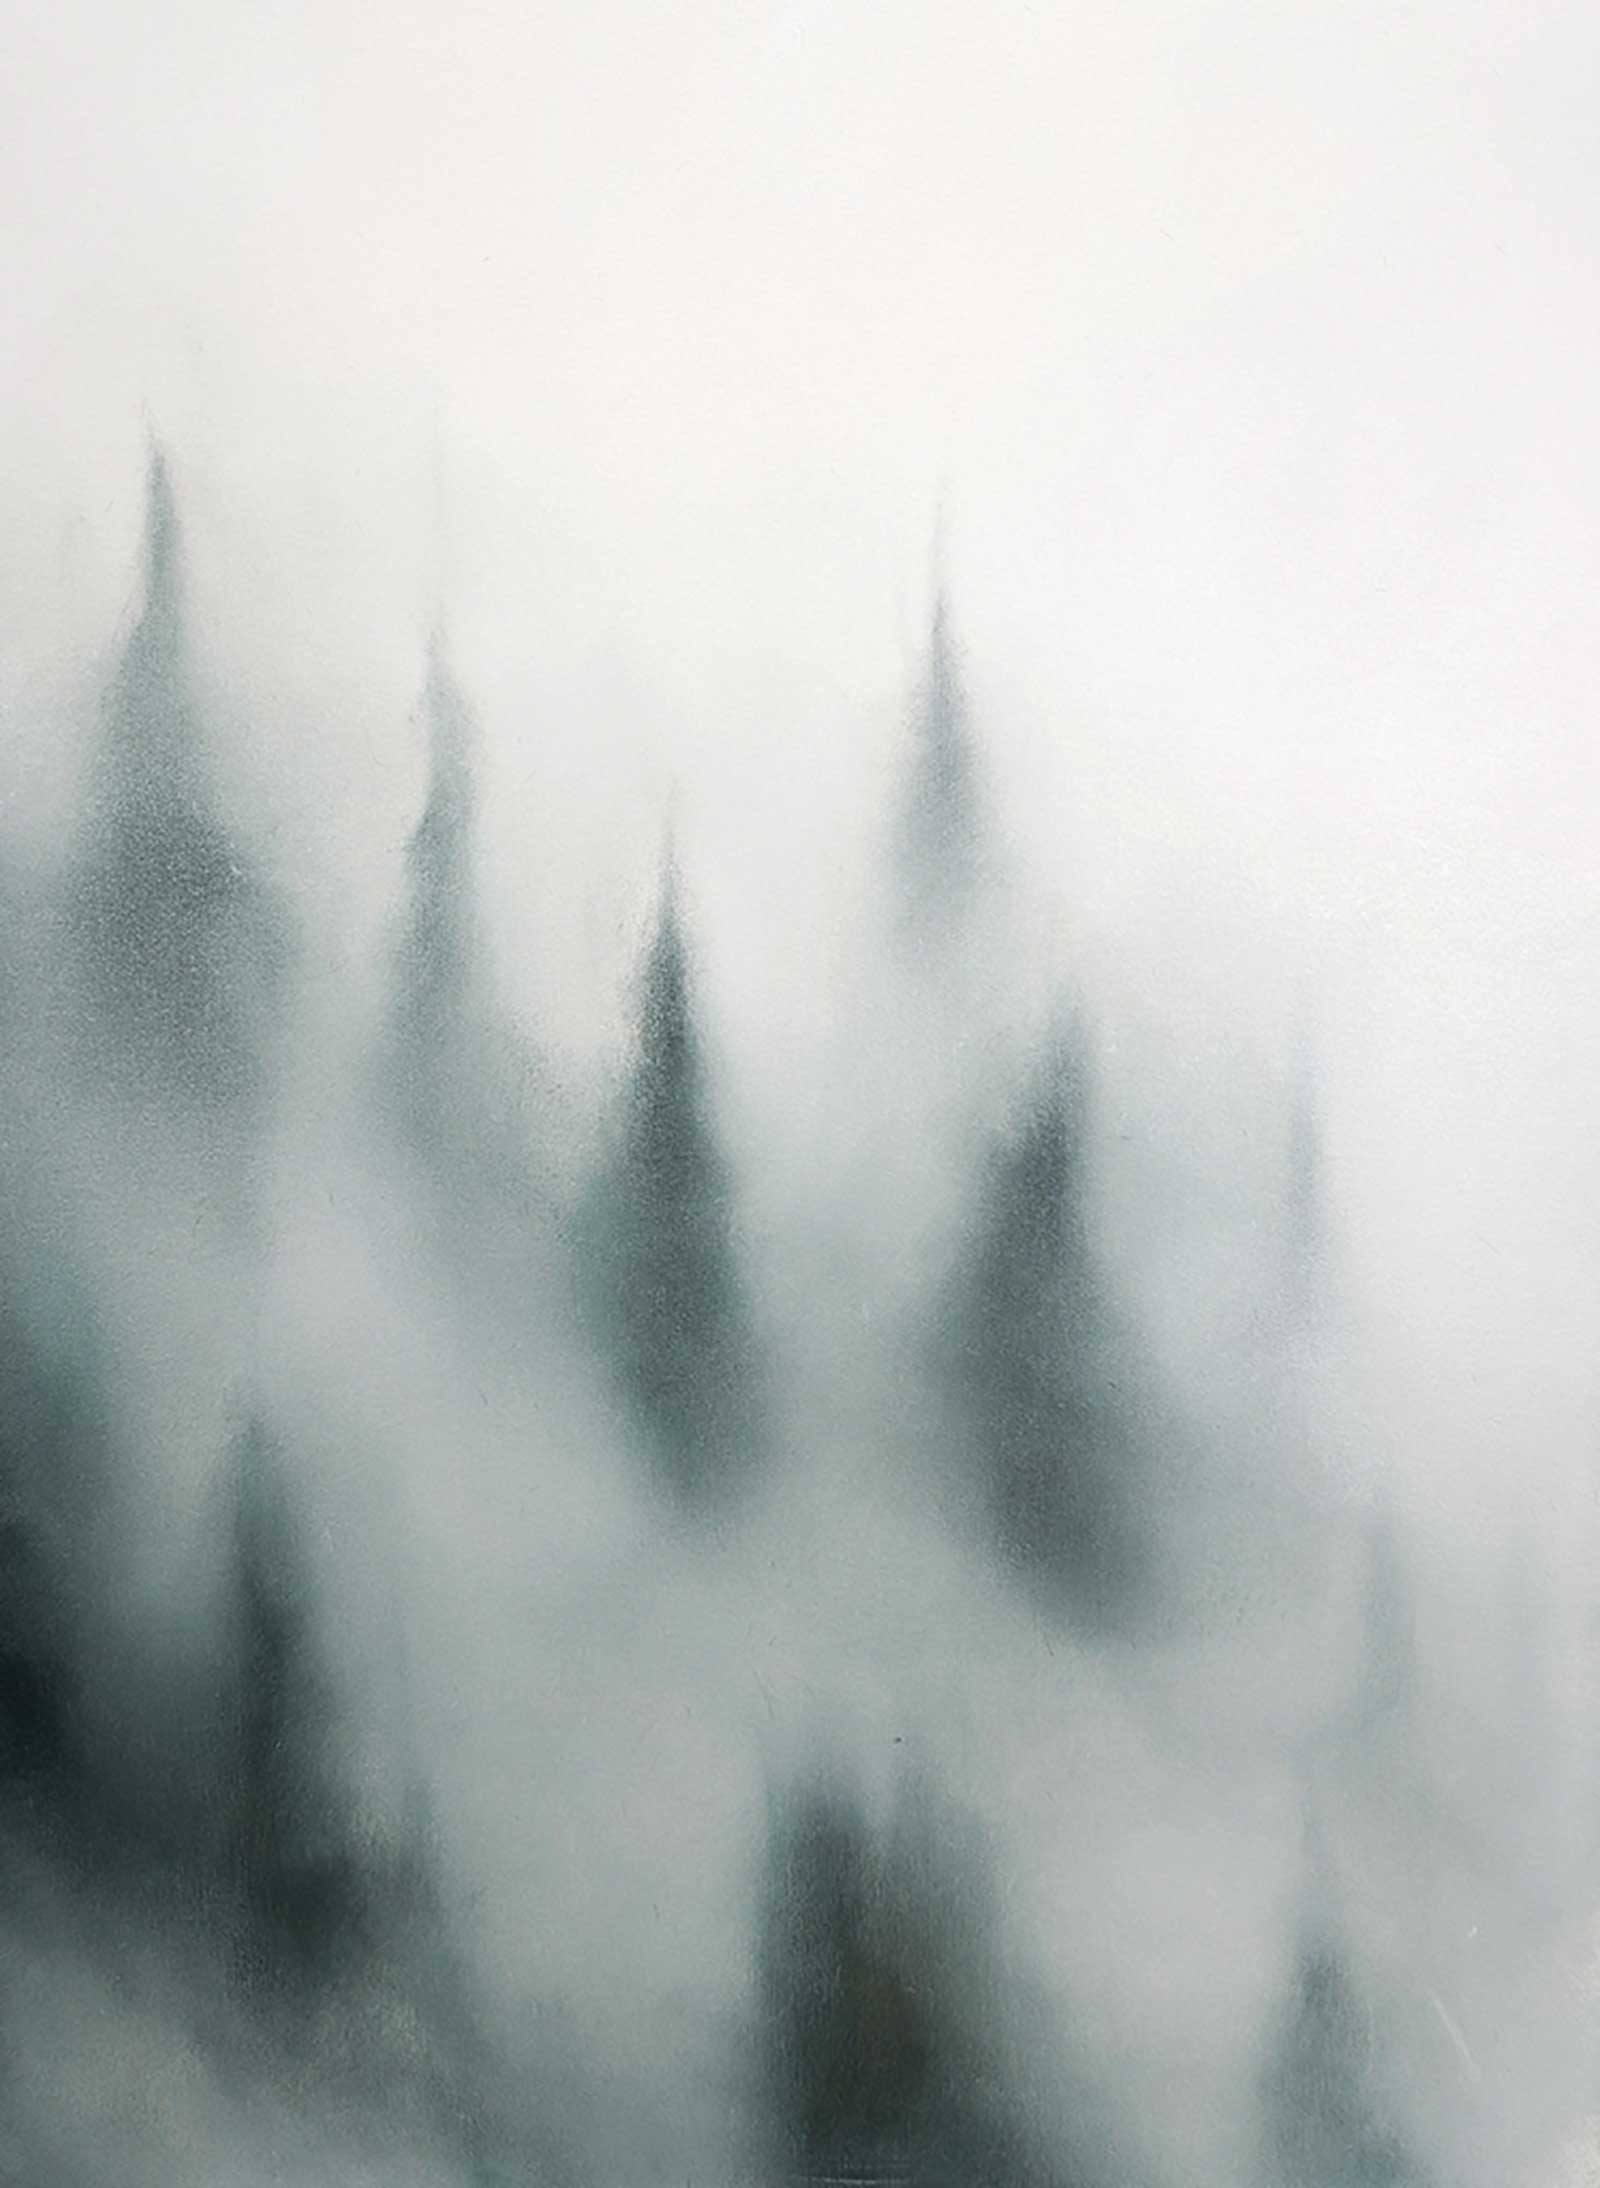
Be sure to stagger your trees to create depth and interest within your scene. Leave space between different sections so that you can pull the mist down into the various layers seamlessly.
 Stage 6
Stage 6 Creating a Gentle Transition
Take your blending brush and in very gentle circular motions soften the transition between the tree base and the mist. Gently pull the brush beyond the tree to create a subtle shadow.
 Stage 7
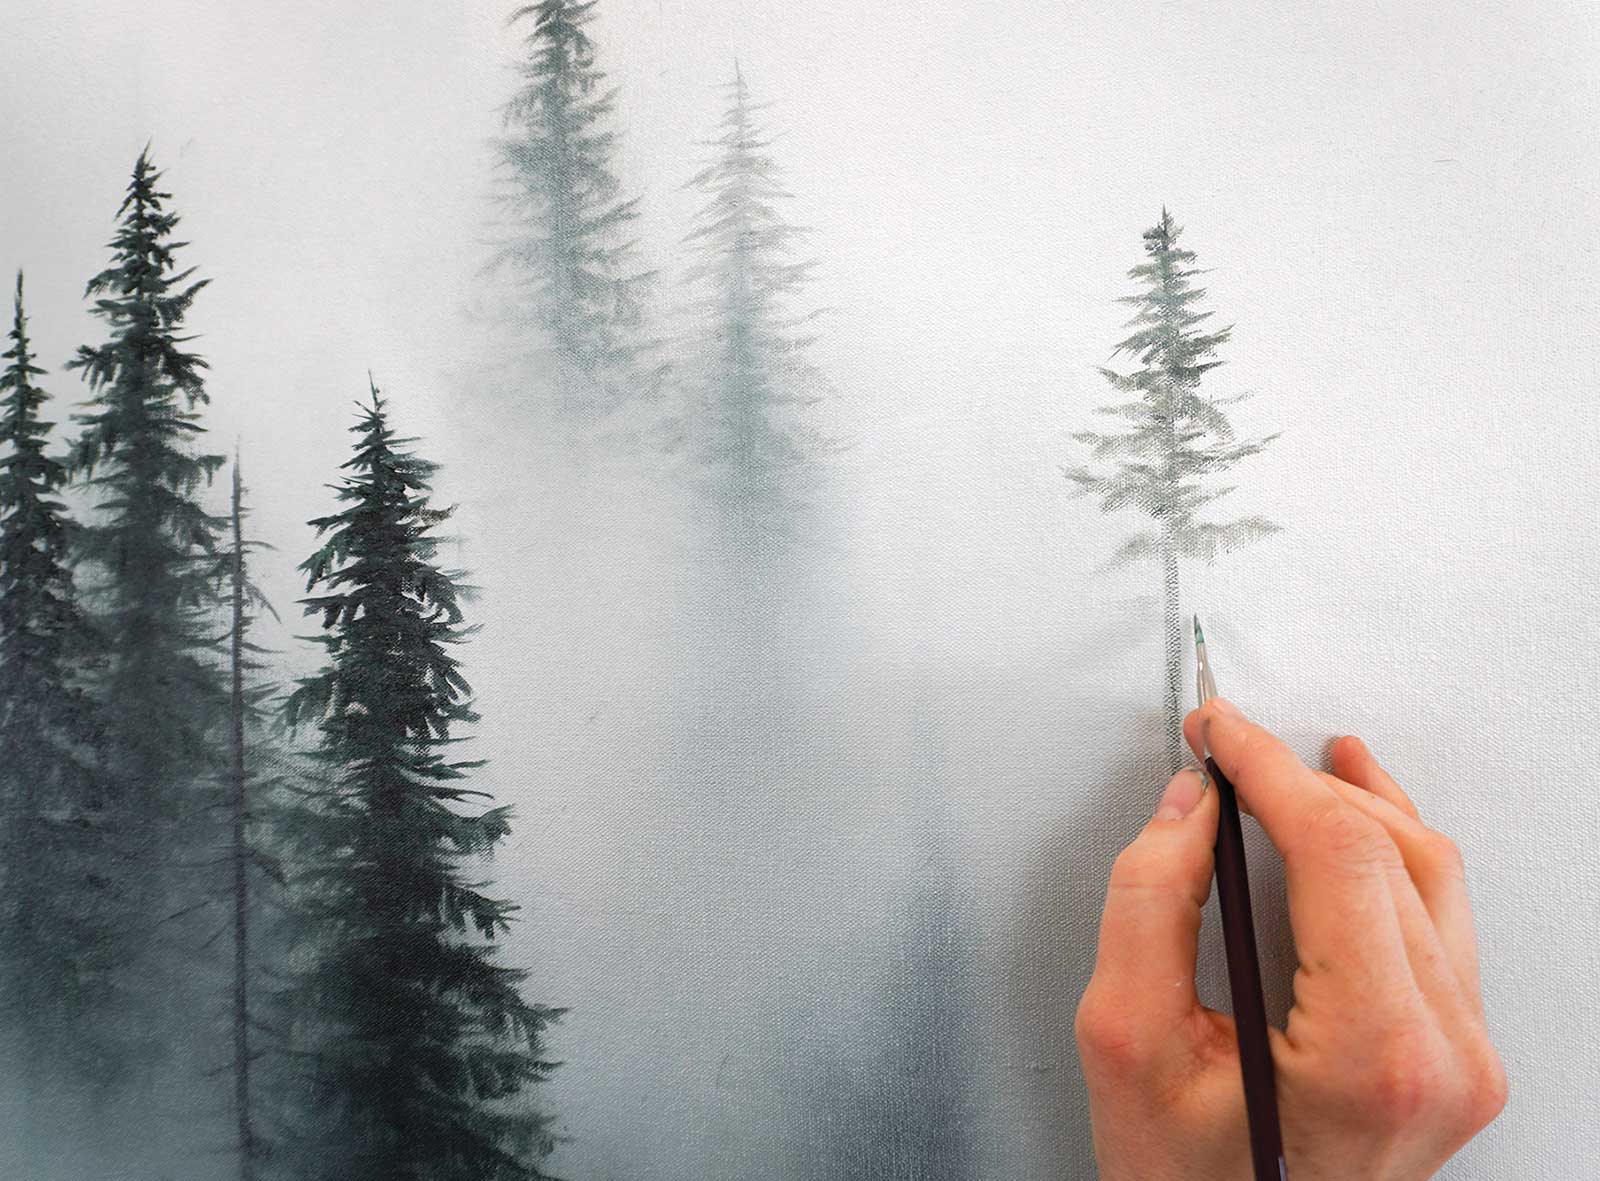
Stage 7 Treetops
Add white to your block-in color and create hints of tree tops in the distance. Take a fresh blending brush and use a little bit of white to gently push them into the mist.
 Stage 8
Stage 8 Rework If Needed
If you use too much pressure while blending and lose the definition of your trees, just paint the tree again and blend it a little more gently. This is my favorite thing about oil paint.
 Stage 9
Stage 9 Continue Building Layers
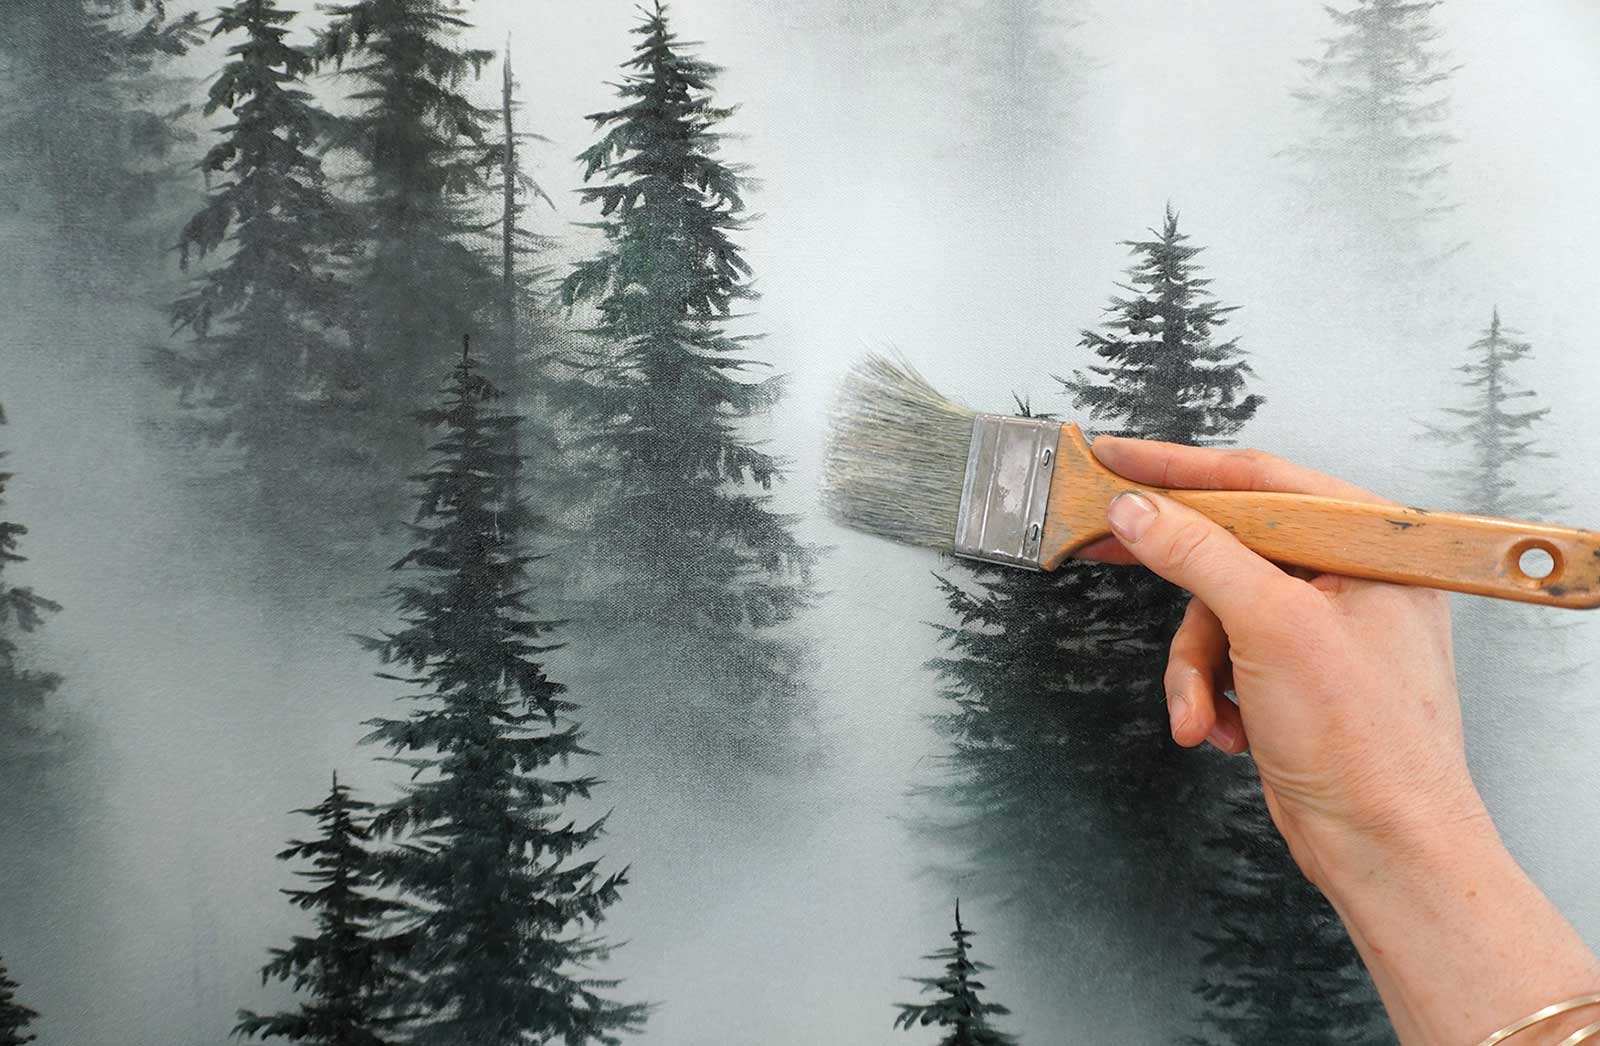
Keep building up layers of trees making them darker as they move closer to the foreground. Always work your brush in the direction that you want the mist to flow when blending.
 Stage 10
Stage 10 Foreground
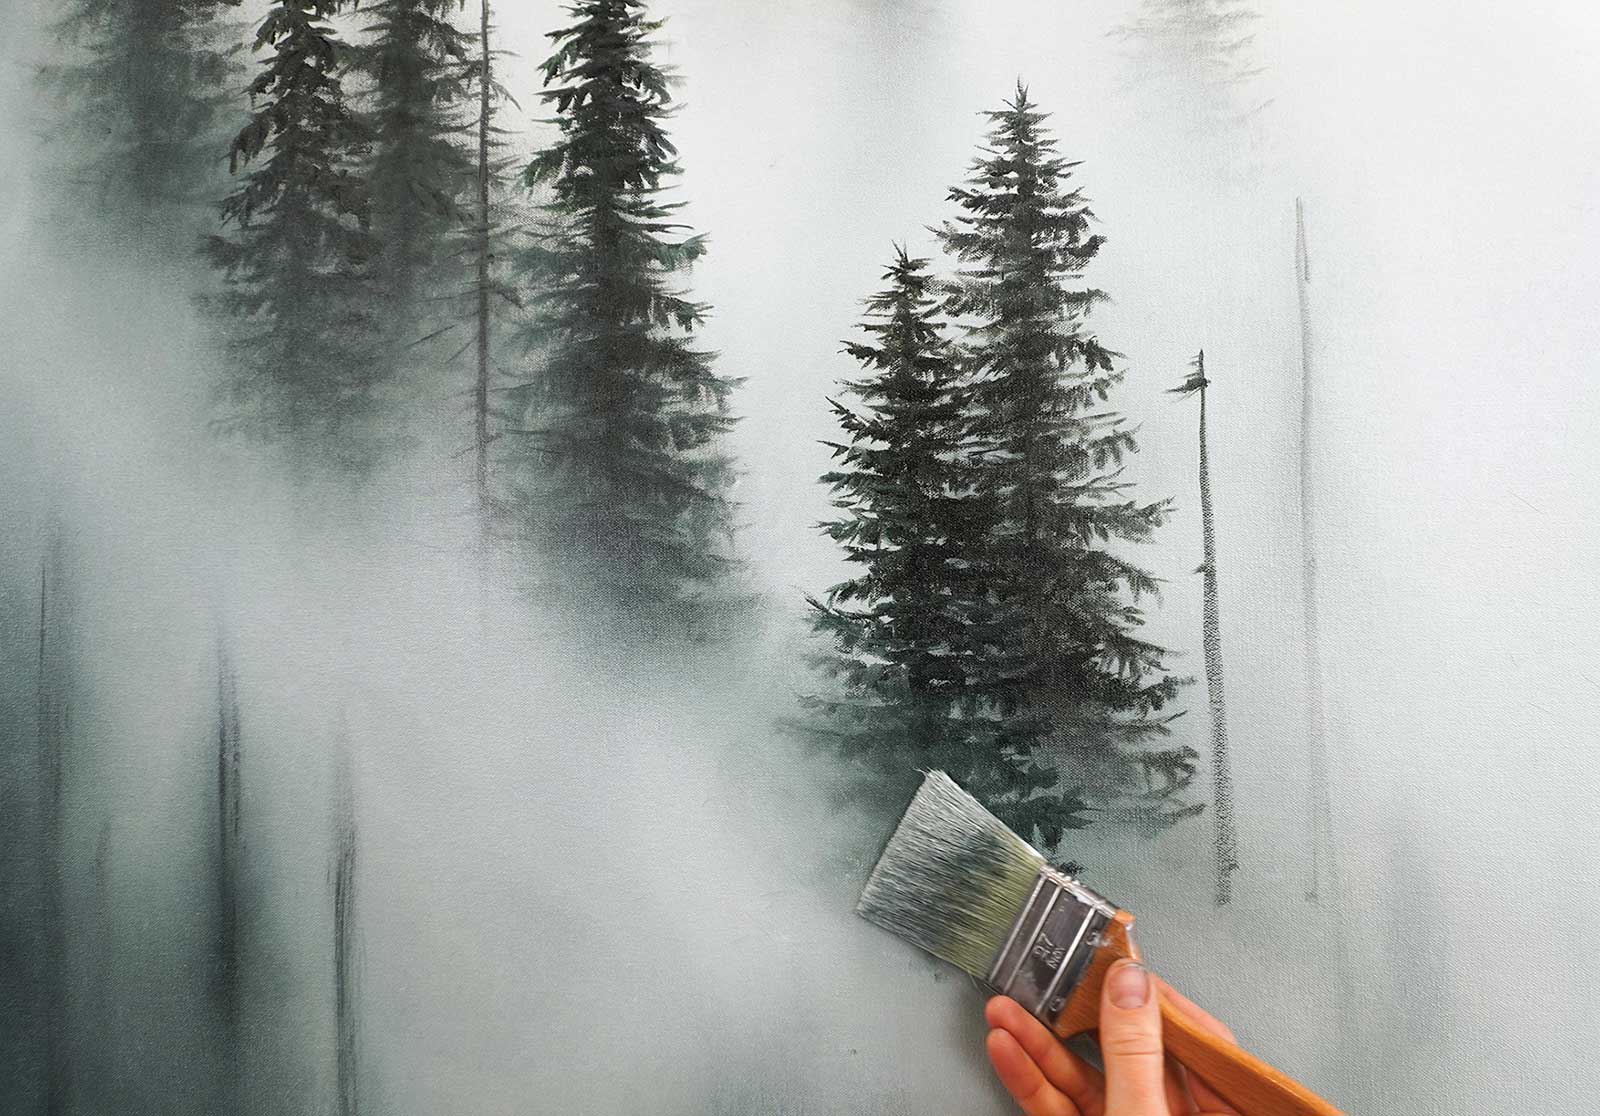
I always add more german earth to the trunk when I get to the final trees in the foreground. I also make sure there is a more prominent green on the branches too.
 Stage 11
Stage 11 Natural Imperfections
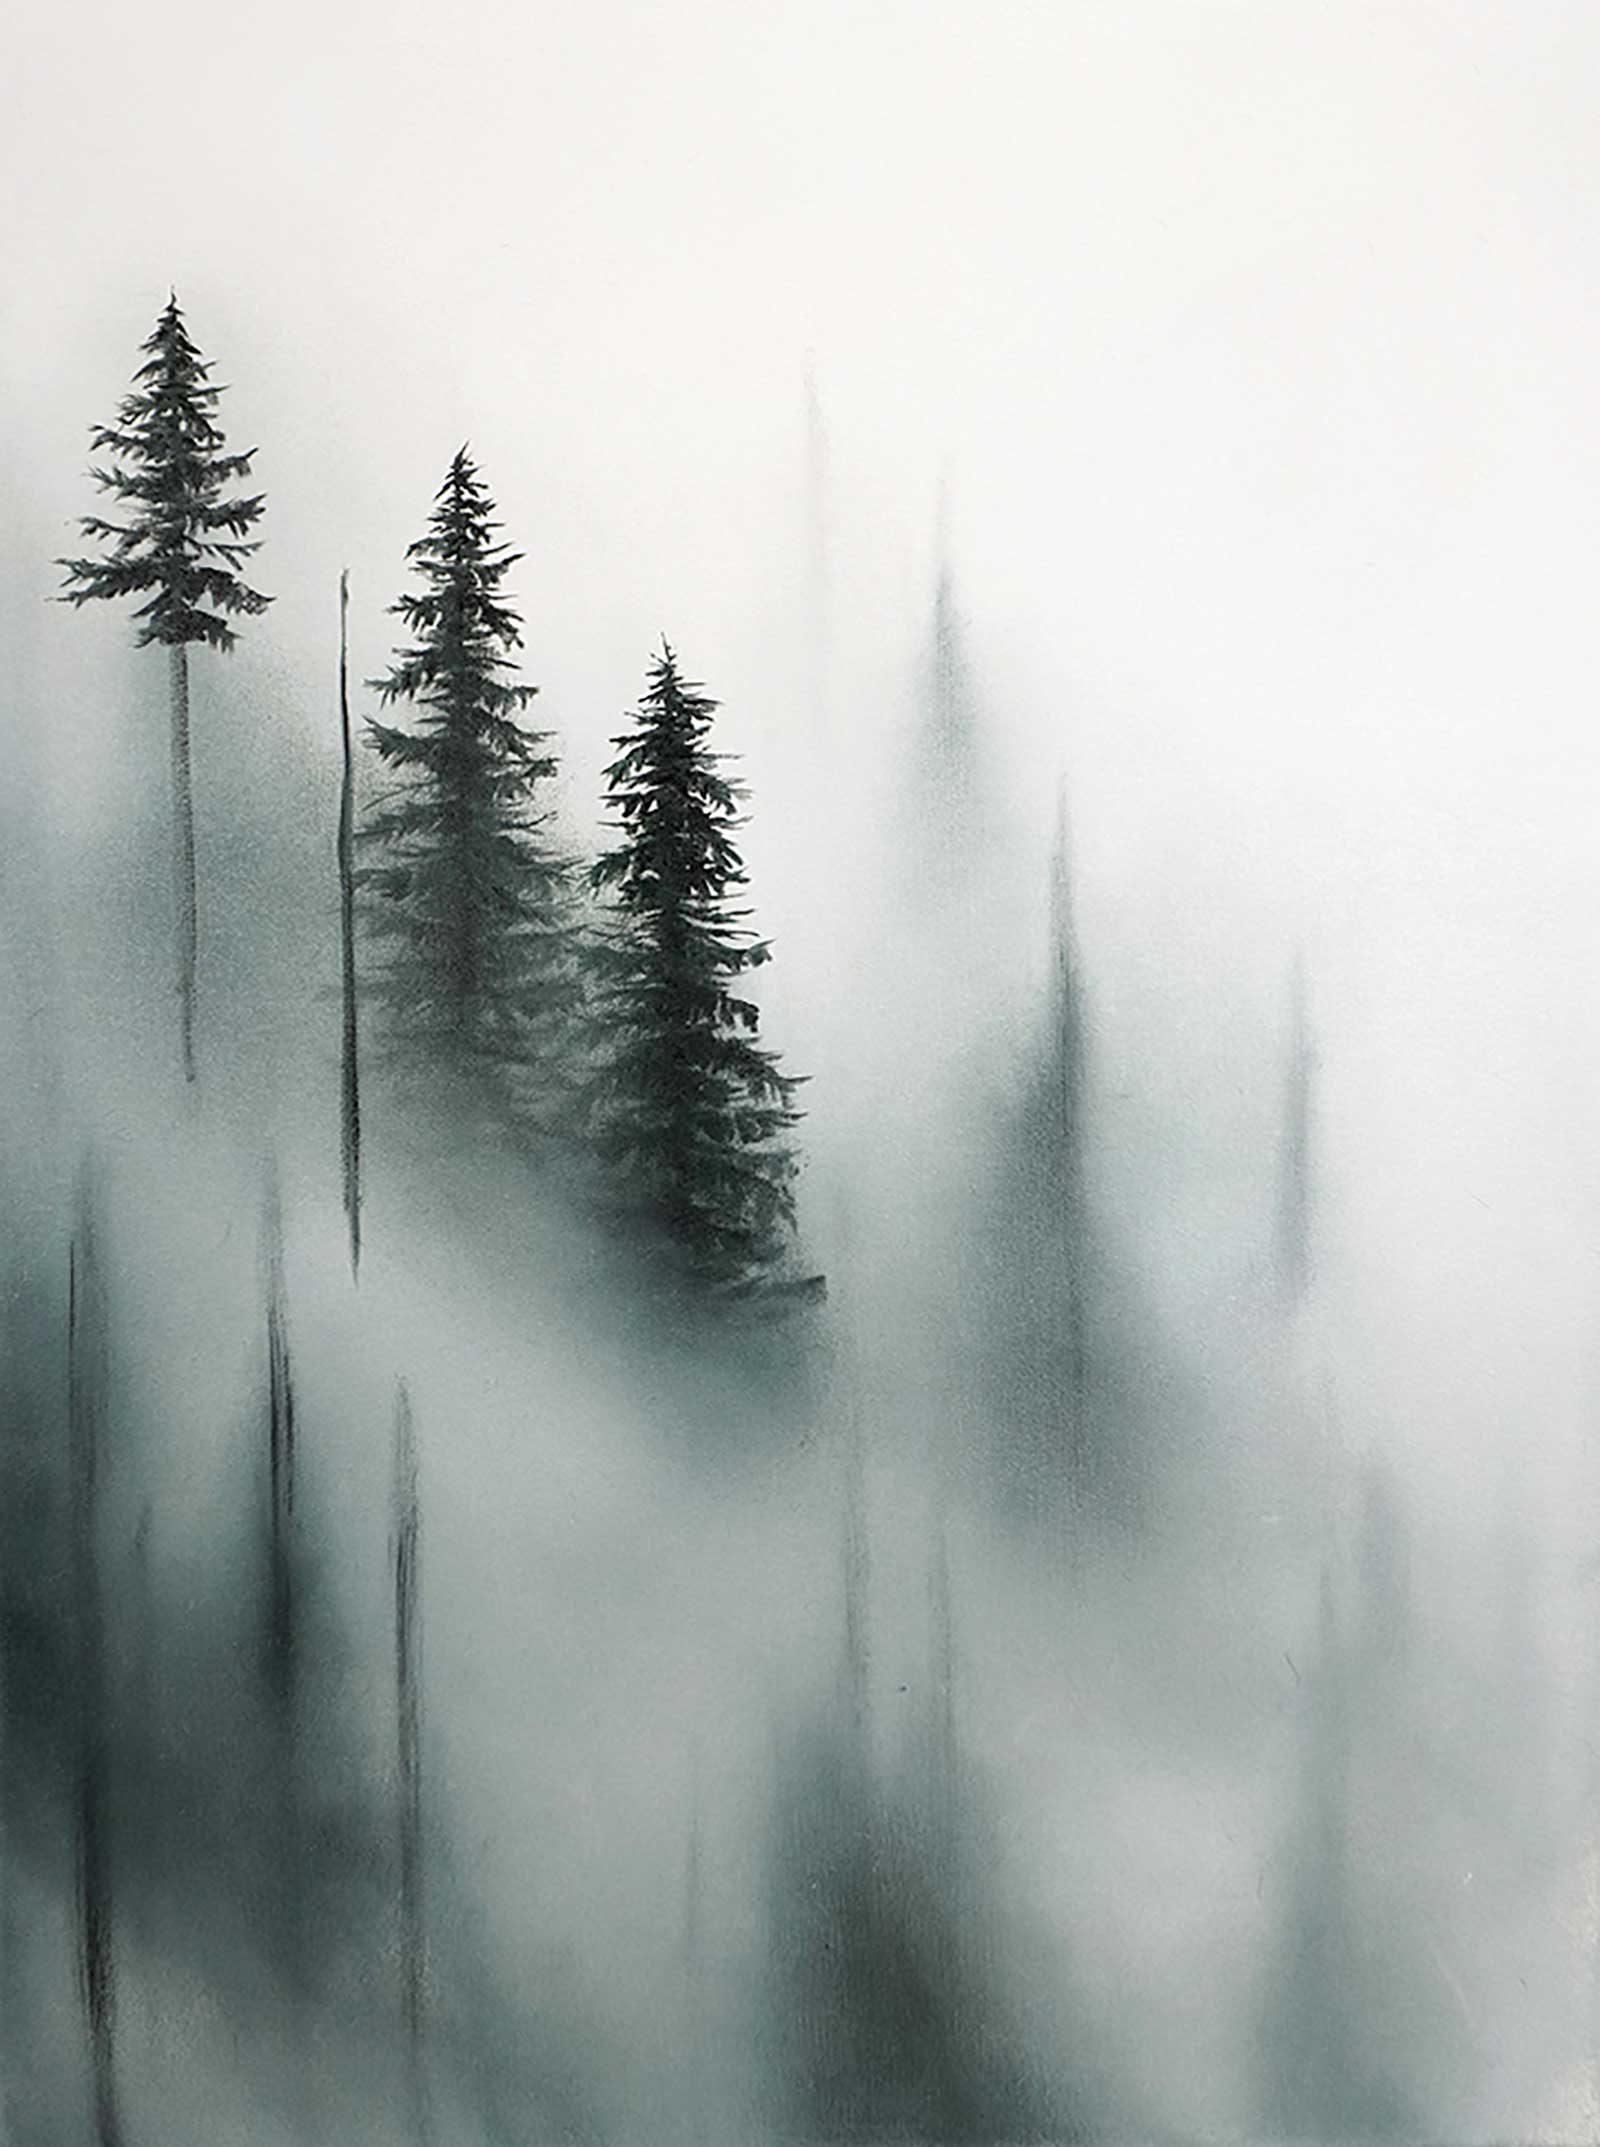
Add imperfect trees at varying heights throughout each layer. Stand back and see if the painting feels balanced and then add more trees if needed.
 Stage 12
Stage 12 Making the Mist Feel Real
Add white to a fresh brush and begin gently blending the mist sections from the top down towards the bottom in a continuous motion. This will make your mist look realistic.
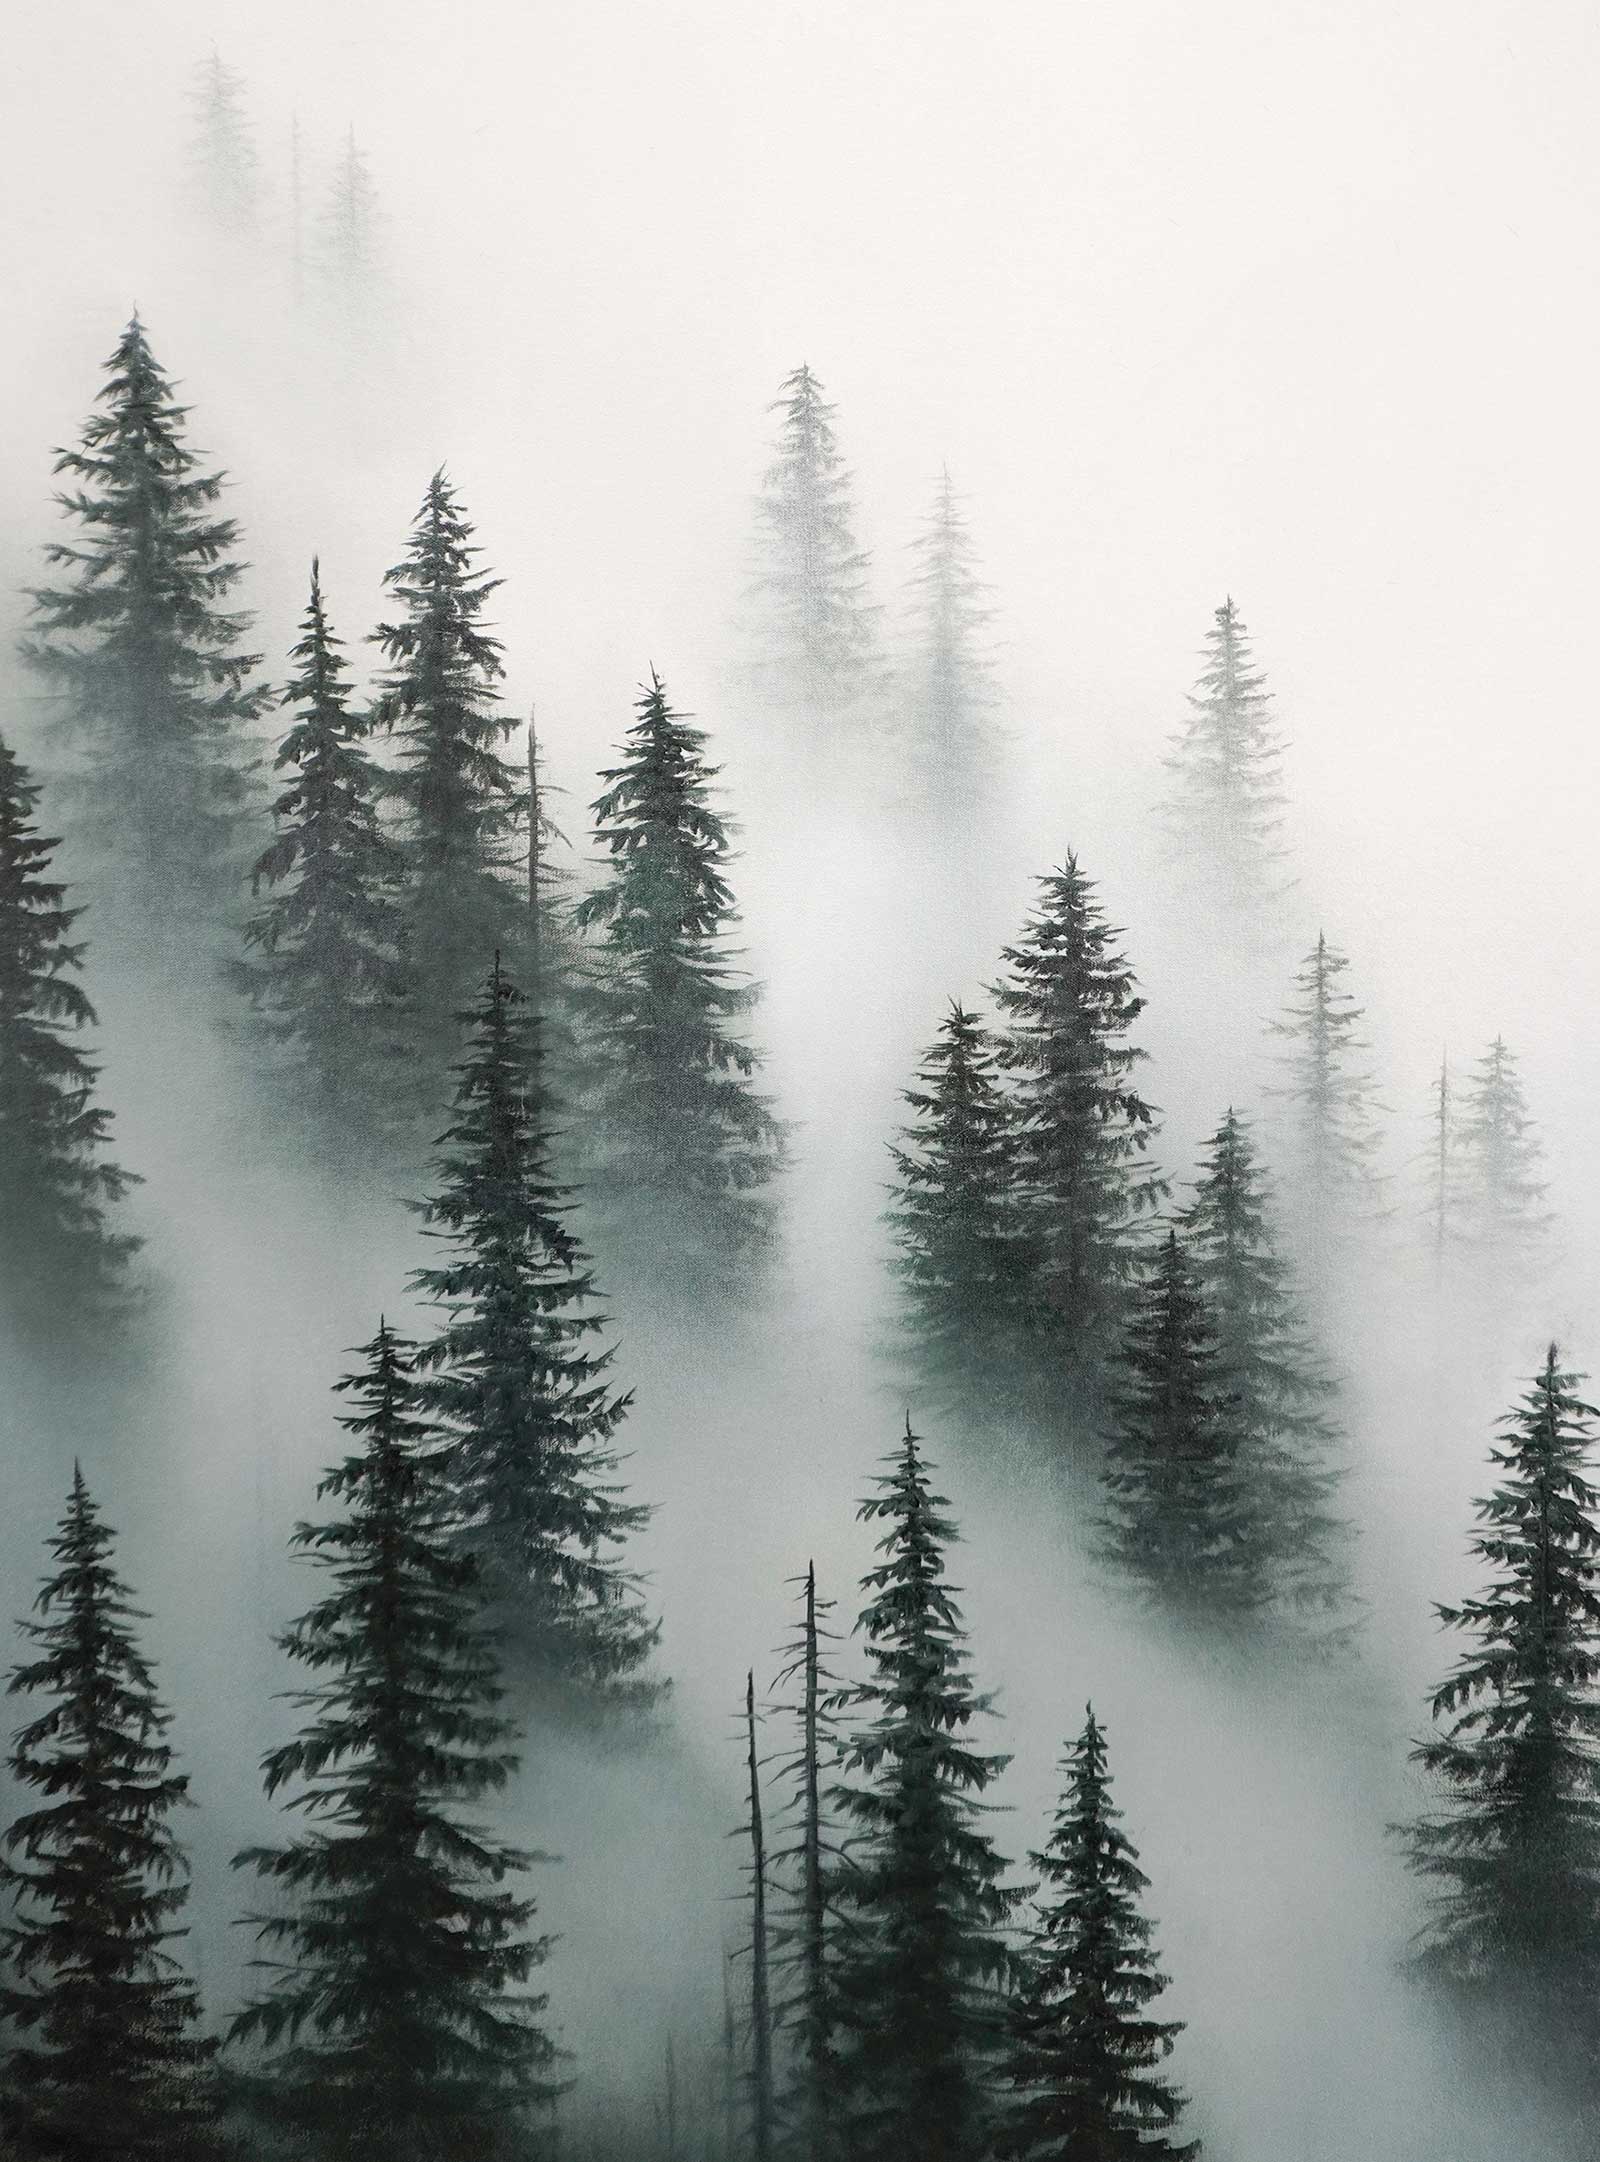 Stage 13
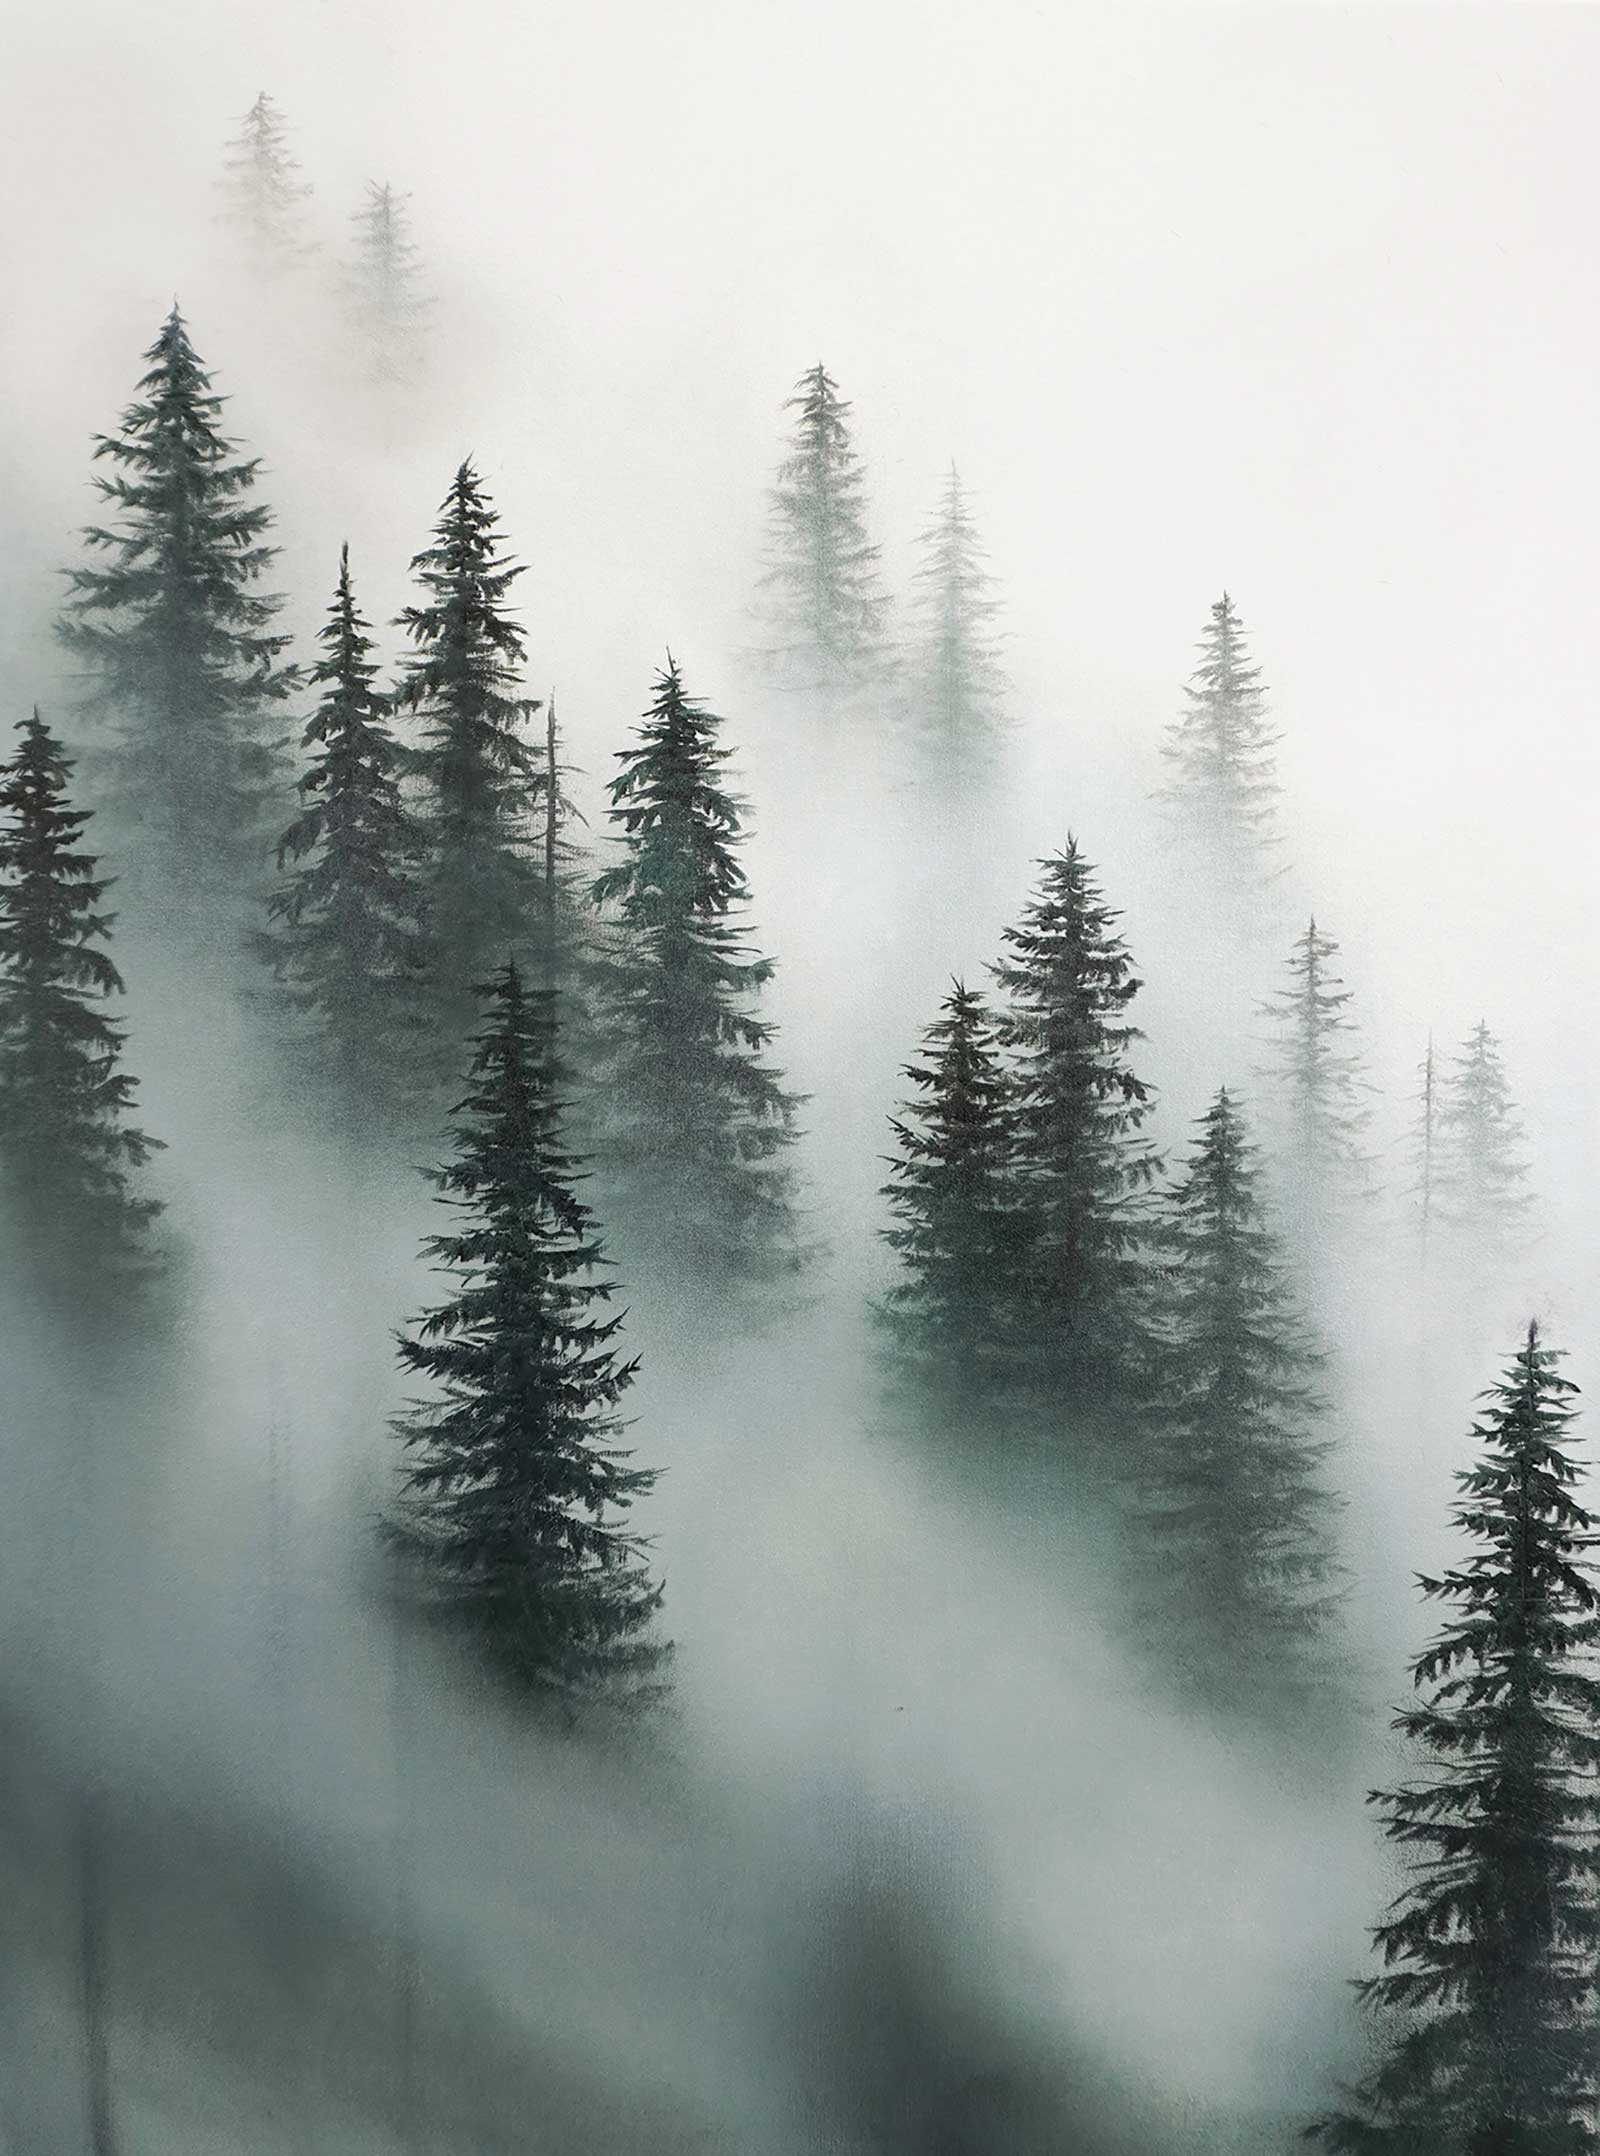
Stage 13 Finished Artwork
Morning Stillness, oil on canvas, 40 x 30" (101 x 76 cm)
About the Artist
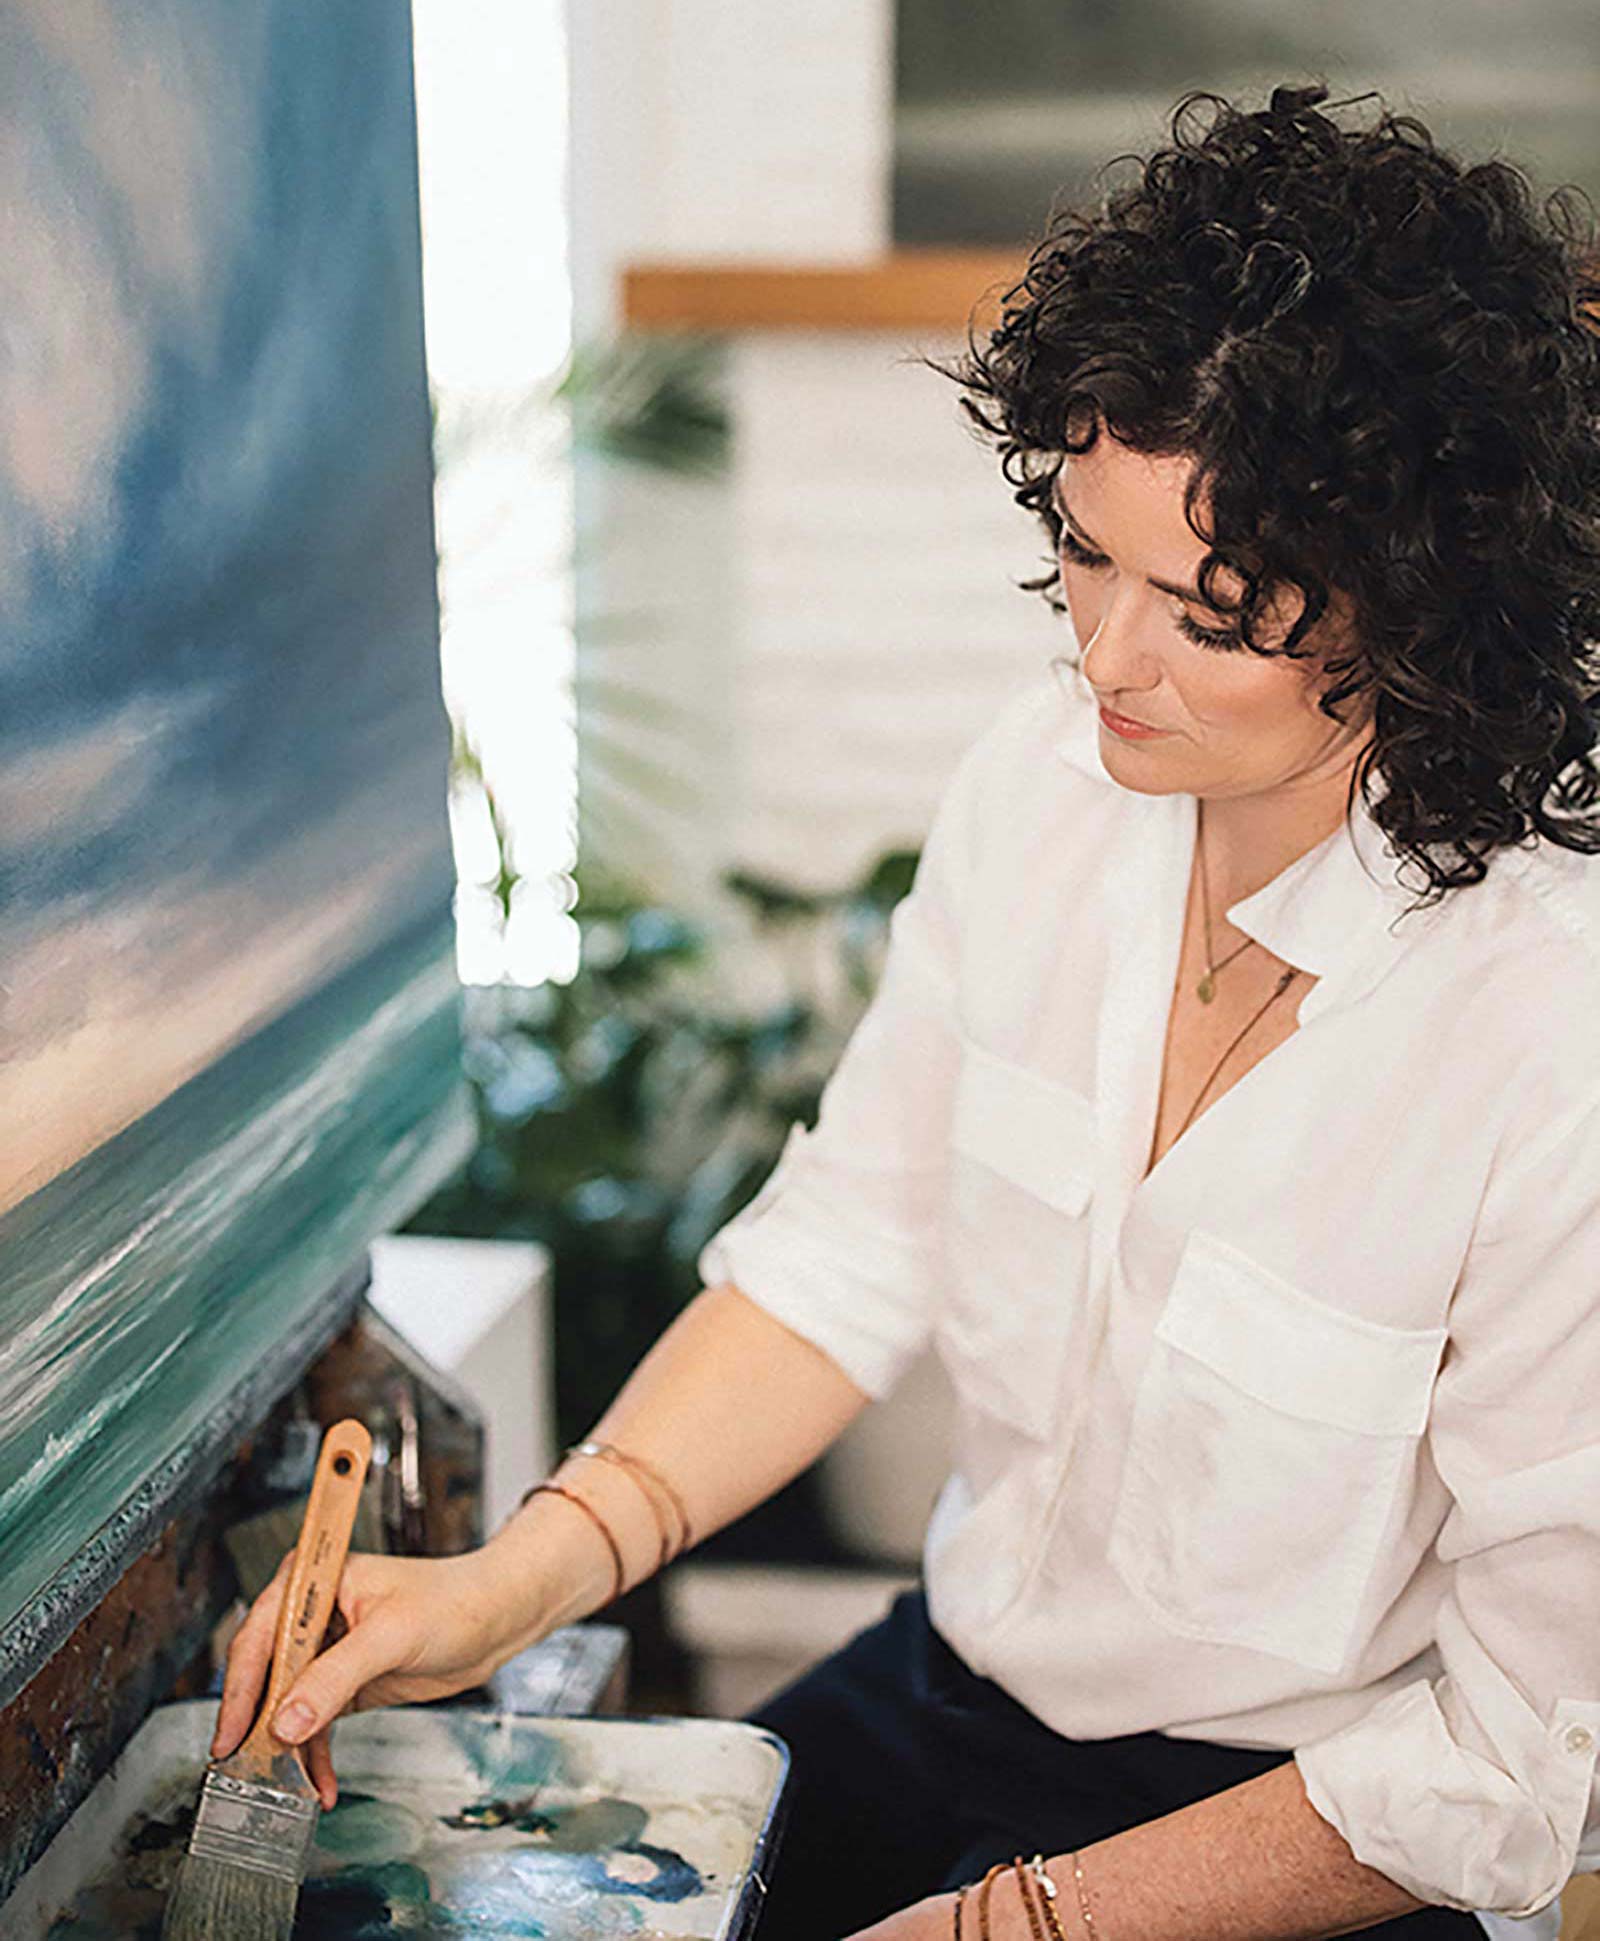 Sarah Mckendry
Sarah Mckendry is a self-taught professional artist. Each and every painting that has left her easel can be found in beautiful homes all around the world and the artist is continuously grateful for this. She has made it her mission to share everything that she has learned on her journey with up-and-coming artists through exciting online tutorials, and the joy that she gets from helping others soar to new heights is something the artist says can’t be put into words. Anyone interested can view Mckendry’s original paintings, limited edition prints and sign up for her classes through her website.
Contact at
www.sarahmckendry.ca