


W hen a nature magazine asks me to illustrate a story about recent dinosaur discoveries, I need to create realistic pictures of these extinct animals. My oil paintings will appear in the context of a magazine known for its wildlife photos, so the paintings have to fit in and feel believable. The following 10 strategies are useful not only for painting dinosaurs, but for visualizing any kind of imaginary scene.
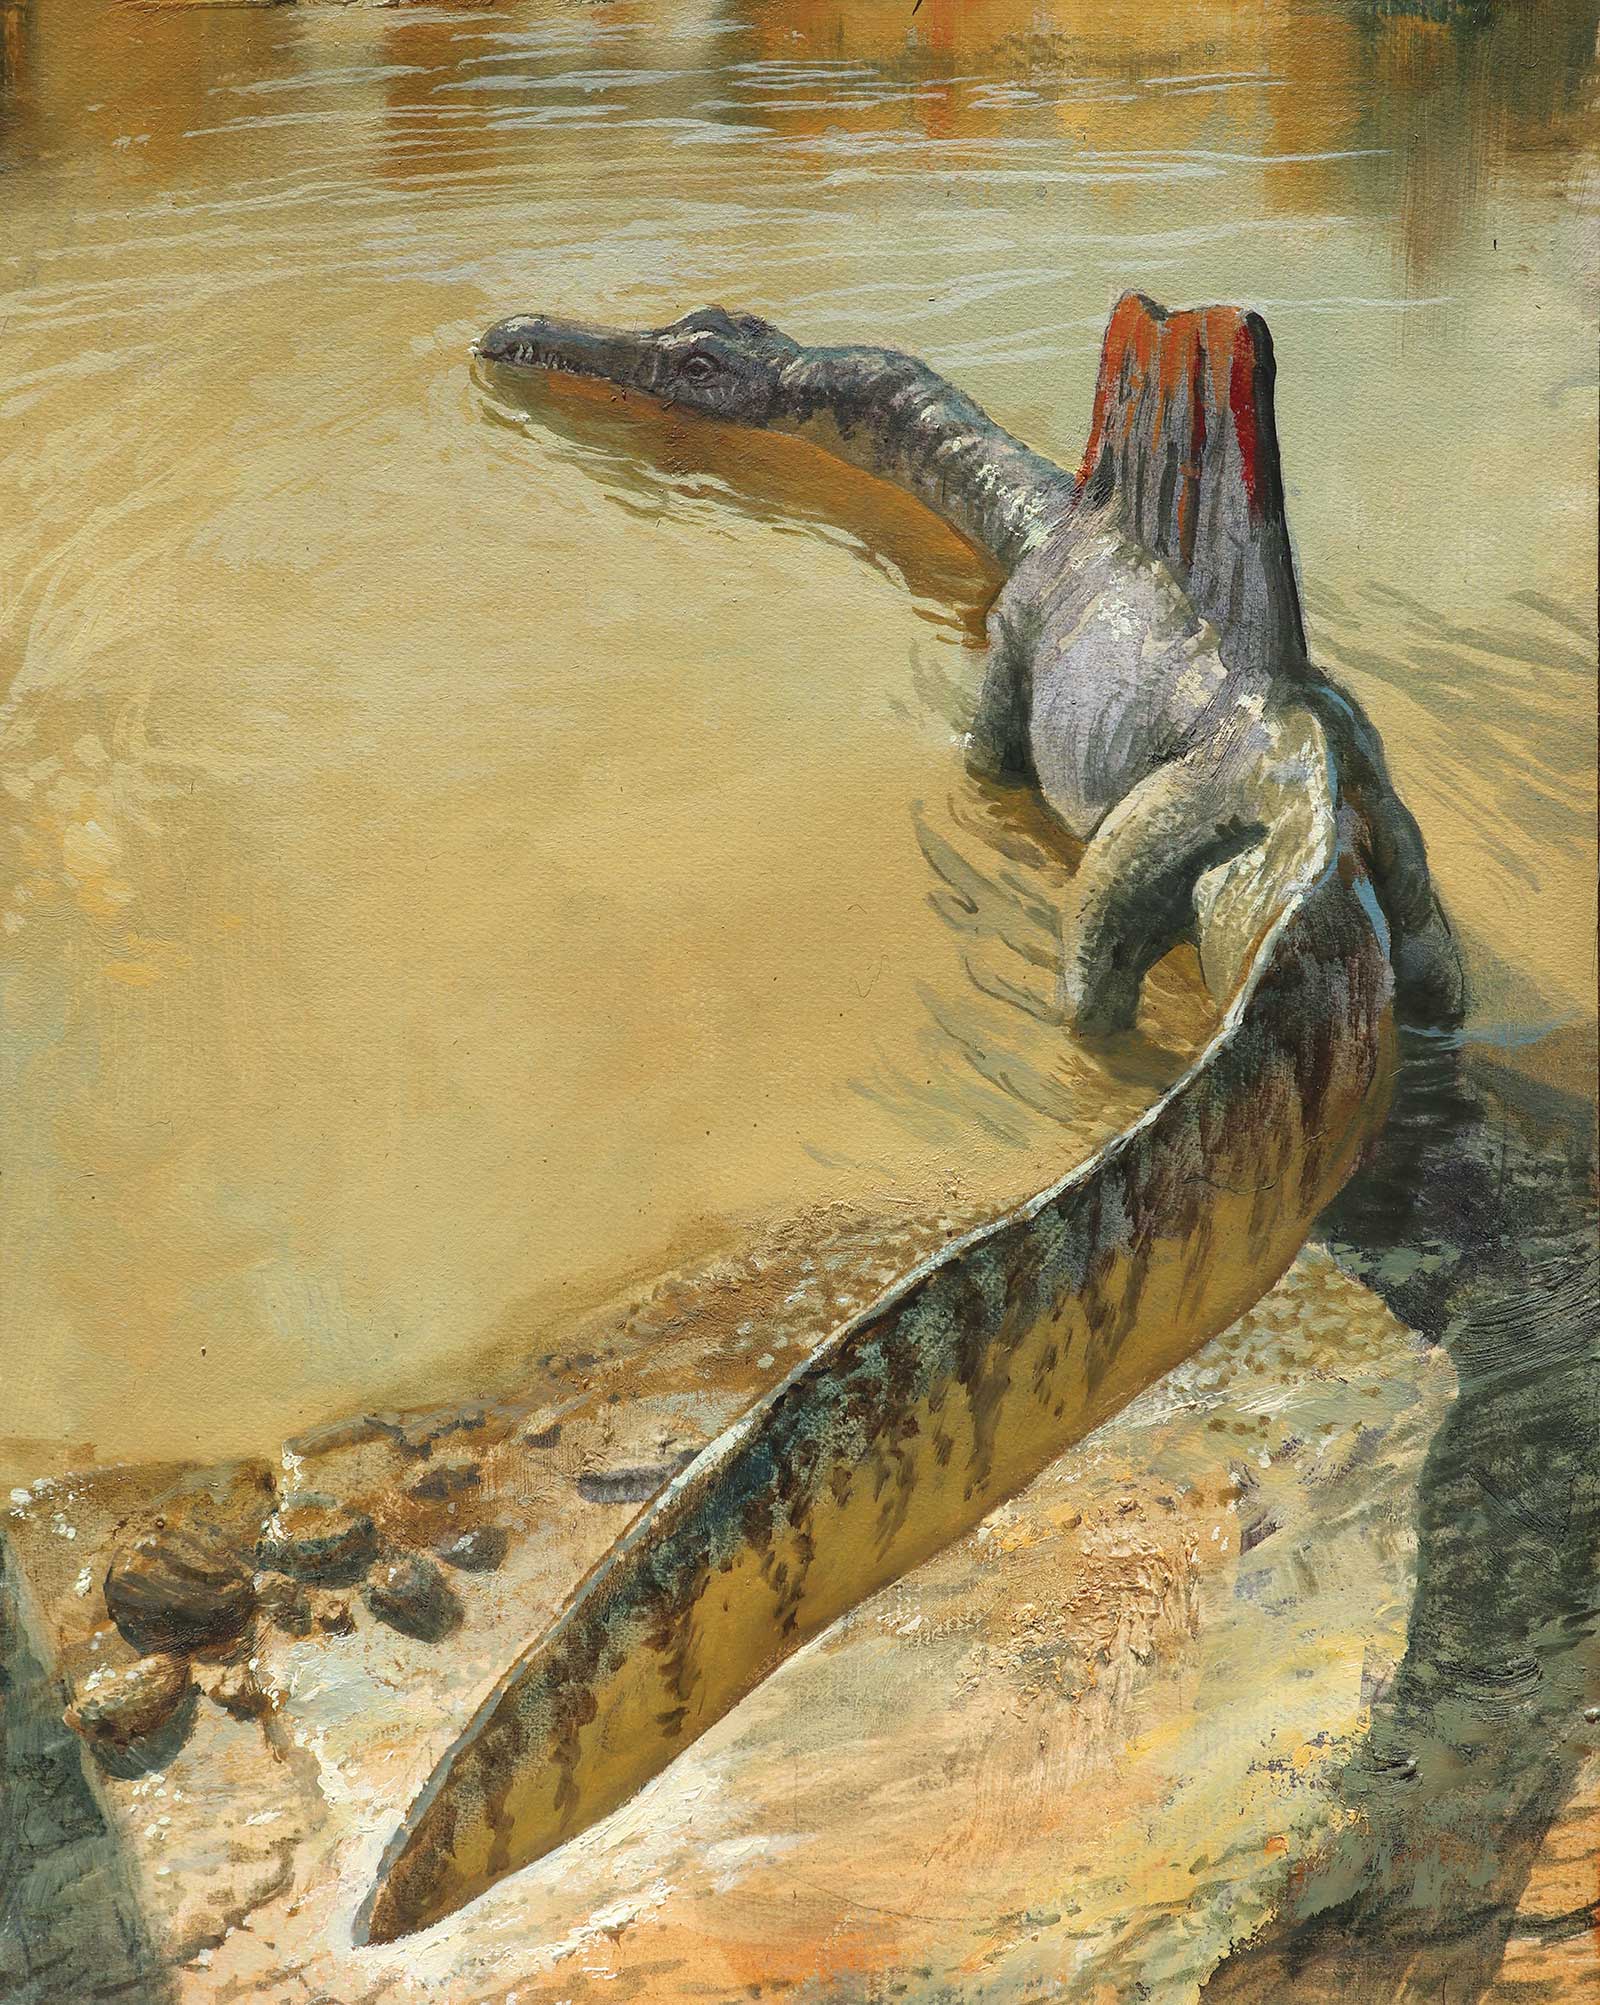
Spinosaurus, oil on board, 13 x 10" (33 x 25 cm)
1. Choose an interesting angle
This dinosaur is called Thanatotheristes, which means “reaper of death.” In the small color sketch, I try an unusual angle. The typical choice is a straight side view, but that may not be the best way to tell the story. In this case, I choose an eye level close to the height of the dinosaur as it runs toward us. The light is coming from behind him, which makes it feel like he’s running through a clearing in the forest.
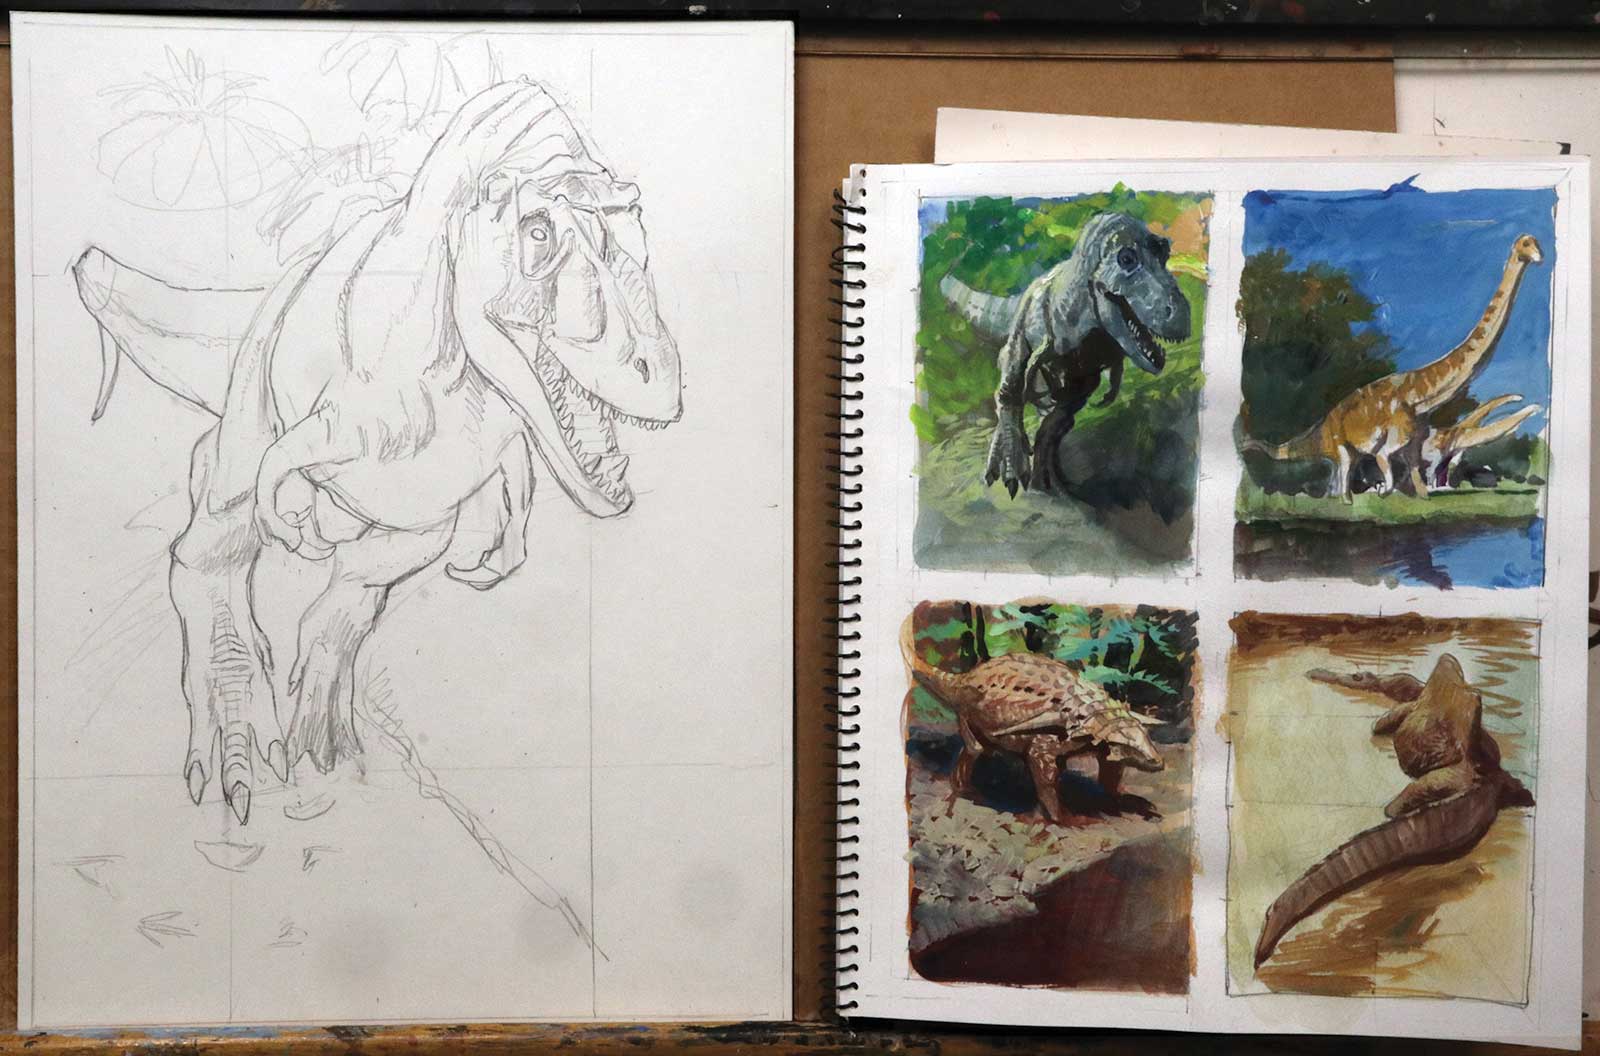
Line drawing, 13 x 10" (33 x 25 cm) and color sketches, pencil and gouache, 12 x 9" (30 x 22 cm)
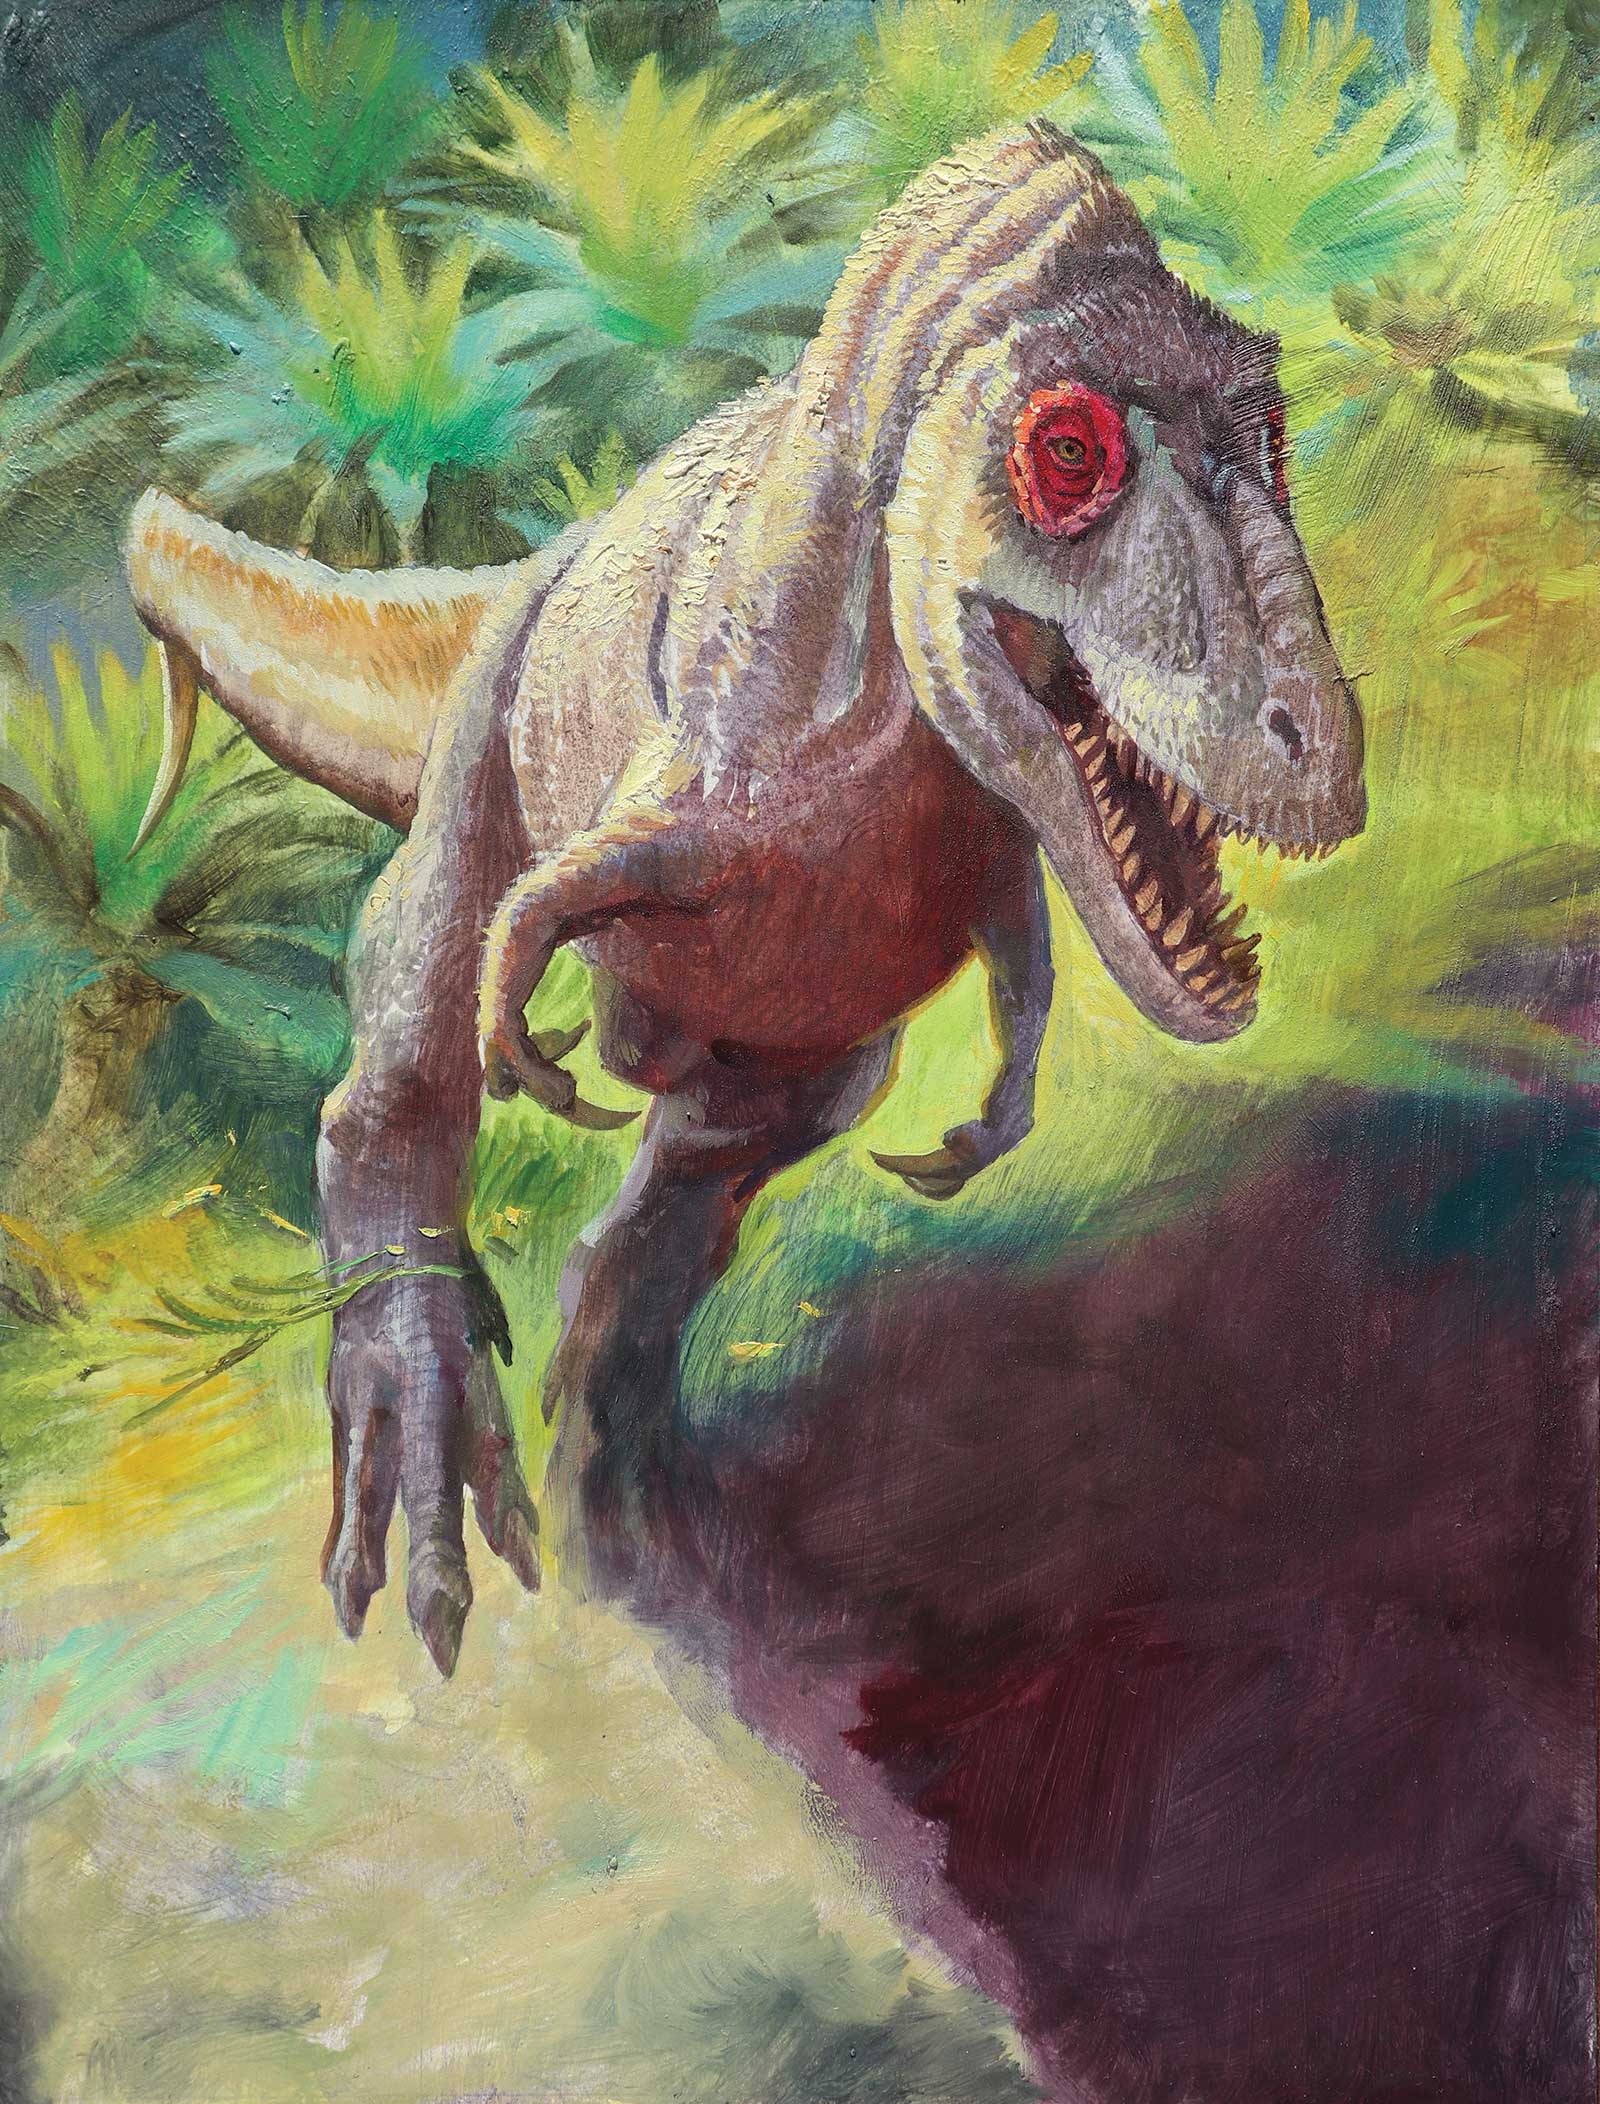
Thanatotheristes, oil on board, 13 x 10" (33 x 25 cm)
2. Plan with a color sketch
For each of the dinosaur paintings I create at least one small color sketch to plan the composition. For Thanatotheristes, I try out the idea of a light greenish color behind the head. I share the sketch with the art director so he knows what I’m planning. At last I’m ready to embark on the final painting, feeling more confident about my color choices. I lay out the pose on the illustration board by drawing the outline in pencil, then sealing the drawing with acrylic matte medium before proceeding with oil.
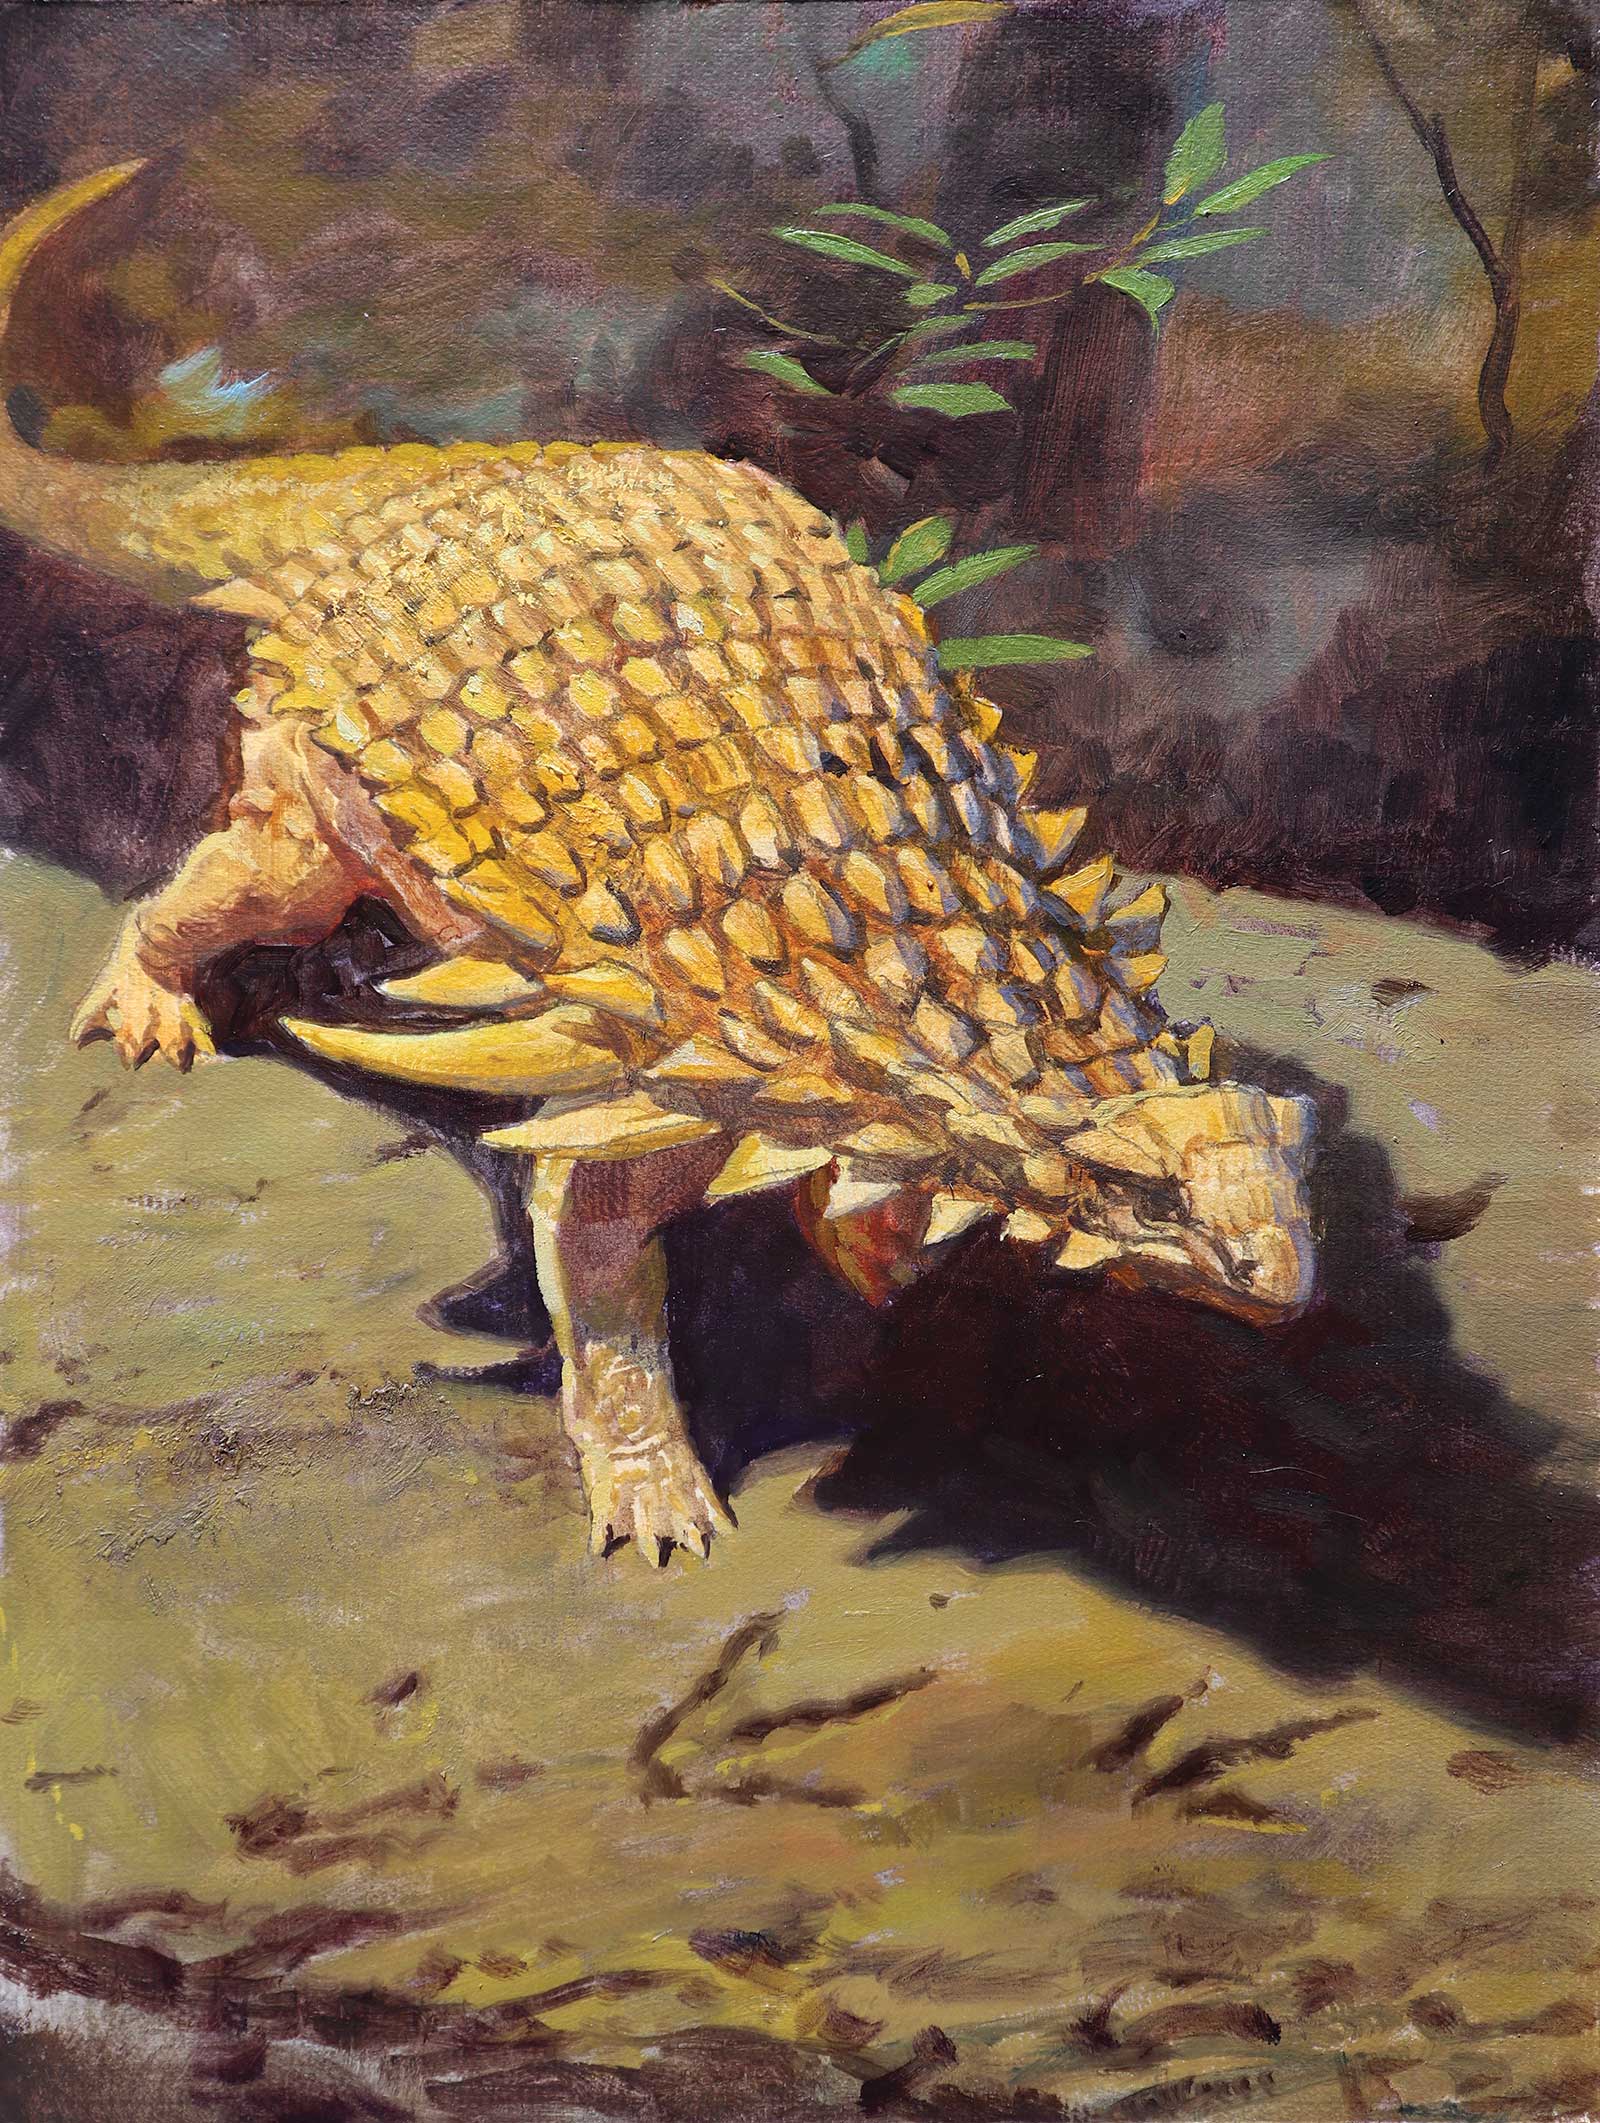
Borealopelta, oil on board, 13 x 10" (33 x 25 cm)
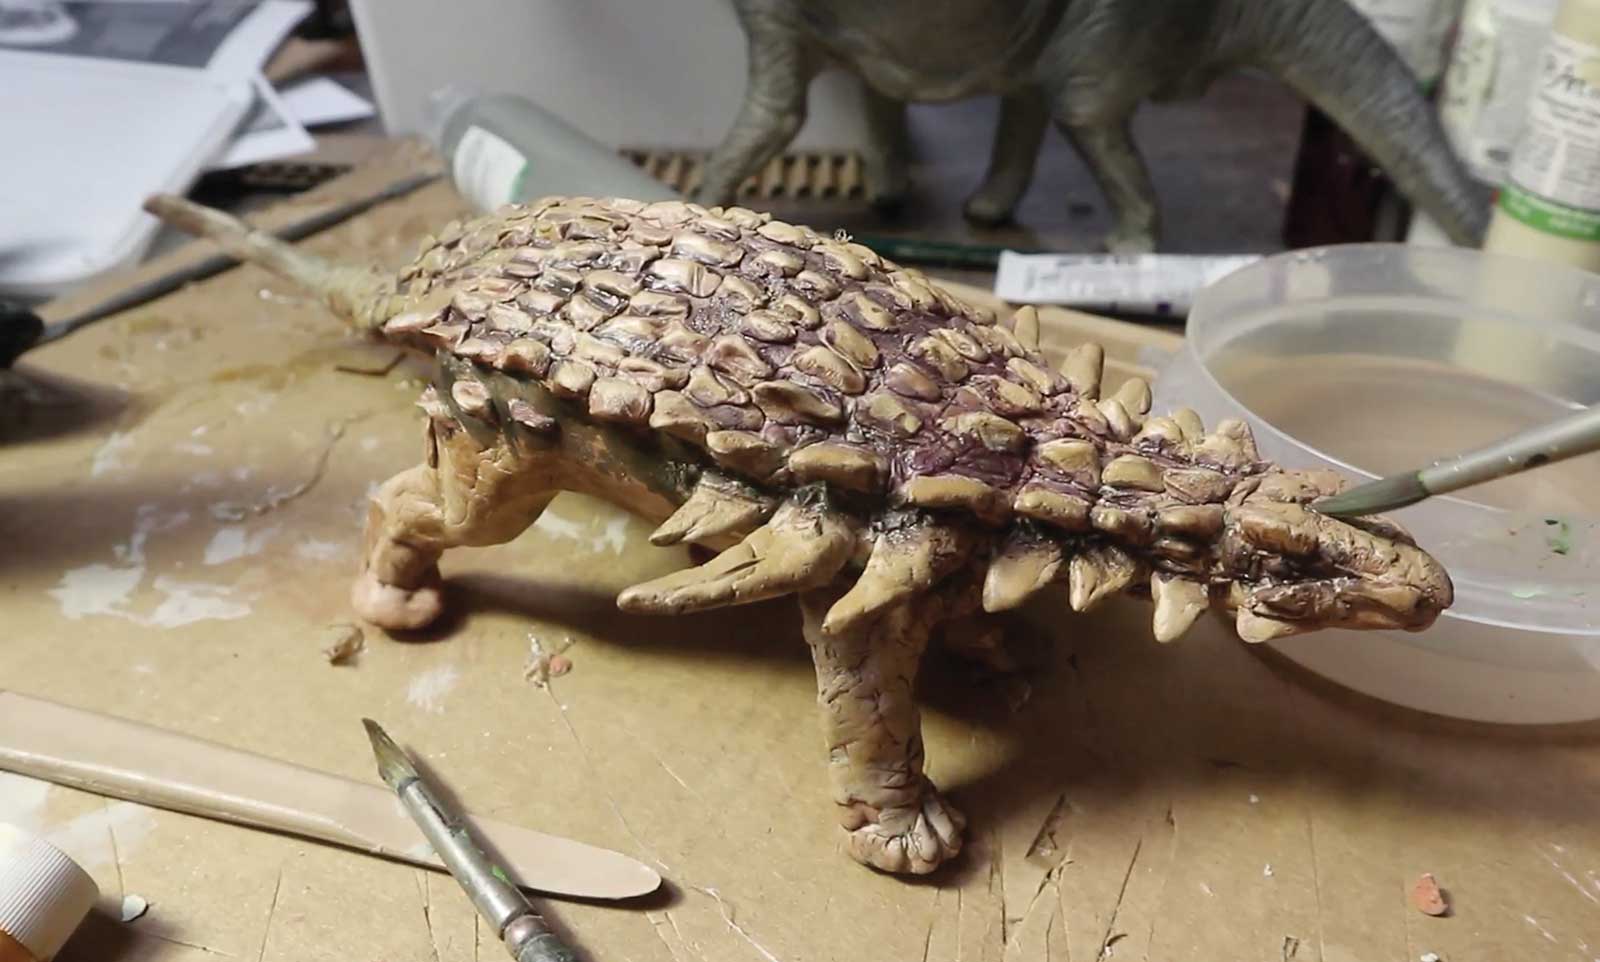
Maquette: cardboard and modeling compound.
3. Use wildlife photos for reference
When I paint bipedal, meat-eating dinosaurs, I use photographs of living birds and other animals for inspiration. Birds are very closely related to dinosaurs; in fact, birds are dinosaurs. It’s a reference that I use laterally, not literally. I’m looking for ideas not only about poses, but also movement, lighting, behavior and personality. I have an old fashioned filing cabinet with folders full of color photos clipped from nature magazines, which are a great supplement to Google searches.
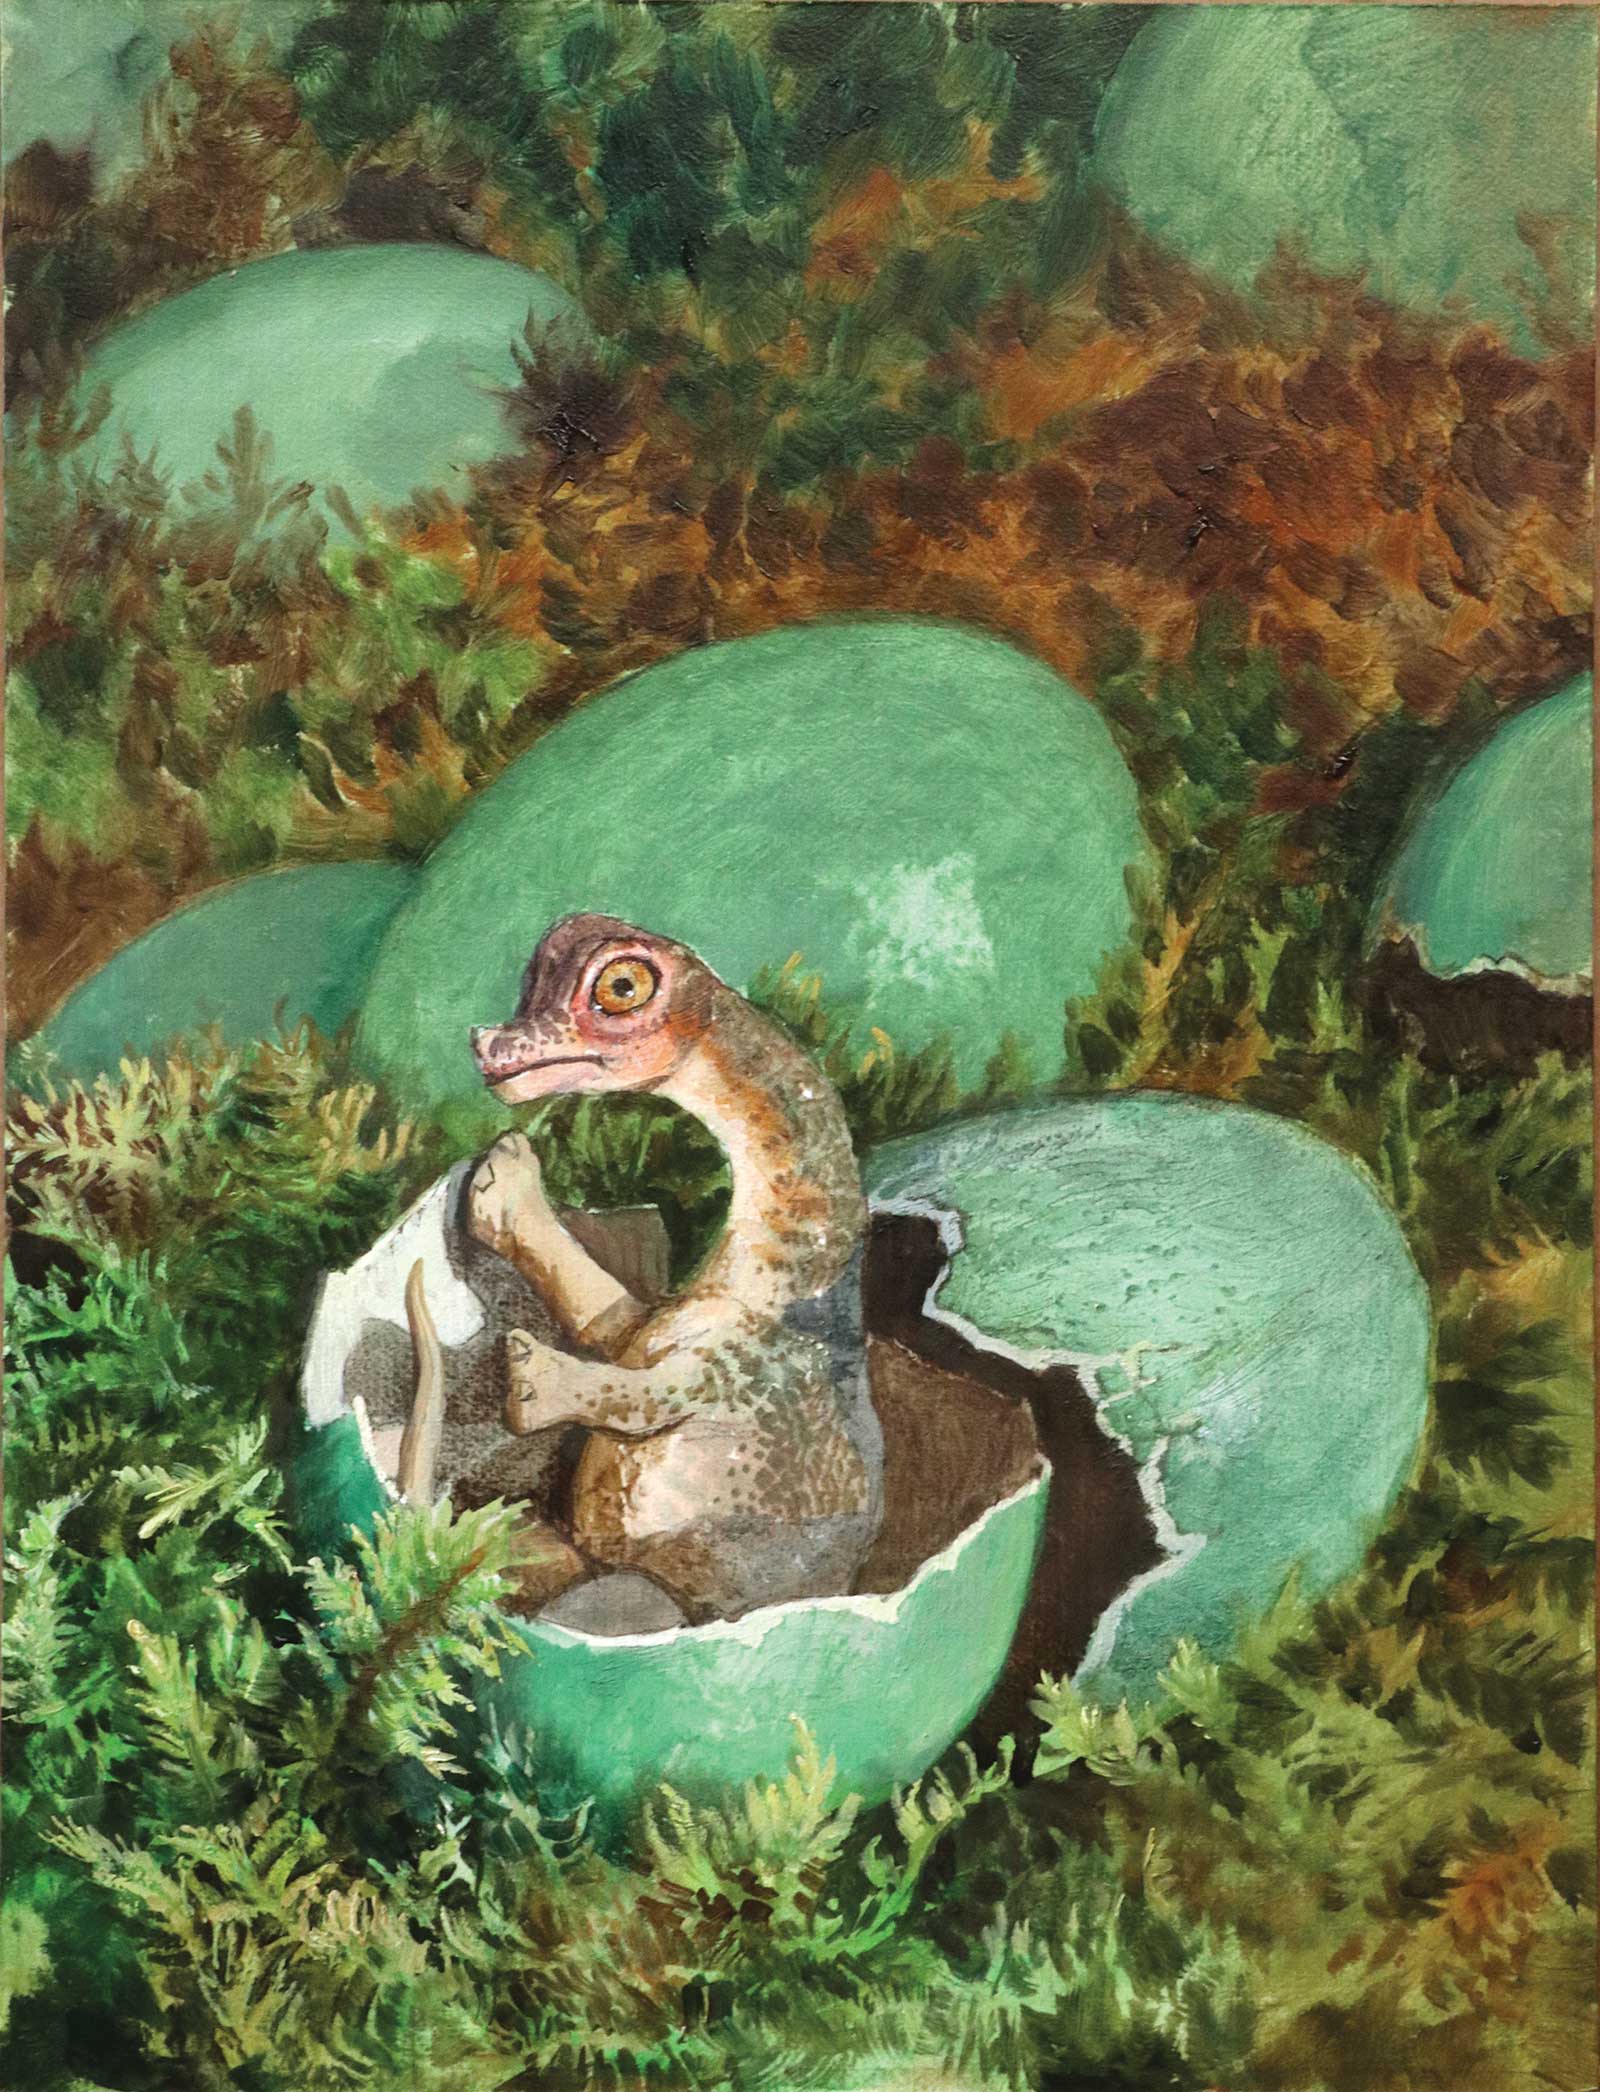
Titanosaur hatchling, oil on board, 13 x 10" (33 x 25 cm)
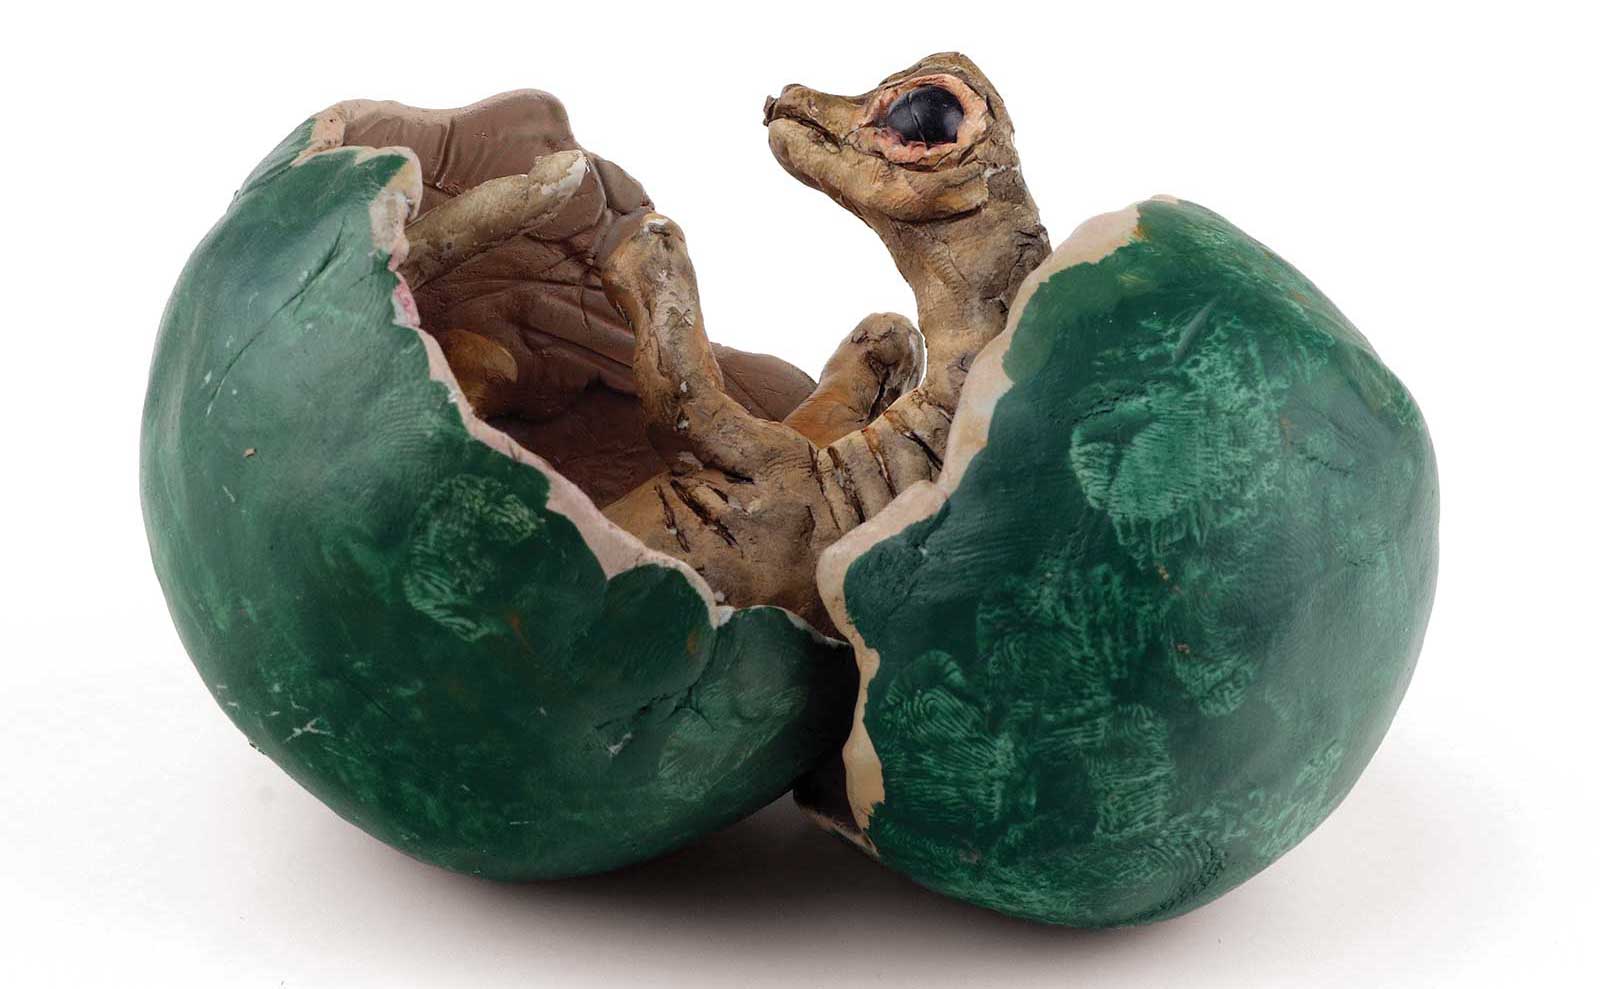
Maquette: Polymer clay and epoxy clay.
4. Make a maquette for reference
Looking at an actual three-dimensional maquette, even if it’s crudely sculpted, allows me to determine viewpoint angles, foreshortening, cast shadows and highlights—all of which can be difficult to dream up without references. I make the maquette of this armored dinosaur using cardboard for the base, then surface it with a children’s air-dry modeling material. I add the spikes later with a two-part epoxy sculpting compound. The maquette of the baby titanosaur is made of polymer clay, and the shell is formed with epoxy sculpting clay over a light bulb.
5. Pre-texture the surface
After finishing the pencil drawing, I use an acrylic impasto medium to create textures where I want them to appear in the final oil painting. For the painting of the hatchling, I want the shells to have a bumpy texture. I can paint with oil fairly thinly over the texturing medium, and the final effect will still have a gutsy, thick-paint feel.
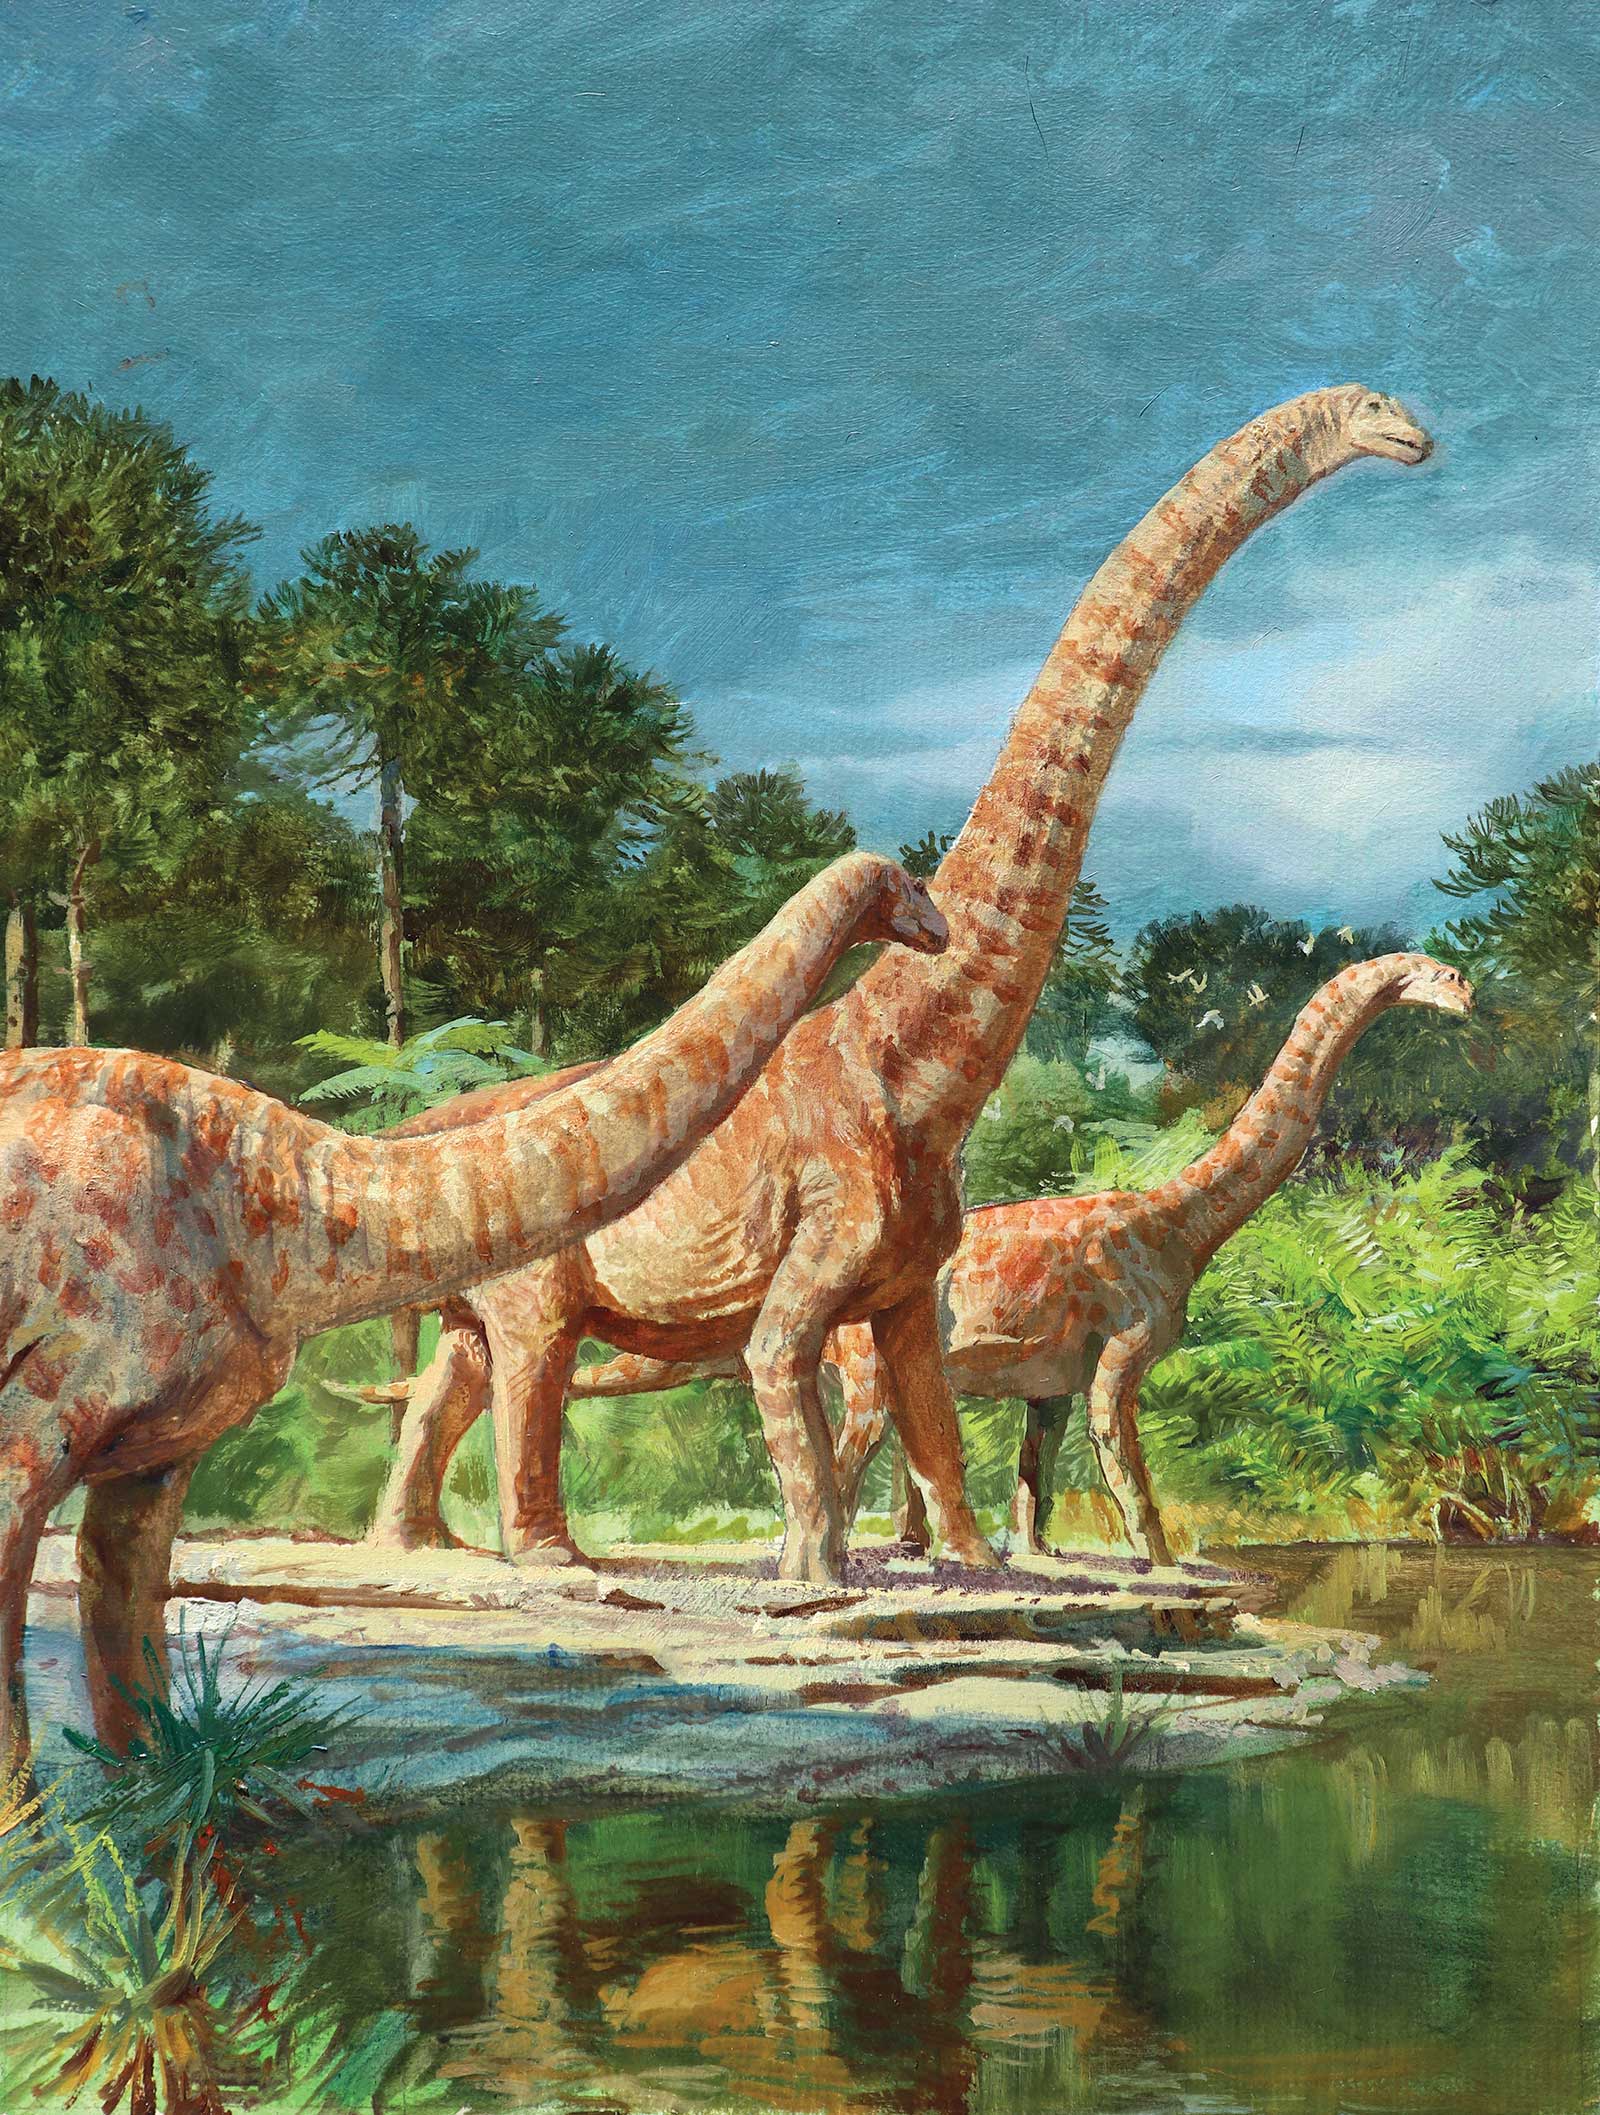
Patagotitan, oil on board, 13 x 10" (33 x 25 cm)
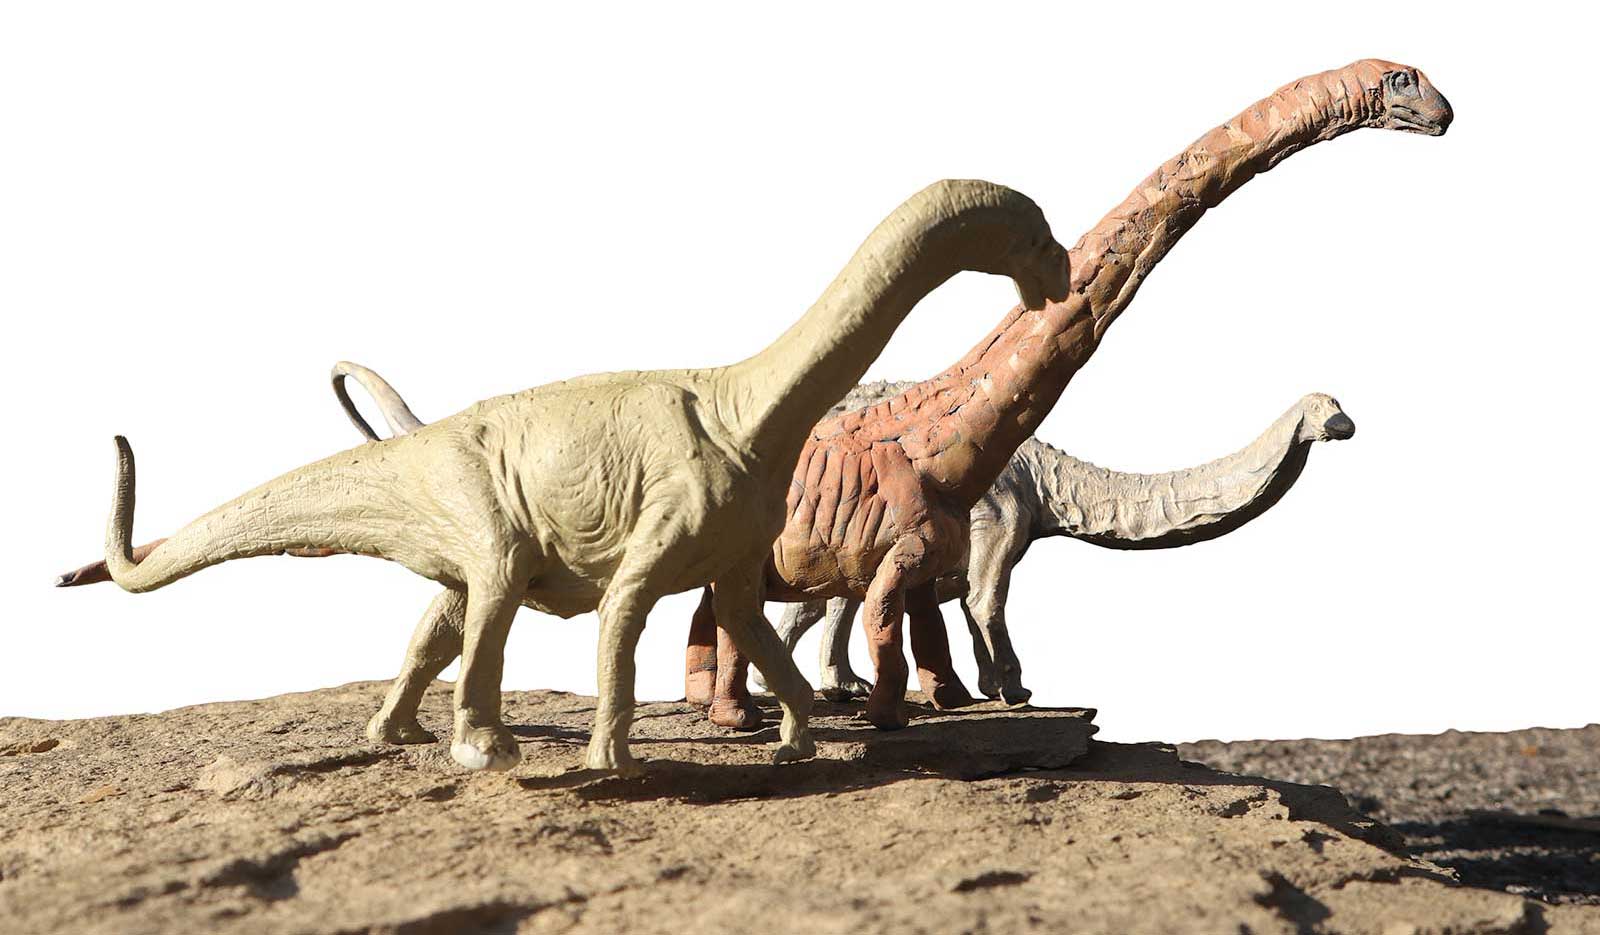
Maquette: cast resin and epoxy clay. Additional maquettes by David Krentz.
6. Match maquette to skeleton diagram
This sauropod is called Patagotitan, one of the largest dinosaurs ever discovered. When I make a maquette I want to control the overall size and the relative proportions of the sculpture. To do that, I use a photocopier to enlarge the scientist’s skeleton drawing to the actual size I want to make the maquette. I start with an aluminum wire armature under the epoxy sculpting compound.
7. Use low eye level to emphasize scale
I take the maquette outdoors and photograph it in actual sunlight. The relative scale and quality of light and shadows will look right regardless of the size of the object. I move the little dinosaurs around like chess pieces on the rough piece of rock, which looks like the bank of a little pond at the edge of the forest.
8. Think of the pencil stage like a chalkboard
As I begin to interpret the photo reference in my preliminary line drawing, I draw it, erase it, redraw it and erase it again until I have all the elements where I want them. Nothing is locked in yet. When it’s ready I seal the drawing with acrylic matte medium. Even as I proceed to the finished painting, I feel free to make major changes if I need to.
Maquette

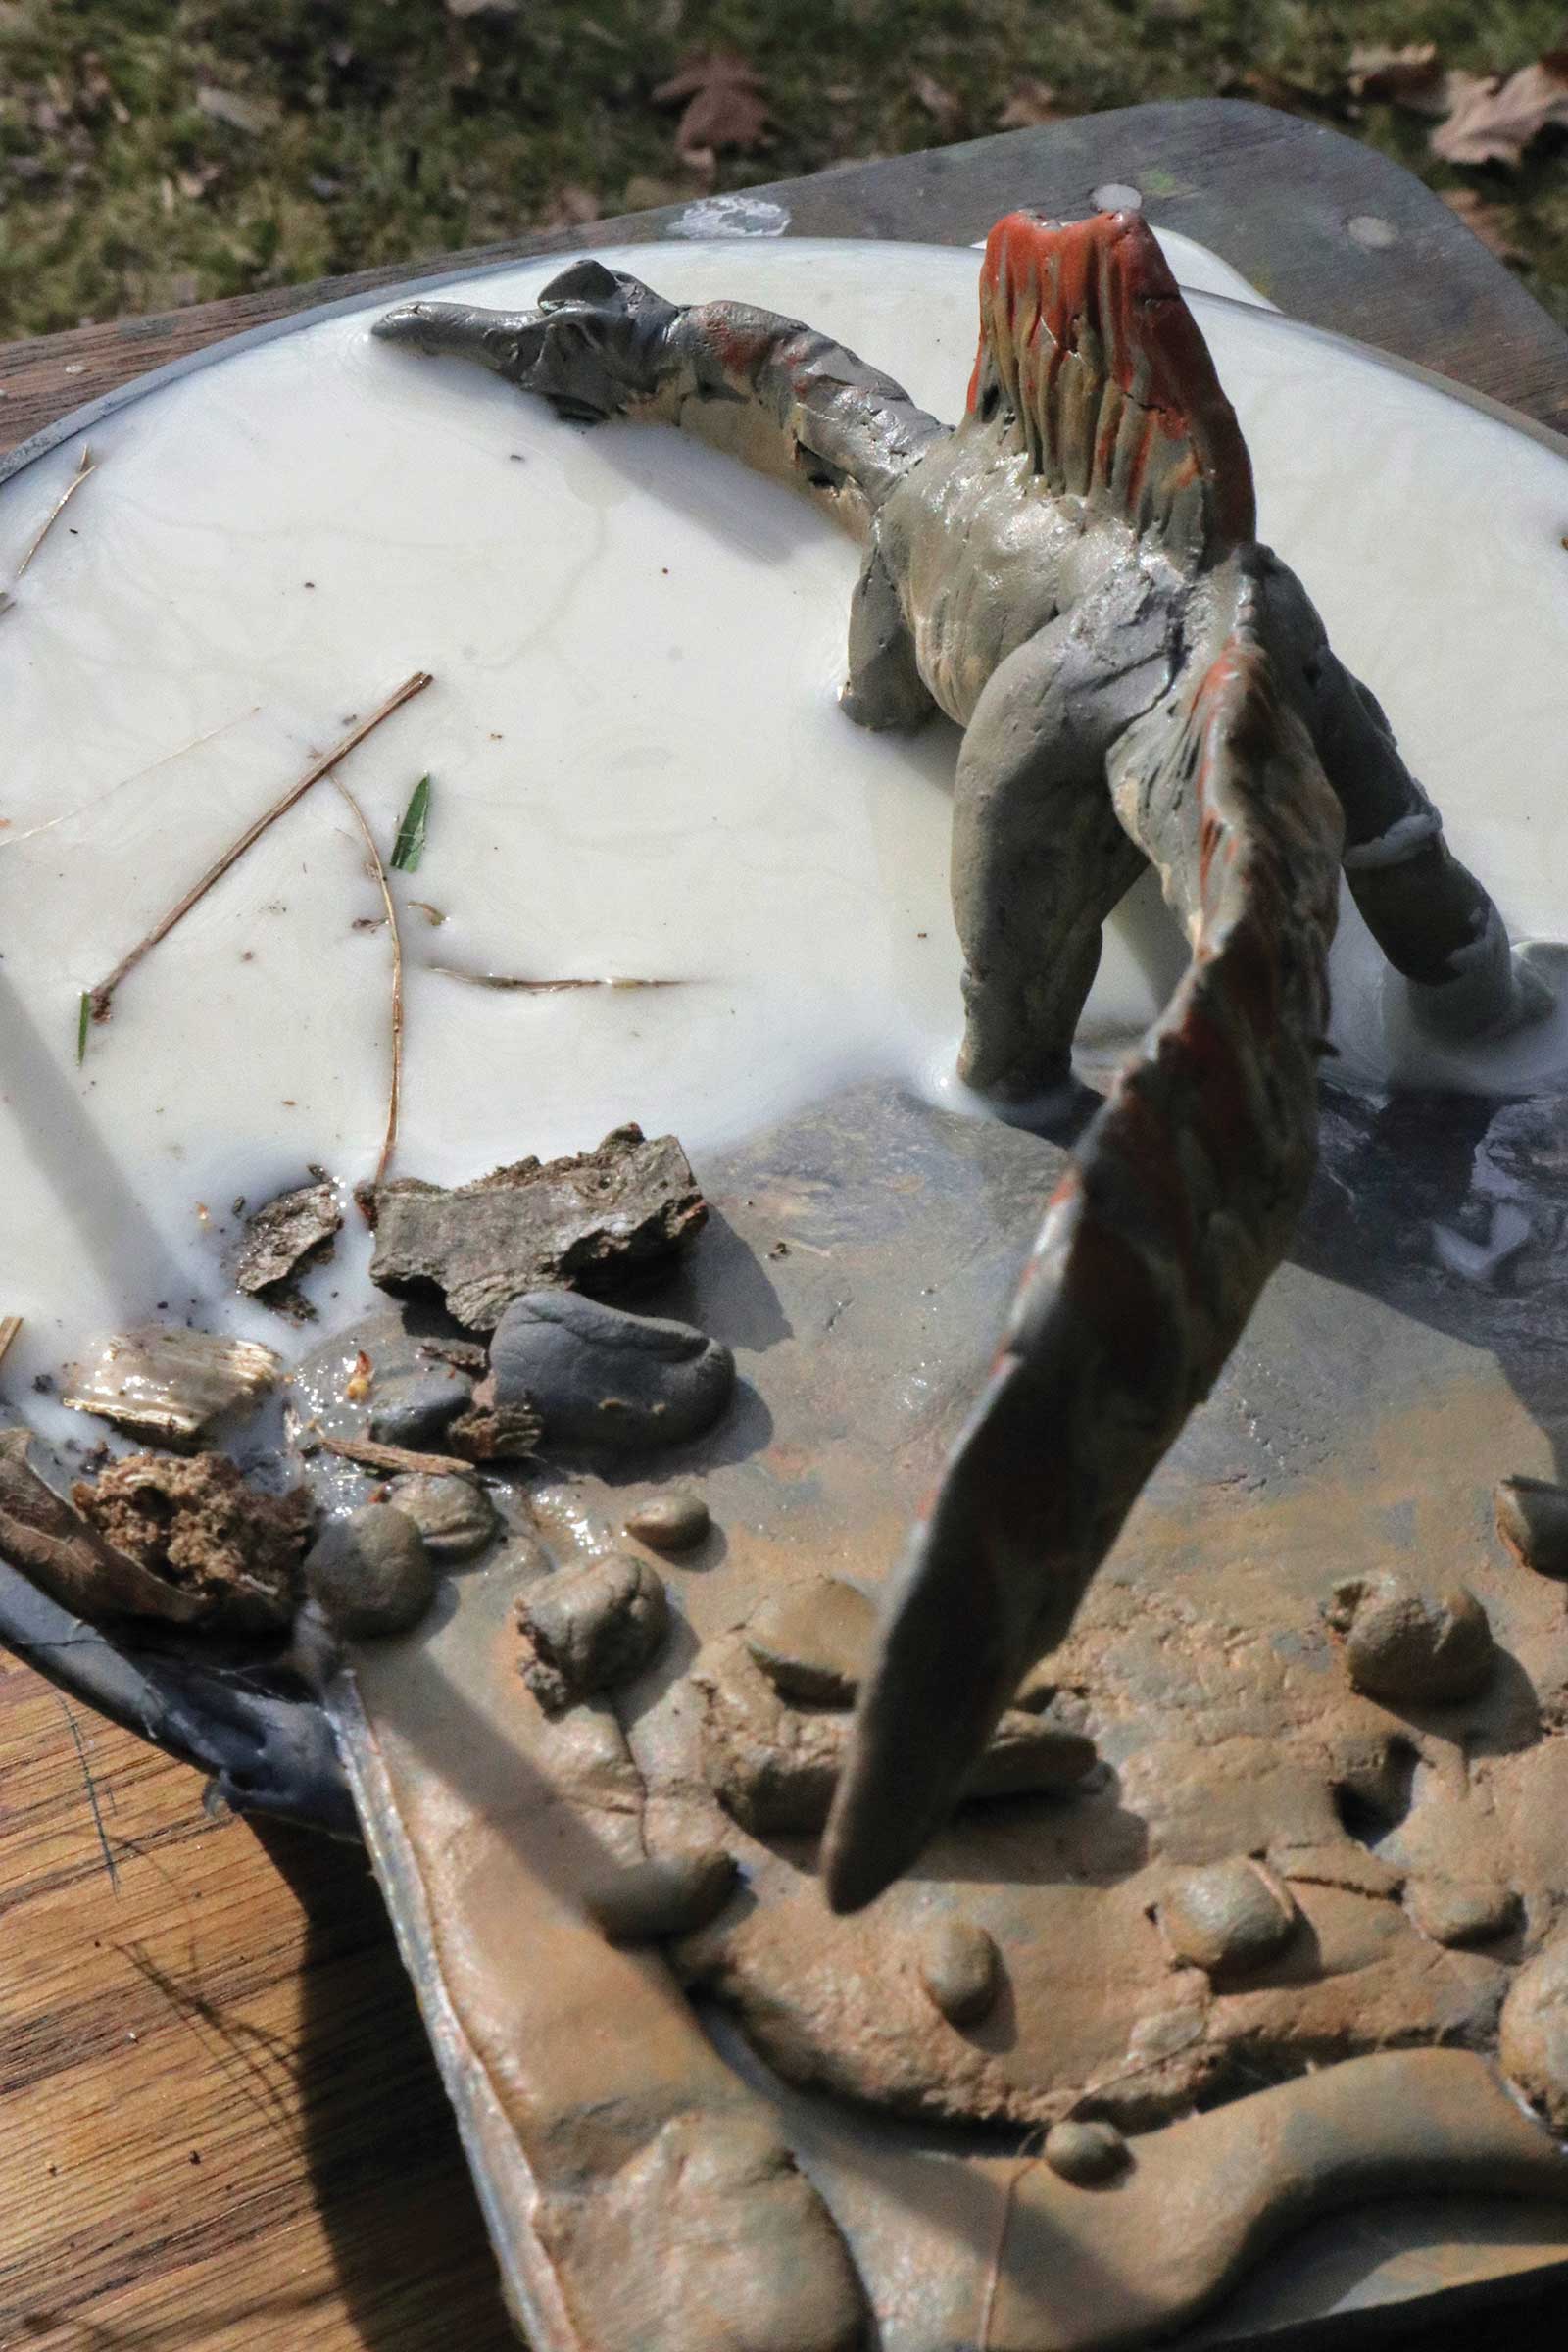
Spinosaurus, oil on board, 13 x 10" (33 x 25 cm)
9. Create a diorama for the setting
For the Spinosaurus, I want to see how the maquette will look in a realistic environment, so I make a section of shoreline sloping into an oven-safe plastic bowl. I cover the shore with a rocky texture and some sticks found in the backyard. I fill the bowl with water that is colored with acrylic paint to simulate mud, and I set up the maquette so that it looks like it’s wading into the water. That gives me a lot of information about highlights, reflections and shadows that I never would have considered otherwise.
10. Let the dinosaur interact with its environment
Instead of thinking of the environment as a scenic backdrop, make sure it’s a three-dimensional volume. The subject can interact with objects in the scene, stepping on them or behind them. There might be a leafy branch in the foreground, a fallen log to cross over or shallow water to wade into. The light can cast a shadow across the uneven ground. The maquette will provide you with ideas for all these interactions.—
Watch the behind-the-scenes video of all of these paintings being created on YouTube
The article “What’s New in the Past?” appeared in the April 2021 issue of Ranger Rick Magazine, a publication of the National Wildlife Federation.
About the Artist
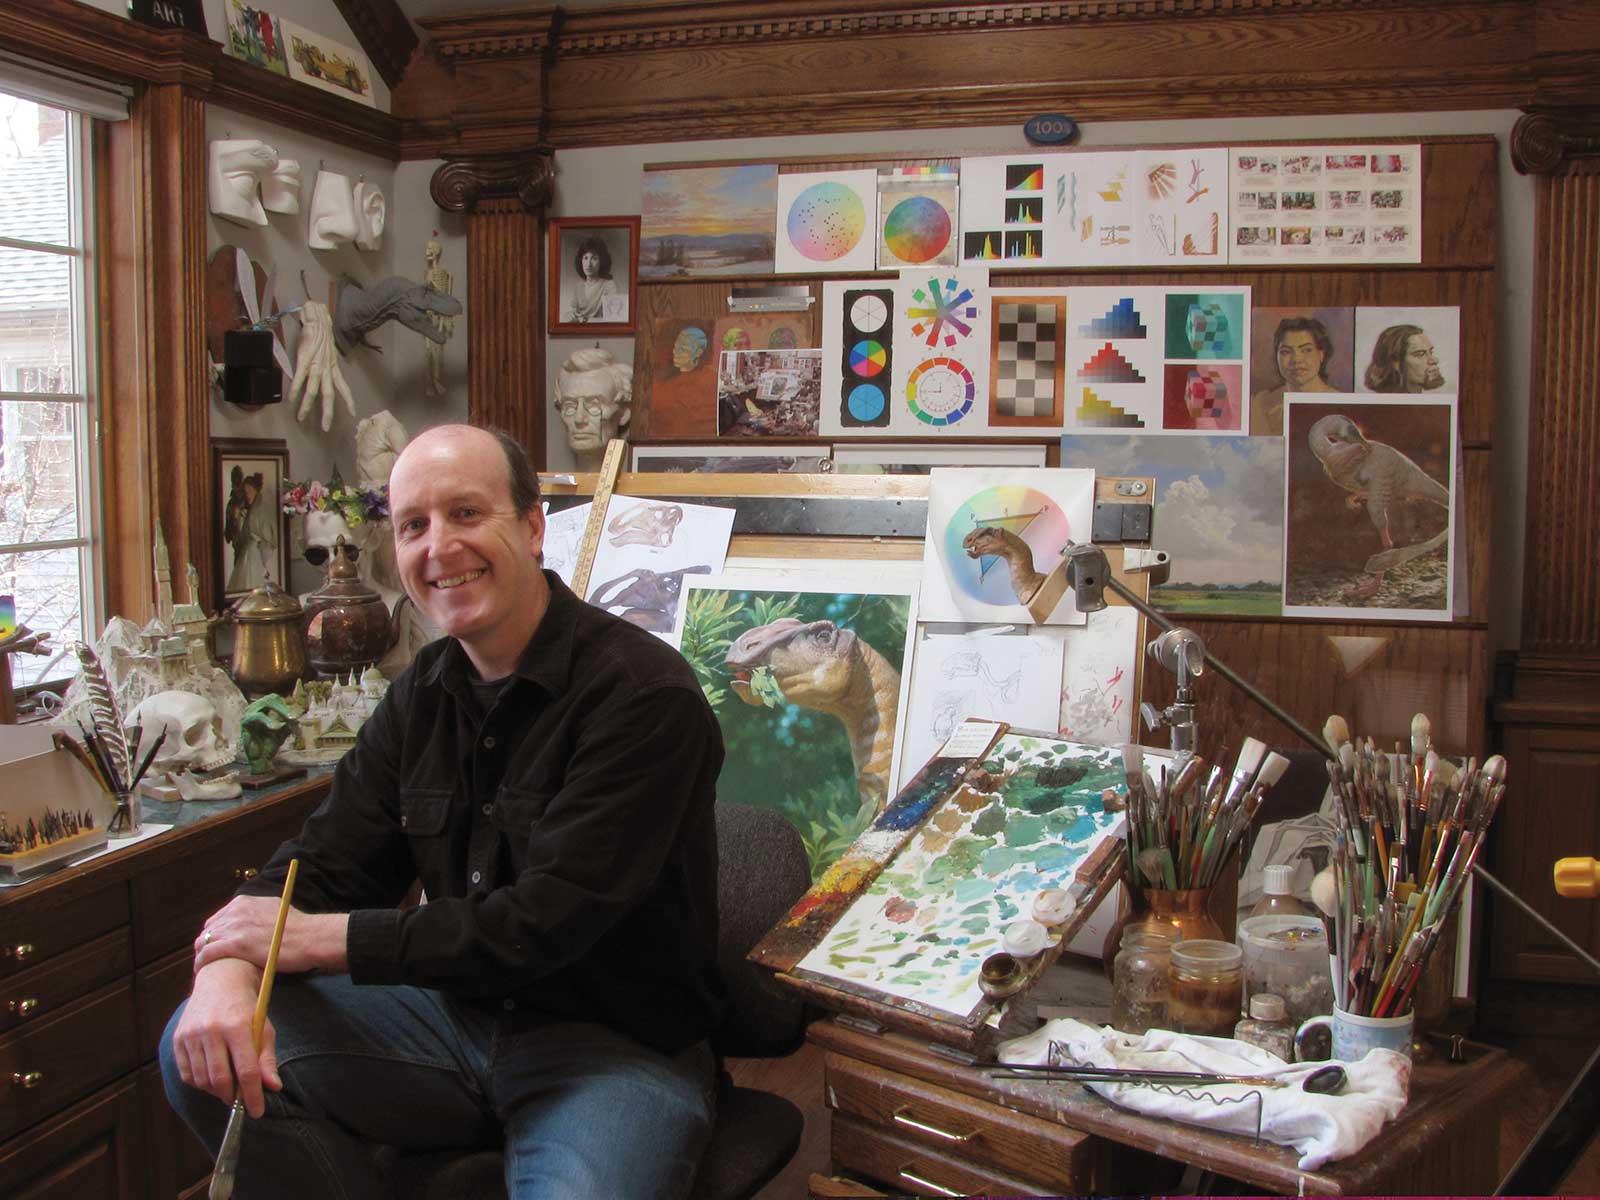 James Gurney
James Gurney is the author of two Amazon-bestselling books: Color and Light and Imaginative Realism, which is now also available in Russian, Spanish, Japanese, Korean, and Chinese. His original artwork has been featured in over 30 one-man museum exhibitions.
Follow my blog: gurneyjourney.blogspot.com
Follow me on your favorite socials: